
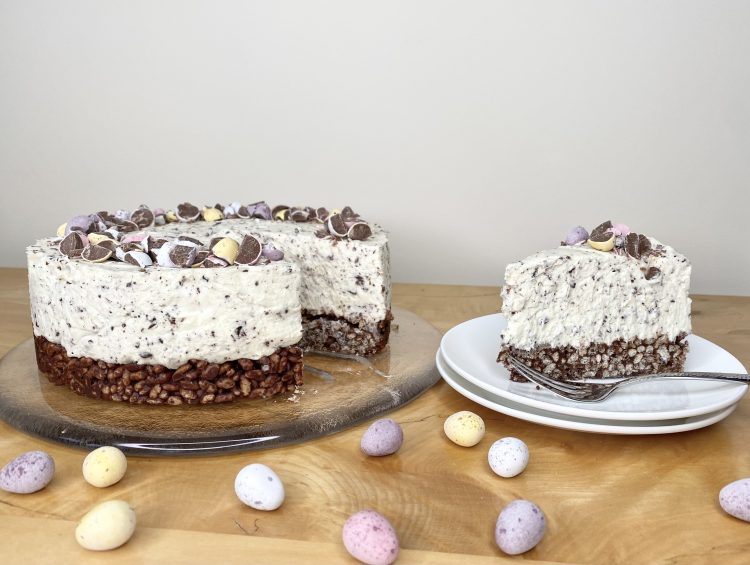
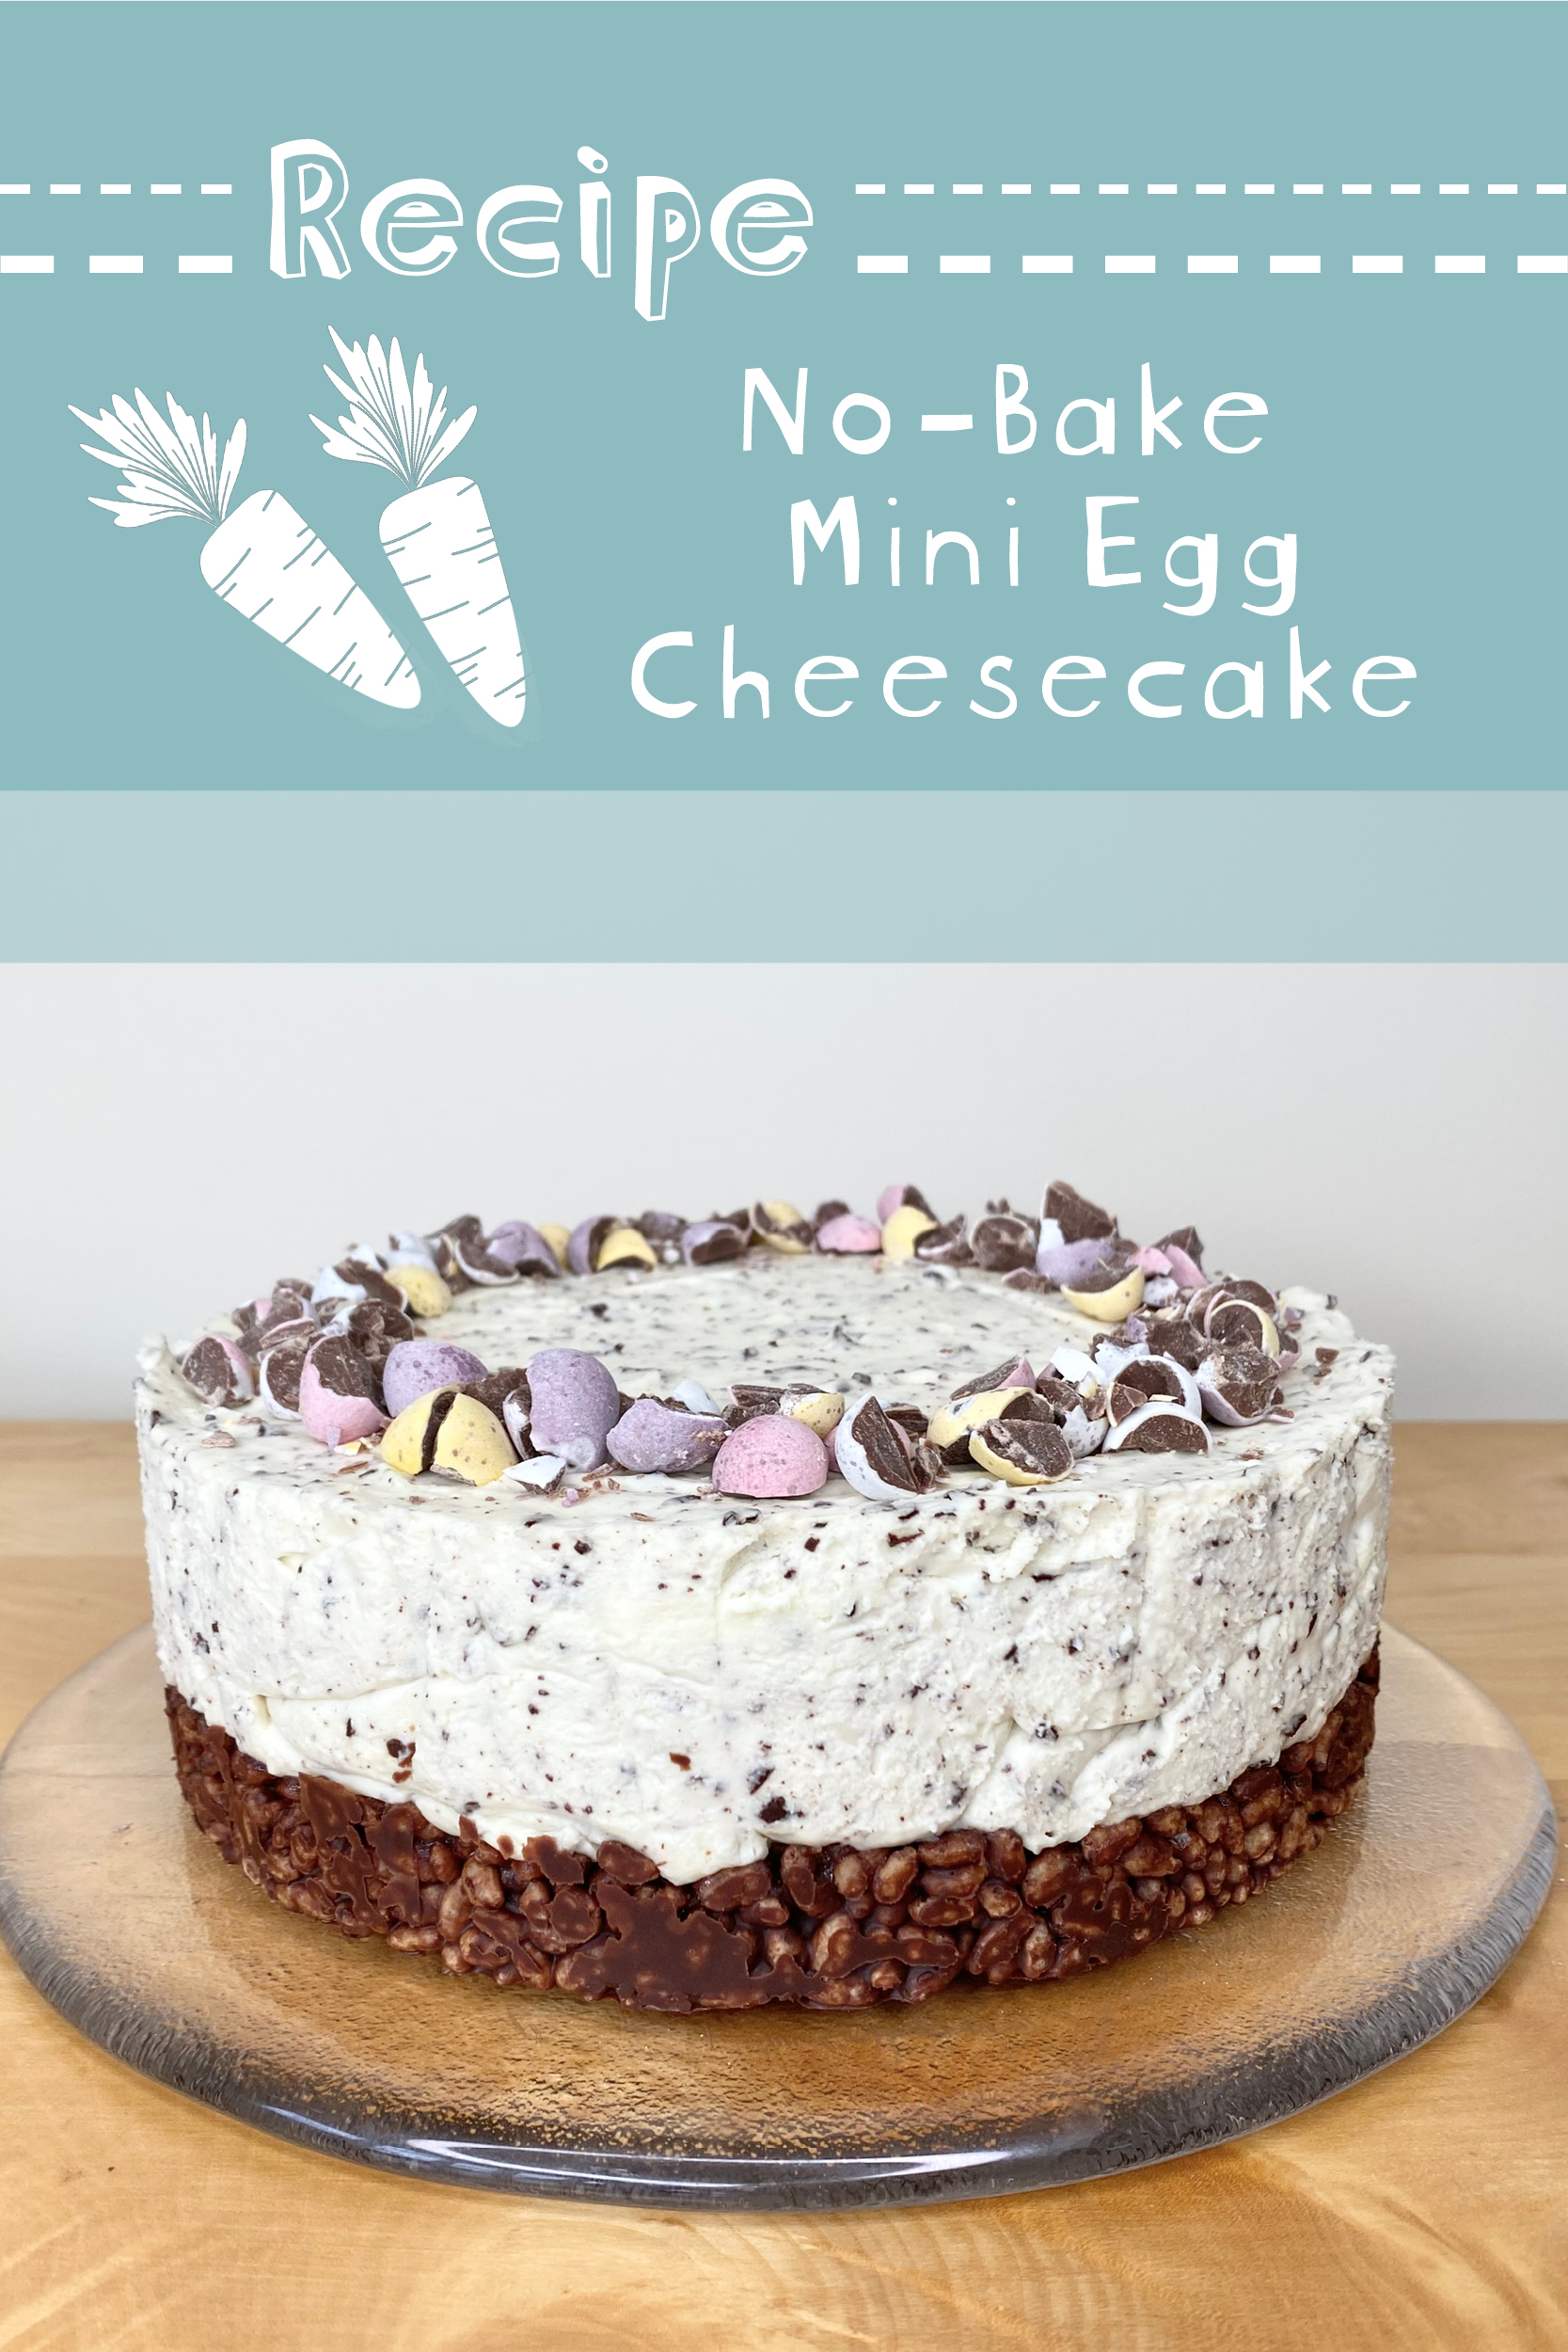
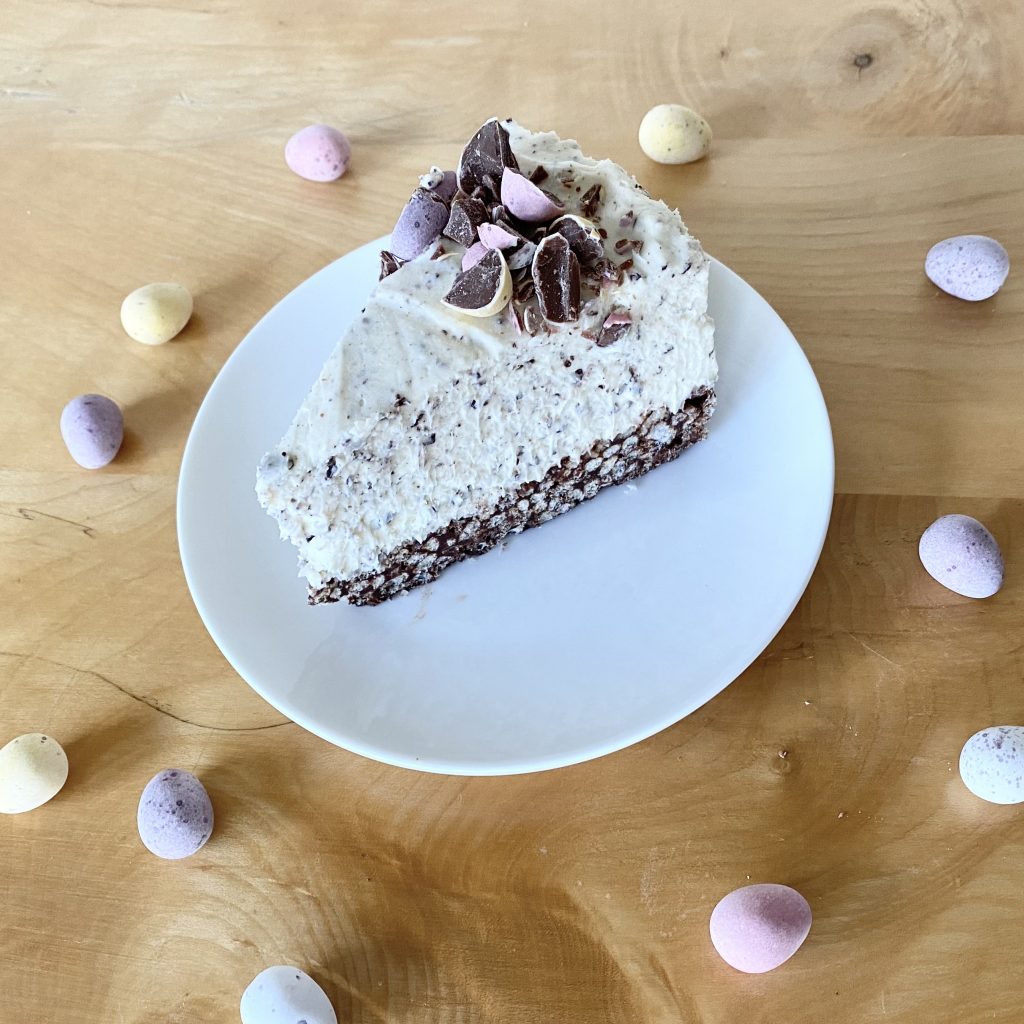
Happy Easter Weekend! I know I’ve been a little AWOL over the past few weeks, but I couldn’t let this weekend go by without a fun bake to celebrate the Easter season! Last year, I made 2 different Easter-themed cakes: a Carrot Cake and an Easter Nest Cake. This year, I wanted something quick and easy, but still super fun and tasty. I settled on this No-Bake Mini Egg Cheesecake. This seasonal dessert has a chocolate rice crispy base and a white chocolate cheesecake filling, which is speckled with finely chopped dark chocolate. The whole thing is then decorated with chopped Cadbury’s Mini Eggs- the perfect ( and deceptively easy!) dessert for your Easter table.
Table of Contents
- Choosing your Tin
- Chocolate Rice Crispy Base
- Speckled White Chocolate Cheesecake Filling
- Decorating the Cheesecake
- Make-Ahead
- No-Bake Mini Egg Cheesecake Recipe
Choosing your Tin
Because this cheesecake is set in the fridge instead of being baked, it’s super adaptable. With a baked cheesecake, the depth of the cheesecake layer will affect the baking time, so it’s trickier to adjust. With this no-bake version, you can make it whatever size, shape and depth you would like! I opted to use a 20 cm round tin for my cheesecake, which gave me a nice, tall result. However, you could also use a 23 cm round tin (with the same ingredient quantities)- this would give you a slightly flatter, more traditional cheesecake. You could even use a mini sandwich tin and make little individual cheesecakes- it’s completely up to you!
Whatever tin you choose to use, just make sure it has a removable base- otherwise you might not be able to get your cheesecake out of the tin! I prefer to use loose-bottomed tins, because I find they give a neater finish than springform tins, but you can use whatever you have on hand. You also need to make sure that the tin you are using is deep enough to hold all of the delicious filling- the one I used was 7 cm deep.
Once you have selected your tin, you need to line the base AND sides with baking paper (this will help you to get the cheesecake out later). Lightly grease the tin with a flavourless oil before pressing in the baking paper, to help it stick. Then, set the lined tin aside while you get on with making the cheesecake base!
Chocolate Rice Crispy Base
Typically, cheesecakes have their iconic Buttery Biscuit Base– that is, ground-up biscuits (usually digestives or ginger nuts), which are mixed with melted butter and pressed into the base of the tin to form a crunchy, crumbly base. Don’t get me wrong- I love a Buttery Biscuit Base. However, I wanted to do something a bit different with this cheesecake, so I opted to use a chocolate rice crispy base. Growing up, we made chocolate rice crispy nests every Easter, so they’re super nostalgic to me.
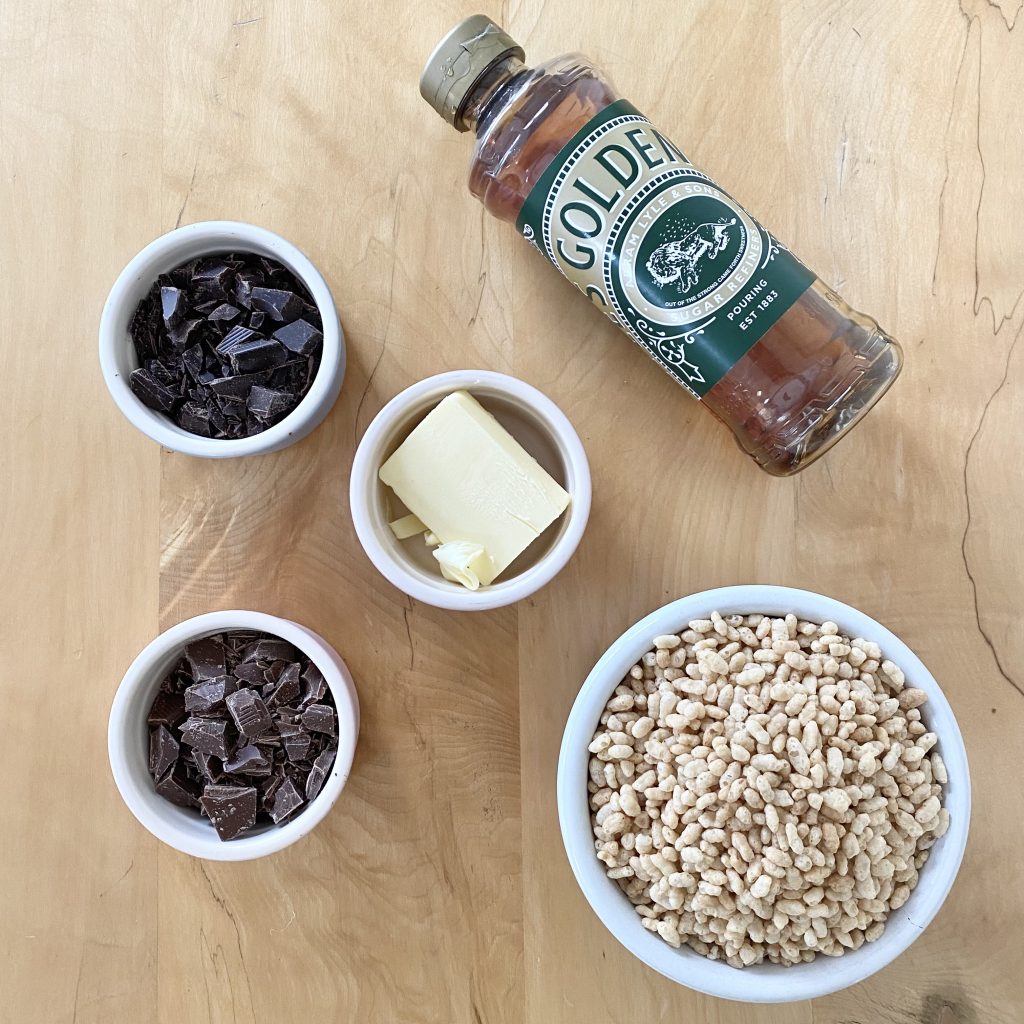
For the rice crispy base, you will need the following ingredients:
- Rice crispy cereal
I like to use rice crispy cereal, because I think it gives the best taste and it the cereal what we always used for the nests growing up, but you can use any plain cereal, really. Shredded wheat is also commonly used in the nests and would work well here, too.
- Chocolate
Because the cheesecake filling is quite sweet (it is a white chocolate cheesecake, after all!), I opted to use a 50:50 mix of milk and dark chocolate for the rice crispy base. You are absolutely welcome to use all milk chocolate, or all dark chocolate, if you would prefer, but I quite like the combination of the two here.
- Unsalted butter
Adding a small amount of butter helps to keep the base together (and makes it easier to slice through- though you will still need a large, sharp knife to slice this dessert!).
- Golden Syrup
The golden syrup works with the butter to keep the base firm, but sliceable. If you can’t find golden syrup, you could use honey (though this may affect the flavour slightly).
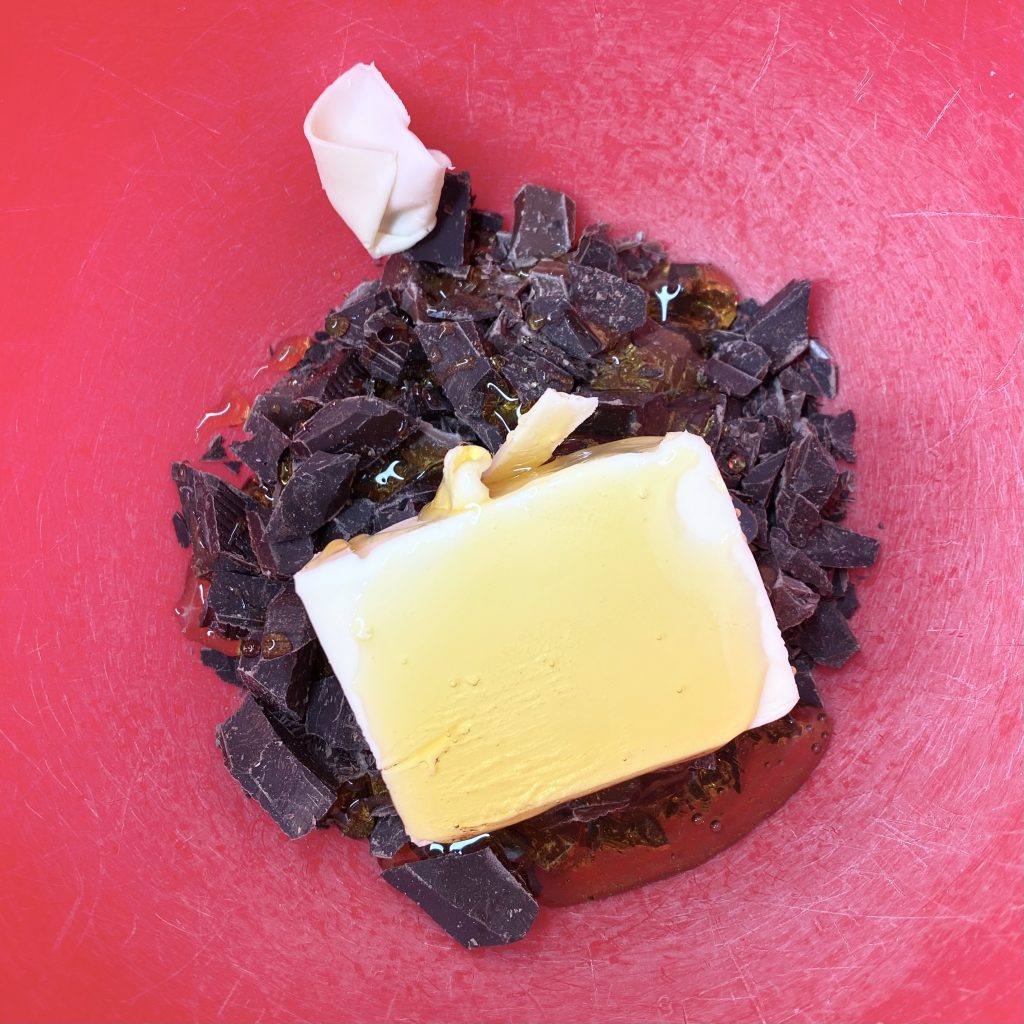
Once you have everything ready, the base is super quick and easy to make. Put all of the ingredients, bar the rice crispy cereal, into a heatproof bowl and melt together until completely smooth.
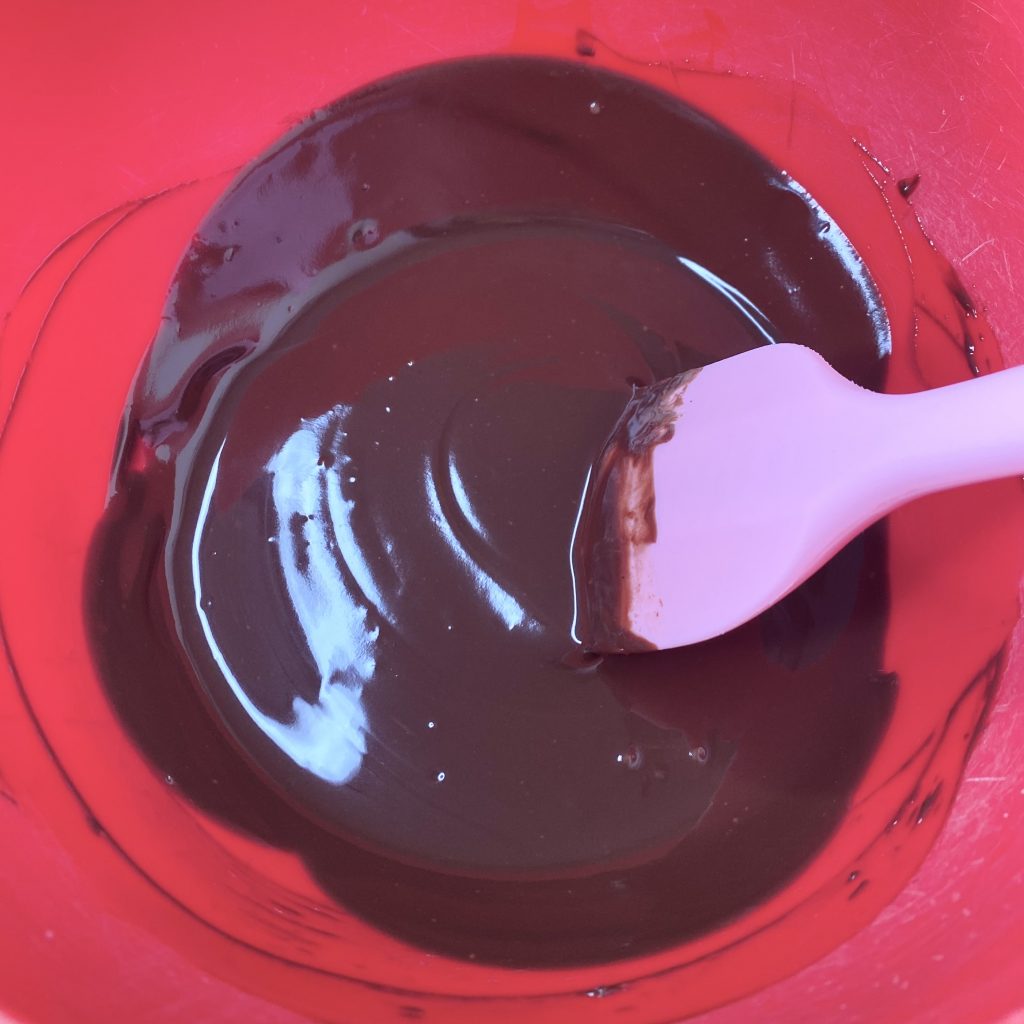
I do this in the microwave, in 1-minute intervals on the lowest heat setting, but you could do it over a bain-marie, if you prefer.
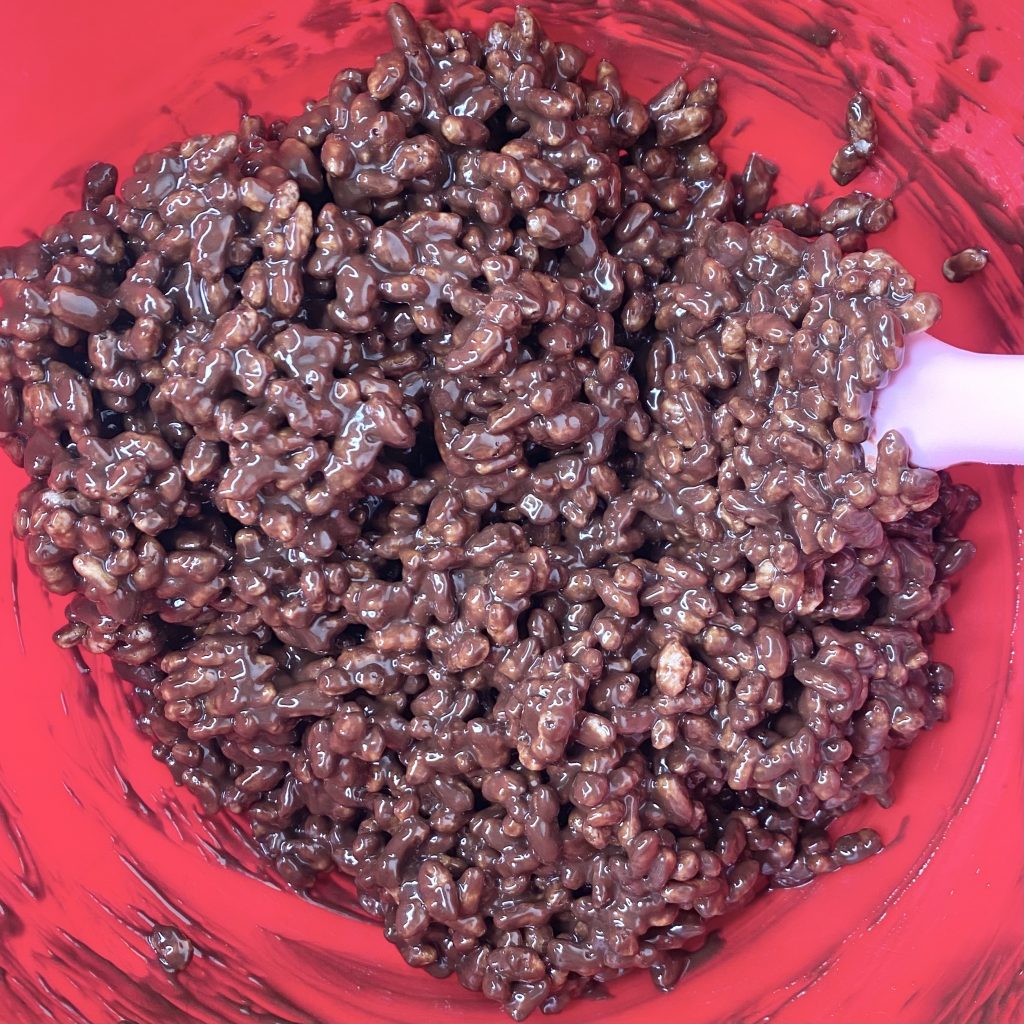
Once everything is smooth, mix in the rice crispy cereal, making sure every piece is completely covered in the chocolatey mixture. It’s important to cover each individual puff of rice, as this will prevent them from going soggy in the fridge.
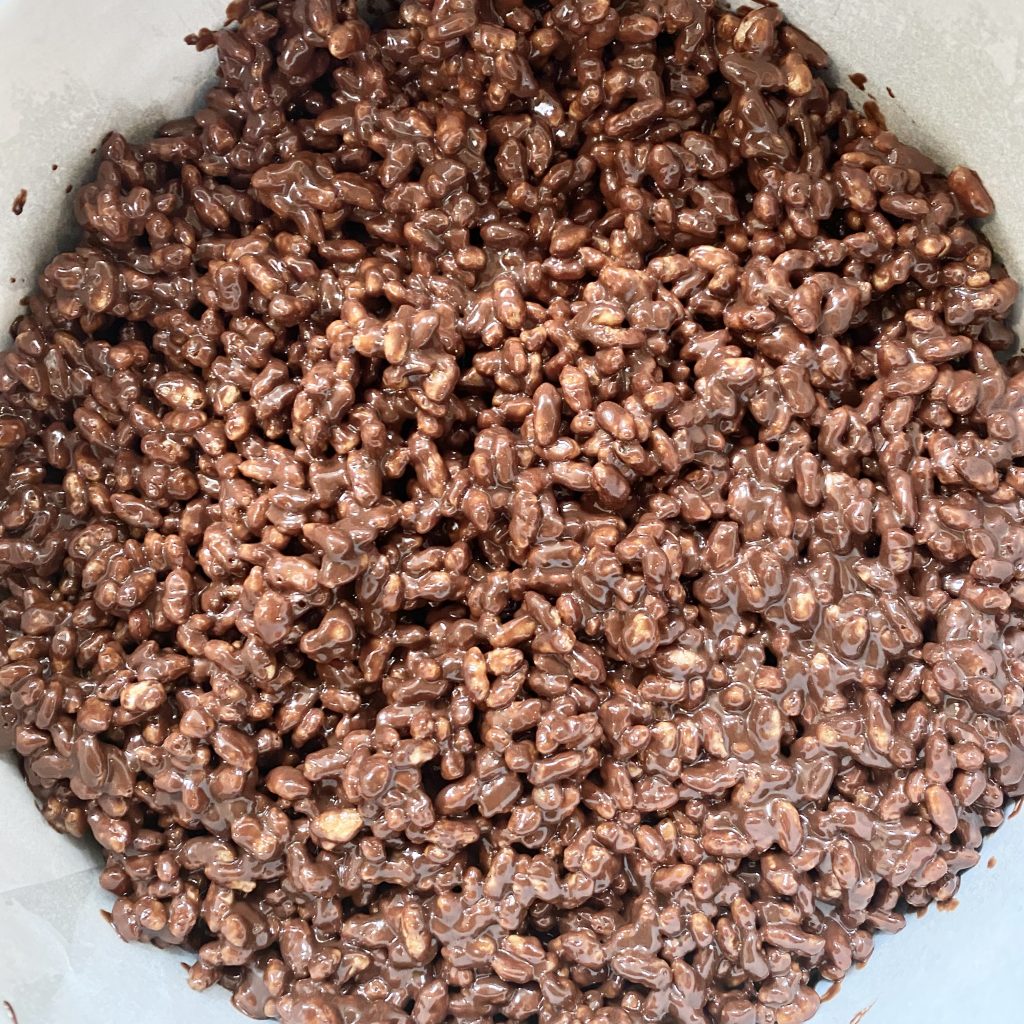
When everything is combined, tip the mixture into the lined baking tin and smooth it out into an even layer.
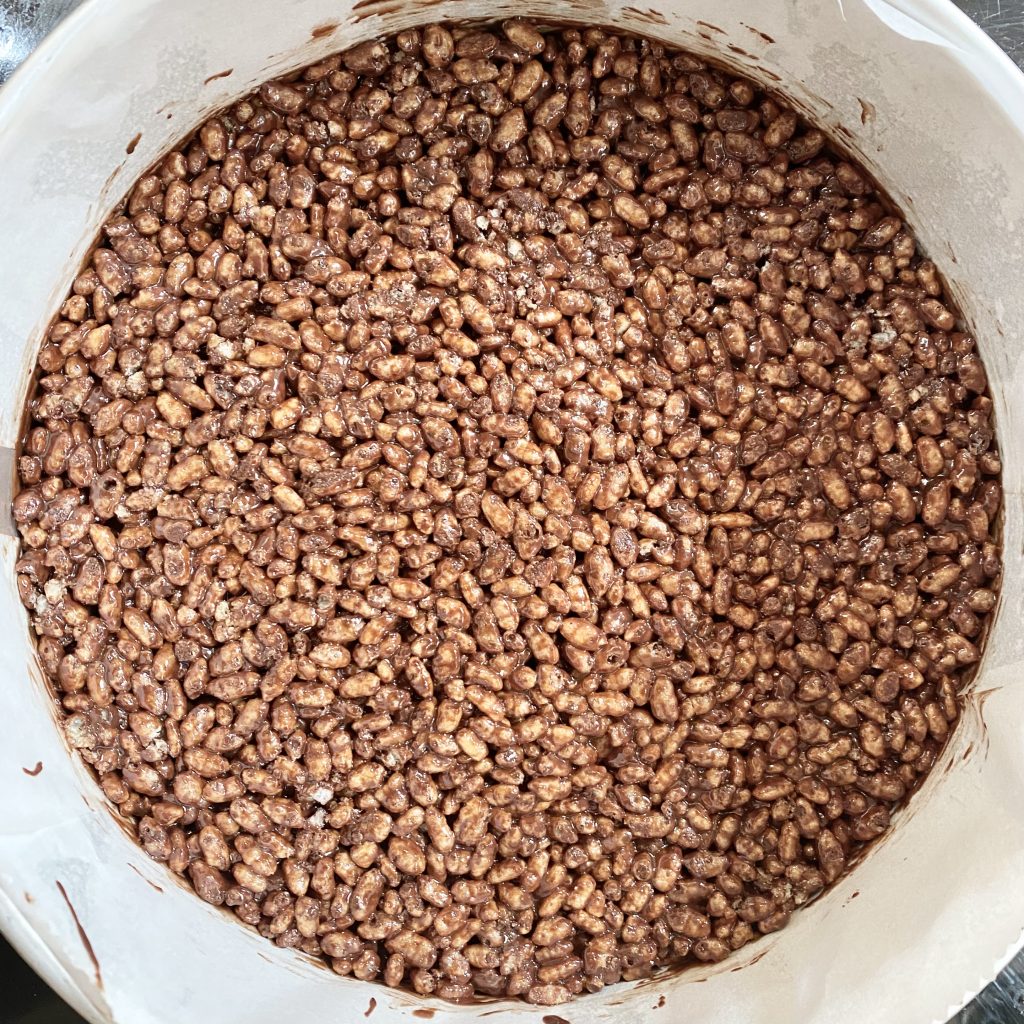
At this point, I like to use the back of spoon, which I grease lightly with oil, to really compact and smooth out the base. Not only will this give a more even, professional finish, it will help the base stay together when the cheesecake is sliced.
Once you are happy with your base, put the tin into the fridge so that it can firm up while you make the cheesecake filling.
Speckled White Chocolate Cheesecake Filling
I wanted to bring some Mini Egg vibes to the cheesecake itself, so I opted to create a speckled filling, as an ode to the iconic, speckled, candy shells of the eggs. This is so easy to do, but I think it makes the cheesecake look extra special.
This no-bake cheesecake filling only requires 5 ingredients, making it super simple to whip up! You will need the following:
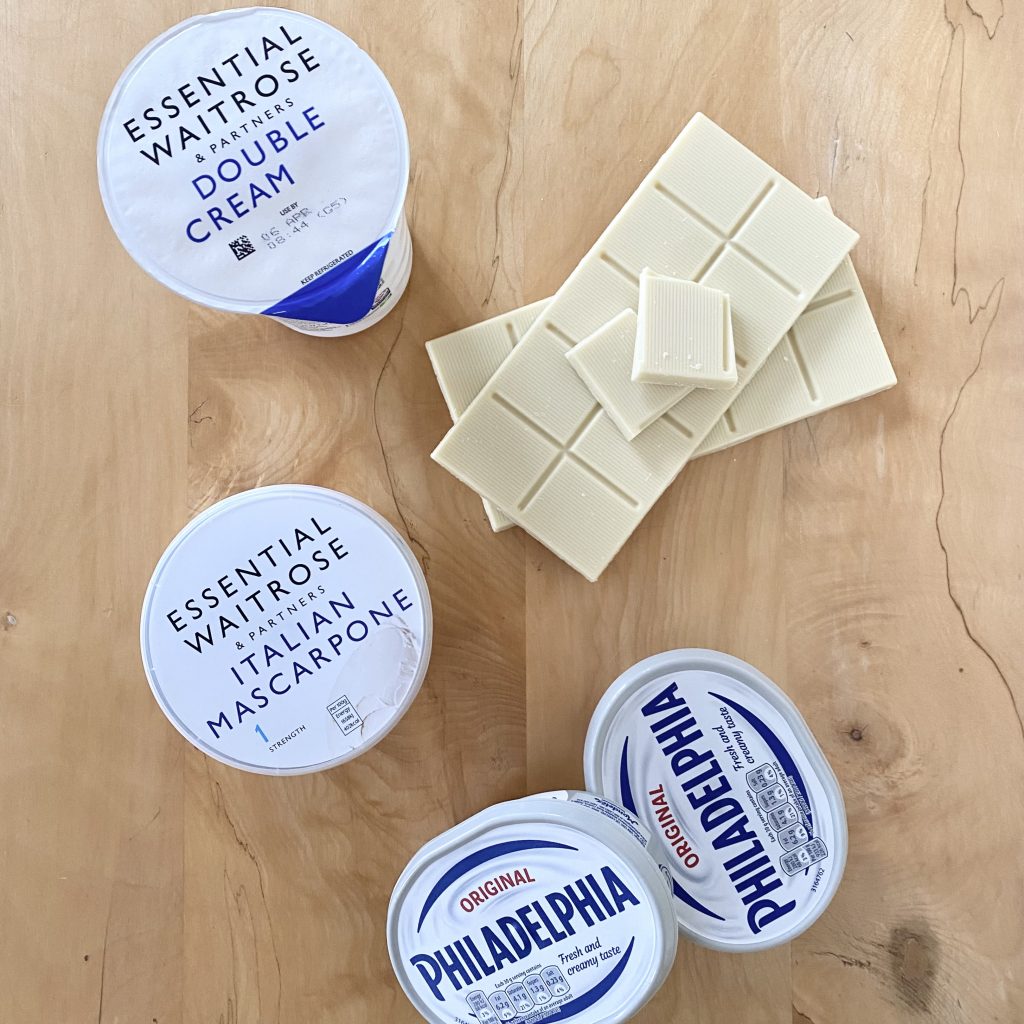
- White chocolate
The white chocolate is an important ingredient for a number of reasons. First and foremost, it lends its iconic, vanilla-y flavour to the cheesecake filling, making for a super delicious dessert. However, it is also vital in helping the cheesecake to set in the fridge, without the need for any eggs/baking. It also lends sweetness to the filling, which contains no additional sugar. This is great, because it ensures that the cheesecake is super smooth and silky, with no hint of graininess from undissolved sugar crystals!
- Cream cheese
Cream cheese is a standard ingredient in any cheesecake recipe. Make sure to use full-fat cream cheese, or the texture/set of the cheesecake may be affected. It’s very important that the cream cheese is at room temperature- this will ensure your finished cheesecake is super smooth and silky.
- Mascarpone
Mascarpone is an Italian cream cheese, made with cream (as opposed to whole milk). It has a creamier taste and thicker texture than regular cream cheese, which helps to make sure the cheesecake filling is velvety smooth. Using a combination of the two cheeses gives the perfect balance of tang and creaminess. Like the cream cheese, it’s very important that the mascarpone is at room temperature.
- Double cream
Cream, the third and final dairy product in this cheesecake filling, helps to make the cheesecake extra light, fluffy and super silky. If you’re in the US, use heavy cream.
- Dark chocolate
This is what gives the cheesecake its speckled appearance- by finely chopping a small amount of dark chocolate and folding it into the mixture at the last moment, you can achieve a speckled effect that not only looks great, it actually helps to temper the sweetness of the white chocolate filling as well. Make sure you chop the chocolate super finely, though, to maintain the silky smooth texture of the cheesecake as much as possible.
To make the cheesecake filling, start by melting the white chocolate. I do this in the microwave, again in 1-minute bursts on the lowest setting, but you could use a bain-marie, if you prefer. Once the chocolate is melted, allow it to cool to room temperature (about 10-15 minutes), while you prepare the other ingredients.
While the chocolate is cooling, beat together the cream cheese and mascarpone until smooth.

In a separate bowl, whisk the cream to soft peaks. Don’t over-whip it at this stage- you just want it to be slightly thickened and billowy, not necessarily holding its shape.
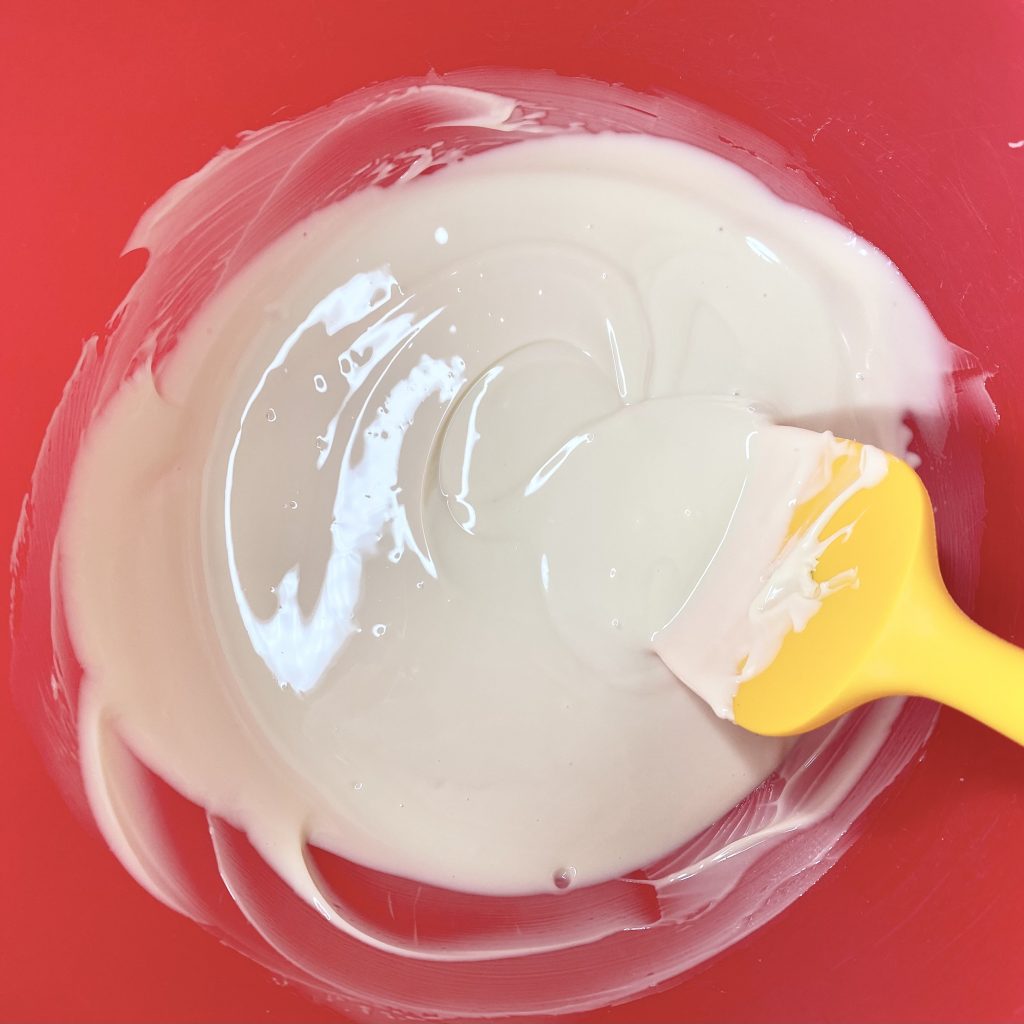
Once the chocolate has cooled to room temperature, mix it into the cheese mixture, until completely combined.
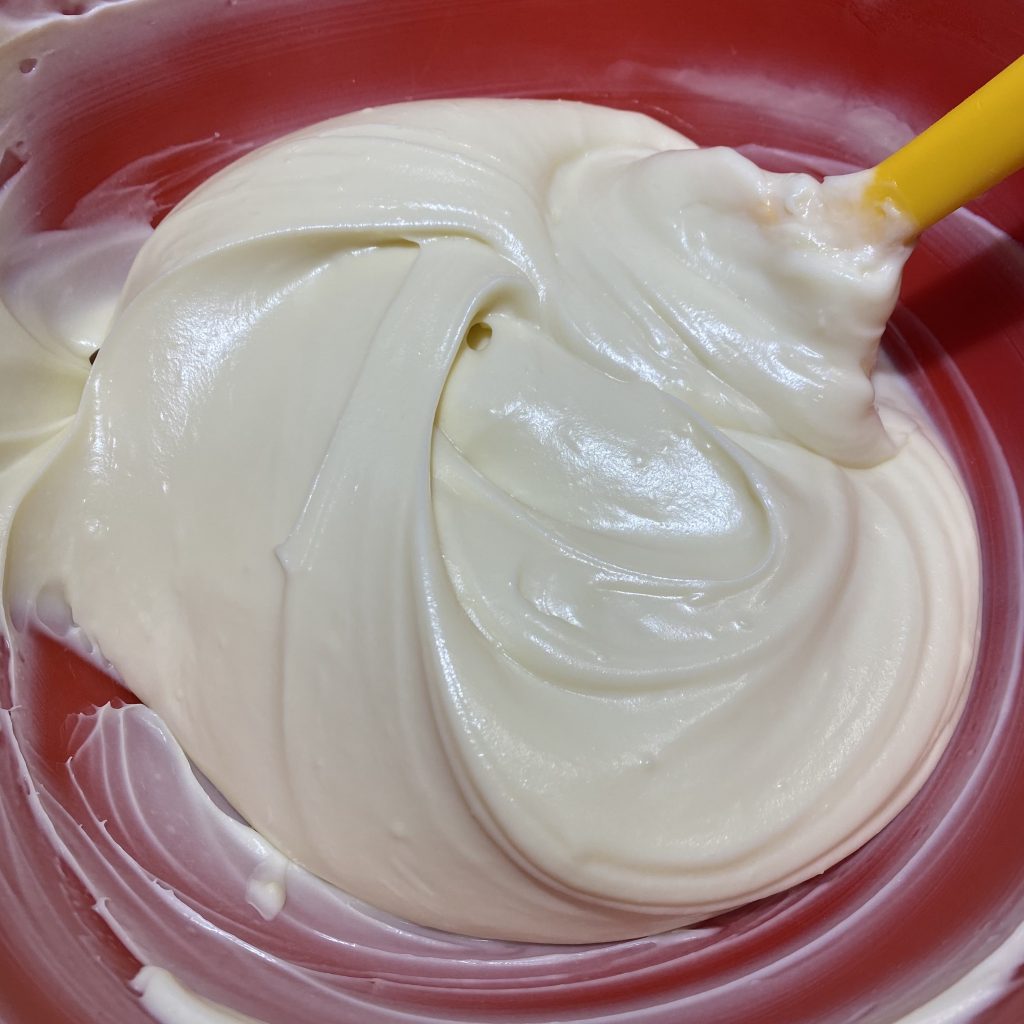
At this point, your mixture should be silky smooth, like in the photo above. If it’s not, then it’s likely that a) your chocolate was too warm, or b) your cheese mixture was too cold. Don’t worry though! You can fix both of these problems. if your chocolate was too warm, and your mixture has become loose and curdled, put the whole thing into the fridge to let it set back up, giving it a mix every 5 minutes or so, until it comes back together.
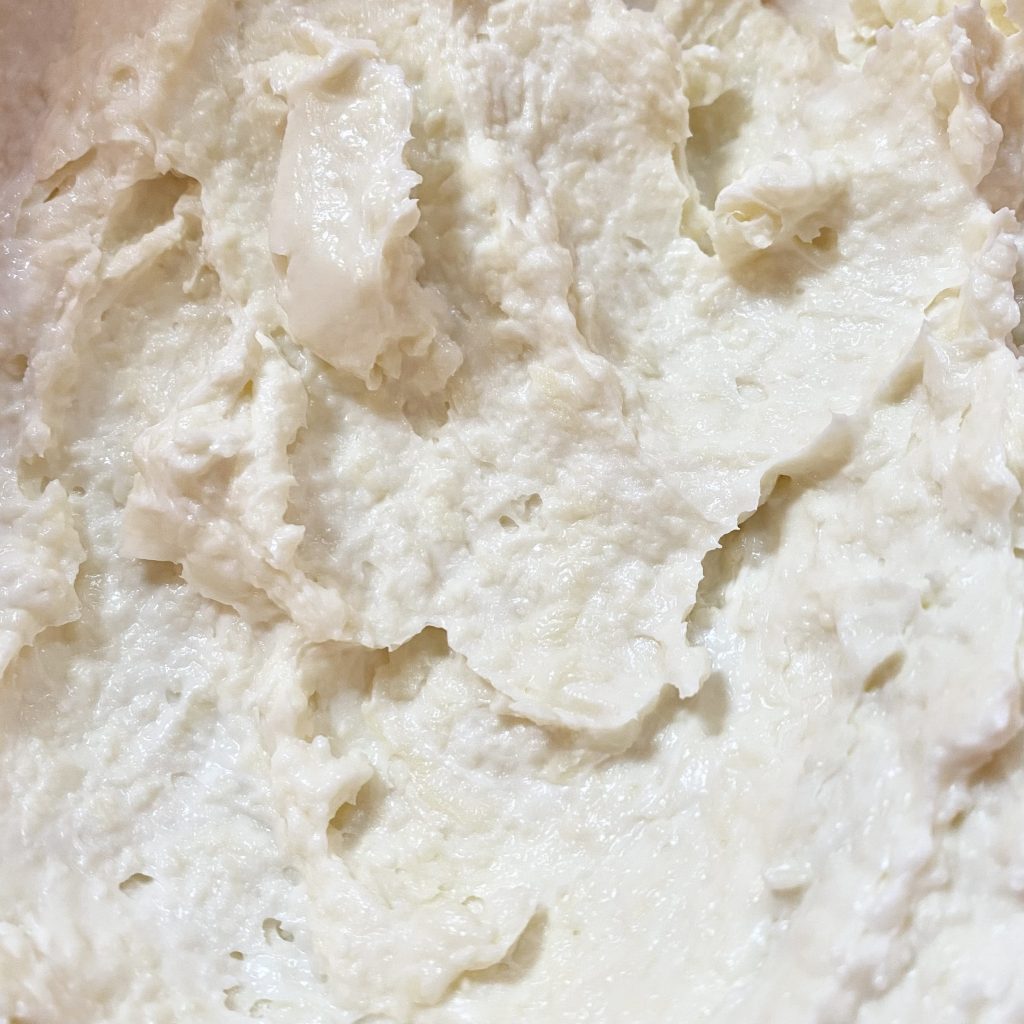
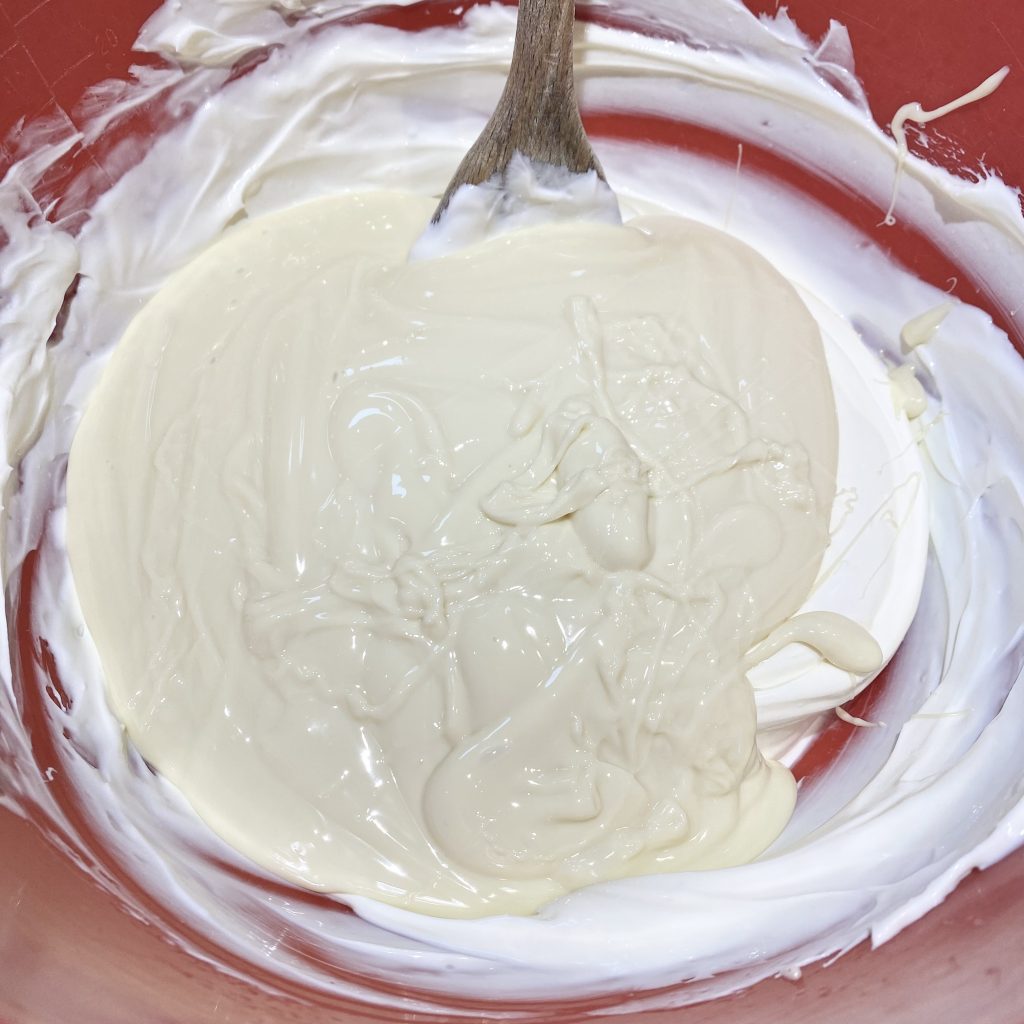
If your cheese mixture was too cold (i.e., you, like me, decided that you couldn’t be bothered to wait for the cheeses to come to room temperature before baking), then your mixture will probably look a little like this- a bit lumpy and super thick. This is because the cold cheese has set the white chocolate, leaving you with little chocolate lumps all through your mixture- not the vibe. Luckily, this is completely salvageable! You just need to warm the mixture very gently, until the white chocolate pieces melt back into the rest of the mixture. I did this in the microwave, in 30-second bursts on the lowest setting, stirring well in between each burst, but you could, again, use a bain-marie if you prefer. Just be sure to heat the mixture very gently when you do this- you don’t want it to get warm, just for the white chocolate to melt back into it. It only took me about 90 seconds of microwaving to bring the mixture back to a super silky texture, and it was still cool to the touch when it was done.
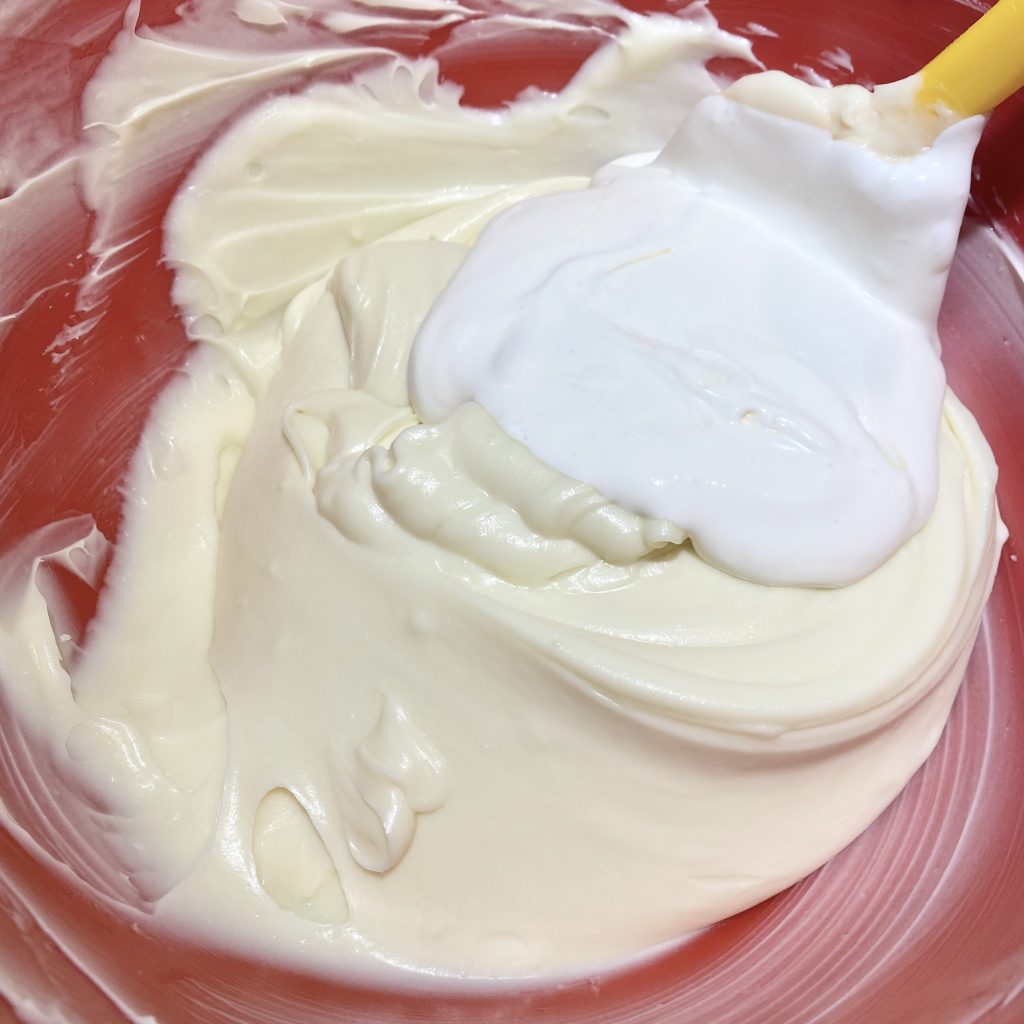
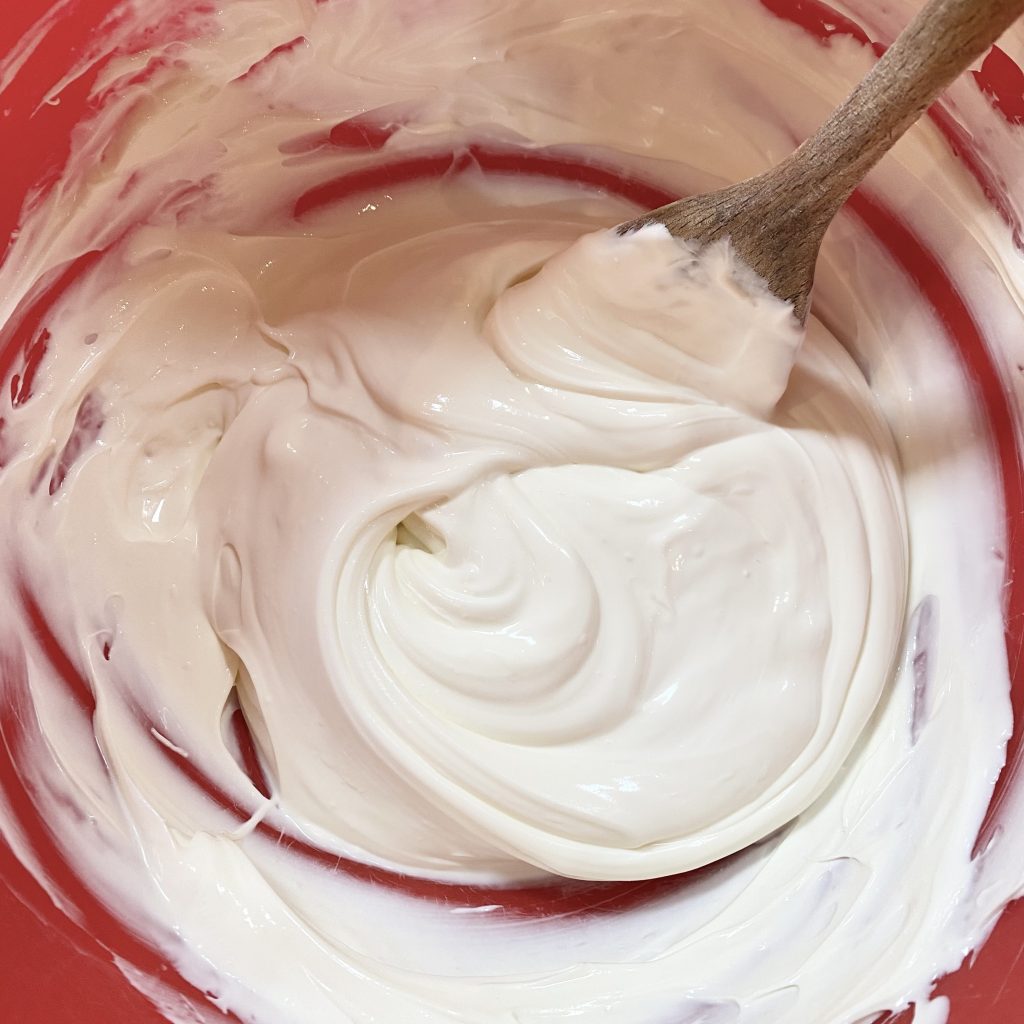
Once you have a smooth base (whether or not you needed to do a little bit of last-minute rescuing!), it’s time to add the cream. Start by vigorously beating in a large spoonful of the cream, to loosen the mixture.
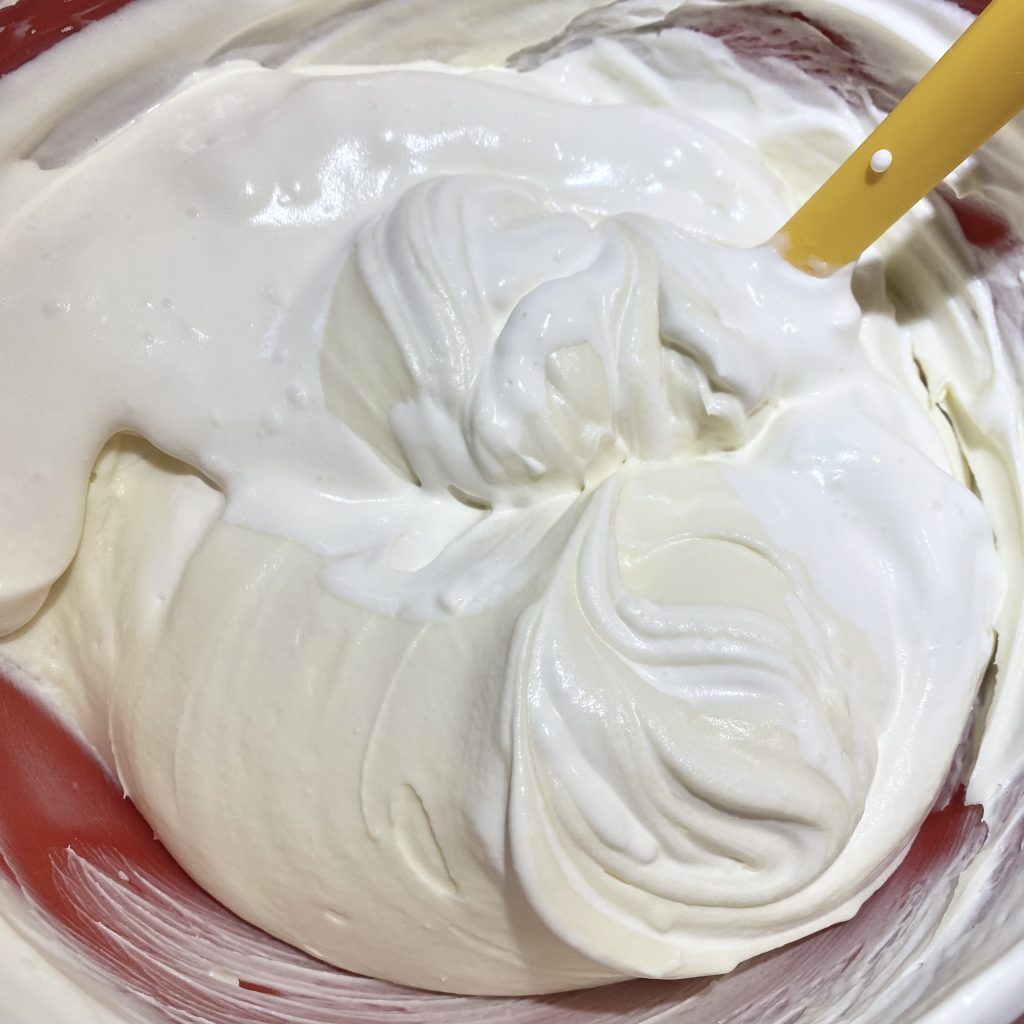
Once that’s incorporated, add the rest of the cream and begin to gently fold it in. By folding in the cream, you’ll preserve as much of the air as possible, making the cheesecake super light and fluffy.
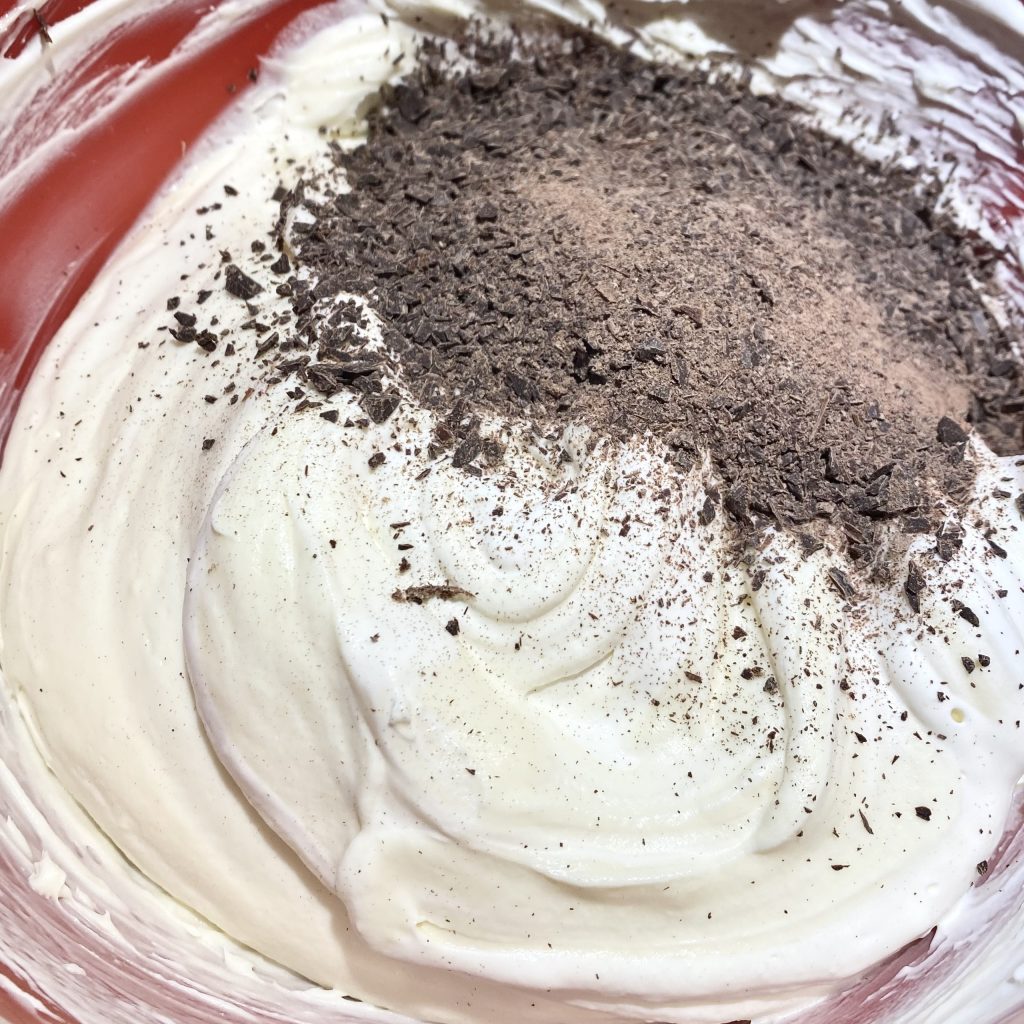
Just before you’ve finished folding in the cream, add in the finely chopped dark chocolate. By adding the chocolate at this point, you won’t have to over-mix the filling to incorporate it, but you also won’t be mixing the chocolate in for so long that it starts to leave streaks in the batter, ruining that lovely, speckled effect.
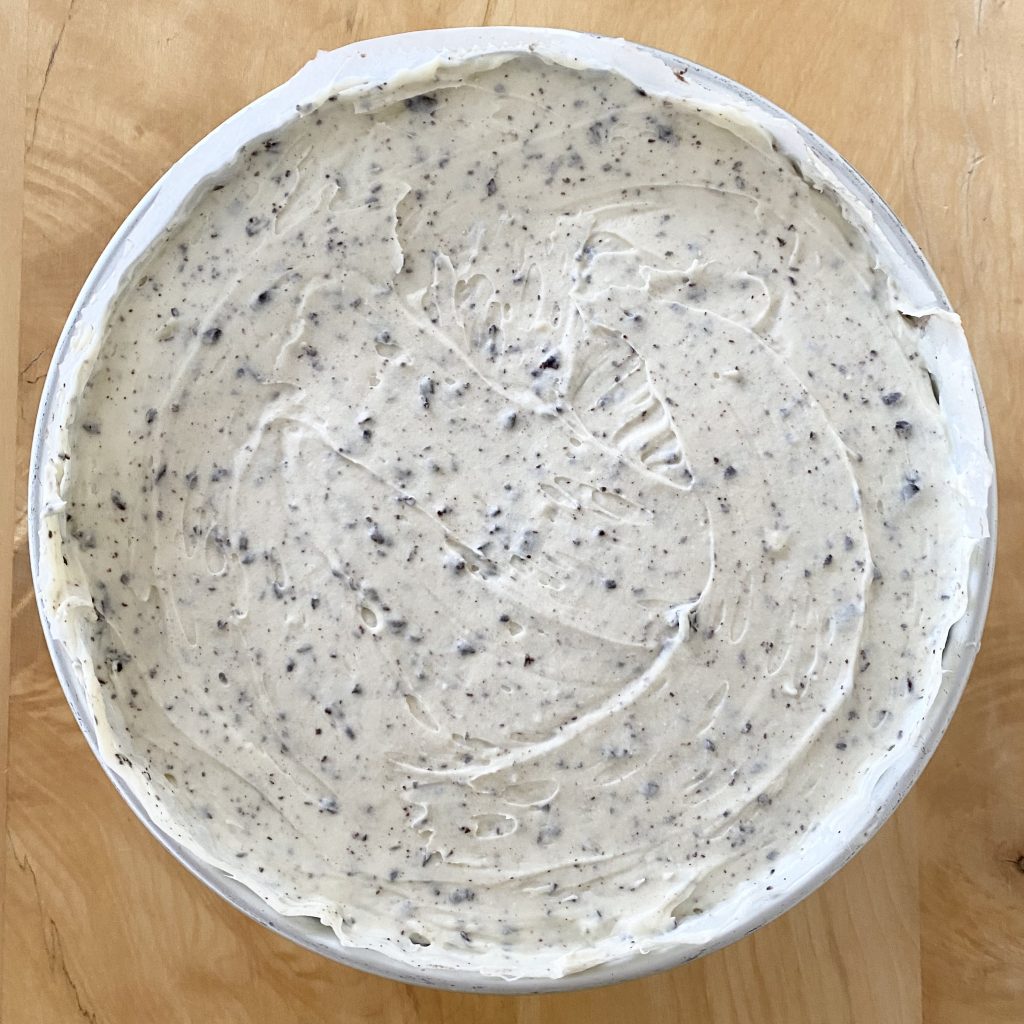
Once everything is fully incorporated, you can spoon the mixture into the baking tin, right on top of the chilled rice crispy base, before smoothing out the top. If, like me, you are making a taller, 20 cm cheesecake, I would recommend adding 1/3 of the mixture and smoothing it out, then the next 1/3 and smoothing that out, then the final 1/3 (and smooth (instead of just smoothing the whole lot at the end). This will help to prevent air pockets which might ruin the lovely, smooth edges of your dessert.
When everything’s smooth, put the whole thing back into the fridge to set for at least 6 hours, preferably overnight.
Decorating the Cheesecake
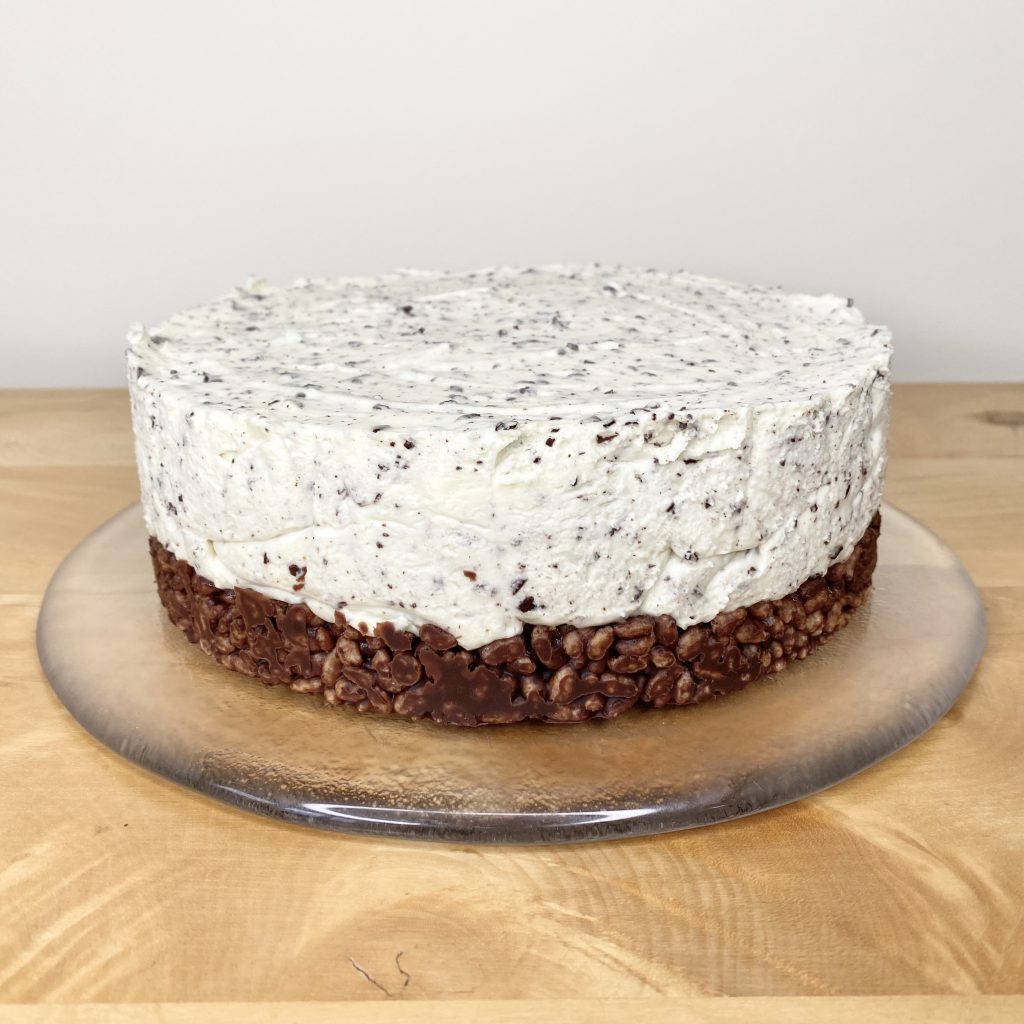
Once the cheesecake has finished setting in the fridge, you can remove it from the tin. I like to set the tin on top of a can, then apply gentle, even pressure to both sides of the tin and push the outer frame downwards, to reveal the cheesecake. Peel off the baking paper and transfer the dessert to a serving plate.
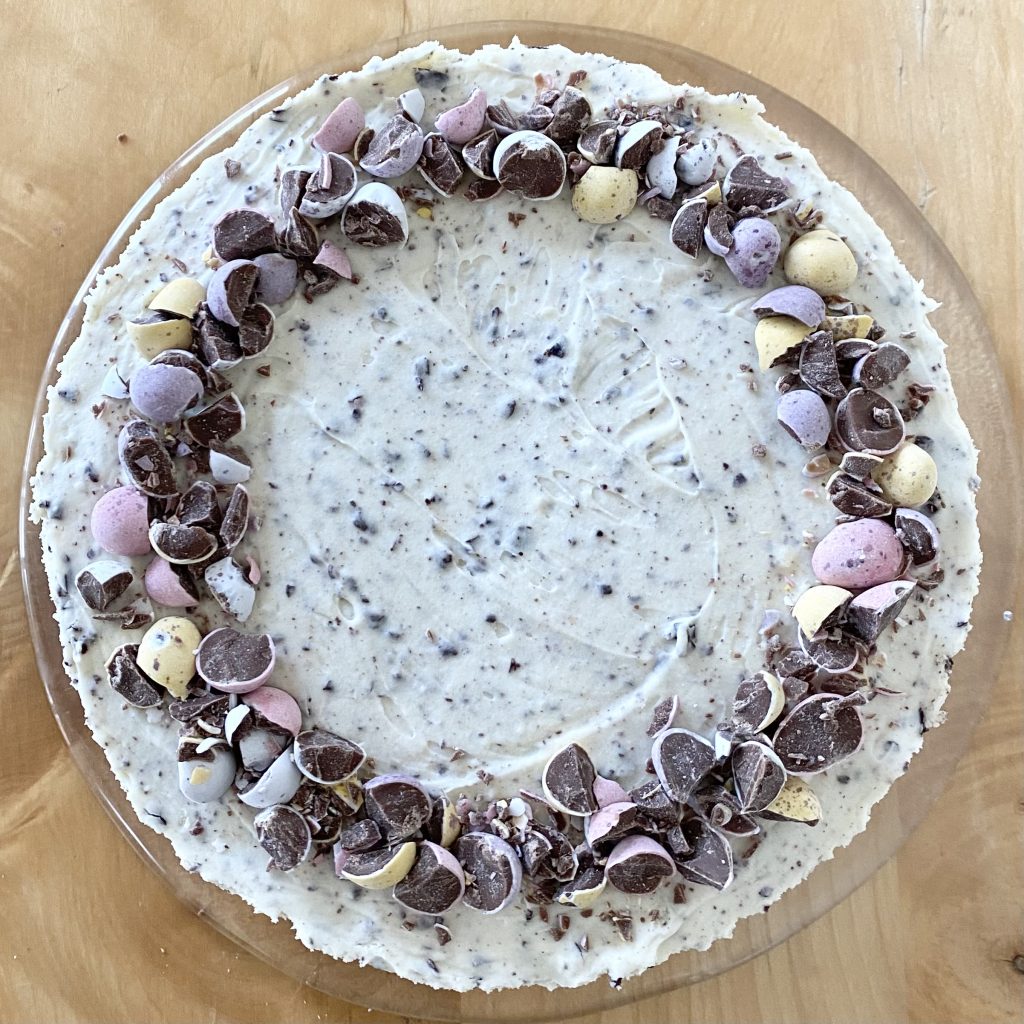
To decorate the cheesecake, I roughly chopped some Cadbury’s Mini Eggs (I found it was easiest to ‘crush’ the eggs with the side of a large knife first, a bit like garlic- as they have a tendency to roll otherwise!) and sprinkled them around the circumference of the cheesecake, but how you finish off the dessert is up to completely you- you can arrange whole mini eggs in concentric circles, pile up a handful in the centre of the cheesecake, or even leave them off entirely, if you’re not a fan!
Make-Ahead
This is a great dessert to make in advance, because you can keep it in the refrigerator for 3-4 days and just take it out before you need to serve it! If you do plan to make it advance, I would suggest waiting to decorate it with the Mini Eggs until just before serving it. The colouring from the candy shells of the Mini Eggs can sometimes run, particularly if they are left in contact with the filling for too long, or exposed to the moisture of the fridge for a long period time of time. You could, however, chop up the Mini Eggs in advance and store them in an airtight container, at room temperature, ready to sprinkle onto the cheesecake at the last minute.
No-Bake Mini Egg Cheesecake Recipe

No-Bake Mini Egg Cheesecake
Equipment
- 1 20cm round, deep, loose-bottomed cake tin (see Note 1).
Ingredients
- A small amount of flavourless oil, for greasing.
For the Rice Crispy Base:
- 100 g rice crispy cereal
- 75 g milk chocolate, roughly chopped.
- 75 g dark chocolate, roughly chopped.
- 50 g unsalted butter
- 2 tbsp golden syrup
For the White Chocolate Cheesecake:
- 400 g white chocolate, roughly chopped.
- 300 g full-fat cream cheese, at room temperature.
- 250 g mascarpone, at room temperature.
- 300 ml double cream
- 40 g dark chocolate, finely chopped.
To decorate:
- Cadbury's Mini Eggs, roughly chopped.
Instructions
Make the Rice Crispy Base:
- Lightly grease and fully line your chosen cake tin with baking paper, then set aside.
- Put all of the chocolate (milk and dark) into a large, heatproof bowl. Add the butter and golden syrup, then melt gently (either using a microwave on the lowest setting or over a bain-marie) until smooth.
- Once melted, tip in the rice crispy cereal and mix well until completely combined. Pour the mixture into the prepared tin and spread out into an even layer. Lightly oil the back of a spoon and use to compress the mixture to form a solid base, then place into the fridge to chill while you make the cheesecake filling.
Make the Cheesecake Filling:
- Begin by melting the white chocolate (I do this in a microwave, in 1 minute bursts on the lowest setting, but you could use a bain-marie, if you prefer). Once melted, allow to cool to room temperature (about 10-15 minutes).
- In a large bowl, beat the cream cheese and mascarpone together until well-combined. Add the cooled white chocolate and mix together until smooth and silky.
- In a separate bowl, whip the double cream to soft peaks. Add a small amount of cream to the cheese mixture and beat well to incorporate- this will loosen the mixture. Then, add the rest of the cream mixture and fold in until almost combined.
- Add the dark chocolate shavings to the bowl. Finish folding in the cream, incorporating the chocolate at the same time.
- Remove the tin with the rice crispy base from the fridge and spoon the cheesecake filling on top. Smooth out the filling using the back of a knife/a spatula, then return to the fridge to set for at least 6 hours, or overnight.
Decorate the Cheesecake:
- Once the cheesecake has set, carefully remove it from the tin and transfer it to a serving plate. Decorate with the chopped Cadbury's Mini Eggs, then serve.
Notes
- Using a 20 cm cake tin will yield quite a tall cheesecake- like the one in the pictures. Your tin needs to be deep enough to allow for this- the one I used was 7 cm deep. If you would prefer a slightly thinner cheesecake, use a 23 cm cake tin instead.


Oh yes please 😍