
🎄☃️✨ Welcome to Day 15 of Blogmas At Home! It’s 10 days until Christmas and the jingle bells are rocking! ✨☃️🎄
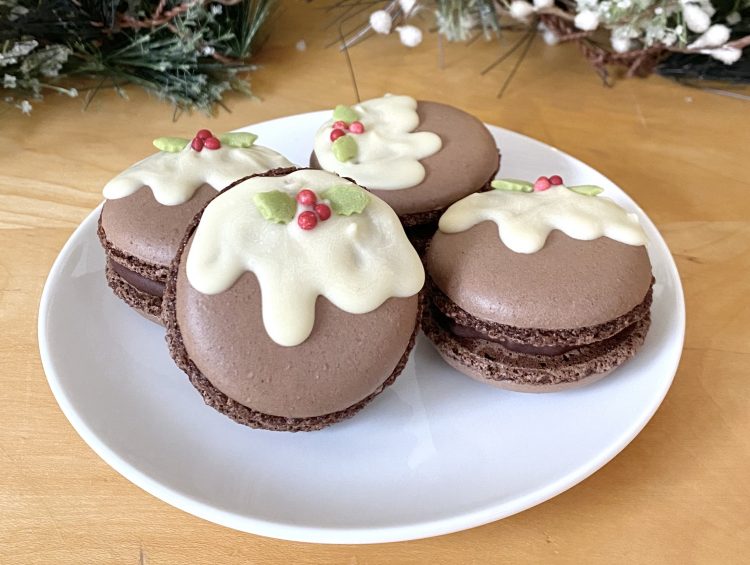
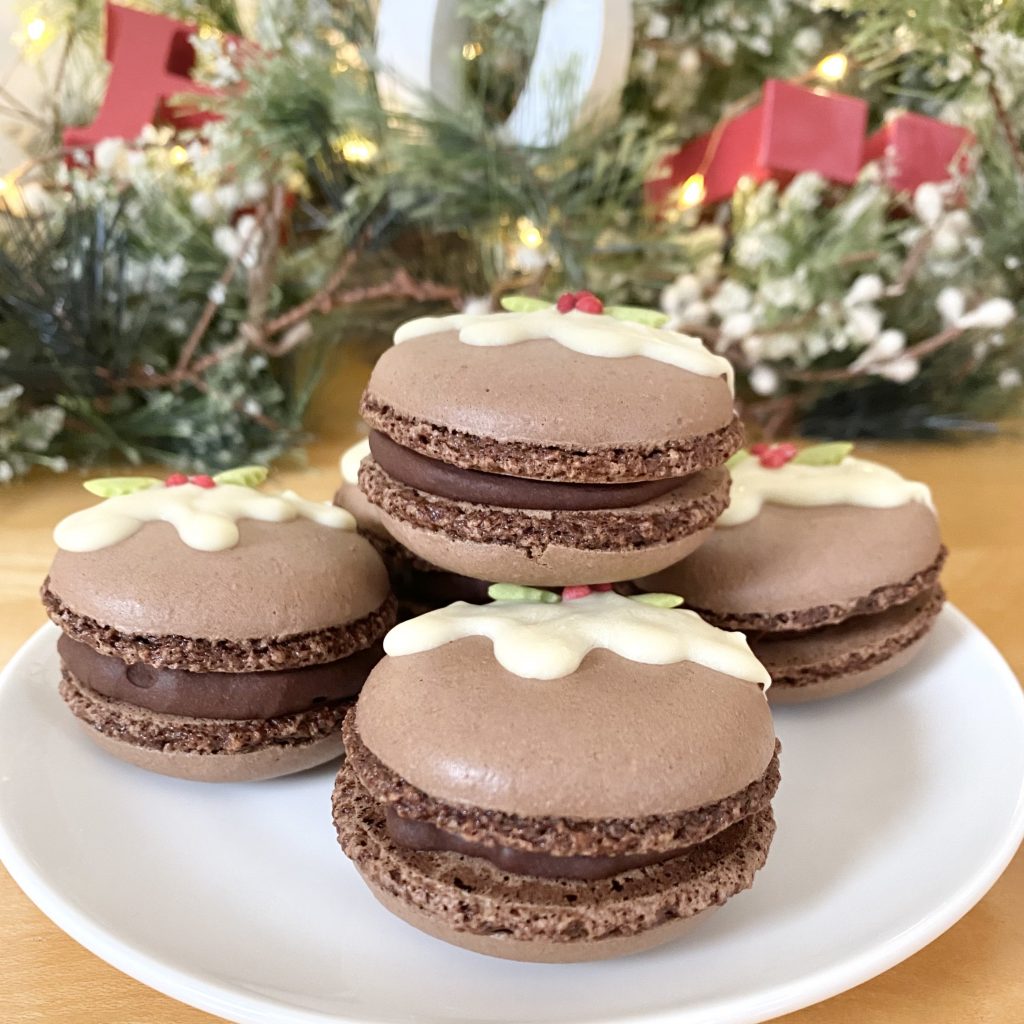
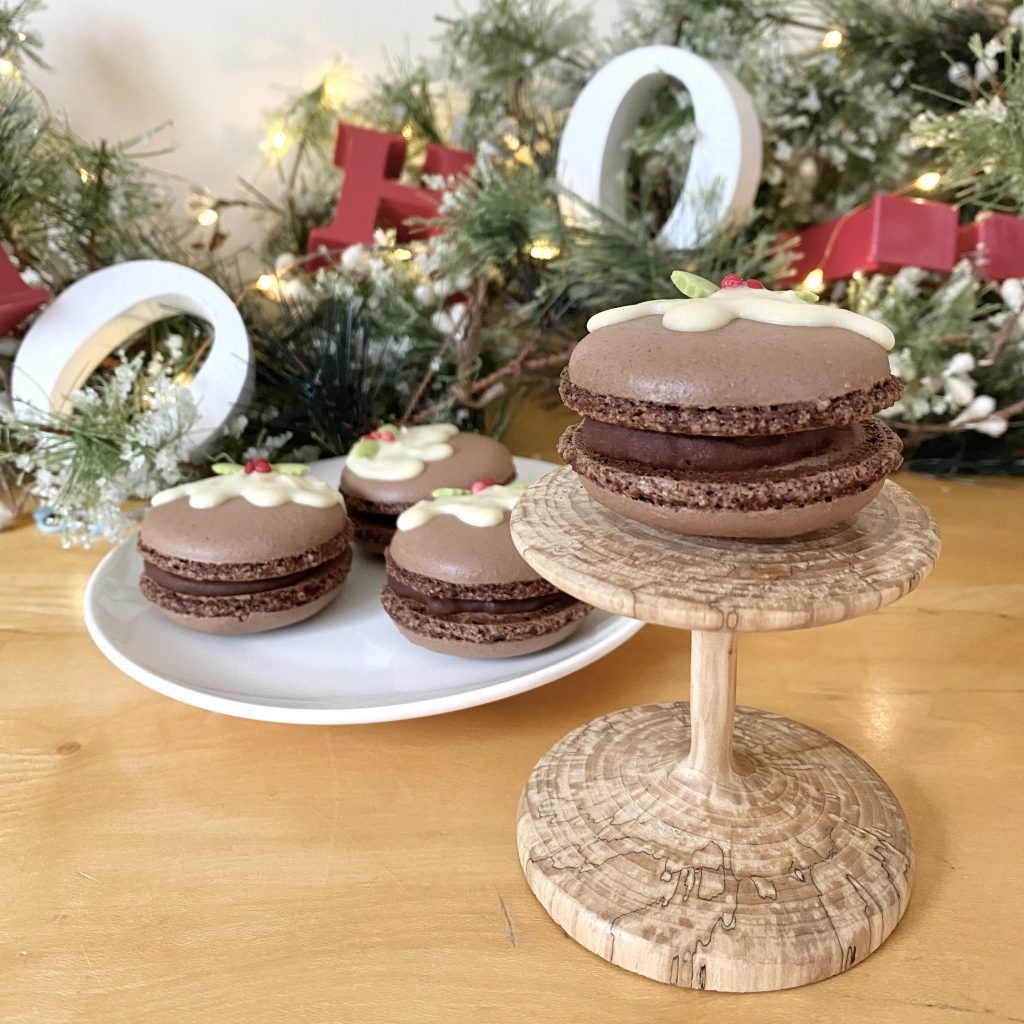
Full disclosure: these Christmas Pudding Macarons have absolutely NO Christmas Pudding in them- sorry, is that false advertising? They’re actually just plain old chocolate macarons, decorated to look like mini Christmas Puddings. Then again, I cannot in good conscience apologise for anything to do with these macarons because they are THAT delicious, so consider my previous apology revoked.
I’ve already posted a recipe for plain macarons, filled with milk chocolate ganache, on the blog- you can find that here. hile these may be chocolate macarons, the process is super similar, so you might notice a lot of overlap from that post. No matter though, chocolate macarons are next LEVEL, so chocolate macarons I must show you how to make.
I always make Italian Macarons (no, I STILL have not managed to conquer the elusive French Macaron…), which involve making a sugar syrup. This sounds scary, but I find it SO much easier to achieve successful macarons with this method. You can read more about the difference between the macaron types on that previous post.
Here we go!
Table of Contents
- Christmas Pudding Macarons: Explained
- Ingredients
- How to Make Dark Chocolate Ganache
- How to Make Chocolate Macarons
- How to Decorate the Macarons
- How to Assemble the Macarons
- Macaron-Making 101: Tips and Tricks for Perfect Macarons
- How to Store Macarons
- Recipe
Christmas Pudding Macarons: Explained
Like I said, these macarons are just basic chocolate macarons. Making chocolate macarons is super easy- they just need one extra ingredient: cocoa powder.
To make the macarons look like Christmas puddings, you decorate half of the baked and cooled macaron shells with white chocolate and festive sprinkles. Totally doable, right?
I opted to fill these macarons with dark chocolate ganache, as opposed to my preferred milk chocolate ganache. The main reason for this was the layer of white chocolate on top- I figured the bitter dark chocolate would contrast nicely with the sweet decoration. Let me tell you, I’m not a big dark chocolate person- it’s typically much too bitter for me, but, somehow, in the middle of these macarons, it’s absolutely delicious! Don’t get me wrong- I’m still a milk chocolate ganache girl through AND through, but honestly, I like the dark chocolate ganache-filled macarons too (and, more importantly, I could eat them without coughing and spluttering from the bitterness, so take from that what you will).
Ingredients
To make these Christmas Pudding macarons, you will need:
- Dark chocolate
This is for the ganache. You can use milk chocolate, if you prefer, but you would need to use 150g of chocolate and 150ml of cream, to make the same amount (and same consistency) of ganache.
- Double cream
Also for the ganache. If you are in the US, use heavy cream.
- Ground almonds
Macarons are, at heart, an almond cookie, so almonds you must have.
- Icing sugar
One of the two types of sugar in this recipe- this icing sugar will be mixed with the almonds, cocoa powder and half of the egg whites to form a paste.
- Cocoa powder
The ingredient that makes these macarons chocolate-y. Use a good quality cocoa powder (not a drinking chocolate- they aren’t the same thing!).
- Egg whites
You don’t need the yolks for this recipe, so save them for another bake. For the amount listed in this recipe, I typically need just under 2 eggs’ worth of white.
I know the measurements for the egg whites sound super weird and specific, but it’s really important that the ingredient ratios for this recipe are correct, because macarons are notoriously finicky. I find that the best way to weight out egg whites is to crack (and separate, at the same time) the egg directly into a bowl that is set over a digital scale- that way, you can weigh the white as it drips out and don’t have to mess around with trying to scoop some out afterwards. Make sure you don’t get any yolk in the white at this stage, because this will prevent the whites from whipping up properly.
- Caster sugar
The second of the two sugars- the caster sugar is made into a sugar syrup and added to the egg whites to form a meringue.
- Water
I nearly didn’t mention this here because, well, it’s water, but it’s an important part of the recipe, so I didn’t want to risk anyone skipping over it! Perhaps I am just projecting- I have a tendency to forget water when it is added to recipes. The water is added to the caster sugar to make the syrup.
You will also need the following, for decorating the macaron shells:
- White chocolate
You don’t need a lot, so make sure you use a good quality one for maximum flavour.
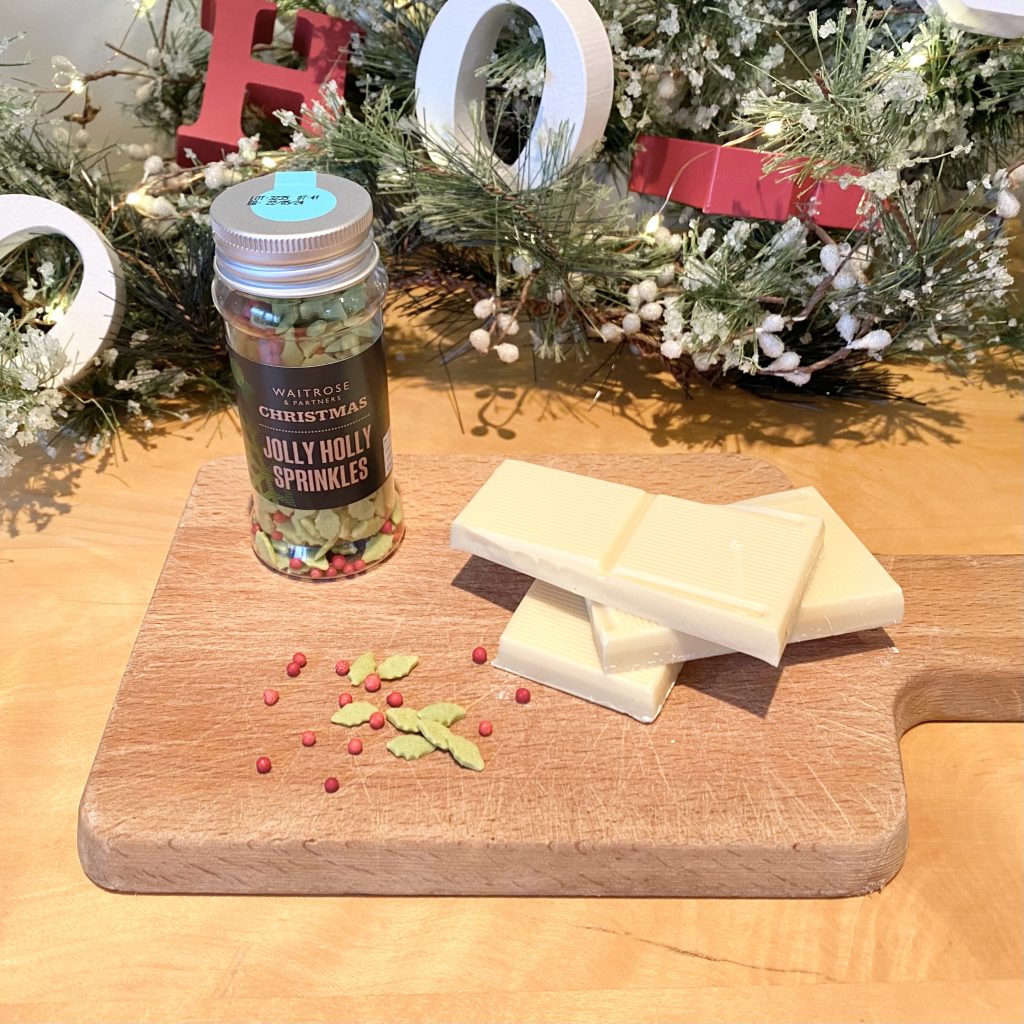
- Holly leaf & berry sprinkles
This one is niche, I know, but it makes decorating these macarons SO much easier. I found mine at Waitrose, but you could also use some icing or extra chocolate, dyed red/green, or even red/green writing icing (which I have used before) to pipe little berries and leaves, if you cannot find any similar sprinkles.
How to Make Dark Chocolate Ganache
Make the ganache filling the day before you plan to assemble the macarons, so that it has time to firm up in the fridge. Start by finely chopping the dark chocolate and placing it into a heatproof bowl.
Place the cream into a small saucepan over medium heat, and allow to come to just below a simmer- you will see small bubbles starting to form around the edge of the pan. When the cream is hot, pour it over the chopped chocolate.
Allow to stand for a minute or two, then stir until all of the chocolate has melted and a smooth, homogenous ganache has formed. It’s important to let the ingredients stand, unstirred, for a couple of minutes before stirring, otherwise the cream will cool down too quickly and not melt the chocolate properly. If this does happen, gently heat the ganache, stirring frequently, until it is smooth.
Cover the ganache with cling film, pressing it directly onto the surface so a skin does not form. Allow the ganache to cool slightly before putting it into the fridge to chill and firm up overnight.
How to Make Chocolate Macarons
Start out by lining 2 baking trays with baking paper. You don’t need to preheat the oven yet, because the macarons will need to sit for a while to form a skin before they can be baked.
Next up, you need to weigh out your egg whites. As I said, I know it seems a bit extra to have to weigh out such specific measurements of egg white, but macarons require extra attention! It’s super important that all of the ratios are spot on, to get the perfect bake. This recipe calls for 72g of egg whites, separated into two equal portions of 36g each- if you measure the white out as you separate the egg, using a bowl set on a digital scale, you can measure it exactly.
Transfer one of the 36g portions of egg white into the metal bowl of a stand mixer, fitted with a whisk attachment. A metal bowl will help your whites whip up fully, but it will also conduct heat, unlike a glass or ceramic bowl. Because you’ll be using the temperature of the bowl to identify when the meringue is ready, a metal bowl is preferable. Leave the egg white in the bowl while you get on with the other ingredients.
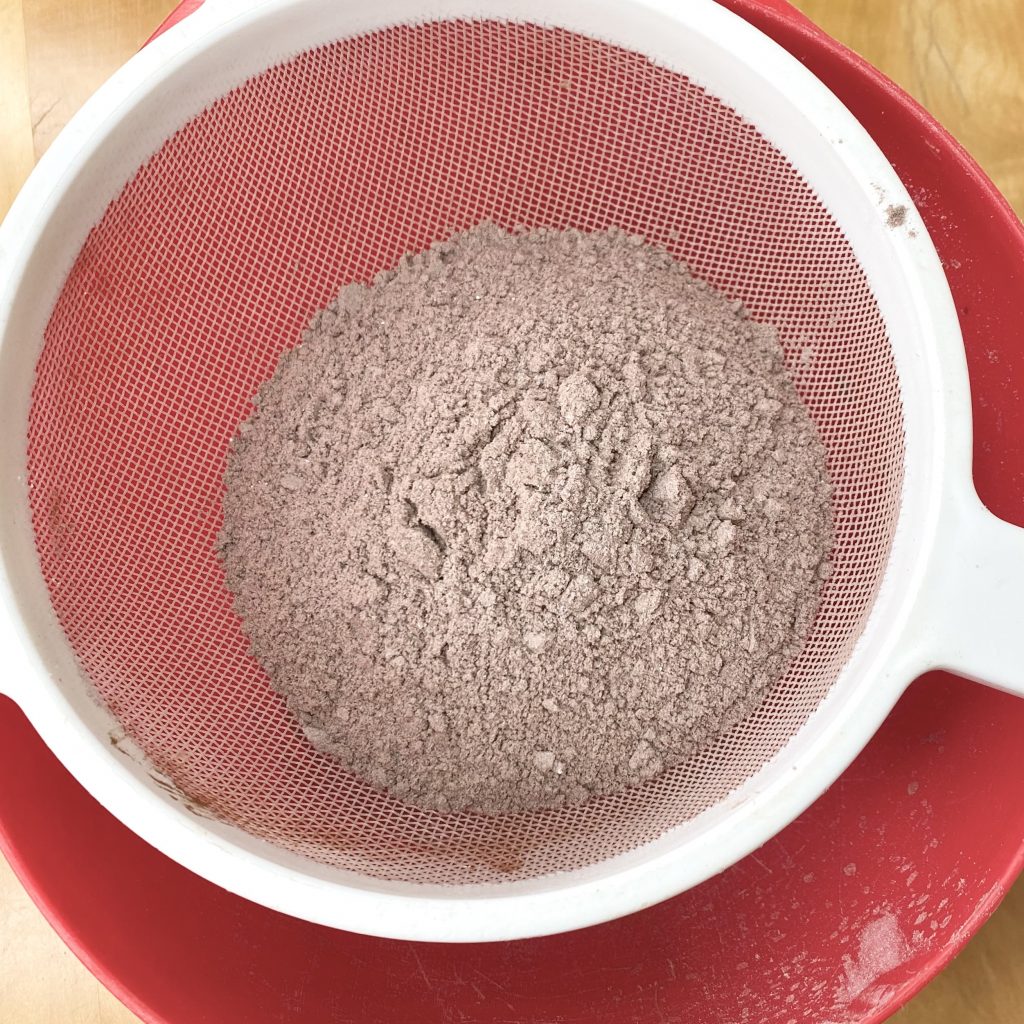
Place the ground almonds, icing sugar and cocoa powder into the bowl of a food processor. Pulse 10 times and sift into a large bowl, discarding any big pieces of almond that do not easily pass through the sieve. Repeat the whole process once more, to get the dry ingredients super fine. This will a) make sure your macarons bake up properly and b) make the tops of your macarons super smooth. Just don’t blitz the ingredients anymore than this, or the almonds will start to release their oils, which will ruin your macarons.
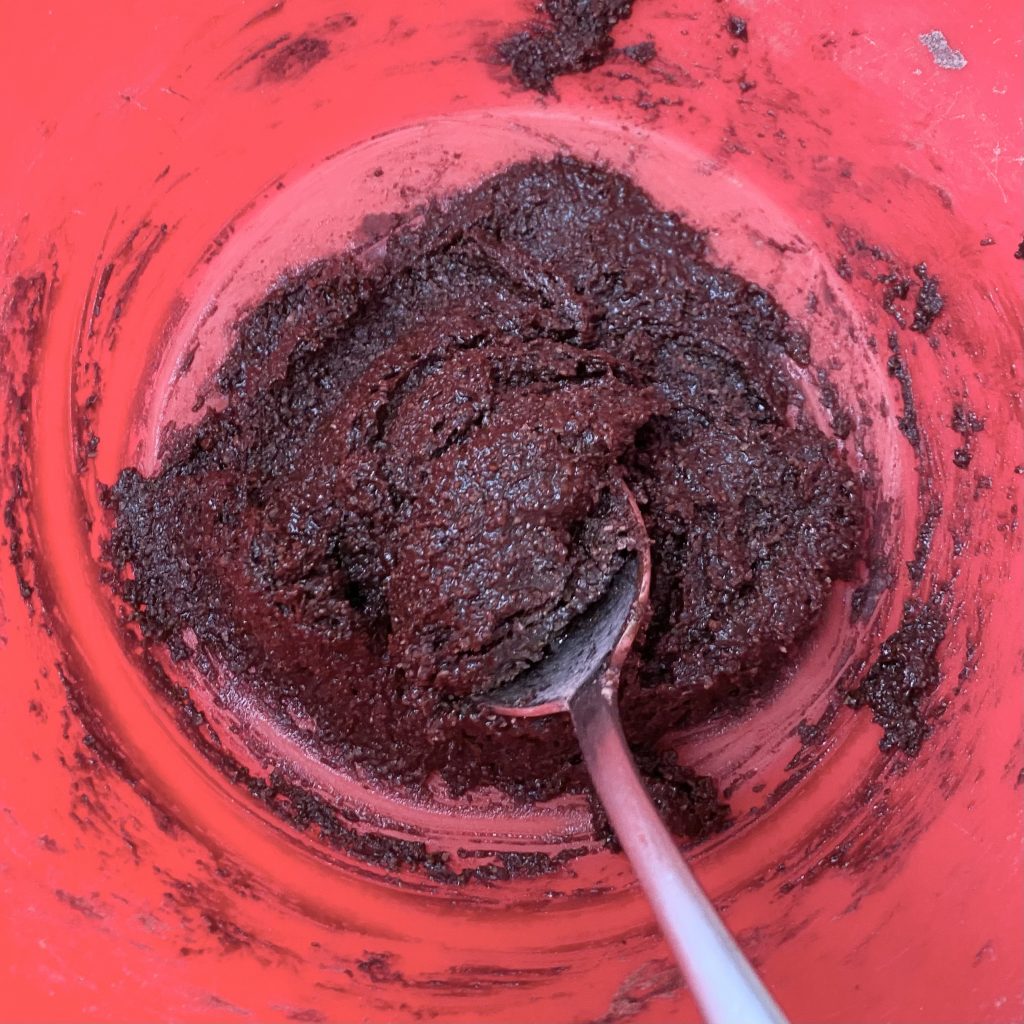
Add the remaining 36g portion of egg white to the sifted dry ingredients and mix, using a strong utensil, into a paste. It will be quite stiff- this is how it is supposed to be! Set this aside while you make the sugar syrup.
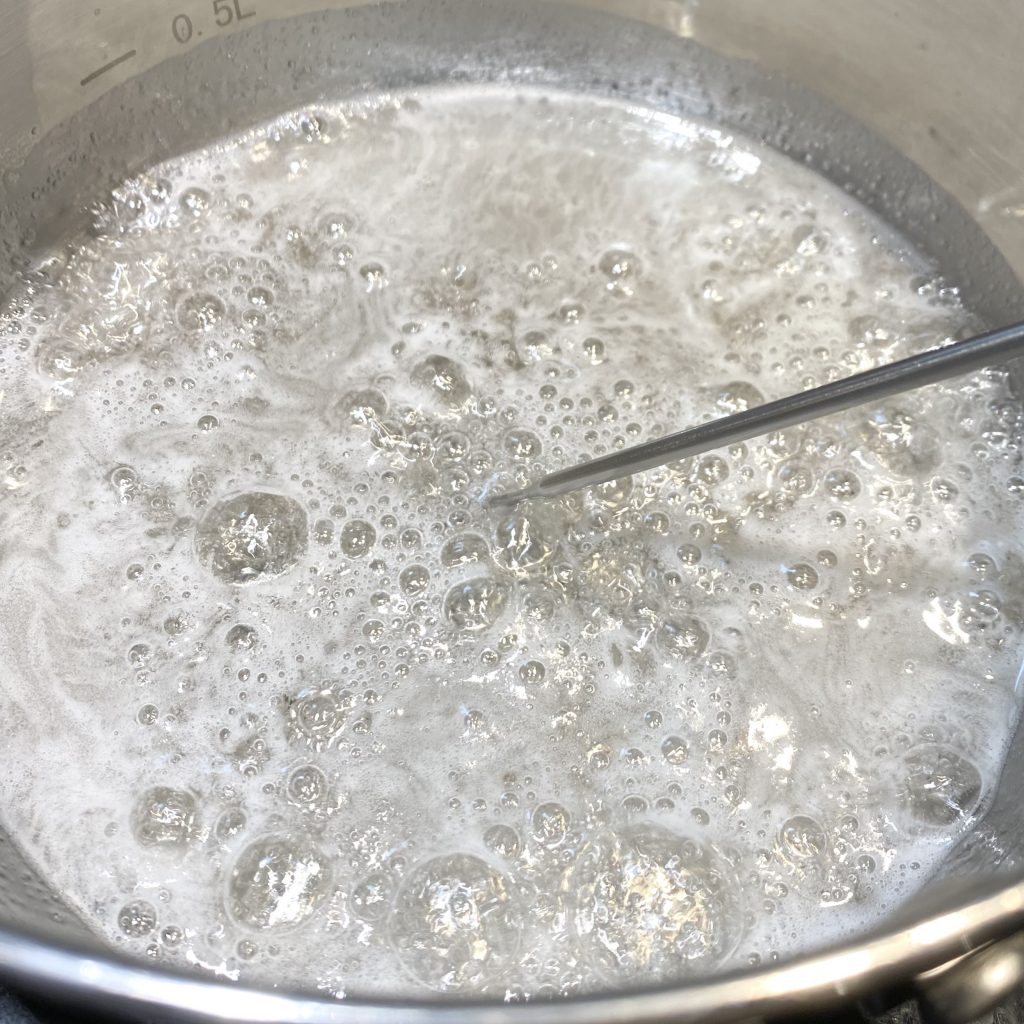
Place the sugar and water into a small saucepan (preferably with a spout, for easy pouring later) over medium heat. Allow to melt, swirling occasionally if needed, until the sugar has dissolved. Bring to the boil, and allow it to bubble until it reaches 118°C.
Meanwhile, when the sugar syrup has reached 112-114°C, start whipping the egg whites in the stand mixer bowl on high speed. This will give them enough time to whip up into soft peaks before the sugar syrup is ready- exactly what you are looking for.
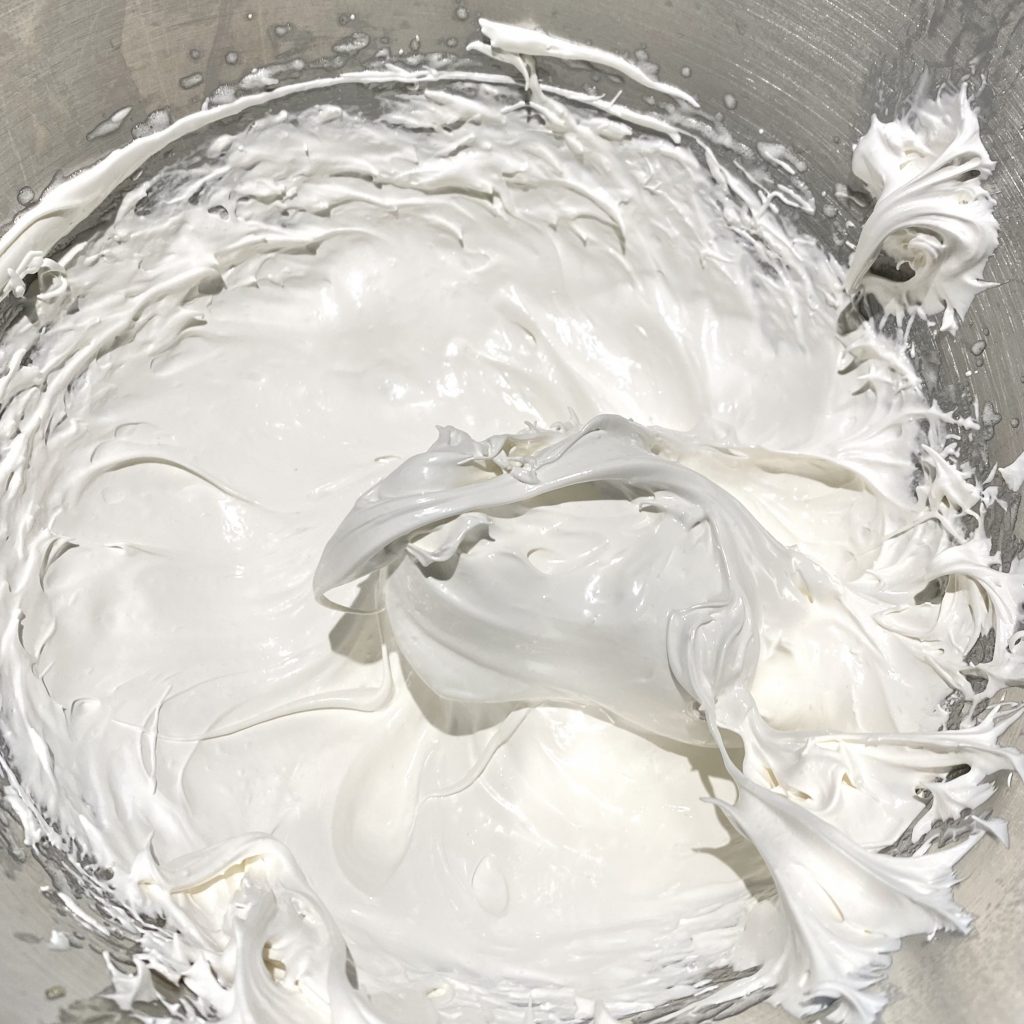
When the sugar syrup has reached 118°C and the egg whites have reached soft peaks, you can add the syrup to the mixer. With the mixer still on high, pour the syrup down the side of the bowl in a slow, steady stream, until you have added the whole lot. Then, turn the mixer up to full speed and whip the meringue for about 5 minutes, until stiff peaks are achieved and the bowl has come down to room temperature.
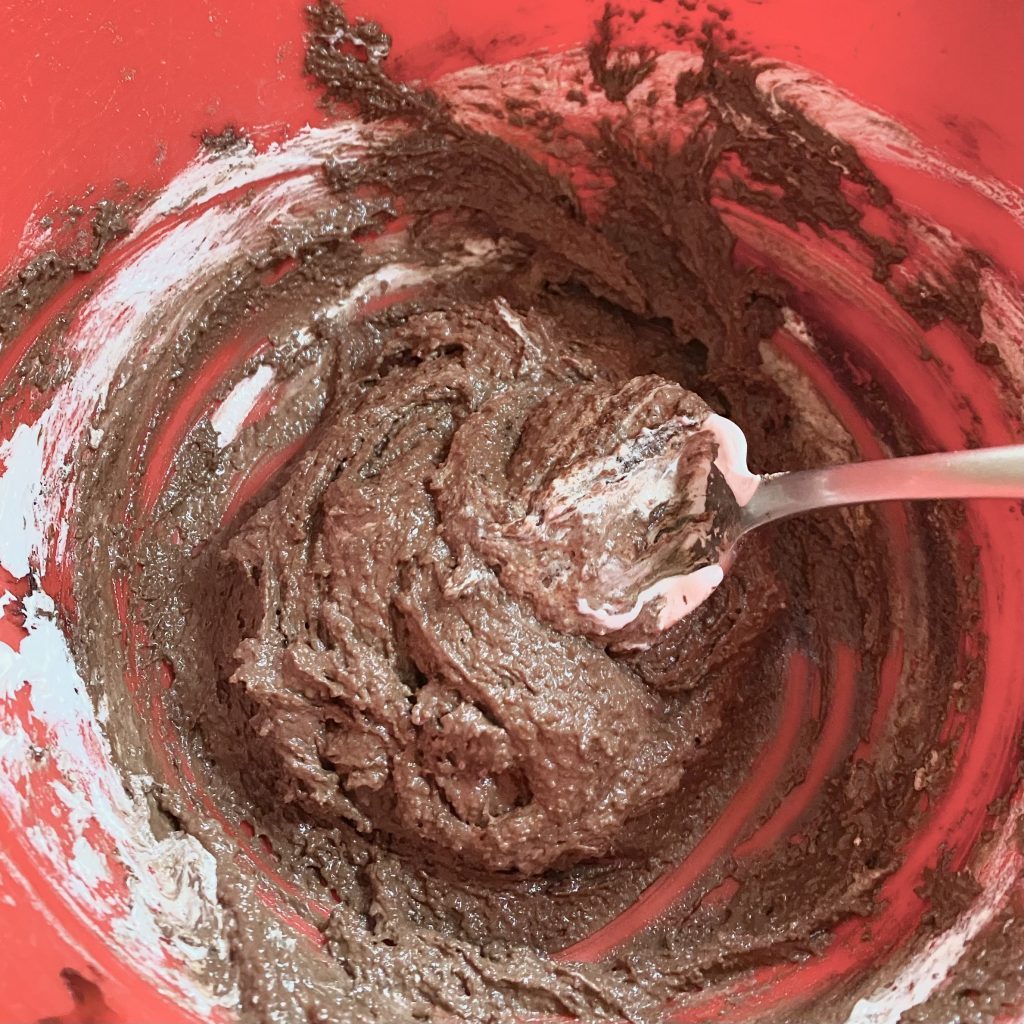
When the meringue is ready, it’s time to add it to the chocolate and almond paste. Start by adding about a third of the meringue to the paste and mixing it in vigorously, until it is completely incorporated. At this stage, you’re just trying to loosen up the mixture.
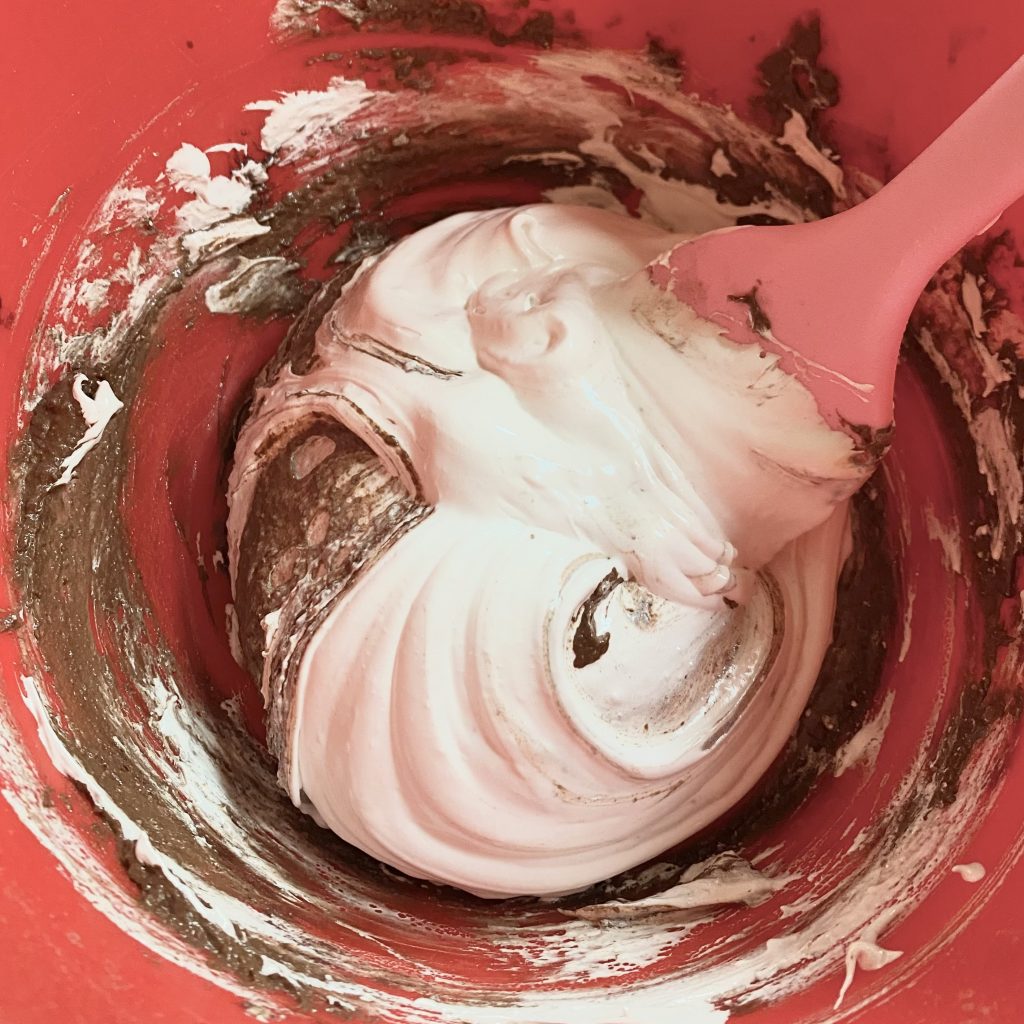
Once the first lot of meringue has been incorporated, you can add the rest of the meringue. Use a rubber spatula to fold the mixture together using a figure of eight motion, until it is cohesive and there are no visible streaks. Keep folding until the batter falls off the spatula in ribbons, which settle back into the rest of the batter when left for 30 seconds. This process is called ‘macaronage’ and is notoriously finicky, but you’ll get used to it!
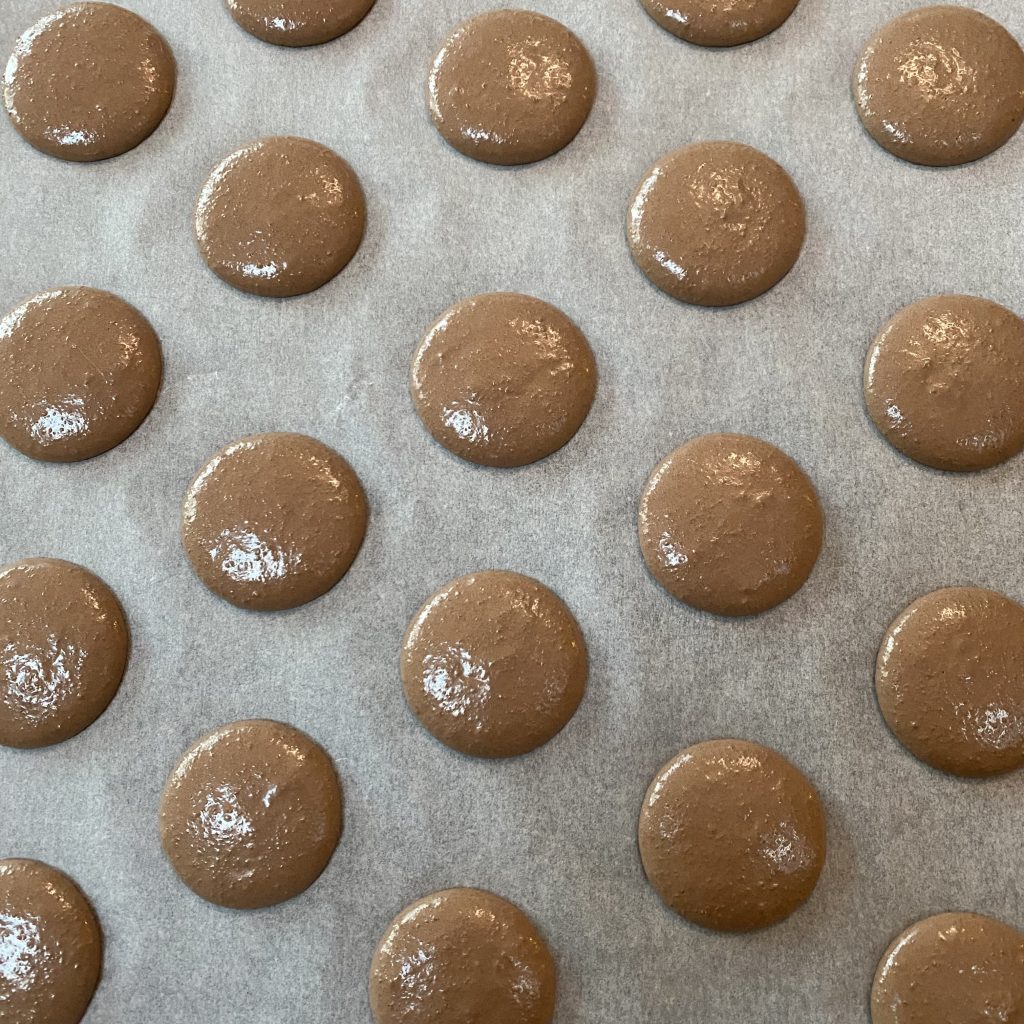
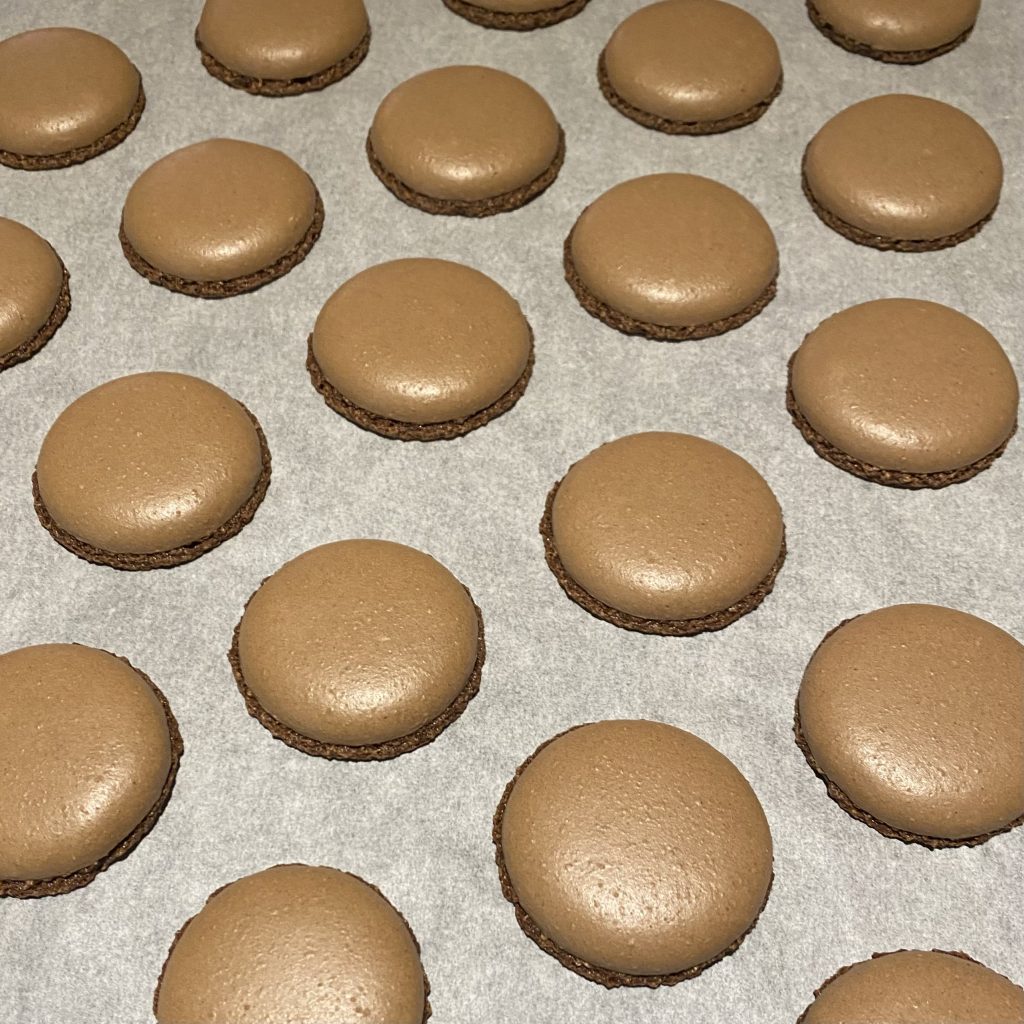
When the batter is ready, transfer it to a piping bag, fitted with a medium round nozzle. Holding the piping bag vertically to the tray, pipe a macaron onto the lined baking trays by applying gentle pressure in one spot, until the macaron is about 4cm in diameter. Repeat this process for the rest of the batter.
Once the macarons are all piped, tap the trays firmly on the work surface a few times to bring any air bubbles to the surface. Then, using a cocktail stick, skewer or sharp knife, pop the bubbles, allowing the macaron batter to fall back on itself as you do, giving you perfectly smooth shells.
Leave the macarons to rest at room temperature for about 30-40 minutes, until they form a skin. That skin is what ultimately leads to the macarons developing their iconic ‘feet’. Macarons will form a skin more quickly on hot, dry days, but will take much longer on humid, rainy or cold days. If you can, it’s best to make macarons on dry days, but, obviously, that isn’t always possible. I have had success making macarons from this recipe on rainy days, but they did take a lot longer to form a skin. You’ll know the macarons are ready to bake when you can lightly touch the surfaces without any batter sticking to your finger.
When the macarons are almost ready, set the oven to 160°C (fan- I don’t usually use a fan oven, but I do for these. Like I said, macarons are finicky). When the macarons are ready and the oven is up to temperature, bake one tray at time for 11 minutes. When they are ready, you should be able to gently wiggle the top of a macaron shell with your finger and it shouldn’t wobble.
Using a fan oven usually means you can bake more than one tray at a time. Alas, macarons are high-maintenance and, any time I have tried to do this, the lower tray always seems to bake unevenly, erupt into tiny almond-y volcanoes or crack along the top. Save yourself the inevitable distress and allow for an extra 11 minutes to bake that second tray.
Once the macarons have baked, allow them to cool on the trays completely before filling.
How to Decorate the Macarons
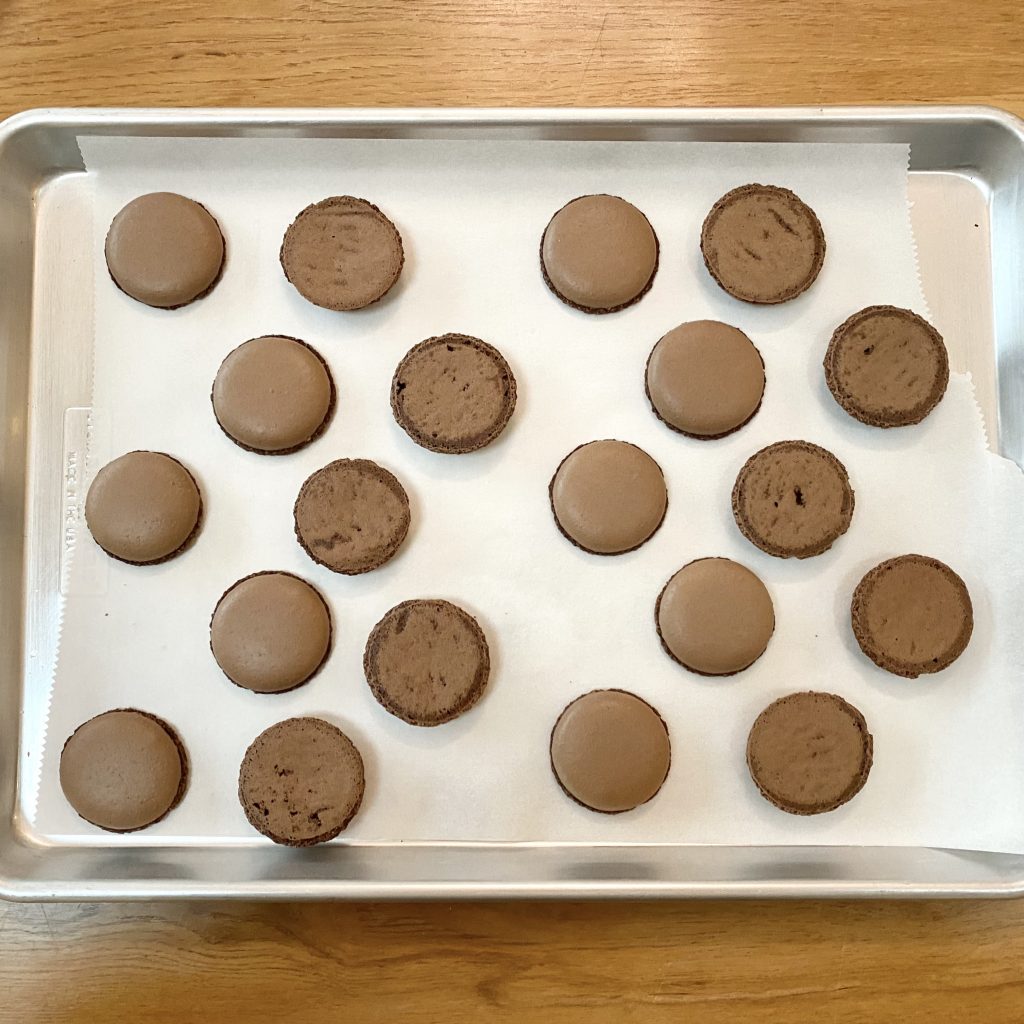
Pair up the cooled macaron shells- try to put shells of a similar size together for a more even look.
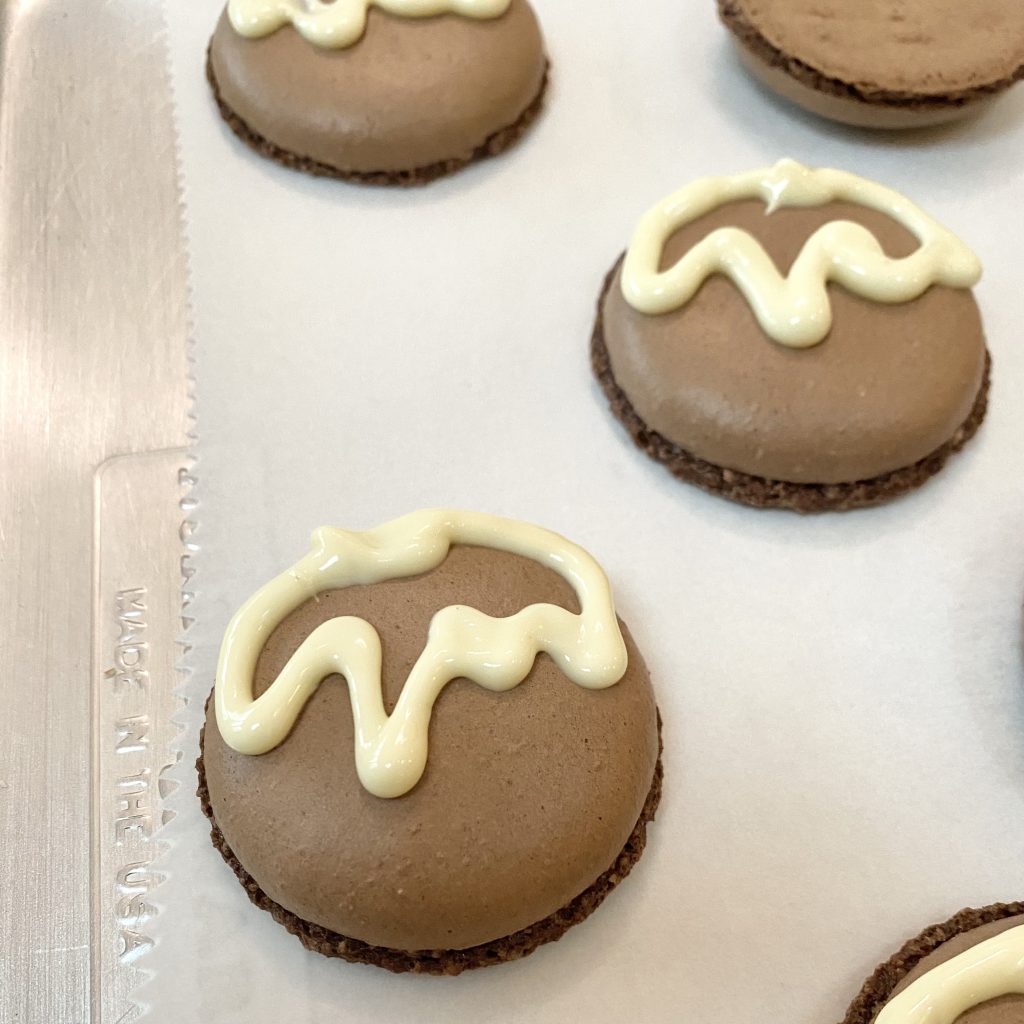
Melt the white chocolate and transfer it to a piping bag, fitted with a fine round nozzle. Pipe the outline of some icing onto one of the macaron shells.
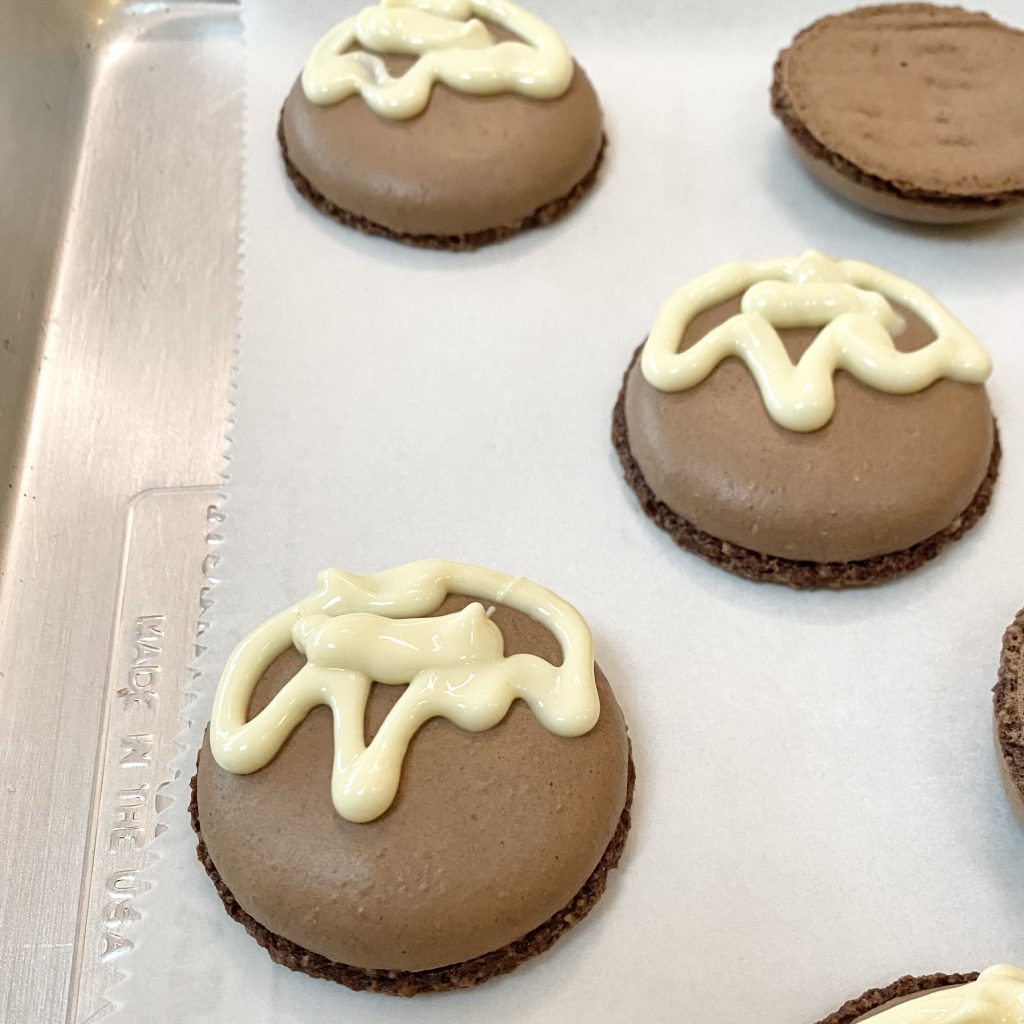
Add a little more chocolate within the outline, then use a cocktail stick/small sharp knife to ‘wiggle’ the chocolate around and smooth it out.
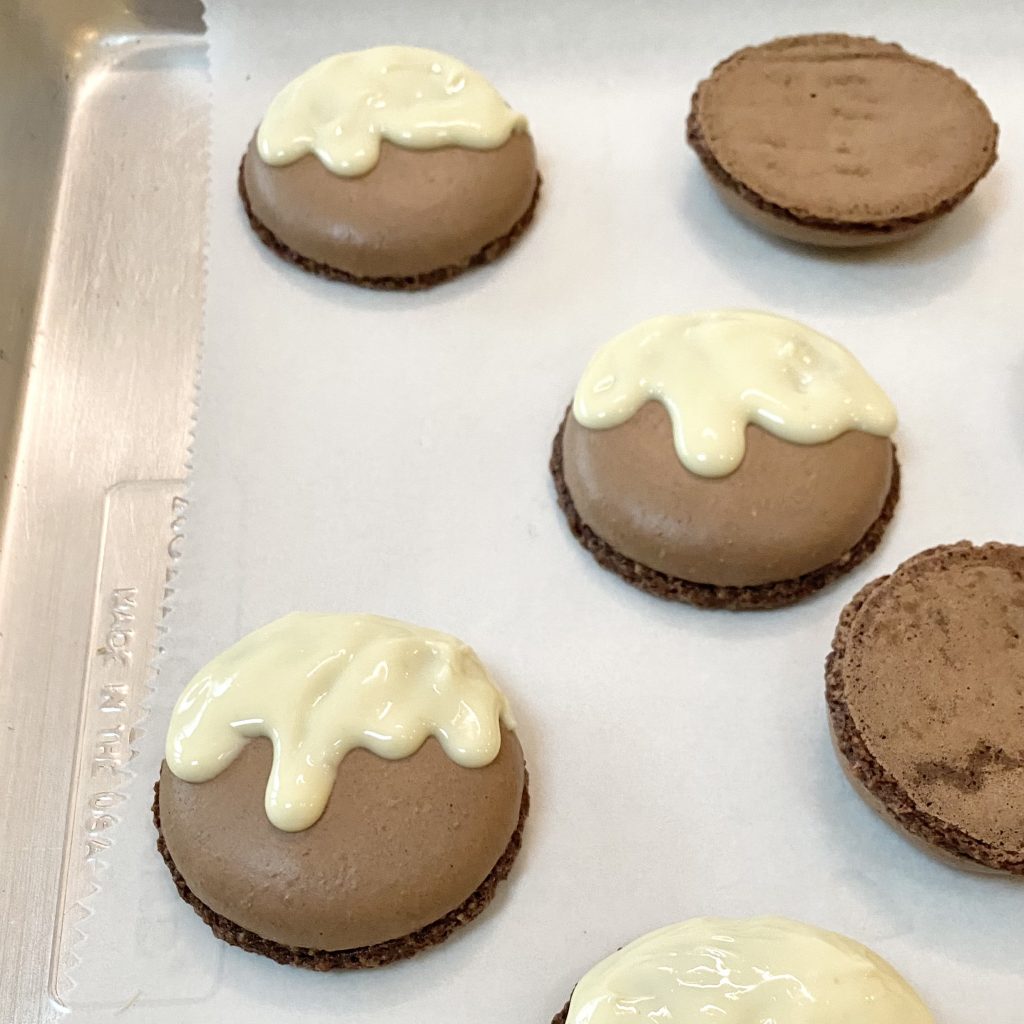
You can also gently tap the macaron on a surface to even out the layer.
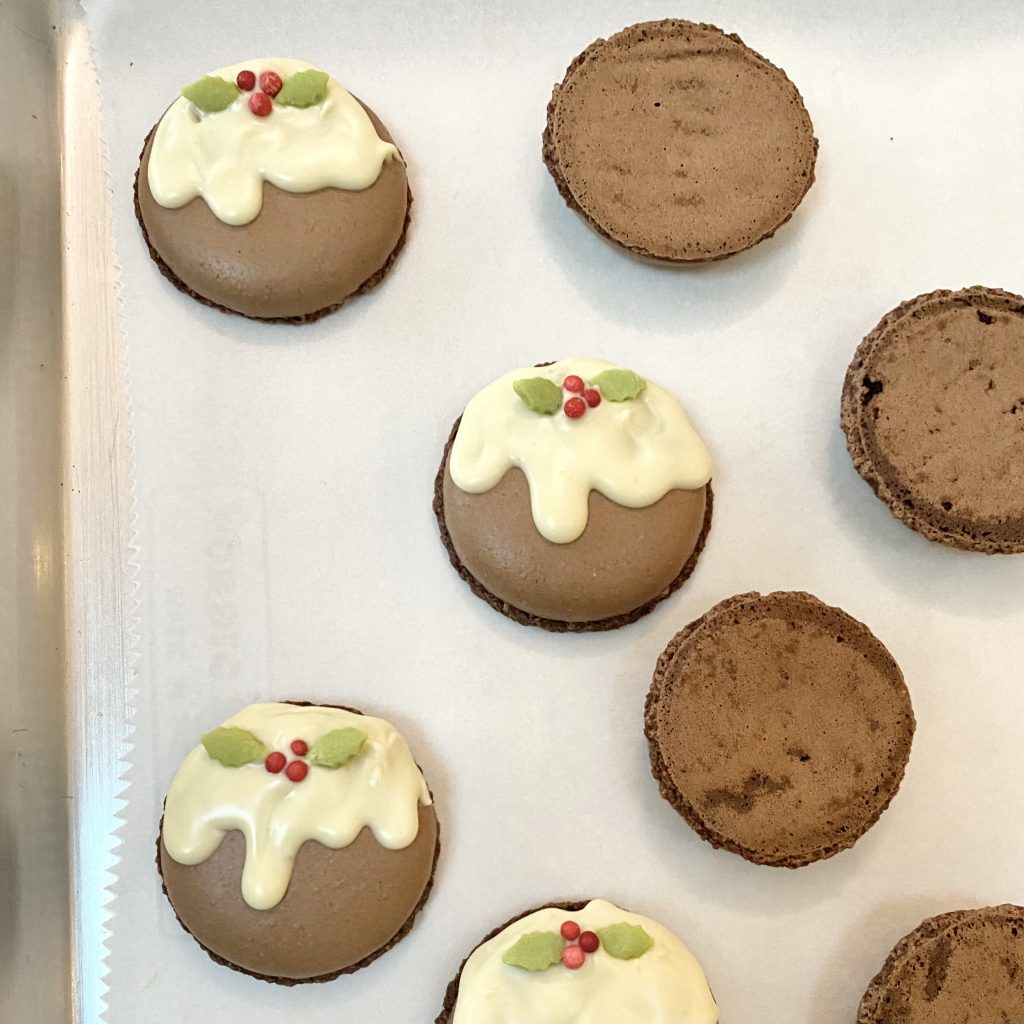
Add a few holly sprinkles to the top of the white chocolate before it sets. It might be helpful to use a pair of tweezers to pick up the small sprinkles!
Repeat this process for half of the macaron shells (these will be the tops of each filled macaron), then allow them to set for about an hour before filling.
How to Assemble the Macarons
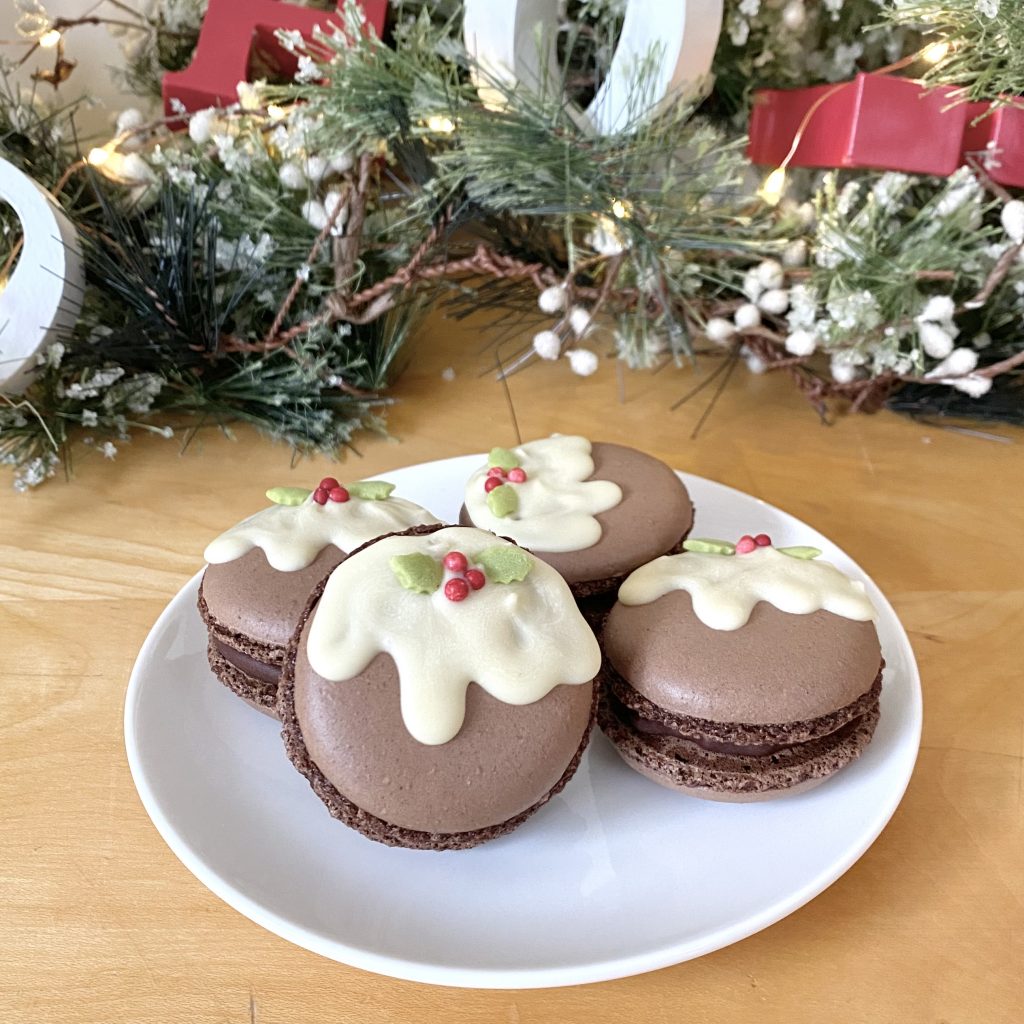
To assemble the macarons, place some chilled dark chocolate ganache onto the bottom shell of each macaron pair. You can use a piping bag, fitted with a medium/large piping tip for a polished look, or simply spoon/spread some ganache on freehand! Carefully press the top macaron shell (with the Christmas pudding decoration) on top, and the macarons are ready to serve!
Macaron-Making 101: Tips and Tricks for Perfect Macarons
In my last macaron post, I provided a full list of tips and tricks for making perfect macarons. It was… extensive, and I don’t want you to feel overwhelmed by it, so I’ve cut it down for this post. I’ve only included the things that aren’t otherwise referred to in the method sections above. If you would like to see the full list, check out the other post!
- Make sure both your bowl and the whisk attachment for your mixer are completely clean. Any traces of fat/residue will prevent your egg whites from whipping up. Wipe out both the whisk attachment and the bowl with a little white wine vinegar to ensure there are no traces of grease.
- Use a digital scale. Macarons require very specific measurements of ingredients- mechanical scales are not accurate enough for this purpose.
- Use an accurate (digital) sugar thermometer. You need to bring the sugar syrup up to 118°C, which is a very specific (but very necessary!) value- having to eyeball this will make your job so much harder and the success of your macarons so much less certain.
- Use a macaron template. Making identical macaron shells is one of the biggest challenges of making macarons at home- using a template as a guide can make the process much easier. To make a template, take a sheet of A3 paper, and draw circles at intervals across the whole sheet- I like my macarons to be about 4cm in diameter, but you can make your macarons any size (just be aware that making smaller/larger shells will affect the number of macarons this recipe makes/the cooking time). Place this template under the baking paper on your baking tray and pipe into the circle guides. Remember to carefully slide out the template before baking, then store it away for when you next make macarons!
How to Store Macarons
Filled macarons are best kept in an airtight container and stored in the fridge, where they will keep for about 5 days, but they can be stored at room temperature for 2-3 days, if needed.
Unfilled macaron shells can be kept in an airtight container for about 5 days, but will start becoming more brittle and less chewy if left for too long.
Recipe
Christmas Pudding Macarons
Ingredients
For the dark chocolate ganache:
- 120 g dark chocolate
- 180 ml double cream
For the chocolate macarons:
- 85 g ground almonds
- 80 g icing sugar
- 23 g cocoa powder
- 72 g egg whites, split into 2x36g portions.
- 105 g caster sugar
- 30 ml water
To decorate:
- 80 g white chocolate
- Holly sprinkles (see Note 1).
Instructions
Make the dark chocolate ganache:
- Finely chop the chocolate and put it into a small, heatproof bowl.
- Place the cream into a small saucepan over medium heat. Stirring frequently, allow it to come to just below a simmer (you will see small bubbles start to form around the edge of the pan), before pouring it over the chopped chocolate.
- Allow to stand for 1-2 minutes, then stir until the chocolate has completely melted and you have a smooth mixture. Cover the surface directly with clingfilm (to prevent the ganache from forming a skin), then allow to cool slightly before putting into the fridge to set overnight.
Make the chocolate macarons:
- Line 2 baking trays with baking paper. Fit a piping bag with a medium-sized, round nozzle and set aside.
- Place the ground almonds, icing sugar and cocoa powder into a food processor. Pulse 10 times, then sift into a large bowl, discarding any large lumps. Repeat this process once more, so that you are left with a very fine powder.
- Add one of the 36g portions of egg white to the dry ingredients. Mix well to form a paste, then set aside.
- Place the remaining 36g of egg white into the clean, metal bowl of a stand mixer, fitted with the whisk attachment. Set aside while you make the sugar syrup.
- Place the caster sugar into a small saucepan with the 30ml of water. Place over a medium heat and bring to a boil. Do not stir- swirl gently if necessary. Allow the syrup to continue bubbling, monitoring the temperature with a digital sugar thermometer.
- When the syrup has reached 114°C, turn the stand mixer to high speed and begin to whip the egg whites to soft peaks. Keep the syrup over the heat.
- When the sugar syrup has reached 118°C and the egg whites have reached soft peaks, with the mixer still on high, pour the syrup down the side of the bowl in a slow, steady stream. Once all of the syrup has been added, turn the mixer up to full speed and beat for 5 minutes, or until stiff peaks are achieved and the metal bowl has come to room temperature.
- When the meringue is ready, add 1/3 of it to the cocoa and almond mixture. Mix vigorously to combine the two mixtures and loosen the thick paste.
- Add the rest of the meringue and fold it in, using a figure of eight motion, until the mixture is cohesive and comes off the spatula in ribbons- if you leave those ribbons for 30 seconds, they should level themselves out into the rest of the mixture.
- Transfer the macaron batter to the prepared piping bag. Holding the bag vertically to the baking tray, apply gentle pressure to pipe circular 'blobs' that are about 4cm in diameter.
- Once the macarons are piped, lift the whole tray and drop it down onto the work surface a few times to bring any air bubbles to the surface. Use a sharp knife/cocktail stick to burst any remaining bubbles, letting the mixture fall back on itself.
- Set the macarons aside at room temperature to form a skin- on a relatively dry day, this should take about 30-40 minutes, but can take less time on drier, warmer days and more time on cold, humid days. Check on the macarons every 10-15 minutes or so, if unsure. The macarons will be ready when you can gently touch their surfaces without any batter coming off on your finger.
- When the macarons are almost ready, preheat the oven to 165°C fan. Bake the macarons in the centre of the oven, one tray at a time, for 11 minutes. To check if they are done, place a finger on top of the shells and wiggle gently. When done, the tops of the macarons should not wobble. Remove from the oven and allow to cool completely on the tray.
To decorate:
- Once the macarons shells are cool, melt the white chocolate and place it into a piping bag, fitted with a fine round nozzle. Pipe the outline of some icing onto one shell, then add some more chocolate within that outline and spread it out, using a sharp knife/cocktail stick, so that you have a thin, even coating of chocolate. Add a couple of holly sprinkles to the top edge, to decorate. Repeat this process for half of the macaron shells.
To assemble:
- Place the chilled ganache into a piping bag, fitted with a large round tip.
- Pipe a dollop of ganache onto the underside of each of the undecorated macarons. Place a decorated macaron shell on top of each one and gently press the two halves together. The macarons are best eaten immediately, but can be stored in an airtight container in the fridge for up to 5 days, or at room temperature for 2-3 days. You can also keep the unfilled macaron shells in an airtight container, at room temperature for about 5 days, before filling.
Notes
- I found these holly leaf & berry sprinkles at Waitrose, which made making these Christmas Pudding Macarons super easy. If you can’t find sprinkles, you could also use coloured icing/chocolate, or even tubes of red and green writing icing, to draw little leaves and berries.