
Tomorrow is Bonfire Night here in the UK, so I thought it would be the perfect time to share a recipe for homemade honeycomb (also known as cinder toffee, hokey pokey, sponge candy- honestly, the list goes on). Truthfully, my version doesn’t even contain any honey, so calling it ‘honeycomb’ feels a bit like false-advertising, but it’s what I’ve always known it as, so we’ll just have to go with it.
When I tell you that this recipe has been years in the making, I truly mean it. I literally have a document on my laptop called ‘Honeycomb Diaries’ that is just an extensive list of notes and records of different attempts and alterations, as well the super scientific inferences that I have drawn from those experiments (e.g. the extremely accurate ‘too shatter-y’), from the past 3 years (does that mean that mastering the art of honeycomb was my lockdown project? The banana breads of this world must feel very slighted). I just couldn’t seem to get honeycomb right. I have tried different recipes, different sugars, different tins, different methods, different EVERYTHING (at least it feels that way). Now, 3 years later, I have finally developed a honeycomb recipe that I am happy with- one that works reliably and isn’t insanely complicated.
Today, I’m sharing my hard-earned honeycomb expertise with you. I hope your blood sugar is ready.
Table of Contents
Ingredients
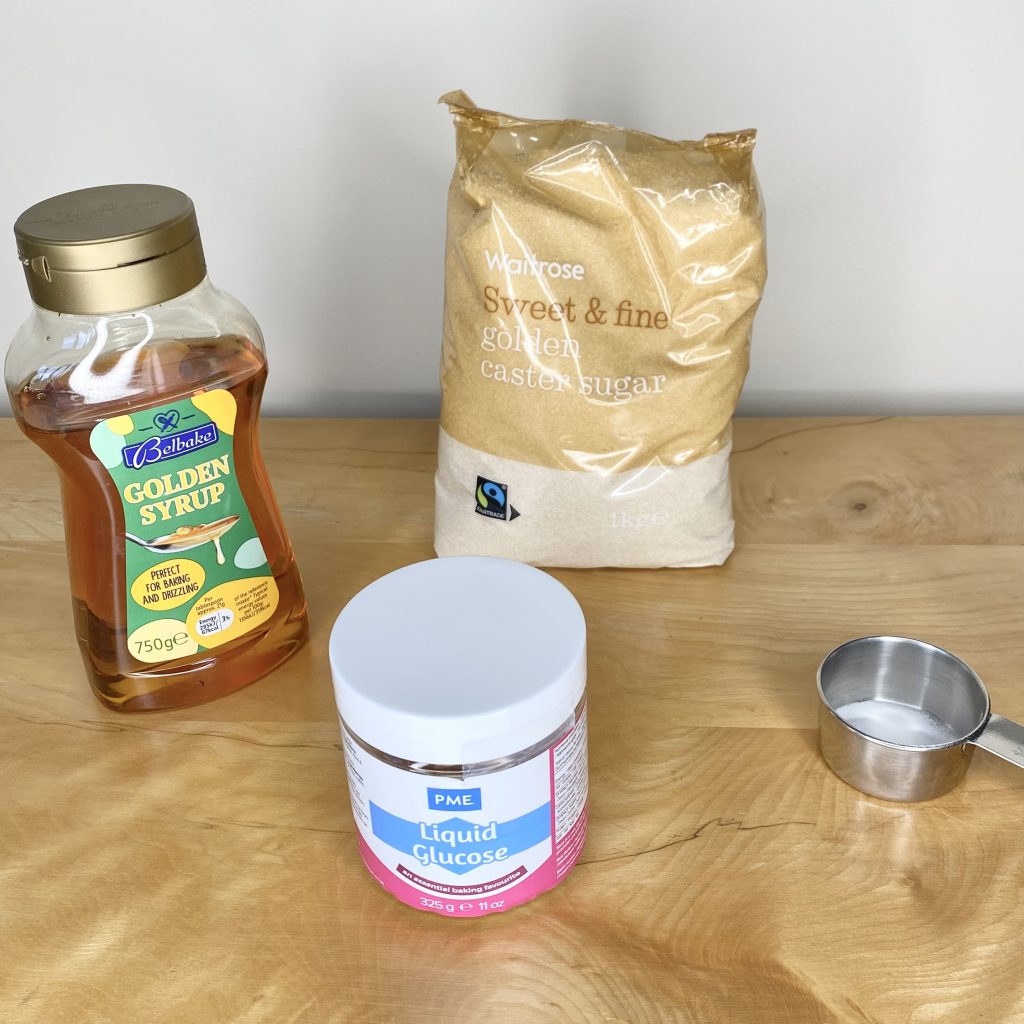
For this honeycomb, you only need 4 ingredients (5, admittedly, if you intend to dip your honeycomb in chocolate, like I have done):
- Caster sugar
Don’t use granulated sugar, because it will take longer to dissolve, which could throw off the whole process. If you’re in the US, I would recommend using superfine sugar. Don’t use brown sugar- it has too much moisture and will affect the flavour of the finished honeycomb. You can use either white or golden caster sugar for this recipe (I used golden here).
- Golden syrup
One of the two liquid sugar ingredients in this recipe, golden syrup helps to give the honeycomb a deeper colour and its characteristic caramel-y flavour.
- Glucose syrup
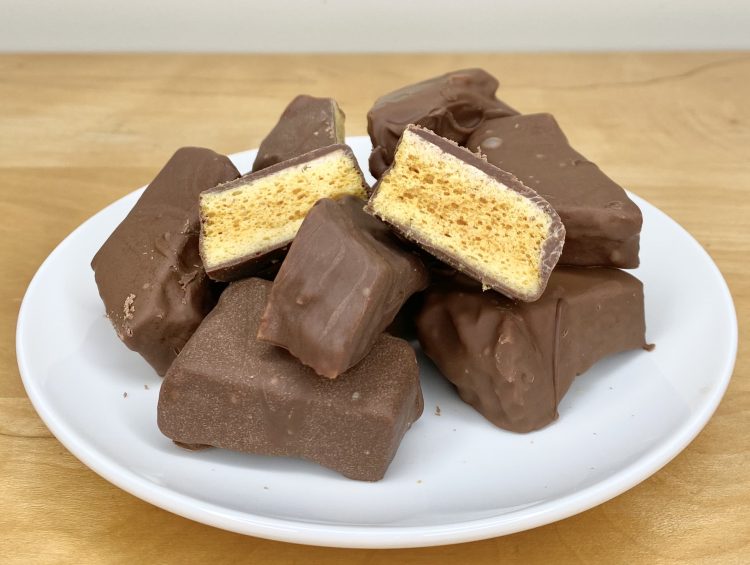
While some recipes use all golden syrup, I like to use half golden syrup, half glucose syrup. Using all golden syrup can make the finished product a little sticky, so substituting half of it for glucose syrup makes for a more stable honeycomb. Using half glucose syrup will make the honeycomb a little paler- it will look a little anaemic at first, but it does darken up a little as it sets- you’ll basically end up with a similar internal colour to a Cadbury’s Crunchie, which I feel is the ultimate goal for all honeycomb, right?
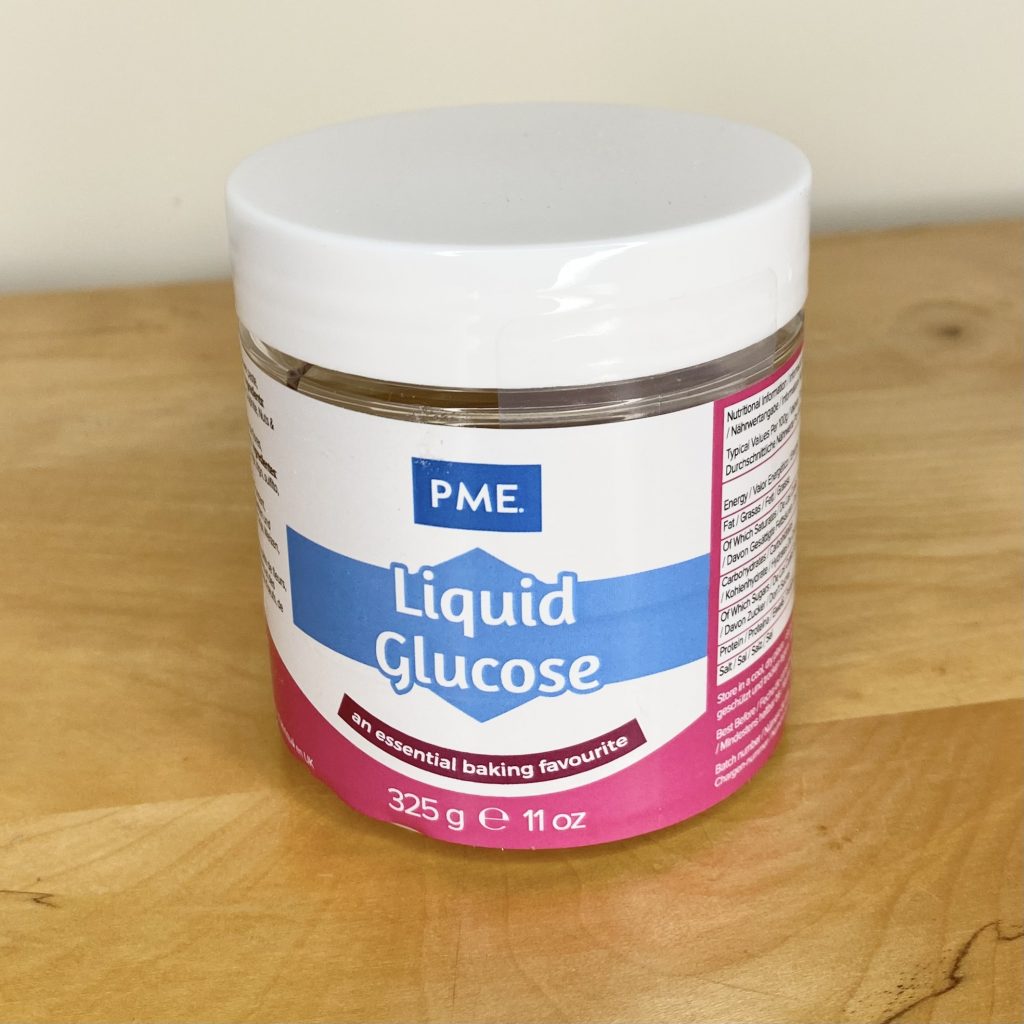
These days, you can purchase glucose syrup at most supermarkets (usually in the baking aisle). Because I have been making so much honeycomb recently (see aforementioned Honeycomb Diaries), I like to buy mine in larger quantities online- I purchased this 325g tub of PME liquid glucose from The Cake Decorating Company (my go-to for specialist baking equipment/ingredients).
- Bicarbonate of soda
Bicarbonate of soda is what gives the honeycomb its characteristic spongey texture and appearance- the bicarb reacts with the hot sugar to form lots of air bubbles.
Equipment
You will need the following equipment for this recipe:
- Large, heavy-bottomed saucepan
The hot sugar will bubble up significantly once you’ve added the bicarbonate of soda. Make sure you use a large pan so that the sugar doesn’t bubble over the top and burn you.
It’s important to use a heavy-bottomed saucepan when working with sugar/caramel to ensure that everything heats up evenly- otherwise you might burn some spots before others have melted!
- Sugar thermometer

While you can get specially-made candy thermometers that clip onto the side of your saucepan, I prefer to use a handheld probe thermometer, like the one above, because I often make small quantities of toffee and find it easier to accurately read the temperature with them. Use whichever you prefer, but you do need some sort of sugar thermometer for this recipe, because you need to be super precise. You can find thermometers relatively cheaply online and you can use them for a number of recipes, so they are definitely a worthwhile investment.
- Sieve
I like to sieve the bicarbonate of soda after I have measured it out, to make sure it incorporates into the sugar properly. You want to avoid pockets of bicarbonate of soda, if you can, because they will be unpleasant to eat- sieving the bicarb and whisking it in really well helps to prevent those pockets.
- Heatproof whisk
I like to use a whisk to mix the bicarbonate of soda into the sugar, to make sure that it is thoroughly combined. The toffee will be very hot, though, so the whisk must be heatproof- either a metal or silicon whisk will be fine.
- Heatproof spatula
The toffee can get a bit sticky, so you’ll want to work quickly and have a good spatula at the ready for transferring it from the pan to the baking tin. Like the whisk, make sure your spatula can withstand the hot temperature of the toffee.
- 20cm square baking tin, lined with greaseproof paper
I like to use a tin for my toffee because I think it helps it to retain some height (though the toffee will always collapse a little bit as it cools- this is normal). Some recipes call for pouring the hot toffee onto a lined baking tray to cool, but I find my toffee ends up super thin if I do this. You want to make sure you use the right size tin though, because it’s important that the toffee fills the tin, but isn’t too deep, or it might be more likely to collapse. For the quantities listed in this recipe, I find a 20cm square tin is the perfect size. If you were to halve the recipe, I would recommend using a regular loaf tin (about half the size of a 20cm square tin), to achieve the same results.
It’s very important that you line the tin completely– sugar is inherently very sticky, and you don’t want your honeycomb to get stuck in the pan.
Making the Honeycomb
Honeycomb is one of those recipes where everything happens very quickly at the end of the process. Because of this, it’s important to get all of your ingredients and equipment laid out and ready before you start.
To start with, set the lined baking tin near the hob, so that it is easily accessible when it comes to pouring out the hot toffee.
Sift the bicarbonate of soda into a small bowl/measuring cup. Set that near the hob as well, so that it is at hand to tip into the hot sugar later.

Make sure your thermometer, whisk and spatula are all at hand, then place the caster sugar, golden syrup and glucose syrup into the saucepan. Put the saucepan over a medium-low heat and allow to melt. You can give it a brief mix if needed, to help it melt evenly, but try not to stir too much, to prevent any crystallisation.
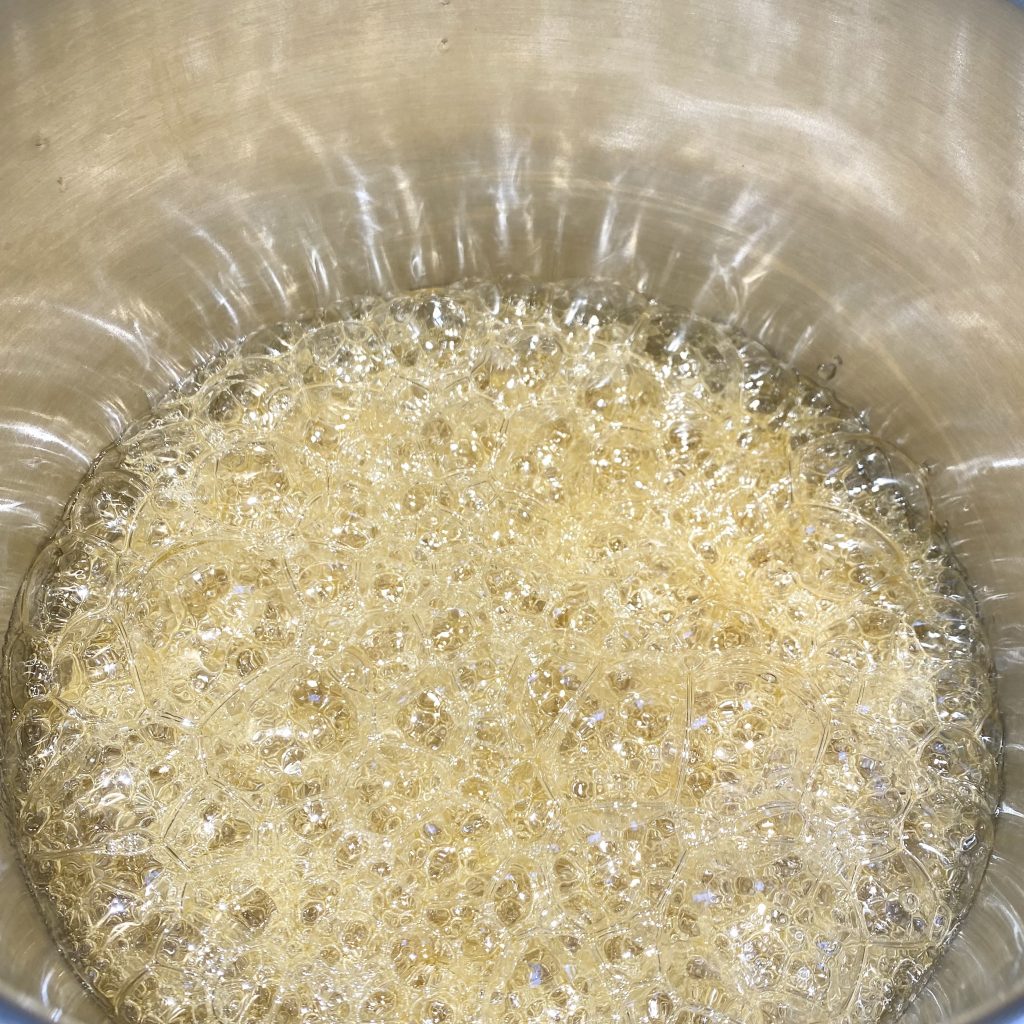
Keep the pan over the heat as the sugar begins to bubble. Once the caster sugar has dissolved, make sure to keep an eye on the temperature of the toffee. When the syrup reaches 153°C (it won’t be overly dark at this stage, so it’s important to go by the temperature, rather than the appearance of the syrup), take the pan off the heat and quickly add the sifted bicarbonate of soda- whisking vigorously to incorporate it.
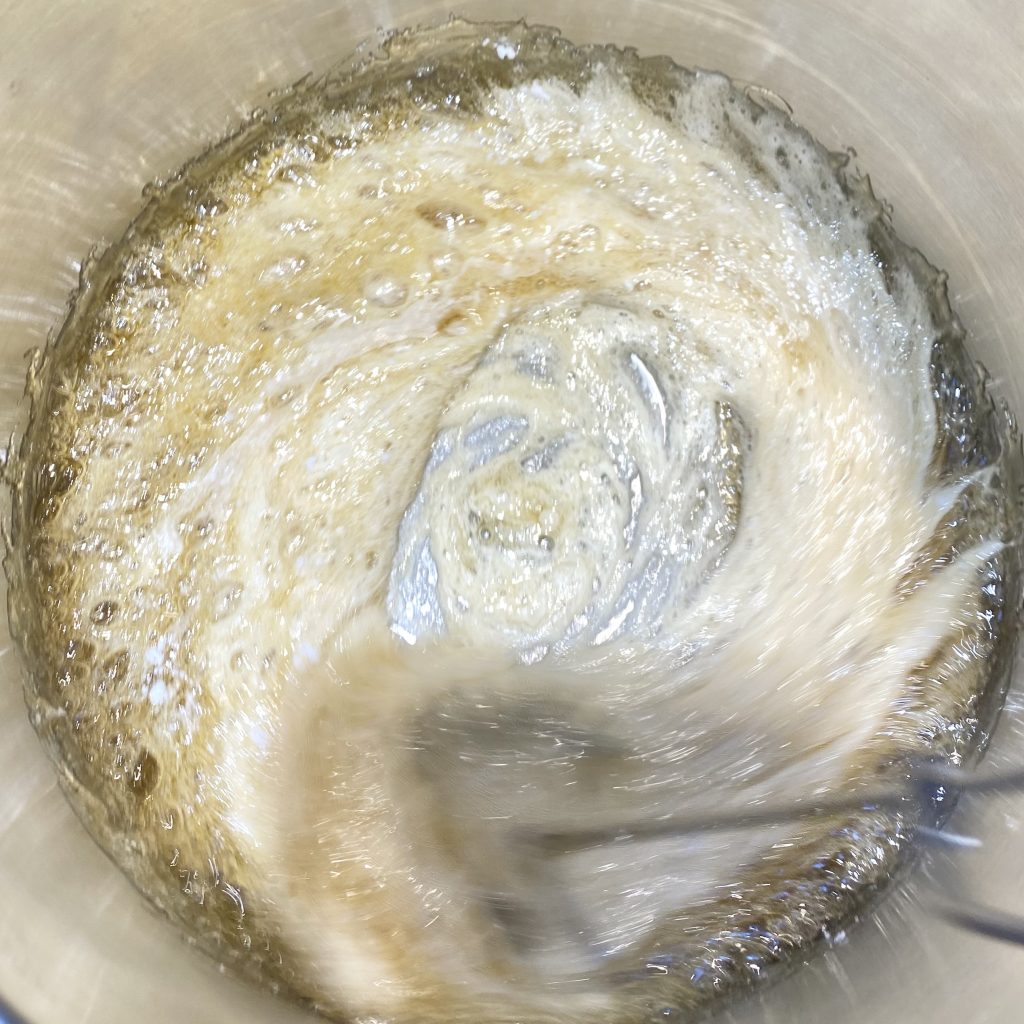
The toffee will bubble up aggressively, so be careful. Once the bicarbonate of soda is incorporated stop whisking and immediately pour the toffee into your lined tin, using a spatula to scrape down the saucepan as best as you can (though the toffee will already be setting, so you won’t be able to salvage every last bit).
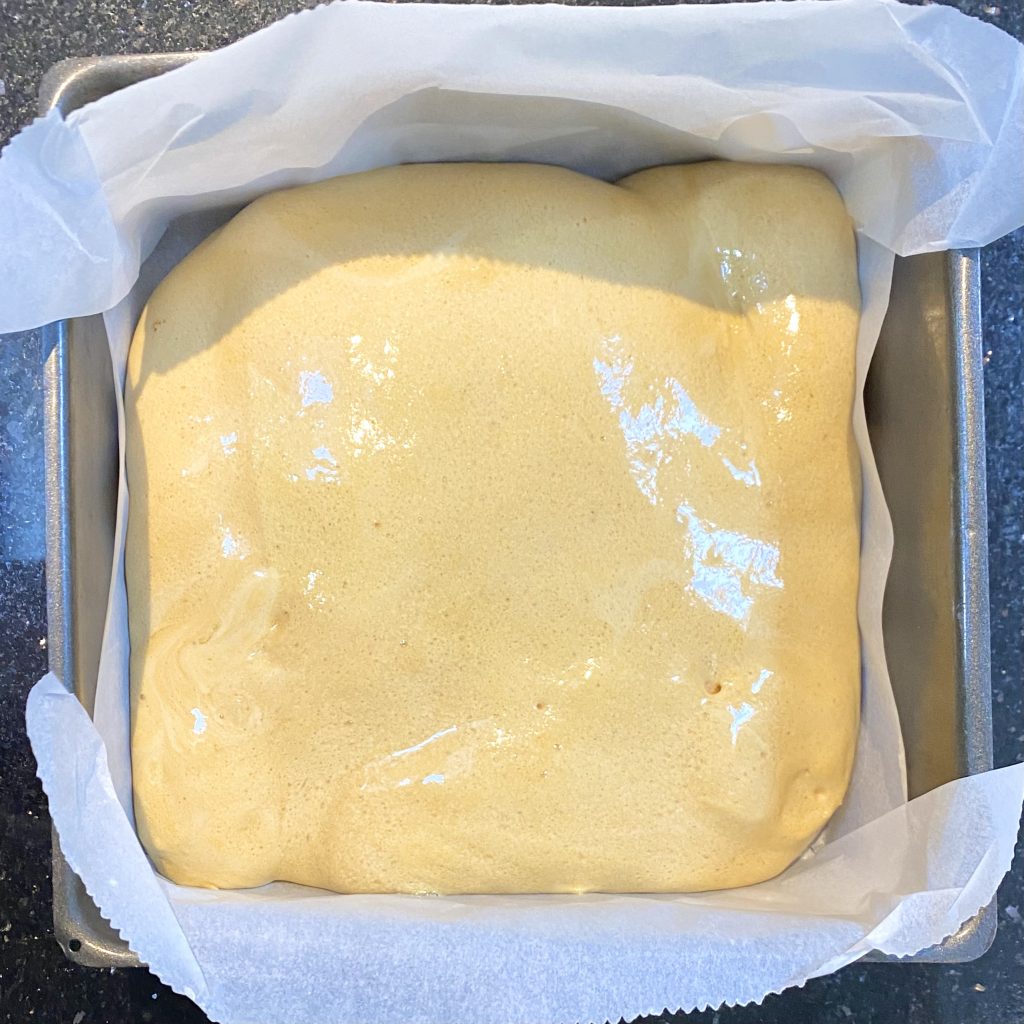
Allow the honeycomb to cool in the tin- it might collapse slightly (this is normal!), but it should still retain some height and fluffiness.
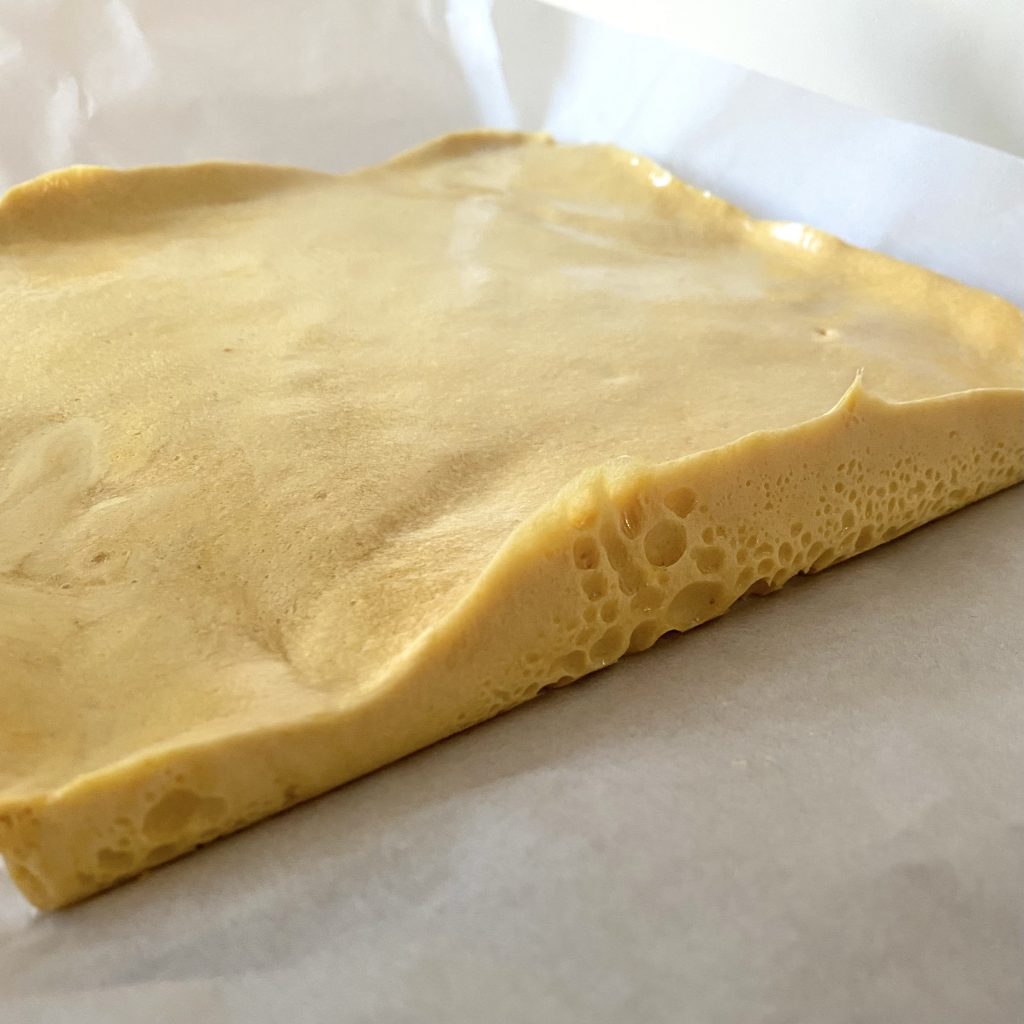
Once it’s just about cool (about 10-15 minutes), remove it from the tin and break it up into chunks, using either your hands or a sharp knife.
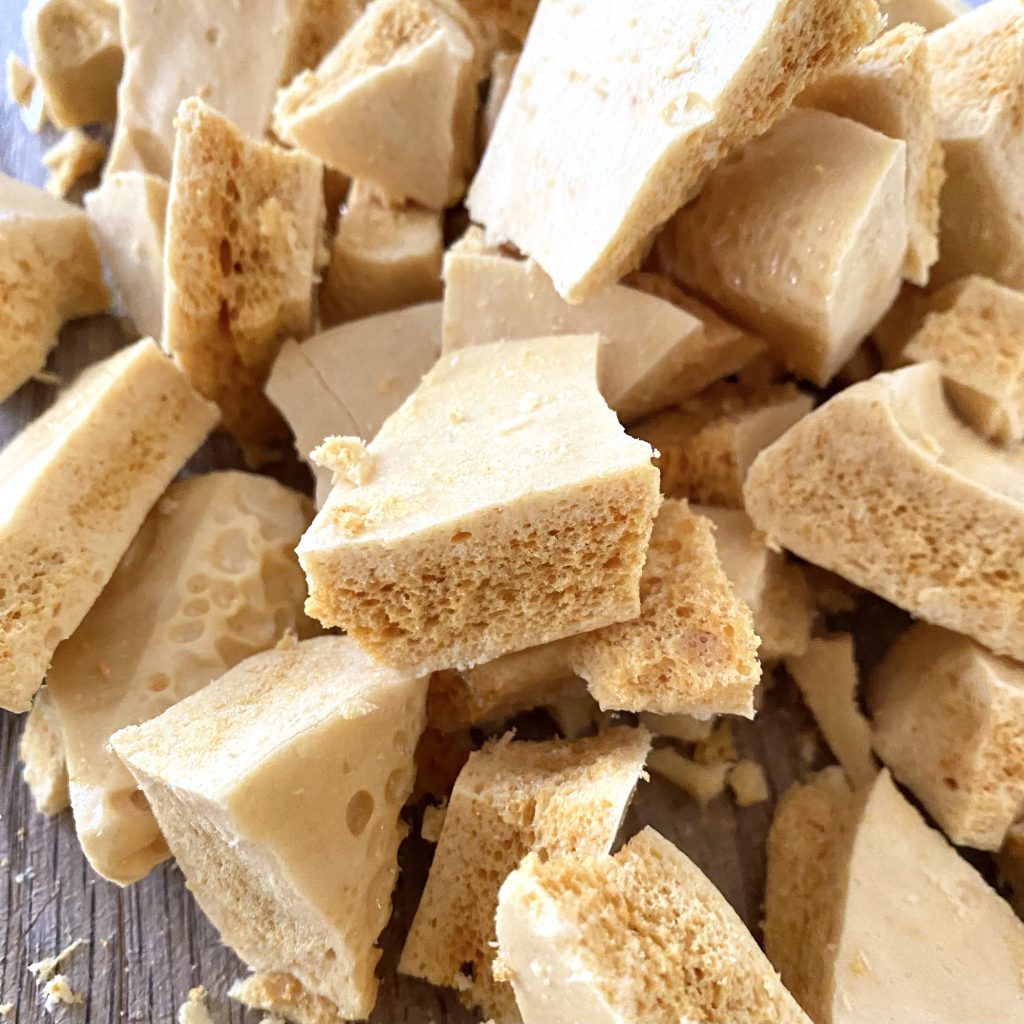
If you let the toffee cool completely before doing this, it will be more prone to shattering- leaving you with a messy rubble of honeycomb, as opposed to tasty chunks. If you don’t let it cool enough, the toffee will bend rather than break. Once the toffee has cooled enough to touch, gently press the surface in a few places- if there are any soft areas, the toffee is not cool enough yet.
Storing the Honeycomb
Honeycomb is exceptionally sensitive to moisture so it’s very important to store it properly. It will start absorbing moisture from the air pretty much as soon as it cools down, so you need to work quickly (and try not to make they honeycomb in a humid kitchen- don’t be boiling some pasta at the same time or anything!). There are two things you can do to help your homemade honeycomb keep for longer:
- Store it in an airtight container
As soon as you’ve broken up the honeycomb, transfer it to an airtight container, lined with greaseproof paper. Like this, the honeycomb should last for a few days (more if you are super careful), as long as it is stored in a cool, dry place (not the fridge!). If any moisture gets in, or your container is not completely airtight, the honeycomb will gradually start melting, which is not what you want.
- Dip the honeycomb pieces in chocolate
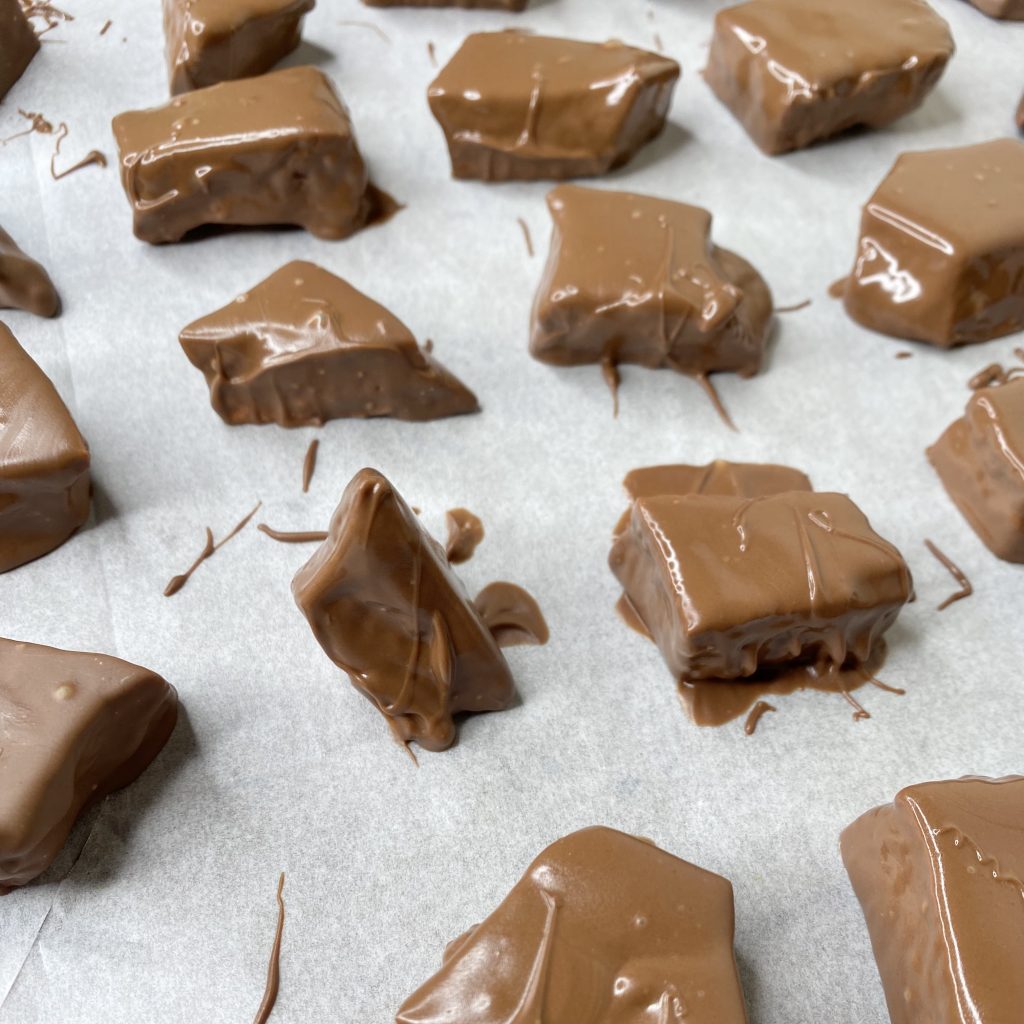
Dipping your honeycomb pieces in chocolate will seal the sugar off from the air, meaning that the moisture cannot get in and melt the toffee. If done correctly, this method is much more effective than storing the pieces in an airtight container and your toffee will keep for significantly longer. If you do this, make sure you cover the entire piece of honeycomb in a layer of chocolate- any exposed toffee and it will still be able to absorb moisture. Also, don’t put the chocolate-dipped honeycomb into the fridge to set, just dip the honeycomb (ideally with tempered chocolate- I didn’t temper mine and, while they did set at room temperature eventually, they took a while and the chocolate has bloomed, so this is definitely a case of do as I say not as I do. You can find my guide to tempering here). Once you’ve dipped the honeycomb, leave the pieces to set at room temperature.
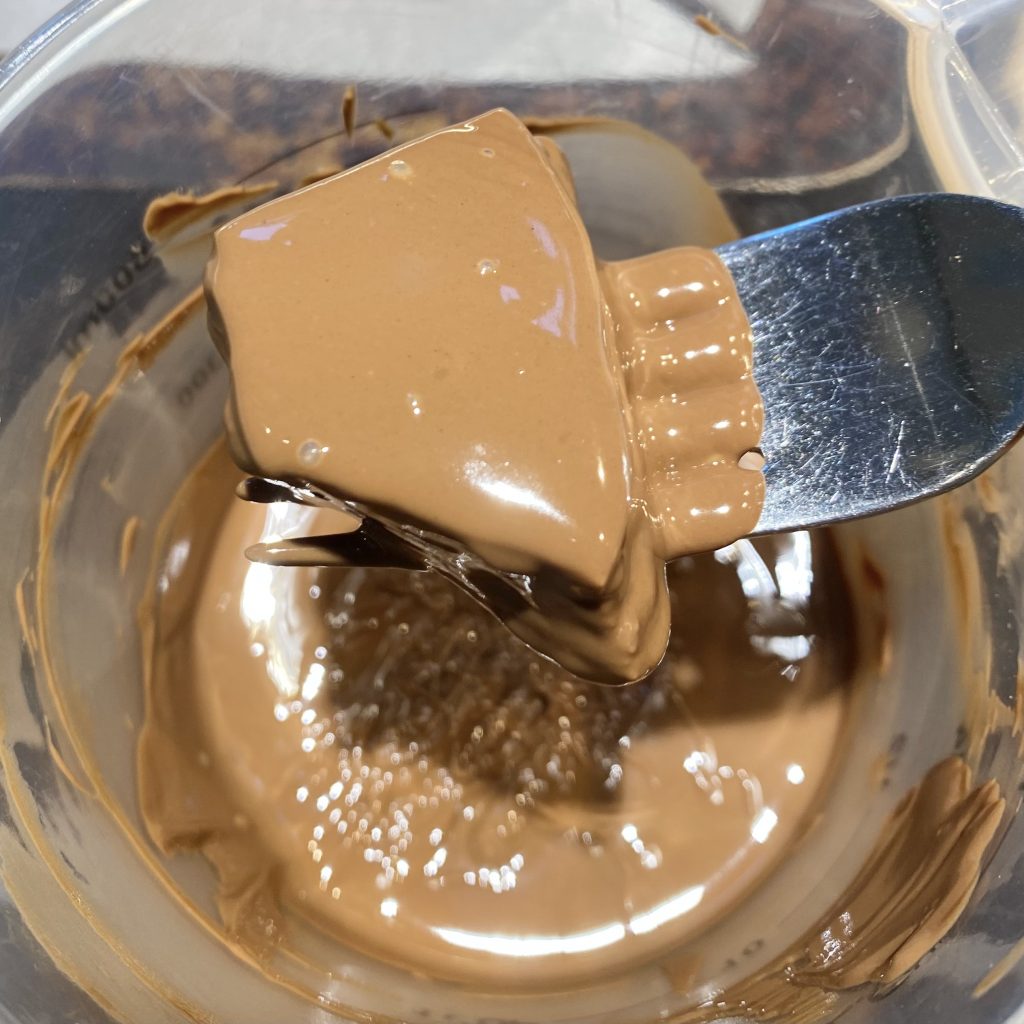
I like to use two forks to dip the honeycomb pieces, tapping the fork on the side of the container to remove any excess chocolate before transferring the dipped honeycomb to a baking sheet to harden. Once dipped, the honeycomb should last at room temperature, but it’s better to store it in an airtight container, just in case.
I hope you’ll try making some honeycomb for yourself- it looks super fancy and complicated, but, if you have the right ingredients/equipment, it’s really not too tricky and comes together super quickly. Let me know if you give this recipe a go- I’d love to hear your thoughts!
Gemma
xxx
Recipe

Honeycomb
Equipment
- 20cm square tin, fully lined with greaseproof paper
- Large, heavy-bottomed saucepan
- candy thermometer (see Note 1).
- Heatproof whisk
- Heatproof spatula
- Sieve
Ingredients
- 160 g caster sugar
- 80 g golden syrup
- 80 g liquid glucose
- 2 1/2 tsp bicarbonate of soda
To dip (optional):
- 400 g chocolate (I used milk chocolate, but you could use dark if you prefer).
Instructions
- Begin by setting out all of your equipment, so that everything is at hand for when thing start happening quickly towards the end of the process- make sure the lined tin, thermometer, whisk and spatula are all at hand, near the hob.
- Sieve the bicarbonate of soda into a small bowl or measuring cup. Set it near the hob, so it is easily accessible. Add the sugar, golden syrup and glucose syrup to the saucepan and set over medium-low heat.
- Allow the sugar to melt, giving it a gentle stir, if needed, to help it melt evenly. Try not to stir too much, though, or it might crystallise. Once the sugar has melted, keep an eye on the temperature using the candy thermometer and allow the mixture to bubble away until it reaches 153°C.
- At this point, you need to work very quickly. Remove the pan from the heat and immediately add the bicarbonate of soda. Vigorously whisk in the bicarb- the sugar will froth up violently, so be very careful. Once all of the bicarb has been mixed in, quickly tip the mixture into the lined tin, using a spatula to scrape the sides (don't worry if you can't get it all- just try to get most of it). Leave the honeycomb until it is just about cool, about 10-15 minutes, (see Note 2)- it should be hard to the touch- then break up into pieces using your hands.
- At this point, the honeycomb can either be eaten immediately or transferred to an airtight container, where it should keep for a few days (as long as it is not exposed to any moisture). To prolong the shelf-life of the honeycomb (and make it extra tasty), you can dip it into chocolate. Melt and temper the chocolate, then use 2 forks to dip each piece of honeycomb into it, making sure that the honeycomb is completely covered. Transfer the dipped toffee to a baking tray, lined with greaseproof paper and allow to set at room temperature until the chocolate has hardened. Store in an airtight container until ready to eat.
Notes
- I like to use a digital probe thermometer, for a more accurate reading and because it is easier to use for smaller quantities, but you could also use a more traditional candy thermometer, which clips onto the side of the saucepan, if you prefer.
- It is easier to get proper chunks (as opposed to a messy rubble) of honeycomb if you break it up when it is just about cool- not completely cold yet. Obviously, do not touch the toffee if it is still hot, but, once you can touch it in a few places and it is hard, take it out of the tin, peel off the greaseproof paper and start breaking it up, working from the outside in (the centre will take the longest to firm up). If the toffee bends, rather than breaks, give it a little bit longer to set. As a bonus, it will be easier to remove the greaseproof paper when the toffee is not quite cold yet, so you shouldn’t have any trouble with the paper sticking to the toffee if you use this method.