Hi again!
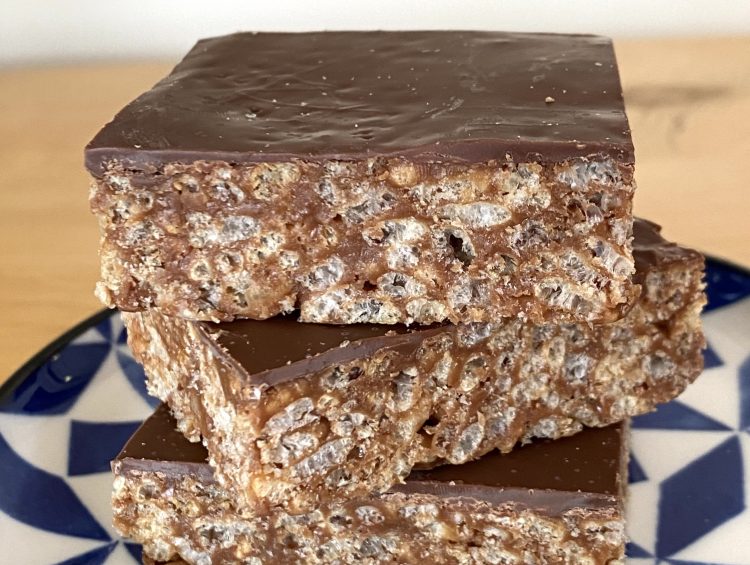
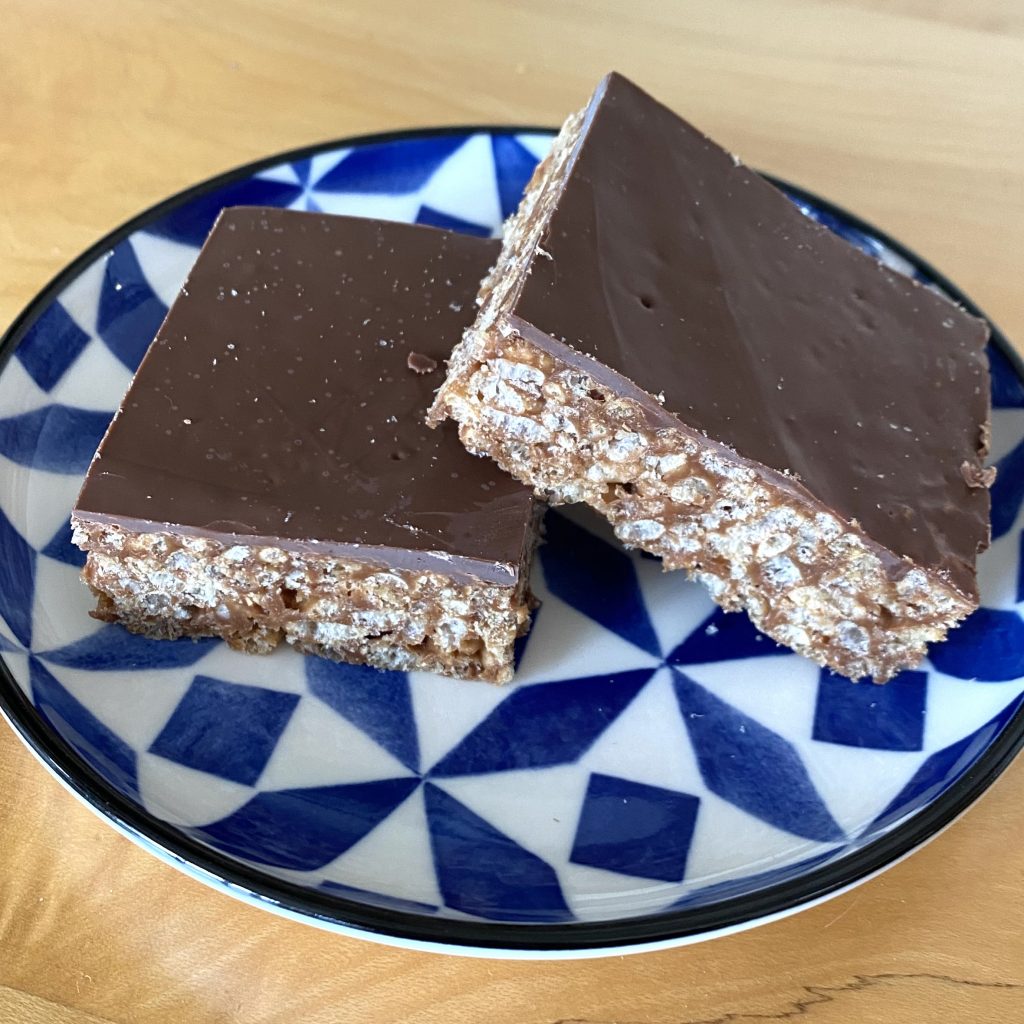
After 2 weeks of layer cakes, this week’s post is all about a simpler treat- the Mars Bar Rice Krispy Cake. This is a no-bake, quick and easy snack that has been a staple in our house for years. These bars may not look like much, but the taste is next level. Like, eat-a-whole-tray-and-still-want-more, next level. I’m convinced that there is no occasion that these aren’t perfect for. Bake sale? Perfect. Birthday party? Perfect. Saturday afternoon snack? Yes, please. Another brilliant thing about these bars is that they can be adapted to suit your purpose- the chocolate on top can be omitted, switched out with white/dark chocolate (even swirled with one or both), or topped with a variety of decorations- I’ve done Smarties before, but the world is your oyster- think sprinkles, nuts, popping candy, whatever you can dream up.
Now, I said these are easy to make and I stand by that. When it comes down to it, there are only four steps: you melt the Mars Bars, butter and golden syrup together, mix in the Rice Krispies, press the mixture into the tin and then top the whole thing off with melted chocolate. Simple, right? There are, however, a few little tips and tricks that I’ve picked up over the years that take these bars from great to really great.
First, though, a brief intermission for the melted Mars Bar mixture:
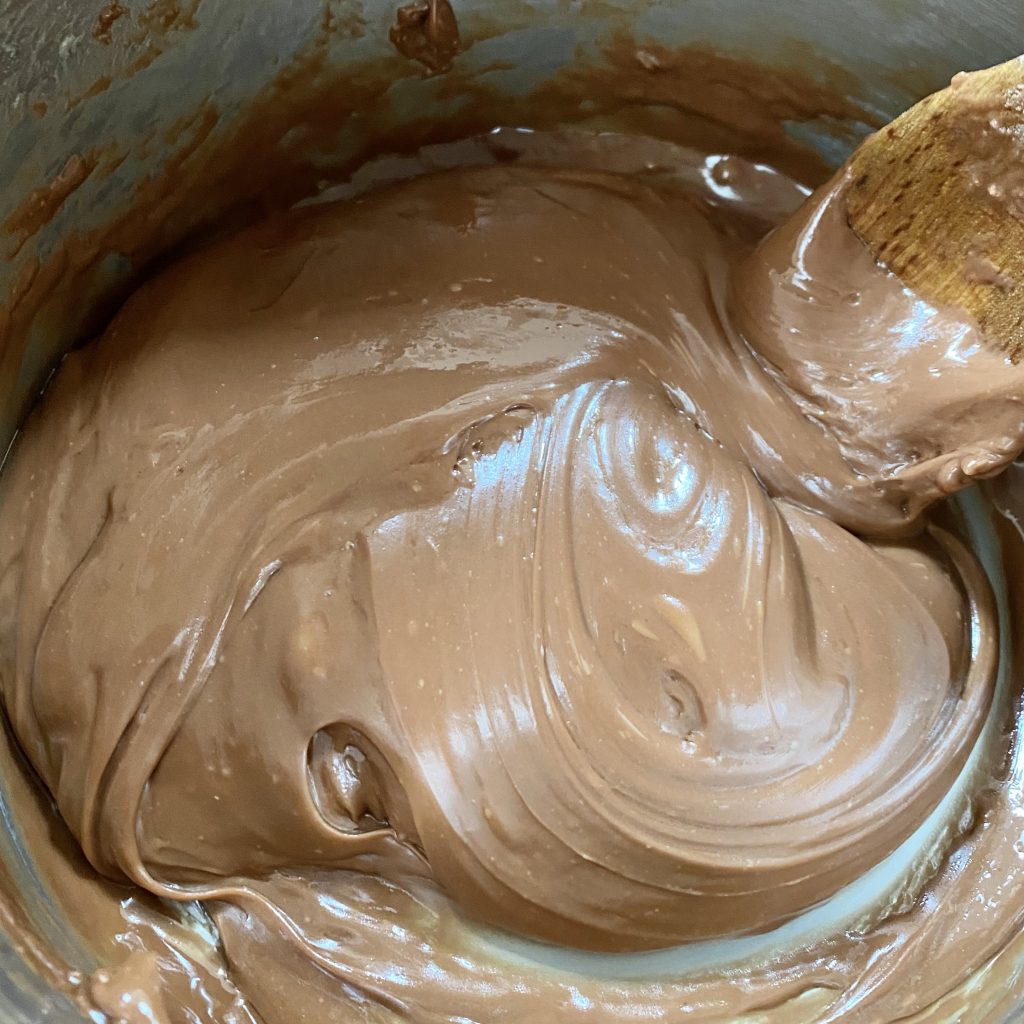
You are welcome.
Anyway, into the tips and tricks…
- Be careful not to overheat your Mars Bar mixture as it is melting. If you do, your mixture will seize and you’ll be left with a mess. Not pleasant. Keep the pan over a low heat and stir frequently. Make sure that you dice both the Mars Bars and the butter beforehand- this will ensure they take less time to melt (and will, therefore, need less time over the heat) and that they melt evenly. A win all-round.
- Once your Mars Bar mixture has melted, you need to work quickly. As the mixture cools down, it will start setting very fast. The more it sets, the harder it will be to mix in the Rice Krispies.
- Use a flat-edged wooden spoon to mix the Rice Krispies into the Mars Bar mixture. Once you add the Rice Krispies, the mixture will get very stiff. Unlike, say, a rubber spatula, a wooden utensil will be strong enough to mix it. The flat edge is absolutely essential for scraping the Mars Bar mixture from the bottom of the pan, making sure you are able to mix the whole thing super thoroughly. It can take a lot of elbow grease and perseverance to get it to come together, but it will eventually!
- You need to press the mixture into the tin very firmly. Trust me, this will make all the difference- if you don’t, your slices will be more prone to falling apart, the chocolate will sink into the gaps and the bars will look a lot messier. Use a metal spoon to spread out the mixture, then place your index finger on the head of the spoon for more pressure and really press it into the pan. Once you think you have it as tightly-packed as possible, firmly rub over the surface of the mixture a couple times with the spoon- this will pack it down even more and smooth off the top, giving you perfect slices later on.
- Don’t worry about tempering your chocolate for the topping- it isn’t necessary! Because you’ll be slicing these up, you don’t want the chocolate to be incredibly snappy, or you won’t get clean bars. The chocolate still sets at room temperature, but it will take a little longer than tempered chocolate would (which, actually, works out perfectly because the bars themselves need some time to set too!).
Now that I have successfully made this recipe seem like an incredibly intense military procedure, let me assure you that these bars are actually super straightforward to make. I was making these by myself when I was in primary school! Even if you don’t mix the Rice Krispies in perfectly, or press the mixture into the tin quite hard enough, they will still be delicious. I mean, they’re mainly chocolate- how could they not be?
Let me know if you try these! I’d love to hear what you think.
Gemma
xxx
Mars Bar Rice Krispy Cakes
Equipment
- 26x21cm baking tin
- 1 wooden spoon with a flat edge (see Note 1)
Ingredients
- 8 x 39.4g Mars Bars
- 45 g golden syrup
- 75 g unsalted butter, cubed
- 150 g Rice Krispies
To decorate (optional):
- 180 g milk chocolate
Instructions
- Line the tin with baking paper and set aside.
- Chop Mars Bars into small chunks. Place in a large saucepan, along with the golden syrup and butter, over a low heat.
- Stir frequently until both Mars Bars and butter are completely melted.
- Remove from heat and, working quickly, mix in the Rice Krispies until completely combined. The mixture will be very stiff, so this stage requires a bit of elbow grease.
- Once the Rice Krispies are fully incorporated, tip the mixture into the lined tin. Using a metal spoon, press the mixture firmly into the tin (see Note 2 for tips). Set aside while you prepare the chocolate for decoration, if using.
To decorate:
- Melt the chocolate (see Note 3).
- Once melted, pour the chocolate on top of the Rice Krispy layer and spread out to form an even layer. Leave the Rice Krispy cakes at room temperature to for about 40 minutes, they will be ready when the chocolate has set completely (though they will still need this time to cool down and firm up even if you do not use the chocolate decoration).
- Once set, remove from the tin and use a large knife to cut into rectangles. The bars can be served immediately, or they can be kept in airtight container for about a week.
Notes
- A flat-edged wooden spoon is essential for this recipe. You’ll need it to ensure you can scrape all of the Mars Bar mixture off the bottom of the pan when mixing in the Rice Krispies. Once the Rice Krispies are in, the mixture becomes very stiff and a rubber spatula will be too weak to handle it, so you’ll want to stick to a stronger, wooden utensil.
- You need to press the mixture into the tin very firmly at this stage. If you don’t, the bars will be difficult to cut neatly, will be more prone to falling apart/crumbling and the chocolate decoration will sink into the gaps and look a bit messy. Use a metal spoon and spread the mixture into an even layer, then press very firmly, placing your index finger on the head of the spoon for extra control/pressure, all over. Once the mixture is relatively packed in, still pressing on the spoon head, rub the utensil back and forth over the surface to really press the mixture together. This will make such a huge difference!
- For this recipe, you do not need to temper the chocolate- just melt it. I prefer melting chocolate in the microwave. Place it in a heatproof bowl and microwave on low power in 1 minute bursts, stirring between each burst, until completely melted.