
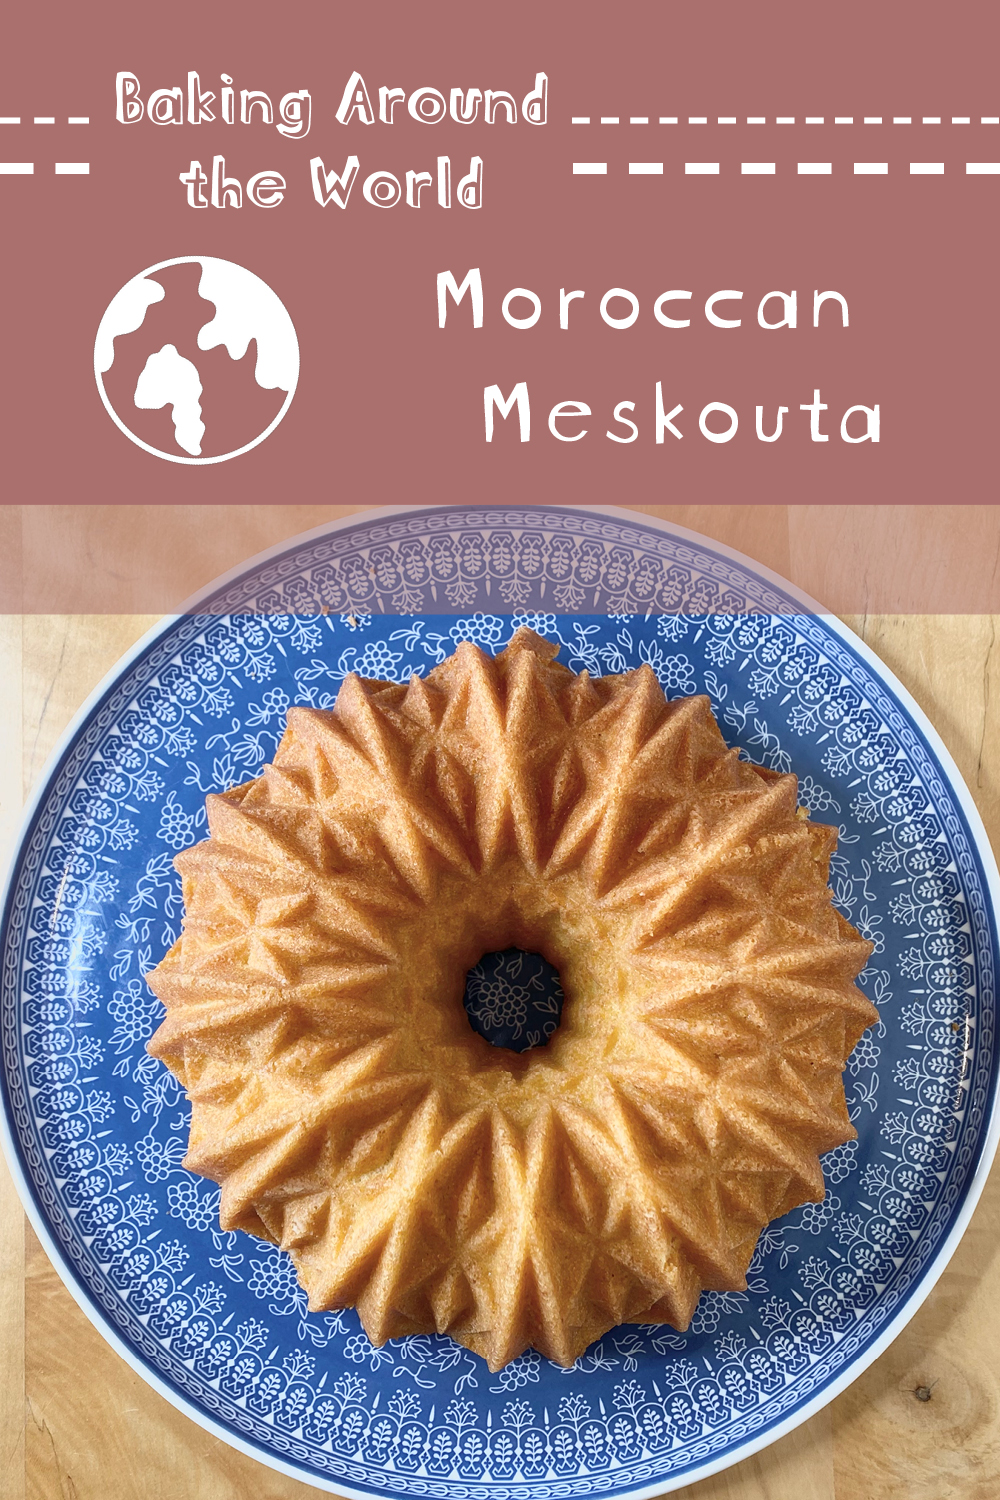
Today’s post is the third instalment of my Baking Around the World series here on the blog, where I make tasty treats from all over the world to broaden my foodie horizons. I’ve already tackled Sicilian Pizzicotti and German Mandelhörnchen, but today I’m tackling a cake from Northern Africa: Moroccan Meskouta.
A quick Baking Around the World disclaimer before we get into the recipe:

While I have done/will do extensive research for each of the recipes in this series, the recipes are unlikely to be 100% authentic because of differences in ingredient availability, variations within families/regions and multiple other reasons. I'm so sorry if I absolutely butcher your favourite childhood treat (and please let me know in the comments if I have made any unforgiveable errors), but please do give me the benefit of the doubt here- I am just a baker with a serious sweet tooth, trying to broaden her baking (and cultural) horizons through tasty snacks :)
Table of Contents
Meskouta: Explained
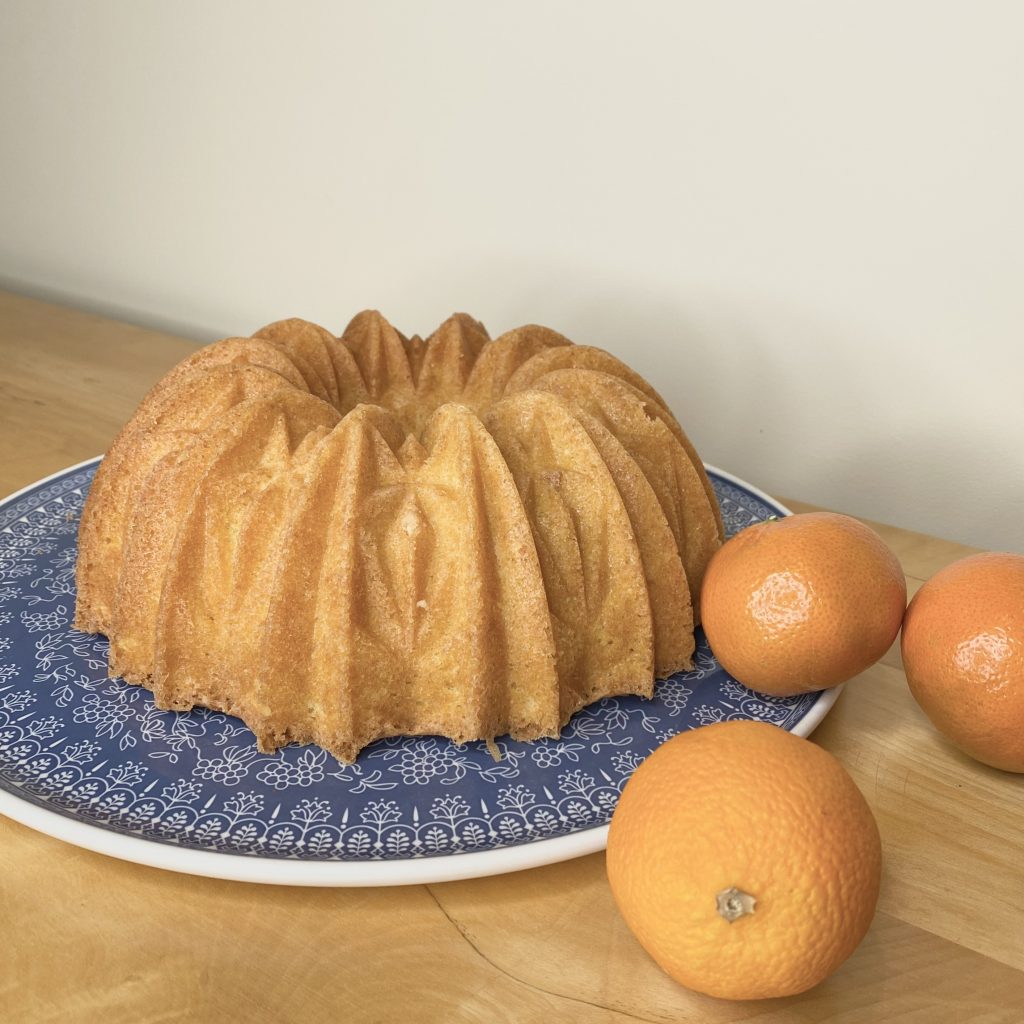
Meskouta, also called Kika, or, when flavoured with citrus, ‘Winter Cake’, is a Moroccan, butter-less sponge cake. The recipe was developed (or possibly just rose to prominence- I couldn’t quite figure this out during my research) during the French/Spanish colonisation of Morocco, when butter was very expensive and hard to get a hold of, so oil was used instead. Meskouta seems to be one of those recipes for which every Moroccan family has their own recipe, which has been passed down through generations. Some are made in loaf tins, but the cakes are most often baked in a tube/Bundt tin. I was (very excitingly) gifted a Nordic Ware Bundt tin for Christmas by my brother and his fiancée, so I opted to use that for my Meskouta.
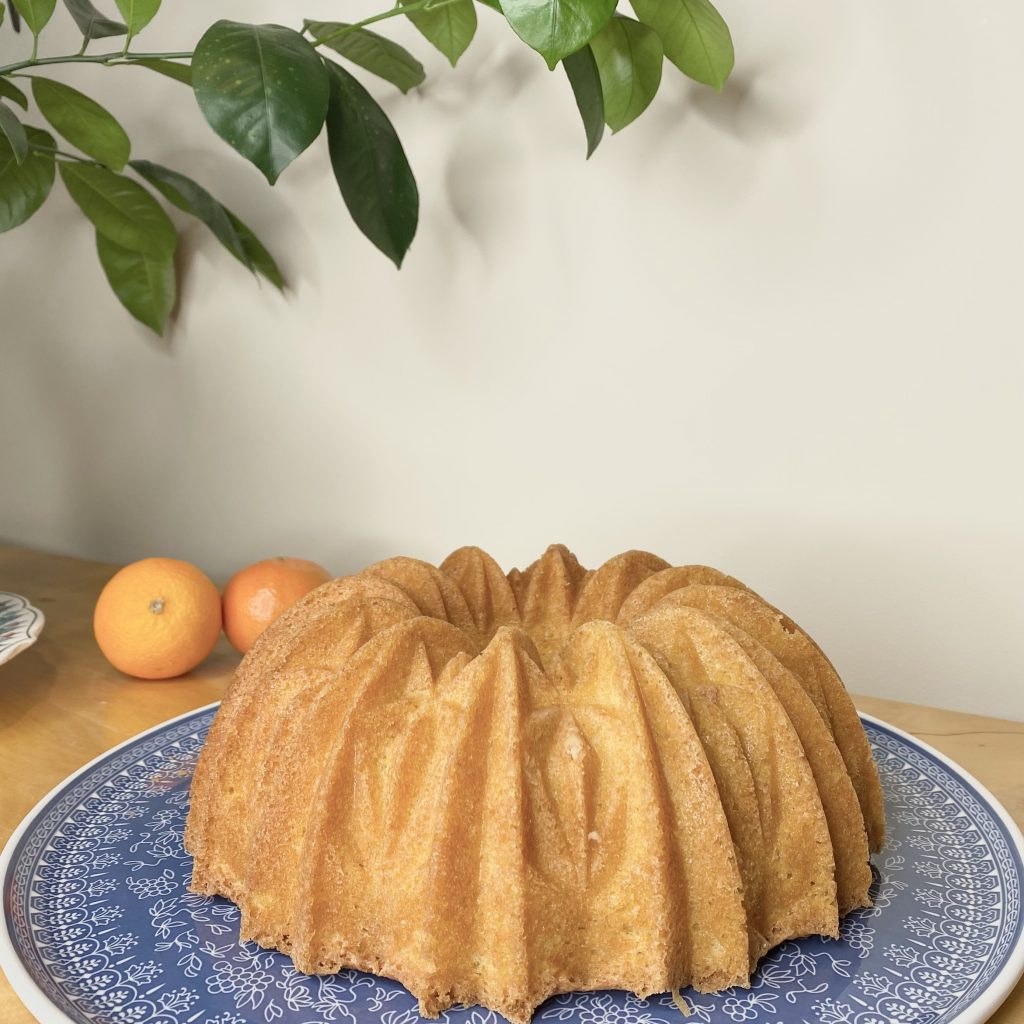
There are many variations of Meskouta– some are flavoured with lemon, vanilla or yoghurt, but orange seems to be one of the most common flavours. In fact, the citrus variations are so common they even have their own name: ‘Winter Cakes’, after the season when citrus fruits ripen.
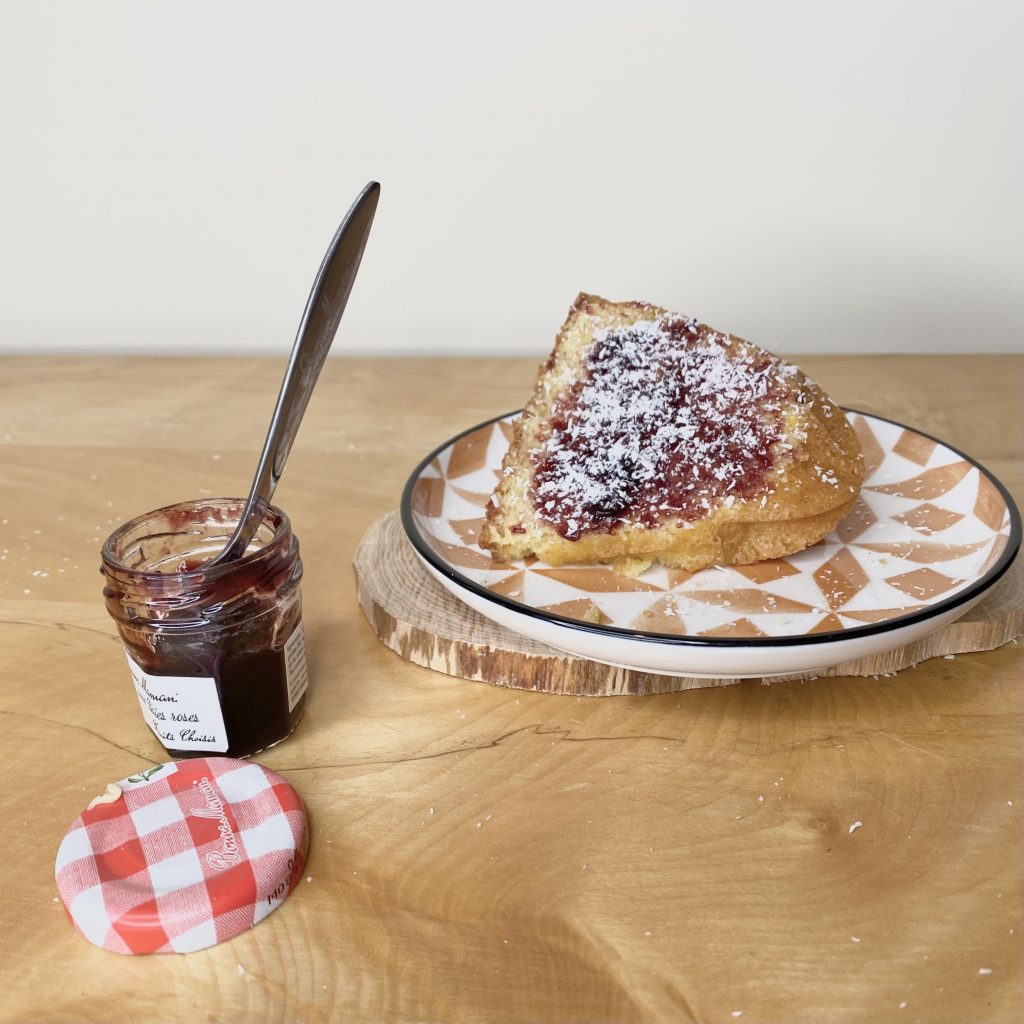
Meskouta is commonly served at teatime, for breakfast or as a snack. It is also sometimes served as part of Iftar (the daily meal that is held after sunset during Ramadan, when the day’s fast is broken). It is often served alongside hot mint tea or coffee. The cake itself can be served in a variety of ways: it can simply be eaten plain, it can be dusted with icing sugar or drizzled with a sugar syrup (on special occasions!), but the most popular method is apparently spreading the slices of cake with a layer of jam and sprinkling with coconut (which kind of reminds me of an Australian Lamington?). I did try this with my Meskouta and it was very tasty, though I wasn’t sure if the coconut in question was supposed to be fresh or desiccated, so it’s very possible that I have made a coconut-related faux pas…
Ingredients
Meskouta is essentially a butter-less sponge cake, so the ingredients for the (unflavoured) batter are relatively straightforward:
- Eggs
I always use large eggs for baking. These will be beaten together with the sugar until they reach the ‘ribbon’ stage, which will give the finished cake structure, but also make it light and fluffy.
- Caster sugar
I use caster sugar in baking, because it dissolves into batters more quickly and easily than granulated sugar.
- Vegetable oil
You can use any flavourless oil for this- I used sunflower oil, but groundnut oil would also work (if you do use the latter though, obviously do not to give this cake to anyone with a nut allergy).
- Plain flour
Don’t use self-raising flour, or the batter will contain too much raising agent and your cake might collapse.
- Baking powder
Meskouta recipes seem to contain a LOT of baking powder- I have seen a couple of suggestions that variations in the baking powder itself might be the reason behind this, but I’m not 100% sure. I ended up using less than a lot of the recipes I came across in mine- my cake rose perfectly though, even if it that makes it slightly less authentic.
- Vanilla extract
This is a pretty egg-heavy cake, so, even though you want the orange flavour to be the most prominent, it’s important to counteract any potential ‘egginess’ with a small amount of vanilla.
- Salt
Just a pinch, to bring out the flavour!
Then, for this orange meskouta (or ‘Winter Cake’), you will need 3 extra ingredients to impart all of that orange-y flavour:
- Orange zest
Most of the flavour of the orange is in the zest, so this cake contains lots of it! To really heighten the flavour, I like to mix the zest with the sugar before whipping it together with the eggs. This way, you ensure that the zest is evenly distributed throughout the cake and the zest also has a chance to release some of its oils.
- Orange juice
This cake contains a significant amount of orange juice- not only does this help to give the batter the correct consistency, it also imparts even more orange flavour and makes the cake super moist. It’s very important to use freshly-squeezed orange juice, to get the best flavour. Zest the oranges first, then squeeze out the juice (and strain it, to remove any pulp), to make things easier for yourself.
- Orange blossom water
Orange blossom water is a bit of a specialist ingredient here in the UK, but it is very popular in Moroccan cuisine. As you might expect, it has a citrus-y, floral taste that really adds to this cake- it’s subtle, but it does make a big difference, so it’s worth sourcing if you can. If you can’t find it, just add a little more fresh orange zest- the cake will still be delicious!
Making Meskouta
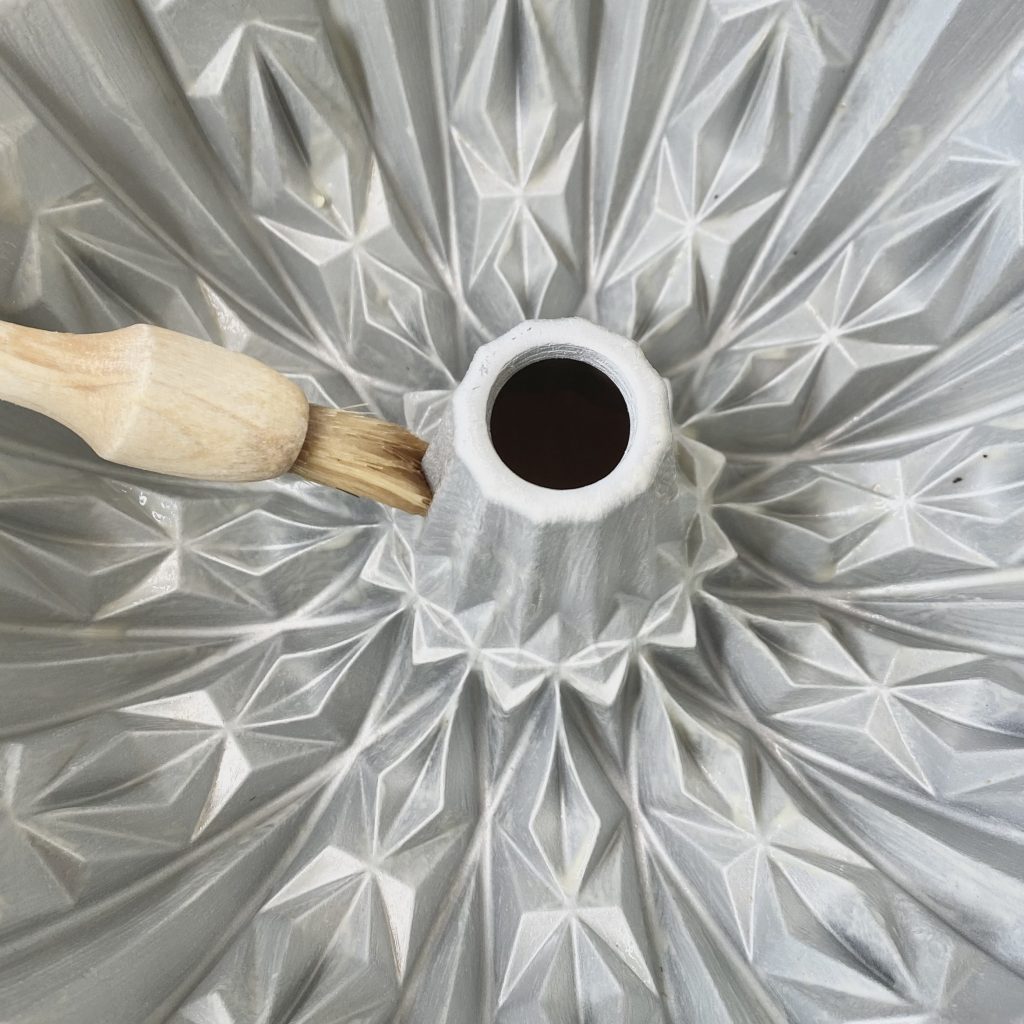
Good news: making Meskouta is actually pretty straightforward! First things first, you need to prepare your tin. As I mentioned, I am using a Bundt tin for this cake and it’s notoriously difficult to get cakes out of those in one piece! Earlier this week, I posted a recipe for a DIY Cake Release– a thin paste that you can brush onto your cake tins to ensure that the cakes do not stick and pop right out once baked. If, you’re ever baking a cake in a Bundt tin, I would strongly recommend doing this- just greasing the tin won’t be enough, and, while dusting a greased tin with flour will help a lot, you can sometimes be left with little pockets of flour baked onto the Bundt, which doesn’t look so nice!
After that, preheat your oven to 180°C (conventional oven). Then, you can get on with making the cake batter.

Start by placing the sugar and the orange zest into the bowl of a stand mixer, fitted with a paddle attachment (you can also make this recipe using an electric hand mixer, but I wouldn’t recommend making it by hand because there will be a lot of beating in a minute!).
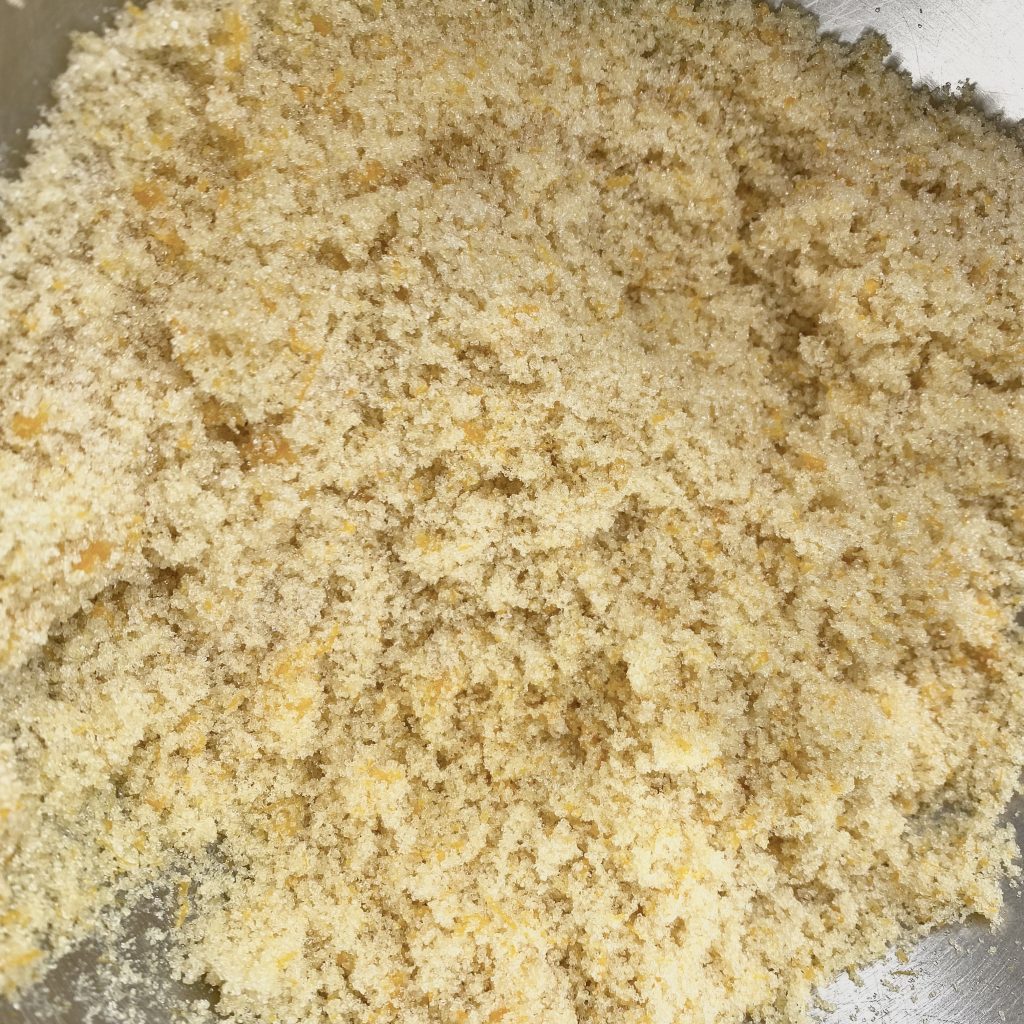
Mix the sugar and zest together on low speed, until the zest is evenly distributed throughout the sugar. This will help to ensure that there is plenty of zest in every bite of cake (and to extract as much orange flavour as possible!).
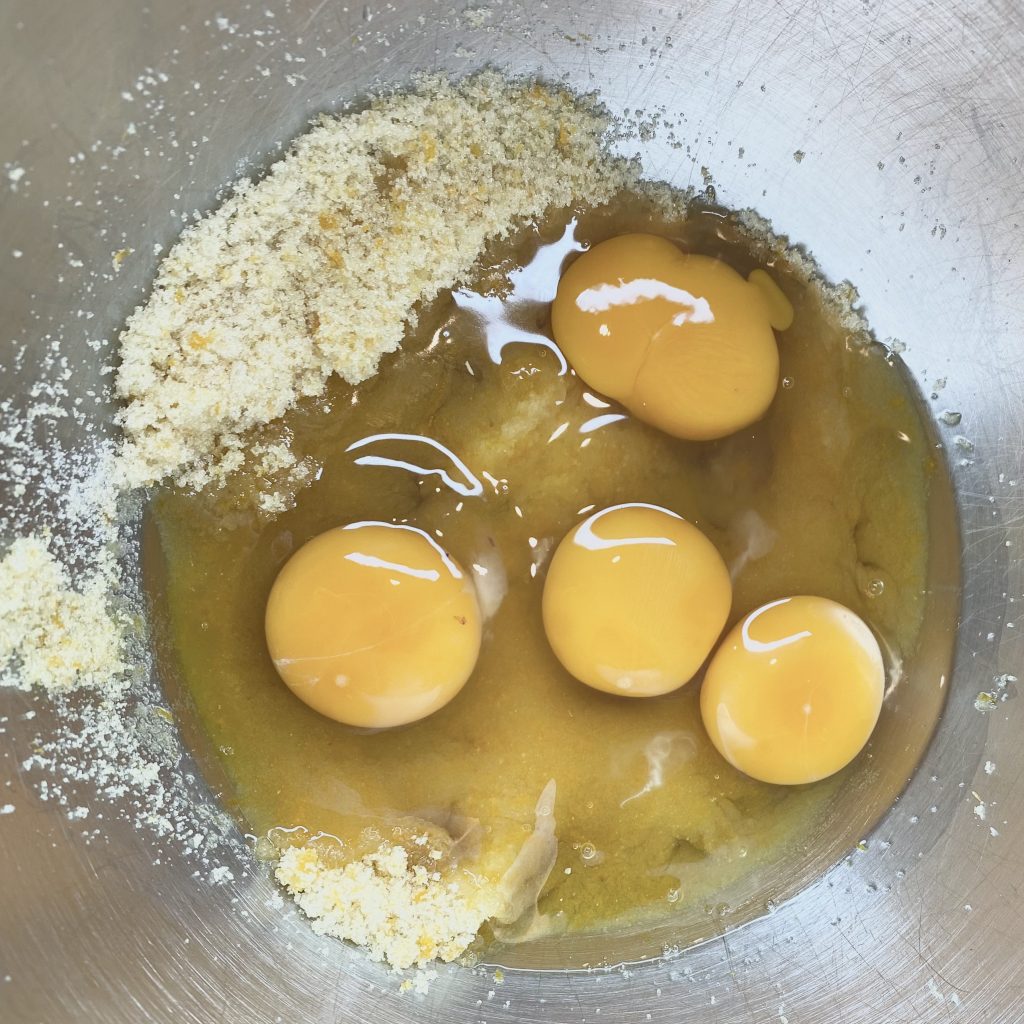
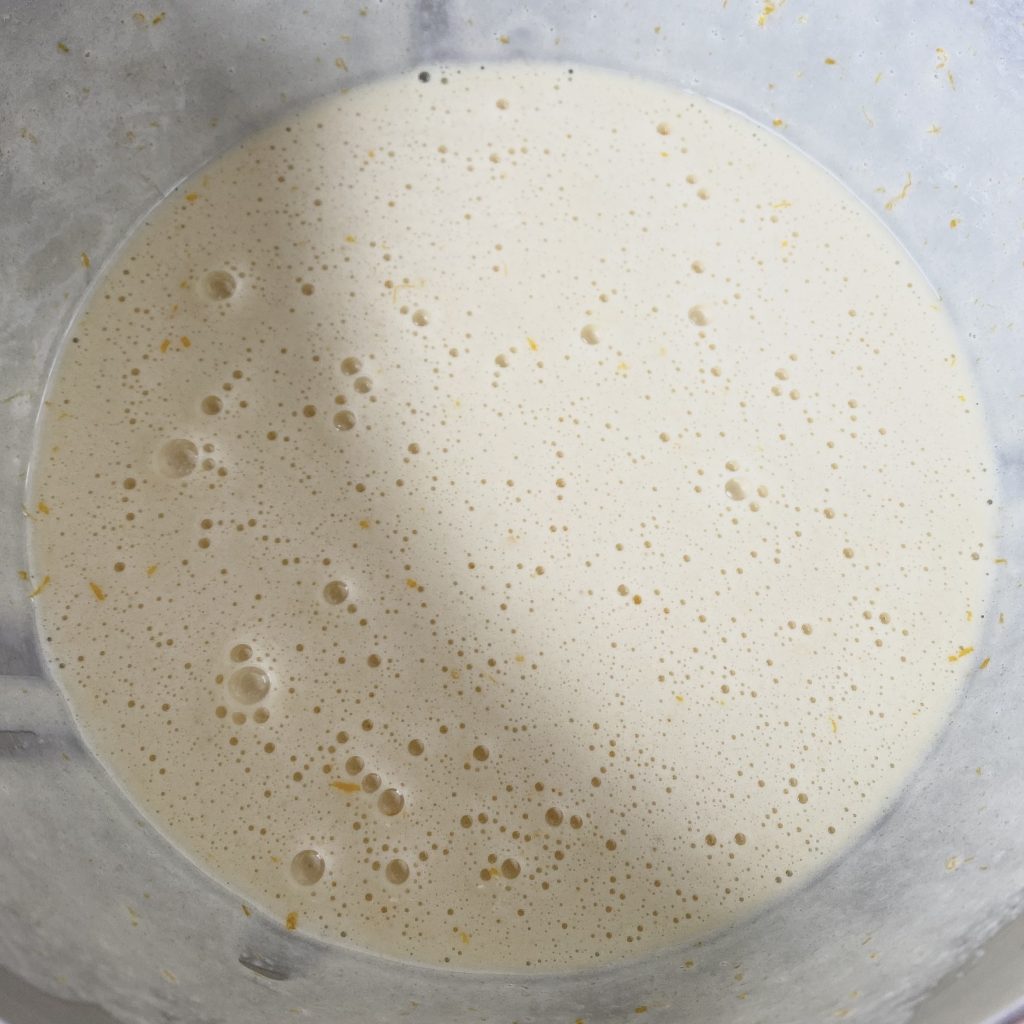
Once the sugar and zest are well-combined, add the eggs and whisk on medium-high speed, until the ‘ribbon’ stage is reached. When the mixture is ready, it will be pale, thick and creamy. It should also ‘fall’ off the paddle in ribbons (hence, the ‘ribbon’ stage). As a final test, you should be able to draw a figure of eight with that ribbon, before it disappears into the rest of the batter.
While the mixture is whipping, sift the flour, baking powder and salt together into a separate bowl, then set aside for later.
Once the egg mixture has reached the ribbon stage, add the oil in a slow, steady stream, with the mixer still running. Continue mixing until fully incorporated, then add the orange juice, orange blossom water and vanilla extract. Mix briefly to combine.
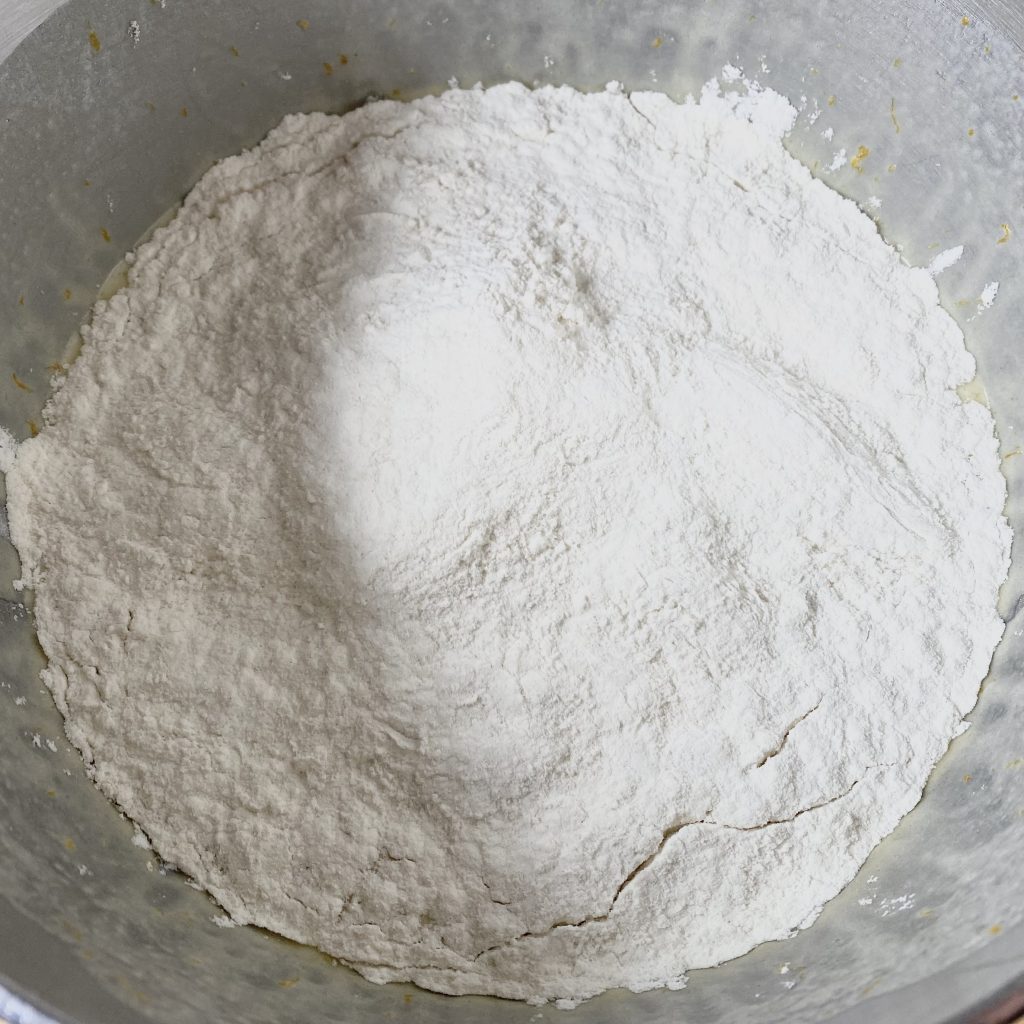
Now, add the dry ingredients to the mixture, by scattering them over the top in an even layer. I know this seems a bit faffy, but it’s important to preserve as much of the air in the batter as possible- plonking all of the dry ingredients on top, in one go and in one spot, will deflate all of the air you worked so hard to whip into the eggs! Take the extra minute and scatter in those dry ingredients!
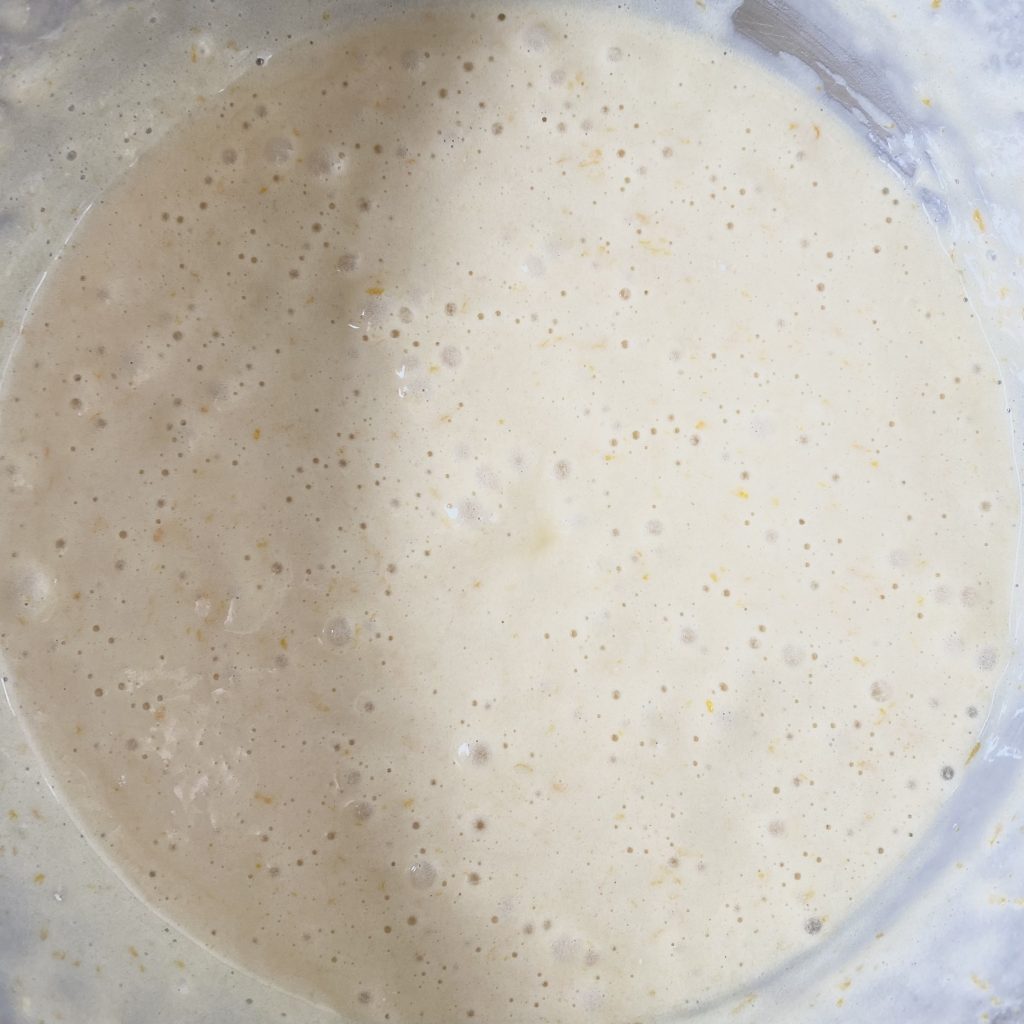
With the dry ingredients added, you need to fold them into the batter. Do this by hand to prevent over-mixing and use a large metal spoon for best results. Make sure to get right down to the bottom of the bowl. Once no streaks/pockets of flour remain, the batter is ready! It will be quite liquid, but that is how it should be.
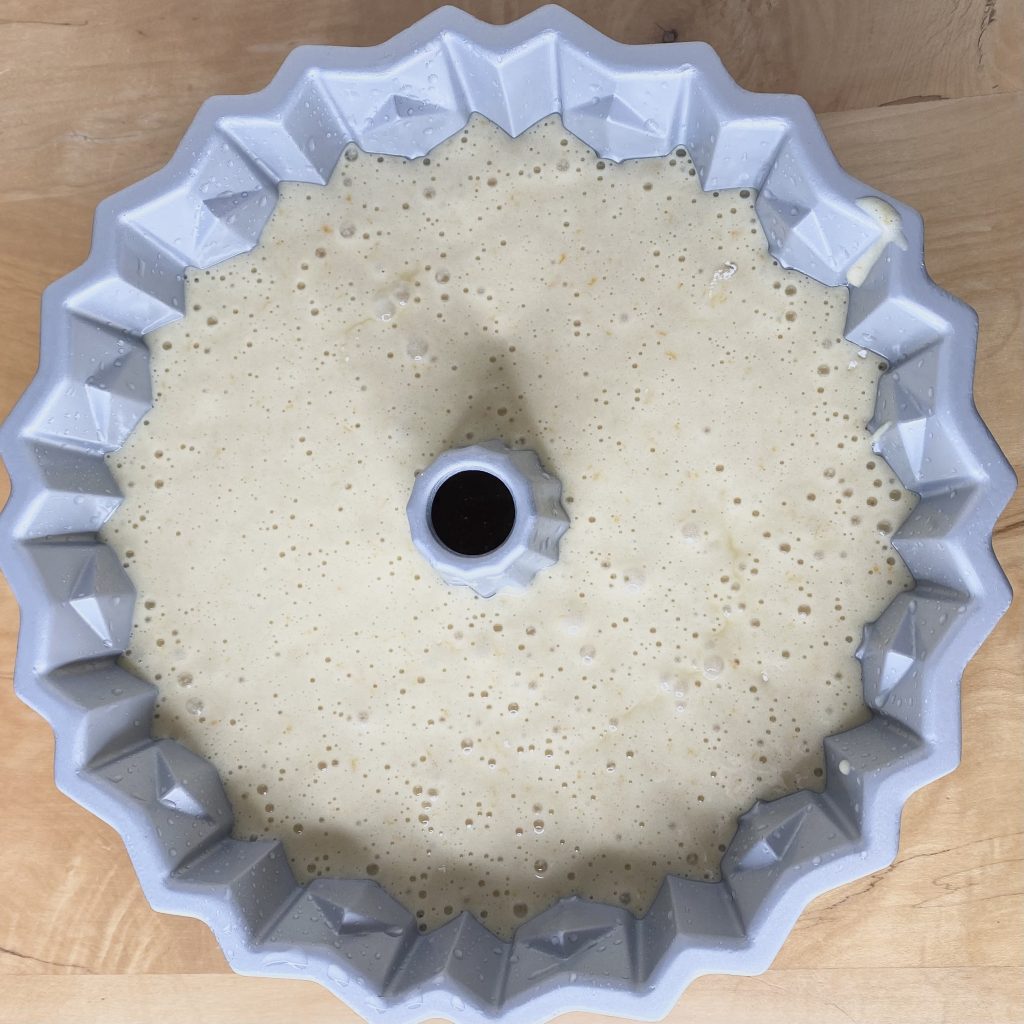
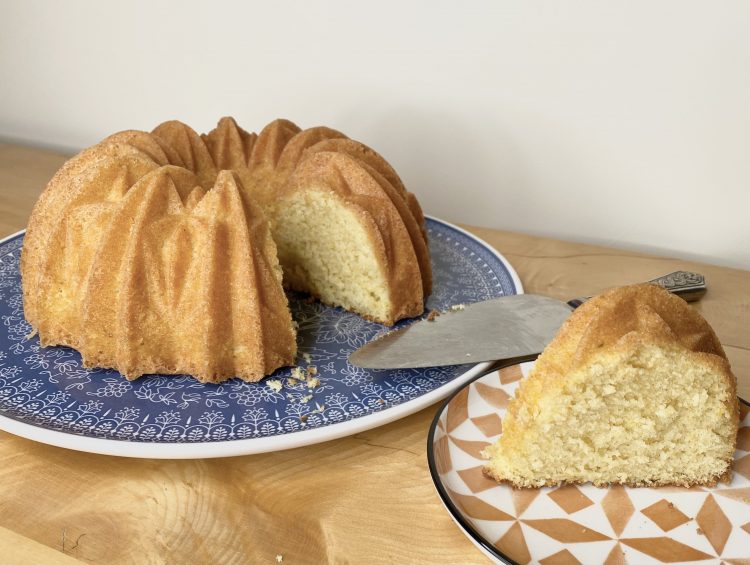
Pour the batter into the prepared tin, then place it into the oven to bake for about 40 minutes. The cake is much more delicate than a typical Victoria Sponge-style cake, so it can be a bit hard to tell when it is done. The skewer method is the most accurate way of telling with this cake: a skewer or sharp knife inserted into the cake should come out clean, or with only a few, moist crumbs. Once that’s the case, the cake is done!
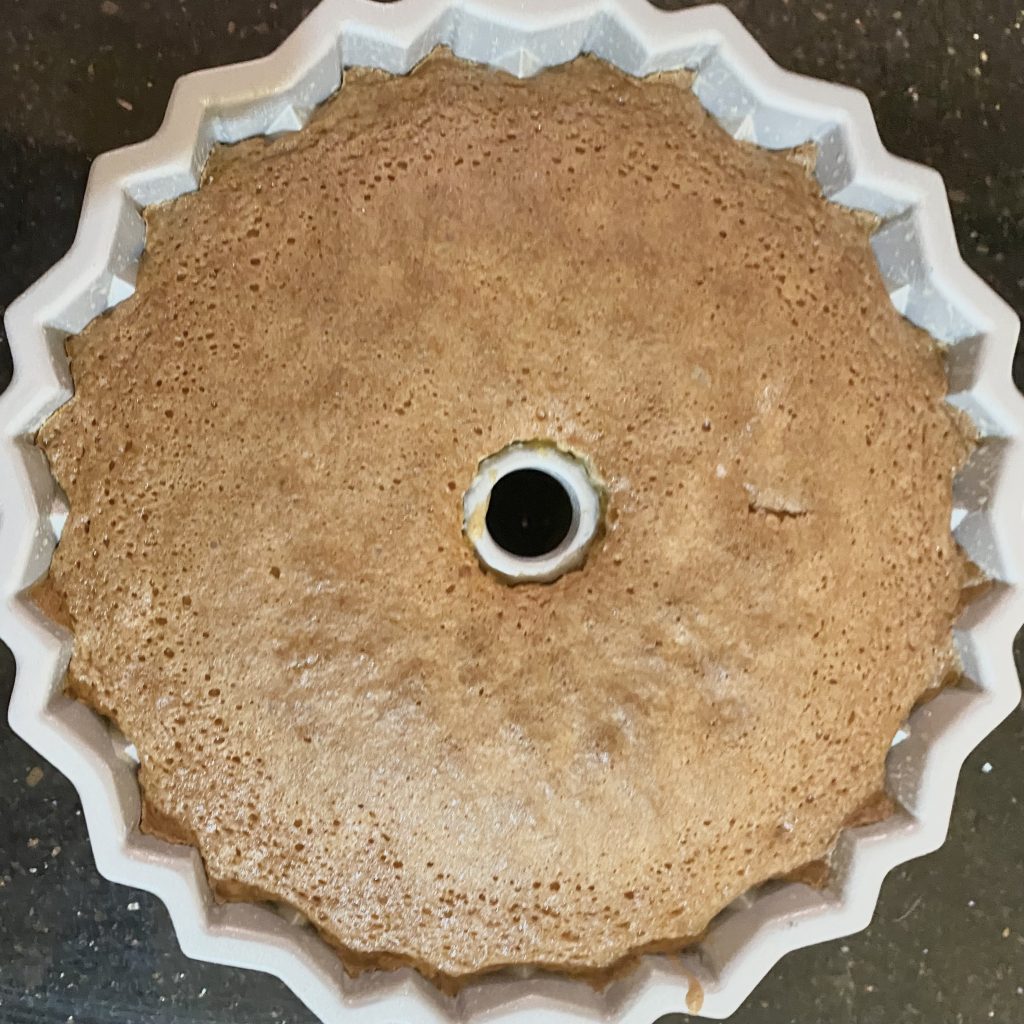
Allow the cake to cool in the tin for 5 minutes only before carefully turning it out onto a wire rack to cool completely. Turning the cake out while it is still warm will prevent it from sticking to the tin as it cools- just be careful not to burn yourself on the hot tin! I like to gently pull the cake away from the edges before turning it out, just to help things along.
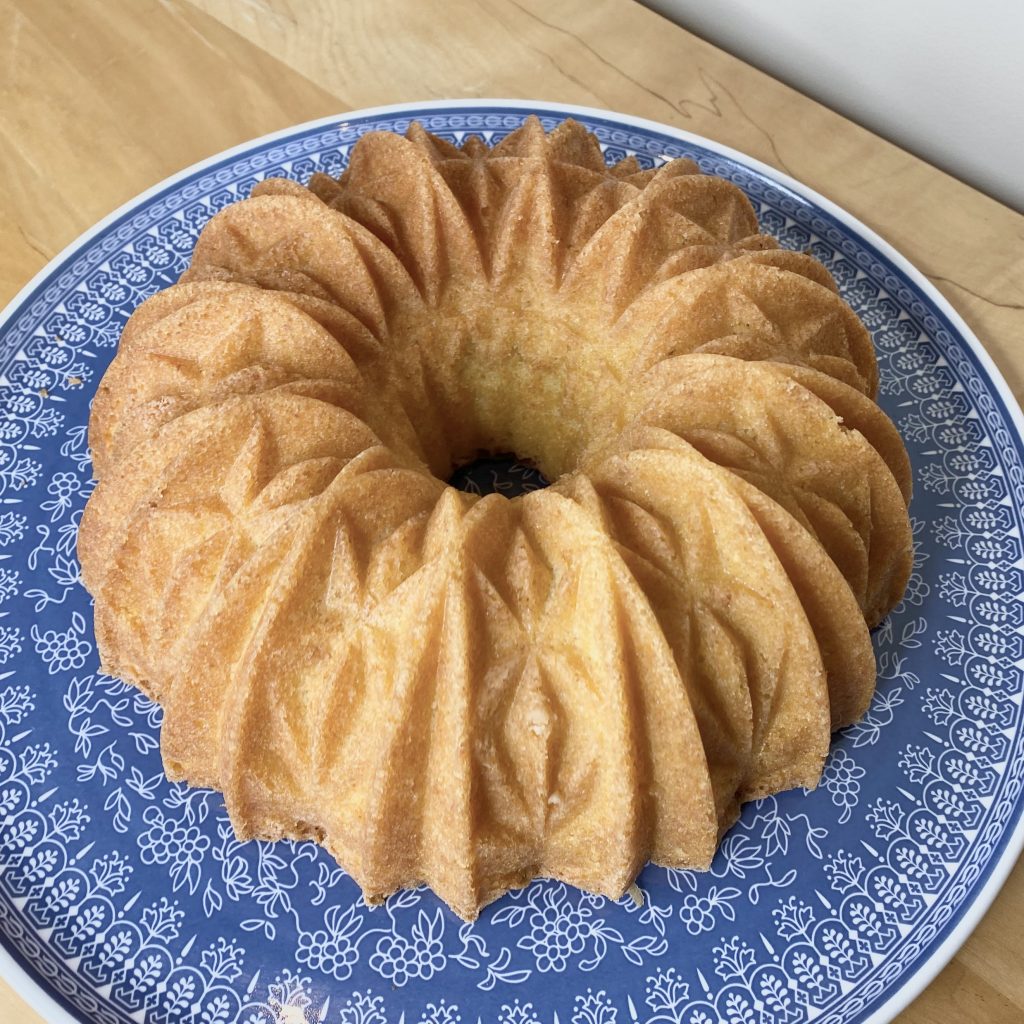
Once the cake is cool, it’s ready to serve! If you want to add a sugar syrup, I would recommend doing that while the cake is still warm, so that it really soaks into the cake, but all of the other toppings are best added once the cake is cool. It’s lovely plain though- it’s so moist and delicious that it really doesn’t even need anything else!
Final Thoughts
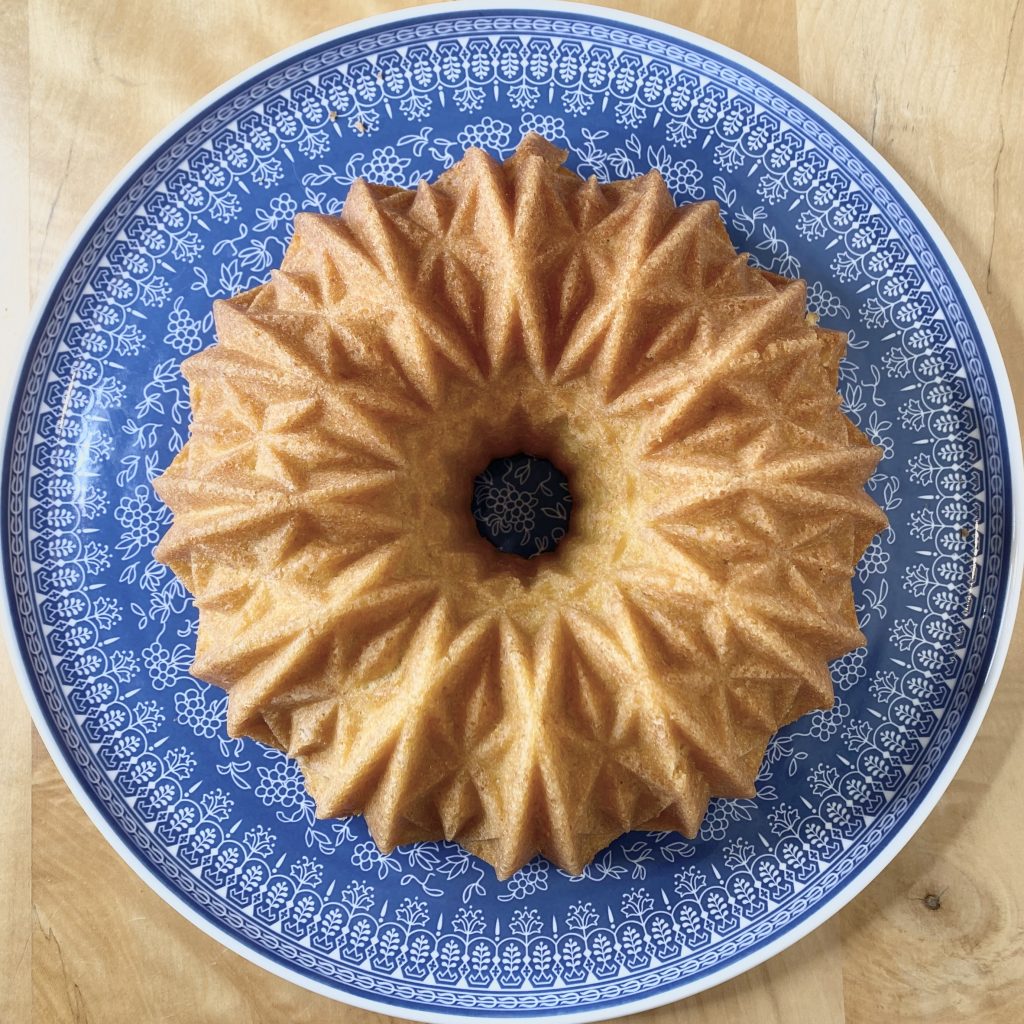
My other two Baking Around the World adventures have been cookie-based, so this was my first attempt at cake in the series. I’m so happy with how it turned out- it’s such a simple recipe, but it has so much history and culture woven into it that it really feels like something quite special. It’s also very delicious- considering that it’s a sponge cake, I was pleasantly surprised by how moist and tender the crumb was. I definitely think it’s one of those cakes that would be great to just have around, in case anyone drops by for coffee- it’s not overly fussy or fancy (though the bundt tin makes it look like it is!) and it’s very easy to make, but it’s a really delicious, afternoon tea treat.
I hope you’ve enjoyed this third instalment of my Baking Around the World series! Have you ever tried meskouta? Let me know in the comments below!
Gemma
xxx
Recipe
Meskouta
Ingredients
To grease the Bundt tin:
- 1 1/2 tbsp DIY Cake Release (see Note 1).
For the Meskouta
- 300 g caster sugar
- 3 tsp orange zest, finely grated.
- 4 eggs
- 120 ml vegetable oil
- 120 ml orange juice, freshly squeezed
- 3/4 tsp orange blossom water
- 1/8 tsp vanilla extract
- 250 g plain flour
- 2 tsp baking powder
- pinch salt
Instructions
- Preheat oven to 180°C (conventional oven). Grease a 10-cup bundt tin with a thin layer of DIY Cake Release and set aside.
- Place the sugar and orange zest into the bowl of a stand mixer, fitted with a paddle attachment, and mix on low speed until well-combined.
- Add the eggs to the sugar/zest mixture and beat on medium-high speed until the 'ribbon' stage is achieved.
- With the mixer running, add the oil in a slow, steady stream until all of it is incorporated. Add the orange juice, as well as the orange blossom water and mix briefly to combine.
- Sift together the flour, baking powder and salt, then gently fold into the batter by hand, using a large metal spoon. Once combined, pour the batter into the prepared tin and bake in the preheated oven for about 40 minutes, until a skewer inserted into the centre comes out clean, or with only a few, moist crumbs.
- Allow the cake to cool in the tin for 5 minutes before turning out onto a wire rack to cool completely before serving.
Notes
- You can find the recipe for my DIY Cake Release here– it will make it so much easier to get your finished Meskouta out of the tin. If you want to keep this cake dairy-free, substitute the butter in the cake release recipe with shortening.
Sources Used
African Food Network: Mescouta (Moroccan Yoghurt Cake).
Moroccan Olive Grove: Moroccan Orange Olive Oil Cake “Meskouta”.
NYT Cooking: Meskouta (Moroccan Orange Cake).
Taste of Maroc: Moroccan Orange Cake Recipe – Meskouta with Oranges.


