We’re entering into another heatwave here in the UK this week, so, naturally, I’m planning to cope with the heat by… eating tons of ice cream. Care to join me?
I love making homemade ice cream, but, when it’s super hot, no one wants to be standing over the stove, stirring custard, right? Enter: this 3-Ingredient, No-Churn, Lime Ice Cream.
For this ice cream, I was inspired by Brazilian Lemonade (also known as Swiss Lemonade, I believe!), in which whole limes are blended with ice, sugar, water and condensed milk to make a refreshing summer drink (though it can, apparently, be quite bitter if the limes are blended for too long). The combination of double cream and condensed milk is a tried-and-true base for no-churn ice cream (I learned about it from biggerbolderbaking.com!), but I usually find it a little too sweet for my liking. Thus, the idea to combine the concept of Brazilian Lemonade with a no-churn ice cream was born (after all, both contain condensed milk): you don’t have to worry about it being too sweet, because the sour, (potential) bitterness of the lime tempers the sweetness a little bit, and you don’t have to worry about it being too bitter, because the sweetness of the condensed milk tempers that too!
Overall, it’s a match made in heaven: 3 ingredients, super quick and easy to make and the perfect balance of flavours to cool you down as we enter the final stages of summer. Because of the similarities in ingredients, this ice cream tastes pretty much exactly like a slice of key lime pie, just frozen (and without the biscuit base, though you could absolutely remedy that by topping your scoops with some crumbled up digestives!).
Table of Contents
Ingredients
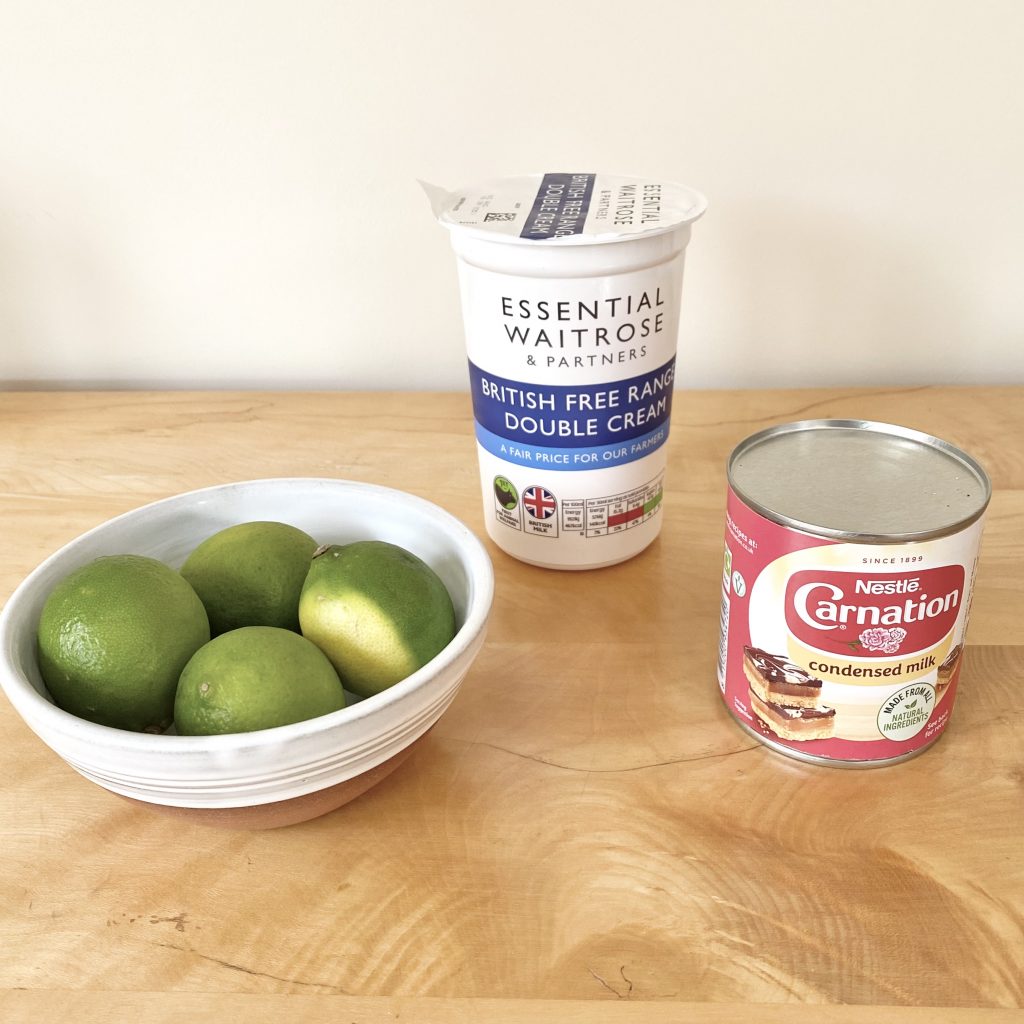
As the name suggests, this ice cream only requires 3 ingredients:
- Limes
You’ll be using whole limes for this recipe (rind and all!) so I’d recommend using unwaxed ones.
- Double cream
You want your cream to be very cold, so use it straight from the fridge. If you’re in the US, use heavy cream.
- Condensed milk
I use Carnation condensed milk, which is the most common, readily-available brand in the UK. It comes in 397g tins and you’ll need a whole tin for this recipe. Just like the cream, you want the condensed milk to be cold, so chill it in the fridge for at least an hour before using it.
Equipment
This is a no-churn ice cream recipe, so you don’t need an ice cream maker for it! You do, however, need the following pieces of equipment:
- Blender
Confession: I don’t actually own a freestanding blender (what can I say? I’m just not a smoothie girl…). I do, however, have an immersion blender (go figure), which works just as well here (even if it requires a little bit more effort). Either one will work, but you will need some type of blending apparatus to blitz the limes up!
- Electric whisk
Okay, so you could make this recipe with a hand whisk but it will take a lot of elbow grease! An electric whisk will make this process much faster and less like a workout routine. I used my freestanding electric mixer, but an electric hand whisk would work just as well.
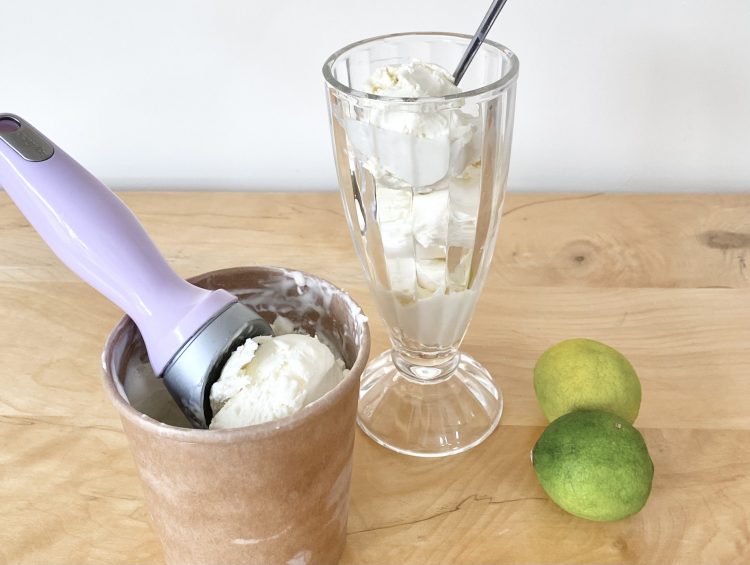
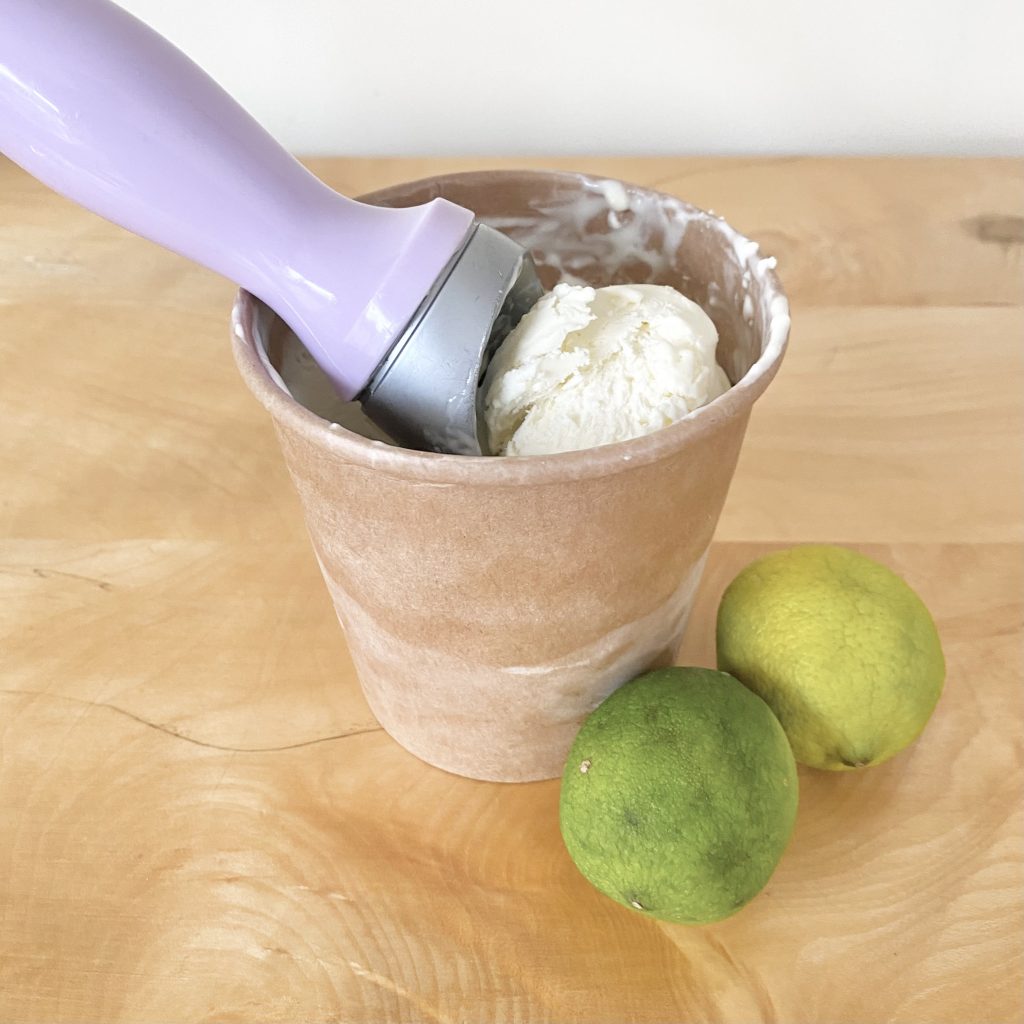
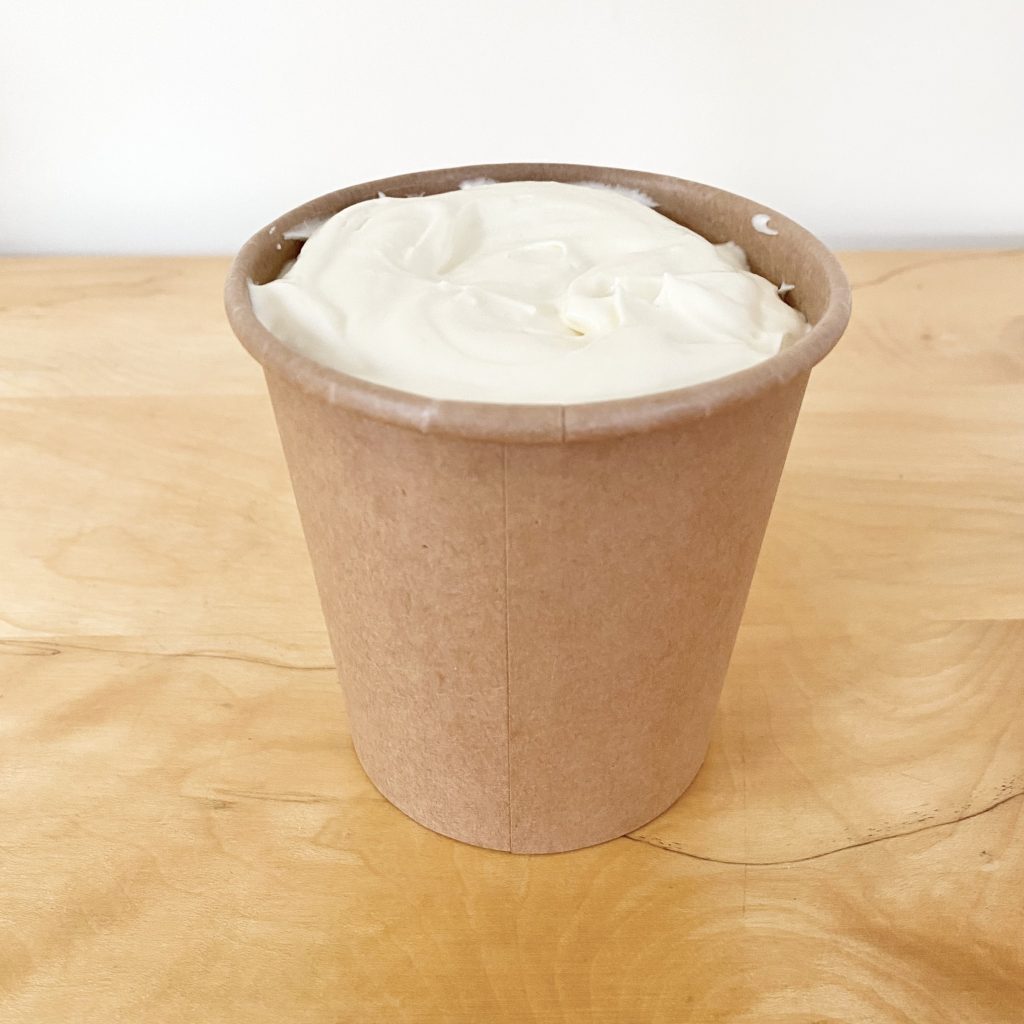
- Freezer containers
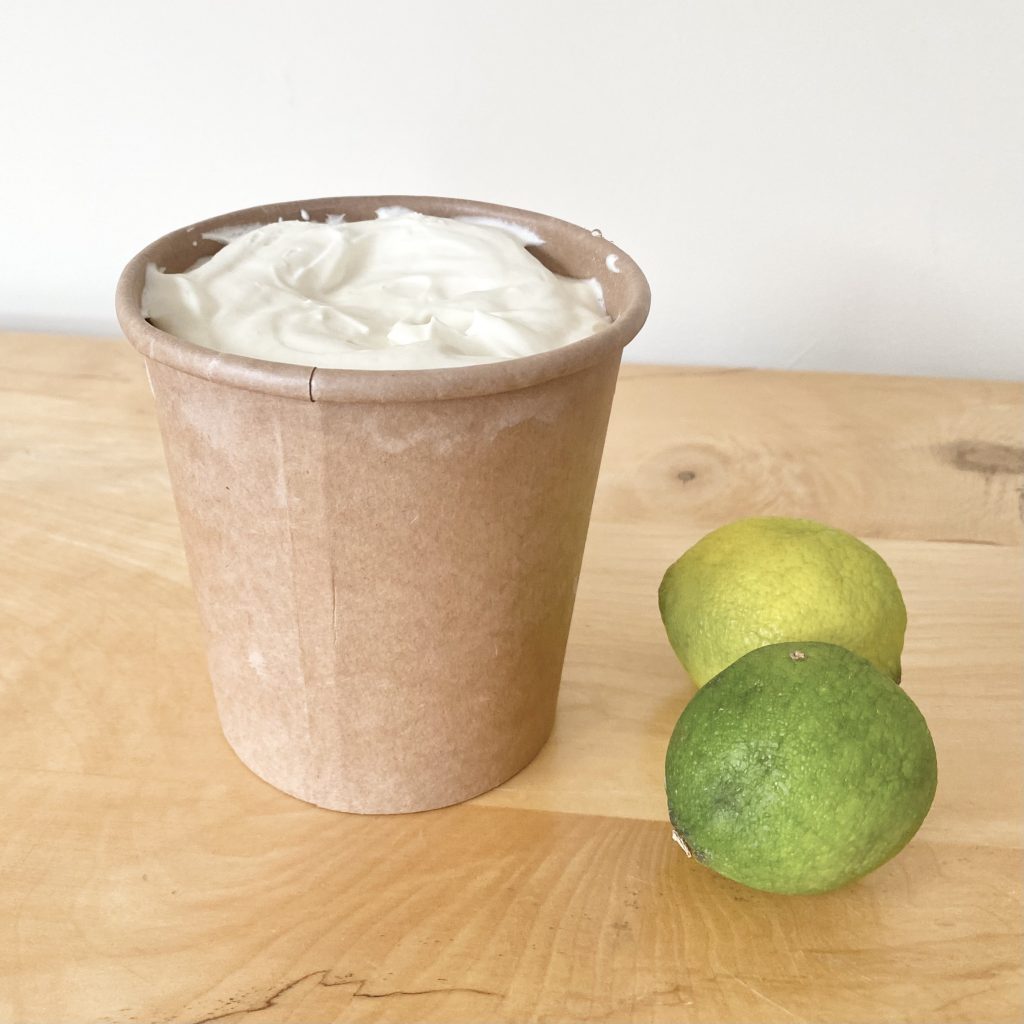
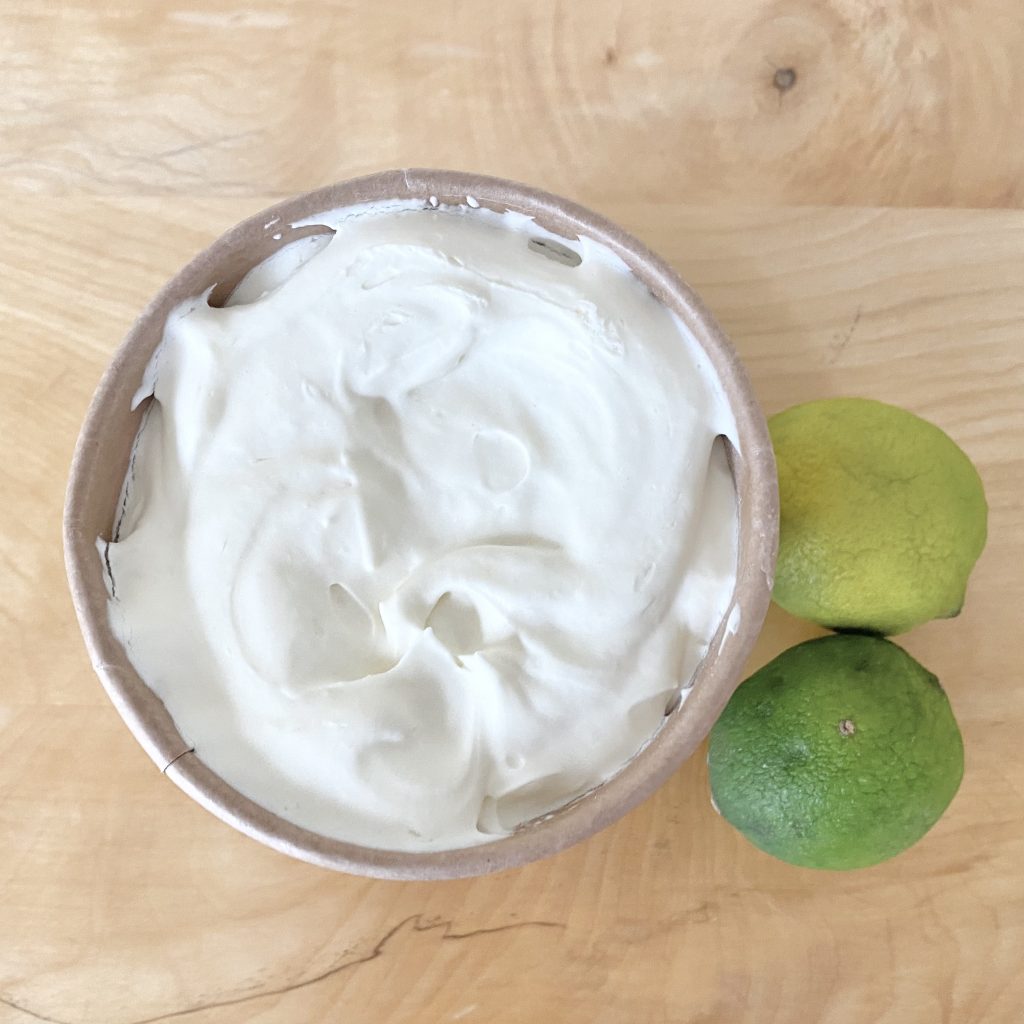
You can use any freezer-safe container to store your ice cream in, but I love using these kraft paper pint tubs (mainly because I love the whimsy of making my own pints of ice cream, but also because I can easily label the tubs with a permanent marker!). This recipe makes enough ice cream to fill about 2 1/2 of the 16oz tubs (annoying, I know, but not annoying enough to warrant using an extra 1/5 tin of condensed milk).
Making the Ice Cream
Now it’s time to make the ice cream (and it’s a super easy process)!
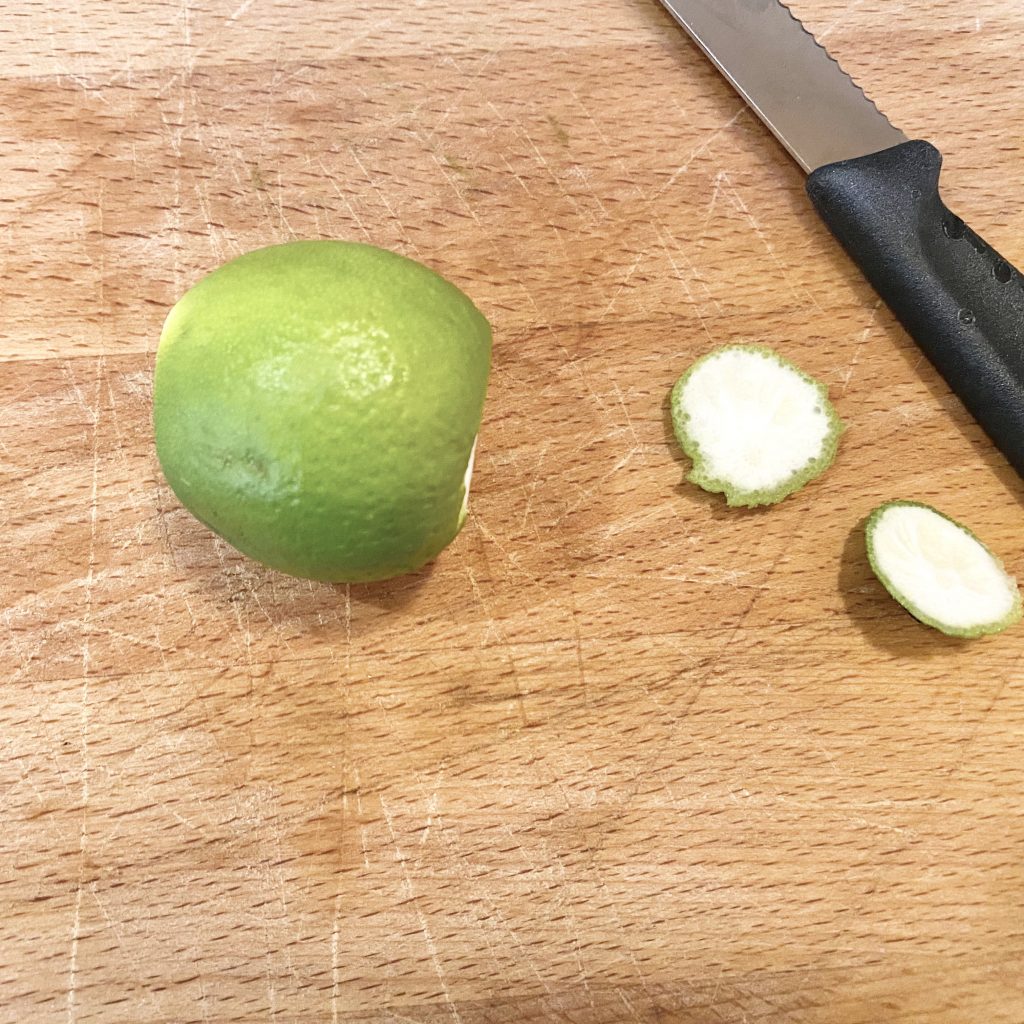
Start by chopping up your limes. We’ll be using the whole fruit in this recipe, but, to make it easier for your blender, you want to chop them up a little first! I like to take a little off each end of the limes beforehand, just to remove the woody stalk/excess pith.
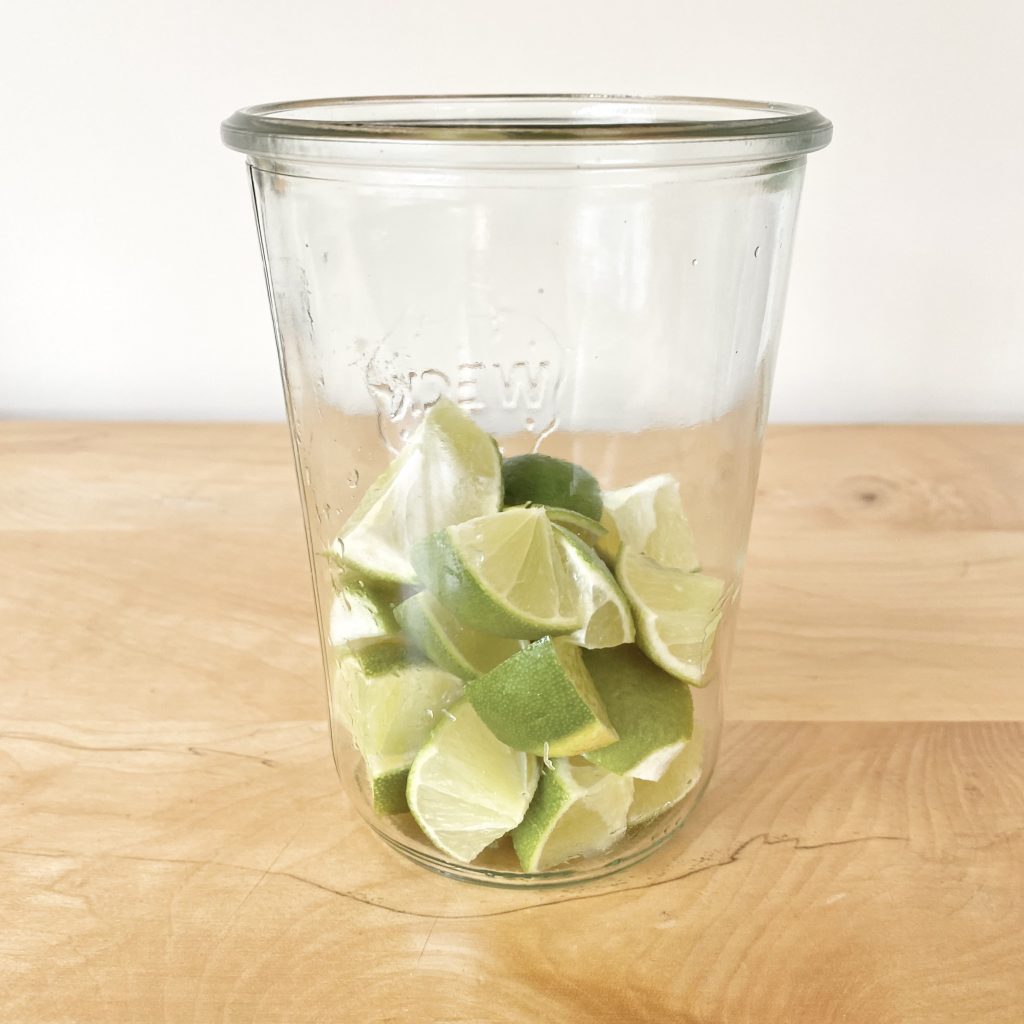
Then, chop each lime into about 8 pieces (or whatever you fancy, it’s up to you and the strength of your blender!).Place all of your lime pieces into your blender (or, if you’re using an immersion blender like me, a strong, tall, thin container like this WECK jar is ideal).
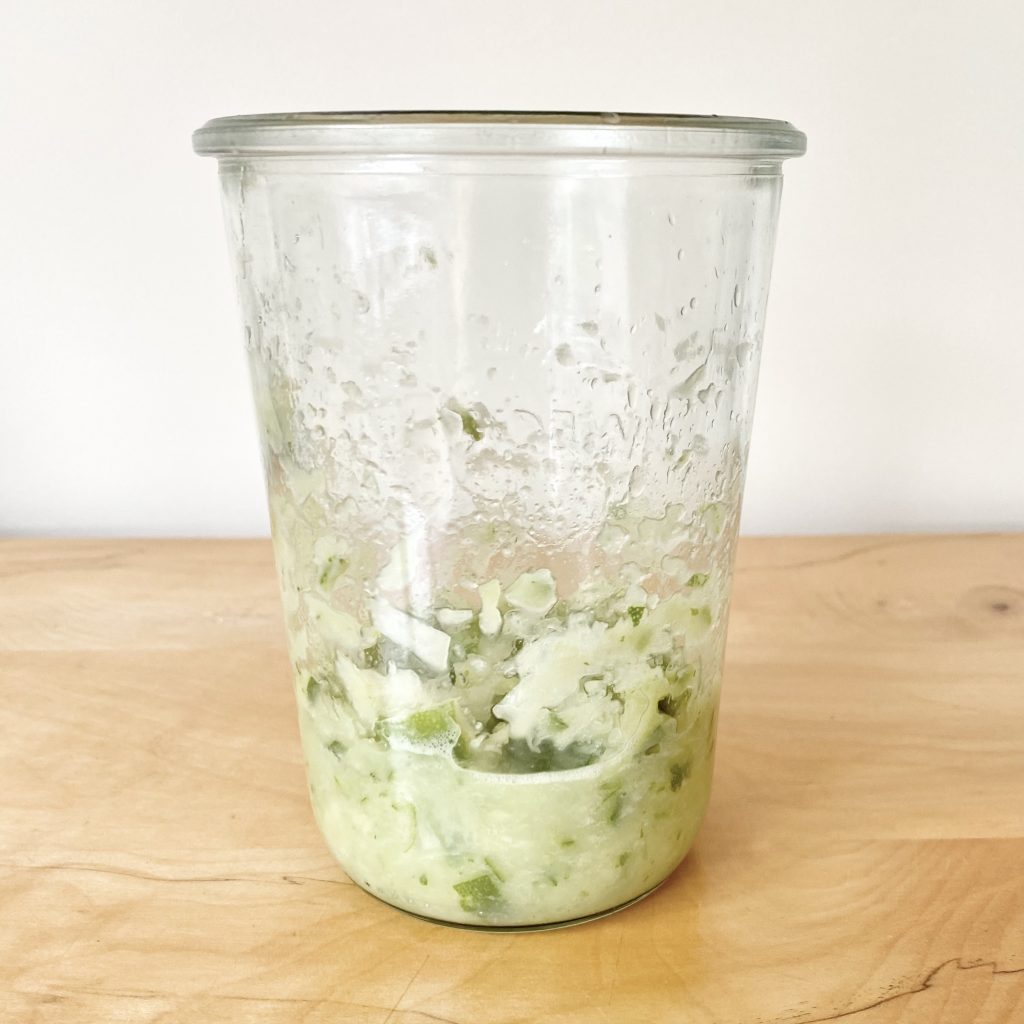
Then, blend away! Don’t worry too much about over-blending the limes and releasing their bitterness, because there’s a lot of condensed milk in this recipe to counteract any bitterness.
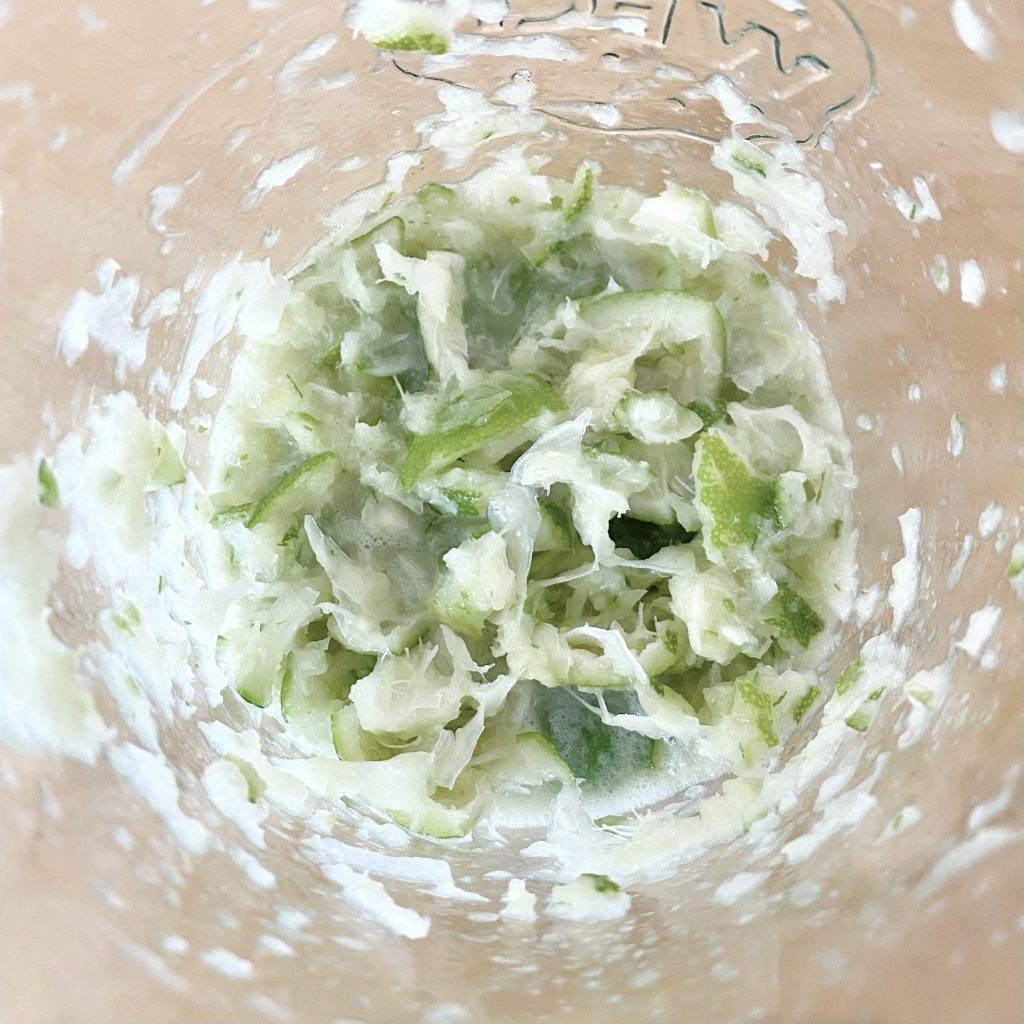
Blend until you have a lime-y pulp, then strain that pulp through a fine mesh sieve, pressing on it with the back of a spoon to release all of the juices (if you want, you can go back and blend the leftover pulp from the sieve again to get even more juice, which is what I did!).
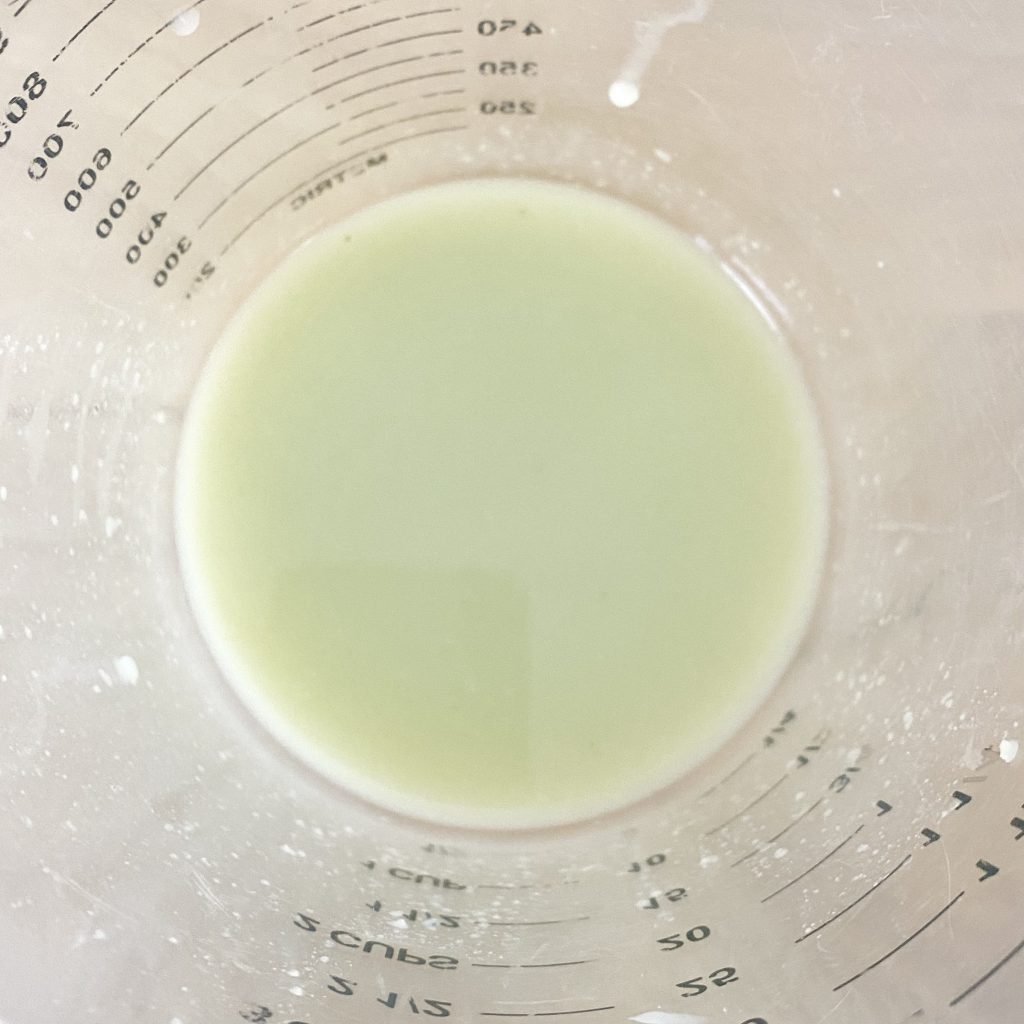
You’ll be left with a green liquid that has the consistency of regular lime juice, but a much more vibrant green colour and a more opaque appearance (so it’s lime juice with oomph!).
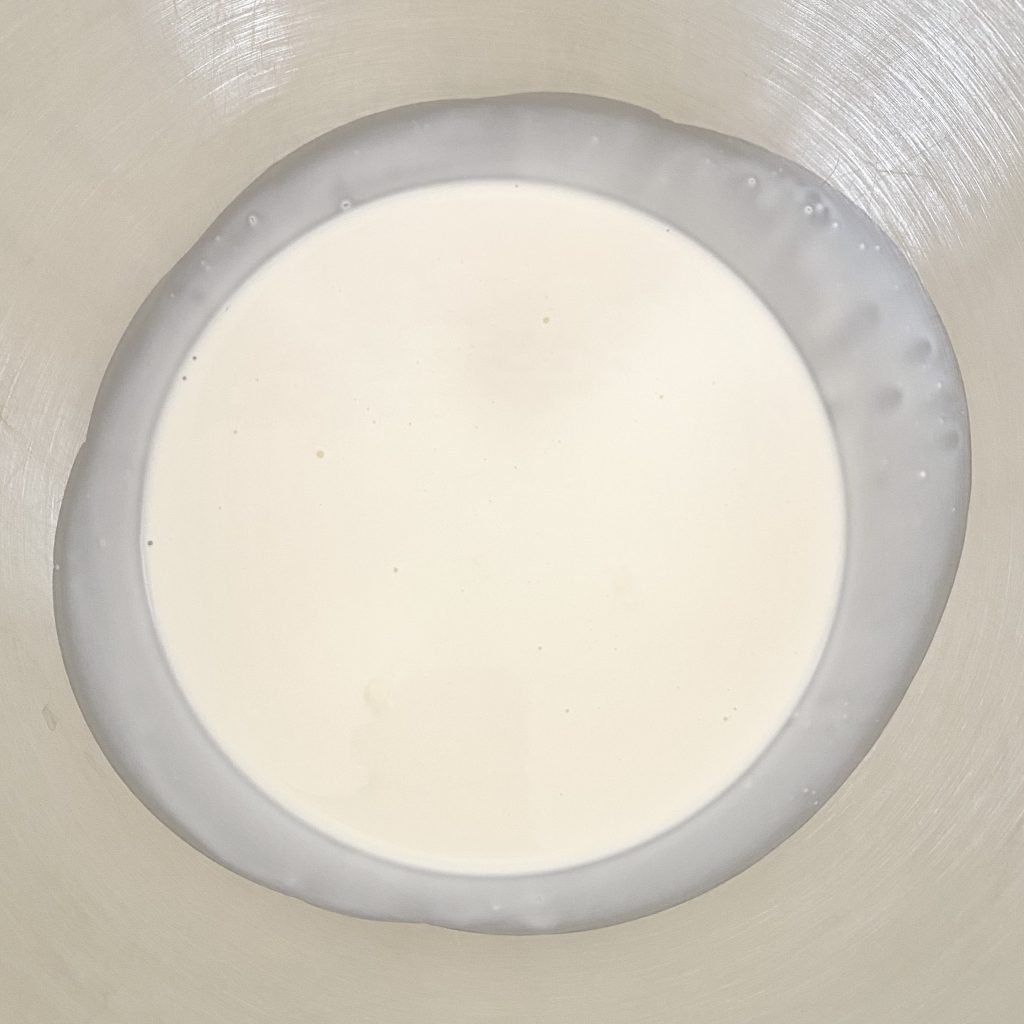
Set the lime juice aside and place the double cream in the bowl of a freestanding electric mixer (or just a large bowl, if you’re using a handheld mixer).
Whisk on medium-high speed until the cream reaches soft peaks.
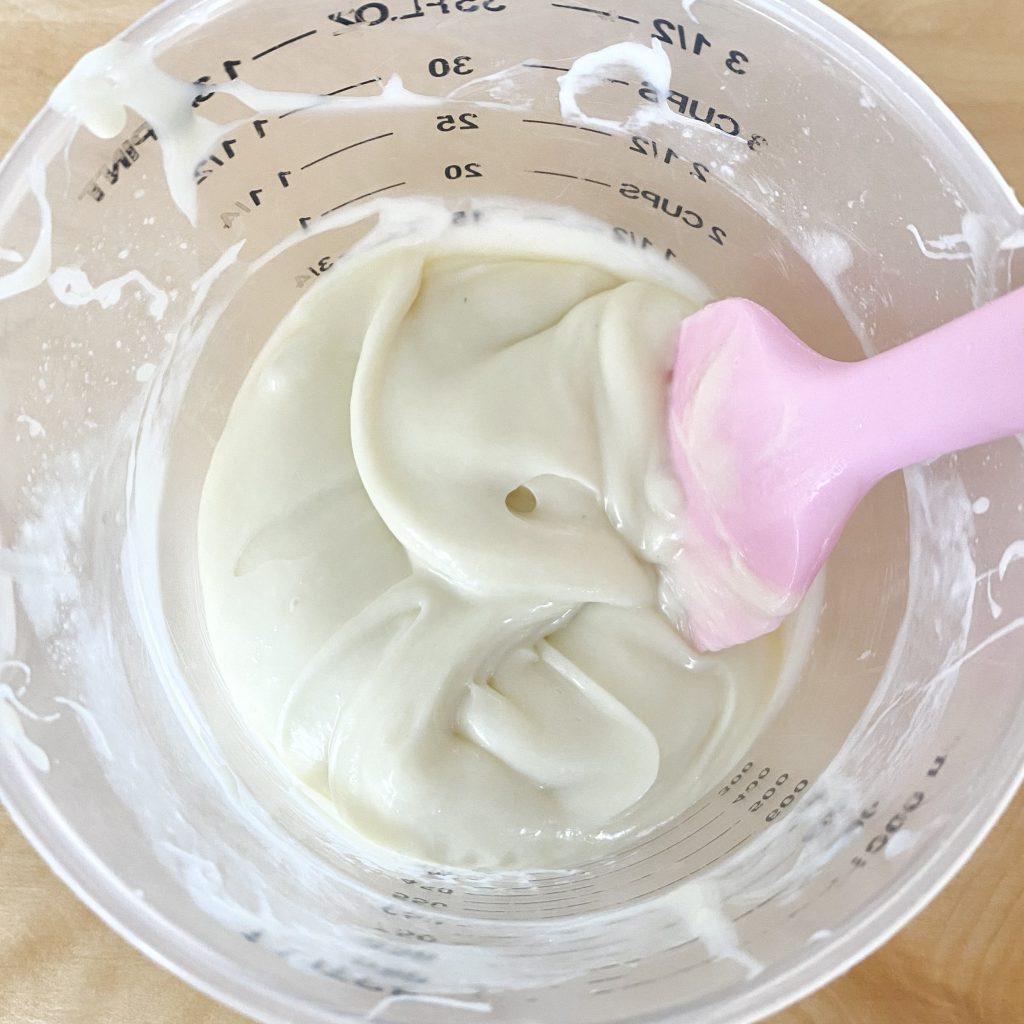
While the cream is whipping, add the cold condensed milk to the lime juice and stir it well to combine. When it’s cold, condensed milk becomes extra thick and sticky, and it will thicken up even more when it’s mixed with the lime juice, but don’t worry: that’s how it’s supposed to be!
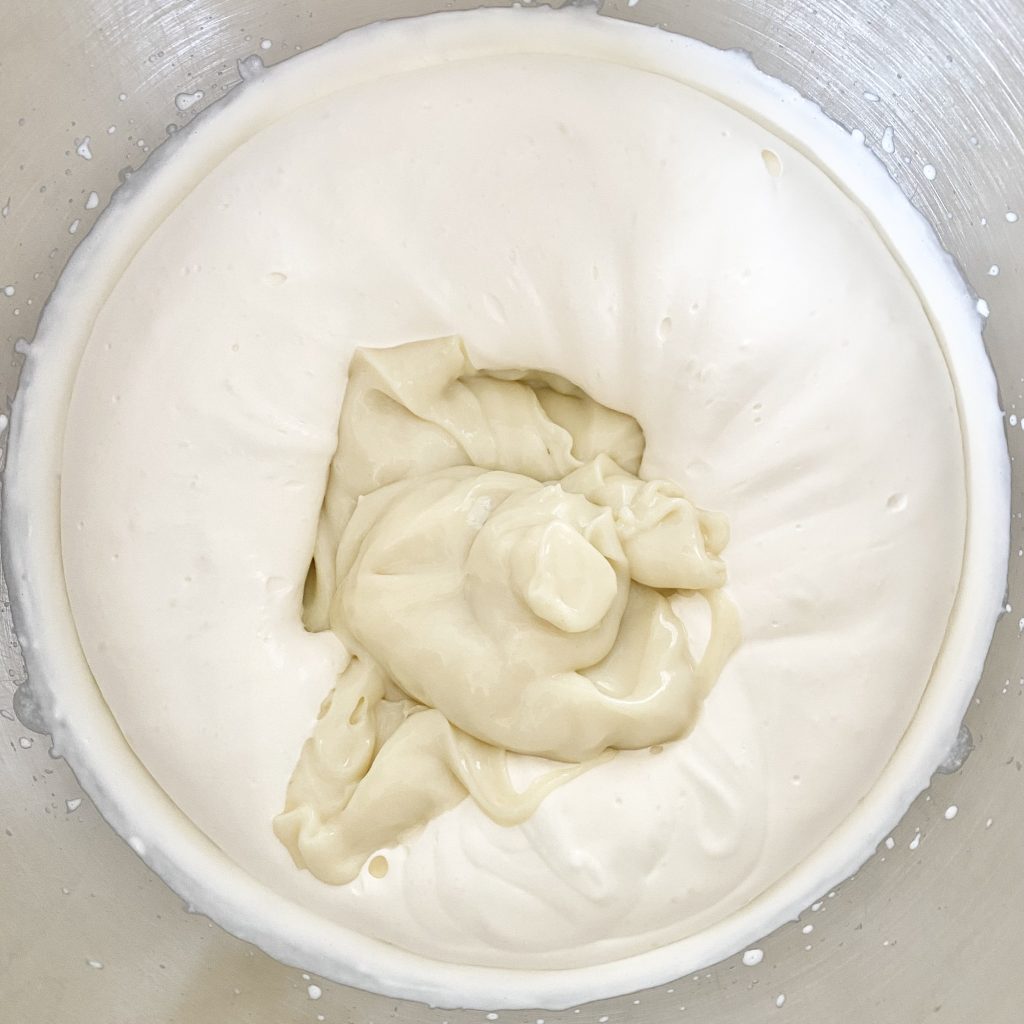
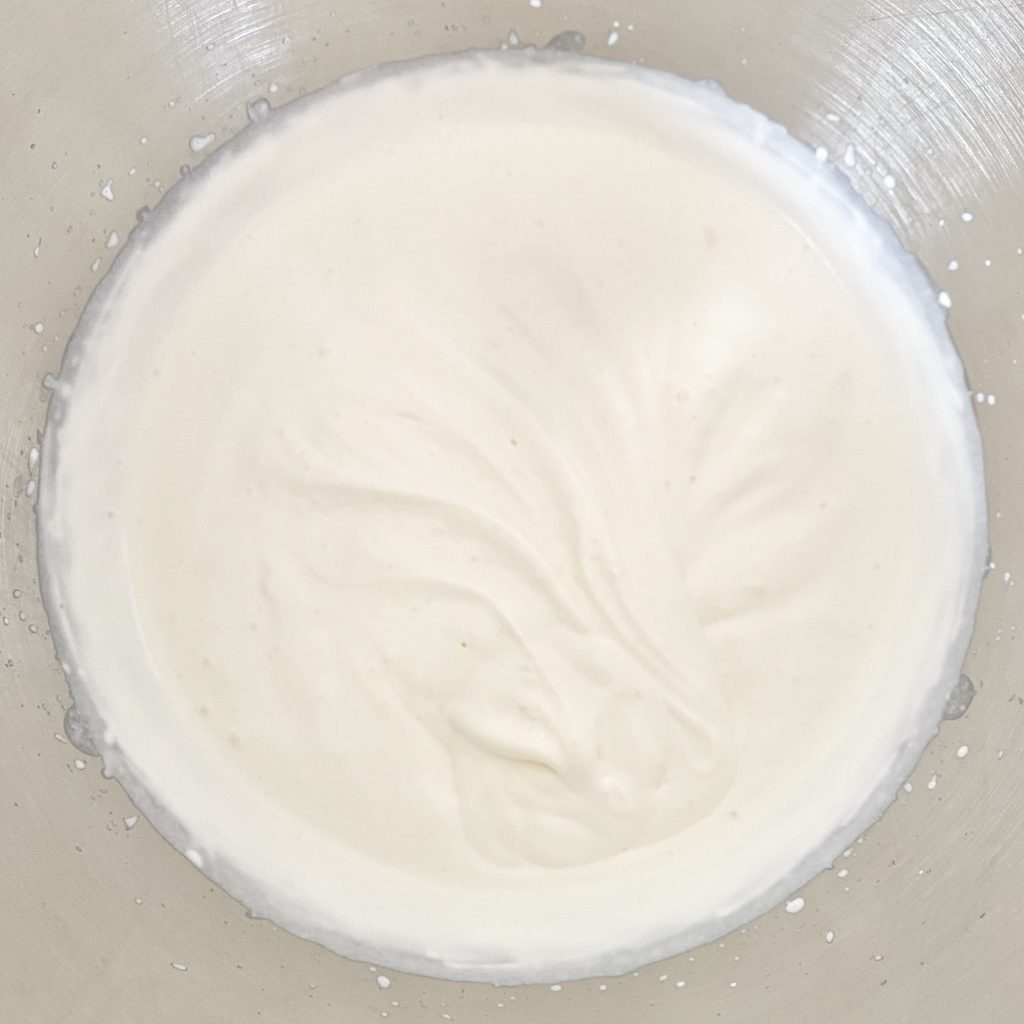
Once the cream is ready, add the lime/condensed milk mixture to the bowl of the stand mixer.
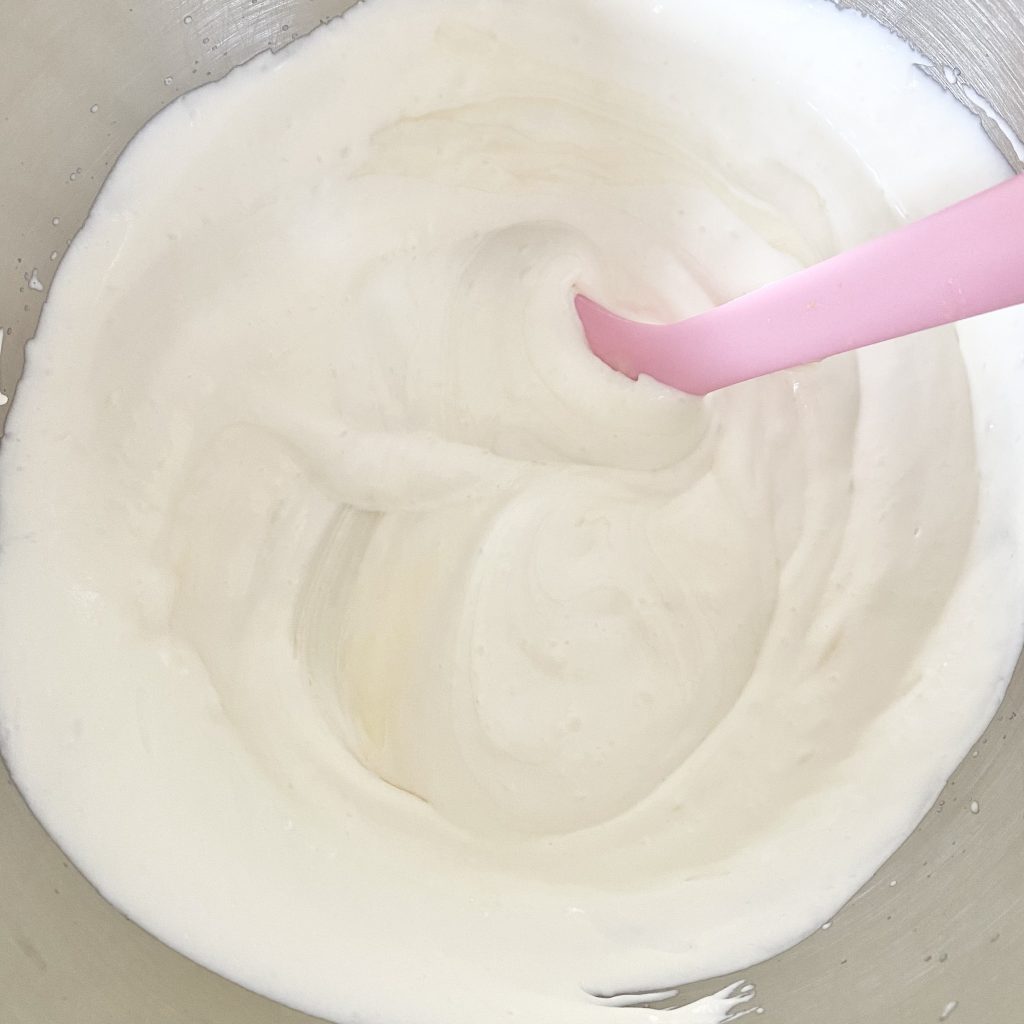
Use a large spatula to fold the condensed milk mixture in. I like to do this to ensure everything is fully combined before I start the second whisking.
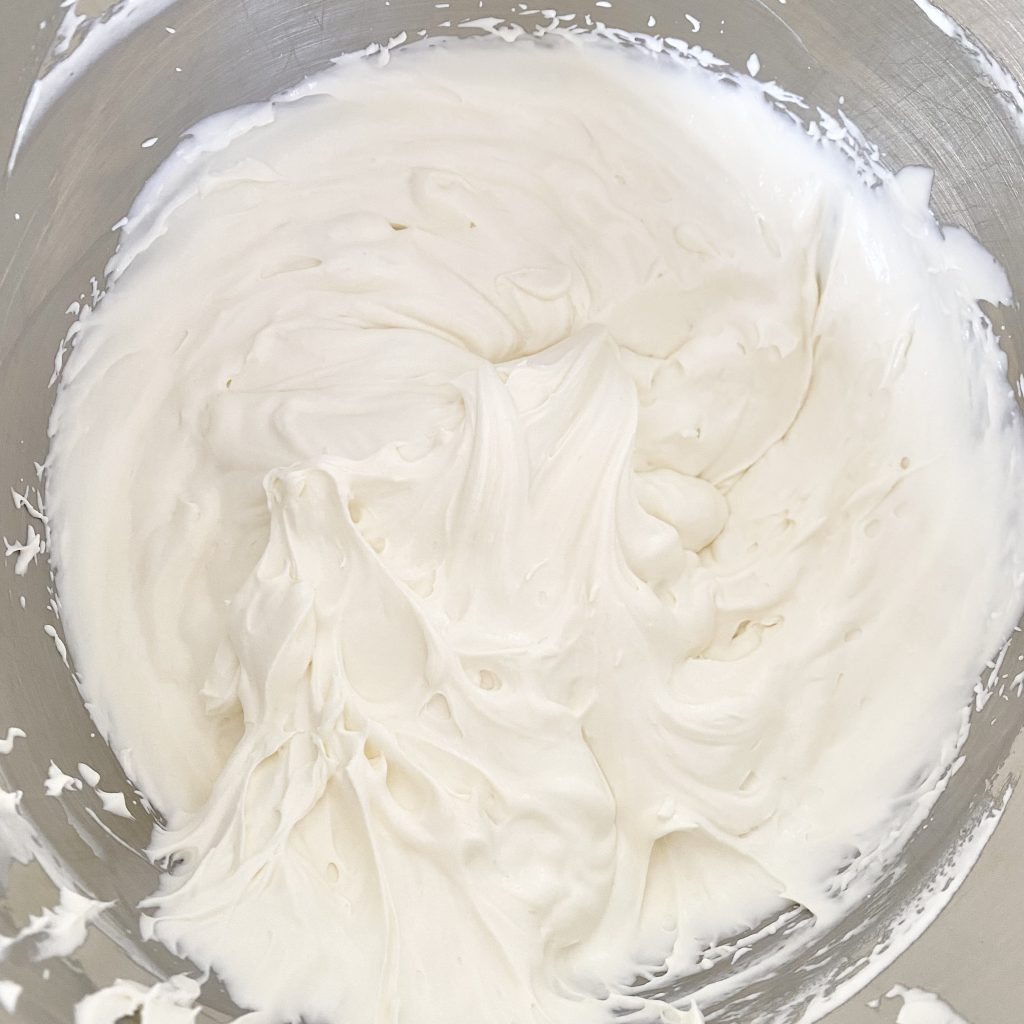
Once everything is incorporated, whisk the whole thing again on high speed until the mixture reaches stiff peaks. This won’t take very long (usually less than 30 seconds), so be careful not to over-whip the mixture, as this will cause the cream to split.
Once the mixture reaches stiff peaks, you can transfer it to your freezer containers, label them (always an important step for freezer storage, I find!) and stash them away in the freezer overnight, before enjoying! The ice cream will keep in the freezer for about 6 weeks.

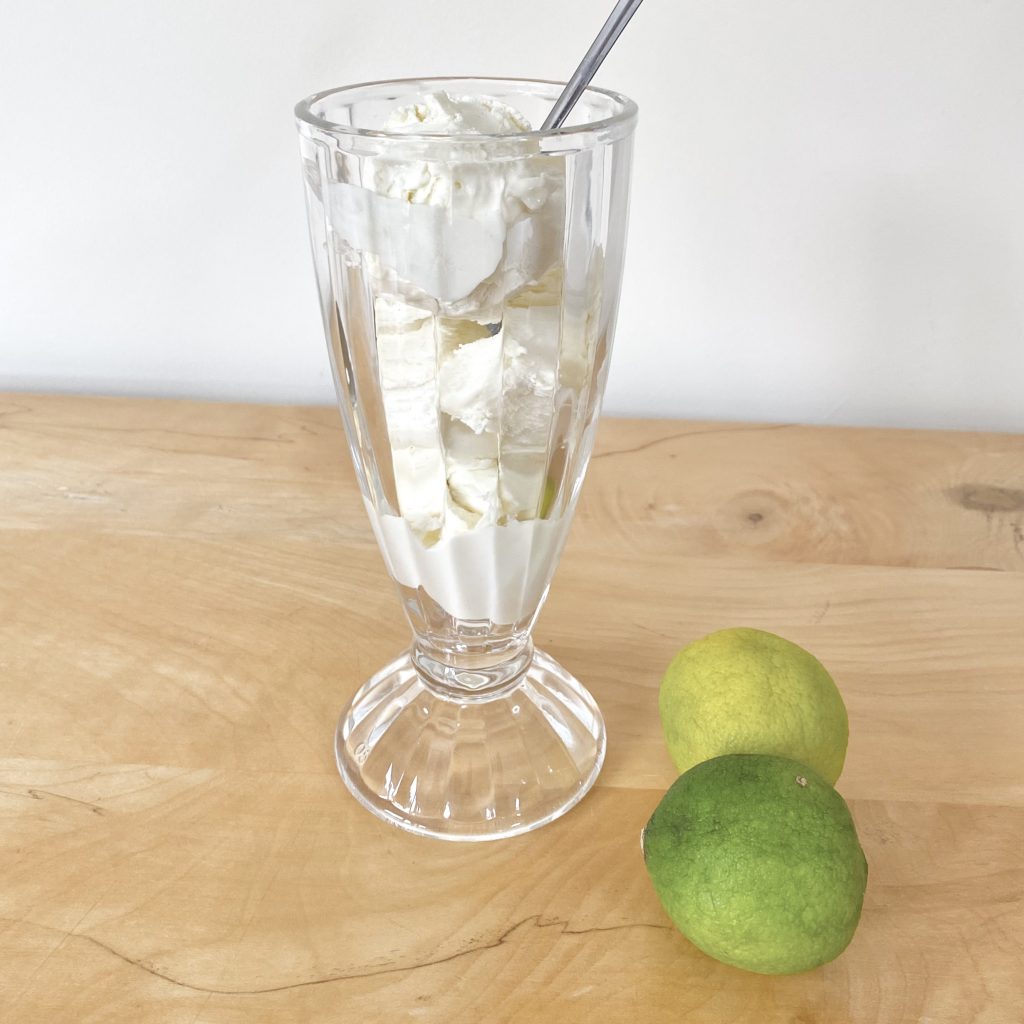
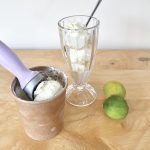
This is a pretty firm-set ice cream, so I recommend taking it out of the freezer and letting it sit at room temperature for 5-10 minutes before scooping (and, if needed, using a slightly warm ice cream scoop) to make the process super easy!
No-Churn vs Regular Ice Cream
Okay, look: no-churn ice cream is never going to be exactly the same as a regular, custard-based ice cream. The ingredients are completely different and the method is even more different, so these two frozen treats are, well, different.
I find that no-churn ice creams are usually sweeter (it’s inevitable, with all that condensed milk!) and more firmly set when frozen than their custard-based counterpart. The textural difference is most notable when the two ice creams melt: with regular ice cream, you get a thin, milky custard. With this no-churn ice cream, you get a thick cream (reminiscent of softly whipped cream), which my mind cannot comprehend, but, truthfully, is still enjoyable. Both ice cream styles are creamy and smooth (not icy, as you might expect with a no-churn ice cream), but they’re creamy in different ways: this no-churn ice cream feels like smooth, frozen cream, whereas regular ice cream tastes like smooth, frozen custard. It’s just personal preference which one you enjoy more!
For me, it’s hard to beat the taste, texture and general deliciousness of regular ice cream, but it is kind of labour-intensive to make: you make the custard, cool the custard, churn the custard, then, finally, wait for the whole thing to freeze. With no-churn ice cream, you whisk everything up and freeze it: that’s it! If you’re in a hurry, have limited free time/energy or just want a sweet, frozen treat as soon as possible, no-churn ice cream is your friend.
Recipe
3-Ingredient, No-Churn Lime Ice Cream
Equipment
- 1 Blender (see Note 1).
- 1 Electric whisk (handheld or freestanding).
- Freezer-safe containers.
Ingredients
- 4 limes
- 450 ml double cream, cold.
- 397 g condensed milk, cold (see Note 2).
Instructions
- Slice the ends off of the limes, then chop each lime into 8 pieces. Place the lime chunks into a blender, then blend until you have a chunky lime pulp.
- Strain the pulp through a fine mesh sieve, catching the green liquid in a jug/bowl below. Press down on the pulp to extract all of the juice. If desired, return the remaining pulp to the blender and blend/strain again to get even more juice.
- Whisk the cream to soft peaks.
- Mix the cold condensed milk into the lime juice. It will thicken up considerably, but that is okay!
- Fold the condensed milk mixture into the softly whipped cream until incorporated. Then, whisk the whole mixture again until it forms stiff peaks. Be careful not to over-whip.
- Transfer the ice cream mixture to your freezer containers and freeze overnight before serving. Allow to sit at room temperature for 5-10 minutes before scooping and serving. Stored in the freezer, the ice cream will keep for about 6 weeks.
Notes
- You can use a regular, freestanding blender or an immersion blender for this. If using an immersion blender, place the lime chunks into a strong, tall, thin jar/jug/cup before blending, to make the process easier.
- Cold condensed milk makes for the best no-churn ice cream, so make sure to chill the condensed milk in the fridge for at least an hour before using it.