Some months, life just (very rudely) gets in the way. October has been pretty busy for me- full of super exciting things like routine hospital appointments and dentist checkups and the like. As a result, my bullet journal has fallen a little by the wayside. As much as I loved my October spreads, they just haven’t gotten much use this month. It’s okay though- I often have days, weeks, even months, where I don’t use my bullet journal as frequently or as successfully as I would like. Life is unpredictable and sometimes, bullet journalling is just not the most important thing. I think what is important, though, is how you deal with coming back to it. I know that bullet journalling has a hugely positive impact on my life and mental health, so I know that, when I’m ready, I will come back to it- it’s just about how I go about doing that.
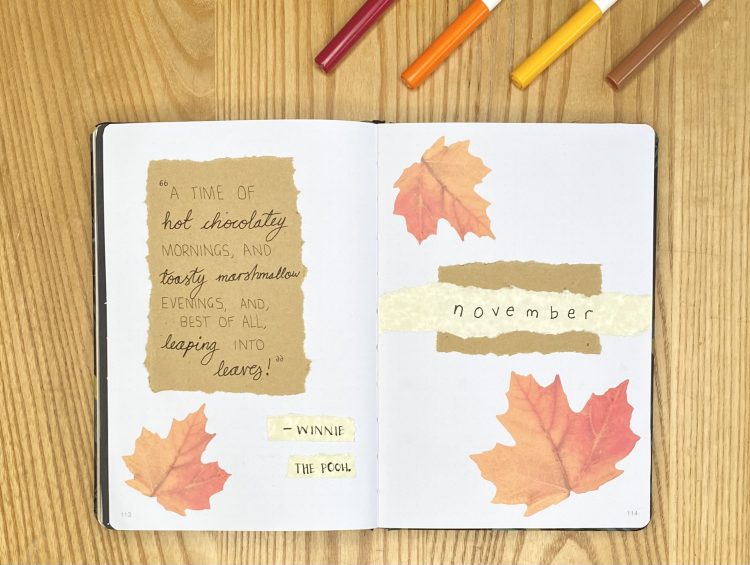
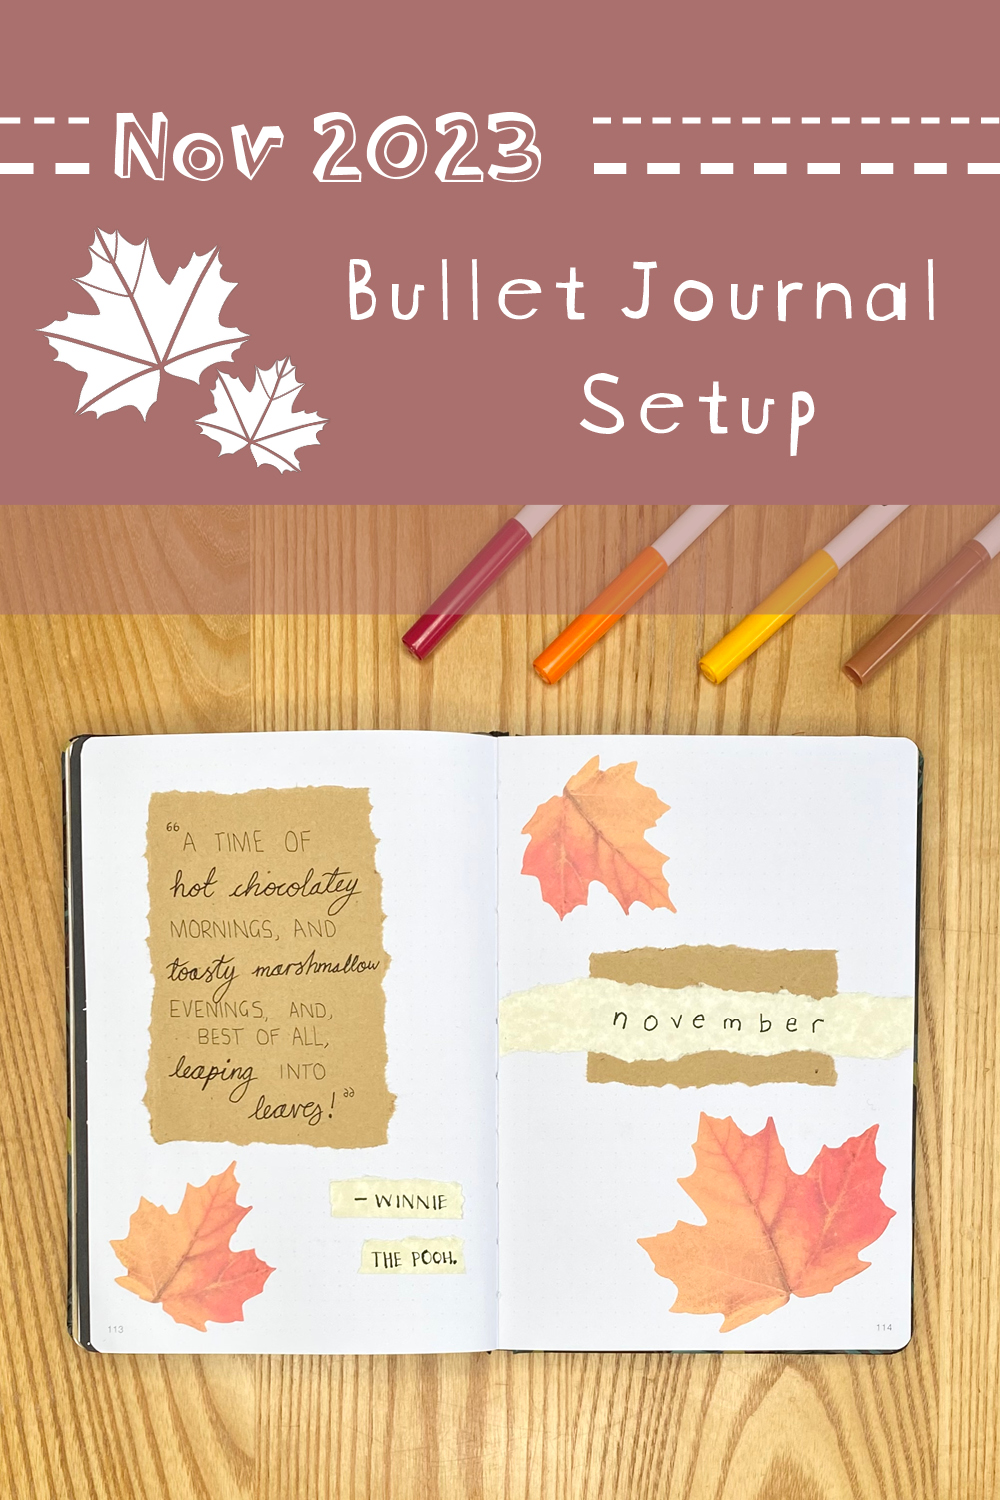
I knew that it was important for me to ensure that my November setup was as quick and easy to create as possible- a super complex, labour-intensive setup, at this point, would only serve to make bullet journalling feel even less approachable to me. Therefore, I made this month’s setup with ease and accessibility in mind. I needed spreads that maintained the usefulness and clarity of my previous setups, but nothing that took hours and hours to create, just to help myself get back into the swing of things. Because of this, I opted to take a couple of shortcuts. I decided on an autumnal, maple leaf theme. For the decoration of the theme, I relied upon these pre-made maple leaf post-it notes– yes, it felt a little like cheating, but that is okay! There are no rules with bullet journalling and this method got me maximum prettiness with minimum effort, so I am here for it. The post-it notes come with 2 sizes- 20x the smaller size and 40x the larger size- they both fit in my journal perfectly. They are a little on the pricey side, but honestly, the ease of them made the price tag worth it for me! I kept the rest of the decoration purposefully simple and organic-looking, to further minimise the time and effort required.
With all of that, let’s get into how I created this low-effort setup, page-by-page.
Table of Contents
- Equipment
- Cover Page
- Monthly Calendar
- Blog Planning + Daily Sunshine
- Christmas Planning
- Weeklies
- November Review
- Final Thoughts
Equipment
For this setup, I used the following equipment:
- Muji 0.38mm pen, black.
- Uni-ball Eye Fine UB-157 pen, black.
- Coloured markers: I used Crayola SuperTips (in red, orange, yellow and brown shades- the exact pens that I used are from a combination of this pastel pack and this assorted pack) and one Faber-Castell Pitt Artist Pen Brush (in India Red 192), but you could use any pens you have to hand.
- Tombow ABT Dual Brush Pen, 990 Light Sand.
- Brown kraft paper (I used this brand).
- Parchment-style paper
- Maple leaf post-it notes.
- Glue stick and glue pen (I like to use a glue pen for more intricate items, like the post-it notes, but you could use the glue stick for everything if you prefer!).
- Ruler.
- Pencil.
- Eraser.
- Scissors.
Cover Page
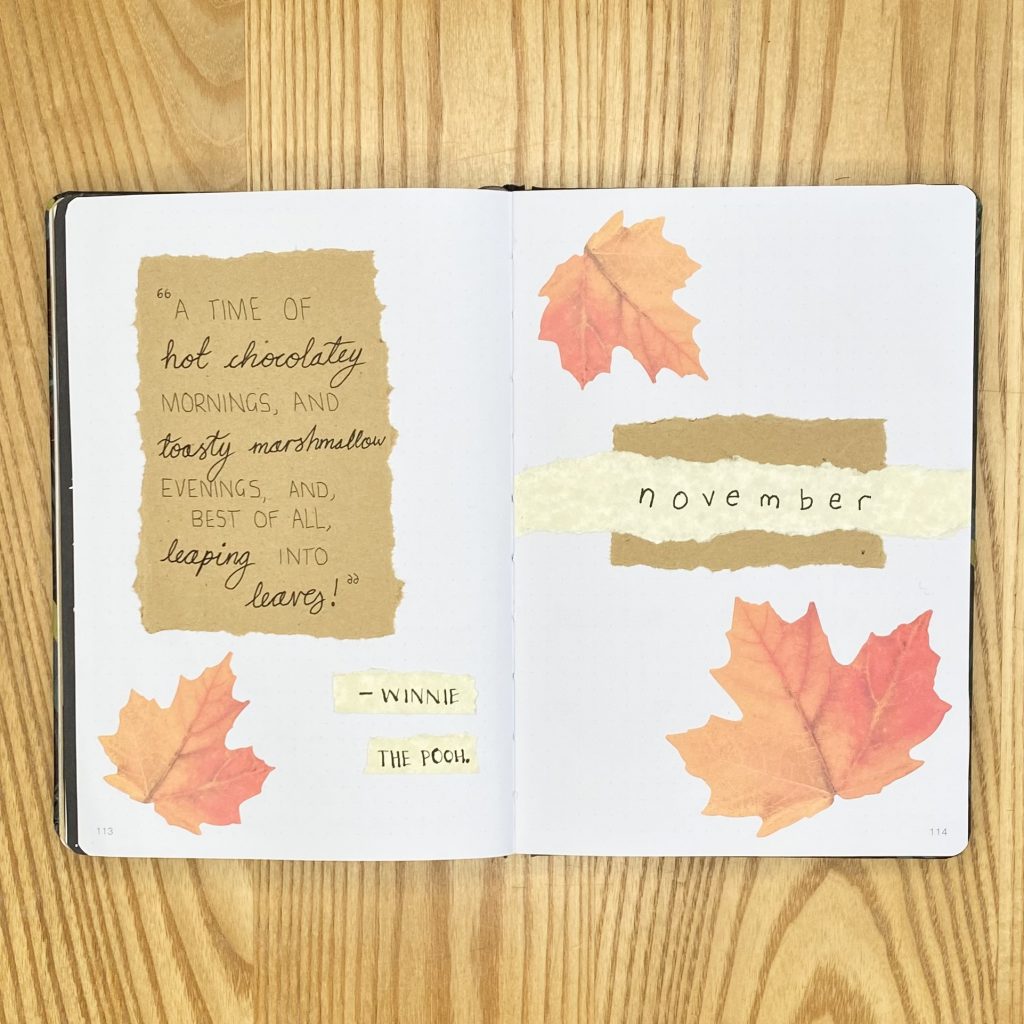
My Cover Page this month was super easy to create. The great thing about using post-it notes is that you can temporarily stick them down and move them around to finalise the layout of each page before you stick them in permanently. Once I was happy with the positioning of them, I marked where I wanted each leaf to go with pencil, then used my glue pen to stick them down. I found using the glue pen was the easiest method because the leaves have such small points/edges, but you could use a glue stick if you prefer. For the monthly header, I just used some torn paper. I wrote the header using my black Uni-ball pen and a simple lowercase font.
For my Quote Page this month, I spent a little while researching some fun autumnal quotes, to fit my theme. I settled on this quote from Winnie the Pooh (admittedly, not from A. A. Milne’s original novels but, I believe, from the Disney film ‘Pooh’s Grand Adventure: The Search for Christopher Robin’). I just felt it really fit, both with how I personally see autumn (which is my favourite month!) and my theme for the month. I wrote the quote on another torn piece of kraft paper, using a combination of my black Muji and Uni-ball pens, with a combination of a simple uppercase and a thicker cursive font.
Monthly Calendar
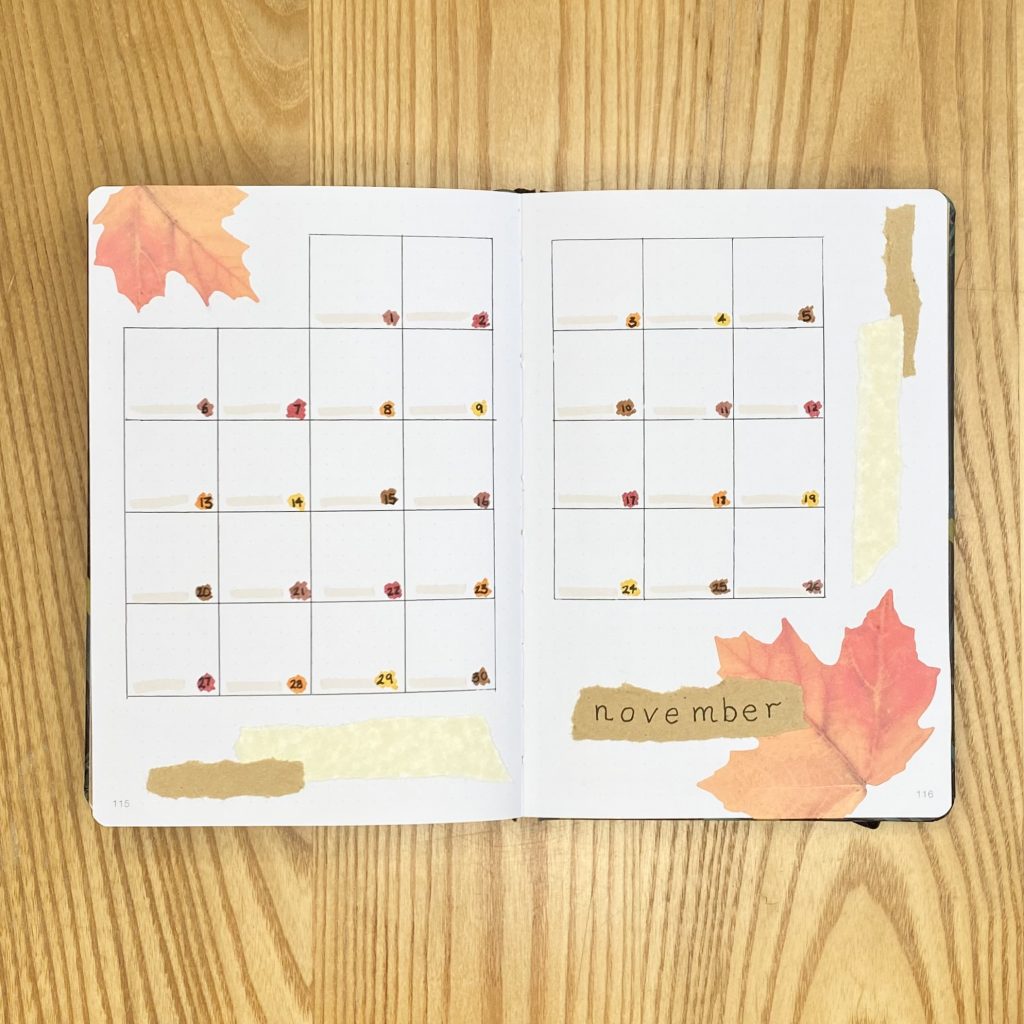
Another simple calendar layout this month- just a standard grid of 6×6 boxes. For the dates, I used my 5 coloured markers to make scribbled patches of colour, which I then wrote on top of using my black Uni-ball. If I were to make this spread again, I would have used my black Muji pen instead of the Uni-ball here, because I found that the Uni-ball bled a little when used on top of the markers. In fact, later on in the setup, you’ll see that I started using the Muji pen instead when writing over the markers because of this! I also added a little strip of colour with my Tombow 990 along the bottom of each grid box- just to tie this spread in with the rest of the setup, where I use that pen a lot!
For the header, I used that same lowercase font, written in my black Uni-ball on some more torn kraft paper. I added some more post-it note leaves (which I trimmed a little, so that I could position them over the edges of the page) and some torn paper strips, just to fill the extra space.
Blog Planning + Daily Sunshine
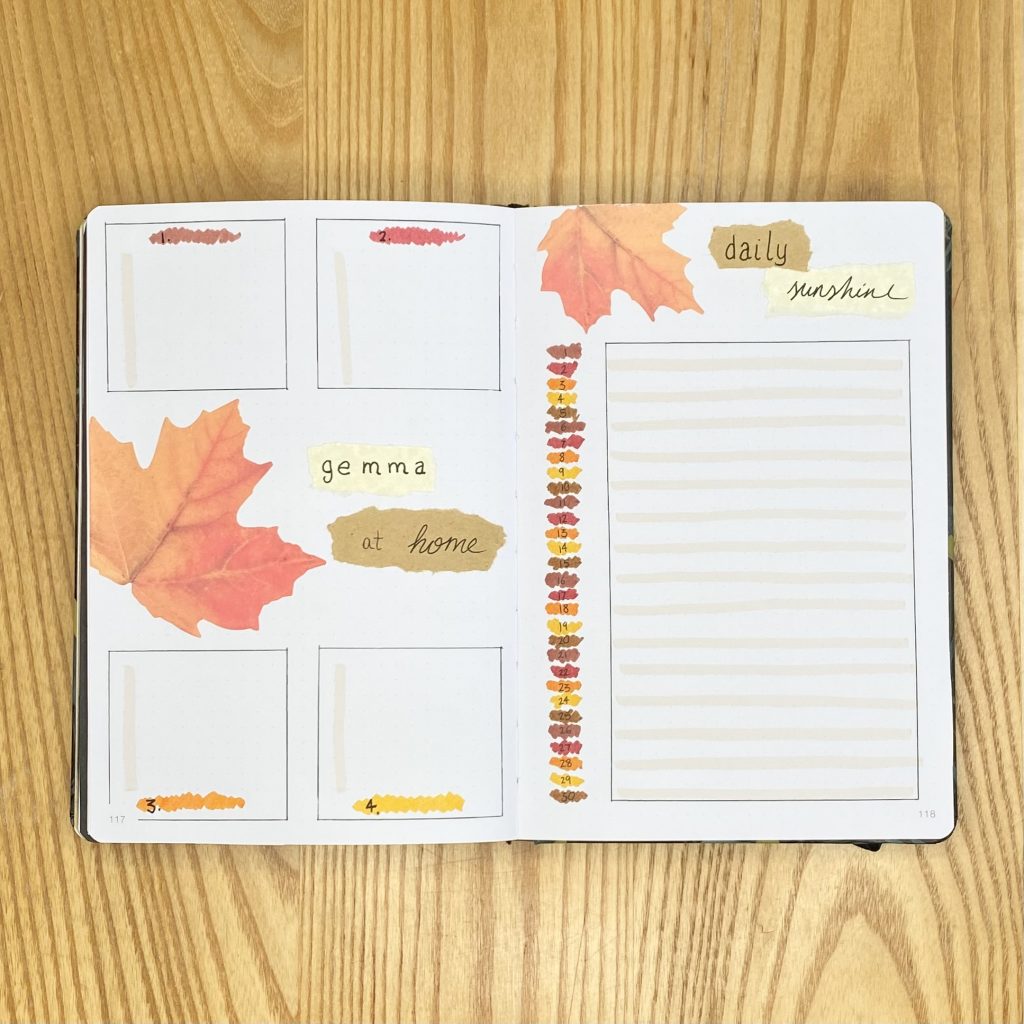
As with my recent setups, I’m including a space for individual task lists for upcoming blog posts. For this, I created 4 boxes using my black Muji pen. For the headers, I created more scribbled patches with my coloured markers. I also added a vertical stripe of colour using my Tombow 990, where I can tick off each task as I go.
For my Daily Sunshine spread, I created a large box (30 lines high), to house one happy memory for each day. I highlighted every other line with my Tombow 990, then used more patches of colour down the left-hand side for the dates. As you can see, I opted to use my Muji pen for writing on top of the markers, instead of my Uni-ball, and I think it looks much neater.
Christmas Planning
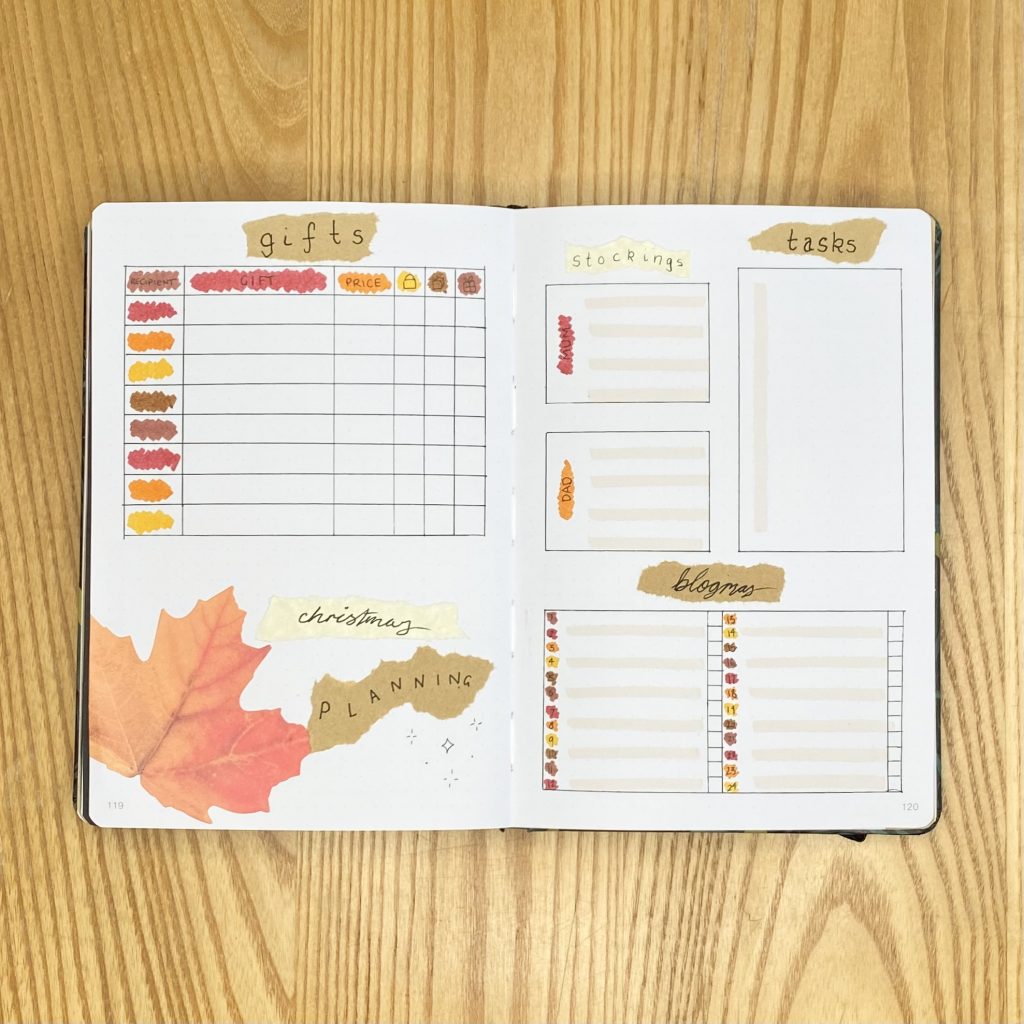
A new spread for this month- my Christmas Planning pages! November is always such a busy month in terms of getting things ready for Christmas, so I really wanted a space to collate my thoughts and keep on top of things. On the left-hand page, I have a gift tracker: a simple grid with a column for the recipient, the gift and the price of the gift, as well as checkboxes for when I have purchased the gift, when the gift has been delivered and when I have wrapped it. I also put the header for this spread on the left-hand page and I added a little bit of Christmassy flair with some doodled sparkles.
I divided the right-hand page up into 3 sections for other planning categories: stockings, general tasks and Blogmas (!!!). While I don’t have kids, I do live at home with my parents and I do like to get a few little things for each of their stockings, so I have a space here for ideas for each of them. Next to that, I have a space for general Christmas-related tasks. Finally, I have a… Blogmas checklist! That’s right- this year, I’m planning to participate in Blogmas! That’s one post a day (!) from 1st-24th December- my own little Gemma At Home advent. I mean… we’ll see how it goes. Obviously, it takes a lot of planning, work and effort- so I’ve made this checklist for my posts so I can try to keep on top of things as I start creating them and getting ahead in November. Admittedly, I also have a lot of other planning resources scattered throughout various notebooks and documents on my computer, so this is very much only the tip of the iceberg! I think this will be such a fun challenge for me- hopefully, it will also bring a little extra magic to what is undoubtedly my favourite time of year!
Weeklies
As always, I have used tabs to separate out my weekly spreads. I like doing this because I find it really helps me to navigate through my bullet journal and it adds a little extra decoration to all of my weekly spreads. This month, I used the 5 coloured markers that I have used throughout the setup and coloured one tab with each colour. I stuck in some torn kraft paper on the far left of the first weekly, and the far right of my November Review page, just to add some separation and help those coloured tabs stand out. Full disclosure here: I did actually use the parchment-style paper to start with (I stuck it in and everything!) but it just… wasn’t sitting right with me? The parchment paper is quite yellow-toned, so I think it just clashed a little bit. Anyway, I just stuck the kraft paper over the top and hoped for best- my journal’s a little thicker in those places now, obviously, but it worked fine.
In general, I kept my weekly setups very consistent in terms of style and design. I made sure to incorporate a post-it note maple leaf on each one, made the header using a combination of torn kraft and parchment paper, used my black Muji pen to draw out some boxes, made the subheadings with my Muji pen over the top of scribbled, coloured patches and highlighted everything with my Tombow 990. Honestly, these spreads came together so quickly- they were such a joy to make!
Weekly 1
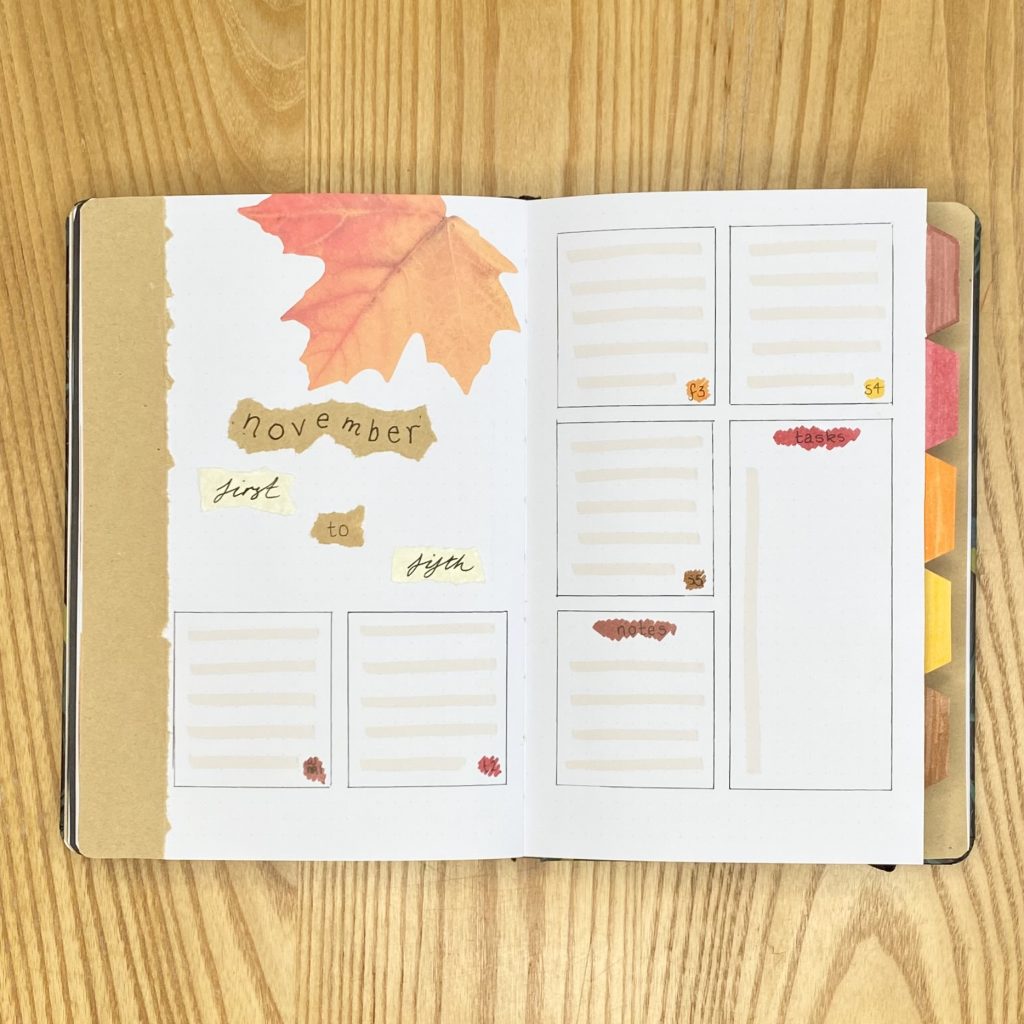
The first ‘week’ of November spans 5 days, from Wednesday to Sunday, so I only needed 5 daily task list boxes. As always, I accidentally started on a Monday, so, if you can see my little scribbled mistake on the first box… no you can’t. I opted to use square boxes for my daily lists and notes boxes for this spread. I just divided each page into 3 vertically and 2 horizontally and went from there. For my task list, I just used the remaining space (i.e. 2 boxes’ worth) to make one taller box.
Weekly 2
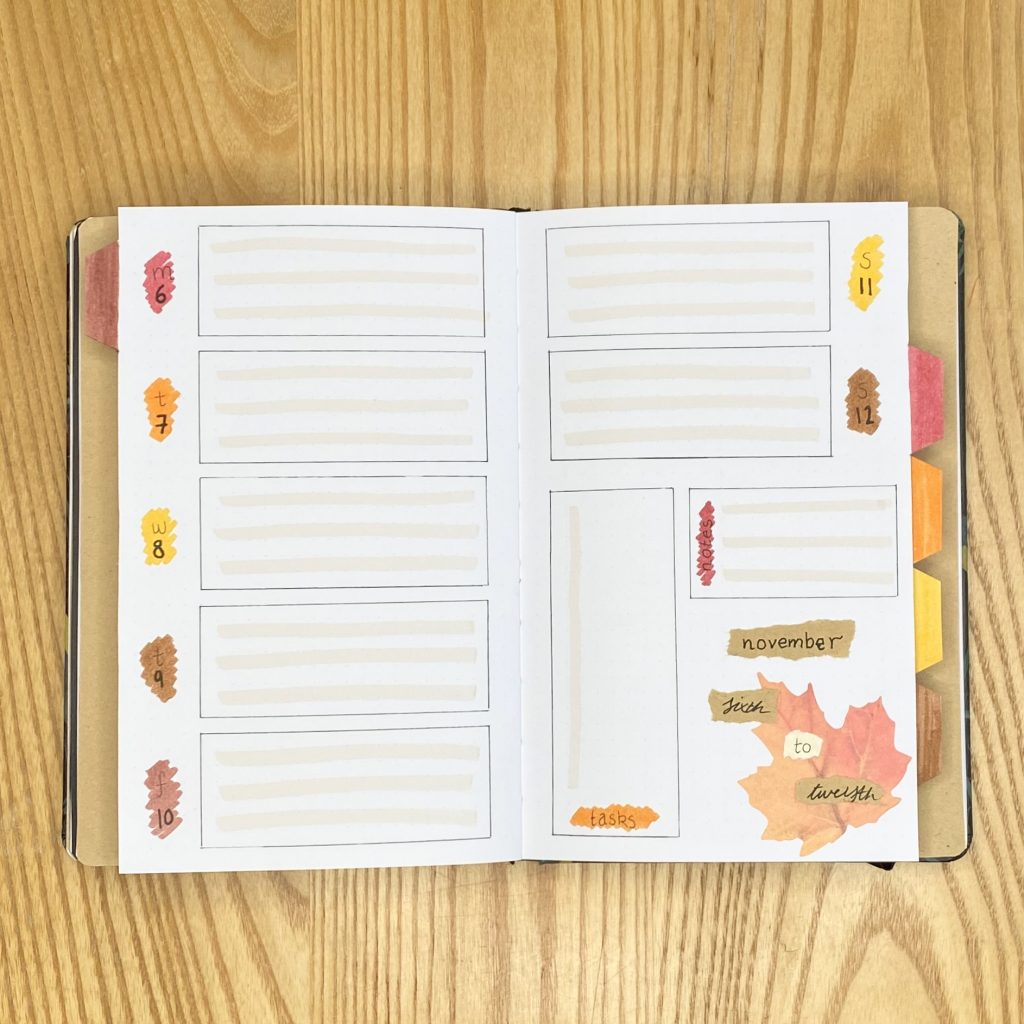
For my second weekly (the first full week of November!) I opted to use horizontal boxes for my daily lists. Admittedly, horizontal boxes aren’t my favourite to use, but I always seem to end up using them anyway. I guess there are only so many layout options!
Weekly 3
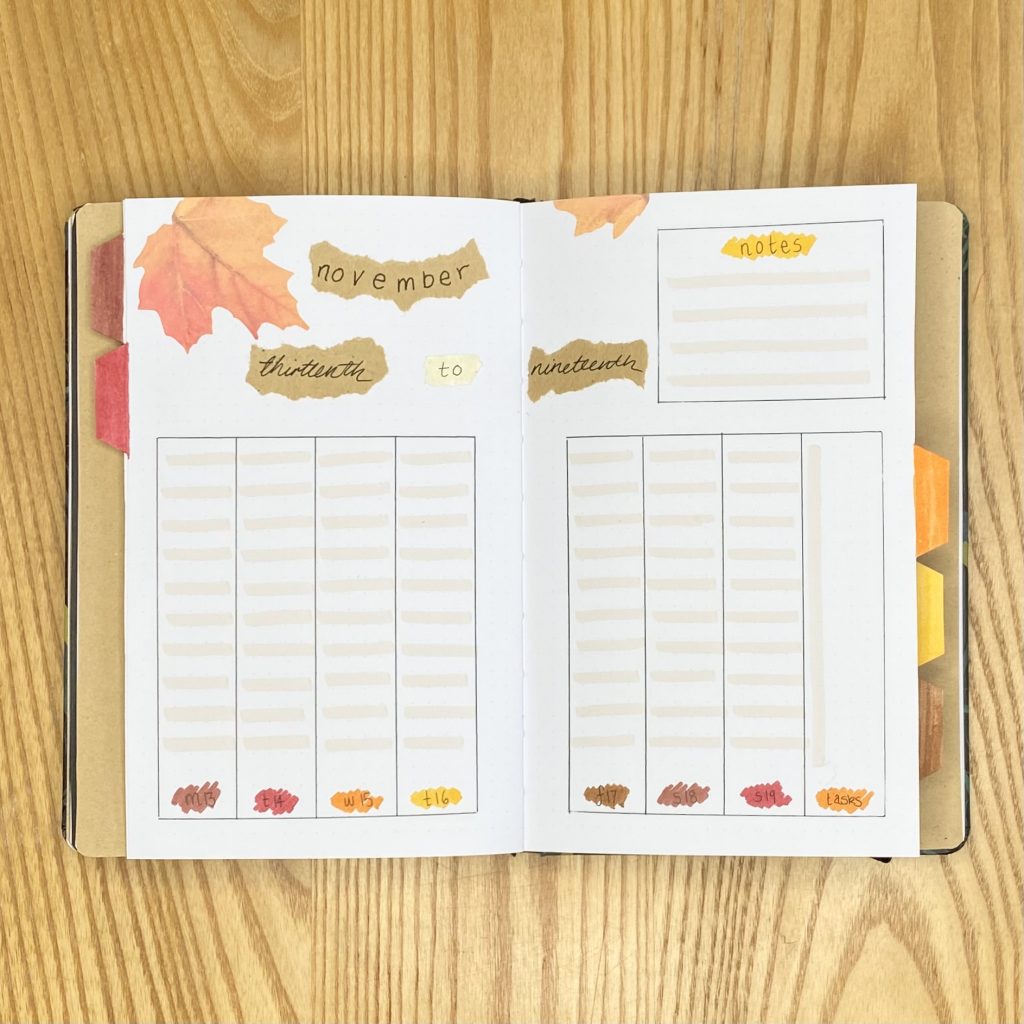
For my third weekly, I went for one of my favourite layouts, which is the vertical column layout. Each daily list has a vertical column, with the final column used for the master task list. I find this layout provides me with lots of space to write everything out and works really well.
Weekly 4
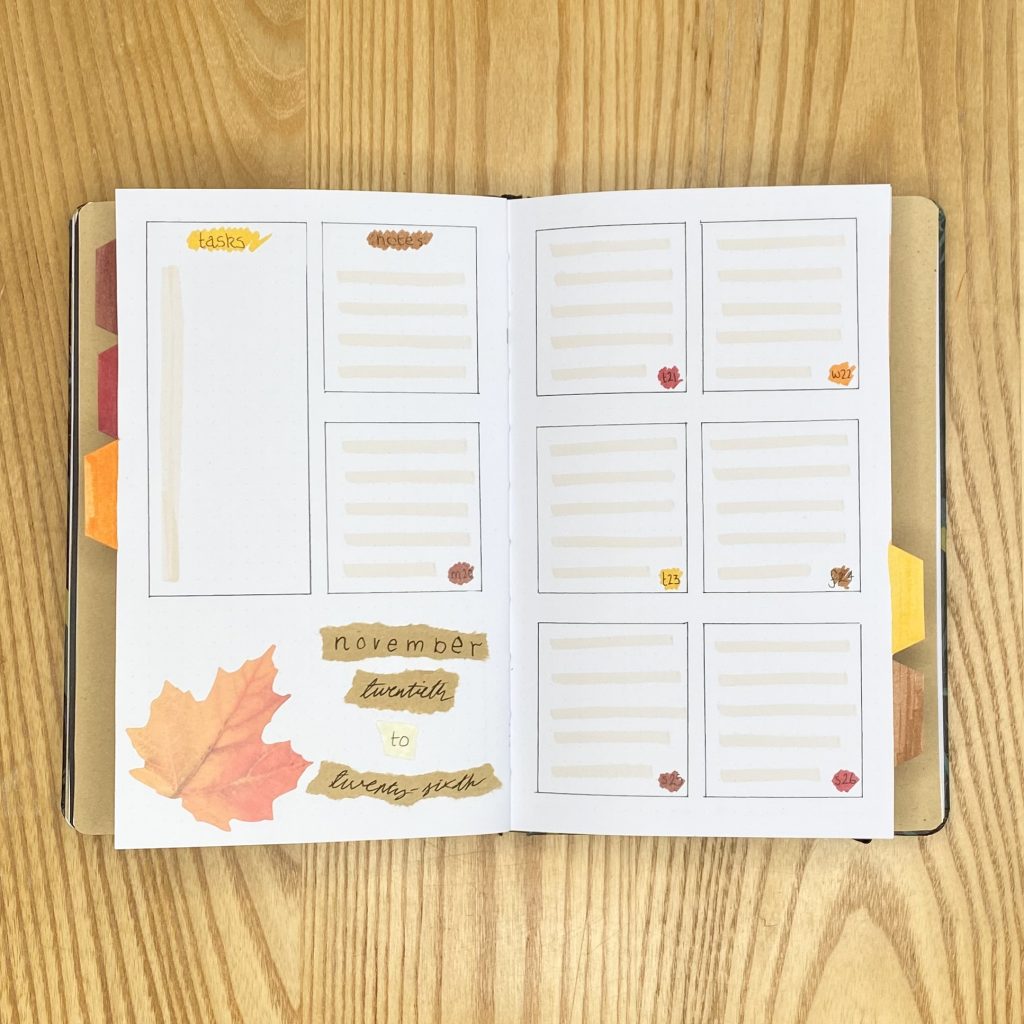
Back to the square(ish) boxes for this weekly- very similar to my first weekly, just with a slightly different placement of the header.
Weekly 5
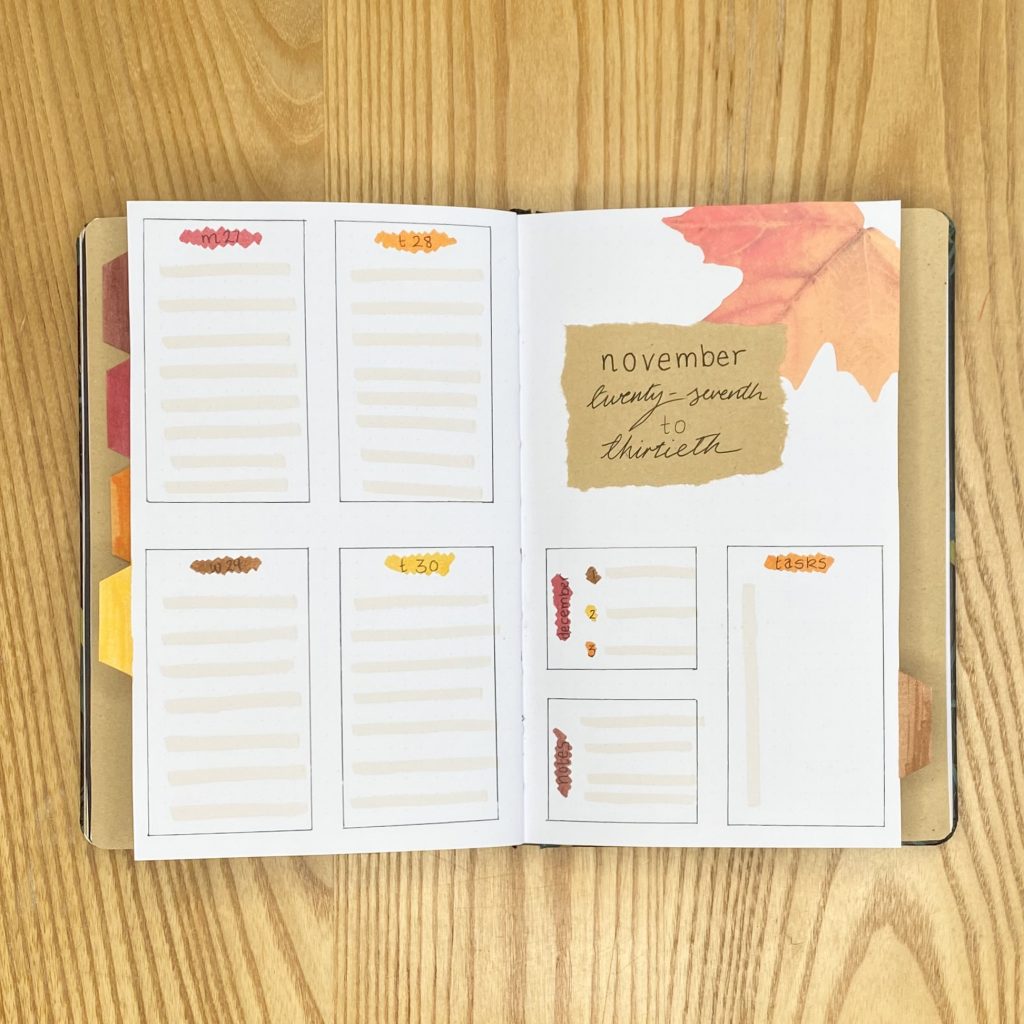
The last 4 days of November fall in a new week, so I included a 5th weekly spread, with space to write down important events in the first 3 days of December. The November daily boxes are on the left-hand page, each box taking up one quarter of the page. On the right-hand page, I have the header, as well as a section for notes, my task list and the first 3 days of December.
November Review

As always, the final spread in my monthly setup is my Monthly Review page. I changed the layout of this spread a little bit for October and I really liked it, so I’ve kept those changes this time around. On the left-hand page, I have 3 boxes along the top: one each for the WTA and ATP Top 10, then one for my favourite memory from the month. Below that, I have a larger space for my top 6 songs of the month: my November playlist.
I’ve kept the right-hand page the same as it has always been- the header, again written on a torn piece of kraft paper, using a combination of a simple, lowercase and a cursive font, is at the top. Below that is a space for a polaroid from the month. I usually make a decorative ‘frame’ for the polaroid here, but this month I opted to go simple- I just stuck in two of the maple leaf post-it notes, over the top of which I will stick in the polaroid.
Final Thoughts
I think this setup was exactly what I needed for the month ahead- it was simple to make, but it’s not necessarily simple to look at- it definitely gives off the warm and cosy autumnal vibes that I was looking for. I know I said that using the post-it notes felt like cheating, but honestly, I’m not even mad about it- sometimes you just have to what is right for you and, this month, this setup was definitely right for me. Besides, I got to reunite with my beloved kraft paper, so, honestly, I couldn’t be happier.
I hope you’ve enjoyed reading about my November setup- I’d love to hear what you think of it in the comments below!
Gemma
xxx