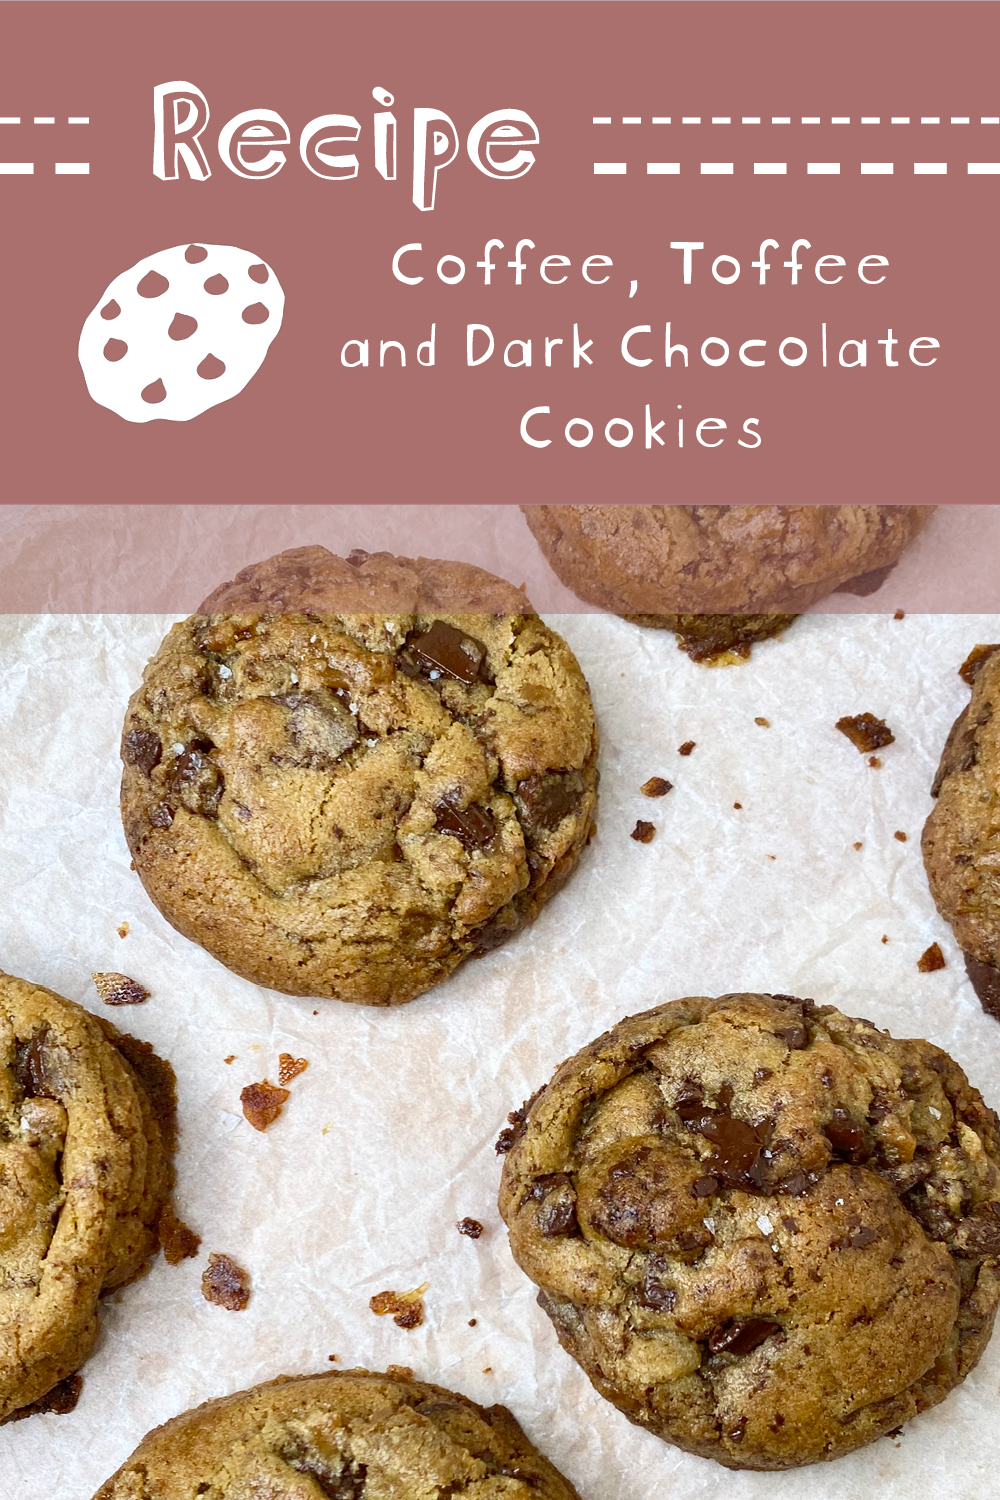
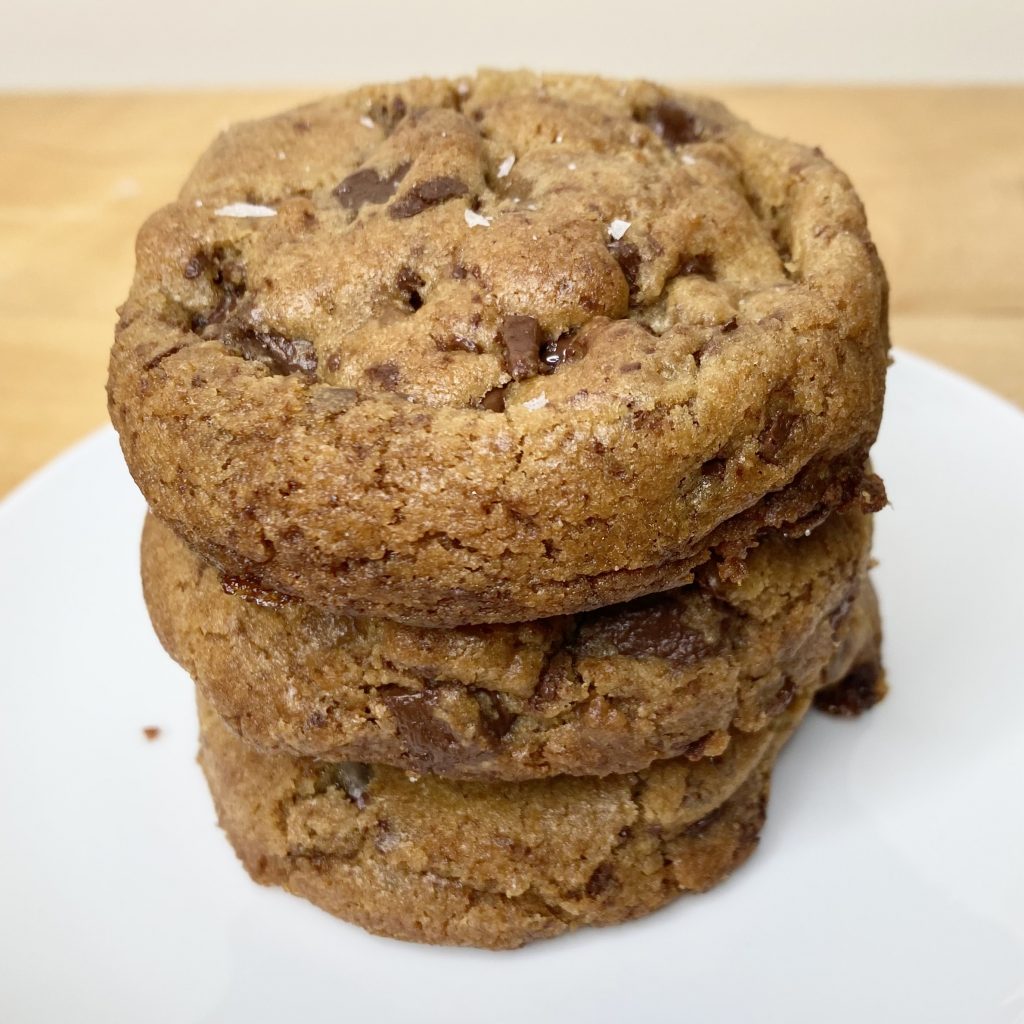
I am a sucker for a chocolate chip cookie. Warm and gooey, straight from the oven? That’s my idea of heaven. Admittedly, I have the sweetest sweet tooth of all sweet teeth (truthfully, I think my palette resembles that of a 5-year old), so cookie + chocolate is always going to be a win with me. However, I am aware that not everyone likes their baked goods to be quite so sweet-with-a-side-of-more-sweet, so I decided to create a chocolate chip cookie recipe that was a little more on the sophisticated side and these Coffee, Toffee + Dark Chocolate Chunk Cookies are the result.
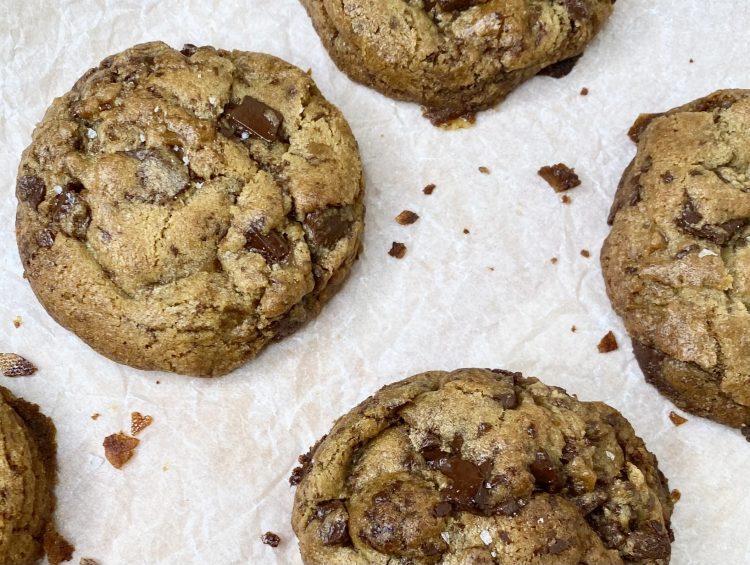
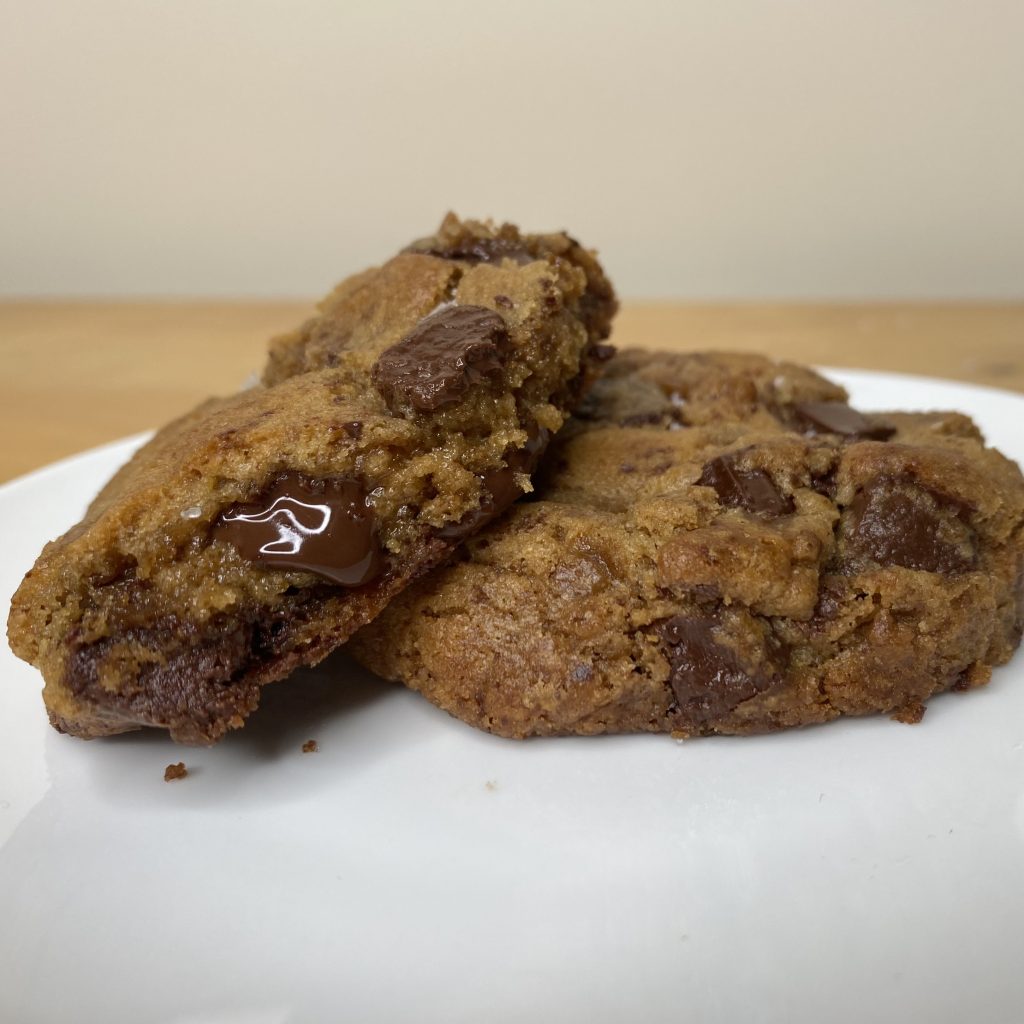
These cookies just feel more… adult to me? I mean, sure, there’s toffee, but what is toffee if not the sophisticated older cousin of caramel? The coffee instantly adds a hit of ‘not your average 5-year old’s treat’, while the dark chocolate chunks tones down the typical sugary-sweetness of a chocolate chip cookie. For added maturity, I make these cookies with browned butter, which adds a really deep, nutty flavour to the cookie dough, echoing both the coffee and toffee flavours. In terms of texture, the cookies are perfectly crisp on the outside, while still being soft and chewy on the inside. I like them best when they are still warm from the oven (I have even been known to reheat cooled cookies the next day!), but they’re just as tasty cold.
I mean, I know I said I have the palette of a 5-year old and these cookies are supposed to be more suited to an adult palette, but I still love them SO MUCH! Does that mean I’m finally growing up? Hmm… not sure. I guess a cookie’s a cookie, in the end.
Anyway, let’s get into it, shall we?
Table of Contents
- Ingredients
- Equipment
- Making the Toffee Pieces
- Browning the Butter
- Making the Cookie Dough
- Baking the Cookies
- Make Ahead
- Recipe
Ingredients
Aside from a couple of extra mix-ins, the ingredient list for these cookies is pretty standard:
- Unsalted butter
You need butter for both the toffee pieces and the cookie dough itself. For the cookie dough, you’ll be browning the butter to give your cookies a lovely, nutty depth of flavour. I prefer to use unsalted butter, so that I have more control over the amount of salt in my cookies, but you can use salted if you prefer- you just won’t need to add the salt listed in the recipe to the dough!
- Light brown soft sugar
You also need brown sugar for both the toffee pieces and the cookie dough. Brown sugar gives the toffee its iconic, deep flavour and makes the inside of the cookies super moist and chewy. Make sure to use light brown sugar- if you use dark brown sugar your toffee will have a bitter, burnt flavour, while the flavour of the sugar will overpower the coffee in the cookie dough.
- Caster sugar
For these cookies, you use a combination of brown sugar and caster sugar. The brown sugar keeps the insides chewy, but the caster sugar gives the cookies a crispy exterior. This recipe uses a 4:1 ratio of brown sugar:caster sugar, which gives you the perfect crispy-on-the-outside, chewy-on-the-inside bake!
- 1 whole egg + 1 egg yolk
The addition of an extra egg yolk in this recipe makes for a super soft, tender cookie. I know it can be a bit of a pain to be left with a spare white, but it makes such a difference! You can use the egg white in another recipe, such as my macarons; use it alongside some whole eggs to make an omelette/frittata; or freeze it for another day.
- Vanilla extract
Vanilla extract is often used in chocolate chip cookie recipes to enhance the other flavours in the dough. You only need a little bit for this recipe (you want to enhance the flavours, not overpower them!), but it makes a world of difference.
- Plain flour
Don’t use self-raising flour, as this will affect the finished texture/look of the cookies.
- Baking soda
Don’t substitute baking powder here, as this will also affect the finished texture/look of the cookies.
- Instant coffee granules
To get the coffee flavour into these cookies, I use instant coffee granules. You don’t want to use brewed coffee, because the added liquid will affect the texture of your cookie dough, which will, in turn, affect how the cookies bake up. I like to grind up the coffee granules into a fine powder, using a mortar and pestle, to distribute the flavour more evenly and prevent large specks of coffee in my cookie dough, but this is optional. You could also use espresso powder, but I have not tried this. Espresso powder is more intense, so, if you do use it, you will want to decrease the amount.
I prefer to use decaffeinated instant coffee when I’m baking, so I don’t have to worry about being up all night if I want to have a midnight snack! Realistically, though, the coffee content per cookie isn’t massive, so if you’d prefer to use caffeinated coffee, go ahead!
- Salt
A touch of flaky sea salt really helps to bring out all the caramel-y, nutty flavours in these cookies. I like to add a pinch to the dough, then sprinkle some on top of the cookies as soon as they come out of the oven, to really amp up the flavour.
- Dark chocolate
Listen, I’m a milk chocolate chunk kind of girl through and through. I can just about stretch to a 50/50 milk + dark combo in my cookies. However, for these cookies, I use all dark chocolate. I know- the horror! I just think that the dark chocolate really compliments the coffee in these cookies and makes for a more sophisticated, grown-up cookie, which was, ultimately, my goal for this recipe. Also, I can still satisfy my sweet tooth with the toffee pieces that are mixed in alongside the dark chocolate chunks, so it’s all okay. If you prefer though, you can absolutely use milk chocolate instead.
For this recipe, I like to buy my chocolate in bar form and chop it up into rough chunks myself (I feel like chunks have a much more sophisticated vibe than chips- is that just me?), but go ahead and use chips if you prefer- on the plus side, it’ll cut out the extra chopping step, making these cookies easier to throw together.
Equipment
There are a few pieces of special equipment that I used for this recipe, but none of them are required to make these cookies. Where possible, I have tried to indicate alternatives, so that you can make these cookies whenever/wherever you are, regardless of the equipment you have available!
- Stand mixer
Making the cookie dough in a stand mixer, fitted with a paddle attachment, makes this whole process significantly quicker and easier, which is always a win. If you don’t have a stand mixer, you can absolutely mix the whole thing together by hand, using a large bowl and a wooden spoon- just be prepared for a little bit of an arm workout!
- Mortar and pestle
Again, this isn’t strictly necessary, but I like to grind the instant coffee granules into a fine powder before adding it to the cookie dough, to ensure that the flavour is distributed more evenly and there are no little bits of instant coffee in the dough. If you don’t have a mortar and pestle (or the enthusiasm to grind), you could use an electronic spice grinder, or just leave the granules whole and embrace the speckled-y cookie life!
- Sugar thermometer
I find that the easiest way to make toffee is to use a sugar thermometer- the sugar and butter need to be cooked together until they reach the ‘hard crack’ stage, which is about 146°C. I use a digital thermometer, but any accurate sugar thermometer will work. If you don’t have a sugar thermometer, I would highly recommend buying one- there are some relatively cheap ones available online and it will make working with sugar (and lots of other parts of baking!) much easier. If you’re desperate, you can check for the ‘hard crack’ stage by dropping a spoonful of the hot toffee into cold water and leaving it for a few moments to cool down, before trying to ‘crack’ it with your fingers. When the sugar has reached the ‘hard crack’ stage, it should be brittle and snap when you try to bend it.
- Regular-sized ice cream scoop
I am a huge proponent of using an ice cream scoop to portion cookie dough- it makes the whole process much quicker, easier and neater. Make sure that you use an ice cream scoop with a release mechanism- this method won’t work without it! If you don’t have an ice cream scoop, another of my favourite ways to make even cookies is to weigh the balls of cookie dough. For this recipe, aim to make each cookie dough all about 65g- this will give you the same size cookies that the ice cream scoop method would achieve.
Making the Toffee Pieces
These toffee pieces are really quick to make and work perfectly to balance the bitter coffee/dark chocolate in these cookies. You can also use these toffee bits for other bakes/desserts- they’re delicious sprinkled over ice cream!
If you don’t fancy making your own toffee bits, you could try breaking up some shop-bought toffee and using that instead! Just bear in mind that ready-made toffee comes in thicker chunks, which will be harder to break up. You might want to use a slightly more heavy-duty utensil than a rolling pin for this, like a hammer!
Really though, I would recommend making your own toffee pieces- it’s honestly pretty straightforward and even tastier than the store-bought stuff! To make the homemade toffee pieces, you only need 3 ingredients:
- Brown sugar
Brown sugar is what gives toffee it’s deep, nutty flavour, in comparison to typical caramel. Use light brown soft sugar for this recipe.
- Unsalted butter
Butter is a key ingredient in toffee. I like to use unsalted butter so I can control how much salt ends up in my bakes, but you can use salted if you prefer.
- Water
I mean, it’s barely even an ingredient, but I wanted to note it here because it does make a huge difference to the toffee. Toffee can be a little bit troublesome- often it will separate, leaving you with a pile of sugar and a pool of butter, but the water helps to prevent this.
To make the toffee, start by lining a small baking tray. Ideally, use one with a lip all around, so that the toffee doesn’t spill over the edge.
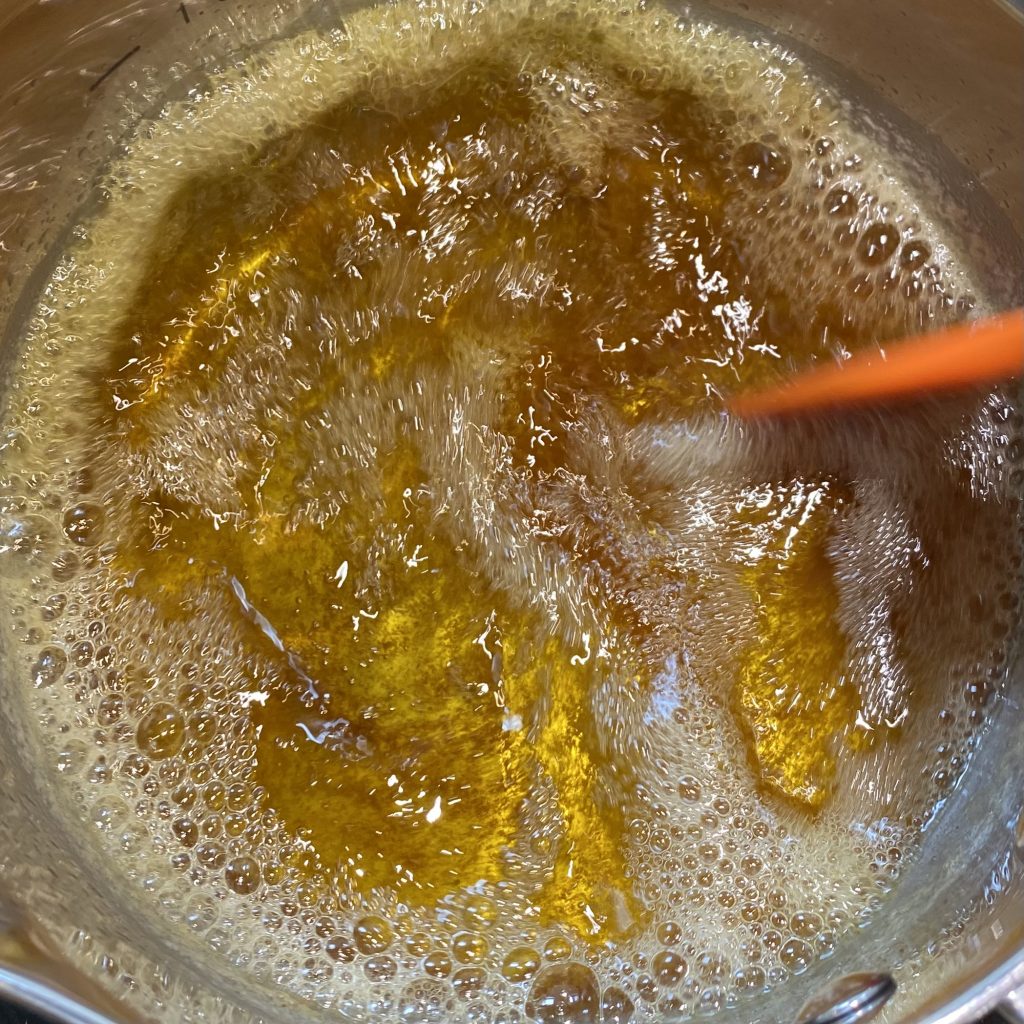
Then, put the sugar, butter and water into a small saucepan. The amounts listed in this recipe only make a small amount of toffee, so you don’t need a large pan, but do be aware that the sugar will bubble up a little bit as it cooks. If in doubt, use a slightly larger pan, rather than a slightly smaller pan.
Set the pan over a medium heat and stir gently while the butter melts and the sugar dissolves. If the toffee separates while this is happening, stir more vigorously to bring it back together.
Once the sugar has dissolved, stop stirring and allow the toffee to bubble away until it reaches 146°C. During this time, do not stir the toffee- stirring the toffee will cause it to crystallise and you’ll end up with something more similar to fudge than toffee! If you need to move the toffee around, give the whole pan a gentle swirl.
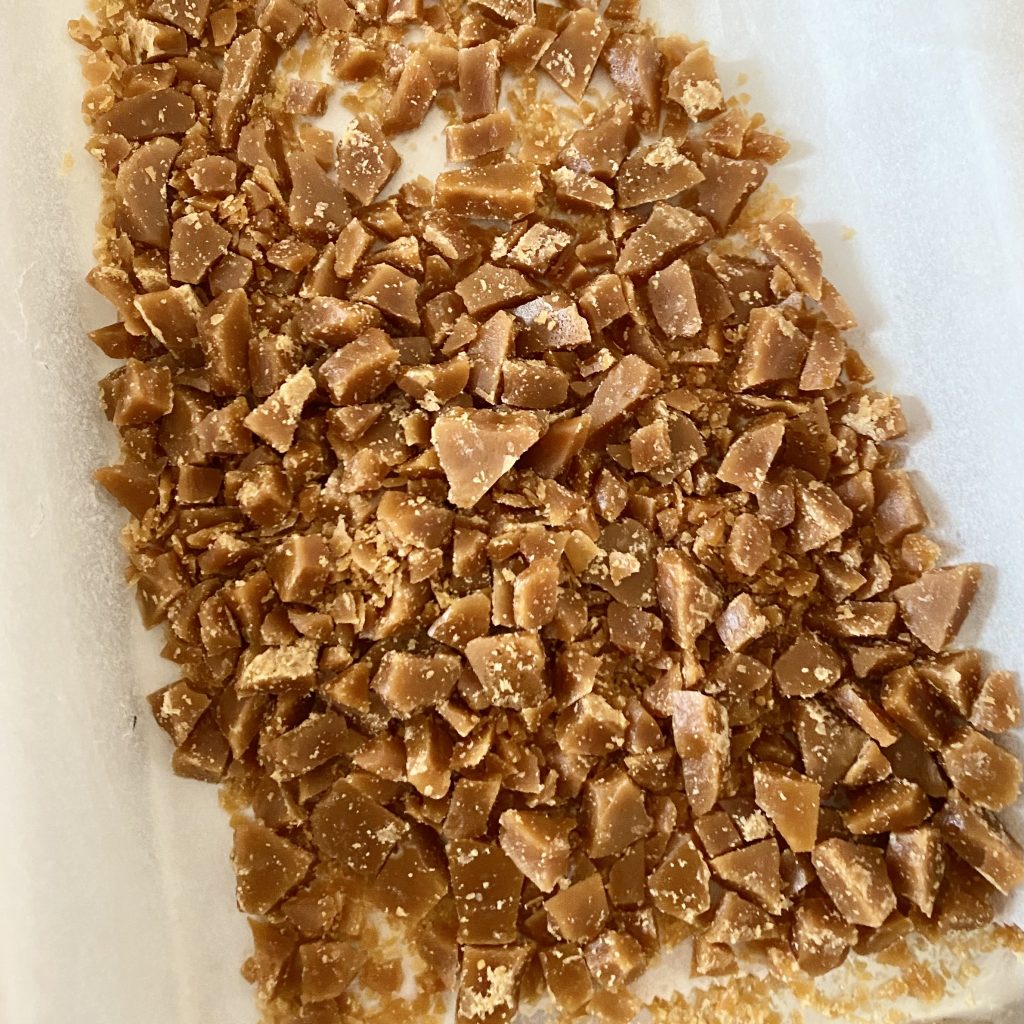
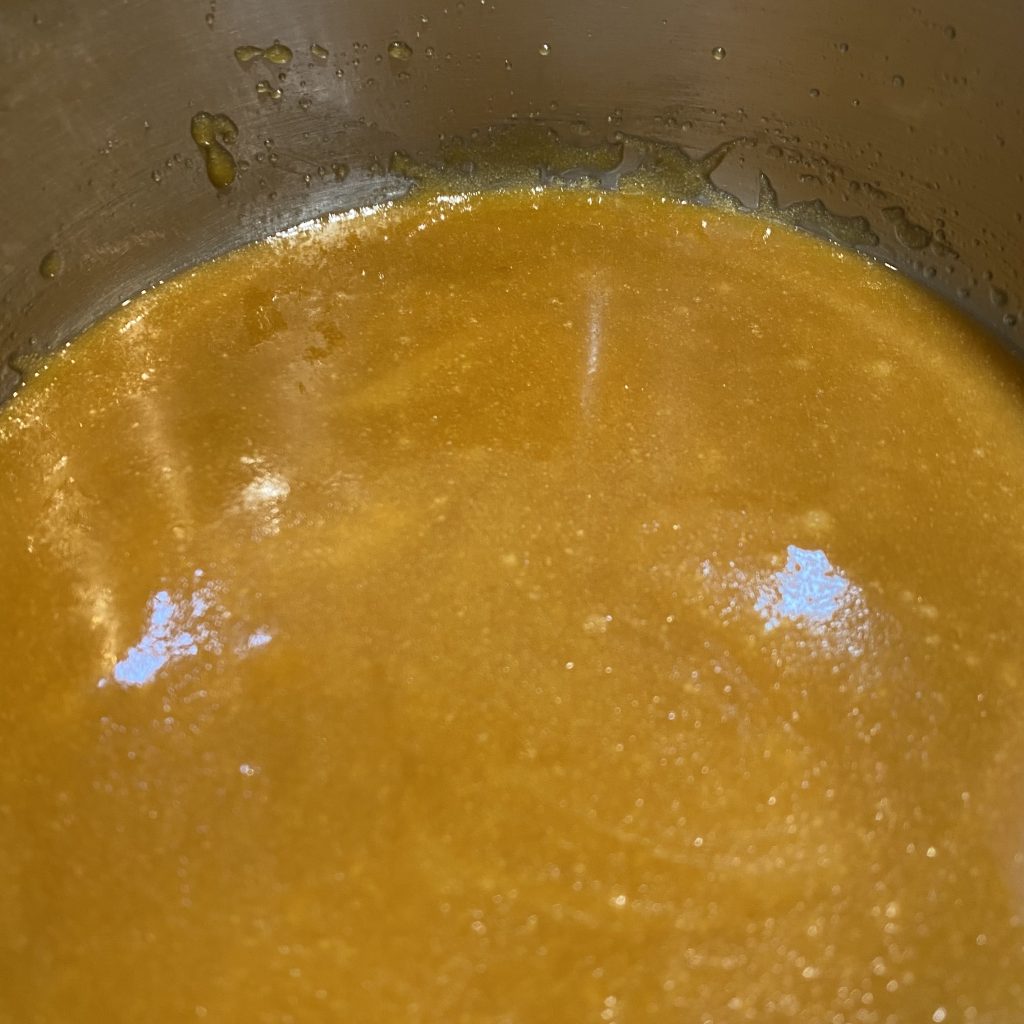
Once the toffee reaches 146°C, take it off the heat. Stir the whole thing vigorously until it forms a homogenous mixture, then pour it out onto the lined tray.
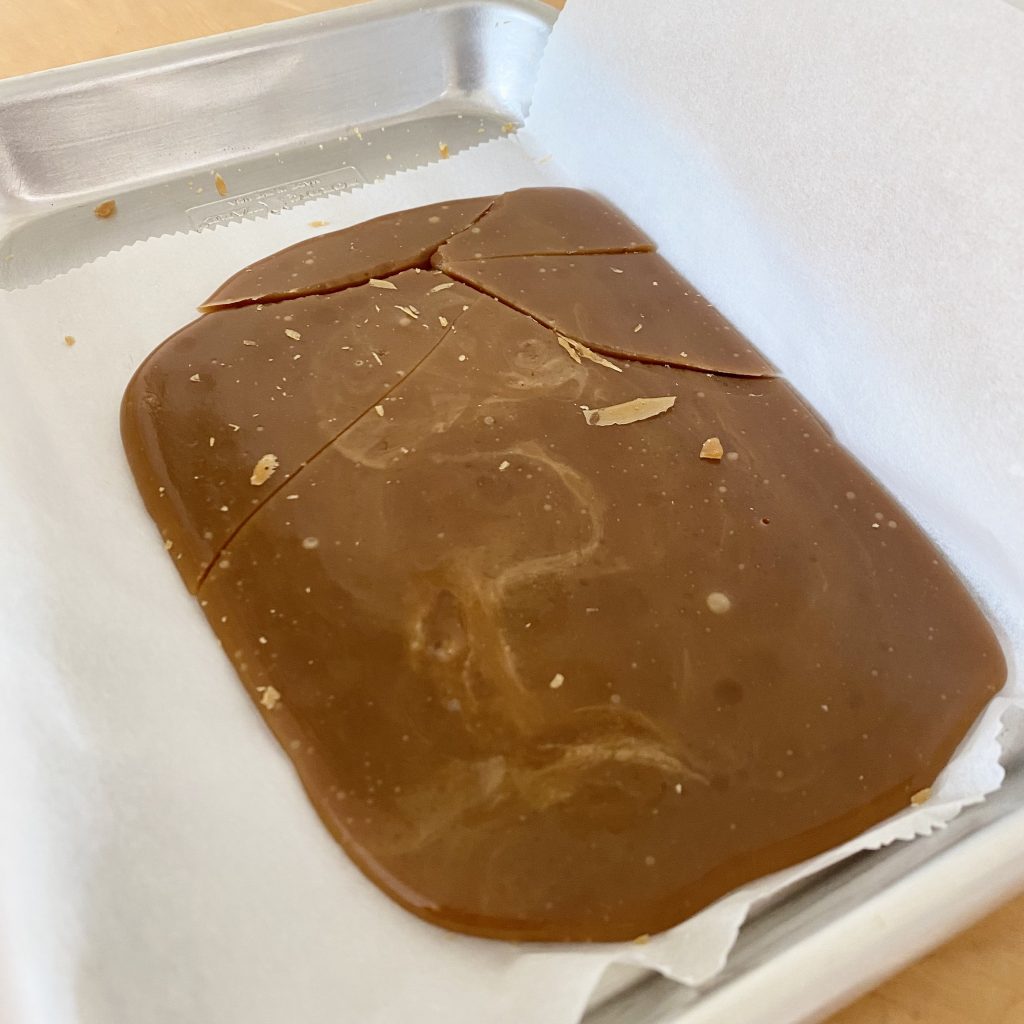
Leave the toffee to cool down completely- it should harden and become brittle. This will take about 20 minutes. Once the toffee is cold, use a rolling pin to smash it up into small pieces, ready to be used in the cookies. You can use the toffee pieces immediately, or you can store them in an airtight container for up to a week.
Browning the Butter
Part of what makes these cookies so deliciously nutty and toasty and flavourful is the use of brown butter in the dough. While it does mean that these cookies require a little more effort, I promise, the end result is so worth it. Also, browning butter is super easy to do- you only need one thing: butter!
Start by putting your butter into a small saucepan and place it over medium heat. Allow the butter to melt, stirring frequently.
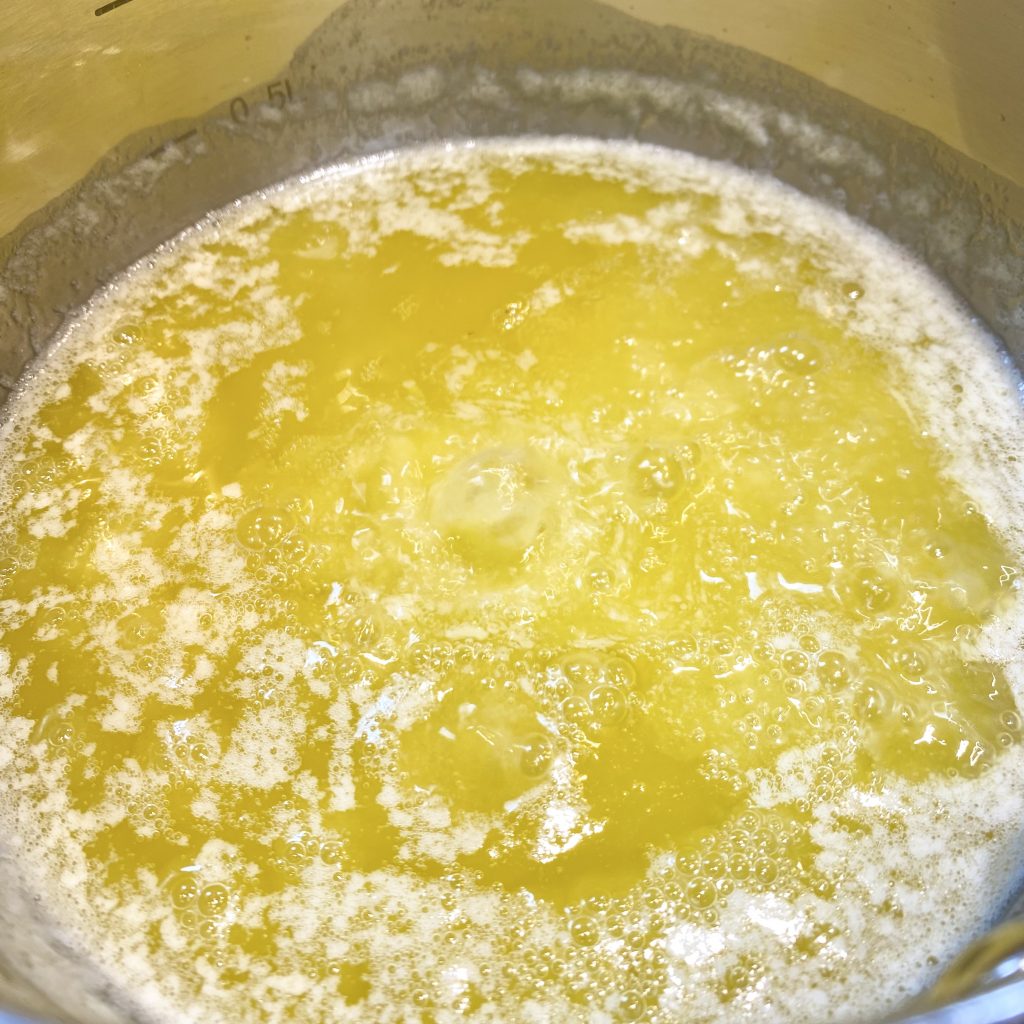
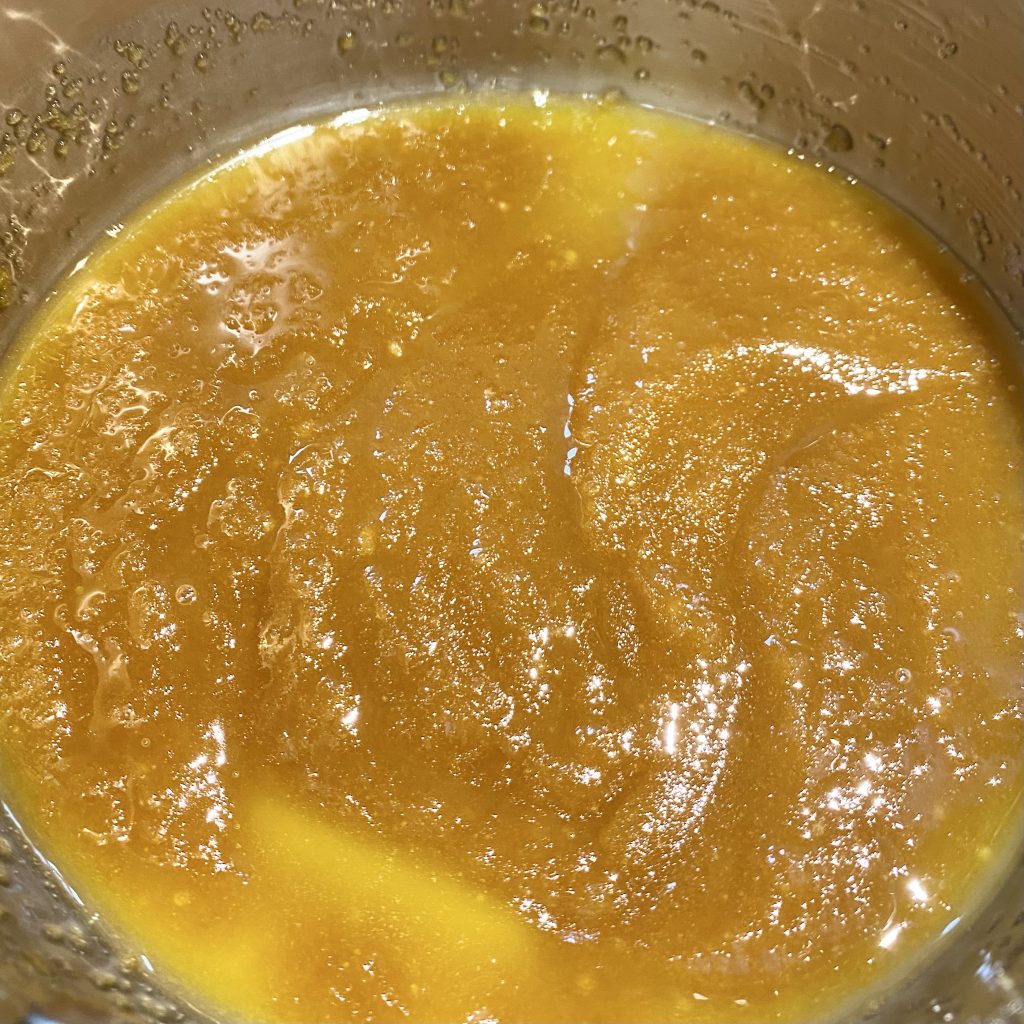
Once the butter has melted, keep it over the heat, still stirring frequently. At this point, the butter will still be slightly opaque and you’ll see little white solids/foam floating on the surface- those are the milk solids! As they cook, they’ll start toasting and turn brown, which is how brown butter gets its name.
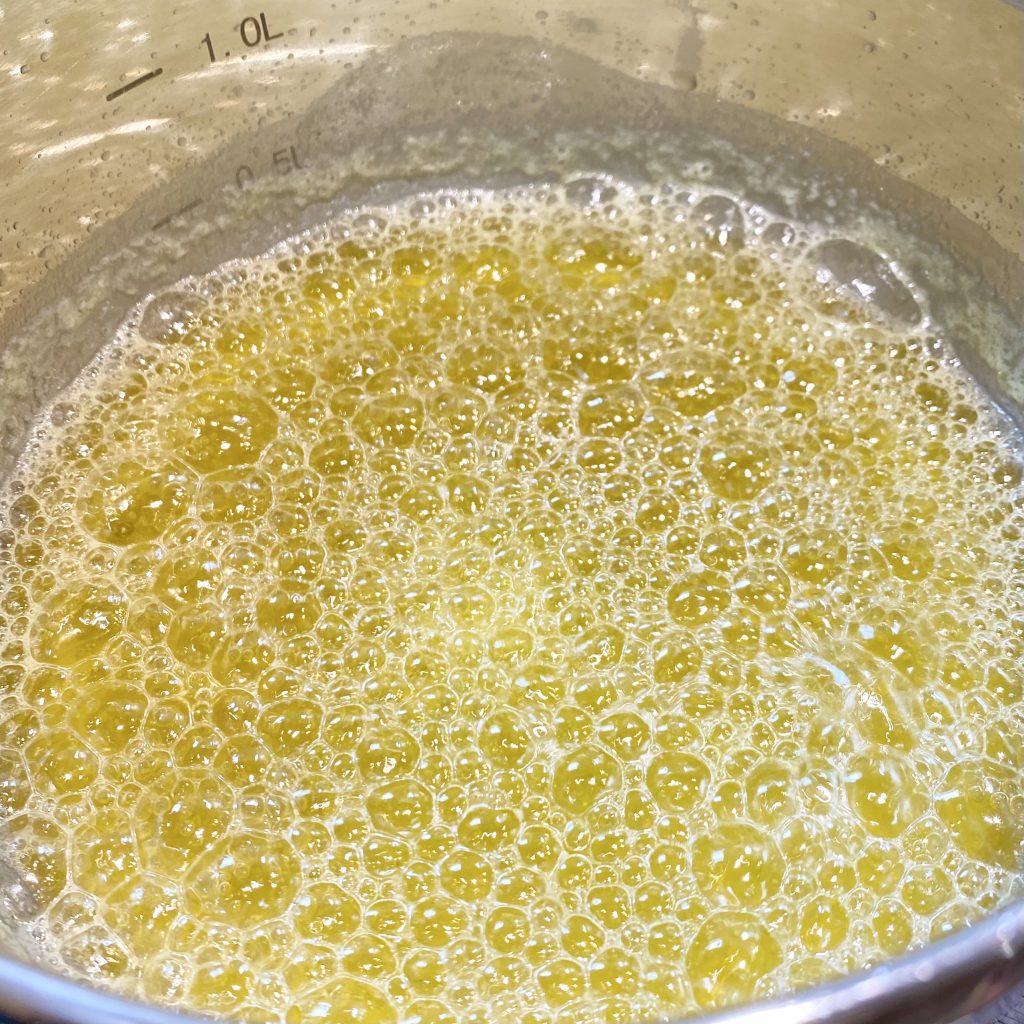
Eventually, those solids will break down and sink to the bottom of the pan. As this happens, your butter will become clearer (at this stage, you could pass through a coffee filter to remove the solids and you would have the aptly named clarified butter). Keep the pan over the heat and keep the butter bubbling, still stirring frequently.
After a little longer on the heat, the milk solids that sank to the bottom of the pan will begin to turn brown. Keep cooking and stirring the butter until those solids turn a deep, nutty colour, then remove the pan from the heat and there you have it! Brown butter.
Be careful at this stage because the brown butter will be very hot. For this recipe, you want to use room temperature brown butter- it can still be melted, but you don’t want it to be hot. You can leave the brown butter on the side until it cools down, but this will take a little while. I like to transfer the brown butter to a small, heatproof bowl, which I then place into a larger bowl that I have partially filled with ice water. The cold water will help to cool down the butter, so you should be ready to use it in about 10 minutes. Give it a stir every now and then, as it cools, to help things along.
Making the Cookie Dough
Once you have your room temperature brown butter, you can get on with making the cookie dough. As I mentioned earlier, I like to use a stand mixer to make the dough because it makes the whole process so quick and easy, but it’s not a requirement for this recipe. If you would prefer to make the dough by hand, just use a wooden spoon/strong spatula to mix everything together, as directed by the recipe.
A couple of notes on preparation at this stage:

- I like to use dark chocolate chunks in these cookies, but you can absolutely use an equal amount of chocolate chips instead. If you’re using dark chocolate chunks, I always recommend chopping the chocolate bars up before you start making the cookies (perhaps while the brown butter is cooling down) so you can just throw everything together at the end.
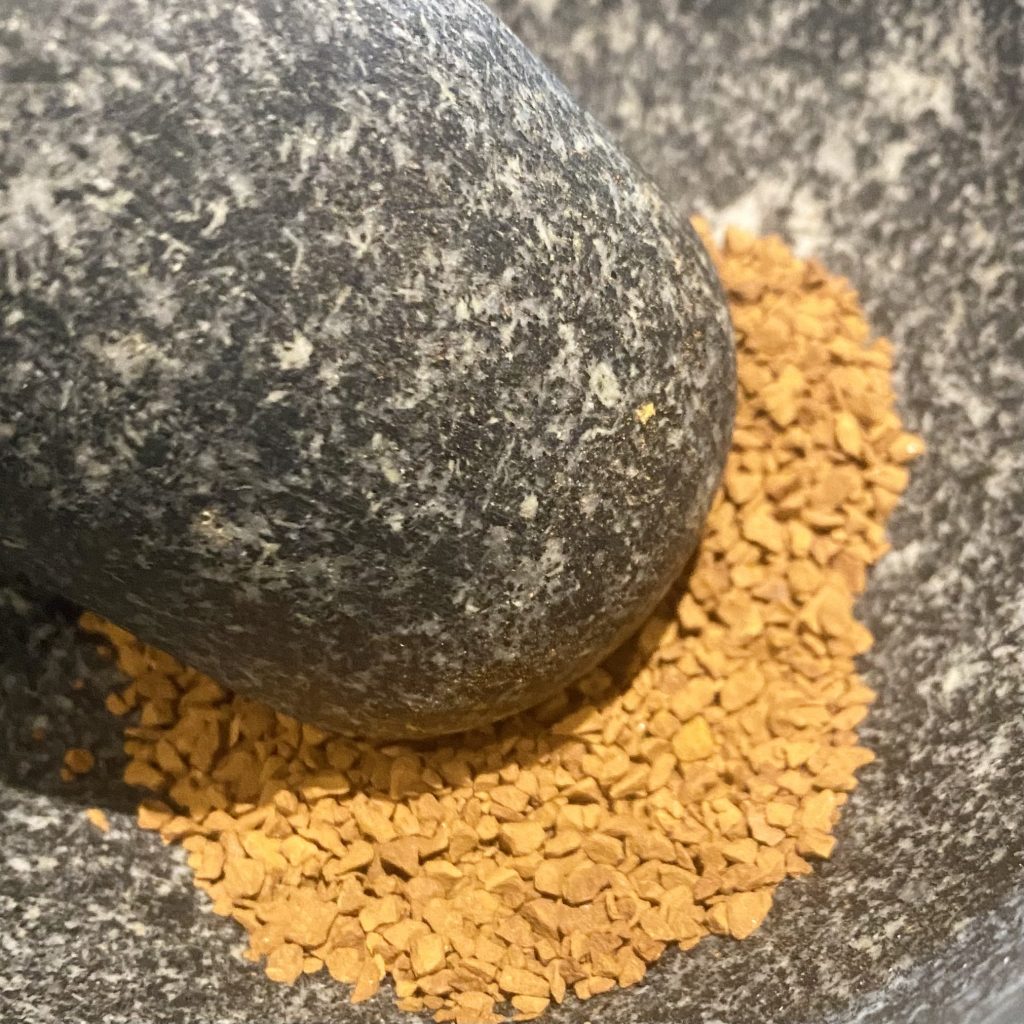
- As I mentioned, I like to grind the instant coffee granules beforehand. I use a mortar and pestle for this, but you could also use a spice grinder, if you have one. If you’re using espresso powder, or opting to leave your granules whole for a more speckled-y cookie, skip this step.
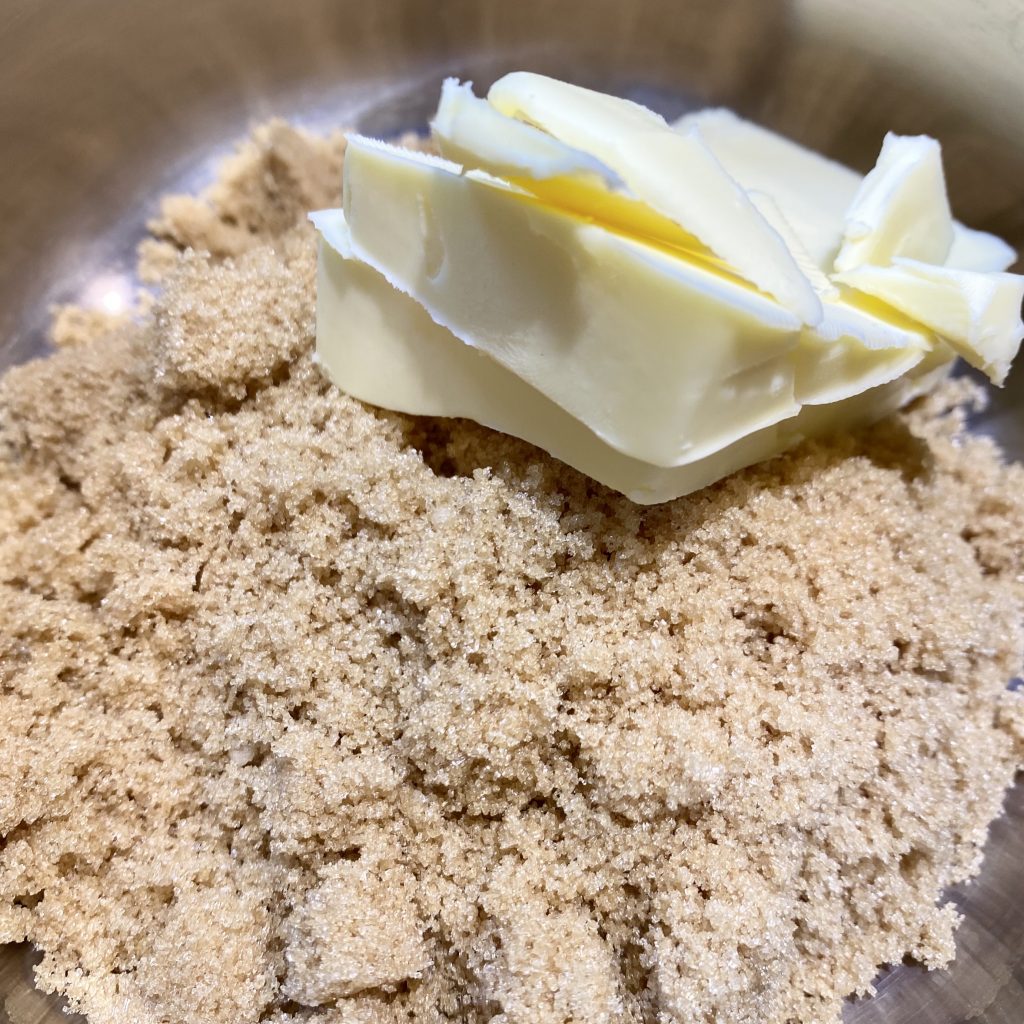
To make the dough, put the brown butter and both sugars into the bowl of the stand mixer, fitted with a paddle attachment. Beat on medium speed to combine the ingredients.
Add the egg, egg yolk and vanilla extract and beat again, until well-combined and fluffy.
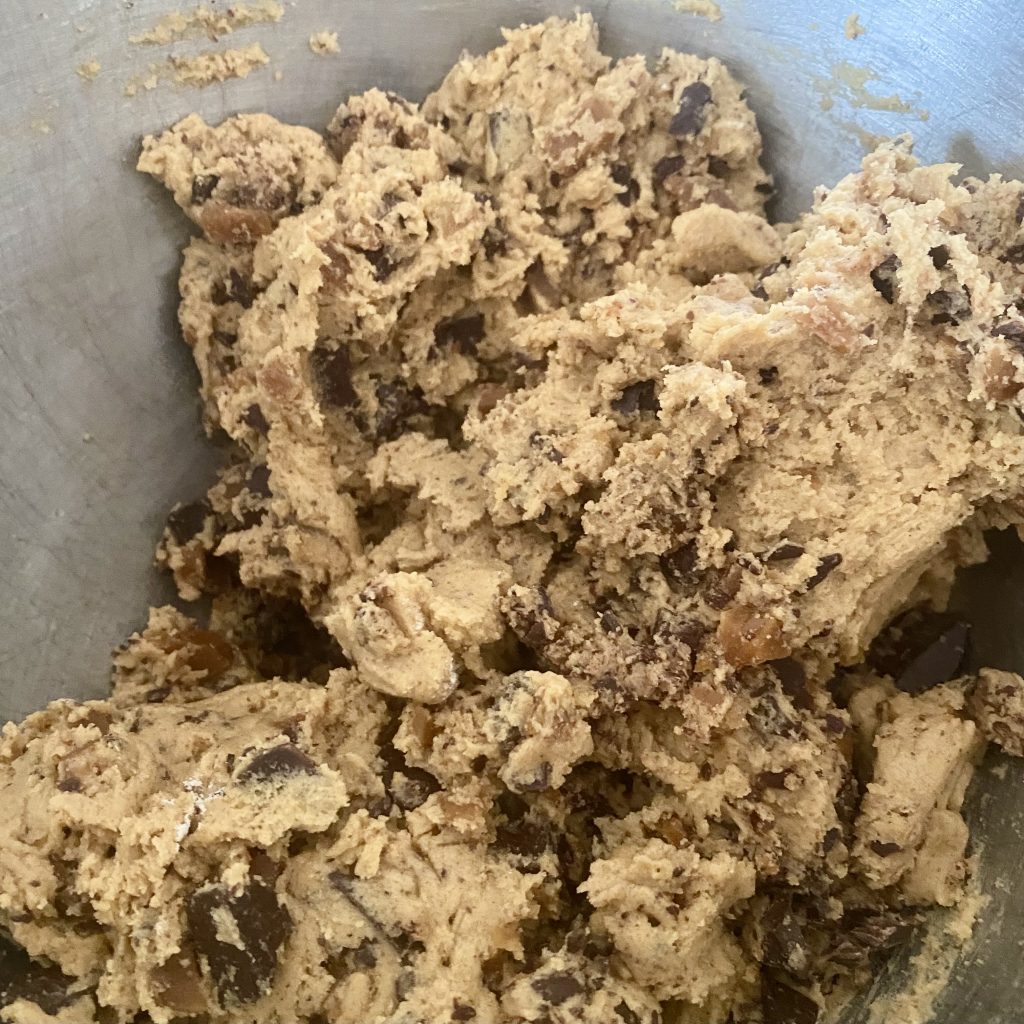
Sift in the flour, baking soda and finely ground instant coffee granules. Add the salt (I’m using flaky sea salt, so I don’t bother sifting it- just break it up with your fingers as you add it in). Mix on low speed until the dry ingredients are mostly incorporated, then add the dark chocolate chunks and toffee pieces and mix briefly, just until everything is incorporated.
At this point, you need to chill the cookie dough. I know, I know, you want cookies now! However, chilling the cookie dough has 2 benefits:
- It ensures the cookies bake up all thick and chewy.
- It helps all of the flavours to develop and meld together.
Chill the cookie dough for at least an hour, or overnight. I know an hour can feel endless, but by the time you’ve washed up, had a cup of tea and preheated the oven to 190°C, you probably won’t be far off!
Baking the Cookies
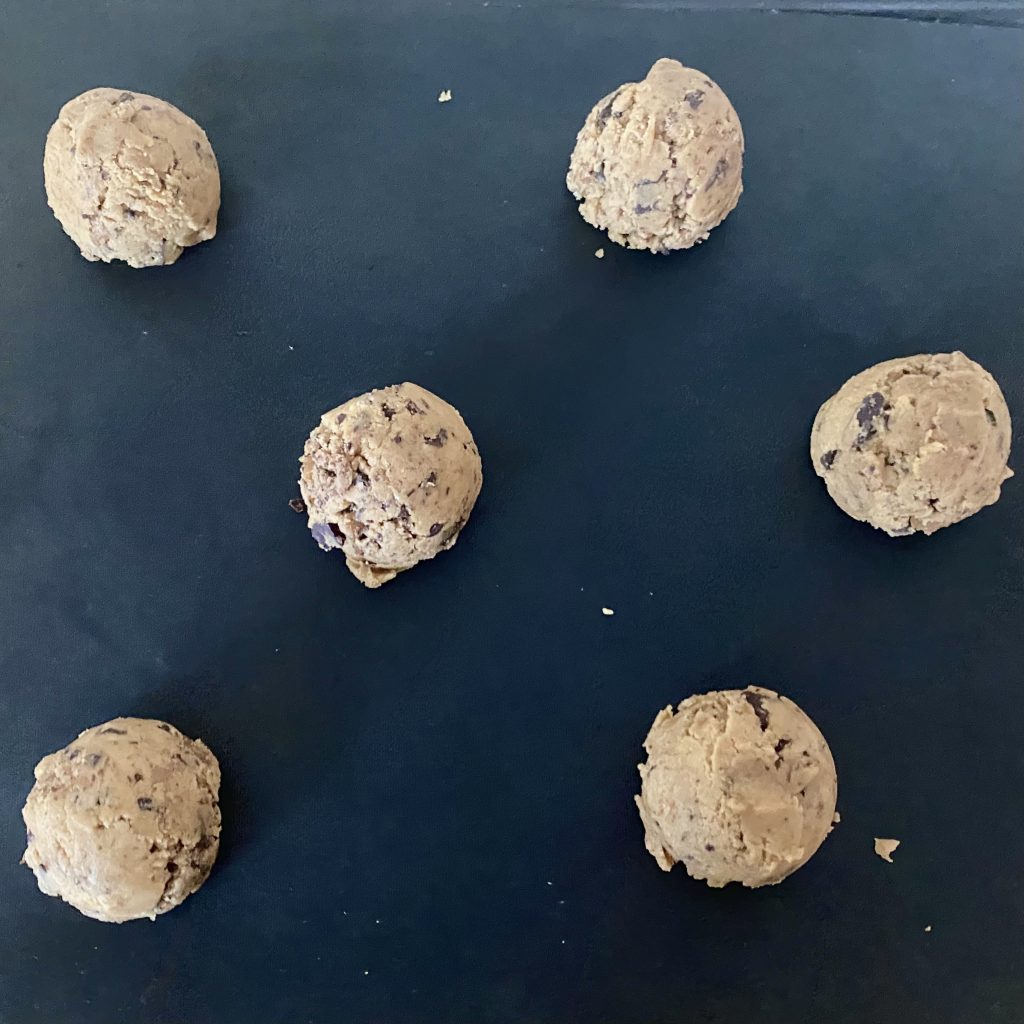
Once the dough has chilled, take it out of the fridge and divide it into balls. This recipe makes about 16 cookies and I like to use a regular-sized ice cream scoop to divide up the dough (it makes the whole process SO quick and easy). If you don’t have an ice cream scoop (or one that works for this), you could also weigh the balls for super uniform cookies- each ball should be about 65g if you do this.
Space the dough balls onto 2 baking trays, each lined with greaseproof paper (you need to leave a good amount of space between the cookies because they will spread). Bake the cookies in the oven at 190°C for 10 minutes, until they have turned brown around the edges (typical cookie recipes will require you to check for a golden hue around the edges of the cookies, but these cookies have coffee in, so are naturally much darker anyway).
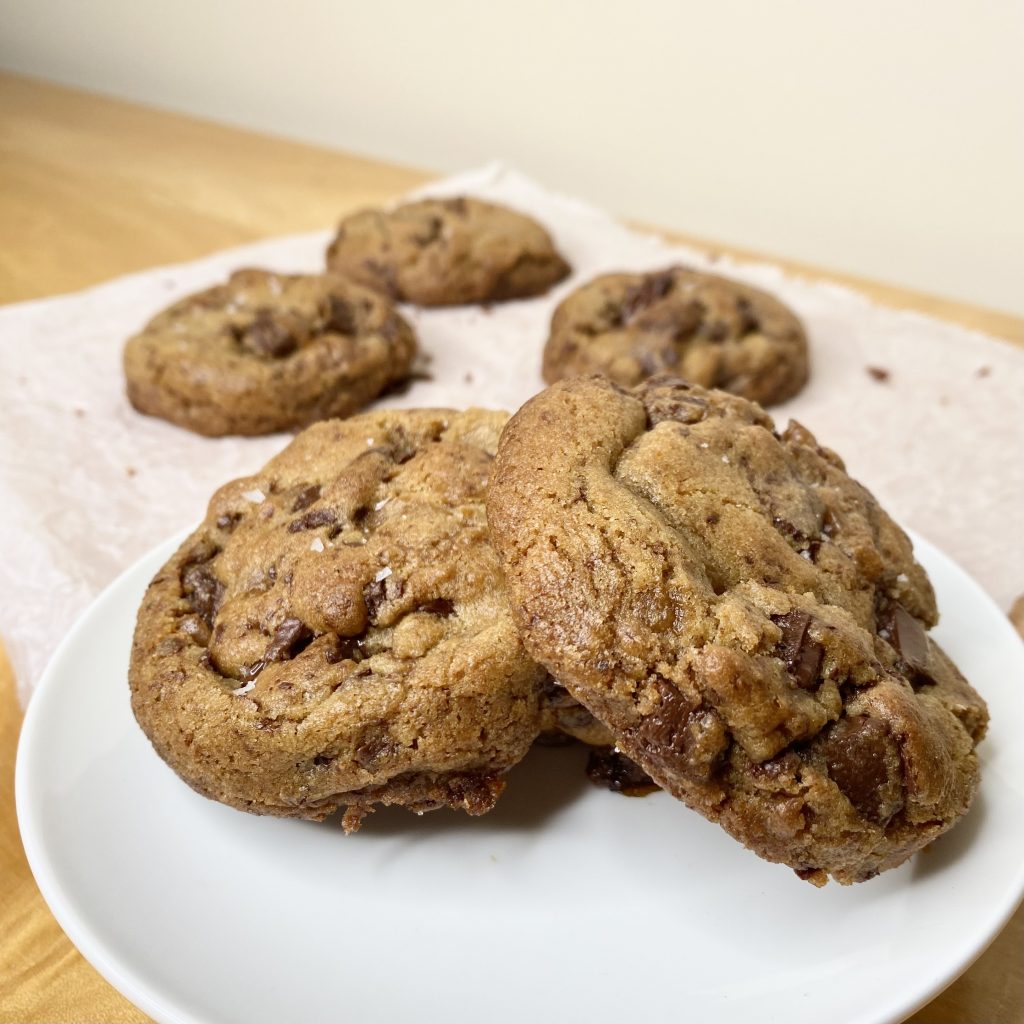
When the cookies come out of the oven, you’ll probably find that some of the toffee has melted and oozed out here and there. You can fix this and give your cookies back their perfect, uniform appearance by placing an upturned bowl over the cookie (making sure to catch any toffee puddles) and moving it in quick little circles, keeping it flush to the baking tray. This not only brings the toffee back to the cookie, but it also makes the whole cookie slightly thicker and much more circular. I actually do this to all of the cookies, not just the ones that had toffee mishaps. This will only work while the cookies are still warm, though, so make sure to do it as soon as they come out of the oven and to work quickly! Thank you, TikTok, for that little trick. I also like to sprinkle the cookies with a little more flaky sea salt at this stage.
Allow the cookies to cool on the tray for 5-10 minutes before serving. These cookies are best eaten warm (ideally fresh from the oven!), but they will keep in an airtight container for 4-5 days.
Make Ahead
I LOVE to keep cookie dough balls in the freezer, so that I am always ready for spontaneous cookie-snacking. This recipe freezes really well- you can even bake the dough balls straight from frozen! In fact, I think that freezing the cookies actually helps these cookies, because it ensures that the toffee bits stay nice and crunchy during the baking process (they have a tendency to melt away slightly more if the dough balls are not frozen).
I recommend freezing the cookie dough after you have rolled it into balls to make it easier for your future self. I like to place the balls onto a small, lined baking tray and put that in the freezer overnight, until the dough balls have frozen solid. The next day, I transfer the balls to a resealable bag and put them back into the freezer. Like this, the cookie dough balls will keep for up to 2 months, so you can have cookies at a moment’s notice, whenever you feel like it!
I find it helpful to label the bag, so that it’s super easy to tell what the cookies are and how to bake them. If you do this, I recommend including the following information:
- Flavour (I maintain there is nothing worse than thinking you’re biting into a chocolate chip cookie and discovering that what you thought were chocolate chips are, in fact, raisins).
- Oven temperature
- Cook time
For these cookies, bake them, from frozen, for 12 minutes at 190°C.
And that’s how you make these grown-up, Coffee, Toffee and Dark Chocolate Cookies. I think they’re such a perfect, tasty treat for autumn. Let me know if you try them out- I’d love to hear about it!
Gemma
xxx
Recipe

Coffee, Toffee + Dark Chocolate Cookies
Ingredients
For the toffee bits:
- 55 g unsalted butter
- 100 g light brown soft sugar
- 1 tbsp water
For the cookies:
- 170 g unsalted butter
- 200 g light brown soft sugar
- 50 g caster sugar
- 1 whole egg + 1 yolk
- 1/4 tsp vanilla extract
- 240 g plain flour
- 1 tsp baking soda
- 1 1/2 tbsp instant coffee granules, finely ground (see Note 1).
- 1 pinch flaky sea salt, plus extra for sprinkling
- 300 g dark chocolate, chopped
Instructions
For the toffee bits:
- Line a rimmed baking tray with greaseproof paper and set aside.
- Place all of the ingredients for the toffee into a small saucepan over medium heat. Stir gently while the butter melts and the sugar dissolves.
- Once the sugar has dissolved, stop stirring and allow the toffee to bubble away until it reaches 146°C. You can gently swirl the pan during this time, but do not stir the mixture, or your toffee might crystallise.
- When the toffee has reached 146°C, take the pan off the heat and stir vigorously to ensure the mixture is homogenous. Pour onto the lined baking tray and set aside at room temperature to cool down and harden fully- about 20 minutes.
- When the toffee has cooled completely (it should be hard and brittle at this point), use a rolling pin to crack it up into small pieces. The toffee can be use immediately, or stored in an airtight container for up to a week.
For the cookies:
- Begin by browning the butter. Place the butter into a small saucepan over medium heat. Allow the butter to melt, then cook, stirring frequently, until the butter smells nutty and the milk solids have turned a deep brown colour. Remove the pan from the heat and allow the butter to cool to room temperature before using (see Note 2).
- Place the brown butter and both sugars into the bowl of a stand mixer, fitted with a paddle attachment. Mix on medium speed until combined.
- Add the egg, egg yolk and vanilla extract to the butter/sugar mixture. Beat on medium speed until well-combined and fluffy- about 30 seconds.
- Sift the flour, baking soda and coffee granules into the mixture. Add the salt, then mix on low speed until the dry ingredients are mostly incorporated.
- Add the dark chocolate chunks and smashed toffee pieces and mix again, just until incorporated. Place the bowl into the fridge and allow the cookie dough to chill for 1 hour, or overnight.
- Just before the dough is ready to come out of the fridge, preheat the oven to 190°C. Line 2 baking trays with greaseproof paper and set aside.
- When the cookie dough has chilled, remove it from the fridge and divide it into 16 even balls (I used a regular-sized ice cream scoop for this, but you could also weigh the cookie dough balls- each ball should be about 65g). Place the cookie dough balls onto the lined trays, making sure to leave plenty of space between them (they will spread as they bake).
- Bake the cookies for 10 minutes, or until they have turned a deep brown colour around the edges (the coffee makes these cookies darker than average chocolate chip cookies, so look for a deep brown, rather than a golden colour).
- When the cookies come out of the oven, place an upturned bowl (you need one that is slightly bigger than the cookies themselves) over one cookie and quickly move it around and around in small circles, keeping it flush against the tray. This will make sure that your cookie stays nice and thick, has a perfectly round shape and, as a bonus, will bring any toffee that might have oozed out during the baking process back into the cookie. Repeat for the other cookies, then sprinkle with flaky sea salt and allow to cool for 5-10 minutes before serving. The cookies will last for 4-5 days if stored in an airtight container, but are best eaten warm (ideally fresh from the oven).
Notes
- I like to grind instant coffee granules in a mortar and pestle for this recipe, so that I have a really fine powder that distributes evenly throughout the dough. You can skip the grinding step, if you would prefer, but your cookies will be speckled with the coffee granules. You could also use espresso powder, instead, but I would recommend reducing the amount of coffee if you do. Don’t use brewed coffee (it will make your dough too wet!) or coffee grounds (this would affect the texture of your cookies).
- Your brown butter needs to be at room temperature before you make the dough, to ensure your cookies bake perfectly. You can leave it to cool by itself, but it will take a little while to come to temperature (brown butter is very hot when it has just been made!). I like to transfer my butter to a small, heatproof bowl and sit that in a larger bowl, filled with ice water. Stir it every now and then and, after about 10 minutes, the butter will be cool enough to use.