Over the past few years, I have become obsessed with making ice cream at home. I love that, unlike other baked goods, you get all the fun of making it without the stress of having to eat it all before it goes bad or stale- homemade ice cream lasts for 3 whole months in the freezer! I had to take a bit of a hiatus from my ice cream making adventures during the colder months, but, since the sun is out and summer is nearly here, I can now officially dust off my ice cream maker and get back to some good ol’ ice cream exploits!
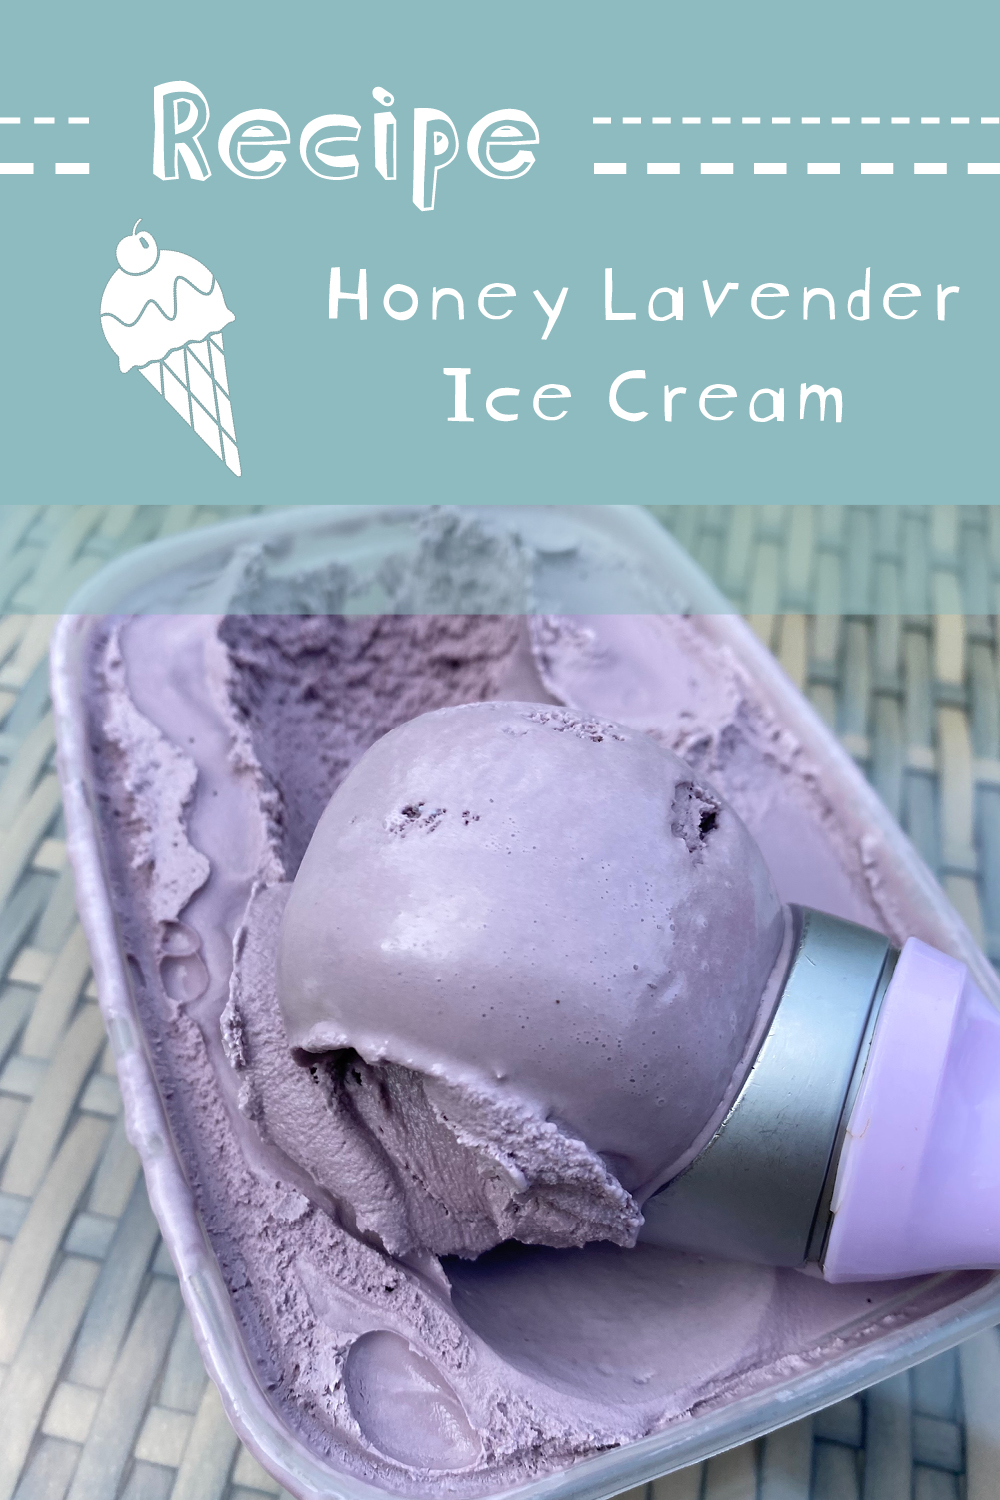
When I was younger, we went on a family holiday to the USA. During that holiday, we visited Bi-Rite Creamery, an ice cream shop in San Francisco, which is famous for a variety of unusual flavours, including Balsamic Strawberry and Honey Lavender. The ice cream, needless to say, was great- in fact, my mum still talks about the Honey Lavender flavour. Last year, I decided to try making my own honey lavender ice cream and the result was DELICIOUS. Today, I’m sharing my recipe with you, so you can make your own honey lavender ice cream and pretend you are living it up in San Francisco this summer. Let’s get into it, shall we?
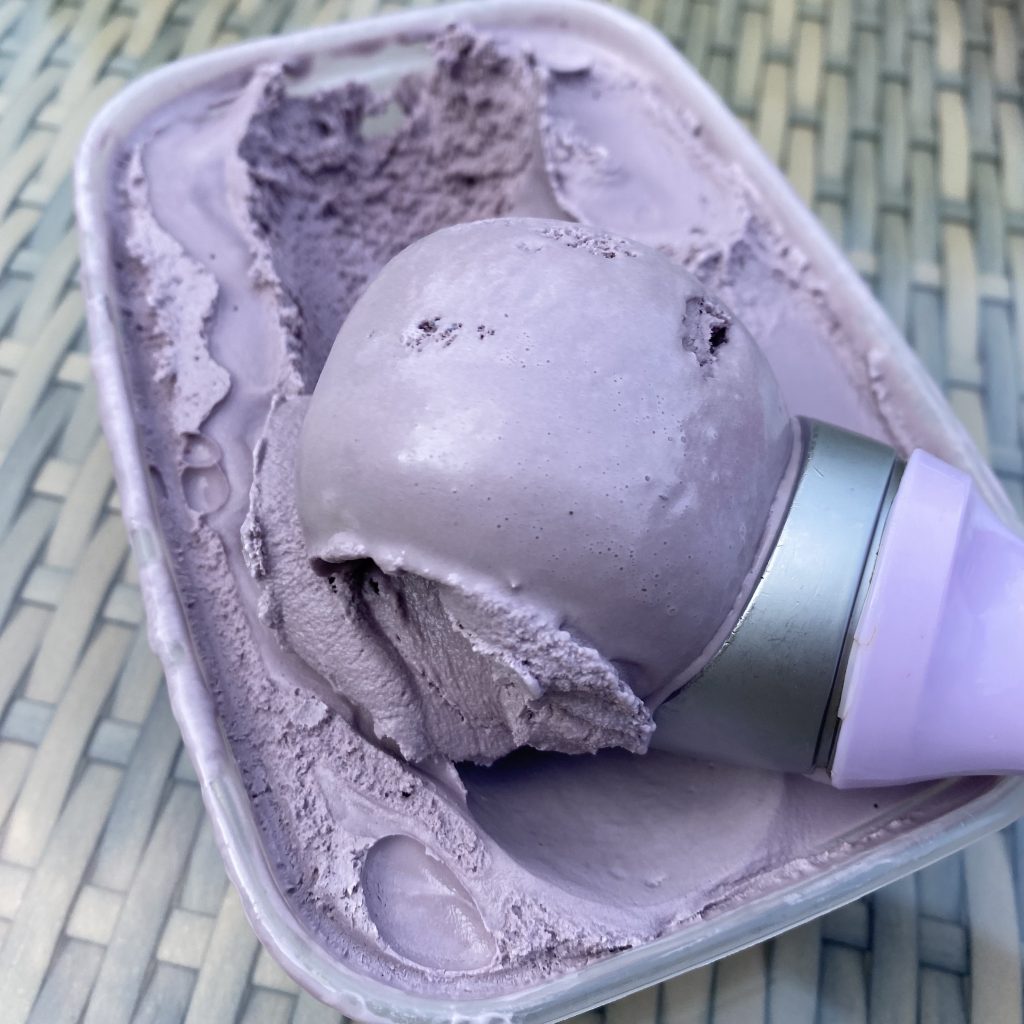
Table of Contents
Ingredients
- Double cream
This ice cream recipe uses half cream, half milk. This ratio makes for a perfectly smooth and creamy texture. In the UK, you’ll want to use double cream. In the US, you can substitute heavy cream.
- Milk
Ideally, you should use whole milk for this recipe, because it will make your ice cream super creamy and tasty. However, I practically always use skimmed milk and every time I do, my ice cream still tastes great. Basically, go ahead and use whatever variety of cow’s milk you have on hand- your ice cream will turn out great! I’ve never tried using a plant-based milk in this recipe though, so I can’t be sure it would turn out right.
- Caster sugar
You need to separate your caster sugar into two equal portions (50g each). One portion will be heated with the milk/cream, the other will be beaten together with the egg yolks and honey.
- Dried lavender
I use dried lavender so that I can cook with it all year long, but you can use fresh lavender, if you prefer. Make sure you wash it thoroughly before using it, then substitute 2 tbsp of fresh lavender for every 1 tbsp of dried flowers. If you’re using dried lavender, make sure you buy culinary grade lavender. You can find the brand I use here.
- Egg yolks
Egg yolks are a vital part of any ice cream recipe- after all, ice cream is basically just frozen custard! You don’t need the whites for this recipe, so you can either use them straight away for another bake (such as my macaron recipe!) or freeze them for later.
- Honey
You can use your favourite honey for this recipe- the honey is purely for flavour, so make sure you use one you love the taste of.
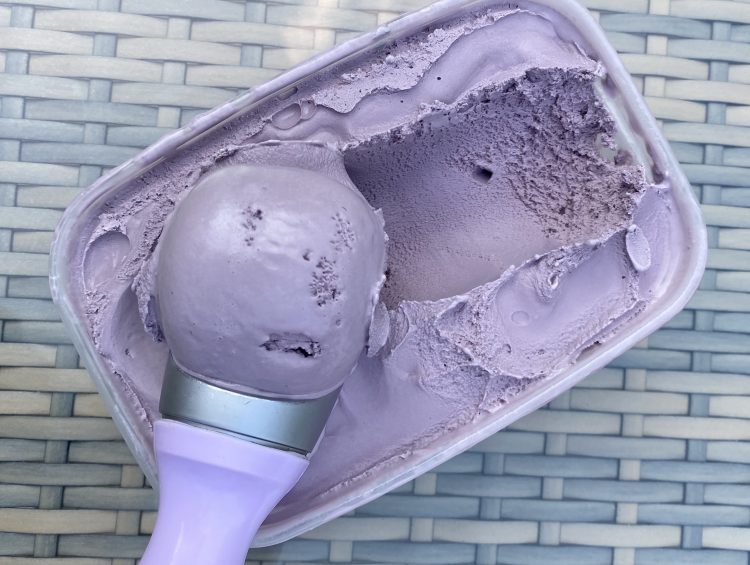
- Purple food colouring
This is completely optional, but I like to give this ice cream a purple tint (that way I’ll never forget what flavour it is!). I recommend using a food colouring that is specifically formulated to work with high-fat mixtures, to ensure that you get a super even colour. I used Colour Mill food colouring, in the shade Lavender. One thing to note here: if your egg yolks are a particularly vibrant orange/red, they will affect the colour of your custard. This can make it hard to achieve the intended colour with food colouring- this happened to me with the batch pictured! To remedy this, I had to add quite a bit more colouring than I typically would, along with a little bit of pink colouring to readjust the tone.
Equipment
- Ice cream maker
To make the best ice cream, you need a good ice cream maker. I use this KitchenAid attachment and I love it. It can be a little fiddly to set up, but once you get it working it runs perfectly (as long as you don’t, like I have done, pour in the custard down the side of the bowl and work slowly enough that it freezes on and nearly breaks the paddle. Bad times, bad times indeed). You have to freeze the attachment in advance (overnight!), as is the case for most ice cream makers, so don’t forget to plan ahead! When it comes to churning your ice cream, most machines will come with their own set of specific instructions. Using the KitchenAid attachment, I usually churn mine for 20-30 minutes and it comes out perfectly.
- Fine mesh sieve
This recipe requires you to strain your ice cream base on 2 different occasions: firstly, to remove the lavender flowers from the cream mixture and, secondly, to ensure that your ice cream is super smooth (you don’t want any pesky little eggy bits!) before you thicken the custard. For both of these steps, you’ll need a heatproof fine mesh sieve. I know straining can be a bit tedious, but it’ll make for a much more enjoyable ice cream-eating experience.
- Electric mixer
I like to use a hand mixer for this recipe, but you can use a stand mixer if you prefer. You will definitely want some sort of electric mixer though, because it would take ages and a lot of elbow grease to get the eggs and sugar to the ‘ribbon stage’ by hand.
Tips & Tricks for Perfect Homemade Ice Cream

Plan ahead.
Ice cream isn’t too difficult to make, but it does require a little bit of planning. Most ice cream makers require the canister to be frozen ahead of time (usually 12 hours/overnight), to work properly. You also want the ice cream base to be super cold before you start churning it, so you need to give it enough time in the fridge to cool down (about 3-4 hours, or overnight). You’ll also need to freeze your churned ice cream for at least 3 hours to get it to the perfect texture for scooping (& enjoying!). Make sure you leave yourself enough time to make the best of your ice cream!
Don’t skip the infusing time!
After you’ve brought the cream mixture up to just below a boil, you need to leave it for 30 minutes to allow the lavender flavour to fully infuse before you strain out the flowers. If you strain it immediately, the lavender flavour will be barely noticeable! That being said, if you want a softer, more subtle flavour, you can decrease the infusing time a little. Similarly, if you want a super strong lavender flavour, increase it a little! The great thing about making ice cream at home is you can customise it to suit your tastes.
Get your eggs and sugar to the ‘ribbon stage’.
It’s important in this recipe to beat the eggs, sugar & honey together really well, until the mixture is thick, pale and creamy: the so-called ‘ribbon stage’. You can check whether you’ve reached the ‘ribbon stage’ by lifting up the whisk and drawing a figure of 8 with the ‘ribbon’ of mixture that falls from it. If you can do that before the shape settles completely into the rest of the mixture, you’re good to go!
Make sure to temper your egg mixture.
The only slightly tricky part of this recipe is making sure you don’t accidentally cook your eggs when adding the hot cream mixture. Luckily, you can prevent this by tempering your eggs. Before you heat the cream mixture back up, reserve about 125ml of it. You can then beat this barely-warm cream into the egg mixture to slacken it, which will help to prevent any unwanted egg-cooking when you add the hot cream. Then, you can add the hot cream to the egg mixture in a slow, steady stream, while whisking continuously, which will also help to prevent any cooking. Finally, before you return the custard to the heat to thicken, strain it back through a fine mesh sieve, just to remove any little bits of egg that may have cooked slightly, despite your best efforts! Don’t worry if the custard is a bit frothy after all that whisking- after a few minutes of stirring over the heat it will smooth right out.
Don’t let the custard boil.
When you are waiting for the custard to boil, stir continuously and keep and eye out for any bubbles rising to the surface in the centre of the pan. If you see any bubbles, your custard is thick enough! Take it off the heat at this stage, or the custard may curdle. The custard only thickens slightly, so don’t worry too much about getting it super thick, 8-10 minutes over a low heat should be fine- it will thicken more as it chills anyway.
Add the food colouring after the custard has thickened.
Some food colourings can be affected by exposure to heat. You’ll have much more control over the colour of your finished ice cream if you add the colouring after you have taken the thickened custard off the heat.
Put clingfilm directly onto the custard’s surface before chilling it.
Custard can form a skin as it cools down, but you can prevent that from happening by covering it with clingfilm and making sure the clingfilm is touching the surface.
Make sure the custard is super cold before you churn it.
The colder your ice cream base is, the less time it will take to freeze and the creamier your finished ice cream will be (you’ll also get to eat it sooner, so it’s really a win-win)!
Make sure the ice cream maker is running before you pour in the custard!
I mentioned earlier that I nearly broke my ice cream maker by allowing the custard to freeze onto the side of the bowl- the way to avoid this is to start the machine, so that it is already mixing as you pour in the custard. That way, the custard will start churning as soon as it enters the machine and won’t have a chance to freeze onto the sides/bottom of the bowl. Learn from my mistakes and save your ice cream maker!
Recipe
Honey Lavender Ice Cream
Ingredients
- 300 ml double cream
- 300 ml milk
- 100 g caster sugar (split into 2x50g portions)
- 1 tbsp dried lavender (see note 1)
- 3 egg yolks
- 1 tbsp honey
- purple food colouring (optional)
Instructions
- The day before you make the ice cream, put the bowl of the ice cream maker into the freezer (see note 2).
- Put the cream, milk, 1 of the 50g portions of sugar and the dried lavender into a medium-sized saucepan. Place over a low heat and, stirring every now and then, bring to just below a boil (when it's ready, you'll be able to see bubbles forming around the edge of the pan and some steam rising from the mixture). Remove from the heat and set aside, covered, to infuse for 30 minutes.
- When the cream mixture has infused for 30 minutes, strain it through a fine mesh sieve to remove the lavender (the lavender can now be discarded). Set about 125ml of the strained mixture aside, then put the rest of the cream back into the saucepan. Slowly, bring the cream mixture in the pan to just below the boil again.
- While the cream mixture is heating up, put the egg yolks, the remaining 50g of sugar and the honey into a large bowl. Using an electric hand whisk, beat until the mixture becomes pale and thick (when you lift the whisk, it should form thick ribbons that stay on the surface for a few seconds before settling back into the mixture: the 'ribbon stage'). Once the 'ribbon stage' has been reached, beat in the 125ml of the reserved cream mixture to slacken the egg mixture.
- When the cream mixture has been heated to just below a boil, take it off the heat and, whisking continuously, pour into the slackened egg mixture in a slow, steady stream.
- Once all of the cream mixture has been incorporated, pour the whole mixture back into the saucepan through a fine mesh sieve to ensure the custard is completely smooth. Place the saucepan over a low heat and cook, stirring frequently, until the custard has thickened slightly (it should coat the back of the spoon- about 8-10 minutes). Do not let the custard boil, or it will curdle- if you start to see bubbles rise to the surface in the centre of the pan, remove from the heat immediately (your custard will definitely be thick enough at this point).
- Once the custard has thickened, remove from heat and stir in the purple food colouring until evenly distributed (see note 3). Transfer to a jug, cover with clingfilm (place the clingfilm directly onto the surface of the custard, to prevent it from forming a skin) and allow the custard to cool slightly at room temperature before putting it into the fridge to chill for at least 3-4 hours, or overnight.
- Once the mixture is completely cold, set up the ice cream machine. With the mixer running, pour in the cold custard and churn for 10-30 minutes, as per your machine's instructions. Once it has churned, transfer the ice cream to a container, cover with a lid and freeze for at least 3 hours (preferably overnight) before serving. The ice cream will keep in the freezer for up to 3 months.
Notes
- Make sure you use culinary grade lavender. You can purchase the brand I used here.
- If you plan to chill your custard overnight, before churning, you wait to freeze the canister of your ice cream maker until the day you make the custard. If you are chilling and churning your custard in the same day, you’ll need to remember to freeze the canister the day before.
- Because of the high fat content of the custard, the food colouring might take a little while to incorporate fully. Just keep stirring! Additionally, after the custard has sat for a while in the fridge, some food colouring can collect at the bottom of the jug. Give the custard a good stir, right before you churn it, to avoid any unwanted streaks.
If you try this ice cream recipe out, I’d love to hear about it! Leave me a comment down below.
Gemma
xxx