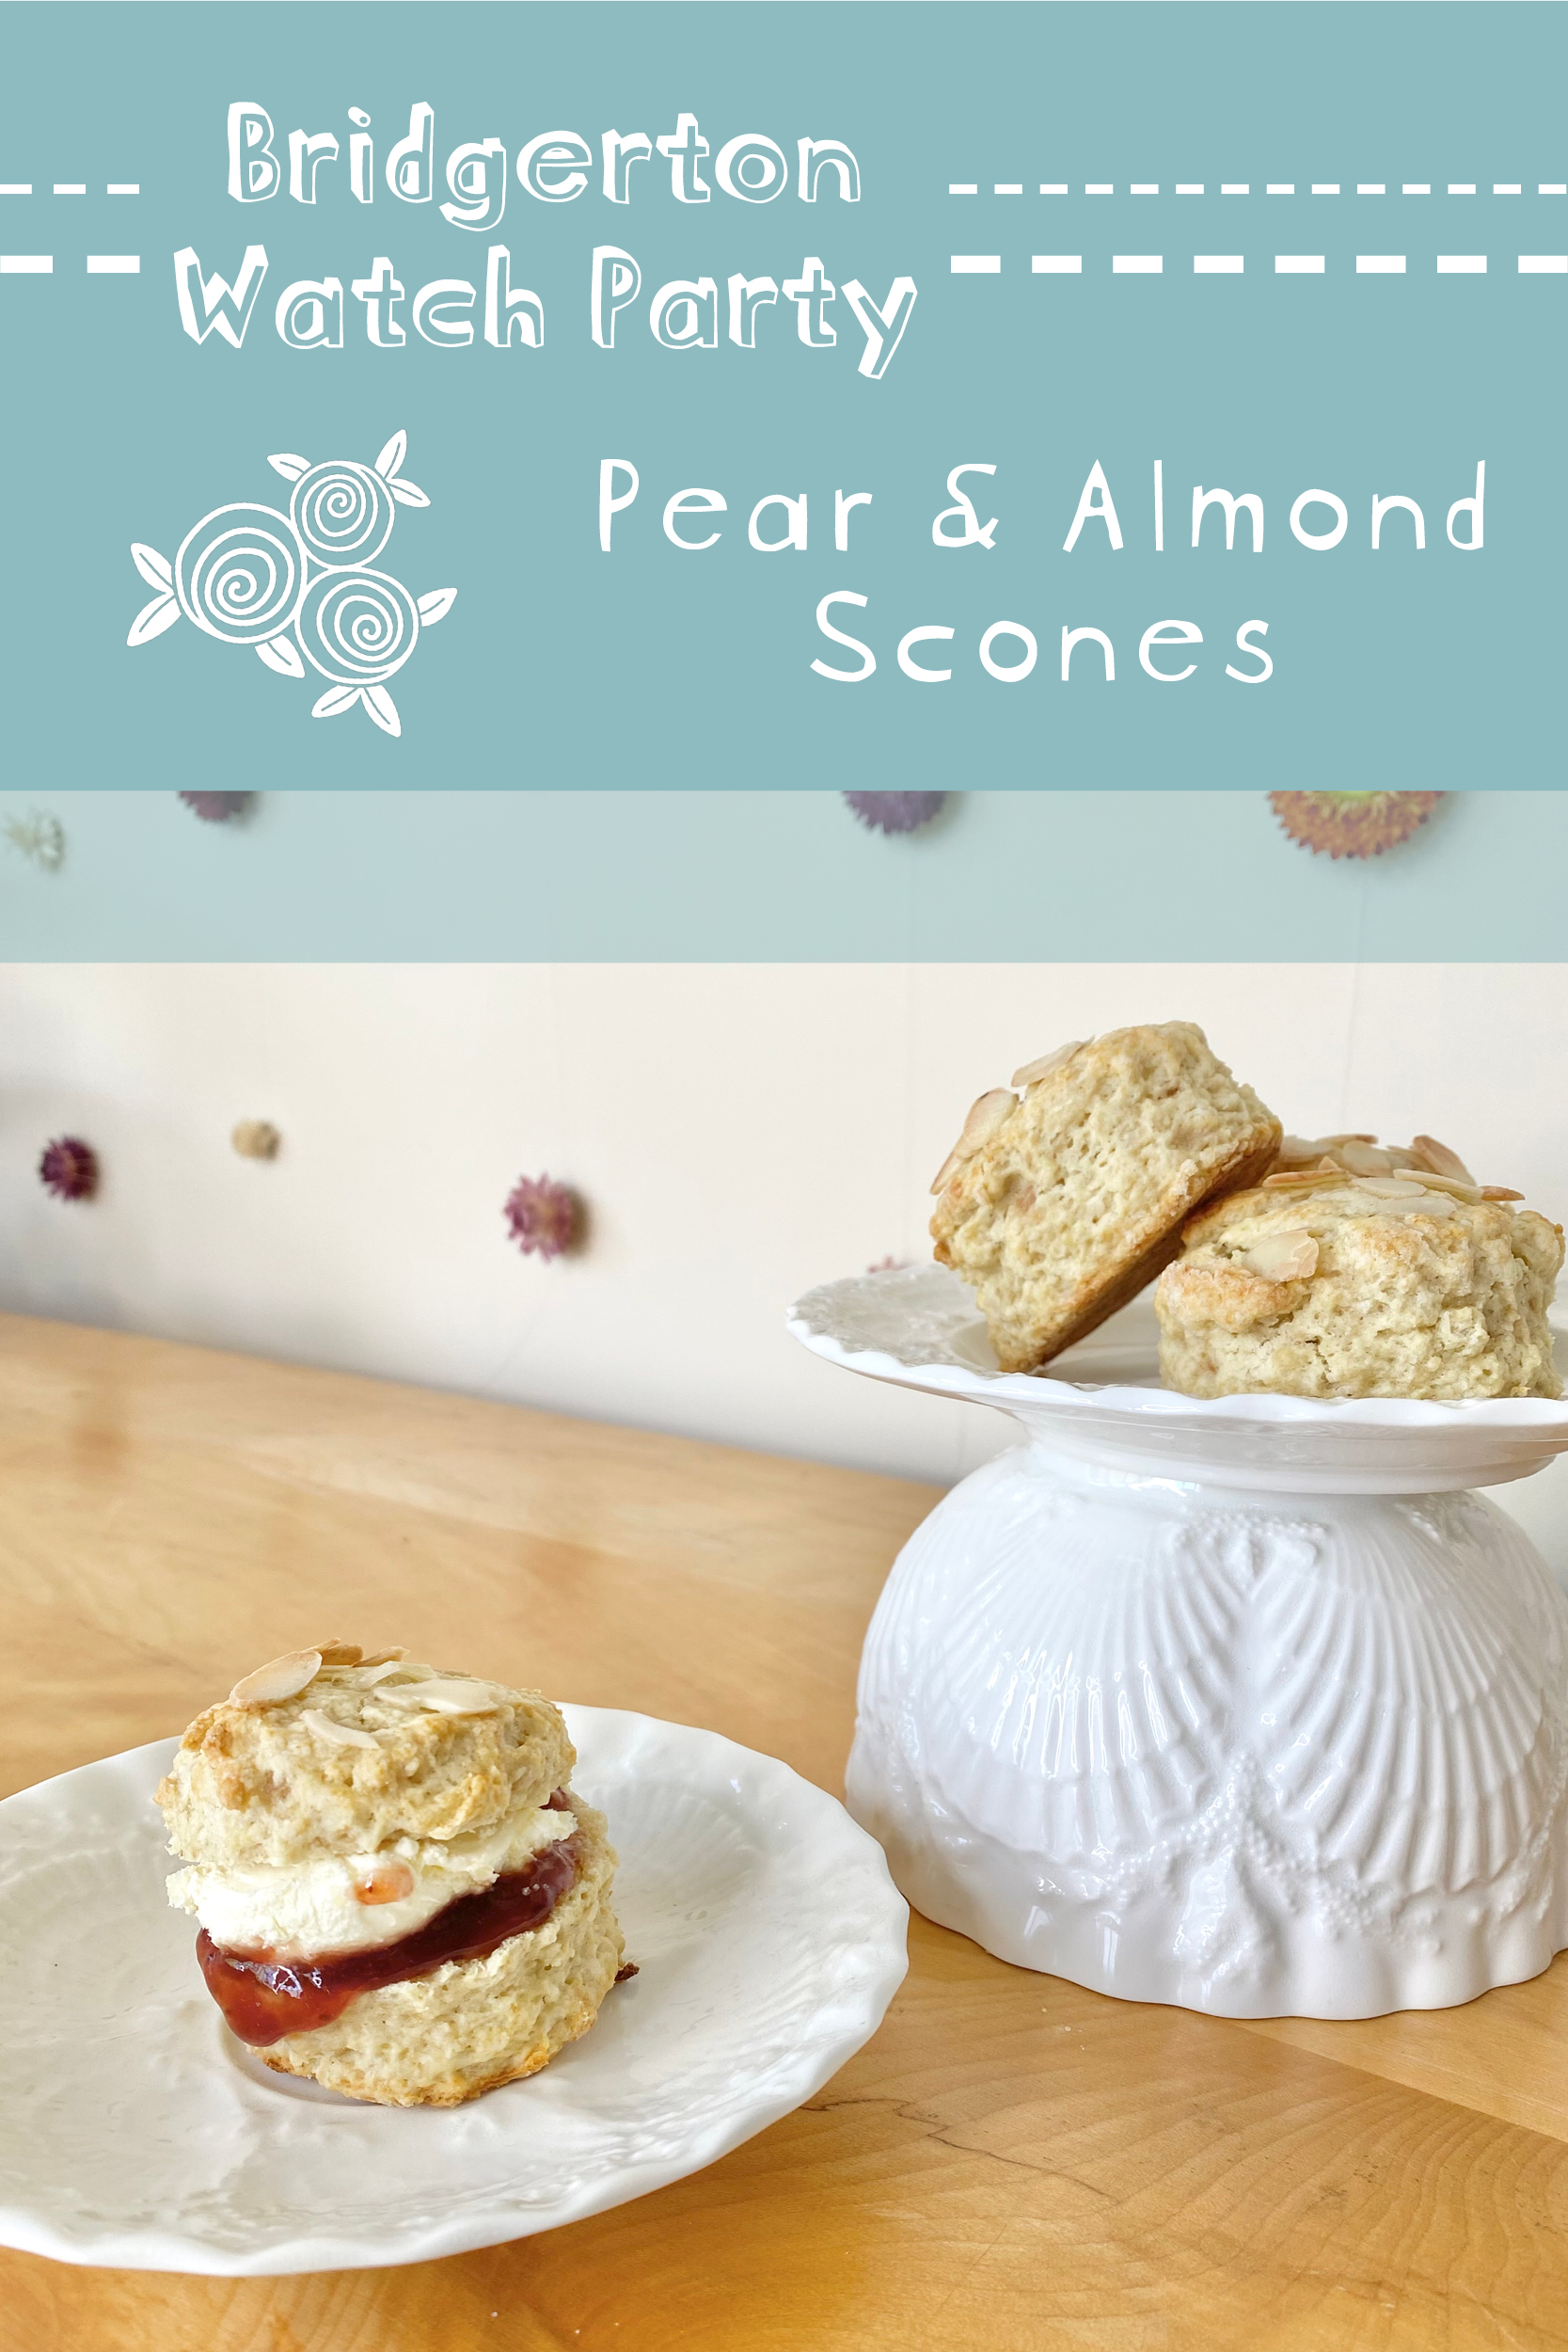
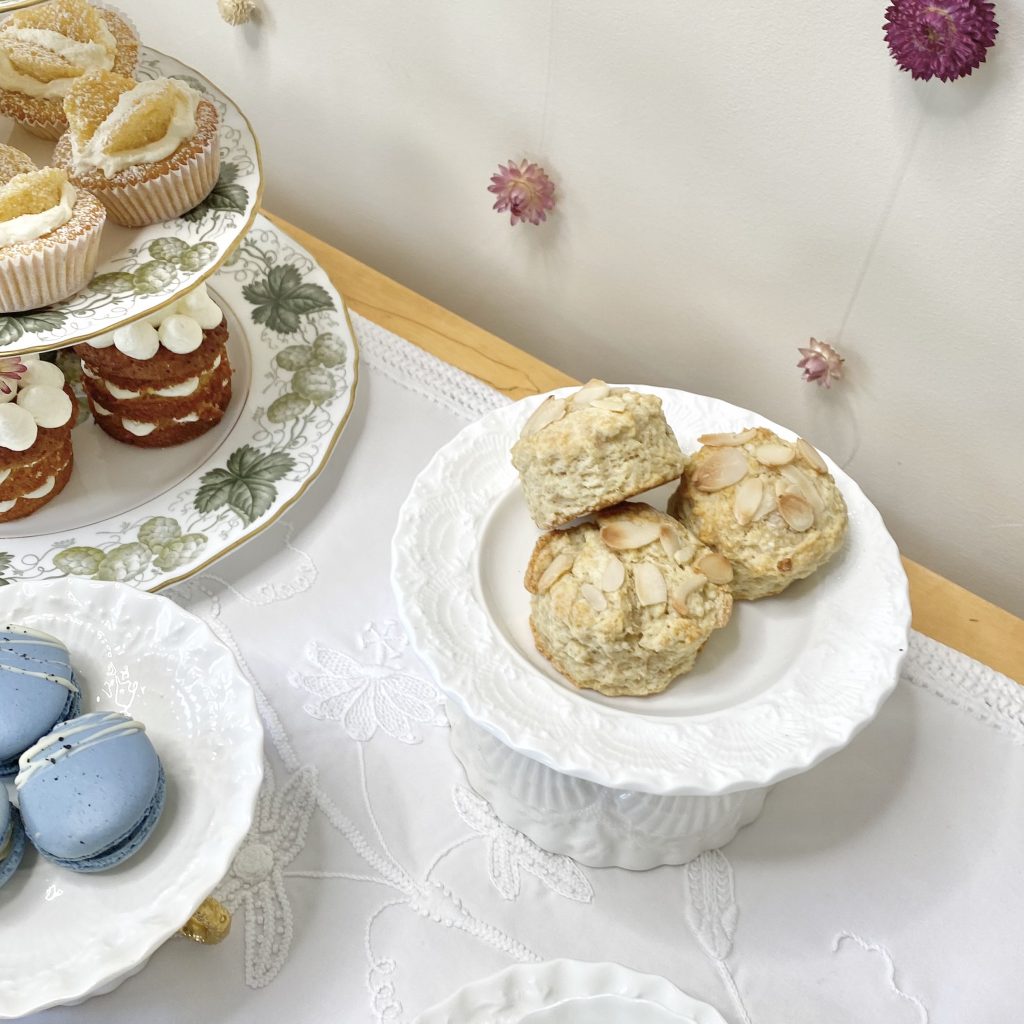
Welcome to Bridgerton Watch Party Week! 7 days, 6 brand new, Bridgerton-inspired recipes & lots of tips, tricks and ideas for creating an afternoon tea-style dessert table worthy of the show. Whether you’re planning to host a Season 3 watch party yourself, or just want to make your own viewing experience extra sweet- I’ve got you covered!
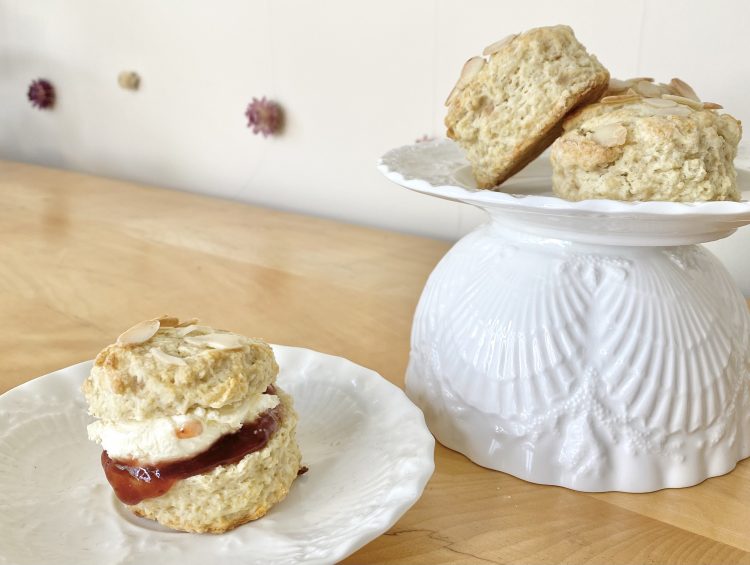
First up: these super tasty, fun and fruity Pear & Almond Scones (because you can’t have afternoon tea without scones, right?).
Let’s get into it!
Table of Contents
- Inspiration
- Ingredients
- Making the Scones
- Tips & Tricks for Making Perfect Scones
- Pear & Almond Scone Recipe
Inspiration
I will try desperately not to waffle here- but because I spent so long crafting these recipes, I did want to give you a little insight into how I was inspired by the show for each one! As I mentioned, you can’t have an afternoon tea without scones, so I knew there had to be some sort of scone recipe in this series.
In terms of the flavour choice, I cycled through a few different options before landing right back where I started, with my family’s favourite Pear & Almond scones. We first had these scones in Ireland, at a café called Avoca (I use the term ‘café’ lightly here- it’s more of an iconic chain of big store/café hybrids? Hard to explain- but they serve cheesecake slices that are, quite literally, the size of my head, so, naturally, it’s one of my favourite places). The Avoca scones are significantly bigger than the ones I make here, but I wanted to keep things dainty for my dessert table, so I fiddled around with the recipe a little to make that possible. The Bridgerton theme isn’t quite as strong with this recipe as some of the others, but I still think the fresh, fruity flavour really fits into the general, spring/summer aesthetic. Also, these scones are DeLiCiOuS, so I kind of just wanted to share the recipe anyway.
Ingredients
These Pear and Almond Scones are made from a sweetened, enriched dough. To make it, you will need:
- Unsalted butter
Cold, diced butter is rubbed into the dry ingredients to create flaky layers in the finished scones.
- Self-raising flour
Self-raising flour gives the scones lift, so they are super soft and fluffy.
- Baking powder
Baking powder gives the scones even more lift (so they’re super super soft and fluffy)!
- Caster sugar
The caster sugar lends a slight sweetness to the scones, making them super moreish.
- Pears
The pears lend sweetness, moisture and flavour to the scones. You can choose whether you want to grate the pears or finely dice them- using grated pears will make it easier to cut perfectly neat scones and produce a slightly moister result, but the pear flavour will be more prominent if you use diced pears. It’s up to you- just make sure to squeeze out any extra moisture from the grated pear, using a tea towel, if you decide to go down that route!
- Egg
This enriches the dough, making it extra delicious.
- Milk
Milk is added to the dough to help bring it together. It is also brushed on top of the scones before baking, to help the flaked almonds adhere.
- Vanilla extract
Vanilla extract nicely complements the pear and almond flavours.
- Flaked almonds
Flaked almonds are sprinkled on top to add almond flavour and a crunchy texture.
Making the Scones
Start by preheating the oven to 210°C (conventional oven). Line a baking tray with greaseproof paper and set aside.
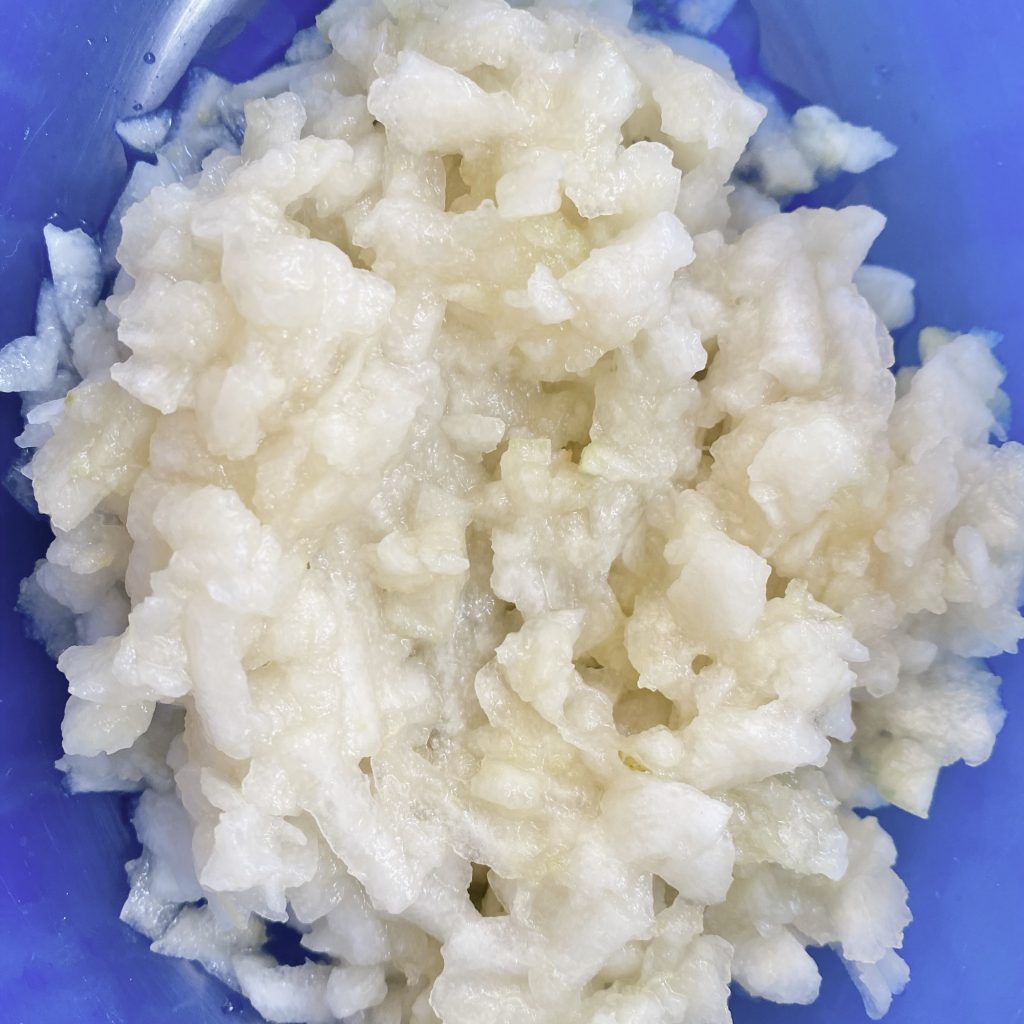
Next, prepare the pears. Peel and core each one, then either grate roughly, or finely dice. If you grate the pears, transfer the grated fruit to a clean tea towel and squeeze out as much juice as you can, otherwise the scone dough will be too wet. Set the prepared fruit aside while you get started on the dough.
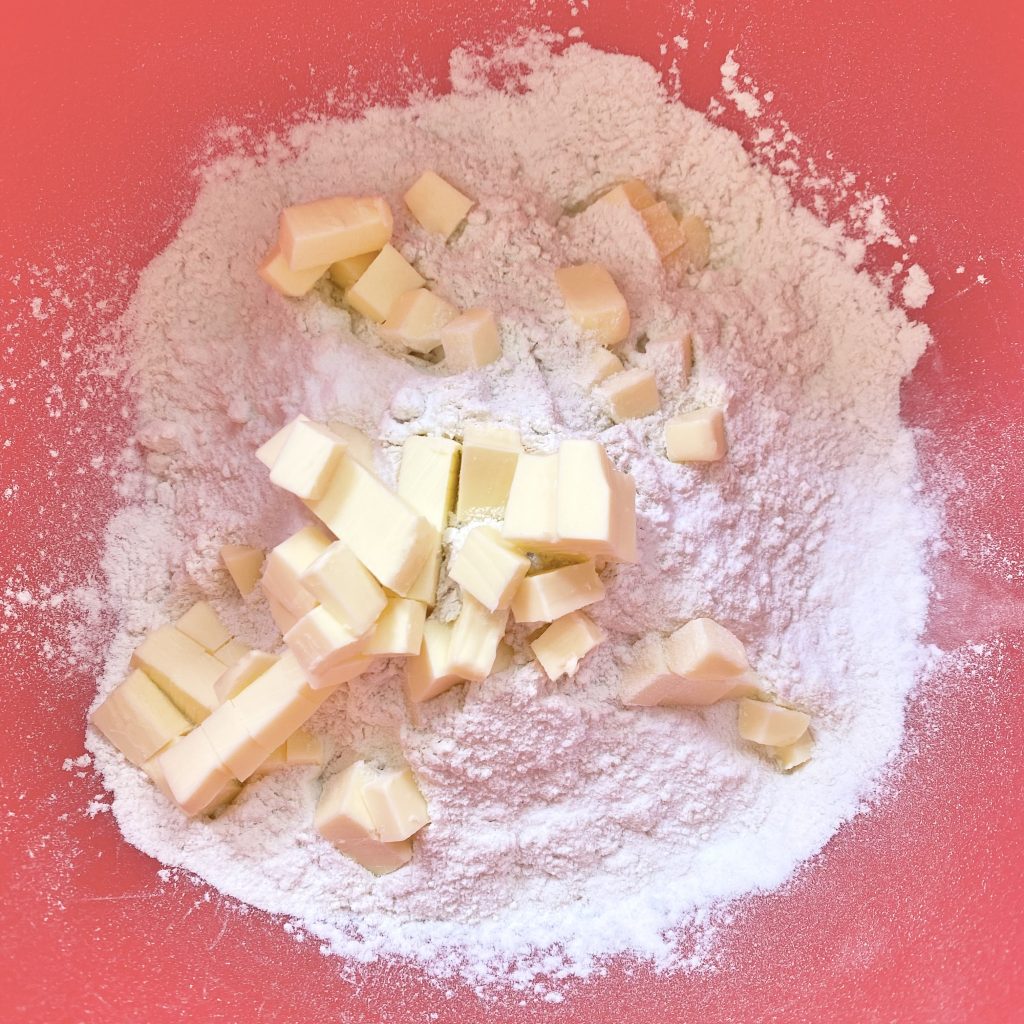
Sift the flour and baking powder into a large bowl, then add the cold, diced butter.
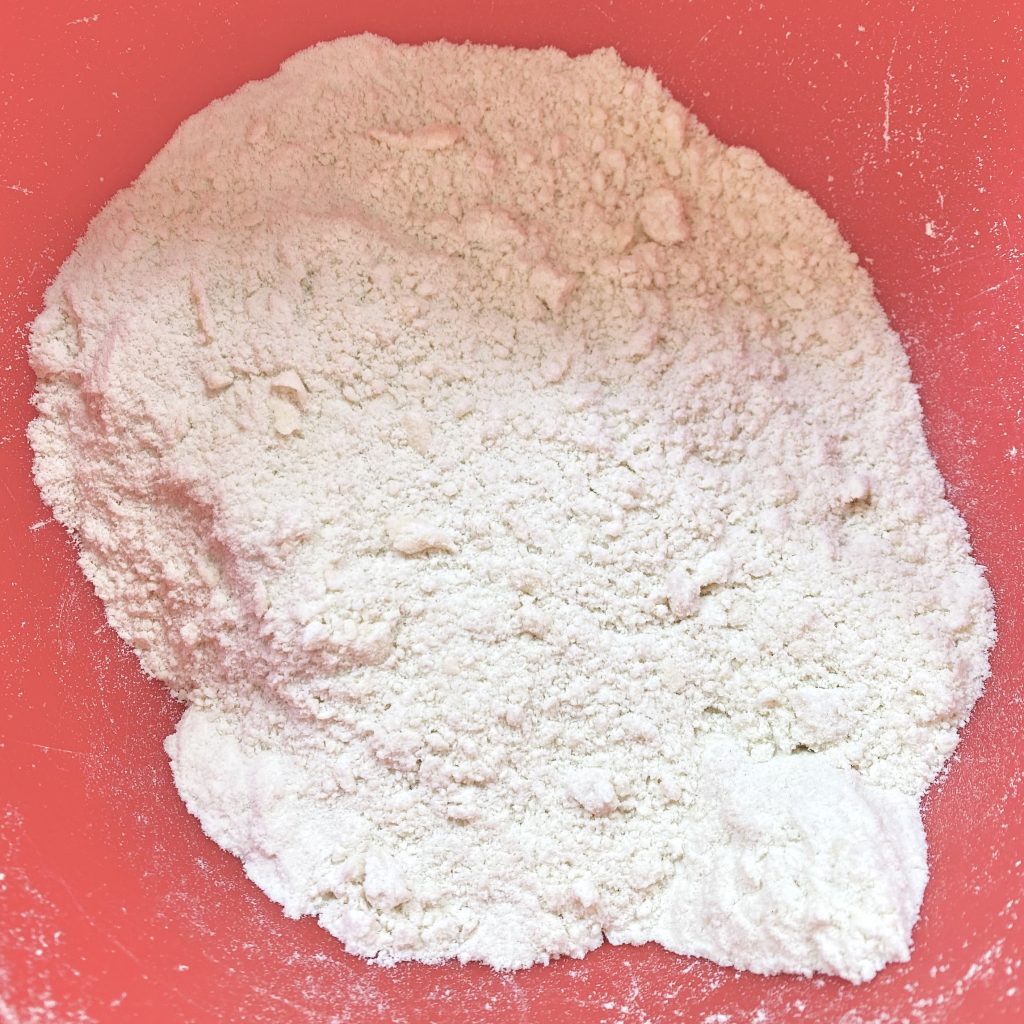
Using your fingertips, rub the butter into the flour until the mixture resembles fine breadcrumbs.
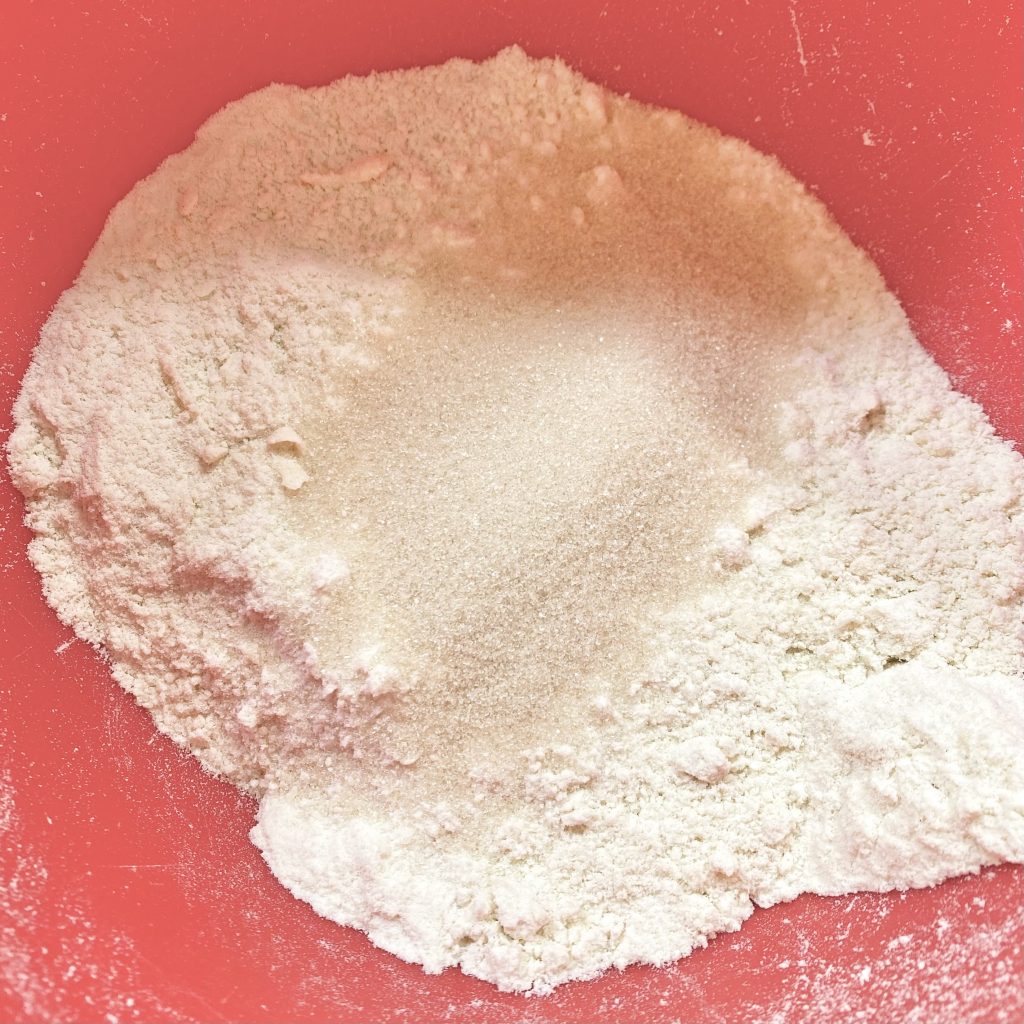
Add the sugar to the bowl and stir through, then add the prepared pear and mix, just to get the pear evenly distributed throughout.
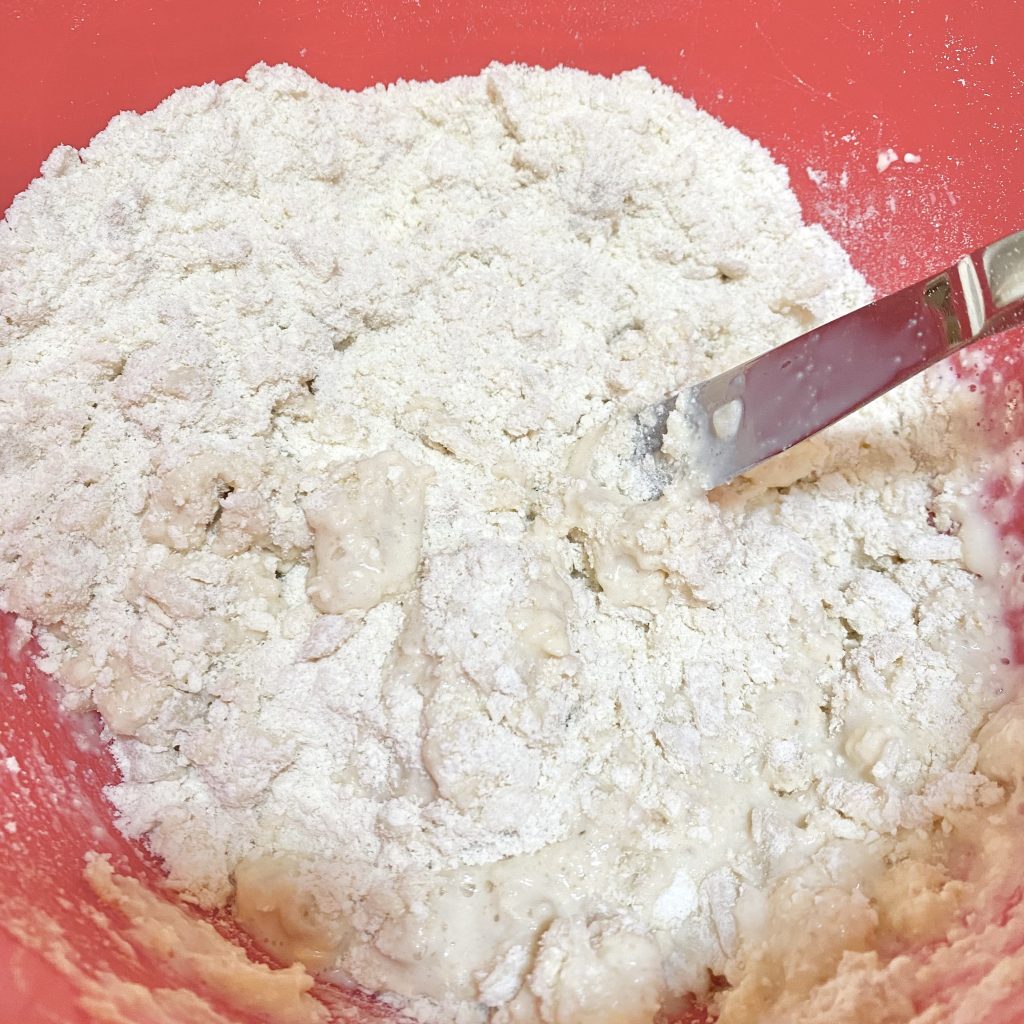
In a jug, whisk together the egg, milk and vanilla extract. Add the wet ingredients to the flour mixture and stir until the mixture starts to come together.
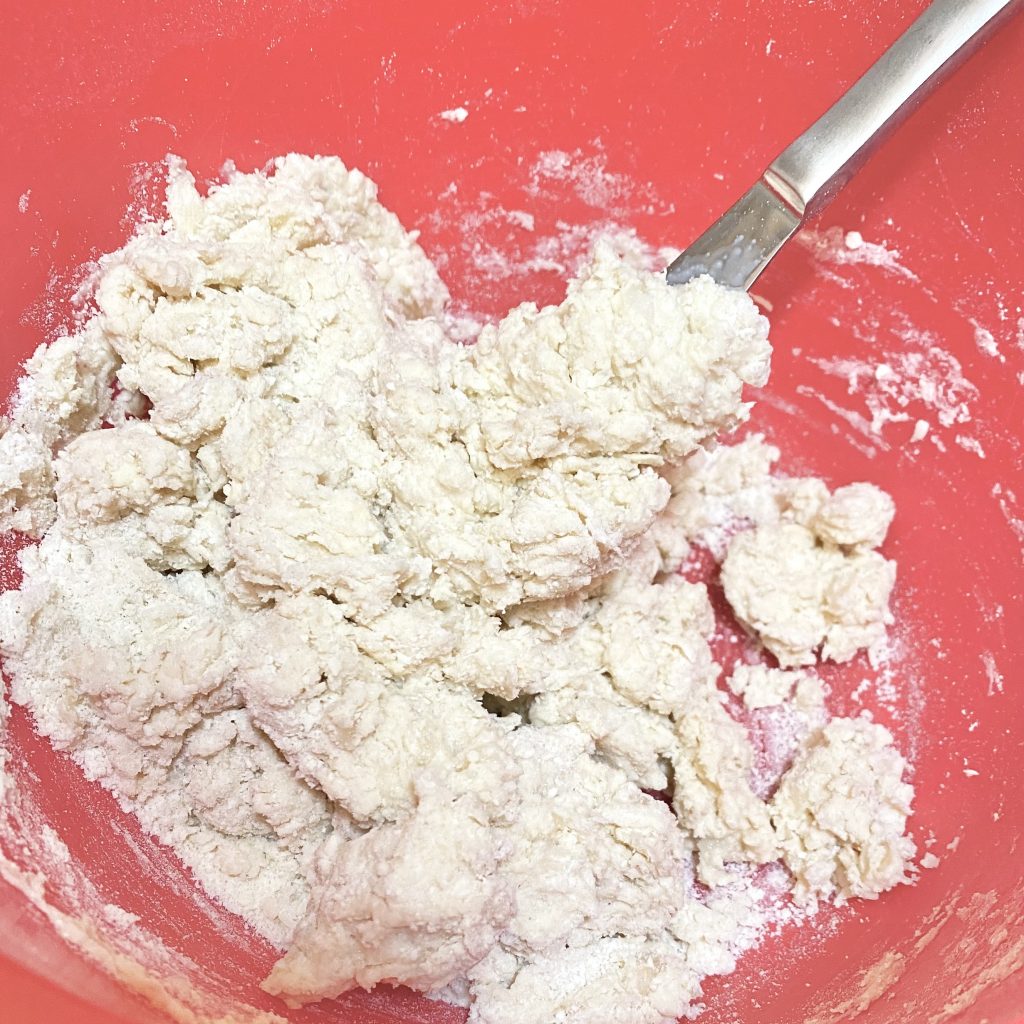
Use your hands to bring the mixture together into a rough dough, then tip the whole lot onto a floured work surface.
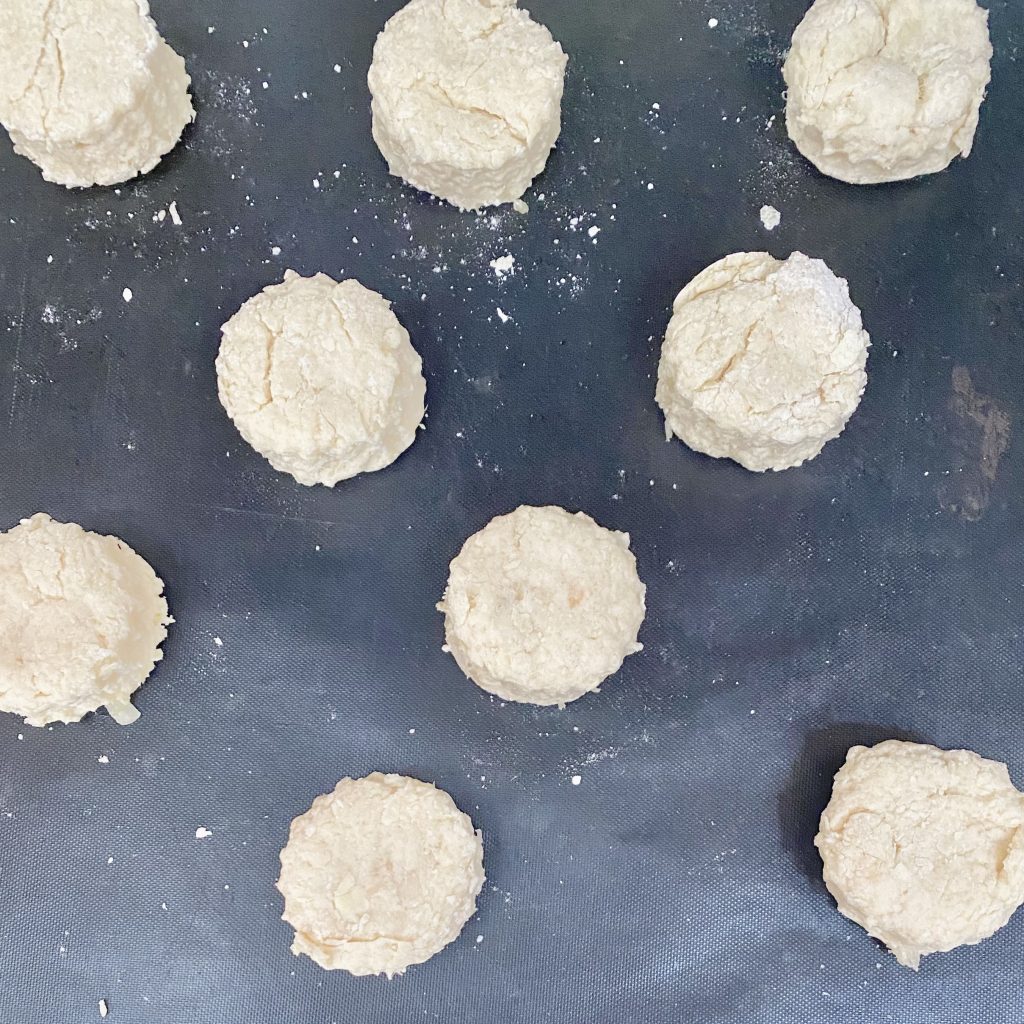
Pat or roll out the dough until it is about 3cm thick. Using a 5cm fluted round cutter, and making sure to dip the cutter into some flour in between each cut, stamp out the scones, carefully transferring them to the prepared baking sheet as you go.
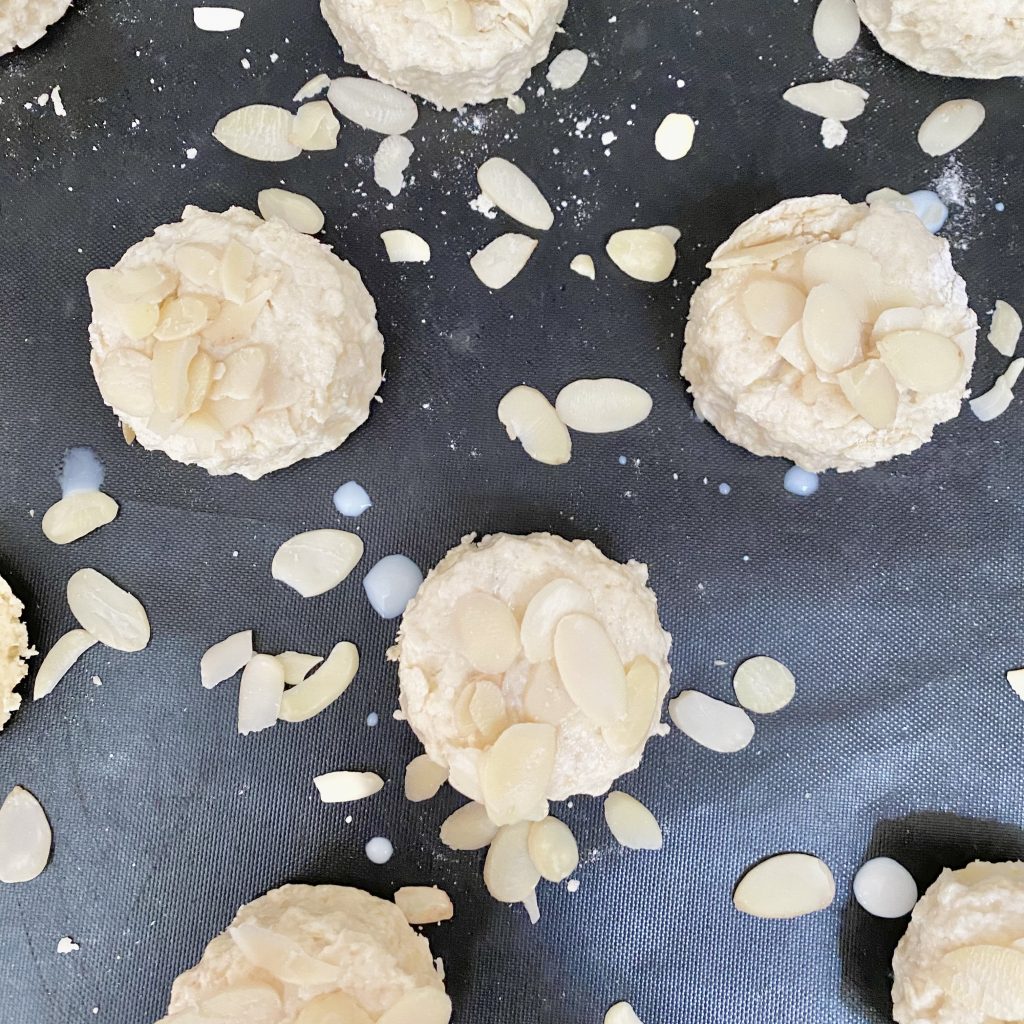
Brush the scones with a little milk, then sprinkle generously with flaked almonds.
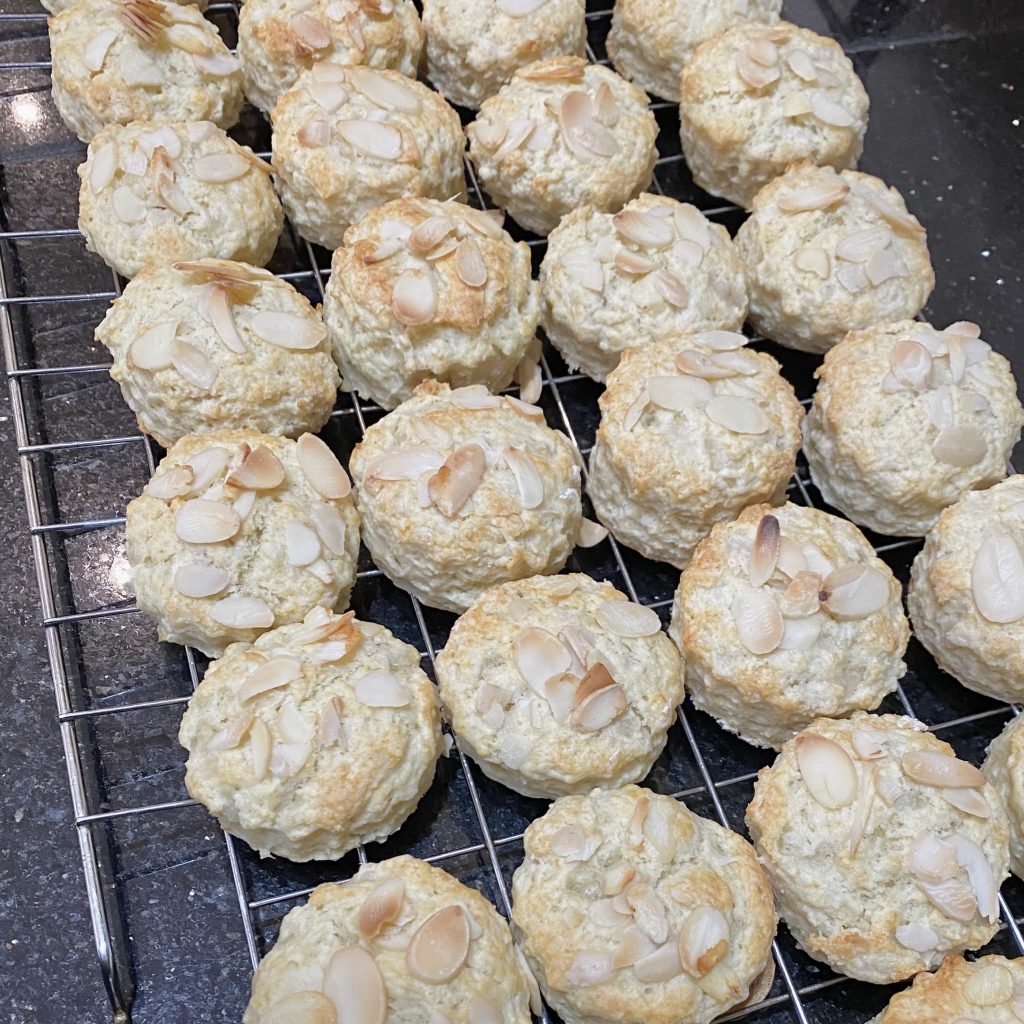
Bake the scones in the middle of the preheated oven for 10-12 minutes, or until golden brown. Allow to cool on the tray for 5 minutes or so, then transfer to a wire rack to cool completely.
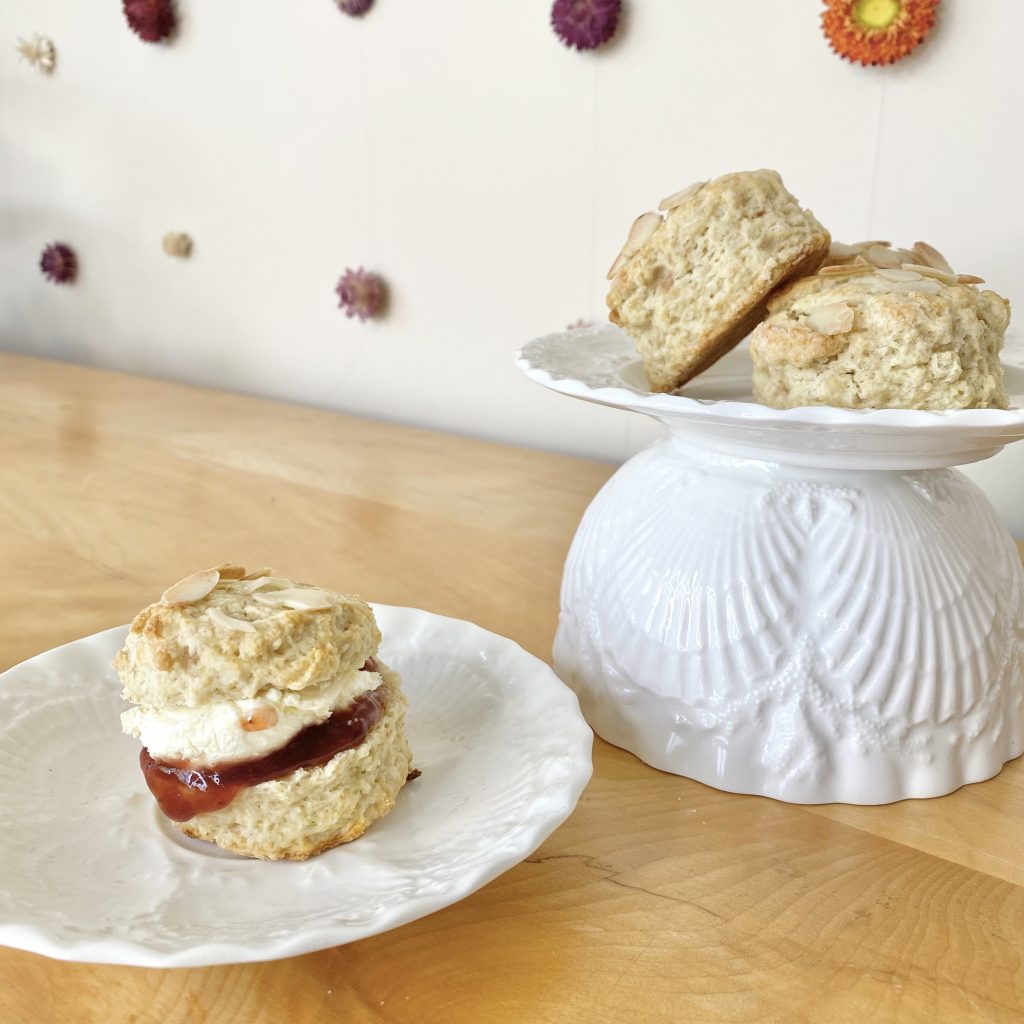
Serve the scones with your choice of accompaniment- I like clotted cream and strawberry jam, but butter, whipped cream and other jams are all popular choices too!
Tips & Tricks for Making Perfect Scones
- Don’t over-handle the dough
This is Scone 101: you want to handle the dough as little as possible for perfect, flaky scones! I like to use a blunt knife to mix the dough, then use my hands to bring it together. I know it’s tempting to knead the dough to get it into a smooth ball, but this will just make your scones tough! Tip the dough out onto your work surface before it has come together completely, then finish bringing it together as you pat it into shape. This way, you’ll end up with perfectly light, flaky scones every time.
- Keep the liquid to a minimum
Pears can be super juicy, so it’s very important that you keep an eye on how much liquid your adding to your dough. If your dough is too wet, your scones won’t rise properly! If you’re grating the pear, make sure to squeeze out as much of the juice as possible before adding the fruit to your mixture. If you’re dicing the pear and notice it’s particularly juicy, I would recommend decreasing the quantity of milk a little to account for the extra liquid.
- Flour the cutter
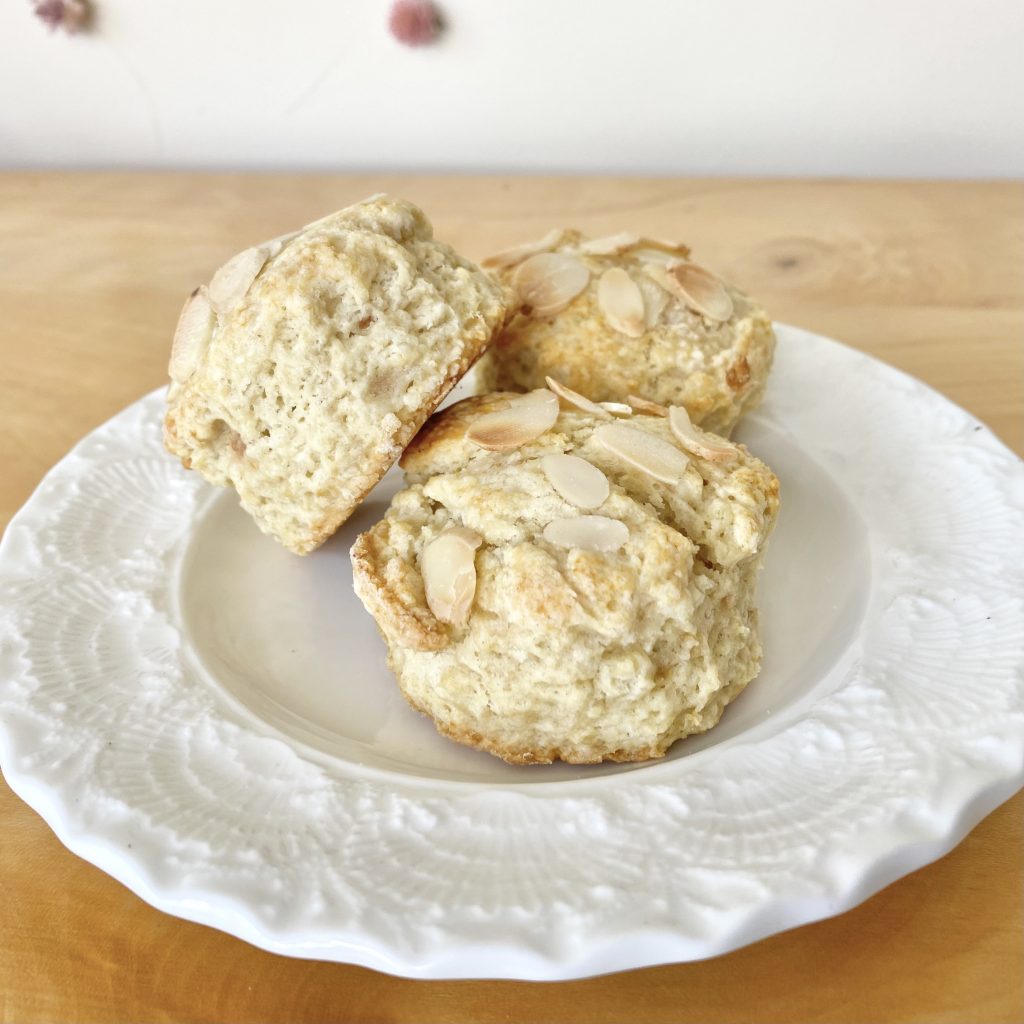
Scones have these iconic, flaky layers that puff up in the oven, but they can cause you a few problems, if you’re not careful. When you cut out the scones, it’s important that you don’t ‘seal’ the edges with your cutter- that is, that you don’t compress the flaky layers down into each other. If you do this, you run the risk of your scones not puffing up, or even baking up lopsided, like little Leaning Tower(s) of Pisa! To prevent this, make sure to flour your cutter in between each scone. Not only will this prevent the layers from sticking to each other as you press down, it will also make it much easier to get the scones out!
- Bake at a high temperature
Scones require a quick bake at a high temperature for maximum soft, flaky deliciousness. I bake these scones at 210°C (conventional oven), which is significantly higher than the original recipe, but gives perfect, fluffy scones every time.
- Serve the scones on the day you make them
Scones are one of those things that really are at their best on the day that they are baked. It’s a bit of a faff, but it’s worth it for the perfect scone. If you do have leftovers, they can be stored in an airtight container, at room temperature, for 2-3 days, but they will start to dry out after the first day.
Pear & Almond Scone Recipe

Pear & Almond Scones
Equipment
- 5cm Fluted round cutter
Ingredients
- 2 large pears
- 500 g self-raising flour, plus extra for dusting.
- 1 rounded tsp baking powder
- 125 g unsalted butter, cold and diced.
- 65 g caster sugar
- 1 egg
- 200 ml whole milk, plus extra for brushing.
- 3 drops vanilla extract
- Large handful of flaked almonds
To serve:
- Clotted cream & jam (optional)
Instructions
- Preheat the oven to 210°C (conventional oven). Line a baking tray with greaseproof paper and set aside.
- Peel and core the pears, then either roughly grate or finely dice (see Note 1). If grating, transfer the grated pear to a clean tea towel and squeeze to remove any excess liquid. Set aside.
- Sift the flour and baking powder into a large bowl. Add the butter and rub together, using your fingertips, until the mixture resembles fine breadcrumbs.
- Add the sugar to the bowl and stir through. Add the prepared pear and mix until evenly distributed.
- Whisk together the egg, milk and vanilla extract in a jug, then add to the flour mixture. Mix until the dough starts to come together, then use your hands to bring it into a rough dough, being careful not to overwork it.
- Tip the dough onto a clean, floured surface and pat/roll it into a disk about 3cm thick. Stamp out the scones using a fluted round cutter, making sure to dip the cutter in flour between each cut. Transfer the scones to the prepared baking tray as you go.
- Brush the tops of the scones with a little milk, then sprinkle with flaked almonds. Bake in the preheated oven for 10-12 minutes, or until golden brown. Allow to cool on the tray for 5 minutes or so, then transfer to a wire rack to cool completely before serving with clotted cream and jam, if desired. Scones are best eaten on the day that they are baked, but can be stored in an airtight container, at room temperature, for 2-3 days (if you don't mind them drying out a little!).
Notes
- Grated pear will yield slightly moister scones, whereas the pear flavour will be more pronounced if diced pear is used. Grated pear will also make it easier to cut neat scones.