For me, peppermint bark is an absolute must-have at Christmas. I make a batch (usually multiple batches) every single year, without fail. It is easy, delicious, inherently Christmassy and it always goes down a treat. Today, I’m sharing how I make it!
A few things to note before we get into it:
- Traditionally, peppermint bark uses dark chocolate instead of the milk chocolate I use here. My excuse for this is that I have an excessively sweet tooth! Milk chocolate is just my preference. Having said that, my family members have a significantly lower tolerance for sweetness and they love this bark just as much as I do. Of course, if you would rather use dark chocolate, go ahead!
- I am by NO means a professional chocolatier! In the recipe card below, I have given quite vague instructions (‘melt (and temper) the chocolate’). In the following section of this post I tell you how I do this. While my method does produce a bark that sets at room temperature and has a lovely snap, I haven’t quite nailed achieving the shiny finish (not that it really matters… the bark still looks very pretty)! I have read that it can be more difficult to temper smaller quantities of chocolate. Maybe that’s my problem! If you have your own method for tempering chocolate that works well for you, use that instead (and please tell me all about it!).
- I haven’t included any servings/dimensions for this recipe. It is a very adaptable, customisable process, so you can make as much or as little as you want, make more smaller shards or fewer larger shards- whatever you want! The quantities given below make about 360g of bark.
Anyway, let’s get into the recipe!
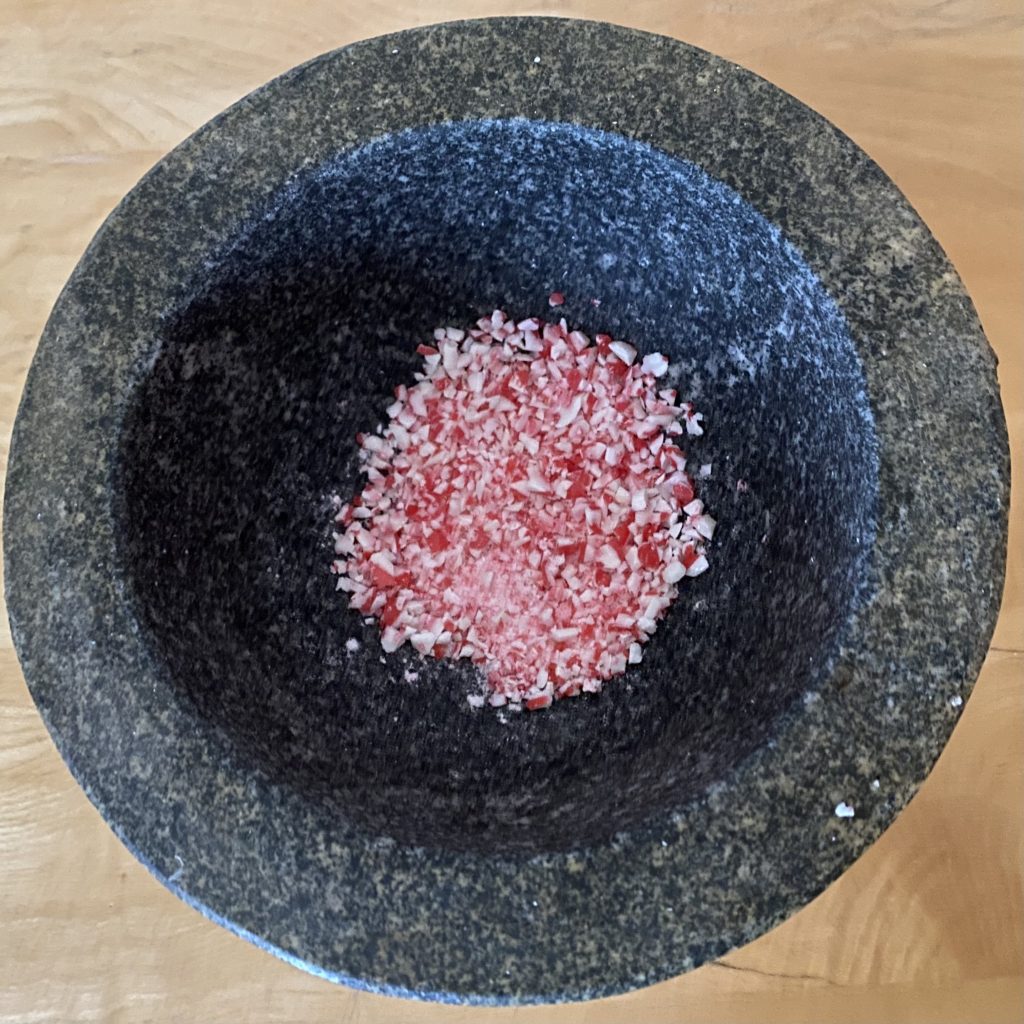
The first thing you need to do is crush the candy canes. I like to do this in a mortar and pestle, but you can also use a ziplock bag and a rolling pin. You want to aim for a variety in texture- some dust, some small pieces. Keep all of the pieces relatively small to make the bark easier to eat later.
Once you have your crushed candy canes, you can move on to melting (and tempering…) your chocolate. Tempering can be a bit of an involved process, but it’s worth it to get a finished product with a beautiful snap. Tempering your chocolate also means you can keep the bark at room temperature and that it will melt in your mouth, just like chocolate should!
I melt and temper my chocolate using a microwave. I start by melting the chocolate for 1 minute at a time on the lowest setting, stirring in between each blast. You want your chocolate to be completely melted and to be at the correct melting temperature. I use the following temperatures for tempering:
| Chocolate | Melting | Cooling | Tempered |
| Dark | 45-50°C | 26-27°C | 32°C |
| Milk | 45-47°C | 27°C | 30°C |
| White | 40-45°C | 26°C | 28°C |
Once you have reached the correct melting temperature for your chocolate, you need to cool the chocolate back down to its cooling temperature. As the chocolate cools, I stir it frequently to agitate the molecules, which helps with the tempering process.
When the chocolate has cooled sufficiently, I place it back into the microwave for about 10 seconds, still on the lowest setting, to bring it back up to the ‘tempered’ temperature. You need to work quickly at this stage, because the chocolate needs to be used while it is ‘in temper’ (i.e. at the ‘tempered’ temperature)!
Now you have your tempered chocolate, you can pour it onto a lined baking tray and spread it out into a thin, even layer. You the need to set it aside to harden while you repeat the process with the white chocolate.
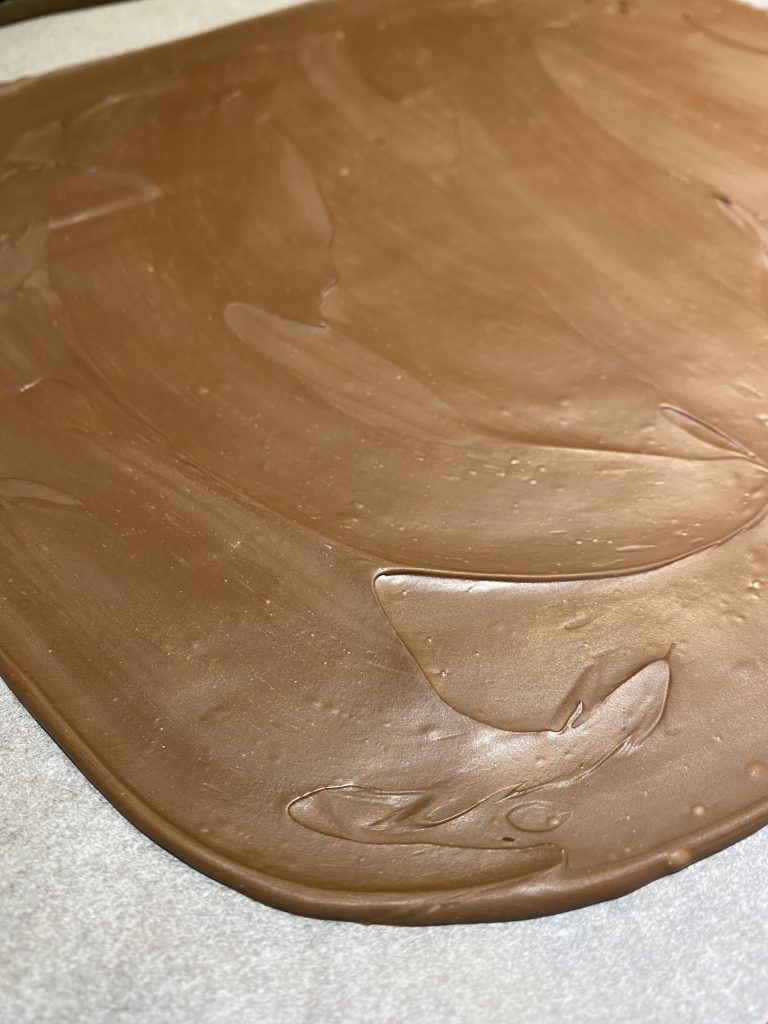
Do you see what I was talking about earlier? My chocolate is perfectly hard and snappy at this point, but it just doesn’t have that beautiful shine you see on professional chocolates! Ah well, there is always another mountain to climb. Let me know if you have any tips and tricks of your own when it comes to tempering chocolate!
Anyway, as I said, you now need to repeat this process with the white chocolate. Yes, I know, how tedious! I promise it will be worth it in the end, though.
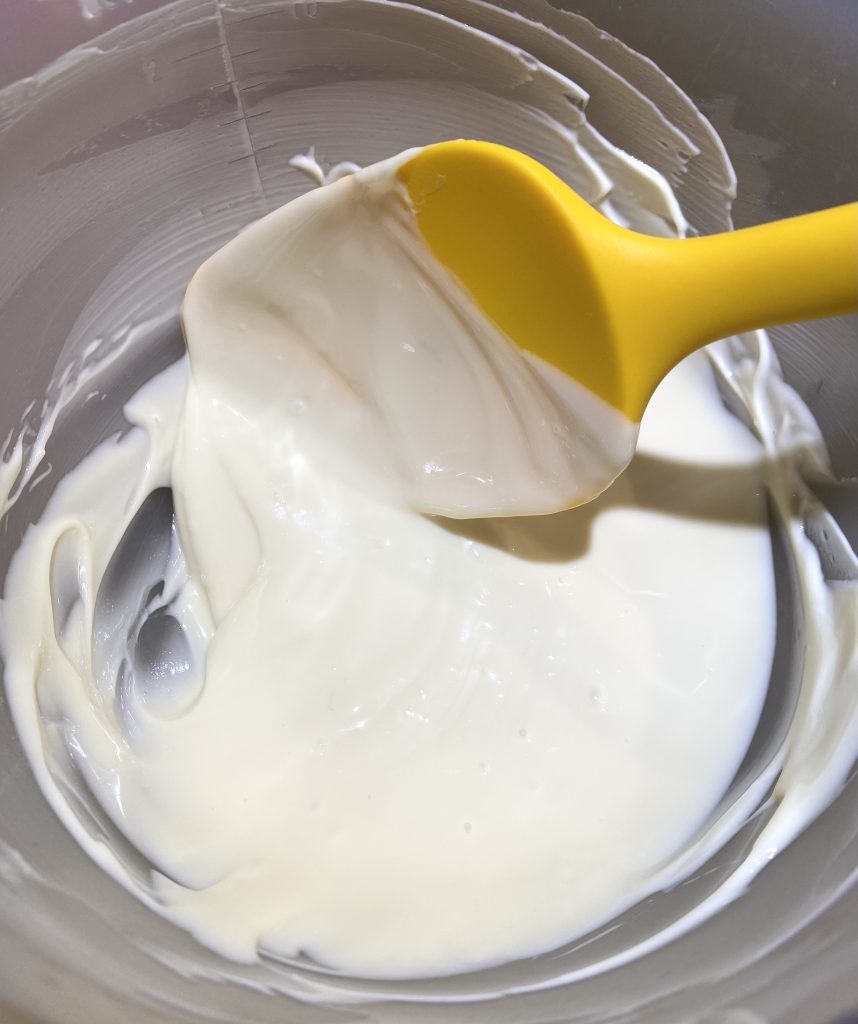
So, again, melting, tempering and then spreading the white chocolate into a thin layer, this time right on top of that now-hardened layer of milk chocolate.

Now, working quickly so that the candy canes have time to stick to the chocolate before it sets, you need to sprinkle the crushed candy canes all over the surface of the bark.
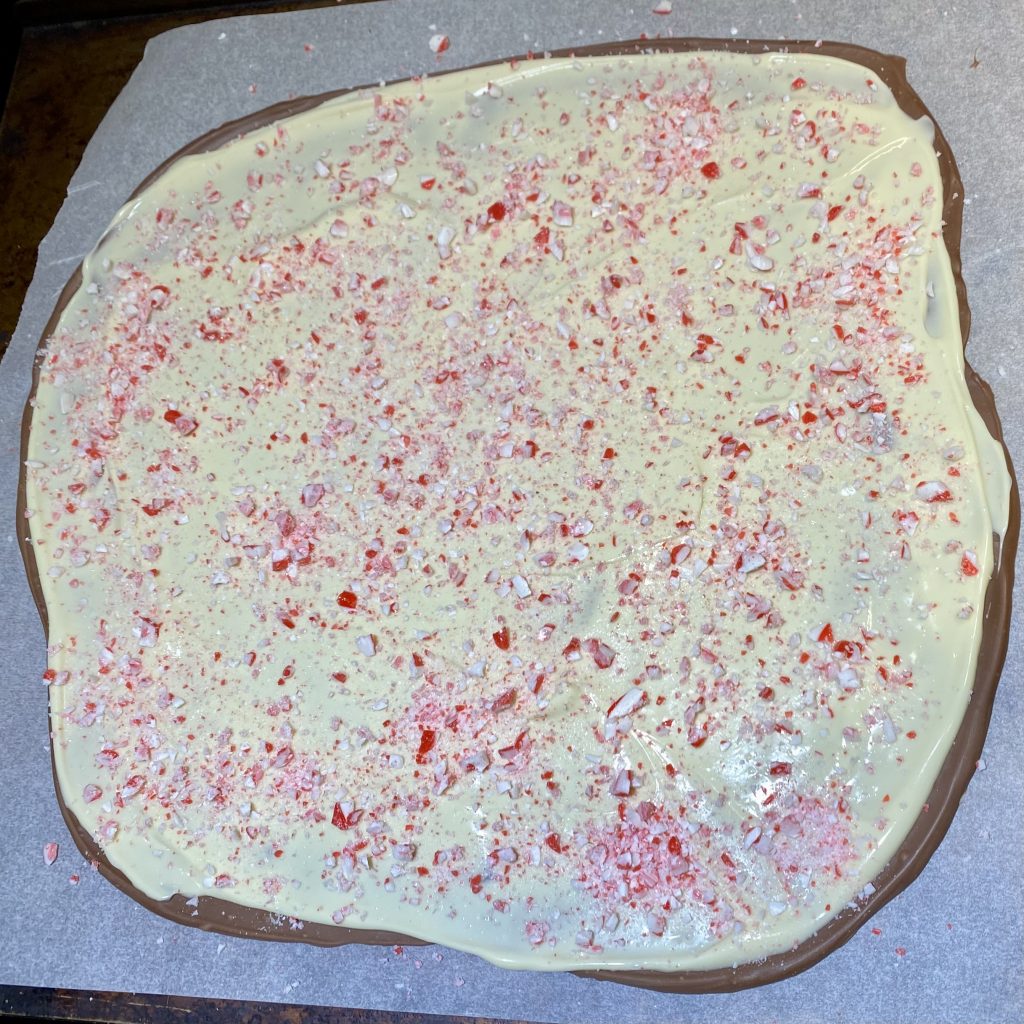
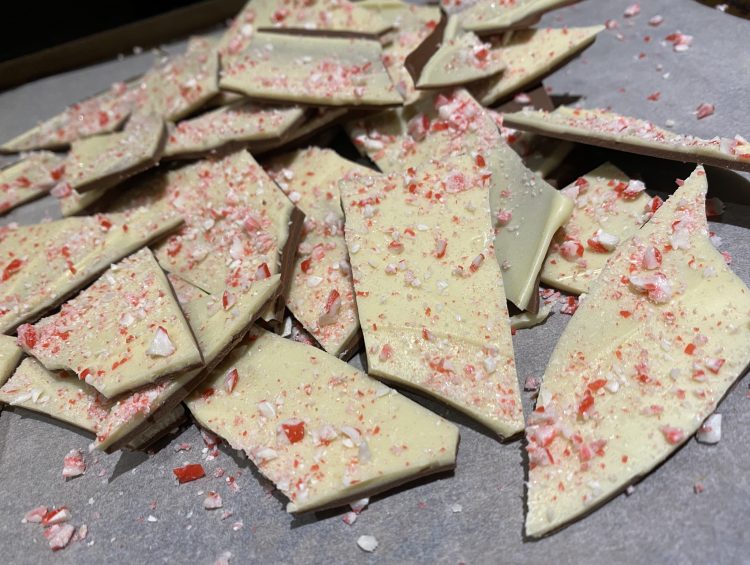
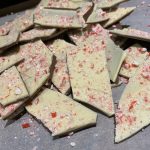
You should end up with a slab of chocolate that looks something like this. So pretty! You’ll want to let it set for about 30 minutes, so that it has enough time to harden completely. Once it has set, you can snap it into shards.
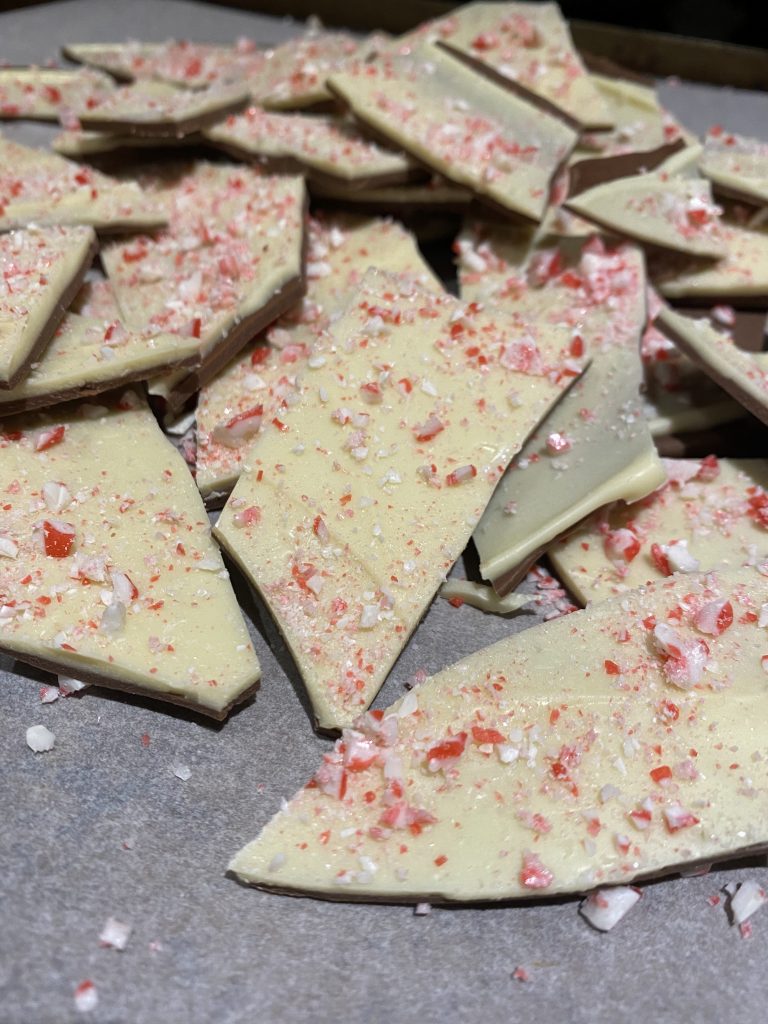
And then you’re done! You can eat it, store it at room temperature, or package it up and give it as gifts. I can guarantee it won’t last long, whatever you do!
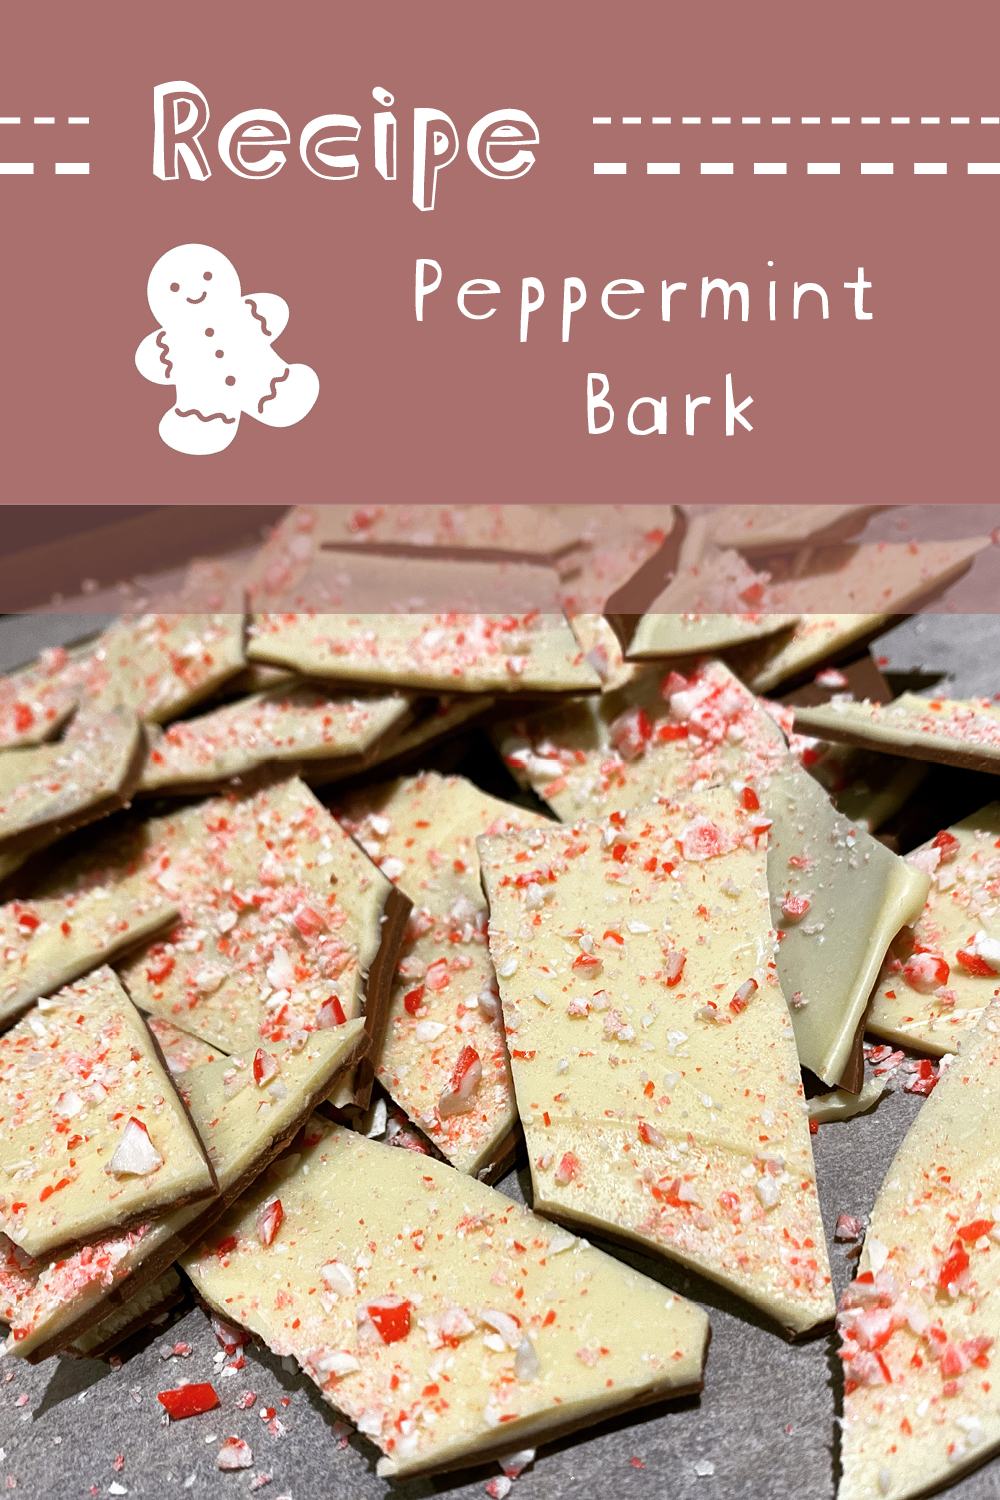
Peppermint Bark
Equipment
- Digital thermometer
- Mortar and pestle
- Baking tray, greaseproof paper, spatula, microwave safe bowl
Ingredients
- 180 g Milk chocolate
- 180 g White chocolate
- 2 Candy canes
Instructions
- Line the baking tray with greaseproof paper. Set aside.
- Crush the candy canes using a mortar and pestle. Aim for a mix of fine dust and small pieces.
- Melt (and temper) the milk chocolate. Spread it onto the lined tray in a thin, smooth layer. Set aside at room temperature to set.
- While the milk chocolate layer sets, melt (and temper) the white chocolate. Pour over the hardened milk chocolate layer and spread out to the edges. Working quickly, sprinkle the crushed candy canes over the chocolate. Set aside at room temperature and allow to harden completely, about 30 mins.
- Once the peppermint bark has hardened completely, break into shards. The bark can now be stored at room temperature, packaged into bags and given as gifts, or enjoyed immediately!