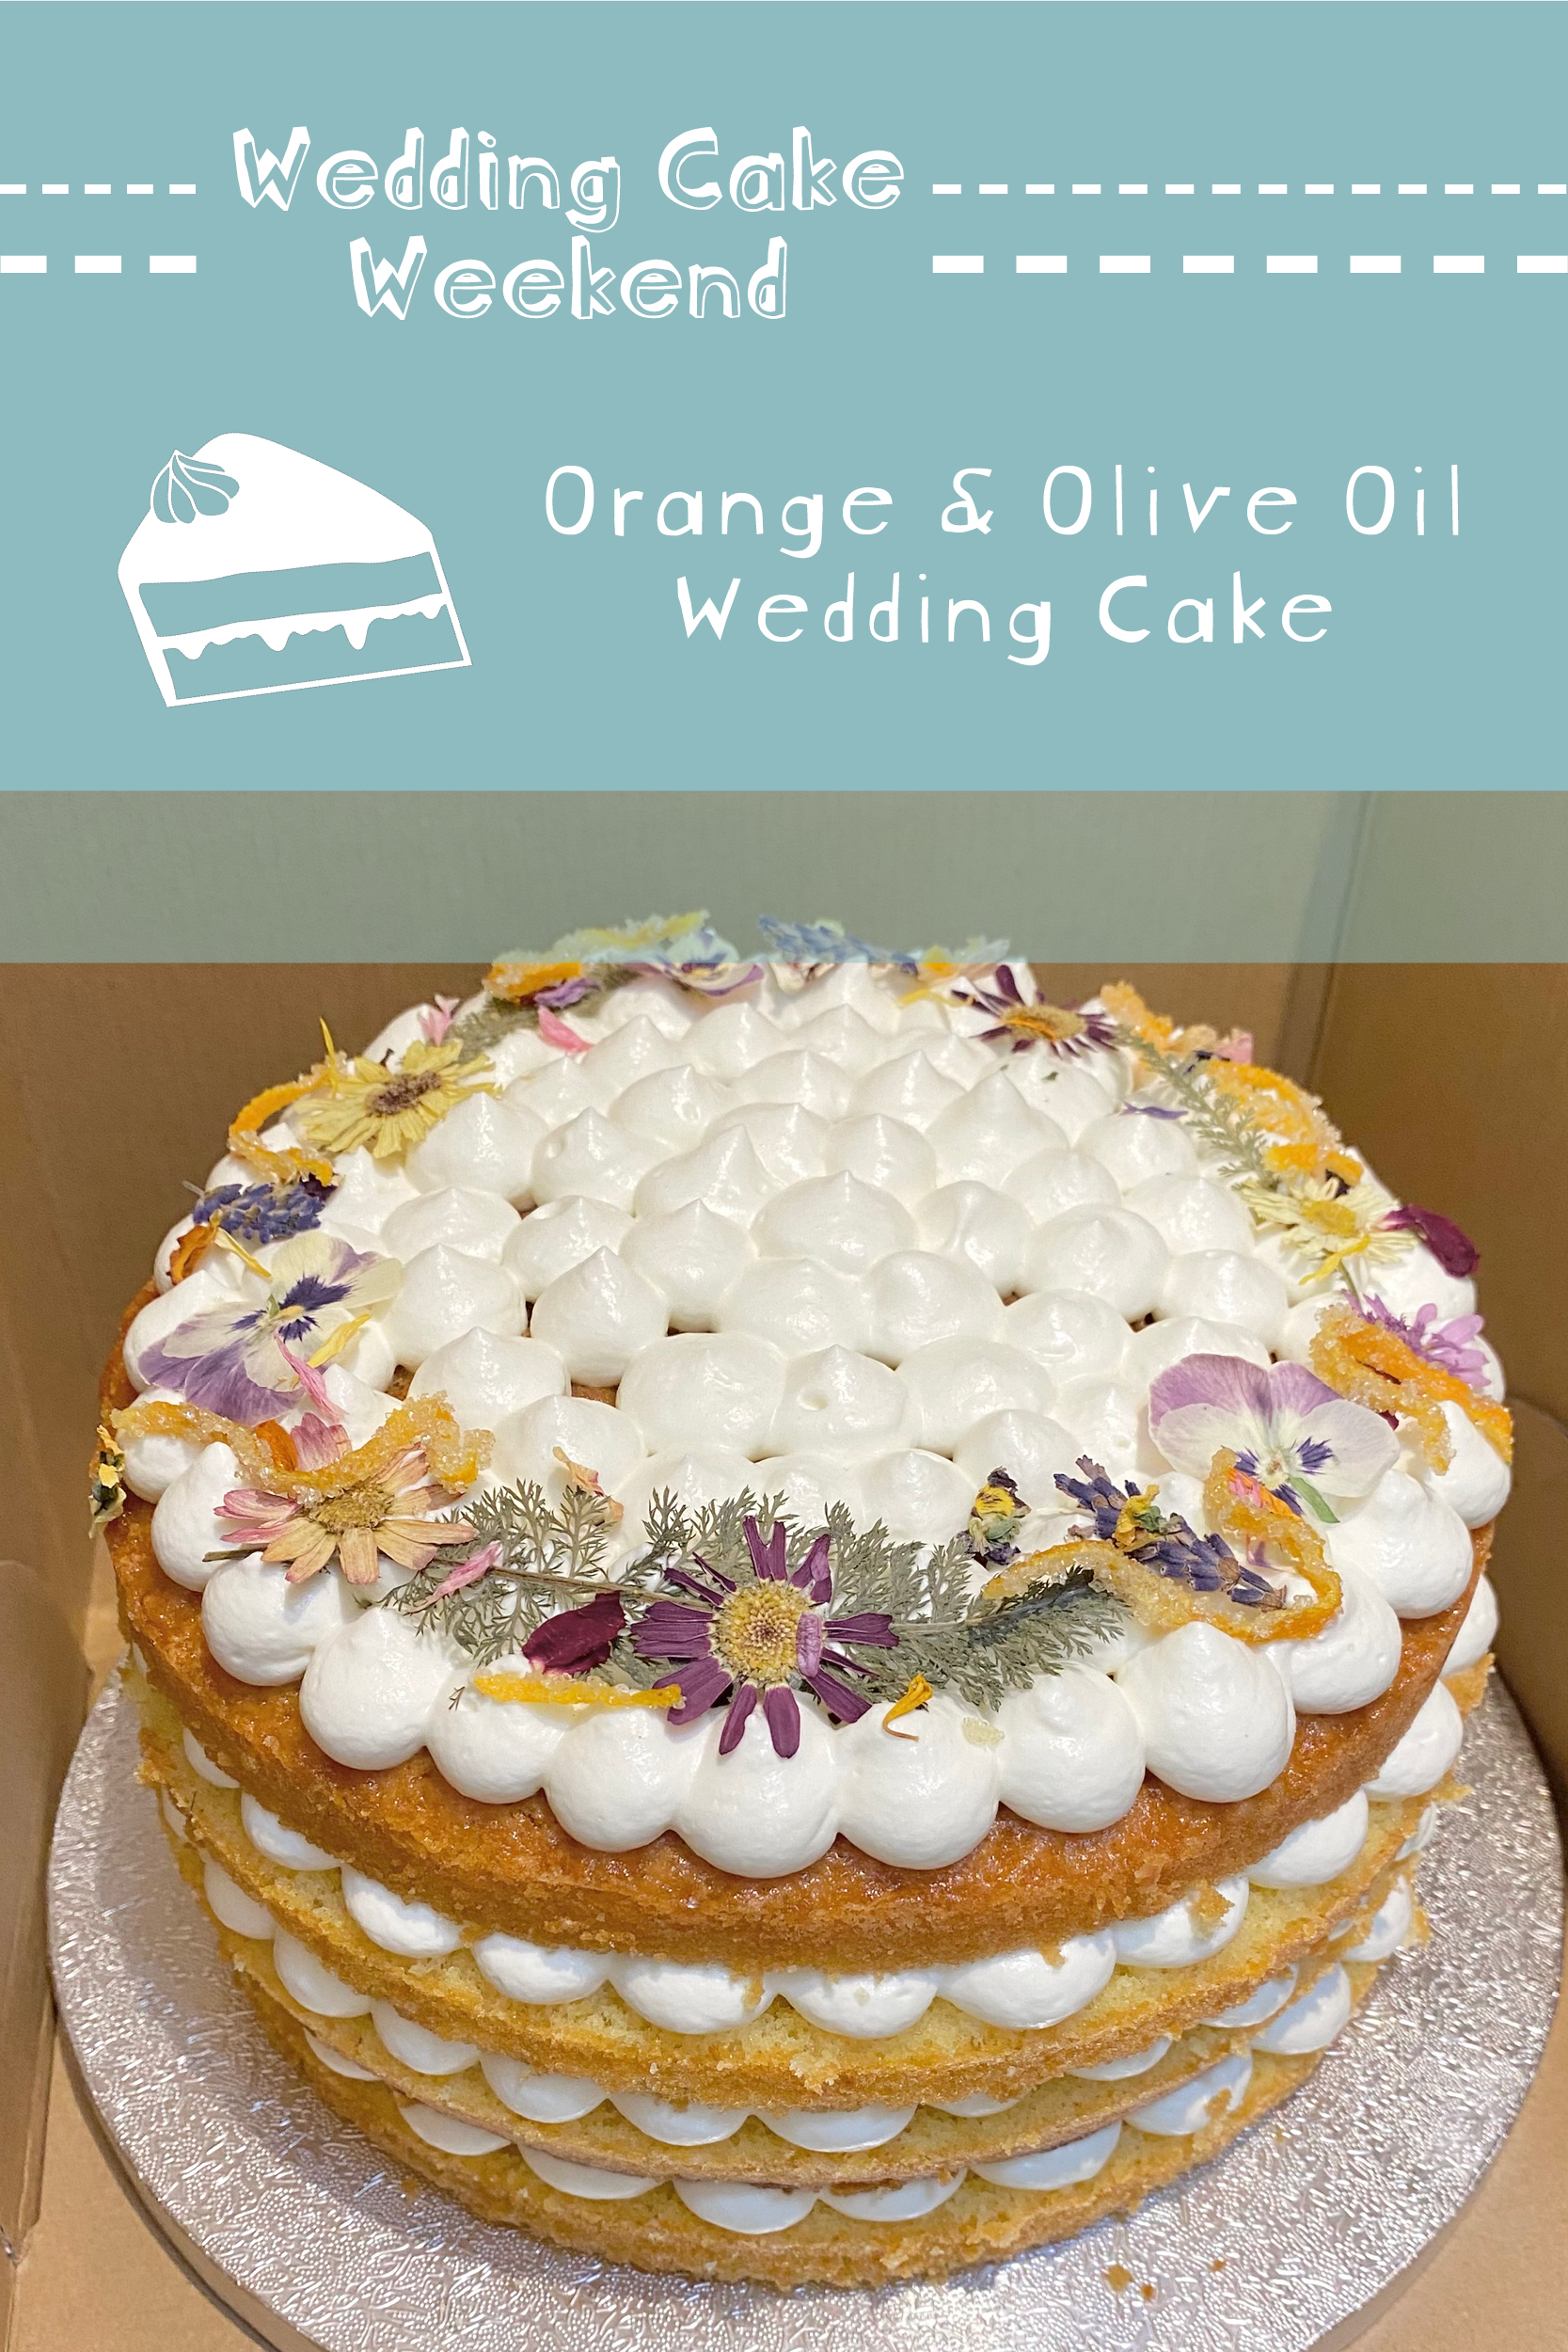
Welcome back to Wedding Cake Weekend!
I recently made a wedding cake for a family friend and, this weekend, I’m sharing the recipes & all of the fun, summer-y details! This was only my second time making a wedding cake (check out my Wedding Cake Week series for the first time, where I made the cake for my brother’s big day!), so I am by no means a professional, but I’m so happy with how these cakes turned out and I’m so excited to share them with you!
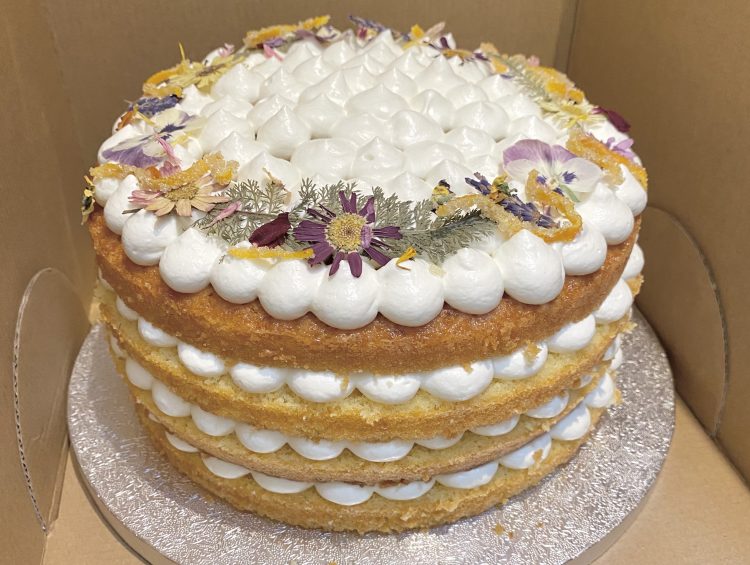
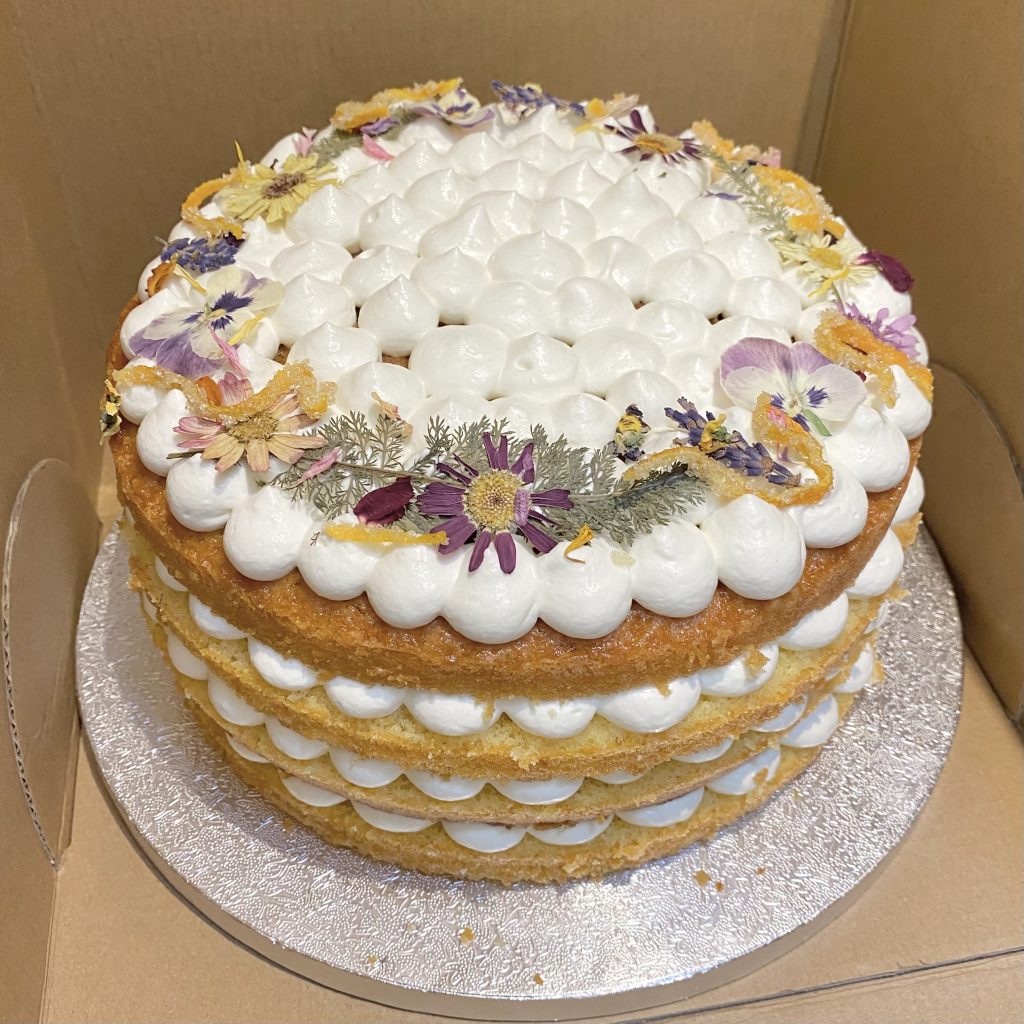
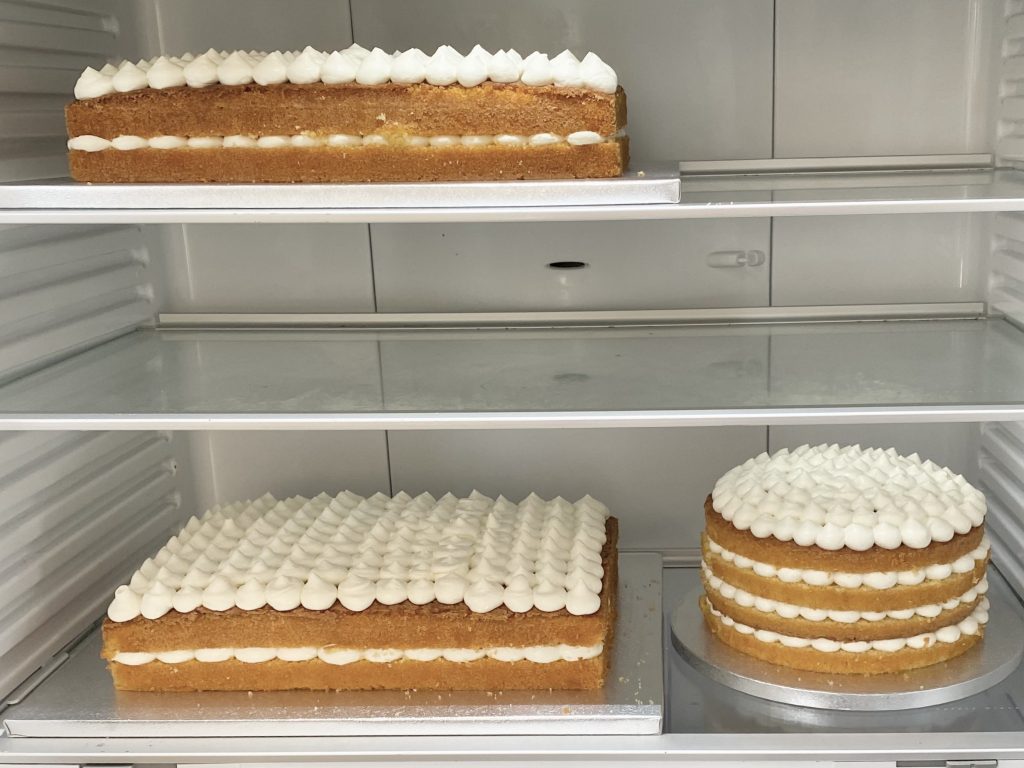
Yesterday, I shared the recipe for the Homemade Candied Orange Peels that I used to decorate the cakes. Today, I’m sharing the recipe for the main cake itself: an 8-inch, single-tier (but 4-layer!), naked number, featuring an orange & olive oil sponge and a super easy Greek yoghurt & honey icing. To top it all off, the cake is decorated with a ring of edible pressed flowers, along with some of the candied orange peels.
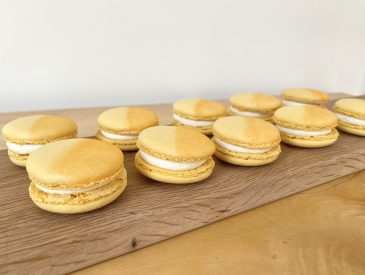
This cake is a scaled-up version of my Mini Orange & Olive Oil Layer Cakes with Greek Yoghurt and Honey Icing (from my Bridgerton Watch Party series!). The flavours and basic recipe are the same, just, well, bigger! I’ve also made this recipe multiple times now (in various iterations!), so I’ve definitely picked up a few tips and tricks for getting perfect results every time, which I’ll share in this post too.
Equipment
To make this cake, you will need the following specialist equipment:
- 2 x 8-inch circular sandwich tins
I use these tins from Silverwood, which have removable bases. They’re my absolute favourite baking tins.
- DIY Cake Release
You absolutely need to use my DIY Cake Release to line the tins when making this recipe: the cake is very prone to sticking to the tin and the cake release is the only thing I’ve found that prevents this!
- 2 x 8-inch circles of baking paper
Just for some extra peace of mind, along with the DIY Cake Release, I like to line the base of each tin with a circle of baking paper. You can buy these ready cut (a lifesaver if you bake a lot!), or you can trace the base of your tins and cut them out yourself.
- Electric whisk
There’s a lot of whisking in this recipe, so I really do recommend using an electric whisk for it. I used a stand mixer, fitted with the whisk attachment, but if you’re feeling a bit more energetic, you could use a handheld electric whisk, instead.
- Cake leveller/large serrated knife
You’ll need to split each cake into two layers horizontally (for a total of 4 layers). I like to use a cake leveller for this because then I know the layers will be even and straight, but, if you don’t have one, you can use a large serrated knife instead. This is the cake leveller I use.
- Piping bag + large round piping nozzle
The icing on this cake is piped in a series of dollops, both between the layers and on top. Because it’s a naked cake, this is a really nice way of getting a pretty finish to the top and the sides and, as an added bonus, it means you’ll always have an even layer of icing between each layer. To get this effect, you will need a piping bag and a large, round piping nozzle (the exact size of the nozzle isn’t too important, so use whatever you have!).
Ingredients
To make the cakes, you will need:
- Caster sugar
I use golden caster sugar because I like the flavour better, but you can use white caster sugar if you prefer.
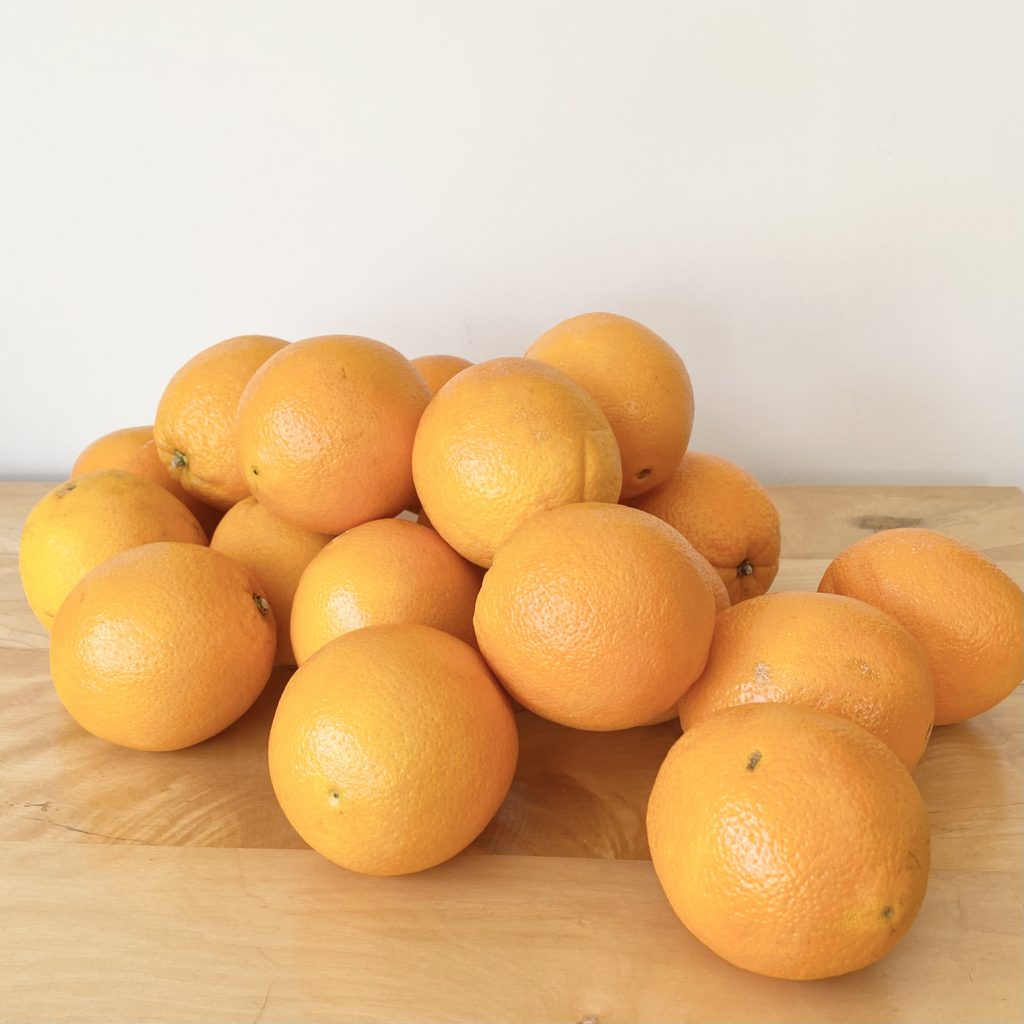
- Oranges
You’ll need the zest of 4 oranges and 120ml of freshly squeezed orange juice (approx. 2-3 oranges) for this recipe. I recommend using unwaxed oranges.
- Eggs
As always, I use large eggs.
- Extra-virgin olive oil
Use a strong, extra-virgin olive oil, so that the flavour really shines through in the cake.
- Plain flour
Make sure to use plain flour, not self-raising, for this recipe, otherwise there will be too much raising agent (we’re adding baking powder in separately!).
- Baking powder
This helps the cakes to rise and become super light and fluffy.
- Salt
A fine sea salt works best for this recipe.
To make the icing, you will need:
- Greek yoghurt
Not all Greek yoghurts are made equal! For best results, look for a Greek yoghurt that has a fat content of about 10% and a neutral flavour— this will ensure you end up with a thick, creamy icing. Try to avoid yoghurts with additional stabilisers, as these will affect the final texture.
- Double cream
If you’re in the US, use heavy cream.
- Honey
For best results, use a runny honey (as opposed to a set honey, which is waxier and will affect the final texture of the icing).
To decorate the cake, you will need:
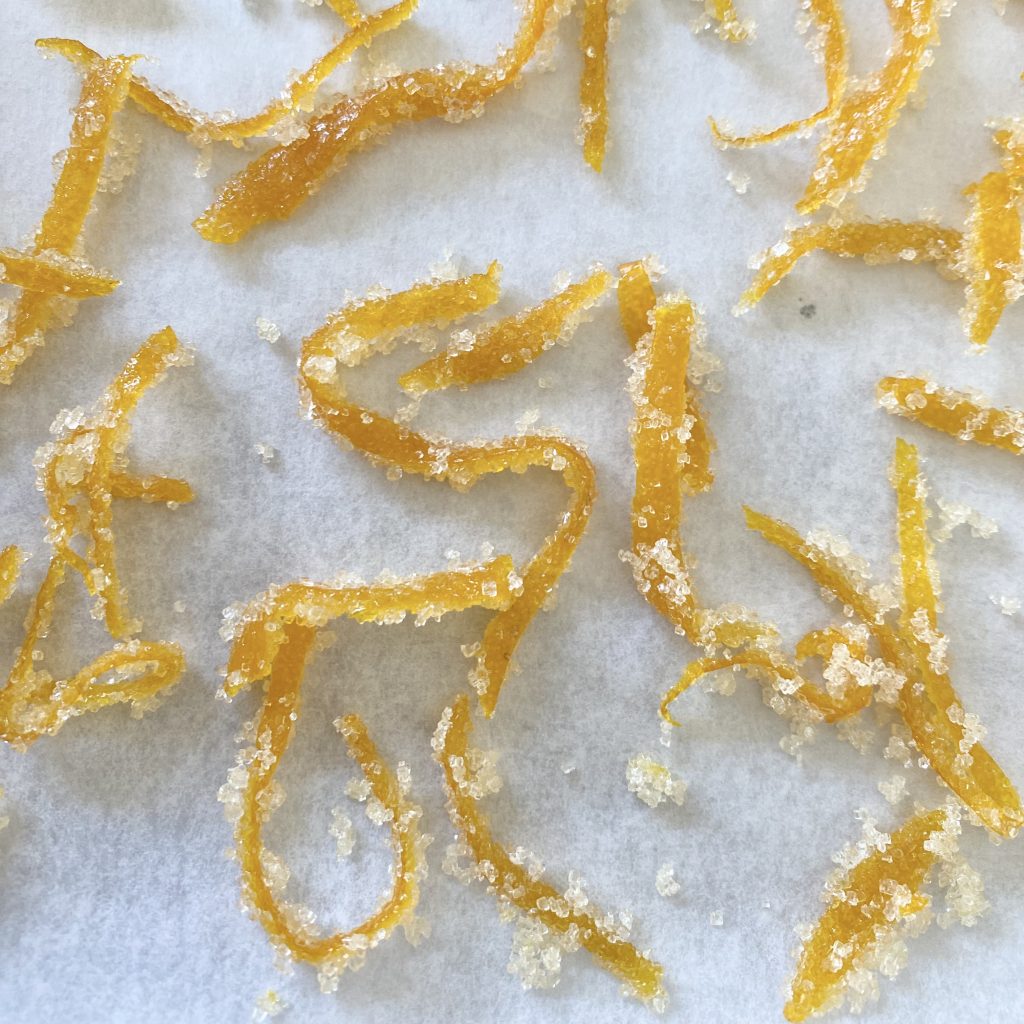
- Candied orange peels
You can find the recipe for these here. They can be made in advance and stored in an airtight container in a cool, dry place for 6-8 weeks.
- Edible pressed flowers
I used an assortment of pressed flowers from Nurtured in Norfolk (my go-to source for edible flowers!). My selection included yarrow leaves, lavender heads, primulas, violas, pansies and daisies. I also used their Dried Petal Mix to add a confetti-esque vibe to the cake, which I think really elevated it!
Making the Orange & Olive Oil Sponges: Tips & Tricks
I’ve already shared a step-by-step tutorial for this orange & olive oil cake batter here on the blog, as part of my Bridgerton Watch Party series (you can find that post here!), so I won’t do a deep dive into this scaled up version here. However, as I mentioned, I have perfected the method for this cake during my practices, so I thought I’d share some tips & tricks with you in this psot!
- The DIY Cake Release is essential.
I don’t know what it is about this particular sponge recipe, but it sticks. I found that greasing the cake tin with butter/oil didn’t work, but using my homemade, DIY Cake Release (thankfully!) seemed to do the trick! I do also add a circle of baking paper to the bottom of the tin, just for an extra layer of protection, but don’t be tempted to line the sides too, because the cake needs to ‘cling’ to them to rise properly. I had the best results when I brushed the base and sides of the tin with a layer of DIY Cake Release, then added the baking paper, then brushed another, thin layer of the cake release just on top of the baking paper. It sounds a bit overkill, but it works!
- Zest the oranges directly over the bowl with the sugar.
Zesting the oranges directly over the mixing bowl containing the sugar means that all of the essential oils that are released from the fruit as you zest drop directly into the bowl, so you get even more orange flavour!
- Mix the zest and sugar together before adding the eggs.
Use the back of a spoon to press the zest and sugar together until it’s evenly combined. This is another trick that really helps to amplify the orange flavour, while also ensuring that the zest is evenly distributed throughout the batter.
- Whisk the eggs and sugar together until super thick.
It’s so easy to under-whisk the eggs and sugar when making foam cakes! You want the mixture to be super thick (like the consistency of softly whipped cream!), pale and fluffy, so whisk it for a good while. You can also use the ‘ribbon stage’ test to see if the mixture is ready: you should be able to draw a complete figure of eight with the ribbon of batter falling off the beater before the shape you’ve drawn settles back into the rest of the mixture.
I would definitely recommend using an electric whisk for this: I like to use my stand mixer, fitted with the whisk attachment for best results, but if you’ve got more arm strength than me, you could use a handheld whisk instead.
- Add the olive oil/orange juice in slow, steady streams, with the mixer running.
You want both of these liquids to incorporate into the egg/sugar mixture fully before you add the dry ingredients. The best way to do this is to add them each in a slow, steady stream, with the mixer running, to ensure that they are fully and evenly incorporated.
- Add the dry ingredients 1/4 at a time.
Adding the dry ingredients is the main pitfall with this recipe, because the flour mixture has a tendency to clump and then ‘hide’ in the batter, so, when you cut into your cakes, you find pesky lumps of unmixed flour! One way to help prevent this is to add the dry ingredients in batches and folding in each one fully (but gently) before adding the next batch. I like to do this in quarters (i.e. 4 separate additions).
- Sift each batch of dry ingredients directly over the top of the batter.
Sifting the dry ingredients into the mixture helps to prevent the batter from losing too much air, because you’re distributing the weight over a larger area and only a light layer is added each time.
- Use a handheld balloon whisk to ‘fold’ in the dry ingredients.
Look, I wouldn’t normally recommend using a balloon whisk to ‘fold’ in ingredients, but a whisk is much better at breaking up any clumps of flour than a spoon/spatula. Additionally, you’re less likely to get a build up of flour on the whisk itself, which means less risk of clumps! To ‘fold’ in the ingredients with a whisk, just use the exact same motion that you would use with a spoon/spatula, cutting under and back through the mixture, making sure to be gentle, but thorough, to evenly mix the batter without knocking out too much of the air.
- Use a spatula for the final stir.
I use a spatula to make sure I get all of the batter out of the bowl anyway, so I like to use it to do one final, gentle stir of the batter to catch any lingering bits of flour, particularly at the bottom of the bowl. Keep this brief though, you don’t want to knock too much air out!
- Check for doneness with a skewer.
This particular sponge cake feels quite soft when it first comes out of the oven, so, while I usually recommend gently touching the surface of the cake with your finger to check for doneness, that won’t work here. Instead, I like to insert a skewer into the very centre of the cake: if it comes out clean, the cake is ready. You’ll also notice that the cake will start to pull away from the sides of the tin when it’s ready, so you can use that as an indicator too.
- Gently release the cakes from the edges of the tin as soon as they come out of the oven.
I mentioned that this cake has a tendency to stick to the tin and, sadly, that continues even after it is baked. The DIY Cake Release will have done the hard work for you, but it’s very important that as soon as you take the cake out of the oven, you gently push the edges of the cake inwards, away from the sides, to help release them. If the cake’s too hot for your fingers, you can use the flat edge of a palette knife, or the back of a spoon for this. Be gentle, though, because you don’t want to tear the sponge. If you don’t do this, you won’t get a neat edge to your cake later on (believe me, I’ve been there!).
Making the Honey-Yoghurt Icing: Tips & Tricks
Just like with the cake batter, I’ve already got a tutorial for the honey-yoghurt icing here on the blog (you can find it here). Again, I’ll just be sharing a few tips & tricks for getting perfect icing every time in this post:
- Use a Greek yoghurt containing 10% fat.
This one took a bit of trial and error to uncover, but it’s really important that your Greek yoghurt has a fat content of at least 10%. The higher fat content gives a thicker yoghurt without the need for stabilisers, and will make your icing the perfect consistency.
- Use a runny honey.
Set/creamed honeys typically have a higher wax content than runny honey, which will affect the mouthfeel/texture of your icing, so I’d recommend opting for a runny honey for the best results.
- Whisk until the mixture reaches stiff peaks, but don’t over-whip.
Because of the cream in this icing, it can be overwhipped, at which point it will start to look curdled. You want the icing to be stiff enough to hold its shape and support the weight of the cake (which it can do— it’s a surprisingly strong and stable icing!), but you don’t want to overwhip it, so I recommend whipping until it just holds stiff peaks (if you tilt the bowl slightly, the icing inside shouldn’t ‘slip’ around— that’s when you know it’s ready!). Be aware that as you pipe the icing it will thicken up a little more too, so it’s better to under-whip it to begin with: you can always squeeze it back out and whip it again if needed.
Assembling the Cake
Once your cakes are baked and your icing is made, it’s time to assemble the cake. Assembling the bigger version of this recipe is a similar process to the mini cakes, but not exactly the same (mainly because we’re working with 4 layers here, as opposed to 3!).
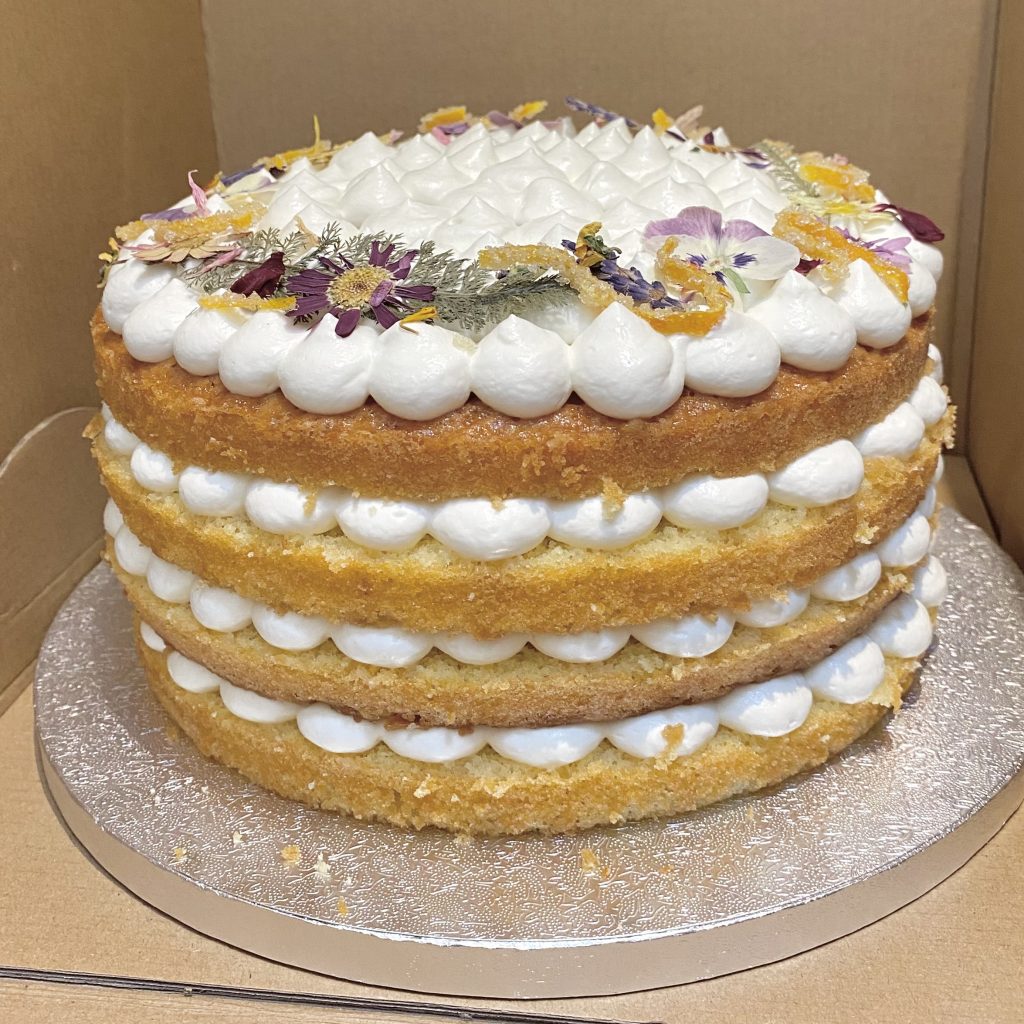
First up, you need to split each cake into two separate layers, so that you end up with a total of four thin layers of cake. You can do this with a large, serrated knife but I prefer to use a cake leveller, because this cake is quite delicate (and I don’t trust myself to cut in a straight line freehand!).
Once you’ve split the cake layers, you can start assembling. Because this was a wedding cake, I assembled it directly onto the board I would be transporting/serving the cake on, so I started by spreading a generous amount of the icing onto the middle of the board, to stick down the first layer.
Make sure that first cake layer is sitting level and is centred on the serving board/plate, then pipe the icing all over the surface in dollops, arranging them in concentric circles. I like to work around the circumference of the cake first (making sure to be neat, as those are the dollops that will show once the cake is assembled), before working inwards until the whole surface is covered.
Once the first icing layer is finished, you can carefully add the next layer of cake, making sure it is level and lined up with the cake below. Then, you just repeat the same icing process all over again.
Keep going like this until you’ve added the final cake layer, then add the final layer of icing, still in that piped dollop formation, making sure to be extra neat this time around because this top layer will be on show!
As I mentioned, this is a deceptively sturdy icing that will really keep your cake standing strong. However, it will benefit from a quick chill in the fridge, just to help it firm up. I like to do this before I add the decoration, so that I don’t jostle it about too much as I add the candied peels/flowers, but the cake needs to be stored in the fridge anyway, so you can do this after you’ve decorated it instead, if you prefer.
Decoration
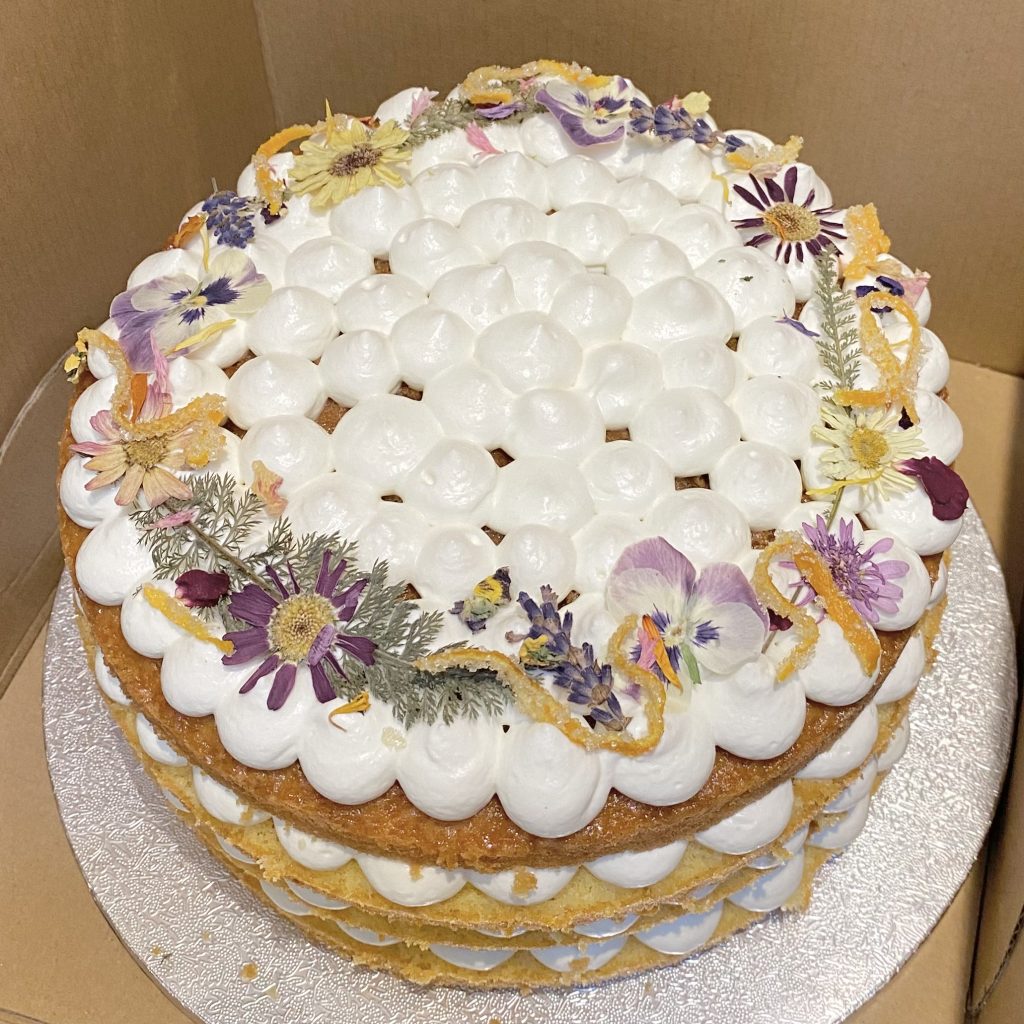
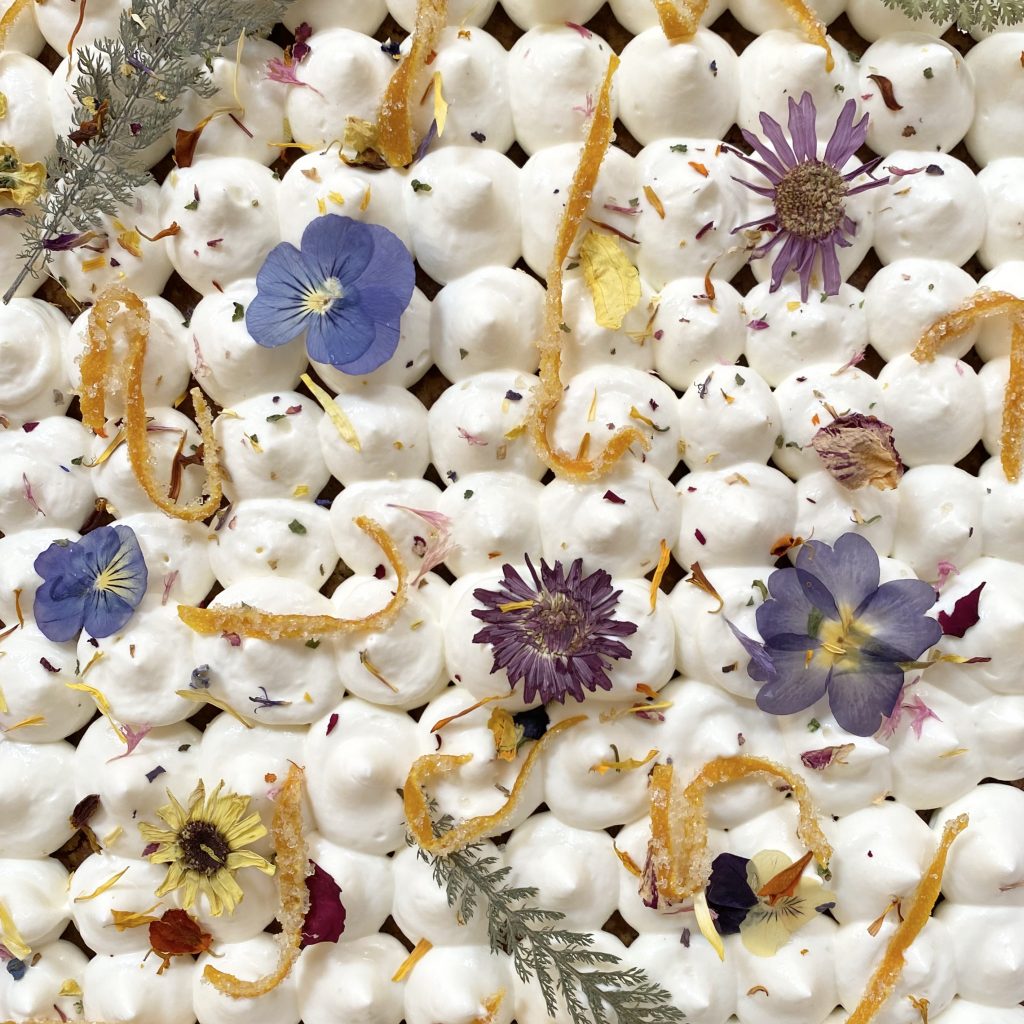
The decoration on this cake super easy: you’re basically just adding an assortment of pressed, edible flowers and homemade orange peels around the circumference of the cake, right on top of that final icing layer. If it helps, you can picture it as a kind of ‘flower crown’, topping off the cake!
I like to start with the bigger pressed flowers/leaves, then work my way down to the smaller, ‘filler’ flowers. Once I’d added all of the individual flowers, I added the orange peels. Finally, I scattered over some of the flower petal ‘confetti’, to really add a bit of life and celebration to the cake.
With that, it was done! As I mentioned, the cake does need to be stored in the fridge until you’re ready to serve it, because of the cream in the icing. As long as both the cream and the yoghurt are still within their use-by date, this cake will keep for 2-3 days in the fridge.
Recipe

Orange & Olive Oil Layer Cake with Honey-Yoghurt Icing
Equipment
- 2 x 8-inch round sandwich tins (see Note 1).
- 2 x 8-inch round circles of baking paper
- 1 piping bag, fitted with a large, round nozzle
- 1 cake leveller (or a large, serrated knife).
Ingredients
For the tin:
- 1 batch DIY Cake Release (see Note 2).
For the cake:
- 300 g golden caster sugar
- 4 oranges (zest of 4 + 120ml juice (approx. 2-3 oranges)).
- 4 eggs
- 120 ml extra virgin olive oil
- 250 g plain flour
- 2 tsp baking powder
- Fine sea salt
For the icing:
- 630 g Greek yoghurt (at least 10% fat)(see Note 3).
- 320 ml double cream
- 90 g runny honey
For the decoration:
- Edible pressed flowers (see Note 4).
- Candied orange peels (see Note 5).
Instructions
Prepare the cake tins:
- Brush each cake tin all over with a layer of DIY Cake Release. Add a circle of baking paper to the bottom of each tin, then brush the surface of the paper with a little more Cake Release. Set aside.
Make the cakes:
- Preheat the oven to 165°C (conventional oven, not fan).
- Place the caster sugar into the bowl of an electric stand mixer, fitted with the whisk attachment. Zest all 4 oranges directly into the bowl with the sugar, then use the back of spoon to press the zest into the sugar until evenly distributed.
- Add the eggs to the sugar, then whisk on high speed until the mixture has become pale and doubled in size. It should be thick and creamy, like the consistency of softly whipped cream.
- While the egg mixture is whisking, combine the flour, baking powder and sea salt in a mixing bowl. Set aside.
- With the mixer running, pour the olive oil into the egg mixture in a slow, steady stream, until it is all incorporated.
- Repeat this process with the orange juice, pouring it in in a slow, steady stream with the mixer running, until it is all incorporated.
- Remove the bowl from the stand mixer and sift 1/4 of the dry ingredient mixture directly over the surface of the batter. Use a handheld balloon whisk to fold the dry ingredients in gently, but thoroughly.
- Repeat this process 3 more times, adding 1/4 of the dry ingredients each time, until they are completely incorporated. Switch to a spatula for one final, brief stir to make sure no flour remains at the bottom of the bowl.
- Divide the batter between the two prepared tins, then bake in the preheated oven for 35-40 minutes, until the edges of the cakes are starting to pull away from the sides of the tins and a skewer inserted into the centre of the cakes comes out clean.
- As soon as the cakes come out of the oven, use your fingers, or the flat edge of a palette knife, to very gently push the edges of the cakes inwards, towards the centre. This helps the cakes to release from the sides of the tin, making it easier to get them out of the tin once they are cool and ensuring that the cakes have neat edges later.
- Allow the cakes to cool most of the way in the tin, then turn out onto a wire rack, carefully remove the baking paper from the bottom and allow to cool completely before assembling.
Make the icing:
- When the cakes are cool, make the icing. Place the yoghurt, cream and honey into the bowl of a stand mixer. Whisk on high speed until the mixture just holds stiff peaks. Don't over-whip. Transfer to a piping bag, fitted with a large, round nozzle.
Assemble the cake:
- Once the cakes are cold and the icing is made, it's time to assemble. Start by dividing each cake into two layers horizontally, so you're left with 4, thin layers. I use a cake leveller for this, but you can use a large, serrated knife instead.
- Add a generous smear of icing to the centre of your serving plate/board, then stick the first layer of cake on top, making sure it is centred and level.
- Pipe a circle of icing dollops all around the circumference of the first cake's surface, then work your way inwards until the surface is completely covered with icing.
- Carefully top with the second layer of cake, then repeat the icing process again.
- Repeat this twice more, taking extra care with the final layer of icing, as this will will be on show.
- Place the cake into the fridge to chill for 15-20 minutes, then arrange the edible flowers and orange peels on top, placing them around the circumference of the cake, right on top of that final icing layer.
- The cake must be stored in the fridge until you are ready to serve it. As long as the cream/yoghurt were well within their use-by date, it will last for 2-3 days.
Notes
- I use these tins from Silverwood.
- My recipe for DIY Cake Release is absolutely essential for this recipe, because the cake batter is very prone to sticking to the tins.
- Make sure to use a Greek yoghurt that has a fat content of 10%: this will make for a perfectly thick, creamy and stable icing.
- I used a selection of pressed, edible flowers from Nurtured in Norfolk.
- You can find my recipe for Homemade Candied Orange Peels here.