Welcome to Bridgerton Watch Party Week! 7 days, 6 brand new, Bridgerton-inspired recipes & lots of tips, tricks and ideas for creating an afternoon tea-style dessert table worthy of the show. Whether you’re planning to host a Season 3 watch party yourself, or just want to make your own viewing experience extra sweet- I’ve got you covered!
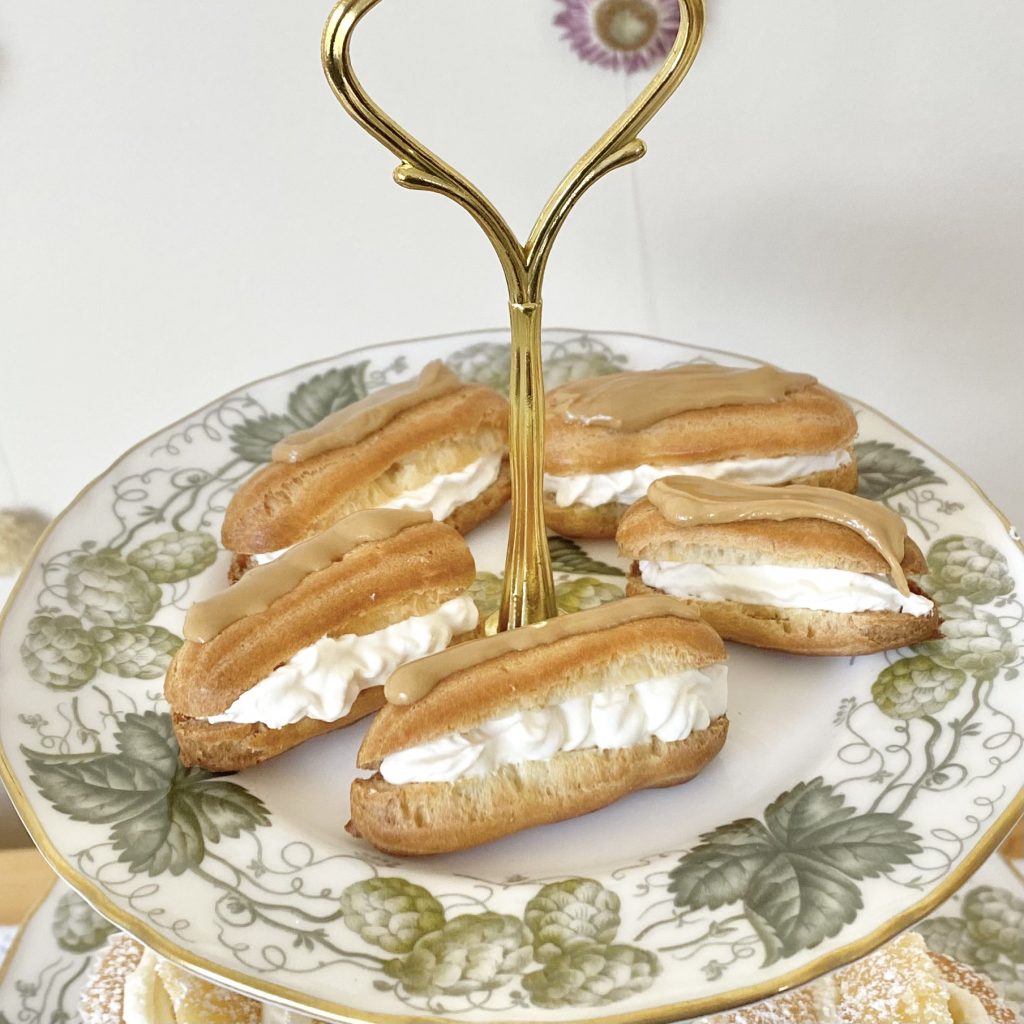
Today’s post is all about these super tiny (but super tasty), bitesize coffee éclairs! Choux pastry has a bit of a reputation for being difficult, but, after a lot of research and a good number of test batches, I’m pretty confident that I’ve got the hang of it! I have accumulated lots of tips and tricks to ensure perfect éclairs every time, so I’ll be sharing those with you in this post. If you want even more information, I found the éclair tutorial on ironwhisk.com incredibly helpful- it’s an excellent resource (particularly for those who would like a more scientific explanation of things!).
Table of Contents
- Inspiration
- Ingredients
- Making the Choux Pastry
- Whipping the Cream Filling
- Making the Coffee Glacé Icing
- Assembling the Éclairs
- Tips & Tricks for Making Perfect Éclairs
- Bitesize Coffee Éclairs Recipe
Inspiration
There’s been a pretty sizeable gap between the second and third seasons of Bridgerton, so, inevitably, fans of the show have had a lot of time to speculate on the upcoming season- what storylines will play out, what side characters will be involved and, of course, which book scenes will be brought to life. I’ve been keeping a close eye on all the theories, because I am obsessed very excited. While there are a couple of scenes from Romancing Mister Bridgerton (the book that the upcoming season is based on) that have been discussed a LOT (mirror/carriage scenes- I’m looking at you), I’ve also seen a lot of discussion about a certain éclair scene (which, thank goodness, from what I gather, is not sexual…). I thought it would be a fun nod to the source material to include an éclair recipe in this series, so I bit the bullet and resolved myself to master choux pastry. Funnily enough, after only a few attempts, I really feel like I’ve… cracked it?! I’ll share all of my tips and tricks in this post so you too can have deliciously crisp, neat éclairs for your own Bridgerton festivities!
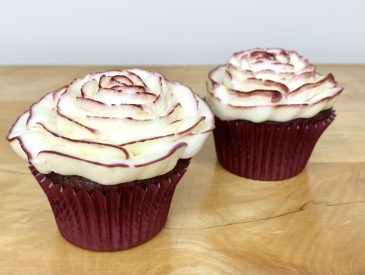
In terms of flavour, much like my Pear and Almond Scones, this was a recipe where I opted to use a family-favourite flavour combination, as opposed to a specific Bridgerton-inspired flavour. Full disclosure: I’ve never been a massive fan of choux pastry… I remember when I was little all of my friends were just obsessed with profiteroles, but I… never really saw the appeal? Then, over lockdown, my mum decided to revisit one of her old favourite recipes, which was for these coffee éclairs and I… loved them. I think it was the first time I’ve ever enjoyed choux pastry and it was life-changing. I figured those coffee éclairs would fit perfectly into my Bridgerton dessert table, so I ran with it. I did, however, mini-fy them, to keep them in line with the whole petit four, afternoon tea vibe (and, yes, so they would fit nicely on the plates I intended to use). I ended up with these ADORABLE, teeny-tiny éclairs which are literally one mouthful. I realise that the tininess is probably not for everyone, so you are absolutely welcome to make regular-sized eclairs with this recipe, if you would prefer (or if you know that working in miniature would drive you CrAzY).
Ingredients
For the choux pastry, you will need:
- Unsalted butter
Don’t use a margarine (like Stork) here- it’s important that you use proper butter to ensure the éclairs have the right structure and flavour. I use unsalted so that I can control the amount of salt in the pastry, but you could use salted, if you prefer (just be sure to omit the additional salt from the recipe).
- Milk
Some choux pastry recipes use milk, while others use water. I find a 50:50 combination of the two creates the perfect look and structure, because the proteins in the milk give the pastry a stronger structure, but also cause the pastry to brown a bit too rapidly. By using half-milk, half-water, you get the best of both worlds!
- Water
One of the liquid ingredients in the pastry- the water helps to control the browning of the éclairs, ensuring that they are perfectly golden and nicely crisp (at the same time!).
- Salt
Whether you choose to add salt yourself for more control (like me), or use salted butter, it’s important that you do include some form of salt in your pastry. You only need a tiny bit, but it plays a big role! The salt not only temper sthe sweetness of the éclairs ever so slightly, it also gives even more structure to the pastry itself.
- Strong white bread flour
Some éclair recipes call for plain flour, but I find that I have much more successful results when using bread flour- the higher protein content gives a crisper, stronger pastry shell.
- Eggs
Much like macarons, choux pastry is very particular in terms of ratios, so I’ve listed the quantity of egg required in grams, rather than on a numerical basis. This is because eggs can vary so much in terms of size and weight, so, to ensure that your choux pastry is the correct consistency and turns out perfectly every time, make sure you weigh your eggs! I recommend cracking the egg into a bowl set over a weighing scale and beating well with a fork to combine the yolk and white. Once everything is combined, you can use the fork to remove some of the egg, little by little, until the correct amount is reached.
To fill and decorate the éclairs, you will also need:
- Double cream
You could also use whipping cream, but don’t use single cream as it won’t whip up enough to hold its shape! If you’re in the US, use heavy cream.
- Icing sugar
You need icing sugar to sweeten and stabilise the whipped cream, but also to make the coffee glacé icing. Keep extra on hand to ensure that you can add more, if needed, to thicken the icing and achieve the perfect consistency.
- Instant coffee
I flavour the glacé icing with instant coffee, because it means you can get a super concentrated coffee flavour in a small amount of liquid.
Making the Choux Pastry
Start by preheating the oven to 200°C (conventional oven). Line two baking trays with greaseproof paper and set aside.
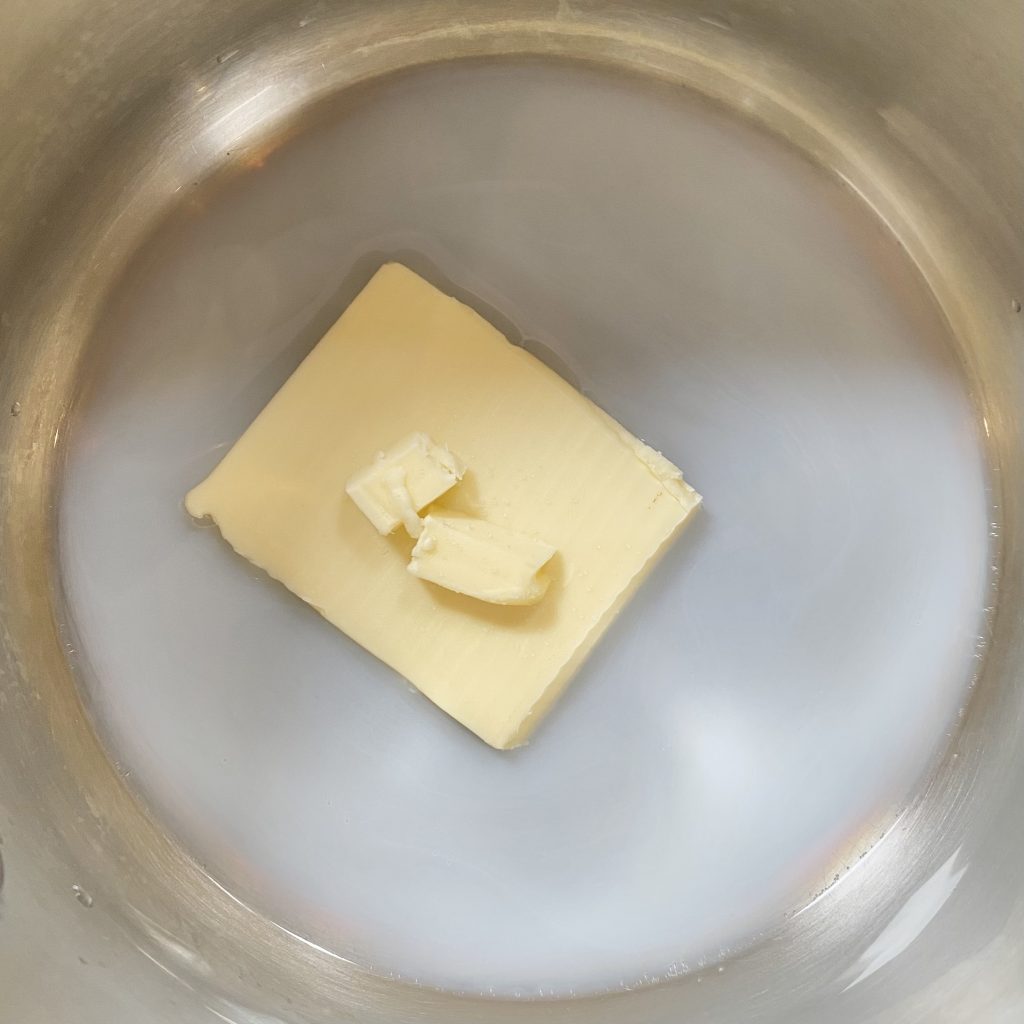
Place the butter, milk, water and salt into a saucepan (not a non-stick one- this will be important later) over medium heat. Make sure that you have the ready-sifted flour at hand, so that it is ready to go.
Allow the butter to melt, stirring frequently, then bring the mixture to a strong simmer.
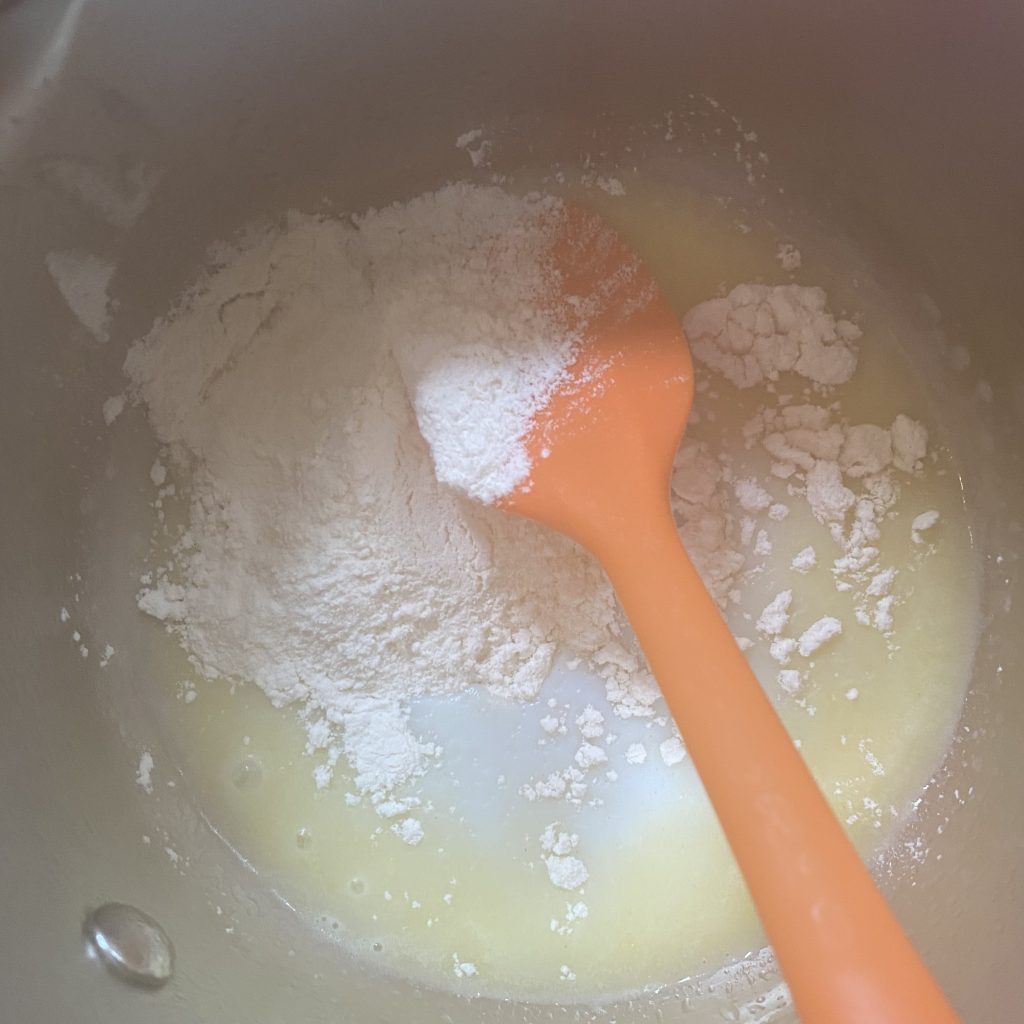
Once the mixture has come to a strong simmer, remove the pan from the heat and add in the sifted flour, all at once. Mix in the flour completely before returning the pan to the heat.
Keep stirring the mixture over the heat- it will be quite stiff, so just try your best to keep it moving with your spoon/spatula. You may notice a slight film forming on the bottom of the pan- this is exactly what you want (and why it’s important not to use a non-stick pan, or you might not get the film)! Try not to scrape the bottom of the pan and pick up that film as you stir, because it will interfere with the smoothness of your choux pastry.
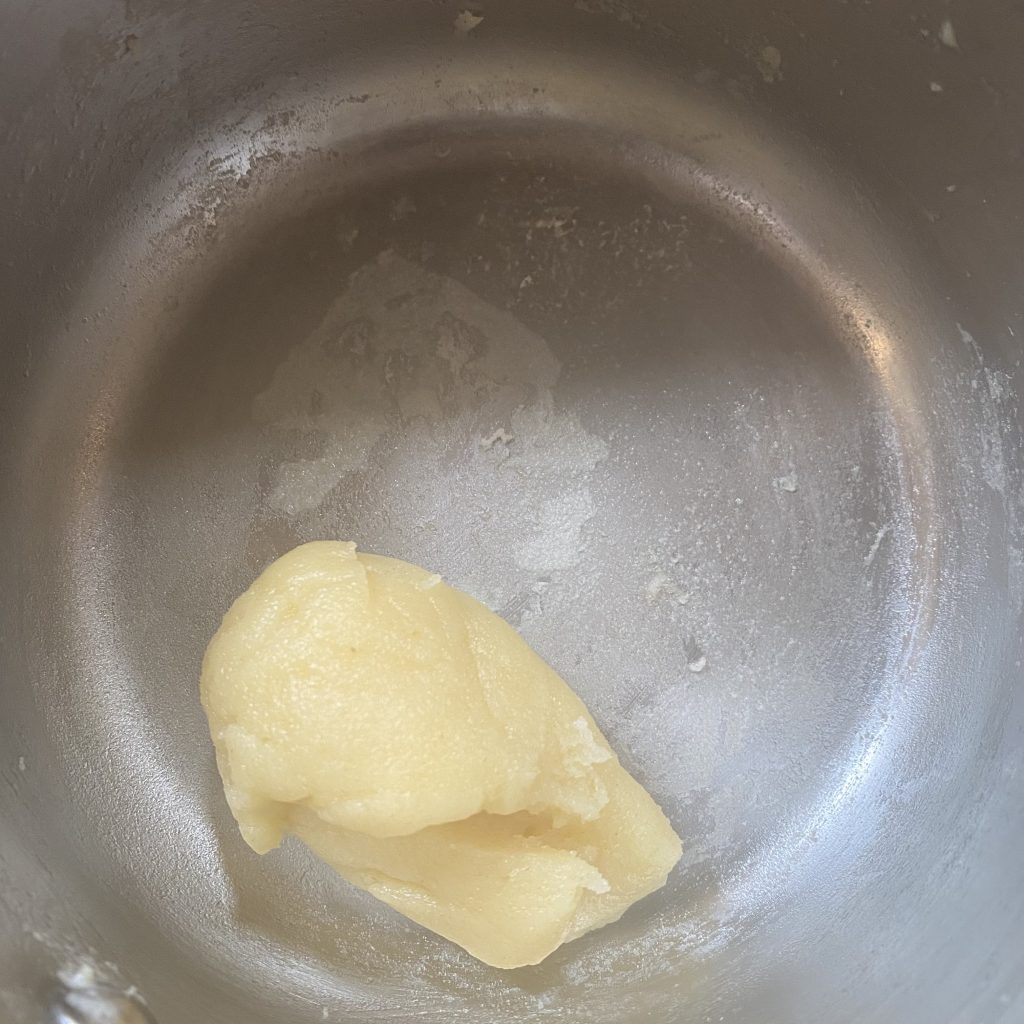
After about 2 minutes, the flour should have cooked out. There are a couple of ways you can tell if the mixture is ready: firstly, the film on the base of the pan is a good indication- it should be thin, but still noticeable. A more accurate way, though, of telling whether the mixture is ready is to use a thermometer- the mixture should have reached 75°C.

Once the mixture has reached 75°C, tip it out into a bowl. Keep mixing it in the bowl until it cools down a bit- aim for about 60°C, but a few minutes of stirring should be fine if you don’t have a thermometer at hand.
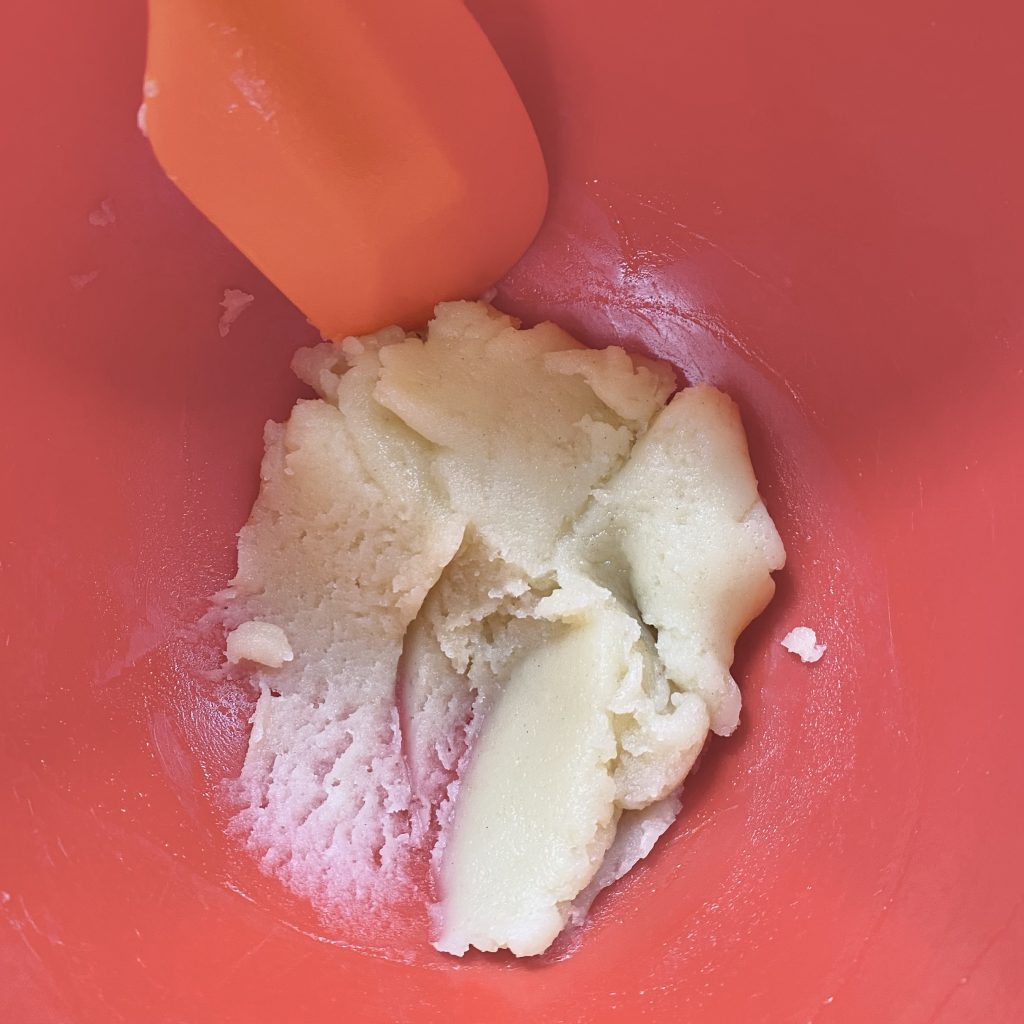
At this point, you can start to add the egg. You want to add the egg to the mixture very gradually, completely mixing it in between each addition.
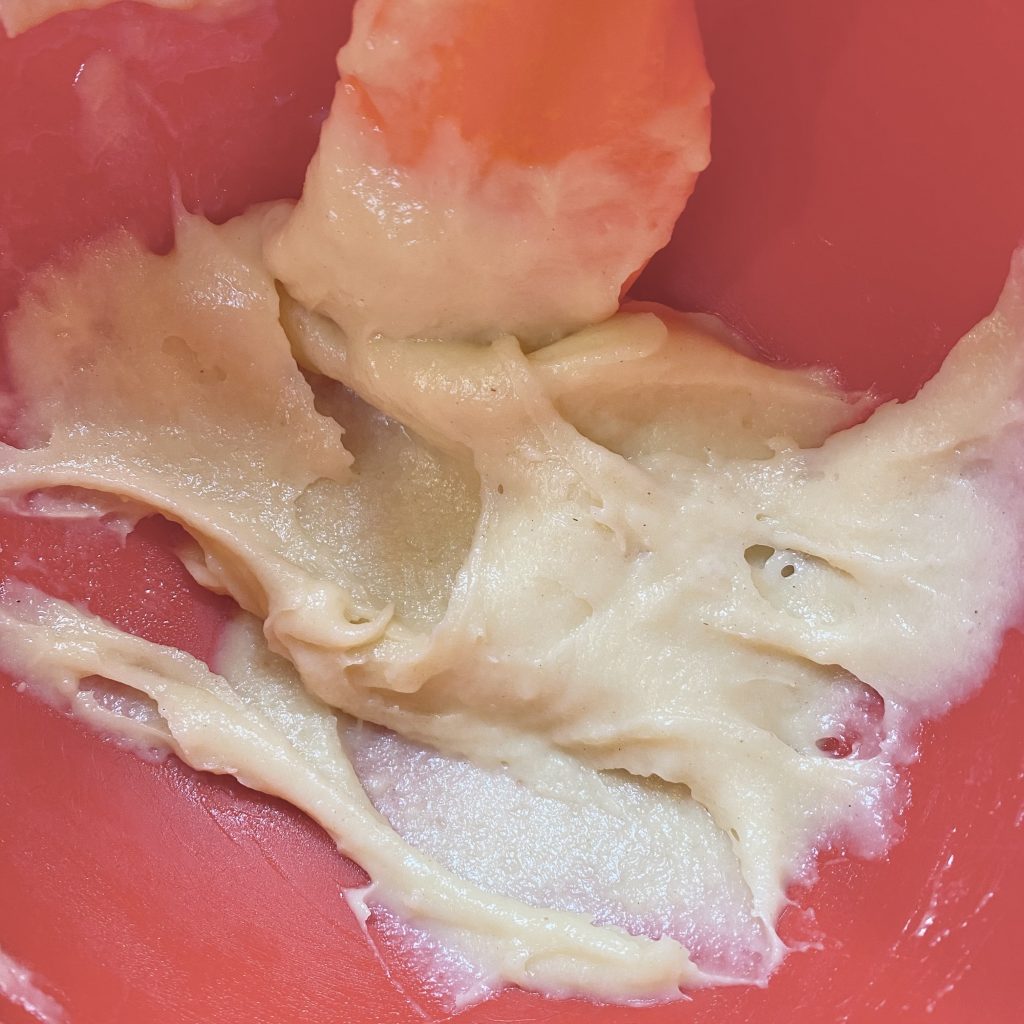
As you add the egg, you’ll notice that the mixture will go from a firm dough to a soft, smooth paste- this is your choux pastry! At this point, it’s ready to pipe and bake.
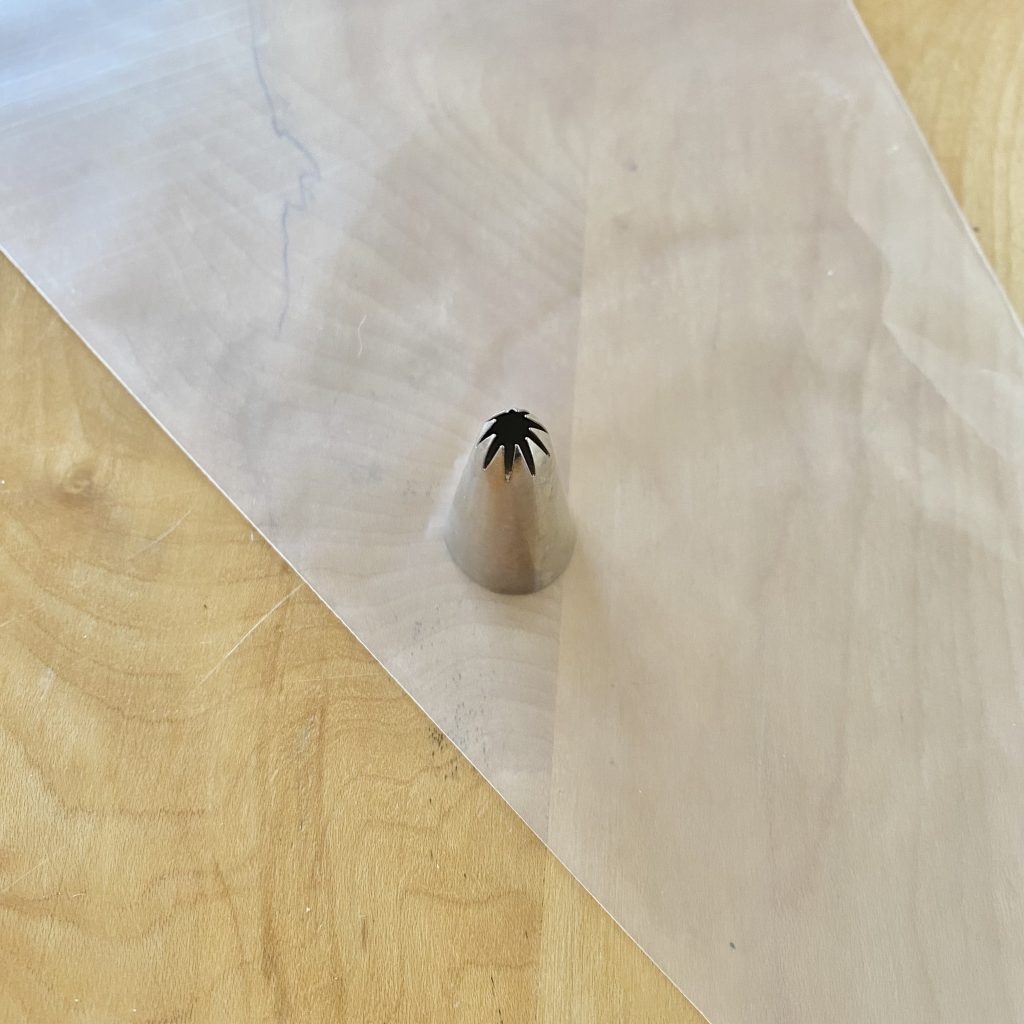
Fit a piping bag with a small, open-star nozzle (I think mine is actually a bit more of a closed star, but it was all I had) and fill with the pastry. Use a smaller piping nozzle than you think, because choux pastry puffs up a lot when it is baked. Using a piping nozzle with ridges like this helps to prevent the éclairs from cracking along the top, ensuring that your finished éclairs look super neat.
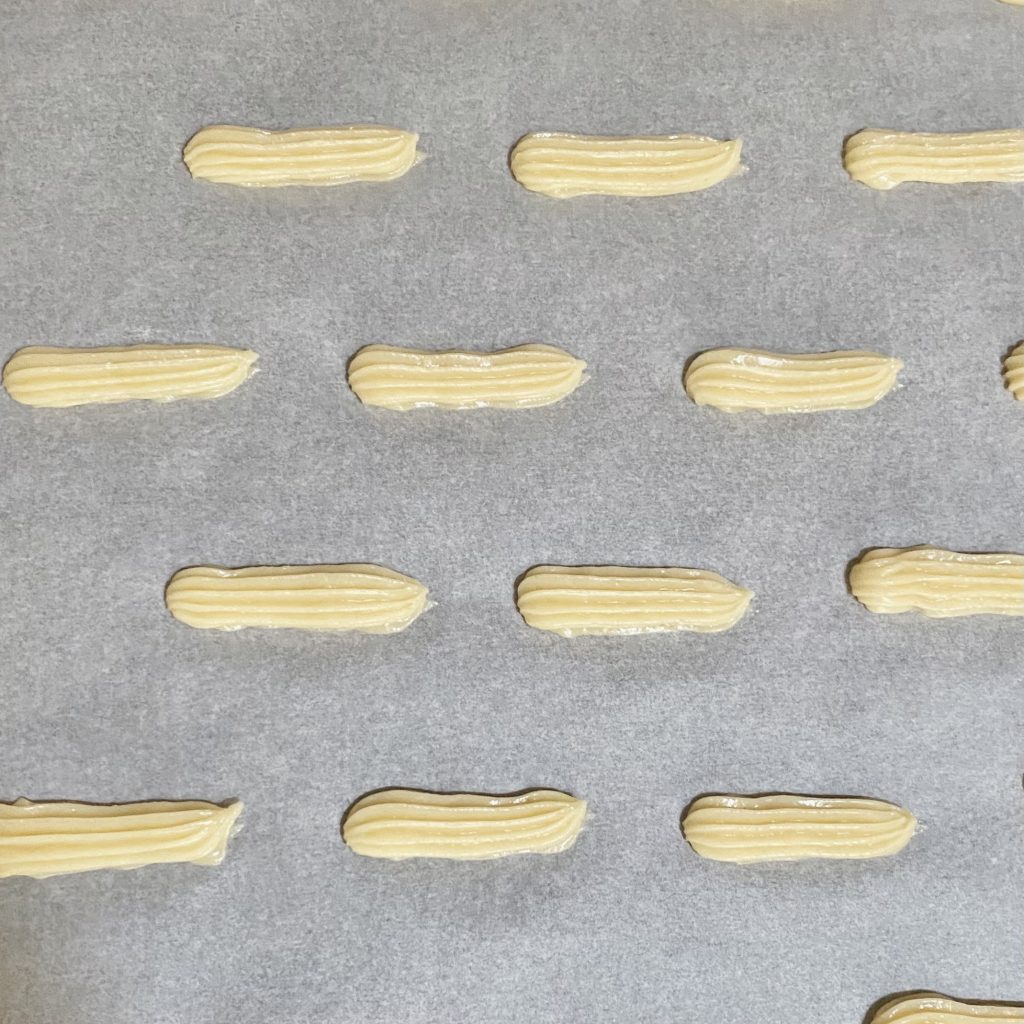
Holding the piping tip at a 45° angle against the prepared baking tray, pipe short lines of pastry- about 4-5 cm long. This length, combined with the small piping nozzle, will make the perfect, bitesize éclairs. If you want bigger éclairs, use a larger piping nozzle and pipe longer lengths- but do be aware that this will likely affect the baking time required.
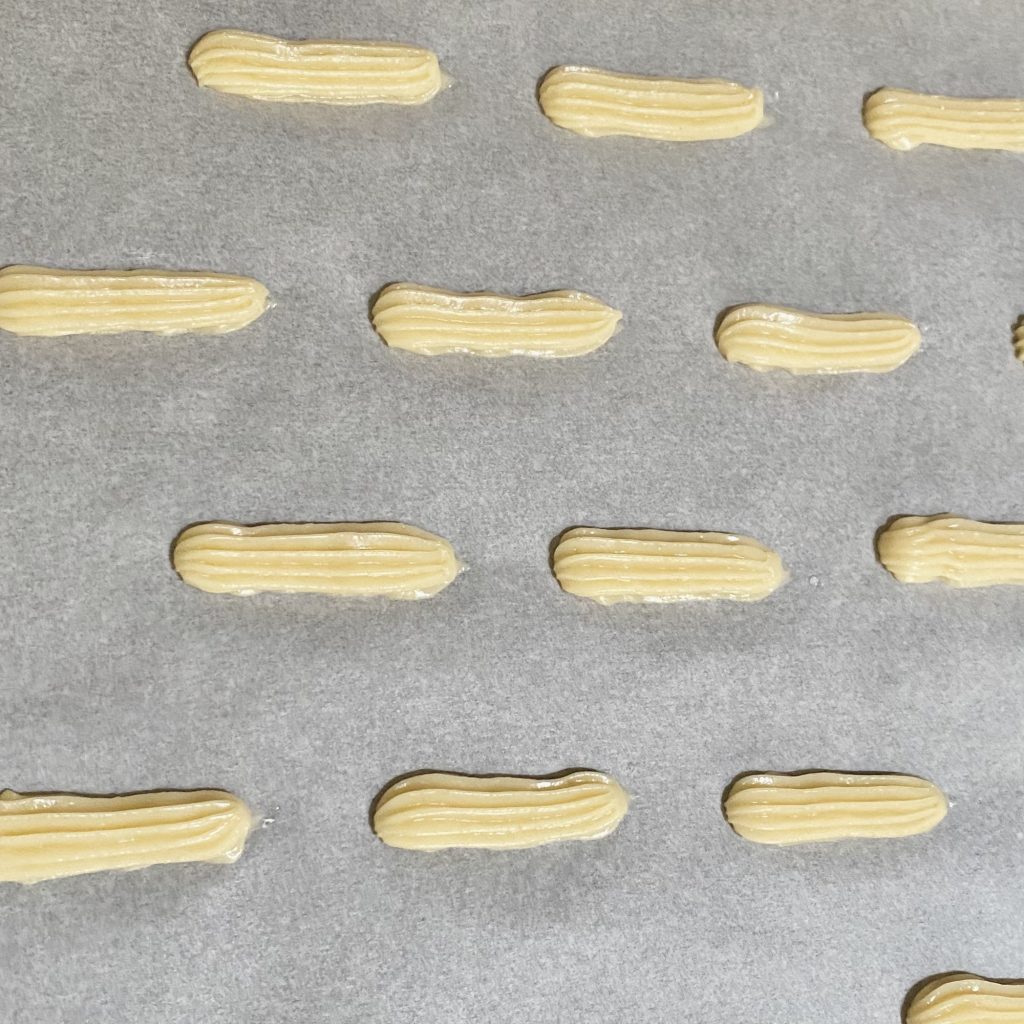
It can be a little bit tricky to ‘finish off’ the éclairs when piping, because choux pastry is pretty sticky! I find that the best way to do it is to just gently touch the piping tip down onto the tray to break the flow, then neaten up any resulting ‘peaks’ of pastry by dipping your finger in cold water and gently flattening them back down.
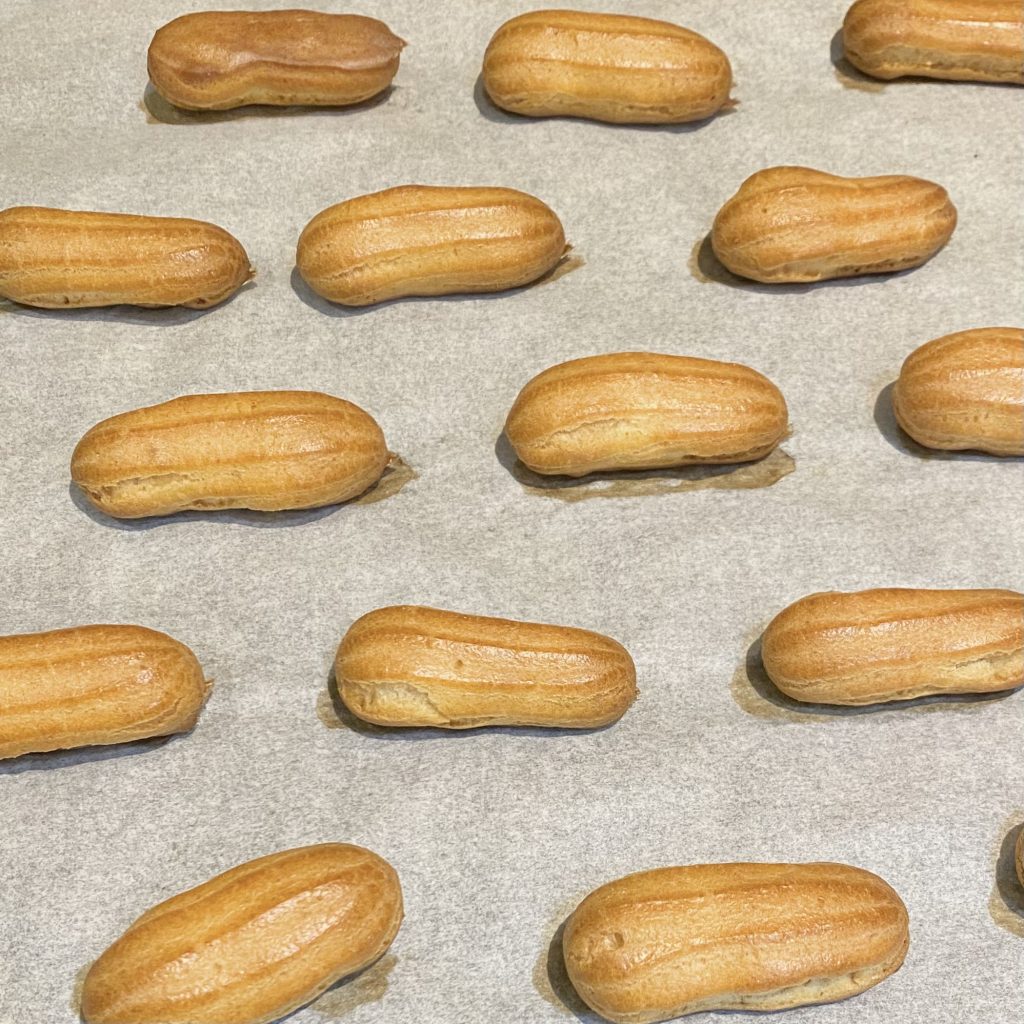
Once all of your éclairs have been piped, you can bake them, one tray at a time, in the preheated oven. The éclairs will take about 15 minutes and, when done, they should be completely crisp- you should be able to pick one up cleanly off the baking tray and the bottom should feel crisp when tapped.
As soon as the éclairs come out of the oven, you need to pierce them with a small, sharp knife. This allows the steam to escape from the éclairs, which prevents them from becoming soggy and/or collapsing. I like to pierce them along the side, where I will be cutting them later on.
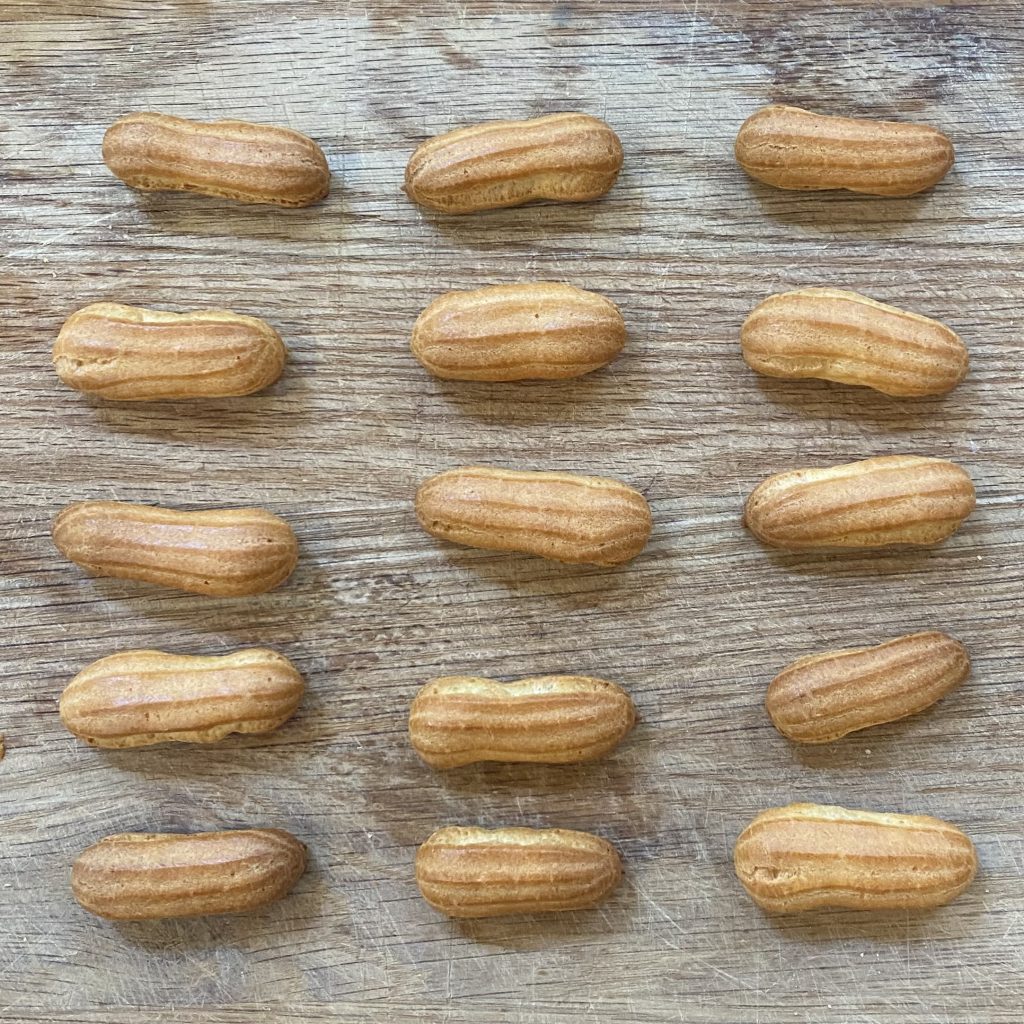
Now, just allow the éclairs to cool completely before filling and decorating. Unfilled, the pastry shells will last for a couple of days at room temperature, as long as they are stored in an airtight container.
Whipping the Cream Filling
I fill these éclairs with a simple, sweetened whipped cream filling. While this does mean that the only coffee flavour comes from the glacé icing, it also means that the éclairs aren’t too sweet or overwhelmingly strong- they’re the perfect balance of creaminess, lightness and coffee flavour.
Making the whipped cream filling is super easy- all you do is sift the icing sugar into the cream and whip it until it forms stiff peaks. I use a handheld electric mixer for this, but you could use a freestanding mixer, or even a hand whisk, if you prefer.
Once the cream is whipped, transfer it to a piping bag, fitted with a small star nozzle (you can even absolutely the same one you used to pipe the éclairs). I really would recommend using a piping bag for the cream, even if you use a different nozzle shape, because these éclairs are so small that spreading it on by hand would be a nightmare! If you’re making bigger éclairs, you can absolutely spoon the cream into each one (though I still think the piped creams looks particularly pretty).
Making the Coffee Glacé Icing
The final element is the coffee glacé icing. It’s super easy to make, but it is important that you make it thick enough so that it doesn’t run all over the place once you add it to the éclairs! Don’t be afraid to add more icing sugar if you feel it’s a little too runny (but also, don’t worry too much- a little mess never hurt anyone, they’ll taste great no matter what).
Start by preparing the coffee. Stir the instant coffee granules into the hot water until they have completely dissolved.
Sift the icing sugar into a bowl, then add the hot coffee, a little at a time, stirring in between each addition, until a smooth icing forms.
The icing should be thick, but not so thick that it has the rough texture of a ‘dough’- it should be smooth and silky, but still hold its shape quite well. If it is too thin, add more sifted icing sugar. If it is too thick, add a little extra water.
Once the icing is made, I like to transfer it to a piping bag for more control. I don’t bother with a piping tip- just snip the very end of the bag off to give the effect of a small, round tip. Again, you can put the icing on with a spoon if you’re feeling particularly nimble but, because these éclairs are so small, it is much easier (and neater) to use a piping bag.
Assembling the Éclairs
Once your éclair shells have cooled completely and your cream is whipped, you can fill the éclairs.
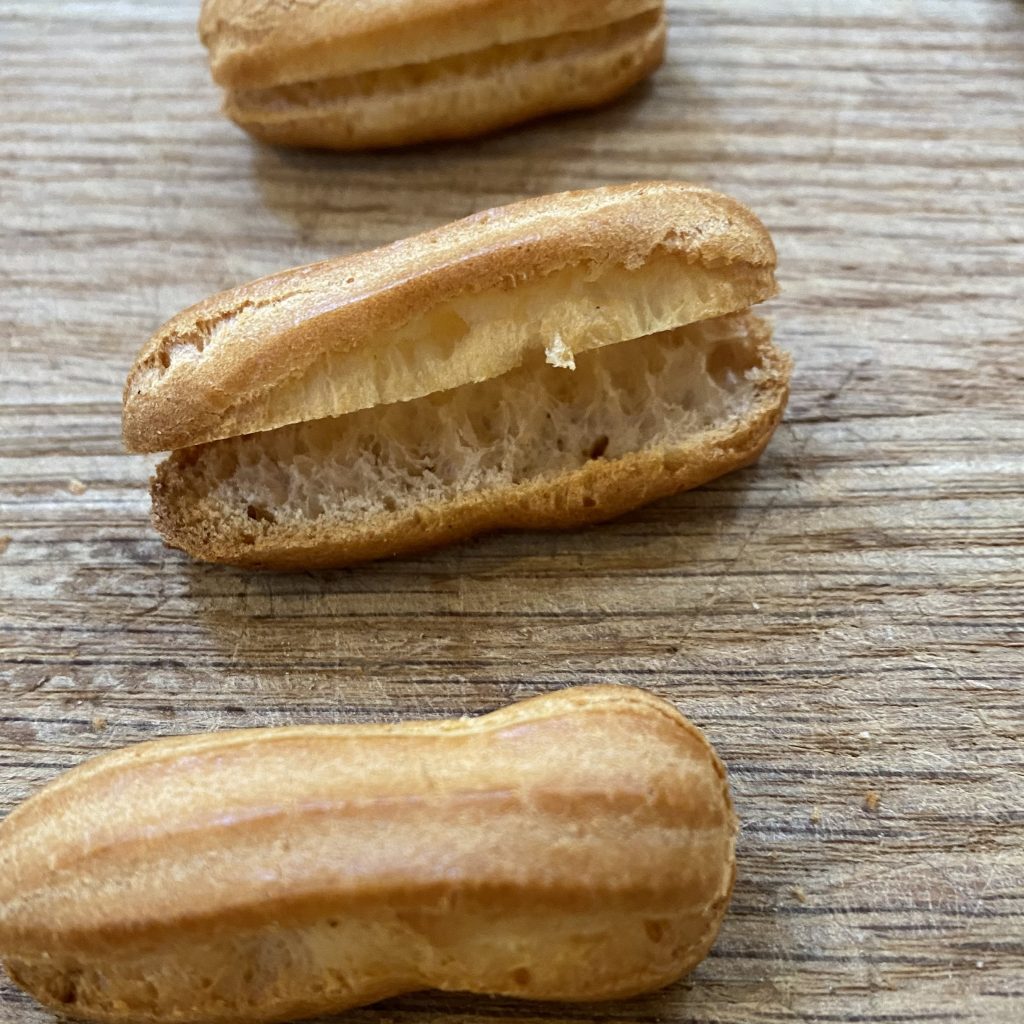
Start by splitting the éclair shells. For bigger éclairs, you would usually try to keep one edge ‘attached’, so the éclair opens up like a book. These éclairs are so small (and, as a result, more fragile), so I found it was easier to just slice them right through and ‘sandwich’ the two halves together with the cream. Use a small, serrated knife and a gentle sawing motion to cut through the éclairs horizontally, making sure to keep the corresponding halves of each shell together!
Once your éclairs are all split, you can fill them with cream. How you fill them is completely up to you- you could pipe a row of little shells, tiny dollops or just pipe a straight line right down the middle of the éclair (this will still look fancy if you’ve used a star tip). Pipe the cream onto the cut side of one half of each éclair, then sandwich the other half on top, cut side down.
Once all of the shells have been filled with cream, you can add the icing to the top of each éclair. Pipe a thick line of icing down the centre of each one, going right down the length of the éclair. And there you have it! Pefect, bitesize coffee éclairs.
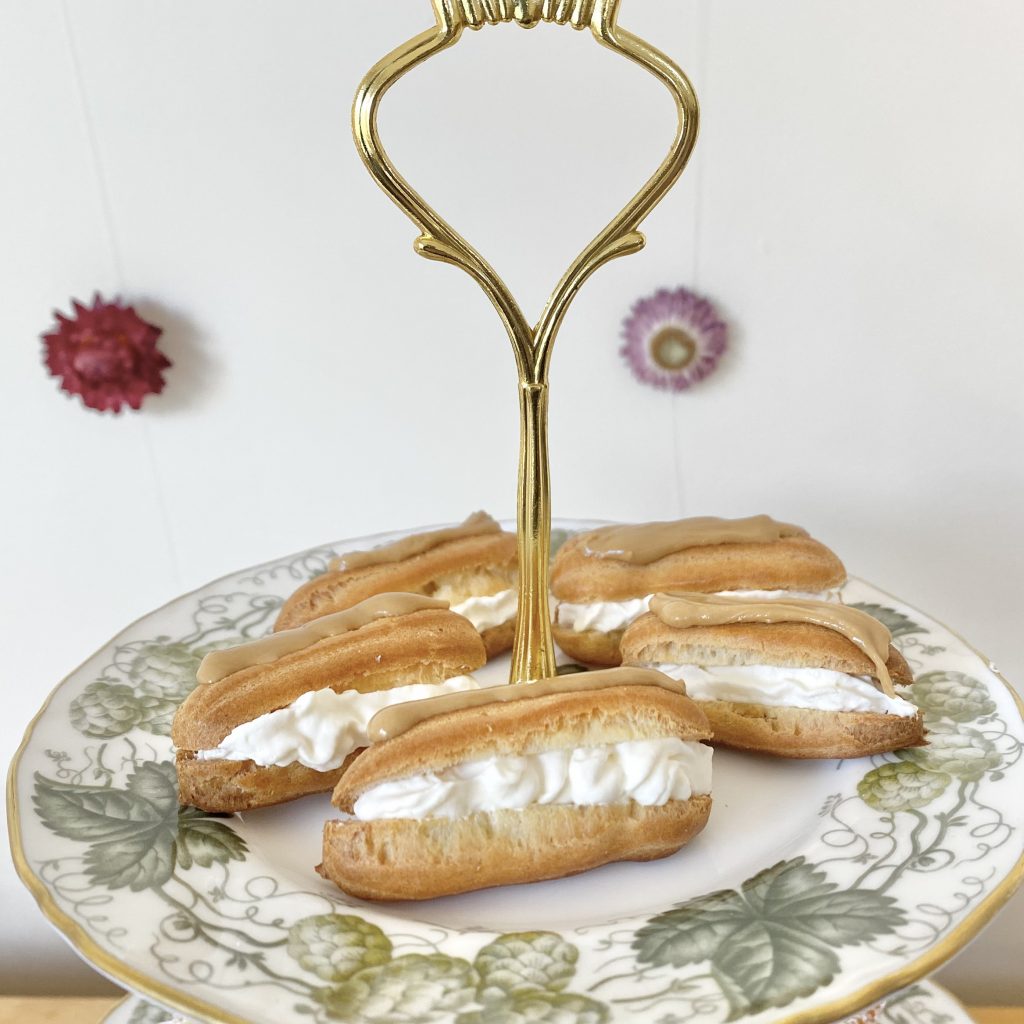
Once filled, the éclairs need to be served straight away. The pastry will start to absorb the moisture from the filling/icing very quickly, which will make the éclairs sad and soggy, instead of crisp and delicious!
Tips & Tricks for Making Perfect Éclairs
- Use a 50:50 ratio of milk and water
Some éclair recipes use milk, some use water and some use a combination of both. I find that a 50:50 ratio works perfectly- the milk adds structure to the pastry, but the water prevents it from browning too quickly, before it is fully baked.
- Add salt to the choux pastry
Much like the milk, salt helps to give the pastry structure. Whether you add a small amount of your own (which is my preference) or use salted butter, make sure you don’t skip the salt.
- Use bread flour
Most éclair recipes call for plain ( or ‘all-purpose’) flour. I prefer to use bread flour, as it has a higher protein content, which helps to make the éclairs super crisp.
- Add the flour to the hot liquid all at once
There’s a lot of science behind this one that is a little out of my pay-grade, but essentially, you need to ‘shock’ the flour by adding it to the hot liquid, for the best results. If you add the flour gradually, it won’t be so ‘shocked’, so you really do need to add it all at once.
- Use a star tip to pipe the éclairs
By using a star tip, you give the éclairs these little ridges, which increase the surface area of each individual pastry. This helps to prevent the éclairs from cracking along the top. I did get a few cracks even with this method, but they all seemed to form down one side of the éclair, which is where I would be splitting them anyway, so it all worked out.
- Bake at a high temperature
Éclairs need to be baked at a high temperature to ‘shock’ them into puffing up (anyone else getting the feeling that éclairs are just adrenaline junkies? I definitely think they’d be horror movies buffs if they were, you know, animate). Some recipes call for starting off the bake at a high temperature then lowering the heat to finish drying them out, but I found that keeping the temperature the same throughout was fine. That could be because these éclairs are so small though- I’m yet to try it with larger, standard-sized éclairs.
- Pierce the éclairs straight after baking to release steam
Use a small, sharp knife or skewer to pierce through to the inside of each éclair as soon as they come out of the oven. This will allow the steam to escape, which would otherwise make the inside of your éclairs soggy and potentially even lead to them collapsing. I like to pierce the éclairs along the side, right where I will be splitting them later, to keep them as neat as possible.
- Use a serrated knife to split the éclairs
Choux pastry, particularly choux pastry when it is in a form as small as these éclairs, can be very delicate. Make sure to use a serrated knife and a gentle sawing motion to split the éclairs, so that they don’t crack/crumble as you work with them.
- Serve the éclairs immediately after filling
As soon as you introduce wet fillings/icings to the crisp choux pastry, it will start to absorb their moisture and lose its crispness. Trust me, you do not want to eat a soggy éclair. Unfortunately, this means you really do have to serve the éclairs as soon as you fill them, which can be a bit of a faff. If you want to get ahead, you can make the éclair shells and store them at room temperature, in an airtight container, for a couple of days.
Bitesize Coffee Éclairs Recipe

Bitesize Coffee Éclairs
Equipment
- Small, open-star piping tip
Ingredients
For the choux pastry:
- 25 g unsalted butter
- 25 ml water
- 25 ml milk
- Pinch of salt
- 35 g strong white bread flour, sifted.
- 50 g eggs, beaten (about 1 egg).
For the whipped cream filling:
- 100 ml double cream
- 1 tsp icing sugar, sifted.
For the coffee glacé icing:
- 60 g icing sugar, sifted.
- 1/2 tsp instant coffee granules, dissolved in 1 tsp hot water.
Instructions
Make the choux pastry shells:
- Preheat the oven to 200°C (conventional oven). Line 2 baking trays with greaseproof paper and set aside.
- Place the butter, water, milk and salt into a saucepan over medium heat. Allow the butter to melt, then bring to a strong simmer.
- Remove the pan from the heat and add the sifted flour, all at once. Mix the flour in off the heat, then return the pan to the heat.
- Stir the mixture over the heat for a couple of minutes, taking care not to scrape the bottom of the pan as you stir, until the mixture reaches 75°C.
- Transfer the dough to a bowl and stir for a few minutes until the mixture has cooled slightly (it should be about 60°C).
- Gradually add the beaten egg, stirring well between each addition, until all of the egg has been incorporated and the mixture resembles a smooth paste.
- Transfer the choux pastry to a piping bag, fitted with a small, open-star nozzle. Pipe lengths of about 4-5cm onto the prepared baking trays to make the éclairs.
- Bake one tray of éclairs at a time in the preheated oven, for about 15 minutes, or until the éclairs have puffed up and are crisp and golden.
- As soon as you remove the éclairs from the oven, use a sharp knife/skewer to pierce each one, to allow the steam to escape. Allow the éclairs to cool completely before filling and decorating.
Make the whipped cream filling:
- Put the cream and sifted icing sugar into a bowl and whisk until stiff peaks form. Transfer to a piping bag, fitted with a small star nozzle, ready to fill the éclairs.
Make the coffee glacé icing:
- Add the dissolved coffee granules to the icing sugar, a little at a time, stirring between each addition, until a thick, but smooth, icing is achieved. If too thick, add more water. If too thin, add more sifted icing sugar. The icing should be smooth and silky, but be firm enough that it doesn't run off the surface of the éclairs.
- Transfer the icing to a piping bag, for extra control. You can either use a small, round tip or just snip the very end of the piping bag off for a similar effect.
Assemble the éclairs:
- Use a small, serrated knife to split each éclair horizontally.
- Pipe a line of whipped cream onto the cut side of one half of each éclair, then sandwich the other half on top, cut side down.
- Pipe a thick line of coffee glacé icing down the centre of the top of each éclair to finish. The éclairs should be served straight after assembling, otherwise they pastry will become soggy.