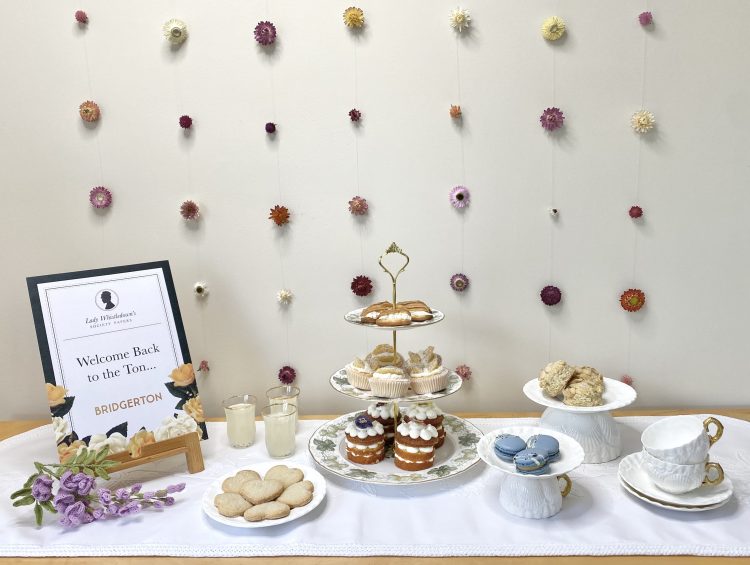
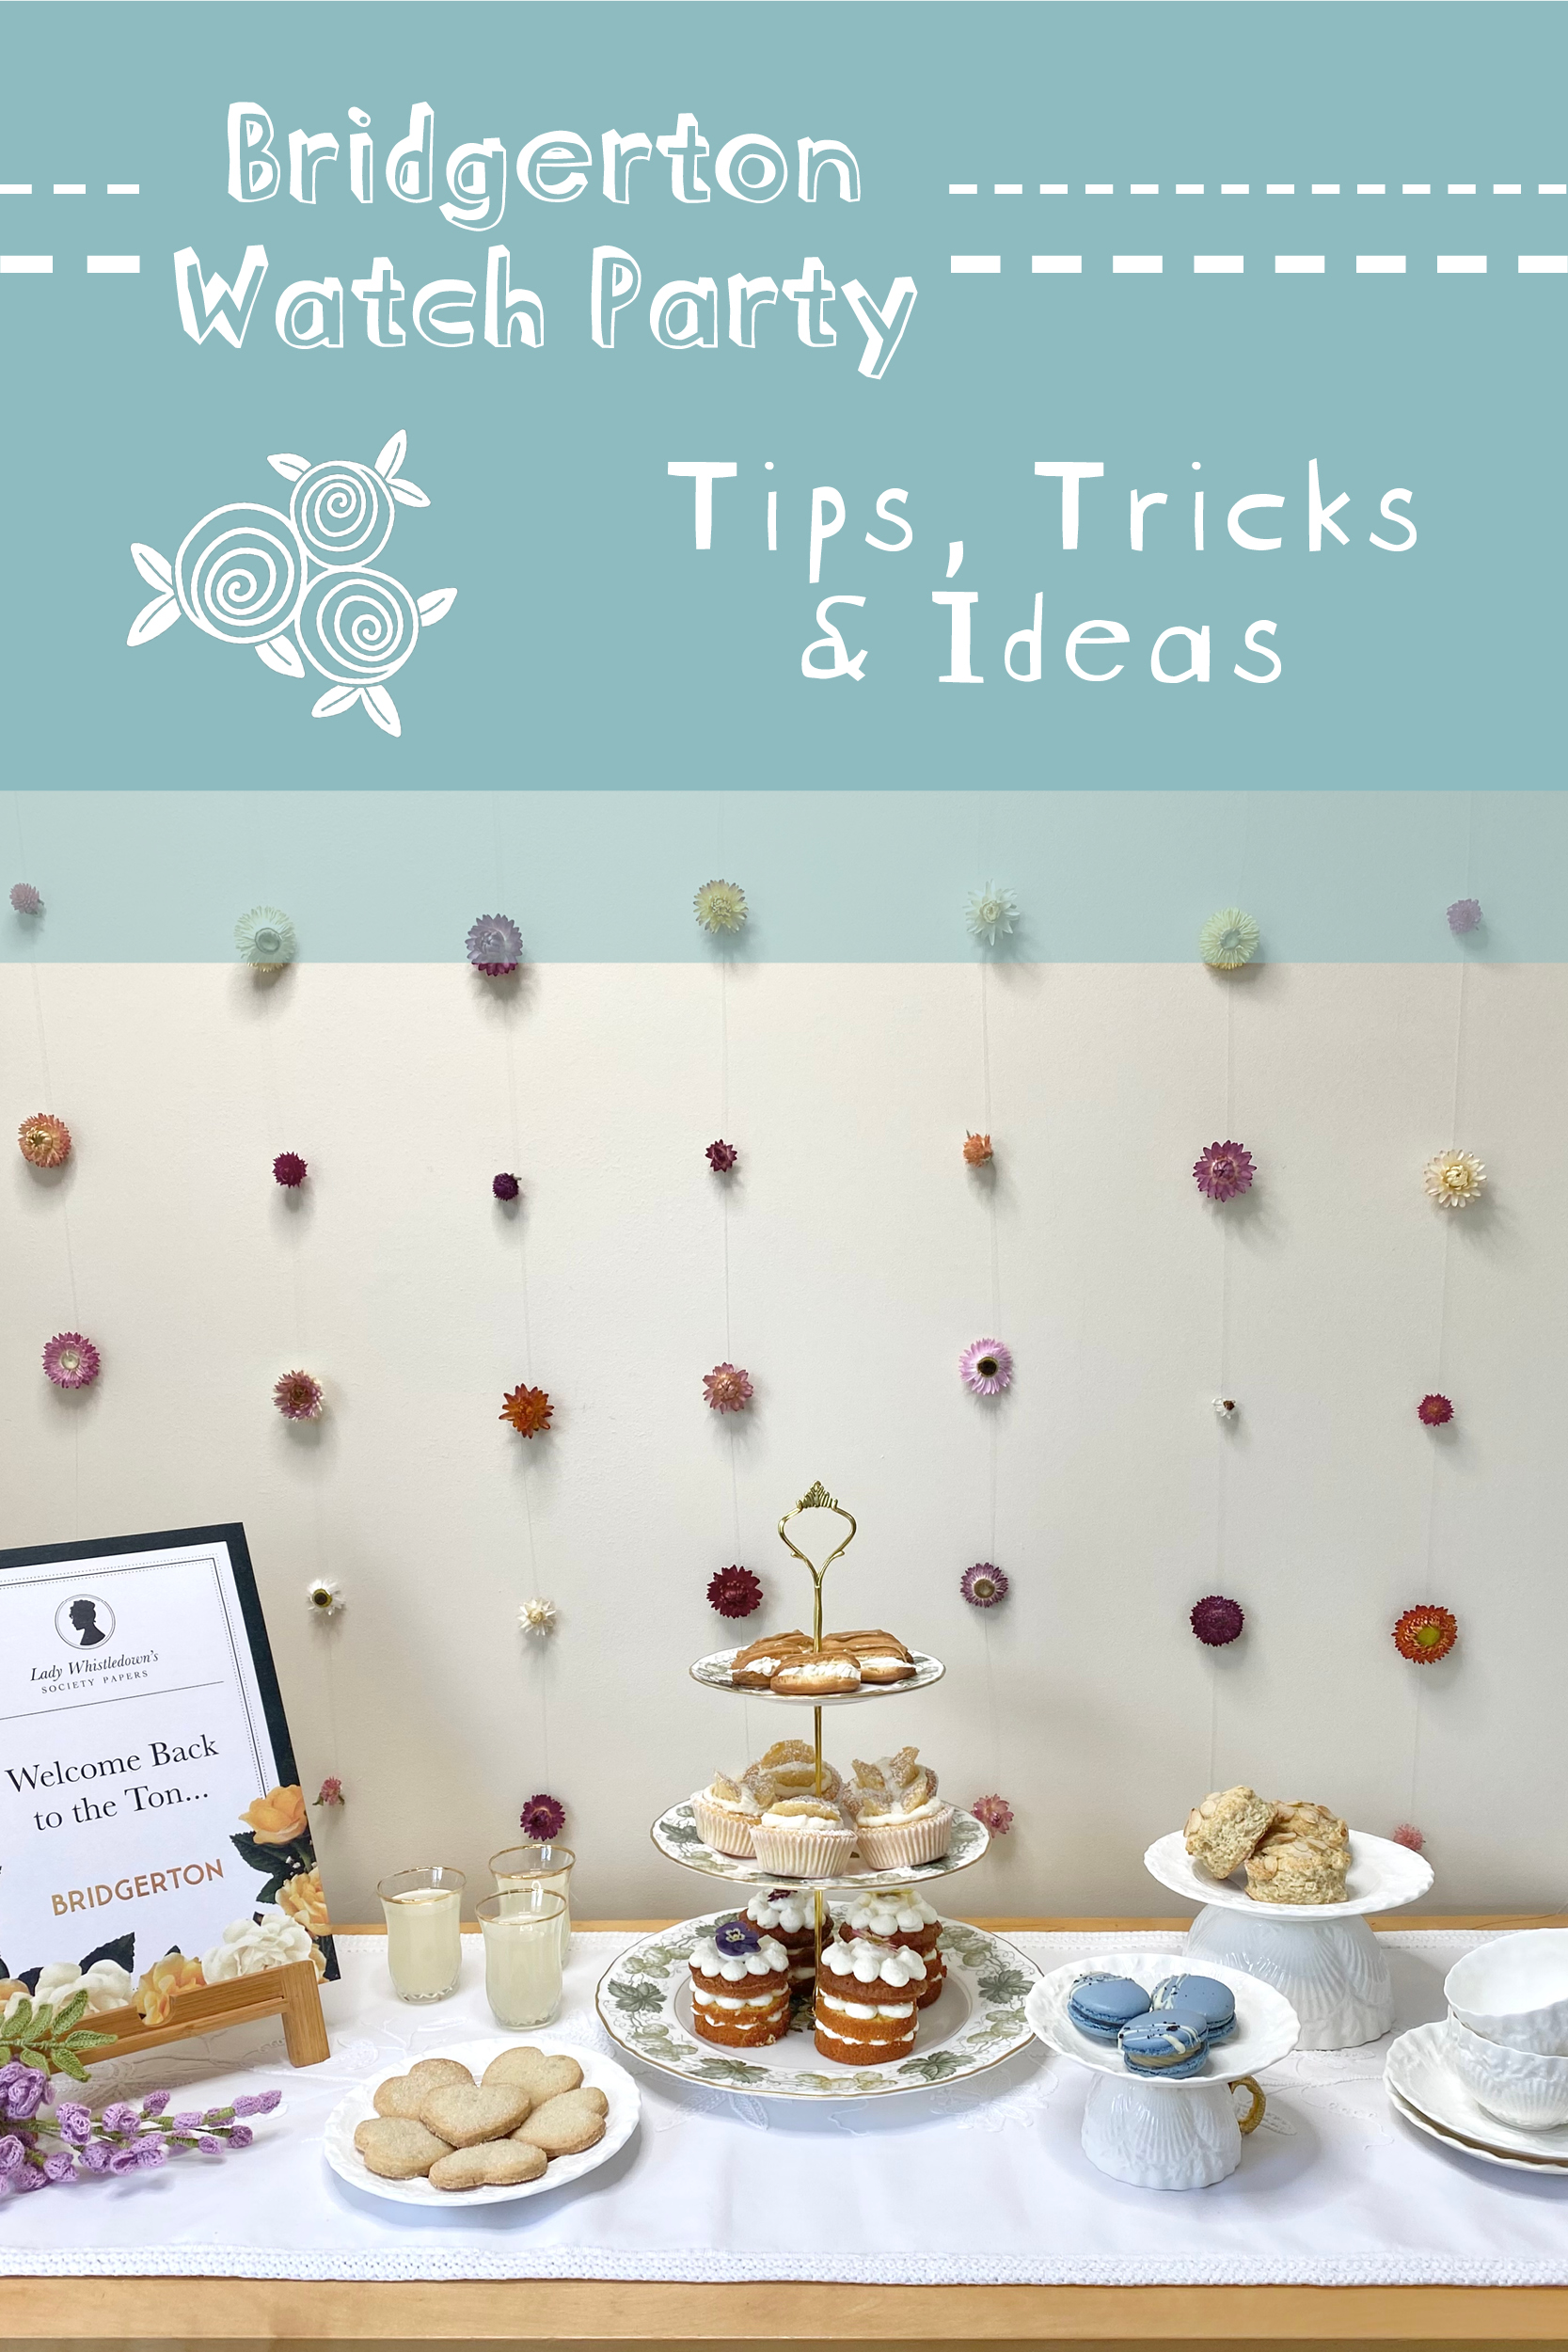
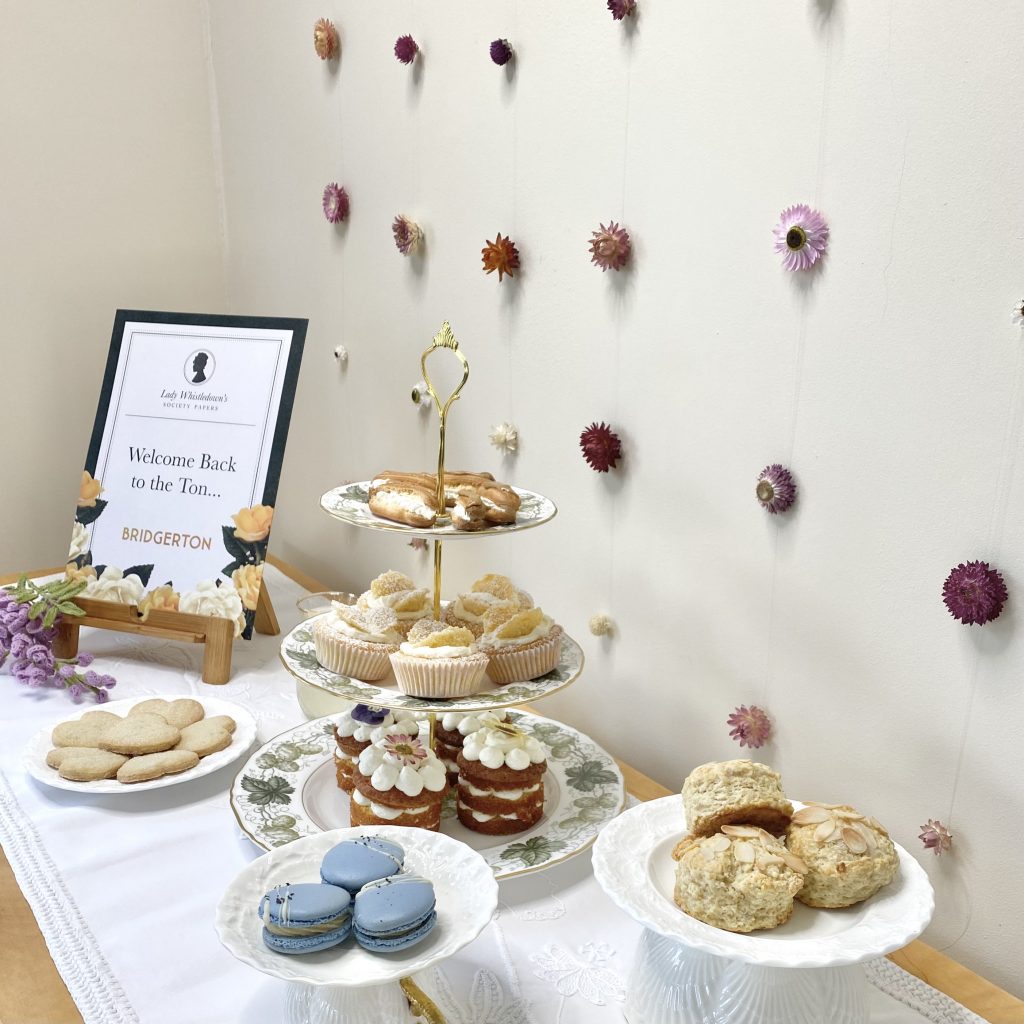
We’ve come to the end of Bridgerton Watch Party Week here on the blog, and it’s time to bring all of those sweet snacks together into one Bridgerton-inspired, afternoon tea-themed dessert table. I’ll be running through how I set my dessert table up, as well as giving you lots of different ideas for making your watch party your own.
Table of Contents
Food + Drink
Sweet Snacks
Over the past week, I’ve been sharing recipes for Bridgerton-inspired sweet snacks. You can find all of those recipes here:
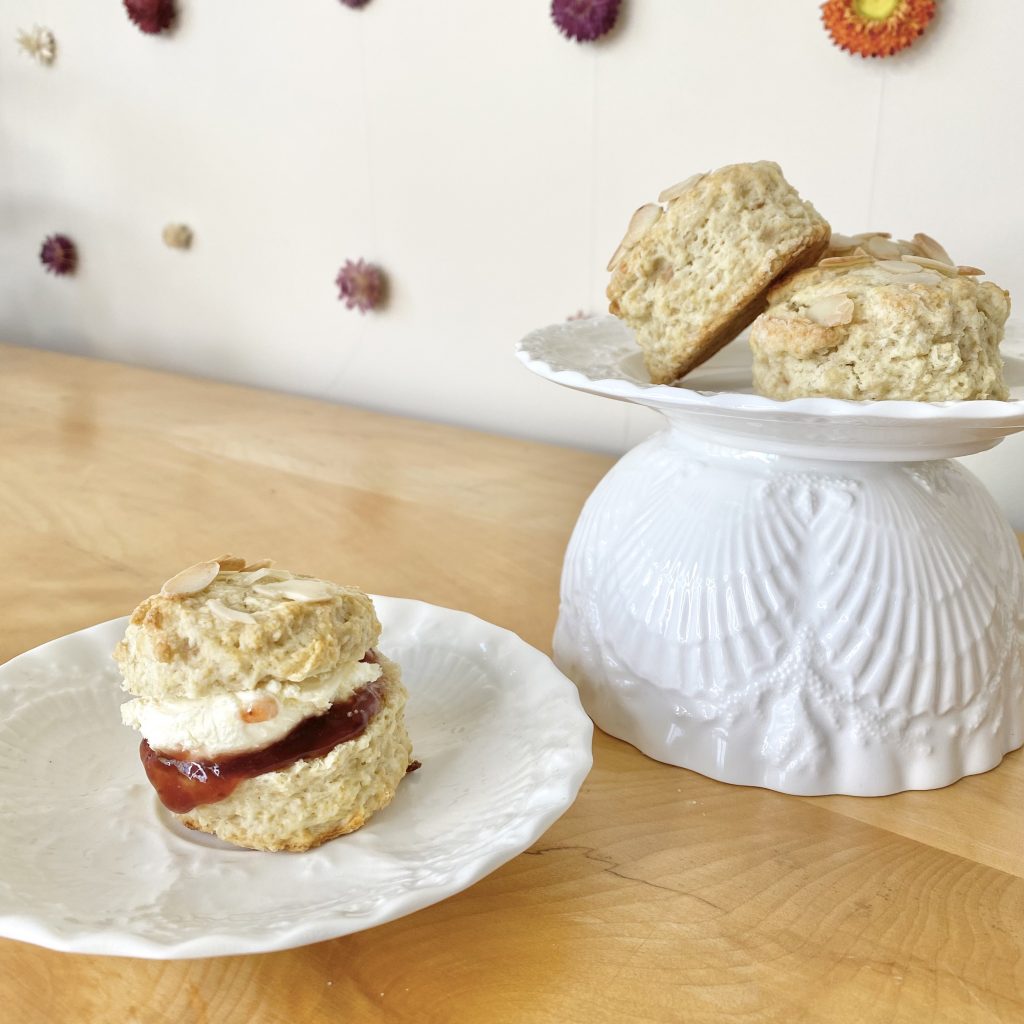

For my watch party, I made a batch (or half-batch, where possible) of each of these recipes, but you can do whatever works for you! You might want to try out just one or two and buy some other snacks to fill up your dessert table- whatever works best for you!
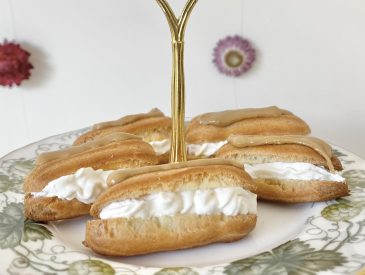
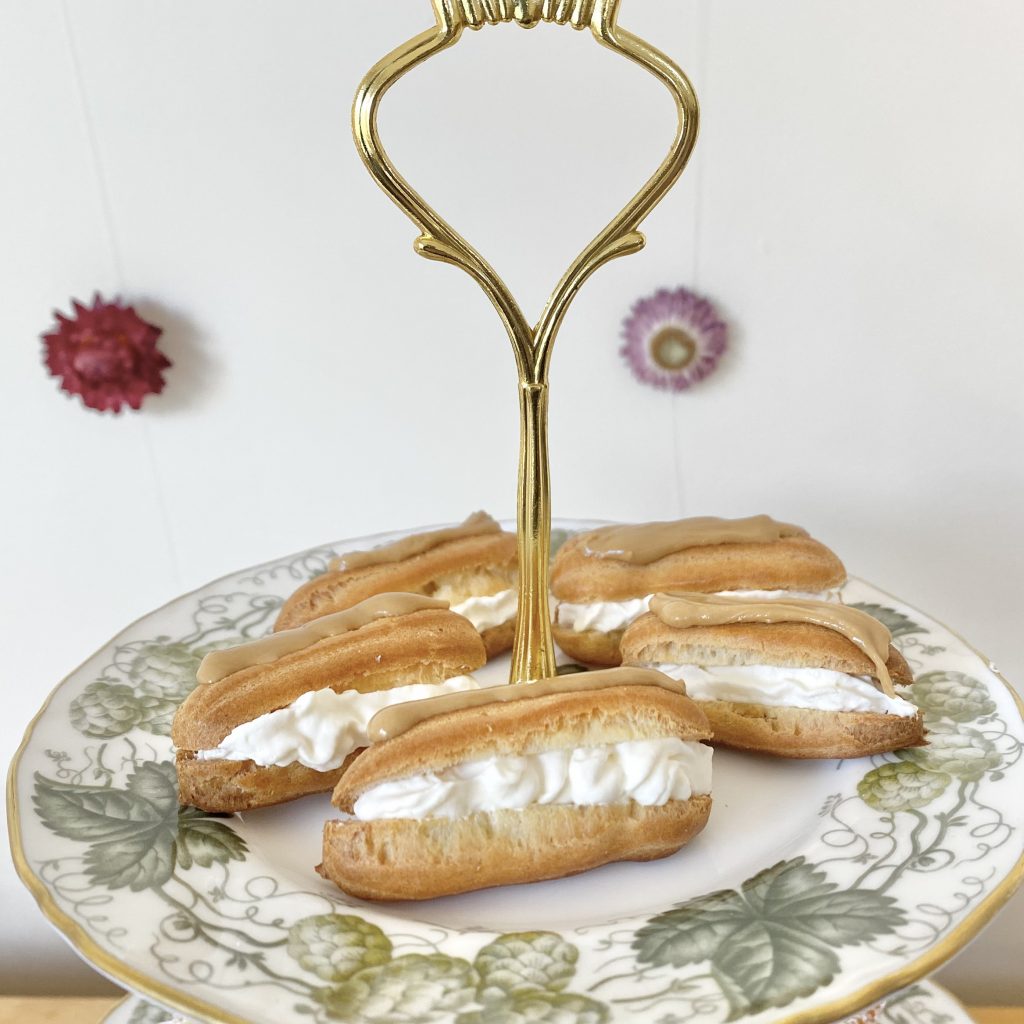
When looking for store-bought snacks, think small and dainty: things like Fondant Fancies, mini cupcakes, mini tarts and pastries would all be fit perfectly into this afternoon tea theme- just head to your local bakery/supermarket and see what’s on offer. You might even be able to find direct substitutes for the recipes above- éclairs are common bakery staples and I know that Waitrose has its own Lavender Shortbread Hearts available for purchase.
If you’re feeling particularly fancy, Bridgerton does also have a couple of collaborations with some pretty high profile bakeries going on at the moment! Biscuiteers is selling a collection of Bridgerton-themed iced biscuits (which come in a fancy Bridgerton tin- I’m oBsESsed!) and I believe that a box of Bridgerton-inspired macarons is being released by the famous macaron brand Ladurée tomorrow!
Drinks
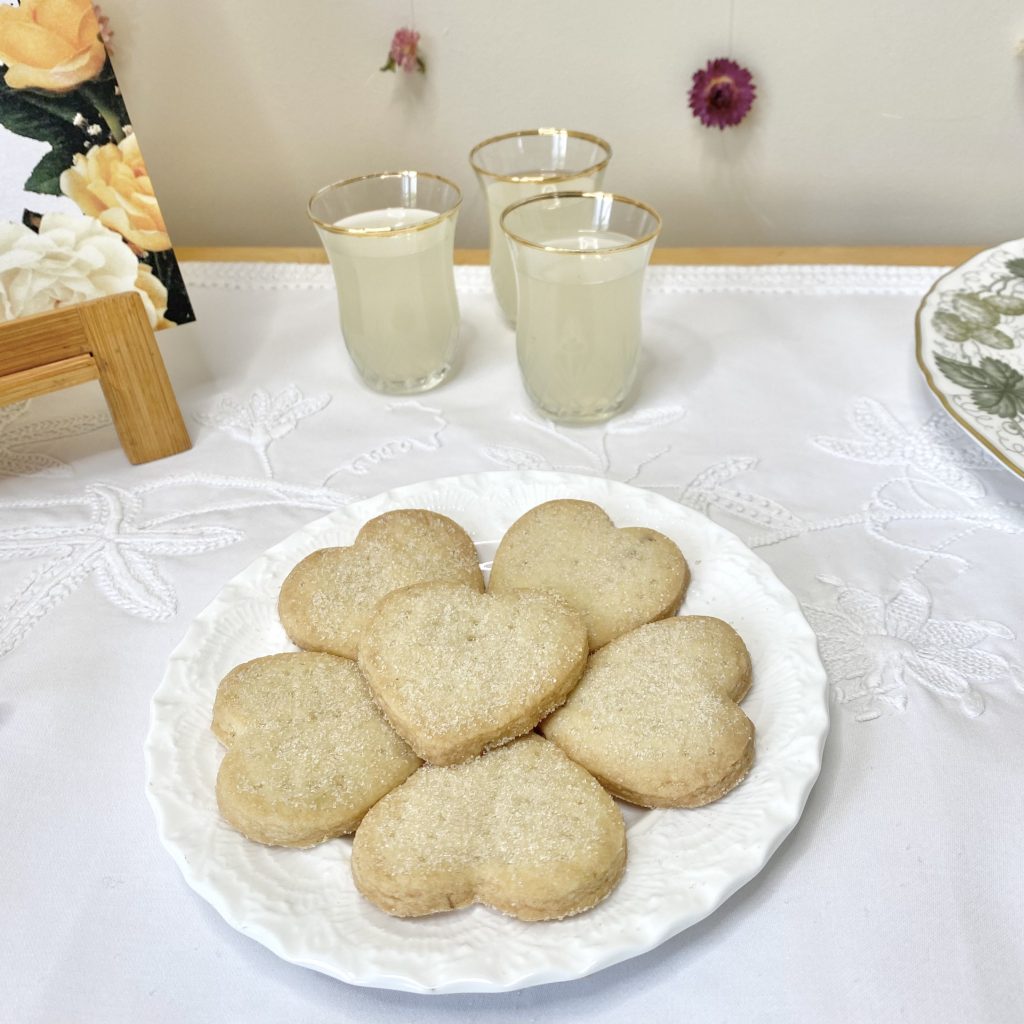
For my watch party, I opted to serve store-bought, cloudy lemonade in these pretty little glasses. Lemonade is frequently mentioned throughout the show and is often served at the balls, so it’s right on theme. I chose to buy mine, but if you want to make your own, go ahead!
Tea would also be a great, on-theme choice- pick your favourite brew and serve it in a teapot, for maximum effect, or go a little more modern and serve it iced, as a refreshing summer beverage!
I’m not a big alcohol drinker, so I didn’t serve any alcohol at my watch party, but you could absolutely go down that route! Sparkling wine, served in pretty champagne flutes, would be lovely, or, if you’re feeling particularly adventurous, you could always make your own Bridgerton-inspired cocktails to really set the mood.
Wallflower Backdrop
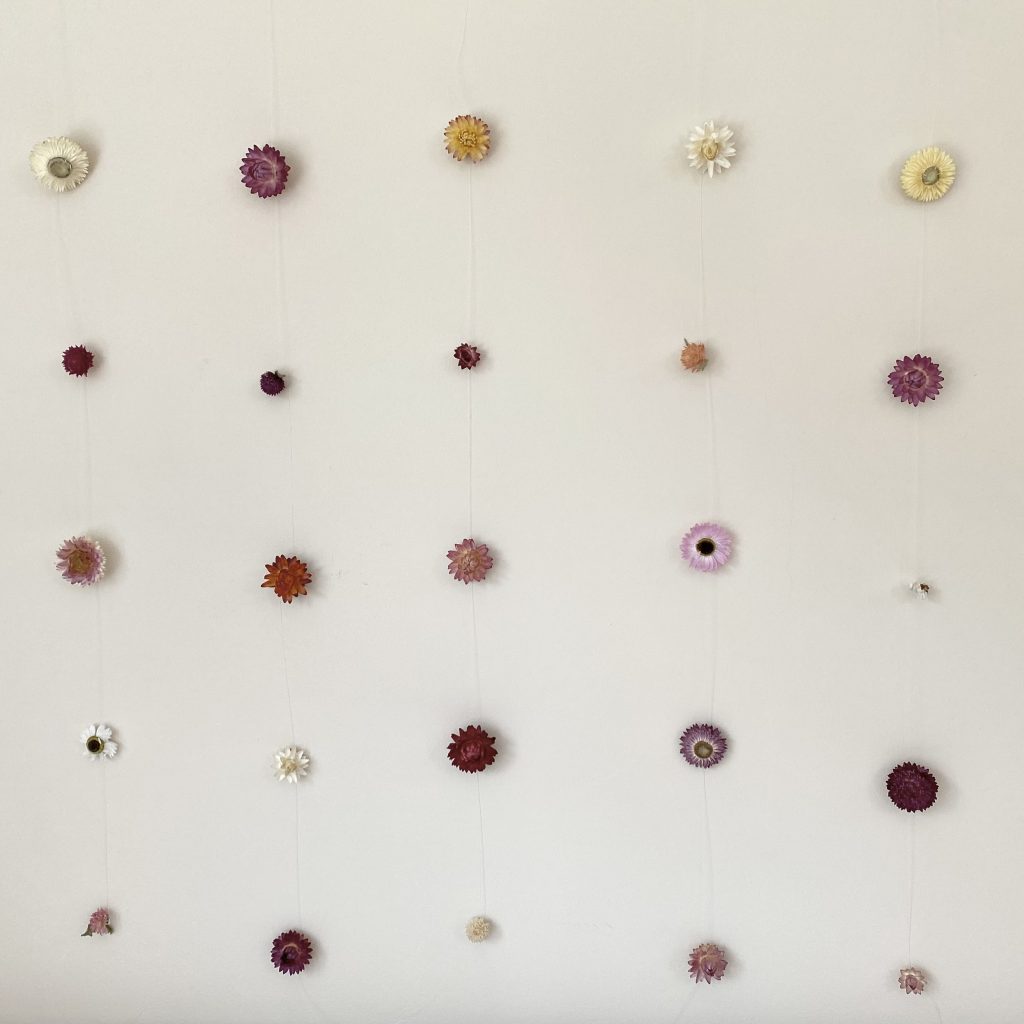
A little while ago, I came across this post on Instagram, which showcased this gorgeous ‘floating flower’ backdrop. I thought it was so pretty and, when I was planning my Bridgerton Watch Party, it immediately came to my mind. The concept of the ‘wallflower’ comes up a lot throughout the Bridgerton series, and, with Penelope Featherington taking the lead this season, I’m sure that it will be particularly significant in Season 3. I loved the idea of making a flower backdrop that sits against the wall- quite literally, a wallflower backdrop- to add some decoration, colour and extra theming to my dessert table.
In the original post, the creator used artificial flowers to make their backdrop. I looked into this, but I quickly discovered that artificial flowers are very expensive (and, obviously, not so good for the environment- especially if you’re using them for a limited-use craft project like this!). I did some more research and found that you can get pre-dried flower heads, which I thought would be a perfect, cheaper & more environmentally friendly approach. I purchased the 50-piece Dried Flower Craft Box from woodfarmdriedflowers on Etsy (the seller is currently taking a short break, so I can’t link to the exact product, but it should be easy to find once the store is back up and running!). This box was so affordable and contained lots of beautiful dried flowers for me to choose from for my backdrop. It does include some longer stems that didn’t quite work for what I had planned, but I can use those for other projects later.
Another change I made from the original tutorial was how I attached the flowers to the clear thread (I used 0.25mm clear nylon thread that I had leftover from my foray into jewellery making). Instead of threading the thread through the flower stems with a needle, I used a hot glue gun to secure the thread to the back of each flower. The reason for this was because the dried flowers are much more brittle and delicate than the artificial flowers, so I just couldn’t find a way to pierce them with the needle without crushing them at the same time! I found hot glue was the best adhesive for this- I did try super glue as well, but it wasn’t strong enough and the flowers just fell off the string. I just added a dollop of glue to the back of each flower, then held the string taut and pressed it into the glue for about 5-10 seconds. I then let the glue dry completely before hanging up the garlands (you can’t see this in the photo, but my garlands are suspended from a bar above my dessert table! If you had more patience, space and flower heads, you might want to make your garlands longer and hang them from the ceiling/a picture rail, for a more seamless effect).
I was really happy with how this wallflower backdrop turned out! The only slight downside to using the hot glue was that the backs of the flowers do look a little bit messy, so I did end up using a very small amount of white tack to attach any flowers that refused to face the right way to the wall! Now that I’m writing this, does that mean I could have just tacked the flowers to the wall in the first place? Probably… but I’d rather not think about that. If you want your flower backdrop to be more 3D and organic, you might want to use artificial flowers and a needle & thread, to ensure that the garlands look pretty from all angles!
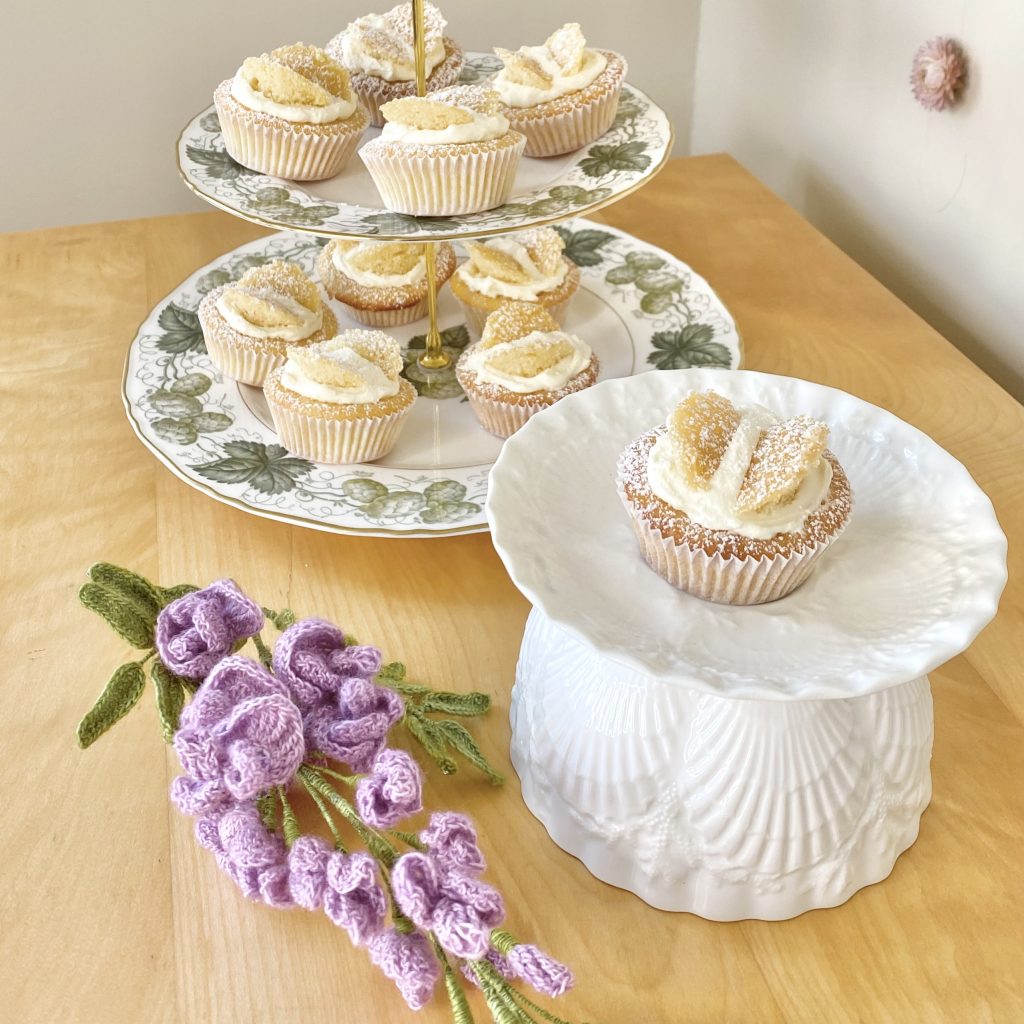
Crochet Wisteria Decoration
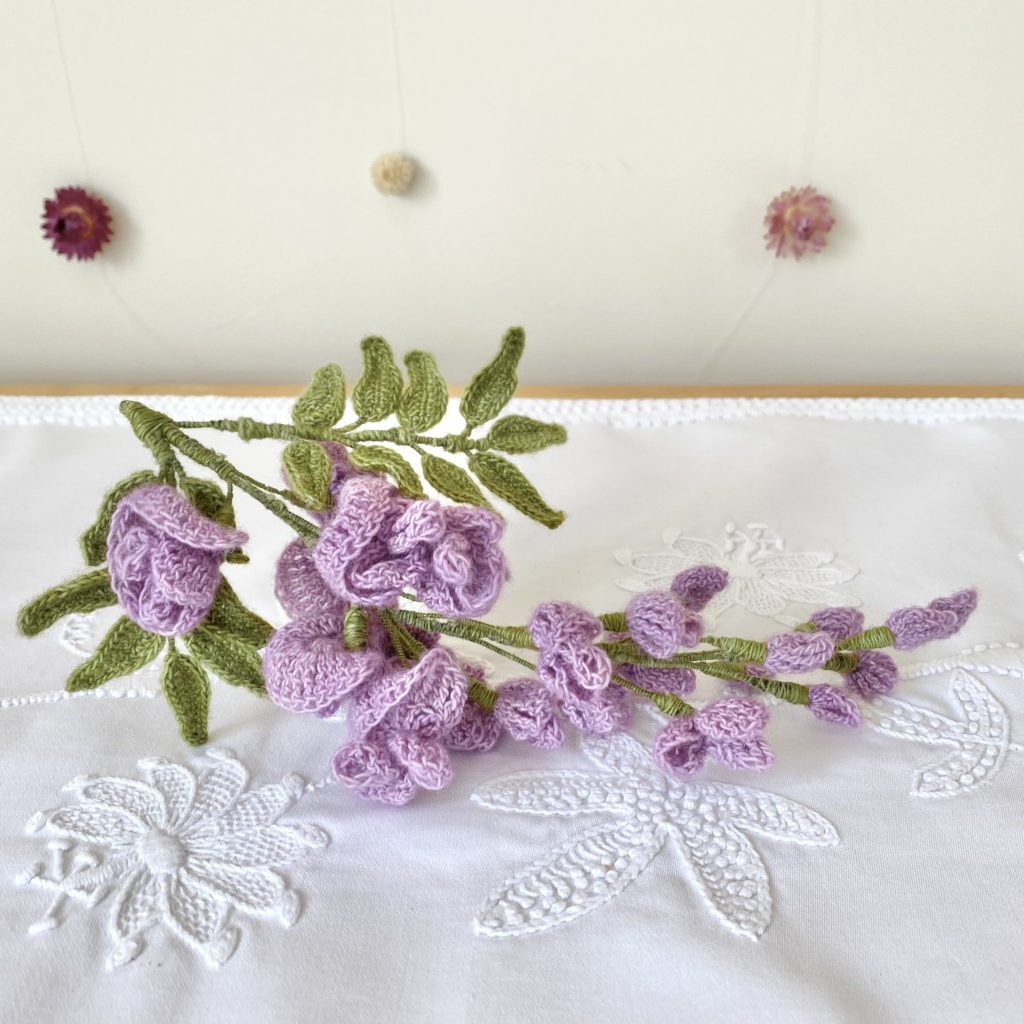
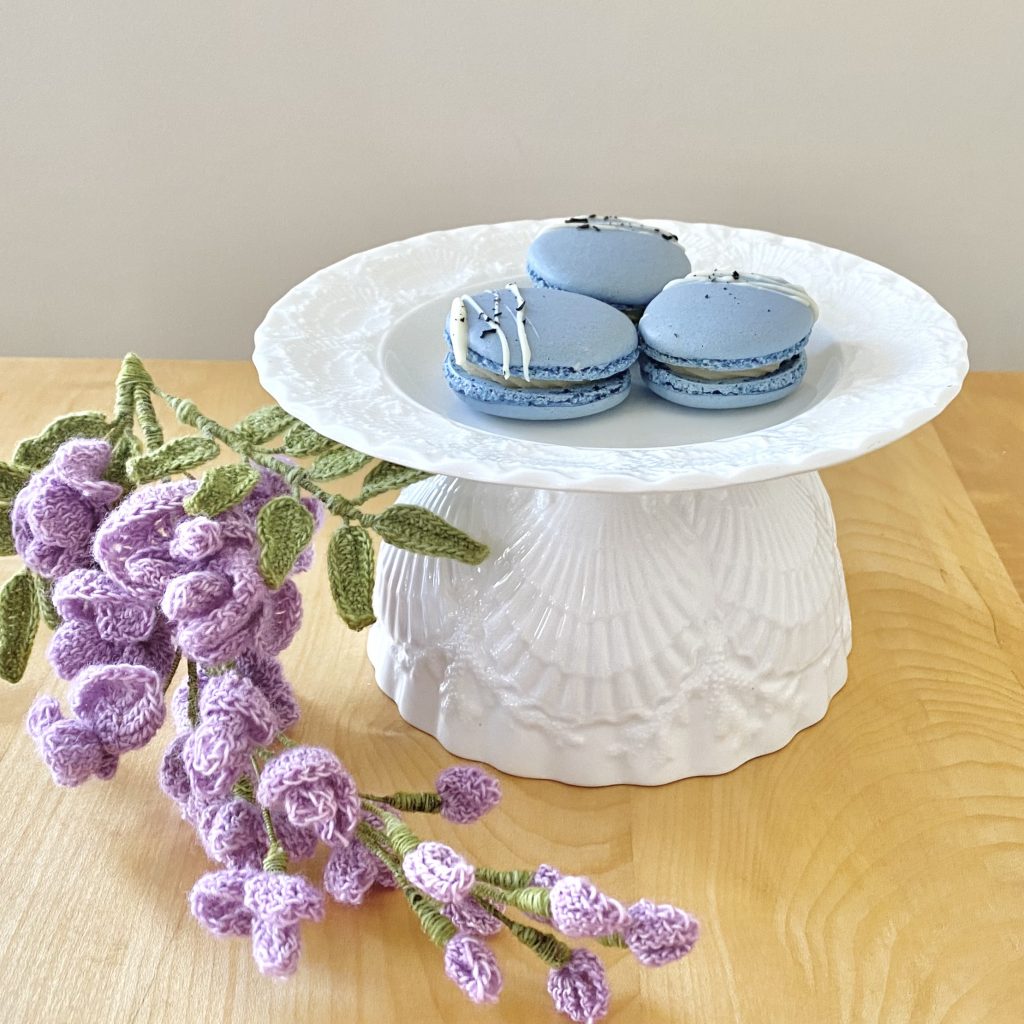
Okay, back before I decided to make my Wallflower Backdrop, I had my heart set on a Wisteria Garland (because, after all, Bridgerton and wisteria are practically synonymous at this point). However, I really struggled to find one I liked. Either they didn’t come in the traditional, lilac/purple colour, or they were just very plasticky and stiff (and falling apart, but that was a whole other story). Long story short, I had (reluctantly) given up on my wisteria dreams, when I came across this pattern for crocheting a miniature wisteria twig on Etsy. I love to crochet, so I bought it, thinking maybe I could make some (slightly less miniature versions) and make my own wisteria garland! The instructions are super detailed- I’ve never made anything even remotely like this, but I think I did okay (which is a testament to the pattern, I feel).
As you can probably tell, I did not get quite as far as a garland, but I was able to make one single wisteria twig to use as a little accent decoration for my dessert table. I can’t even begin to tell you how much work went into this single twig though- I’m not even exaggerating: I spent hours and hours on this thing, but I’m kind of okay with it because LOOK AT IT! It’s so pretty and perfect and dreamy. I used the following materials to make my twig:
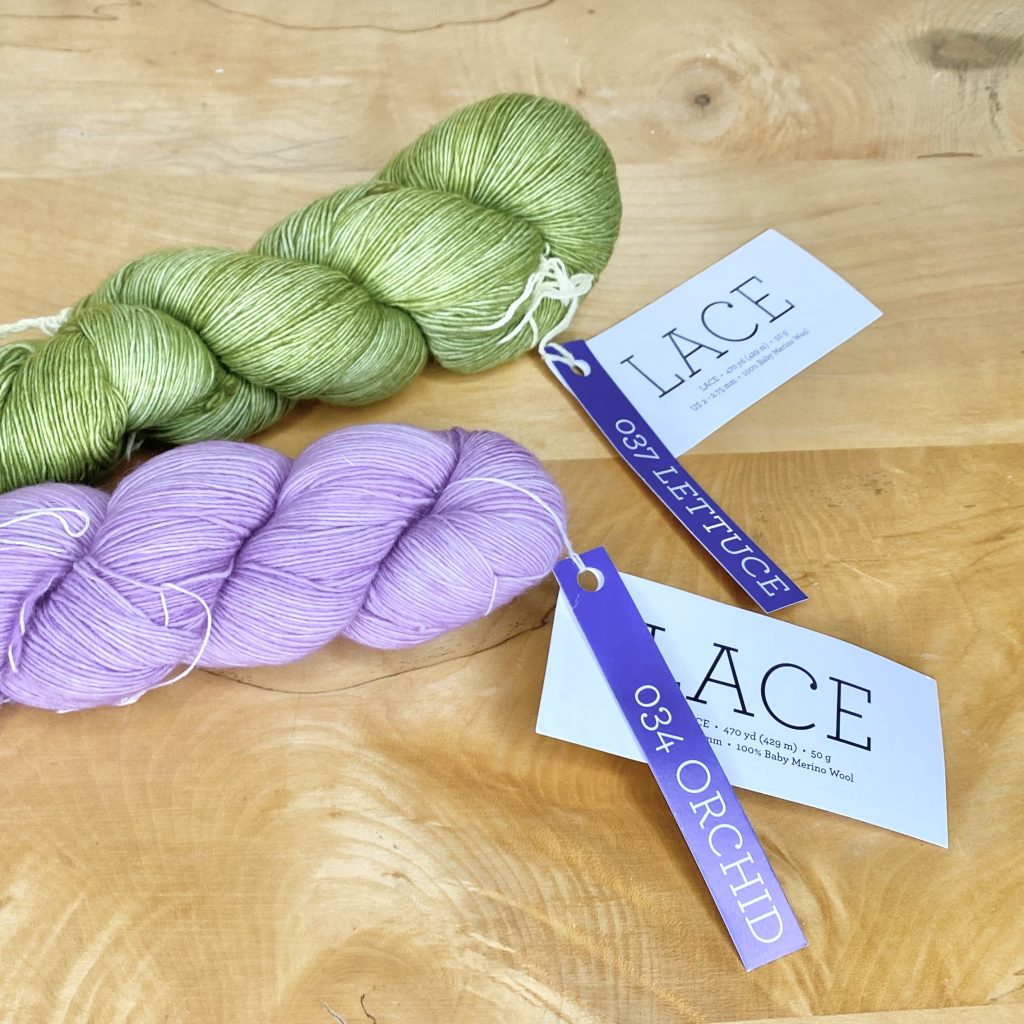
- Malabrigo Lace, in the shades 034 Orchid and 037 Lettuce.
- 2mm crochet hook.
- 0.5mm jewellery wire.
- Round-nosed jewellery pliers.
- Super glue (copious, copious amounts).
- Needle.
- Scissors (both for yarn and wire-cutting).
I did make mine a little differently to the pattern though, so here’s a quick list of the changes I made:
- I used a thicker yarn (lace weight) and larger hook (2mm), to make a larger twig.
- I used coloured yarn, rather than painting the white petals and leaves.
- I did not stiffen my petals- instead, I used a combination of sewing and super-glueing to shape the individual petals.
- I did not crochet the leaves over the wire, but threaded the wire through afterwards instead (I just could not get the hang of crocheting over the wire!).
Some rather drastic changes, but I followed the instructions exactly for all of the individual crochet elements.
Was this project a labour of love? Absolutely. Is it a requirement for a Bridgerton dessert table? Absolutely not. Would I do it again? … I think I would?! I just love how it turned out, and it was so out of my comfort zone that it makes its success even sweeter! Also, I think it looked so pretty on the table and in the photos, so I’m really happy I did it.
Signage
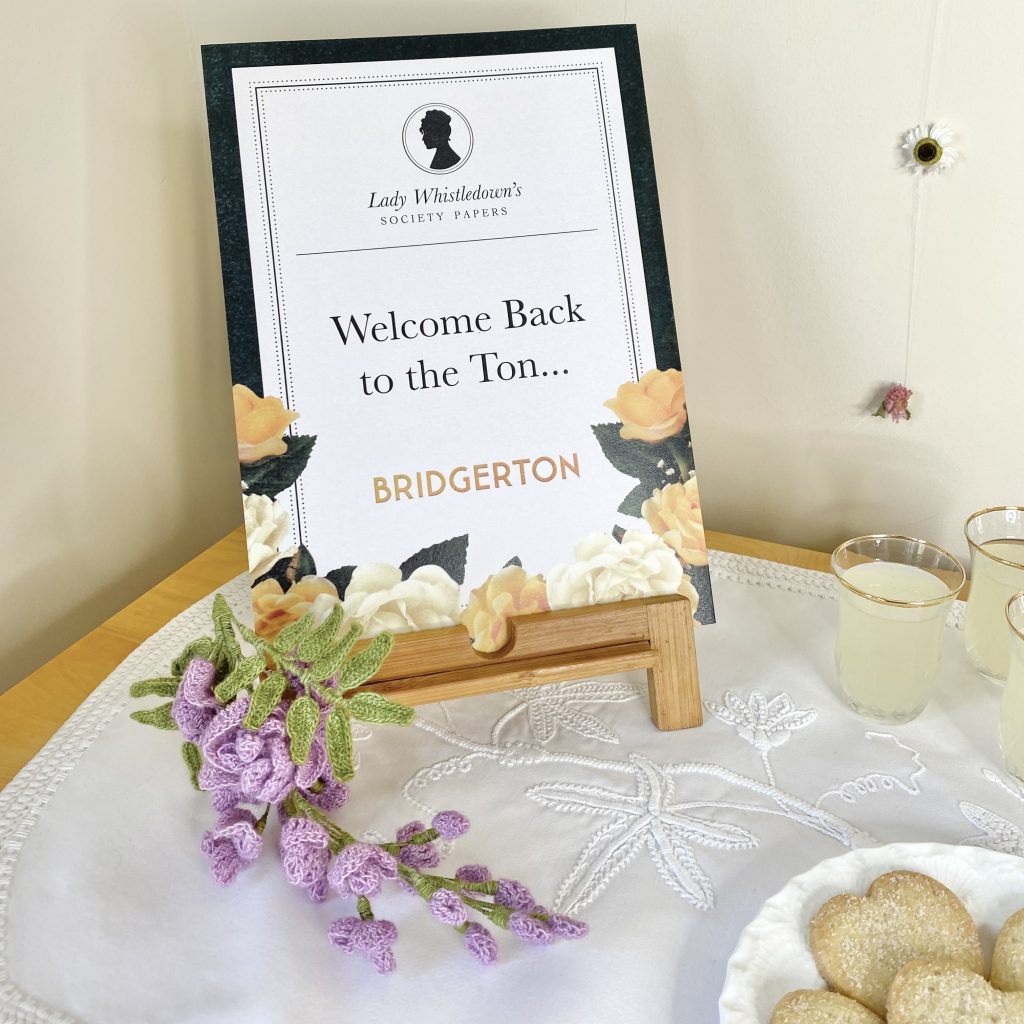
I wanted to include some sort of signage on my dessert table, just to really drive the Bridgerton-theme home. I went for a simple ‘Welcome Back to the Ton…’ but I also think it would be nice to include a little menu of sorts, listing all of the delicious sweet treats on offer so your guests know what’s what!
I used Adobe InDesign to create this sign and tried my best to mimic the design style of both the Season 3 promotional content and iconic Lady Whistledown pamphlet. If you don’t have an Adobe subscription, Canva is a great, free alternative for projects like this! If you don’t want to go to quite such extreme lengths for your signage, you could absolutely just type out your message/menu on Word or Pages, perhaps change the font to something cursive and classic, and print that off! You could even handwrite something onto a nice piece of card, if you wanted to show off your lettering skills. Essentially, you can do as little, or as much, as you want here.
I propped my sign up on a wooden iPad stand, but you could purchase a small easel/stand, if you (understandably) don’t have one to hand! To keep your sign stiff and ensure it stays upright, you might want to stick an extra piece of card to the back of it. I used double-sided tape to do this, but you could use glue, if you prefer.
Table Setting
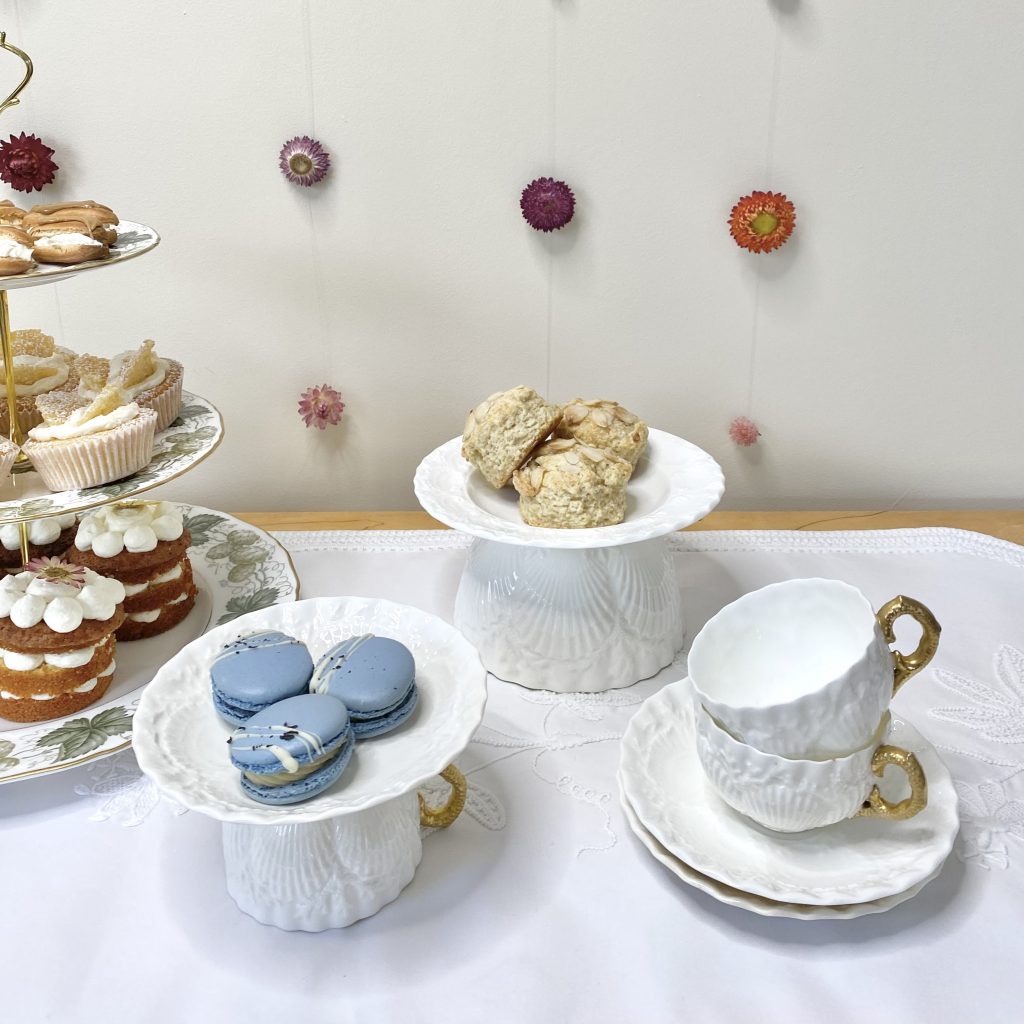
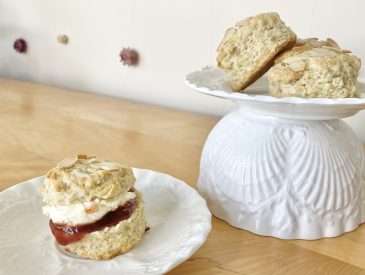
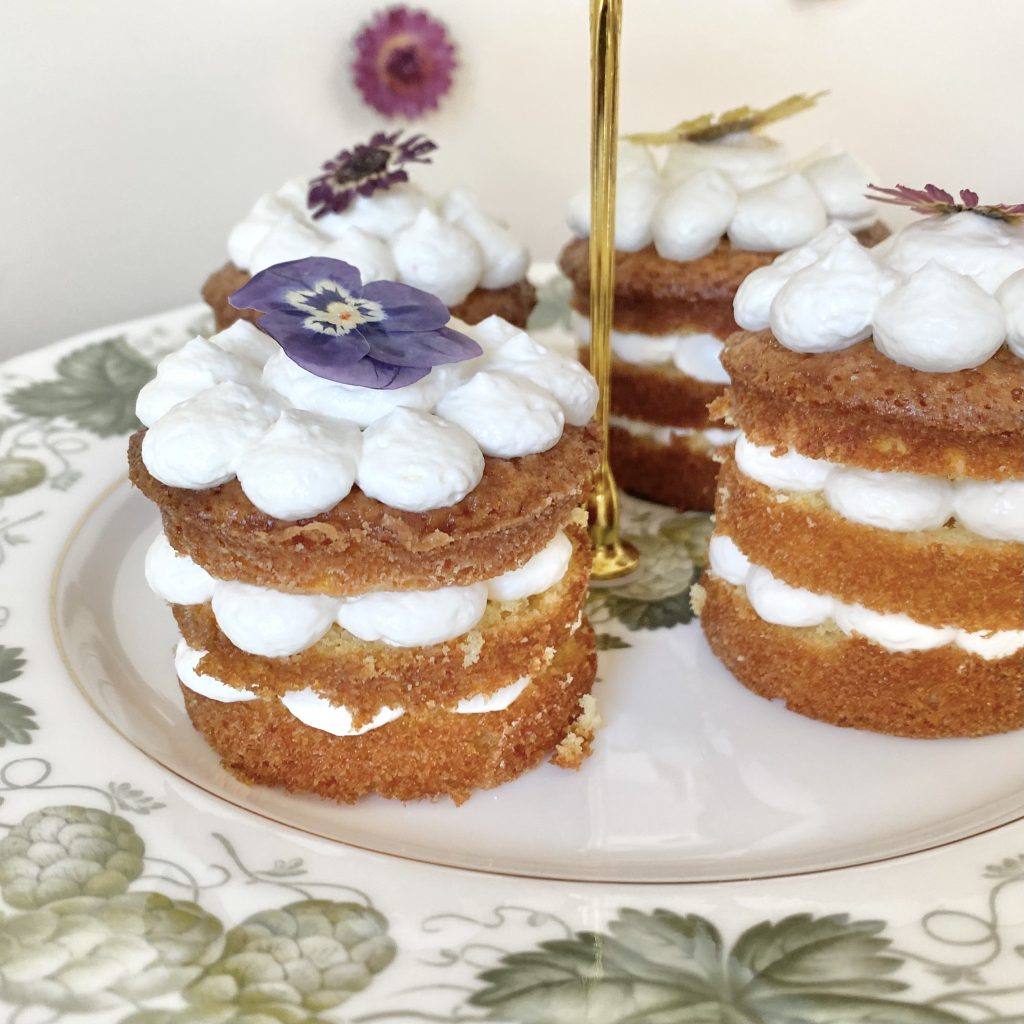
The final step in setting up a beautiful, Bridgerton-themed dessert table is, of course, setting the table! I was very lucky, because my granny has an extensive collection of fancy tea sets, which meant I had lots of options for how I wanted to style this table. In the end, I opted to use these white and gold teacups and saucers, along with this leaf-pattern tiered cake stand. You can often find vintage afternoon tea sets/cake stands online (try Ebay or Etsy!), or at flea markets/charity shops. If you don’t want to buy a whole new set of china just for one event (probably for the best), then just use what you have! One of my favourite things about Bridgerton is how it fuses the modern period with the regency era, so you can just channel the modern side of things and use tableware you already have.
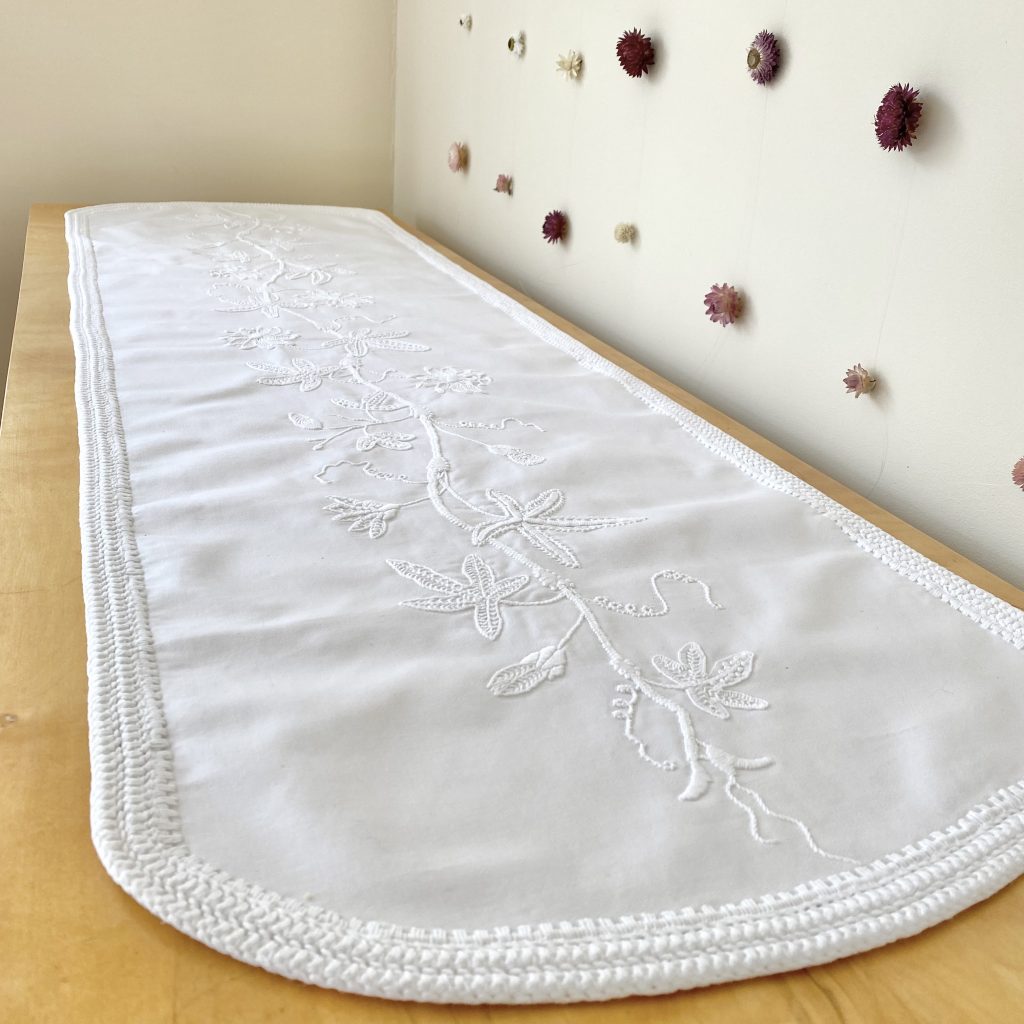
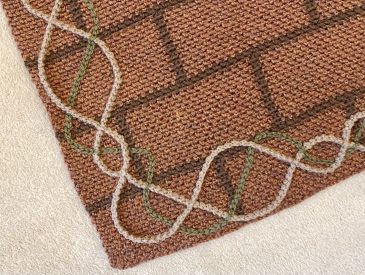
Instead of a tablecloth, I opted to use this Mountmellick table runner, which was a gift given to my mum. I just think that the white, floral embroidery has such a classic, regency vibe to it, so it matched in perfectly with the traditional, afternoon tea vibe I was going for! Again, use whatever you have (or can find!)- a simple white tablecloth or paper doilies would look lovely, or you could just leave the table plain and let the props and food do the talking!

To make your dessert table look extra fancy, try to vary the heights of the elements across the table. This will add depth and interest, which will elevate the dessert table from a classic buffet to a extravagant display! Some items will naturally give height, like a tiered cake stand, but you can create extra height by yourself with a simple trick. You might be able to see from the photos that I have set some of the plates containing the sweet treats on upturned bowls/tea cups, from the same tea set I’ve used throughout. By doing this, you can make a variety smaller ‘cake stands’, which will give your table lots of dimension! I just balanced the plates on top, because I knew they’d be safe with my guests, but if you’re worried about them toppling over, you could always use a small amount of white tack to secure the top plates to the upturned items beneath.
Final Thoughts

So that’s everything I did to set up my Bridgerton-themed, afternoon tea-style, dessert table for my Bridgerton Watch Party. I hope this post has given you some ideas, but the most important thing is that you pick a style that works for you and use whatever you have at hand that can fit into your chosen aesthetic! There’s no point buying all-new items, because, be honest, how often are you going to need to set up a regency-style dessert table? Ask your friends and family what they have, get thrifty and challenge yourself to make things that you might otherwise buy (and never look at again!).
And remember, when all is said and done, you’re there to watch Bridgerton with your friends, so just enjoy the process and the experience!
I hope you’ve enjoyed this series as much as I’ve enjoyed creating it. Now we just have to wait for May 16th, when Part 1 of Bridgerton Season 3 finally comes out!
Gemma
xxx