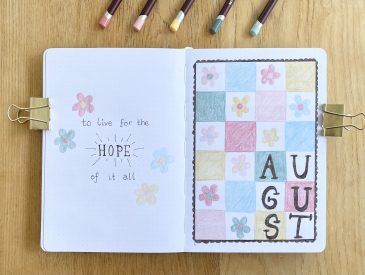
My bullet journal setup for June is (loosely) inspired by the song Drops of Jupiter (Tell Me) by Train. I tried something a little different this month in terms of my art style- while I tend to gravitate towards more collage-based, intricate spreads, this month I tried to channel my inner Amanda Rach Lee and Rylee Autumn and do a quicker, more doodle-y spread.
I said this setup was loosely based on Drops of Jupiter, and I do mean loosely- my quote is from the song (obviously), but the theme itself is really just a doodle-y space theme. In fact, most of my planet doodles are actually Saturn, not Jupiter. In my defence, how would one even go about doodling Jupiter? I left some planet doodles without rings, but they still just look a bit like polka dots…
Anyway, let’s get into it.
Equipment used:
- Muji 0.38mm pen- black
- Tombow dual brush pens- N45 (cool grey 10), N65 (cool grey 5), N89 (warm grey 1) and 990 (light sand)
- Crayola SuperTips- peach, orange, yellow, green, pale blue, purple
- Pencil
- Ruler
- Eraser
- Scissors
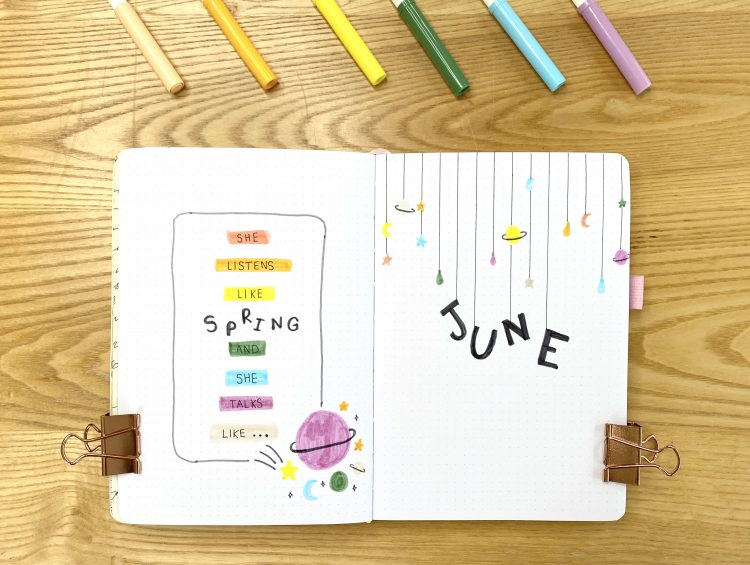
Cover & Quote Page

My cover page this month uses a very simple & easy design, which becomes a sort of motif throughout the setup. I drew an assortment of colourful space-themed doodles- stars, moons and little Saturns (as well as some droplets, I mean, the song is called Drops of Jupiter)- hanging down from the top of the page. The individual letters of my JUNE heading also hang down from the top of the page, slightly further down than the other doodles, at different angles. All of the doodles are done using Crayola SuperTips (except for the occasional use of my 990 Tombow) and are not outlined (if you’re using SuperTips, you can sketch out your doodles in pencil, then go over with the markers and rub out the pencil underneath afterwards. This method does work with the Tombow pens, just not quite as well). I used a ruler and my Muji 0.38mm pen for the hanging threads and my N45 Tombow for the rings on the planet doodles and the JUNE header itself.
For my quote page, I drew a rectangle with rounded corners in the centre of the page (freehand- I am usually a ruler girl through and through, but, as I said, I was channeling my inner Amanda Rach Lee for this setup. The messiness is part of the doodle-y vibe of this setup), using the paler N65 Tombow and leaving the bottom right-hand corner open, so I could fill it with more space doodles. I also used my N45 Tombow again to add some little sparkle doodles, as well as the trail of a shooting star. For the quote itself, I drew a centralised bar in each of my 7 colours, one per word, with a gap for SPRING, for which I used a smaller version of my title font. I wrote the rest of my quote in with my Muji 0.38mm. The fun part about this quote page is the ‘JUNE’ on the cover page is actually the last word of the quote, which ties the two pages together.
Monthly Calendar
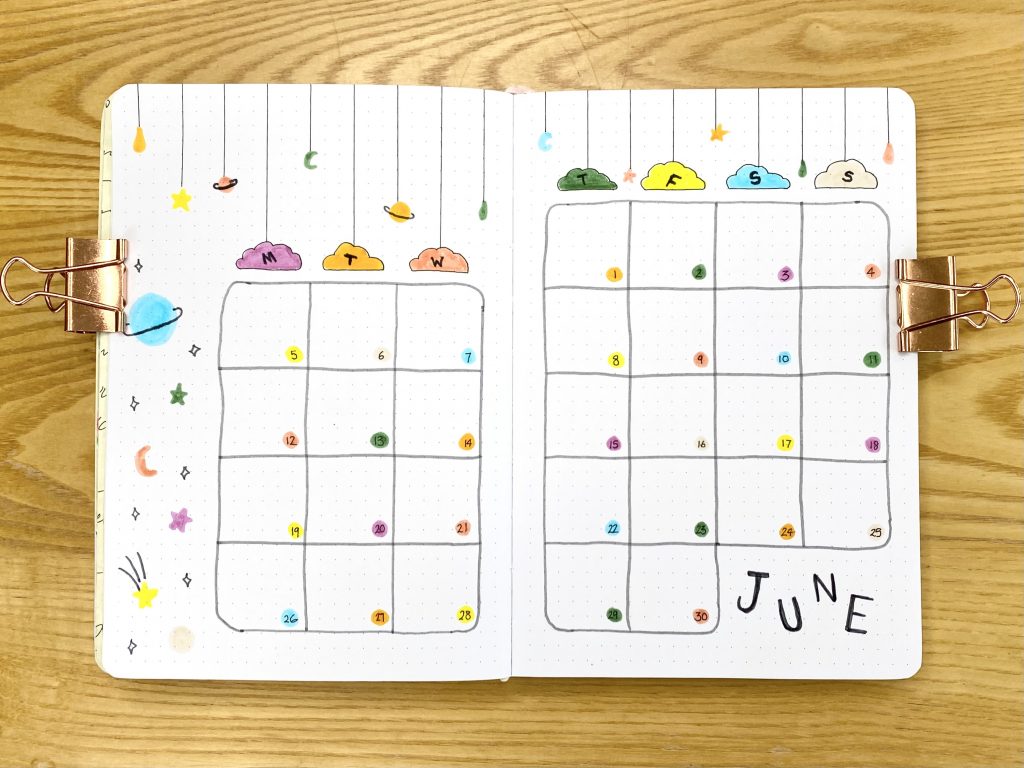
For my monthly calendar this month, I drew a freehand grid of 6×6 boxes across the double page spread. For the dates, I added dots of colour (in the same colour palette, of course), then wrote the date on top with my Muji 0.38mm pen. I put the header in the bottom left corner, using that same font and N45 Tombow pen, then added some more hanging decorations along the top and some bigger doodles down the left-hand side. For the days of the week along the top, I put little coloured clouds on the end of the ‘hanging threads’ and added the initial of the corresponding day with the fine tip of my N45 Tombow.
Symptom Tracker & Daily Sunshine
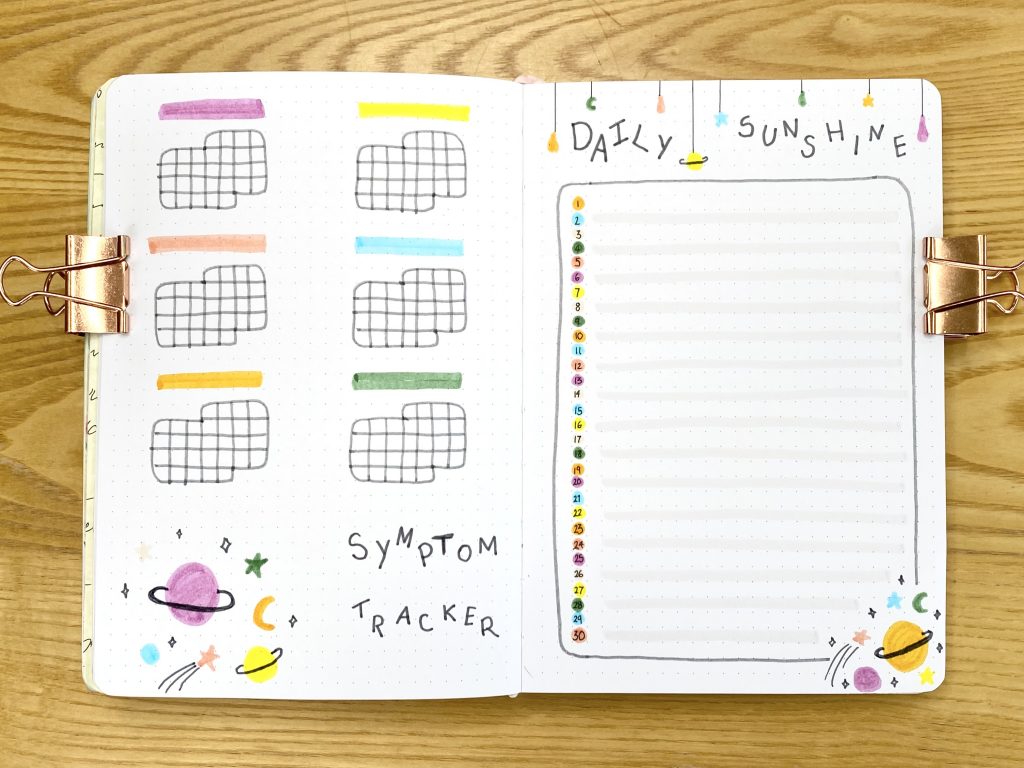
Last month, I introduced two new spreads to my monthly setups: a Monthly Reset Page and a Daily Sunshine page. This month, I’ve kept the Daily Sunshine page, but I’ve replaced the Reset Page with a Symptom Tracker. I have space for keeping track of 6 symptoms so, if I have a symptom on a particular day, I can mark that on the corresponding mini calendar. I’m hoping that this will provide a good reference for how I’m feeling that I can use both when assessing my own wellbeing and when talking to healthcare professionals. Obviously, if you aren’t chronically ill/need to track symptoms, this spread won’t be useful for you, but this layout could just as easily work as a Habit Tracker! A lot of bullet journallers use ‘Habit Trackers’, which allows them to keep on top of their daily habits (think flossing, working out, taking vitamins etc.). I used to use habit trackers all the time, but they just weren’t working for me (I had habit guilt :(…), so I stopped.
My Daily Sunshine page uses a selection of the basic features that repeat throughout this setup: little space doodles hang from the top of the page, the title is the same jaunty capitalised vibe, the frame is a grey, rounded rectangle with a gap for more doodles and the dates are written on top of coloured dots. The only new feature is that I used my N89 Tombow to highlight every other line, just to add a little dimension.
Project Planning

For the past two months, I’ve been including a double-page spread in my monthly setups for planning my projects/blog content. I’m still adapting it, trying to make sure that it is the most useful it can be, so there have been a couple of changes this time around. My Kanban board for my blog posts now only has 4 sections: make + photo, write, edit & post. I’m hoping this more streamlined approach will reflect my process more accurately. I’ve also renamed my ‘Projects’ section on the left-hand page as ‘Ongoing’ so that it can be a specific place to keep track of longer-term projects.
In terms of decoration, this spread uses the same elements as those that come before it, with the addition of coloured ‘bar’ headers for each of the sections.
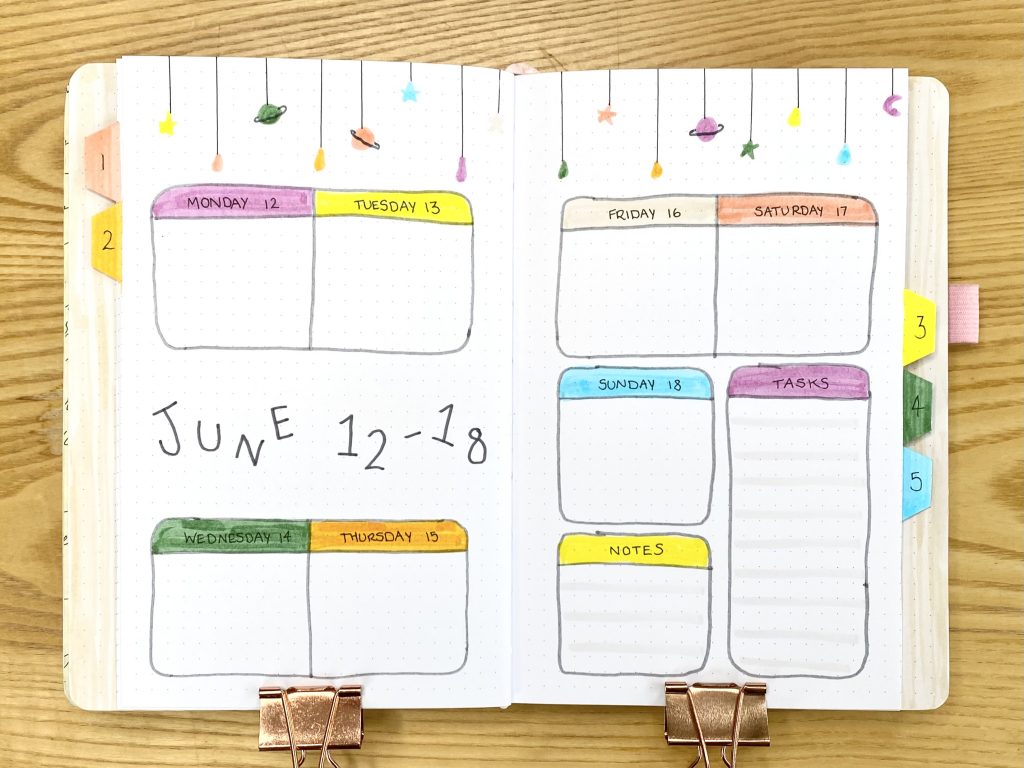
Weeklies
As always, I use tabs to separate out my weekly spreads. This month, I used 5 of the colours from my colour scheme, one for each tab, and used my 990 Tombow to colour a thick panel on the pages both in front and behind the tabs, to help them stand out. The weeklies themselves use the same elements from the previous pages, just in varying layouts.
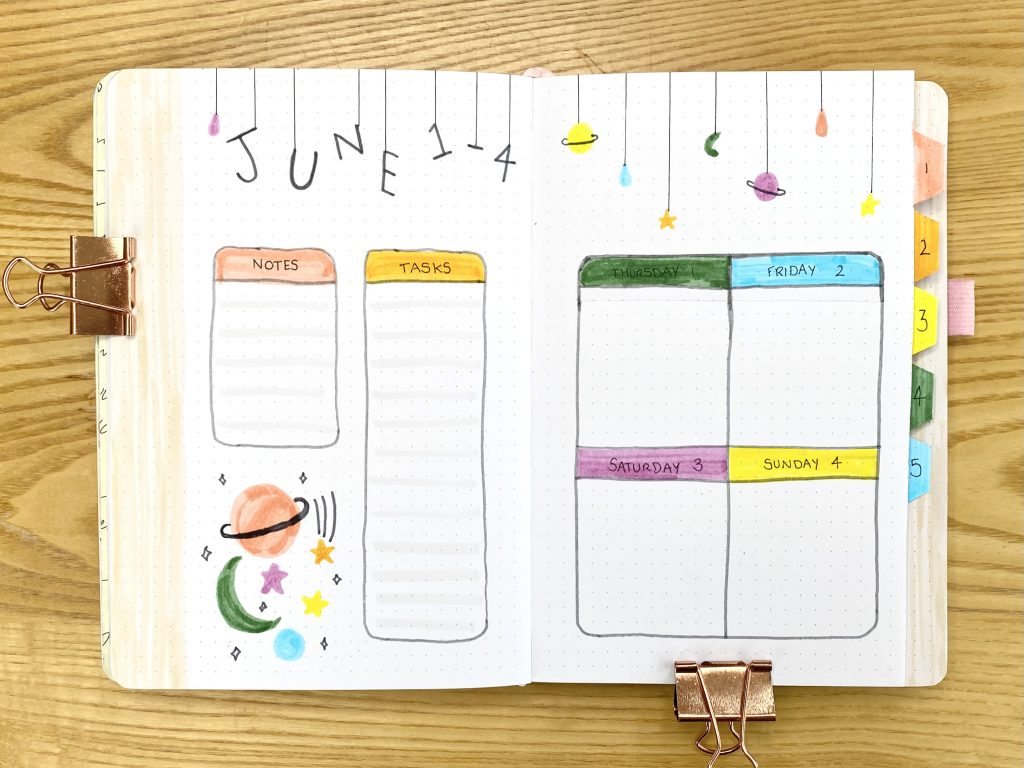
The first 4 days of June fall at the end of the week, so Weekly No.1 only has 4 daily task list sections. I put those on the right-hand page, while my notes and tasks sections went on the left.
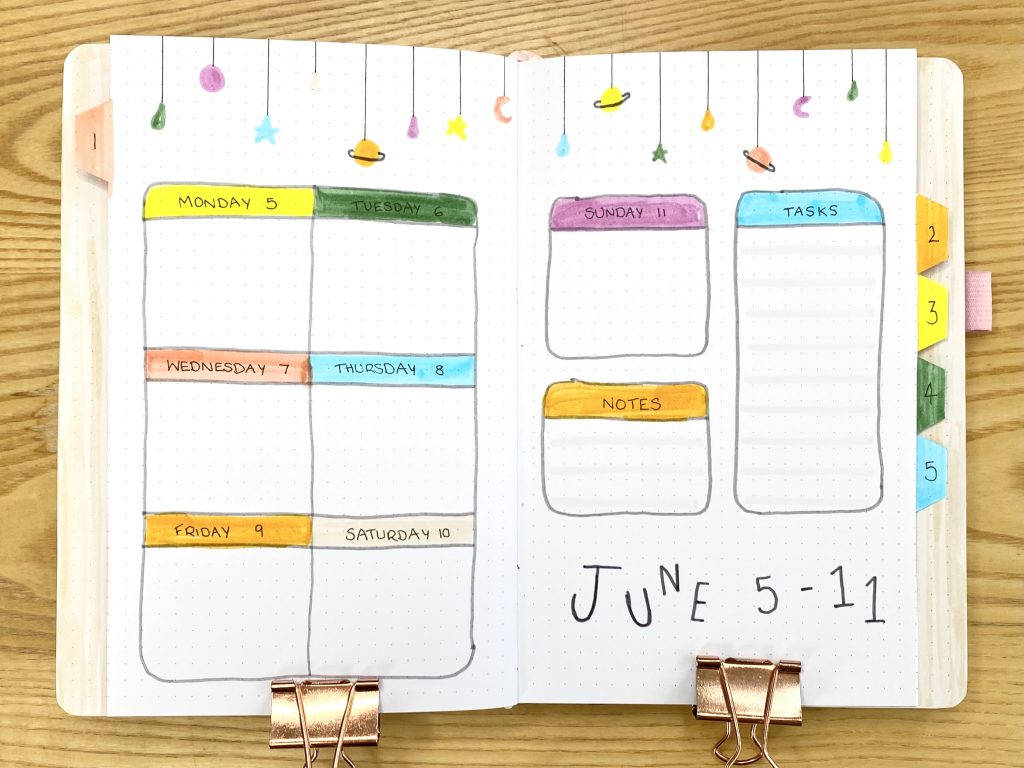
For Weekly No.2, I split the page horizontally into 3, then put 6 daily lists in a 3×2 grid on the left-hand page and split the top 2/3 of the right-hand page between the box for Sunday, my task list and my notes section. The bottom 1/3 of the page was used for the header.
For Weekly No.3, I split the page horizontally into 3 again, but moved the header from the bottom of the right-hand page to the centre of the left-hand page.
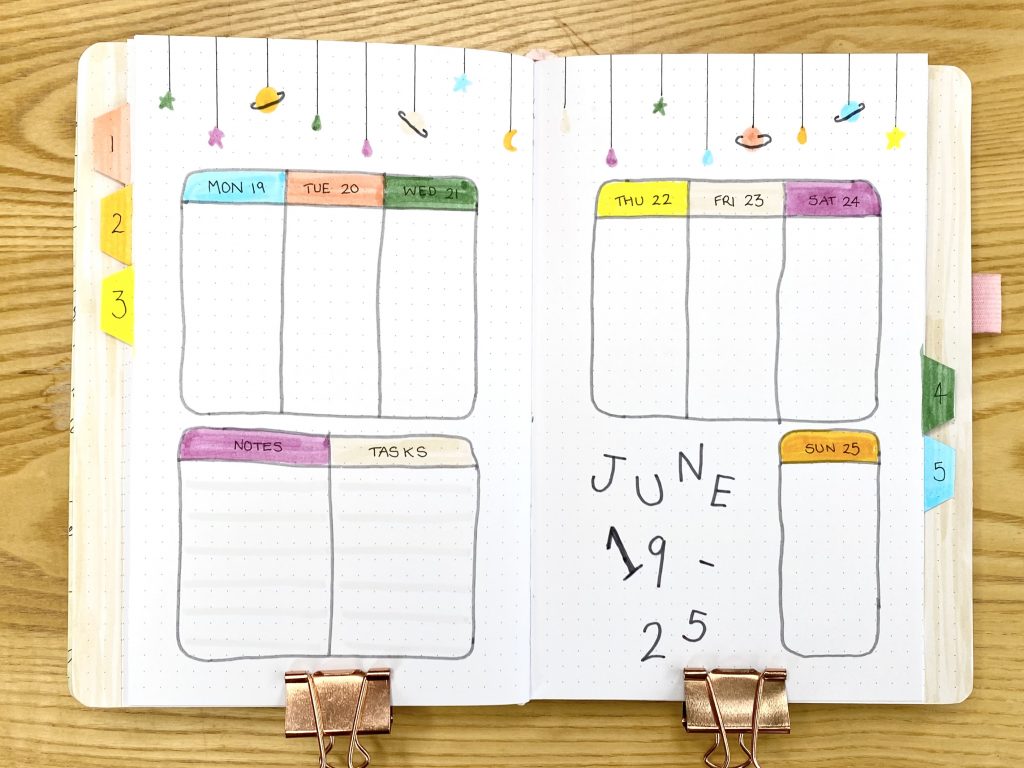
For Weekly No.4, I split the page in half horizontally and used vertical boxes for my daily lists.
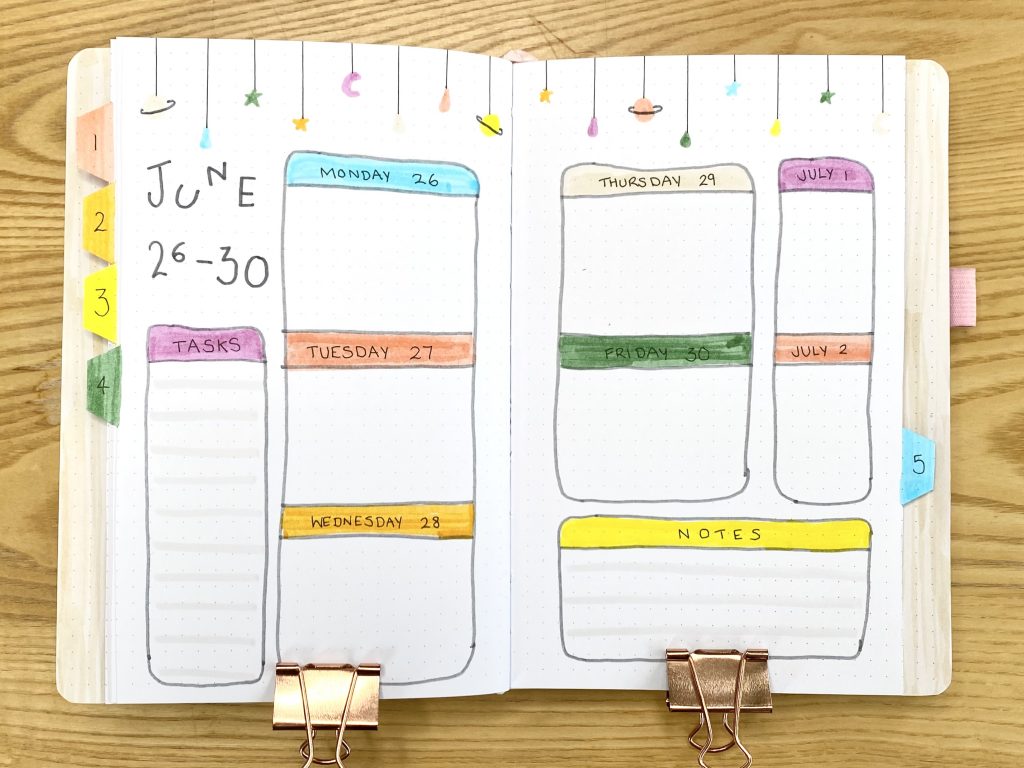
Weekly No.5 comprises of the last 5 days in June and the first 2 days in July, so I placed the daily boxes for Monday-Friday in the centre of the page, added smaller boxes for Saturday and Sunday to the far left, then fit the notes and task boxes around them.
June Review Page
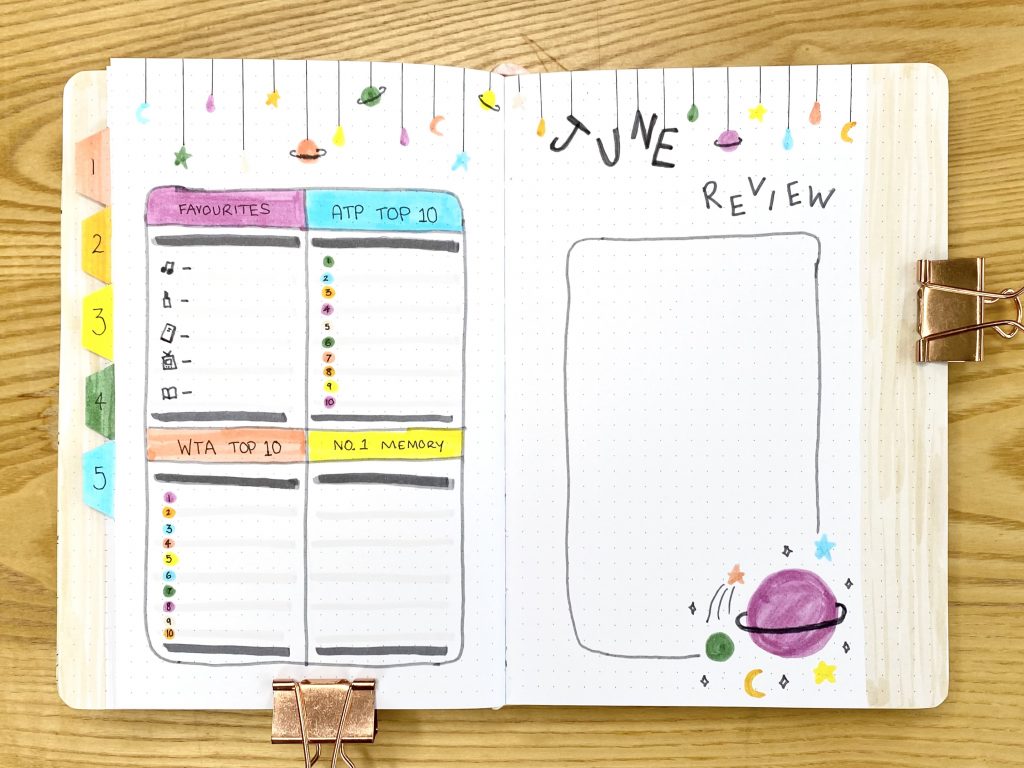
My June Review follows my standard formulation- a polaroid on the right-hand page, with 4 sections on the left: my monthly favourites, my favourite memory of the month and the Top 10 for both WTA and ATP players. For my polaroid, I made a frame in the same style that I used throughout the setup- a rounded rectangle with a space for some larger space doodles in the bottom right-hand corner. For the 4 sections on the left, I used another freehand grid with rounded corners, coloured bars for subheadings and coloured dots for bullet points.
And that was it! This was much quicker to set up than my other monthly setups have been- mostly because of the (relative) lack of ruler (I tried to stay ruler-less, but I just had to use one for the ‘hanging threads’!) and need for glue. I usually don’t like my setups as much when I do these more doodle-style ones, but I’m actually very proud of this one! It feels very cheery, but is also very clear and easy-to-use, which will be perfect for a busy summer month! Let me know what you think!
Gemma
xxx