
🎄☃️✨ Welcome to Day 16 of Blogmas At Home! It’s 9 days until Christmas and the geese are a-laying! ✨☃️🎄
Today’s post is another pattern release, but we’re switching crafts for this one! While my Santa Baby Blanket was a crochet pattern, these embroidery hoop ornaments are knitted. I’ve actually been knitting longer than I have been crocheting, but I am much less confident when it comes to playing around with it and creating new designs! Luckily, these embroidery hoop ornaments are SO simple to make that they barely even warrant a pattern. You know those patterns that are so easy to remember you can keep them in your head? Yep, this is one of those.
Today, then, I bring you the pattern for my…
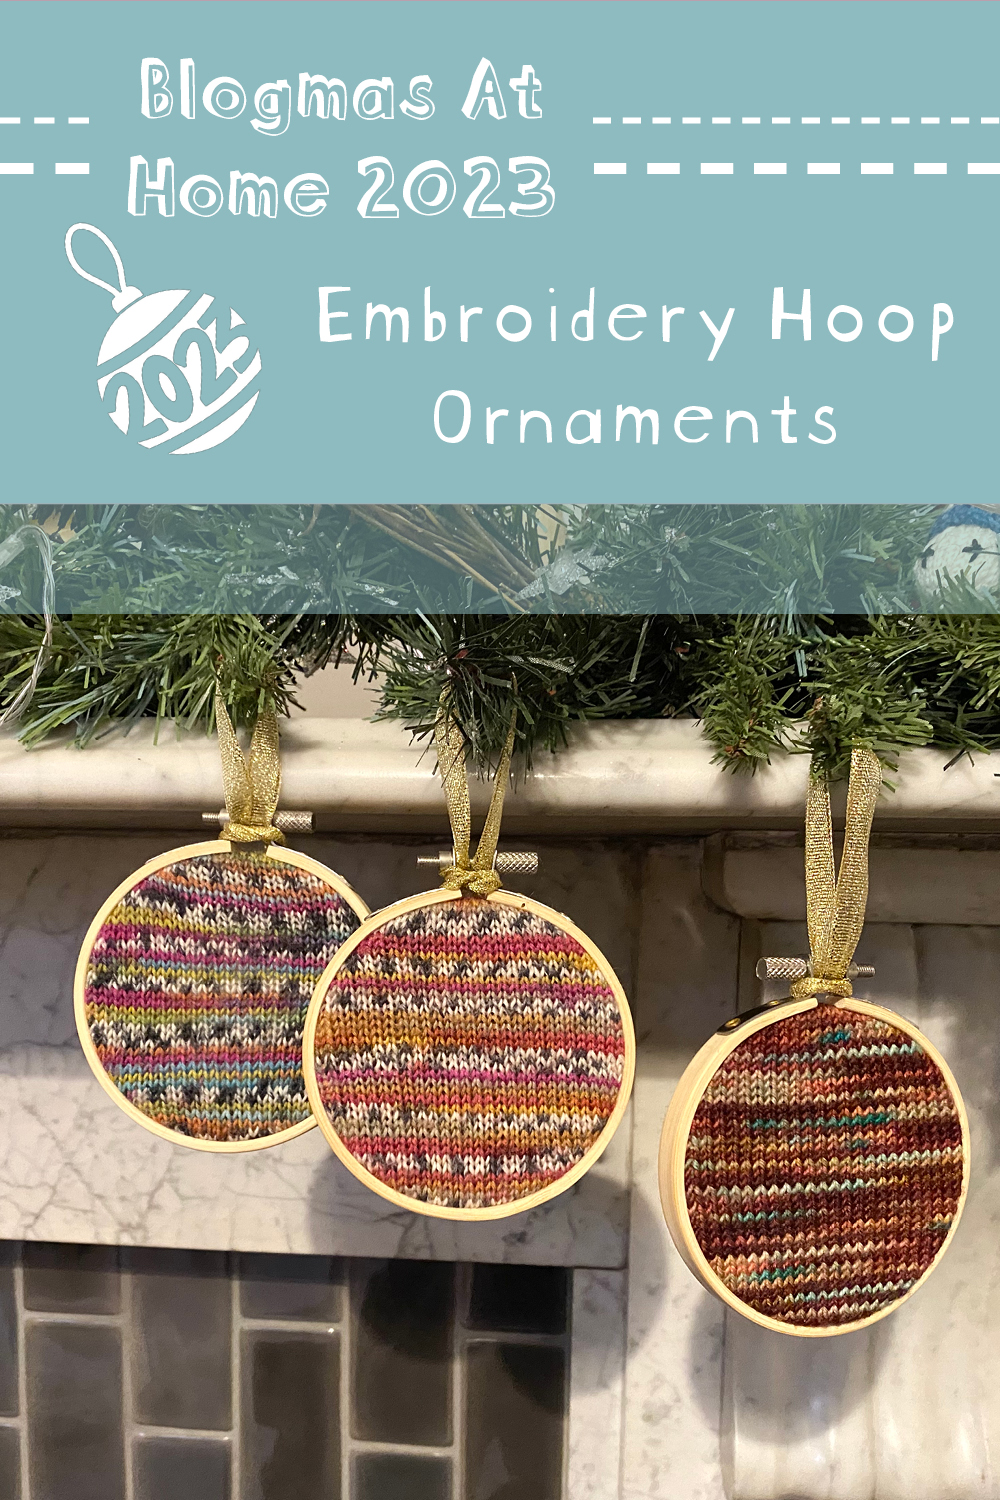
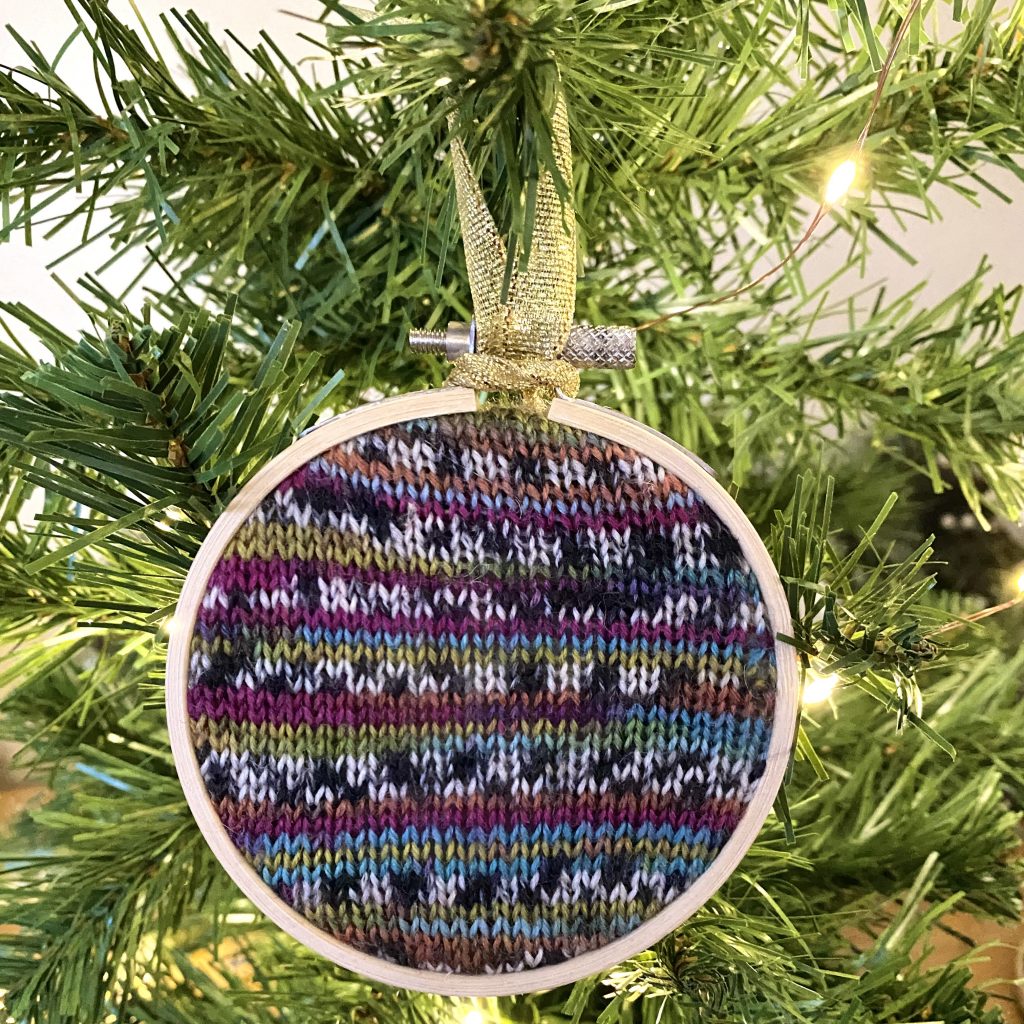
🪡🧶EMBROIDERY HOOP ORNAMENTS🧶🪡
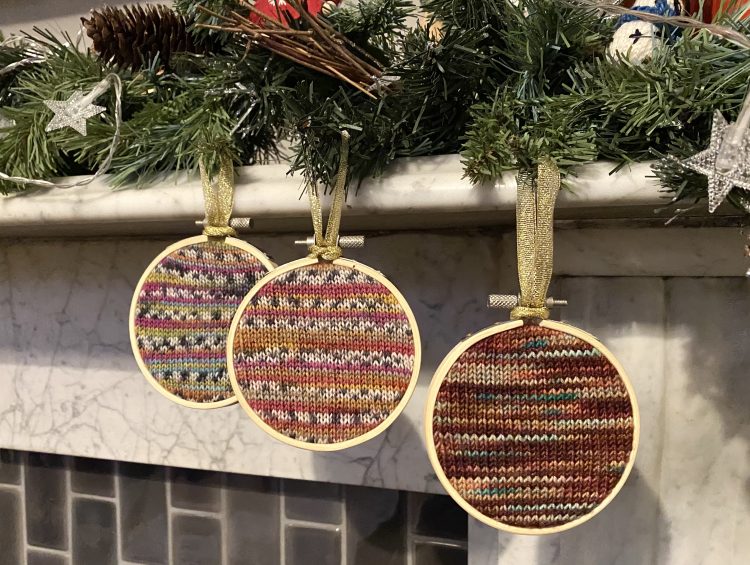
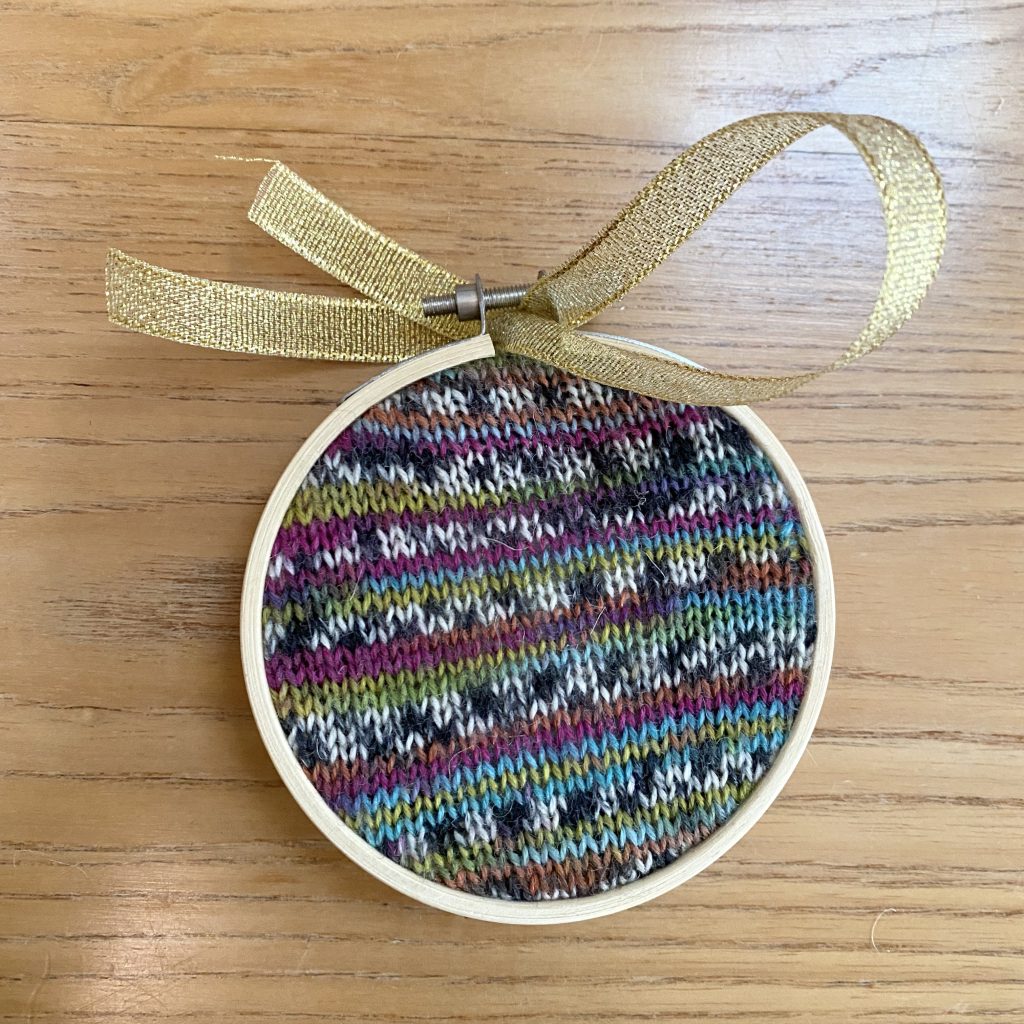
These embroidery hoop ornaments are really easy to make- you essentially just knit a piece of fabric that you stretch into a 3-inch embroidery hoop, just like you would regular fabric. Then, you gather the edges of the fabric to pull them in and use sewing thread to stitch a small felt circle to the back, to cover the back. I like to add a small amount of stuffing into the ornament, to help the felt sit more evenly (and to make the ornament more plushy!). Once you have the bauble made, you can just thread a ribbon through the top, ready to hang it! It’s super quick, simple and easy.
To go to the Ravelry pattern page for this design, click here.
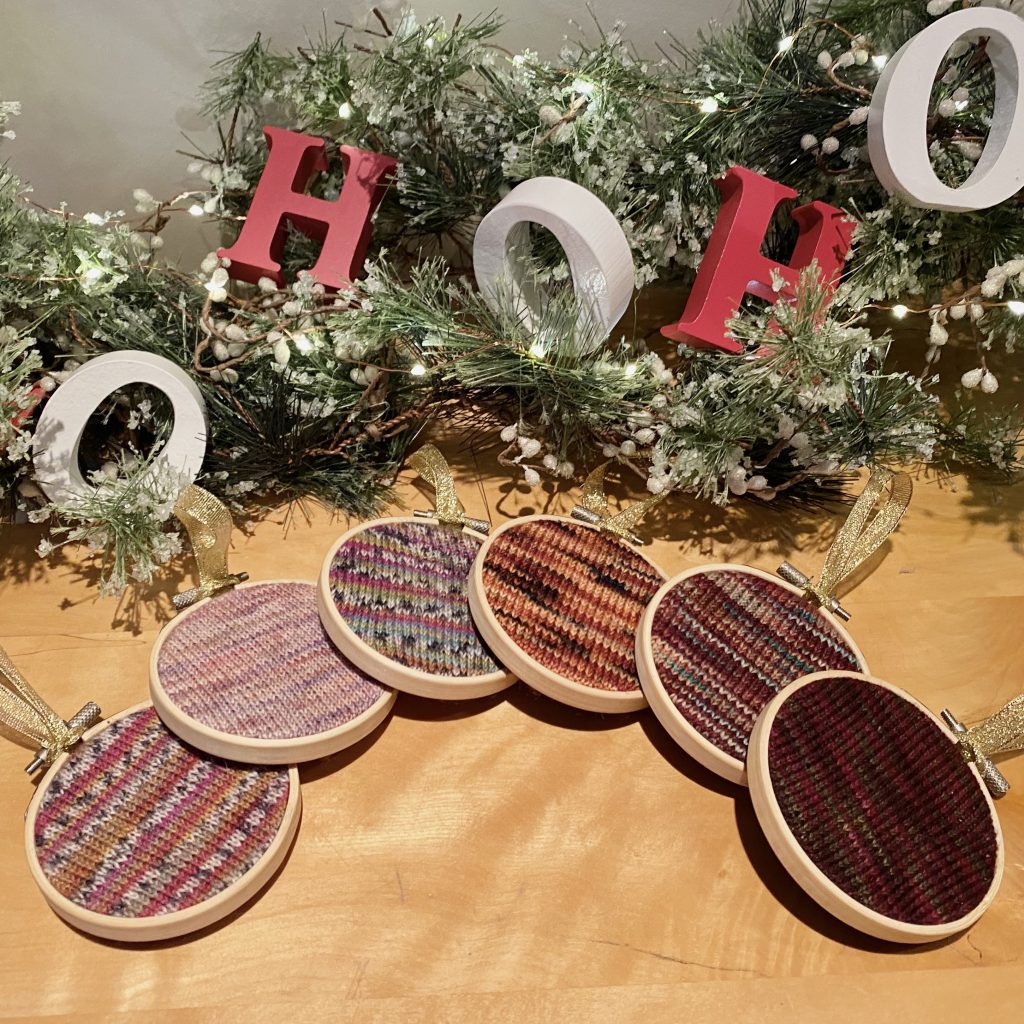
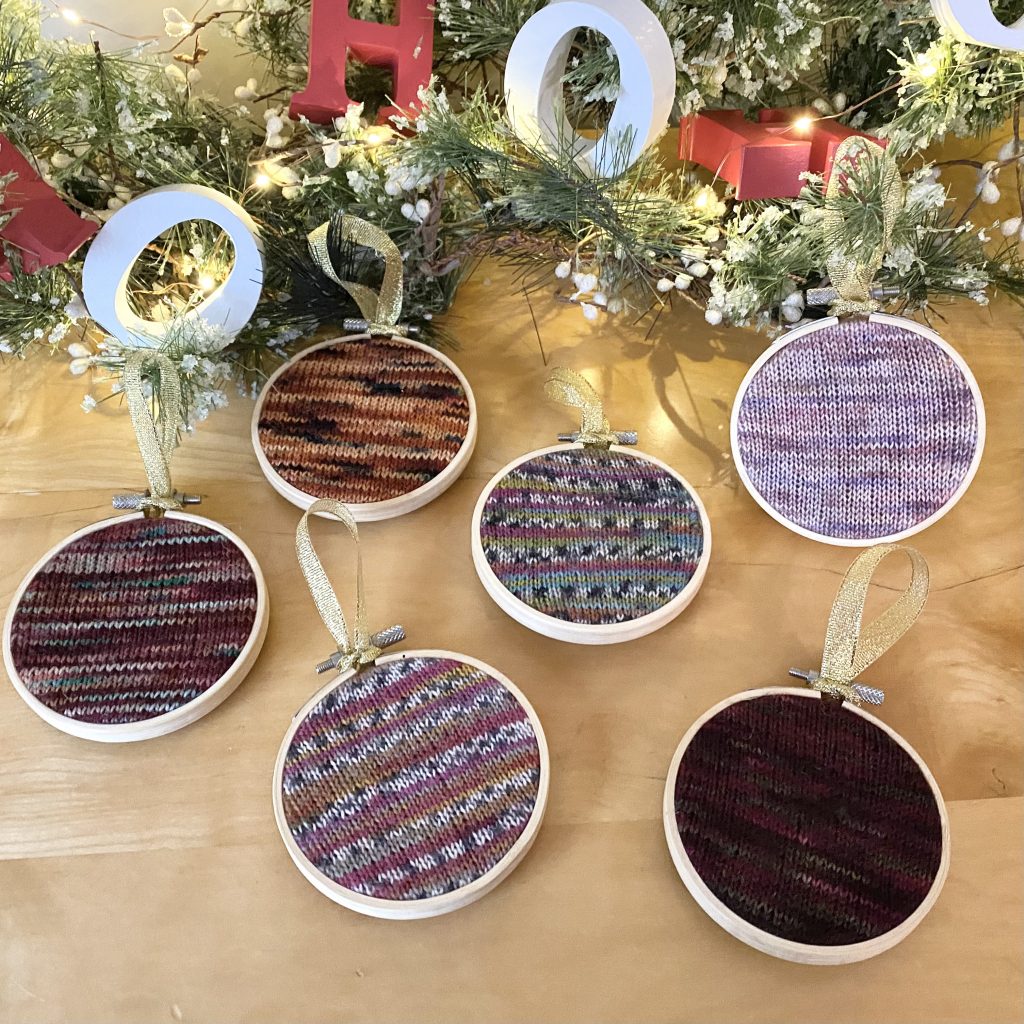
The great thing about these embroidery hoop ornaments is that they use sock yarn- so they’re perfect for using up the little oddments of yarn that are inevitably leftover when you finish a pair of socks. You only need a small amount of yarn for each bauble, so it’s a great stash-busting project.
There are also plenty of ways to personalise these ornaments: I’ve left mine plain, but you could add colourwork designs to the initial piece of knitting, or you could embroider onto the fabric using a small amount of contrasting yarn. If you wanted something more subtle, you could even embroider onto the felt backing. The world is, quite literally, your oyster!
In terms of difficulty, these hoops are super easy to make. For the knitted section, once you know how to cast on/off, work in stocking stitch, knit/purl front and back and, finally, knit/purl two together, you’ll be fine. You will also need to have some basic hand sewing skills, to attach the felt back.
Table of Contents
- Materials and Tools
- Pattern Notes
- Abbreviations
- Pattern
- To assemble the hoops:
- To hang the ornament:
- Final Thoughts
Materials and Tools
For the knitted piece, you will need:
- 8-10g of any 4-ply/fingering yarn.
- 2.25mm needles.
- Darning needle.
- Scissors.
To assemble the ornament, you will also need:
- 3-inch embroidery hoop.
- Felt, for the backing.
- Sewing thread (in a matching colour to your felt).
- Toy stuffing.
- Hand sewing needle.
- Ribbon, for hanging.
Pattern Notes
- Notes on gauge:
Your gauge will vary slightly based on the specific sock yarn you use. Therefore, I haven’t listed an exact gauge- you just want to make sure that the knitted fabric is dense enough that it will not be too see-through when it is stretched across the hoop. Use whatever needle size you need to achieve this.
Abbreviations
- St(s) = Stitch(es)
- St-st = Stocking stitch
- KFB = Knit front and back into the same stitch (increasing one stitch)
- PFB = Purl front and back into the same stitch (increasing one stitch)
- K2tog = Knit 2 together
- P2tog = Purl 2 together
Pattern
For the knitted fabric:
Cast on 15 stitches.
Row 1: KFB, knit until 1 stitch remains, KFB (17 sts)
Row 2: PFB, purl until 1 stitch remains, PFB (19 sts)
Repeat rows 1-2 five more times (39 sts)
Row 13: KFB, knit to end of row (40 sts)
Row 14: PFB, purl to end of row (41 sts)
Repeat Rows 13-14 five more times (51 sts)
Work in st-st for 12 rows (51 sts)
Row 37: K2tog, knit to end of row (50 sts)
Row 38: P2tog, purl to end of row (49 sts)
Repeat rows 37-38 five more times (39 sts)
Row 49: K2tog, knit until 2 stitches remain, K2tog (37 sts)
Row 50: P2tog, purl until 2 stitches remain, P2tog (35 sts)
Repeat rows 49-50 five more times (15 sts).
Cast off, leaving a 45cm tail for gathering the fabric.
To assemble the hoops:
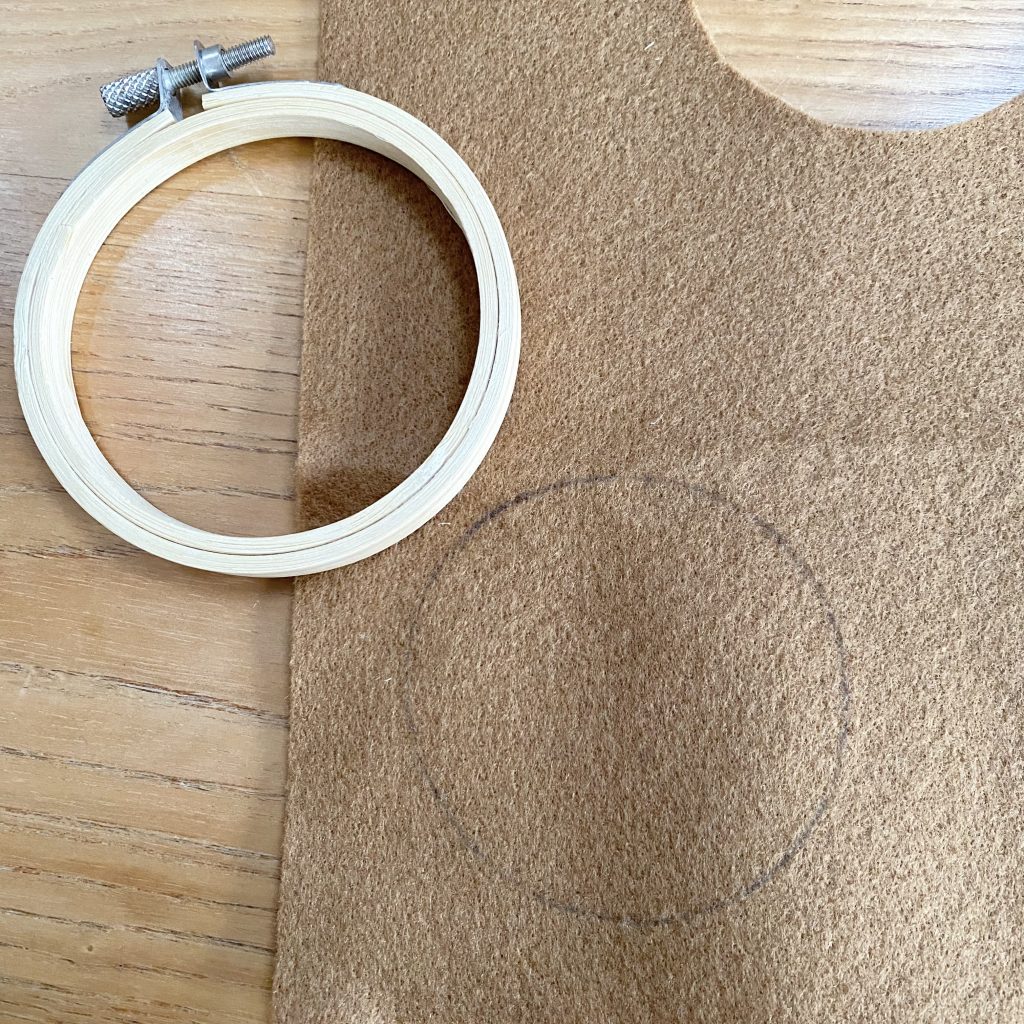
Start by drawing around the inside of the embroidery hoop onto some felt.
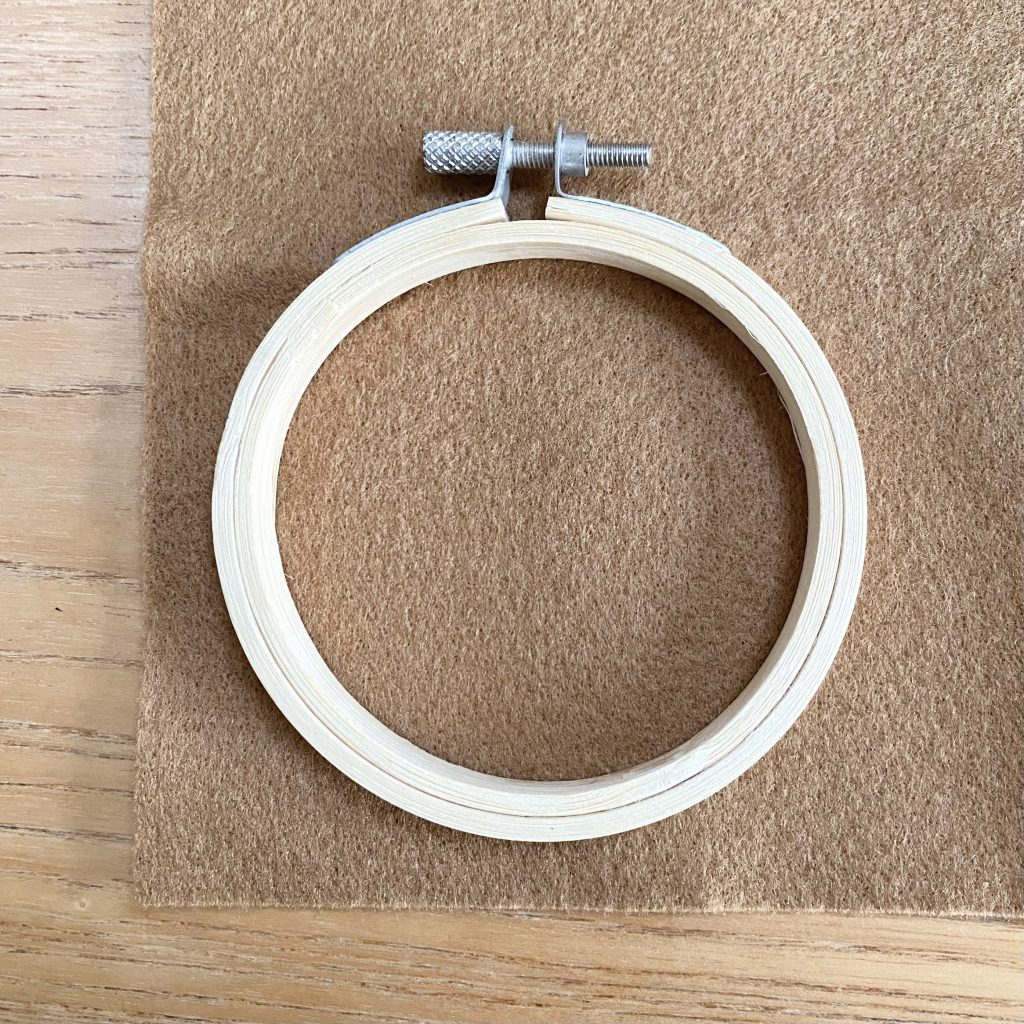
Cut out the circle, using the pen line as a guide. Set aside.
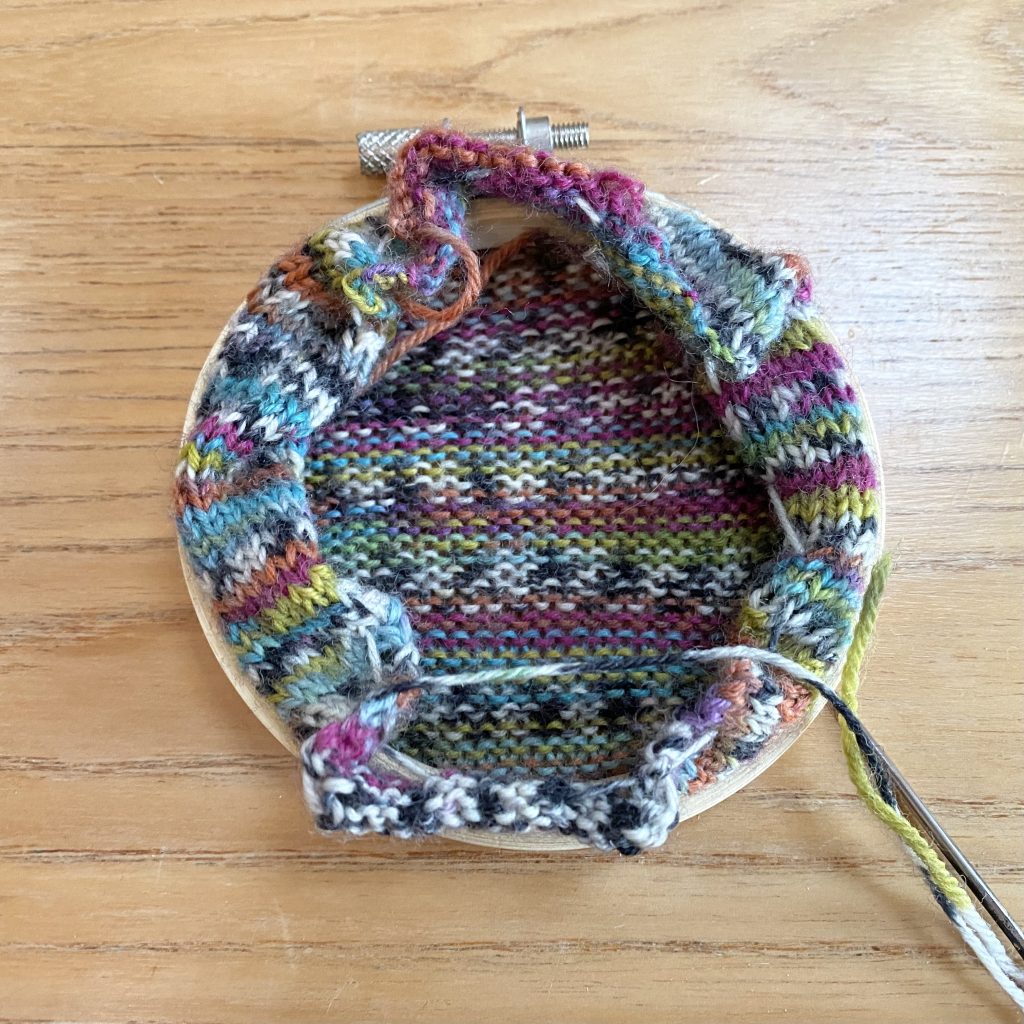
Loosen the embroidery hoop. Lay your knitted fabric, right side facing up, on top of the inner circle of the hoop.
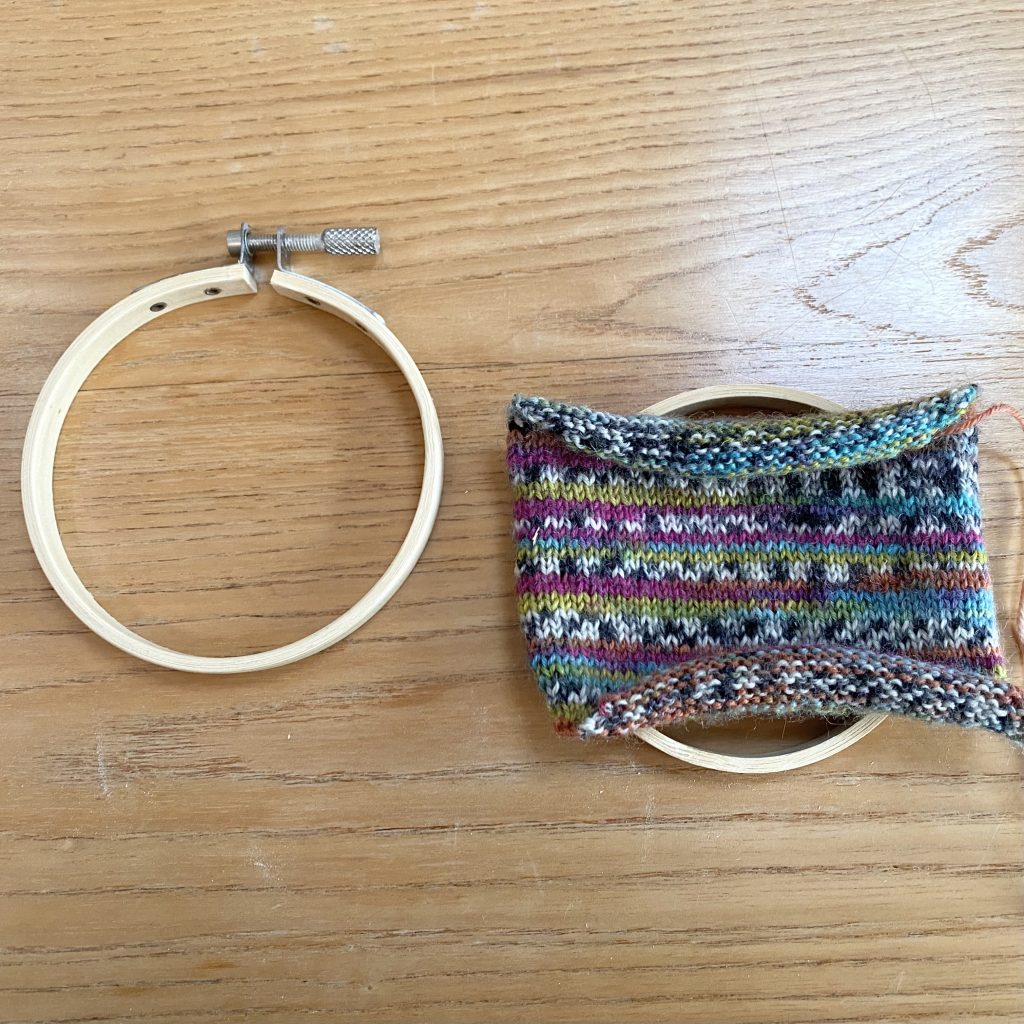
Place the outer circle of the hoop on top, making sure that the stitches are running horizontally. Press the outer hoop down over the knitted fabric and the inner hoop.
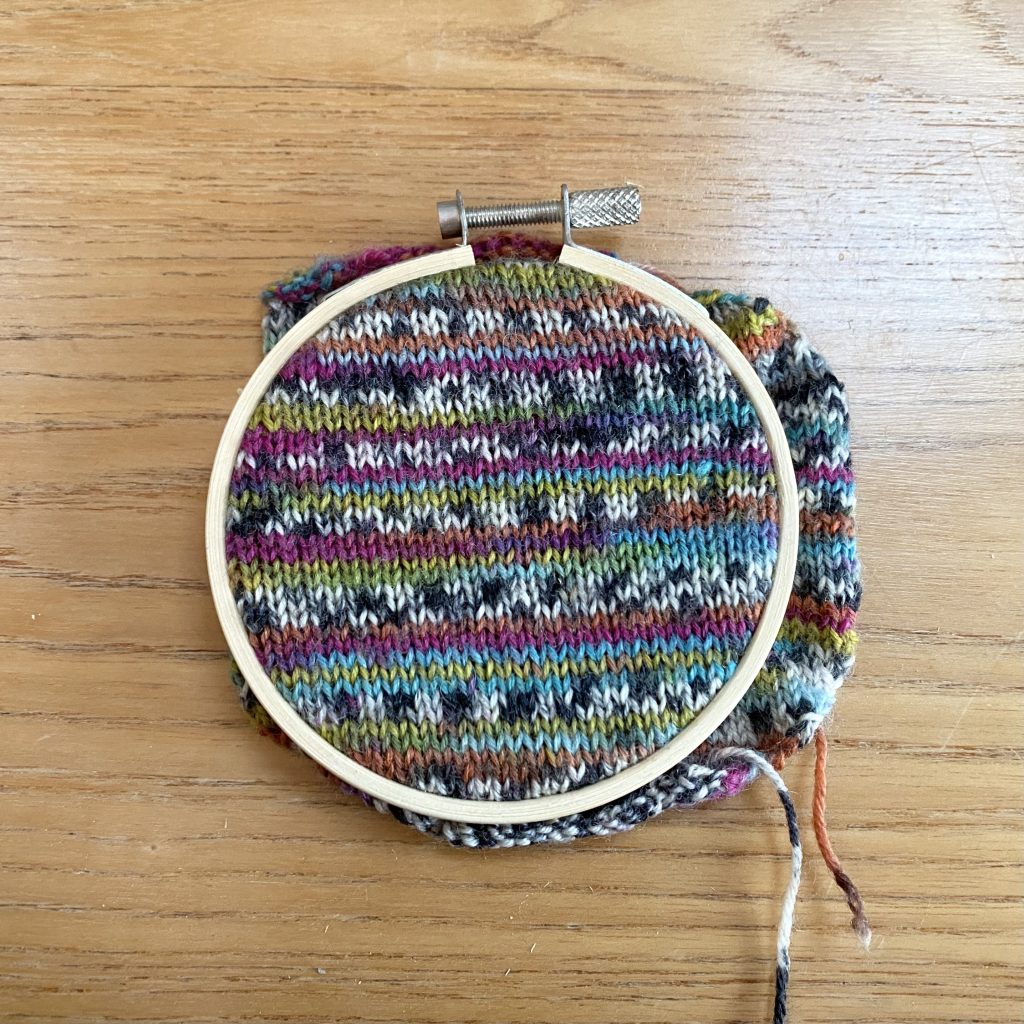
Tighten the hoop a little (you might find it helpful to use pliers for this), then start to pull the edges of the fabric to stretch it across the hoop. It will never be as taut as a typical embroidery fabric, because the yarn has more stretch to it, so you just want to get it smooth and even. Be firm, but gentle- the outer hoop may pop off if you are too forceful (not much of a problem, but it does mean you’ll have to do the stretching all over again).
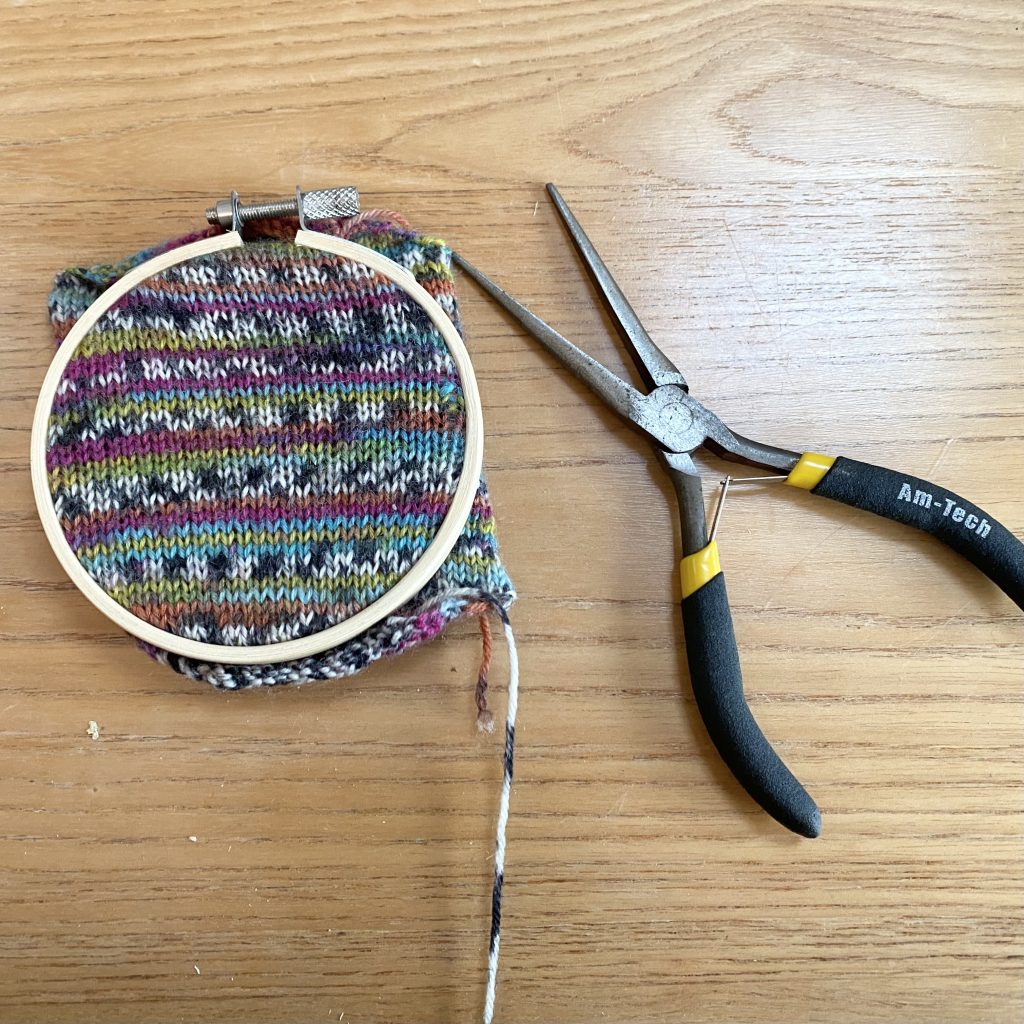
Once you’re happy with the fabric, tighten the hoop as much as possible (again, you’ll probably want to use pliers at this stage). This will keep everything neat and secure.
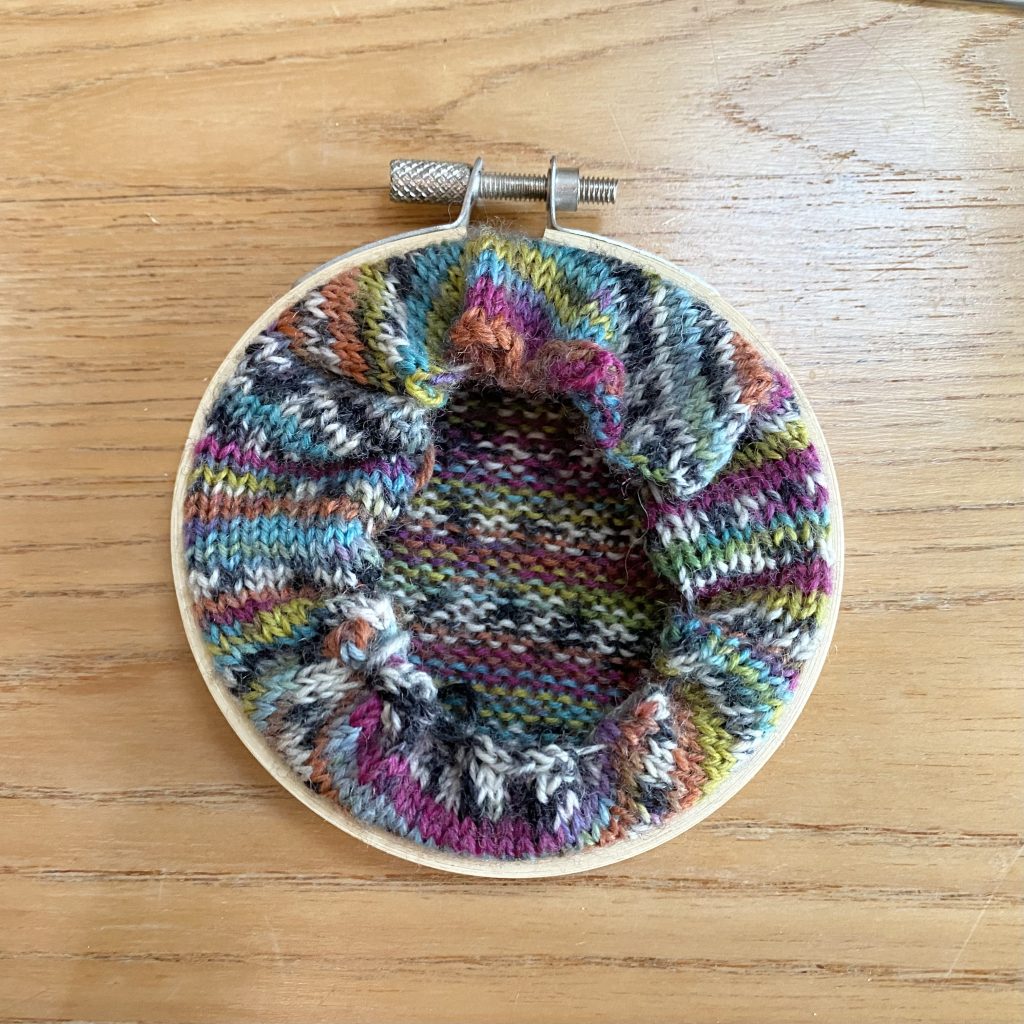
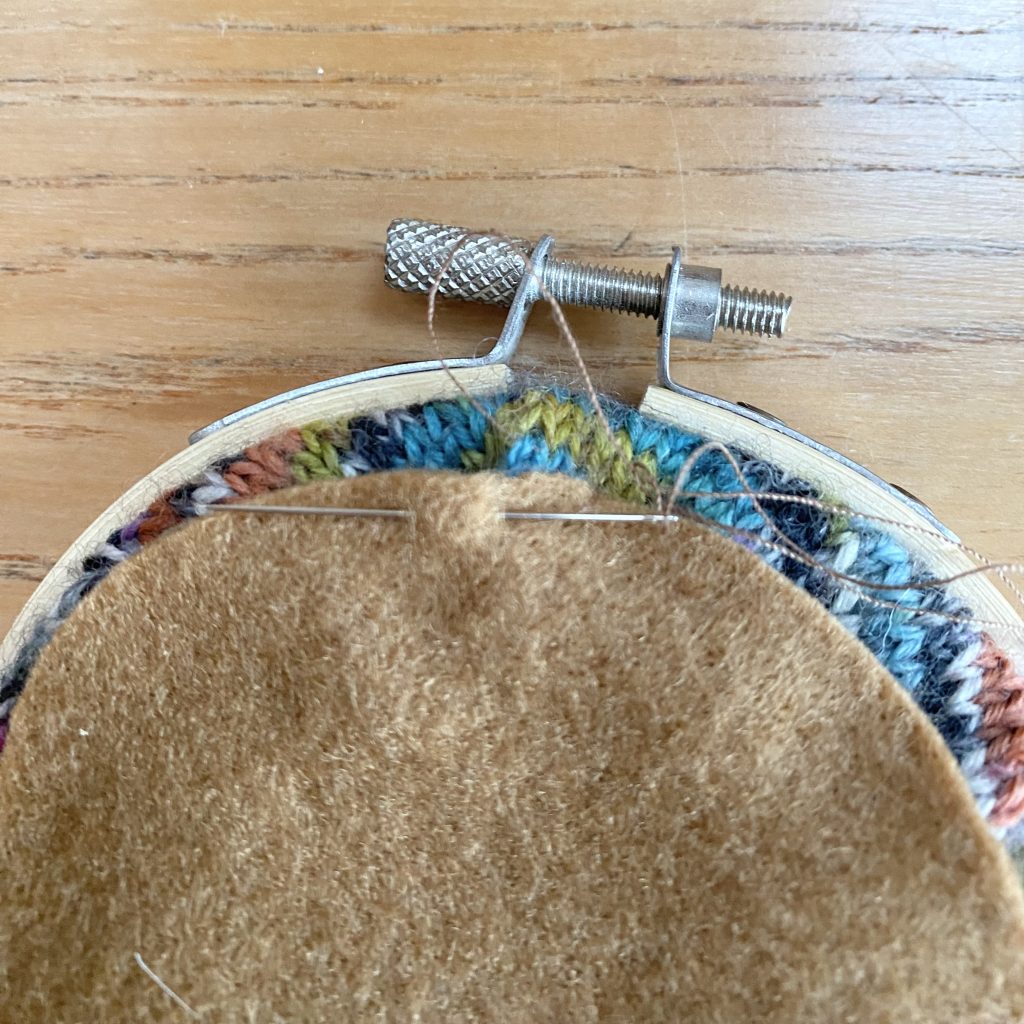
Now you need to gather the edges of the knitted fabric, to ‘hide’ them away. Thread a darning needle with the 45cm end from the cast off edge and stitch a loose running stitch around the perimeter of the fabric, close to the edge. You don’t need to be too perfect here!
Once you’ve stitched the whole way around, pull the thread to gather the fabric as much as possible. Once it is fully gathered, work a stitch or two to secure the gathers. You don’t need to bother sewing in the cast on/off ends, because they will be hidden beneath the felt backing, anyway, so just tuck them into the space between the front fabric and the gathers to keep them out of the way.
Now, it’s time to add the felt backing.
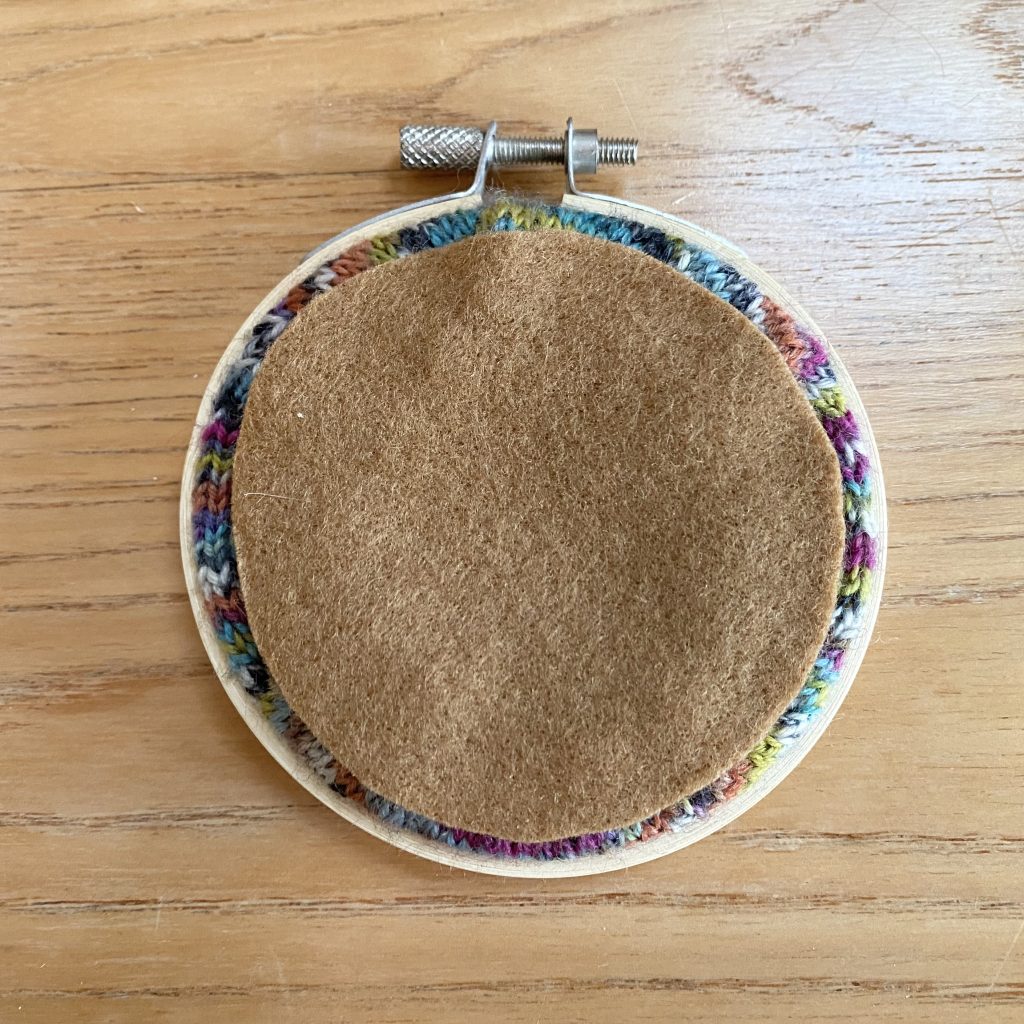
Cut a length of sewing thread (about 50cm) and tie a knot in the end. Use a hand sewing needle and the thread to stitch the felt circle to the back of the knitted fabric. I’m not the best hand sewer, so I’m sure there’s a professional way to do this, but I just made little stitches, perpendicular to the edge, all around the circumference of the felt, alternating between running the needle under the knitted fabric…
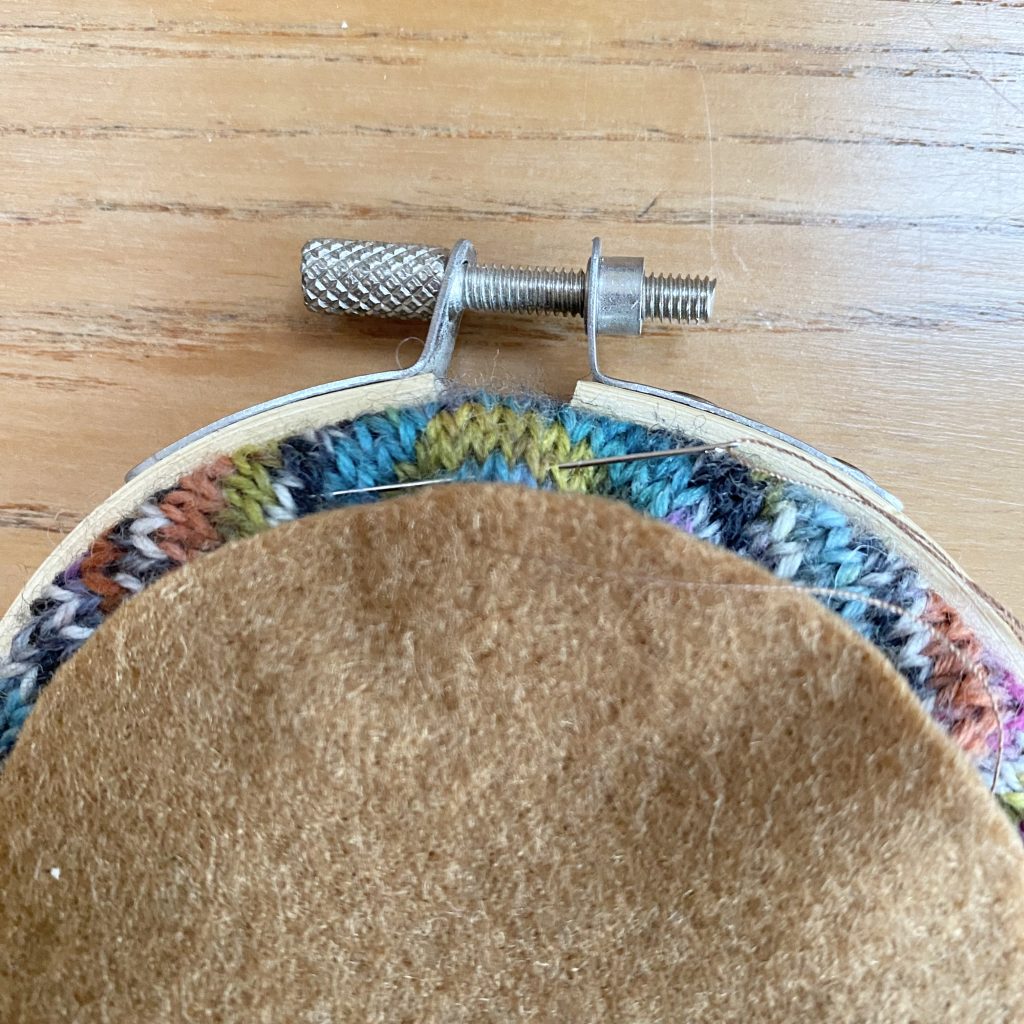
… and running the needle under the felt.
Honestly, you can do it however works for you- the matching thread will conceal a multitude of sewing-related sins! Once you’re about 4/5 of the way around the circle, add some stuffing underneath the felt.
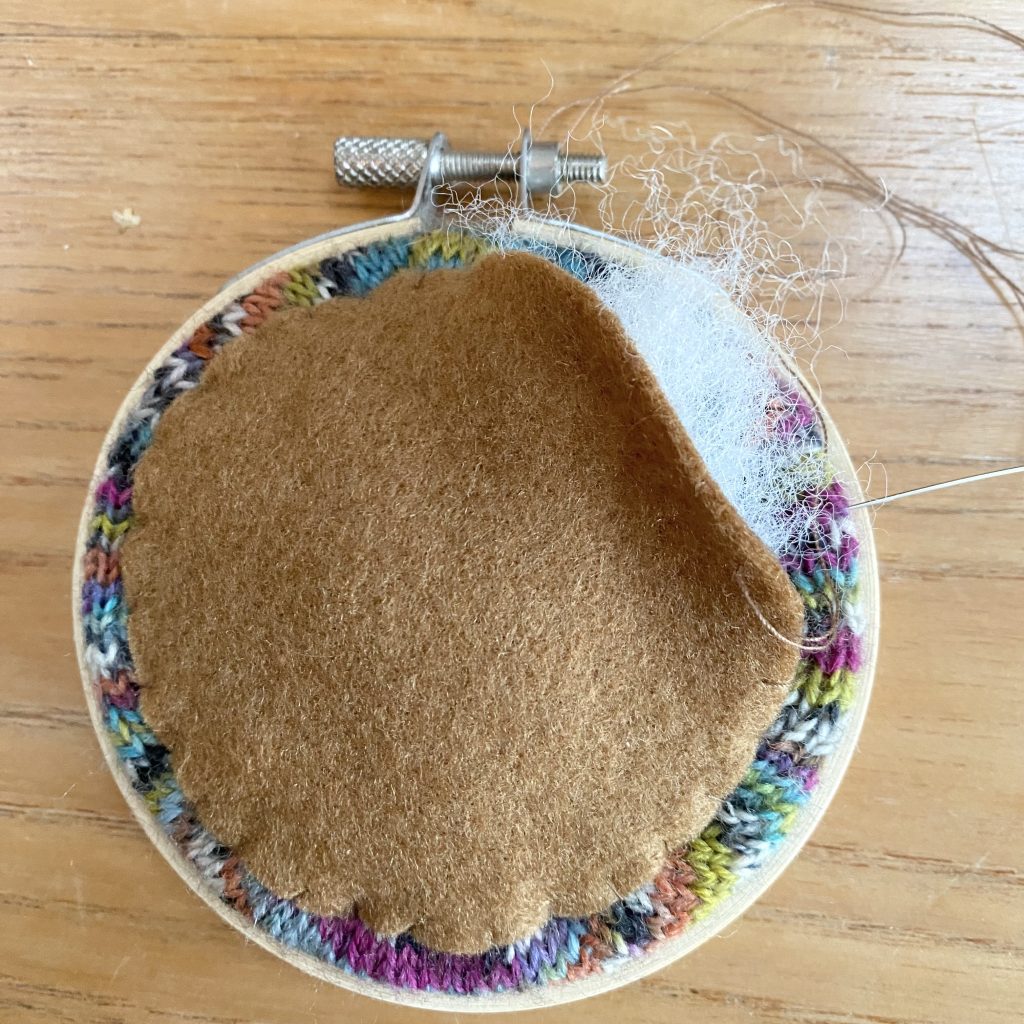
This will help the felt to sit nicely, but it will also make the ornament extra soft and plushy!
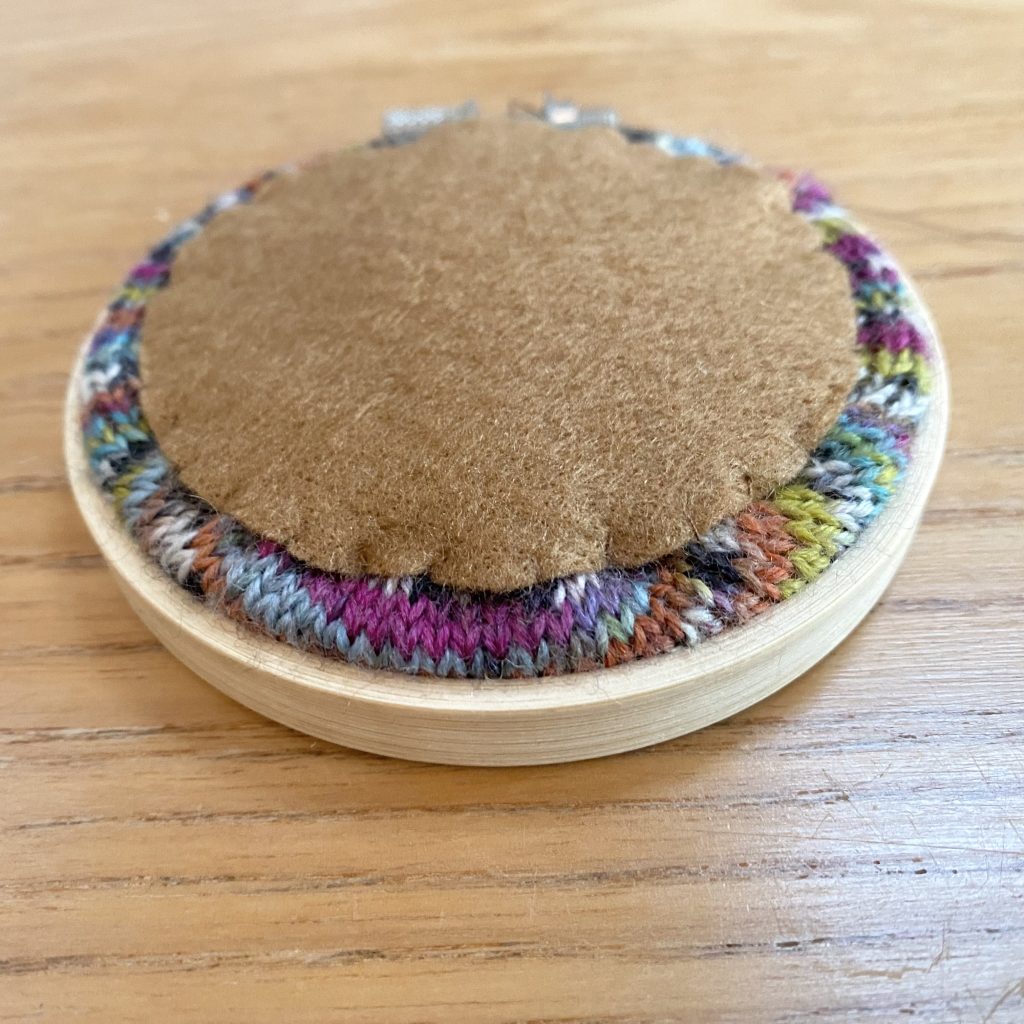
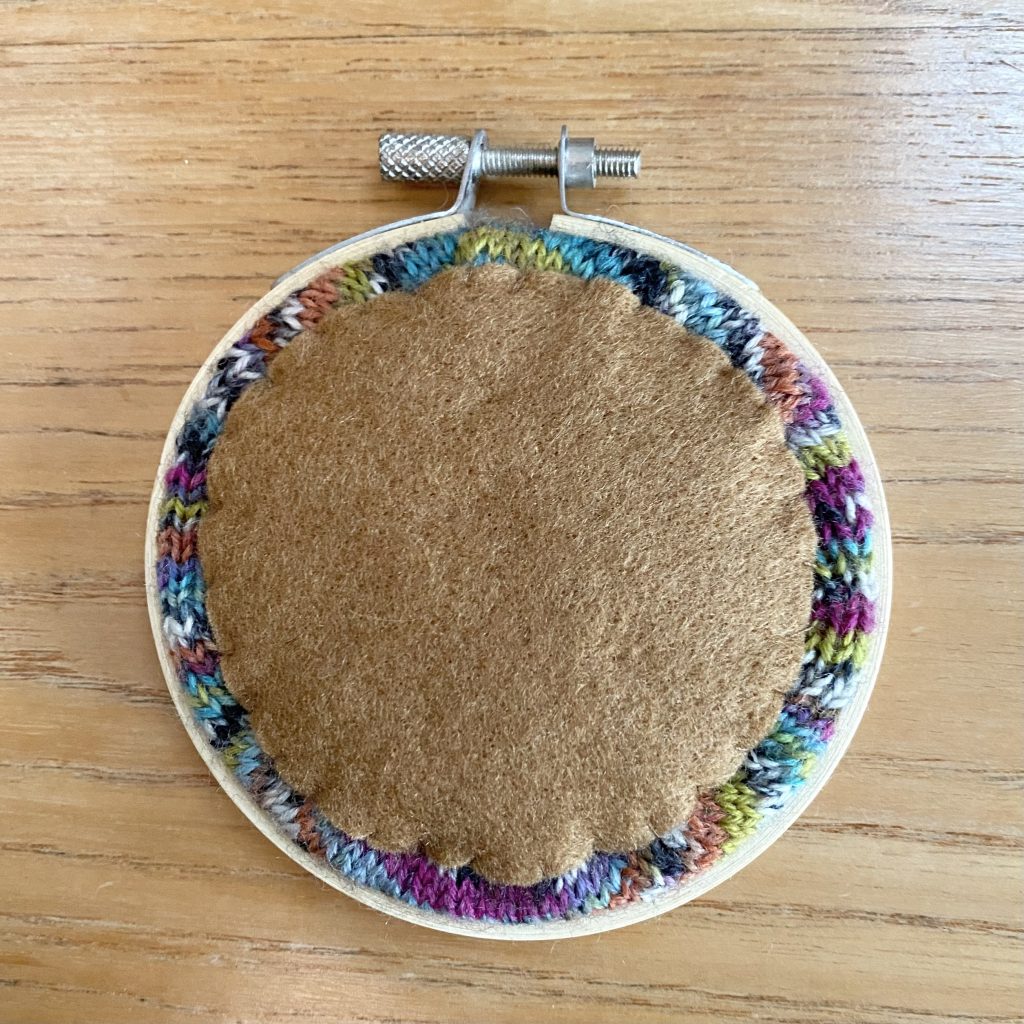
Once your ornament is stuffed and backed with felt, you can fasten off the thread and cut off any excess.
To hang the ornament:
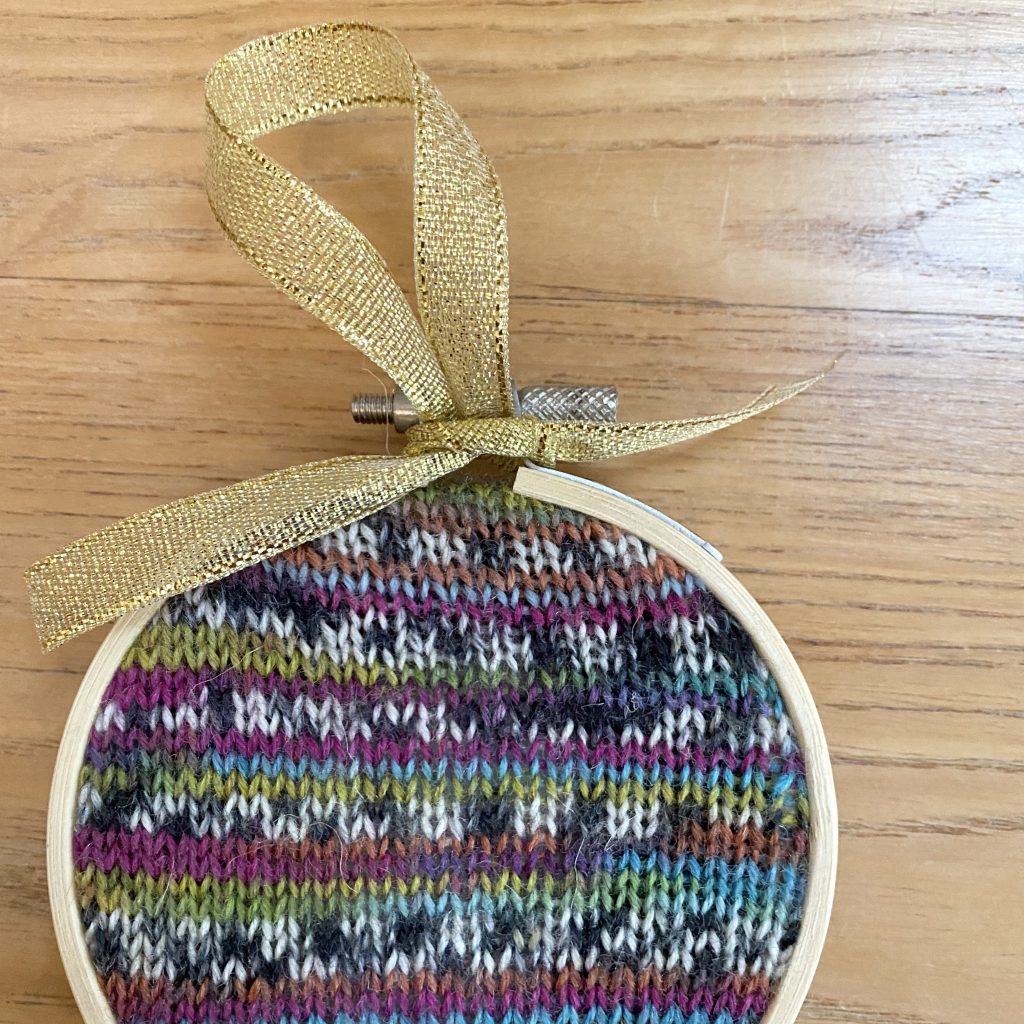
Now you need to add a ribbon to hang your ornament from! To do this, cut about 30cm of ribbon and fold it in half. Thread the doubled ribbon through the space at the top of the ornament, so that the loop is at the front and the two ends are at the back.
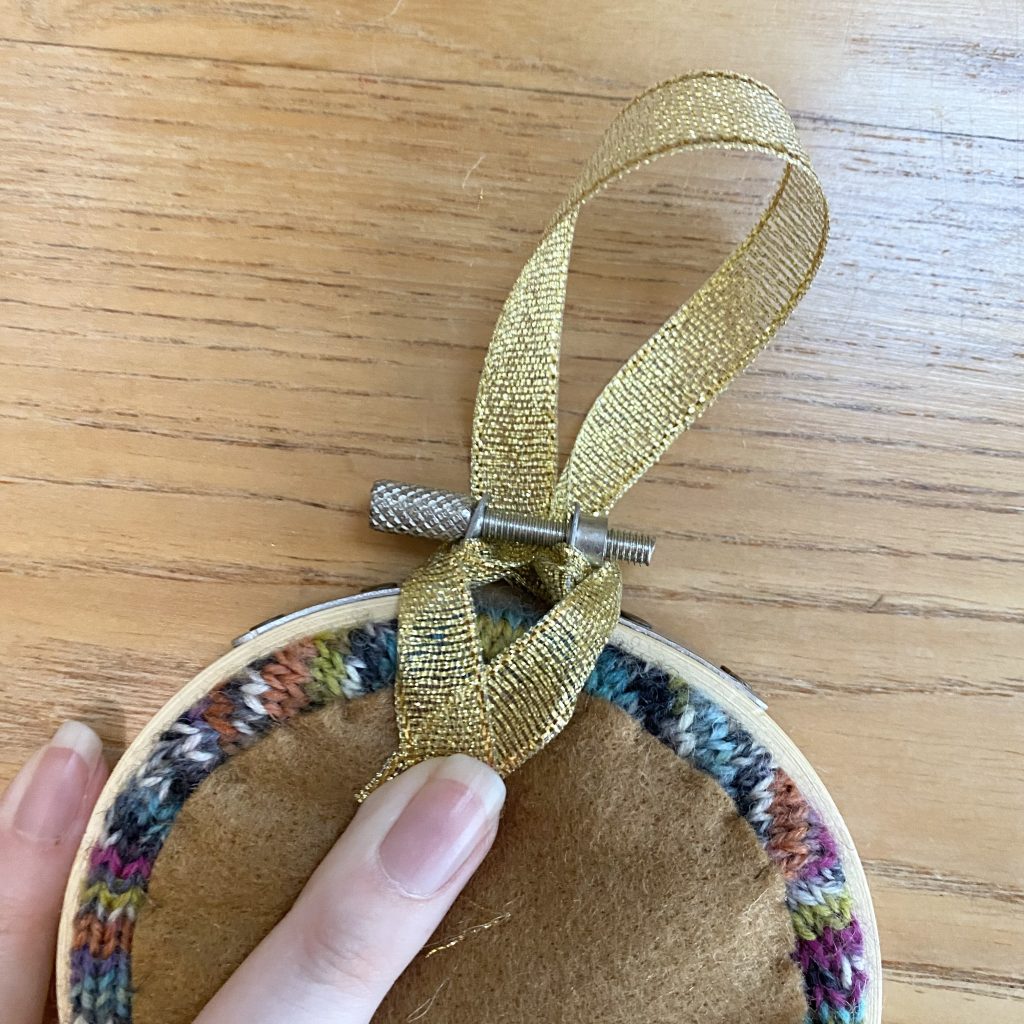
Bring each end around to the front, guiding them underneath the metal part on each side.

Holding the loop to keep it at the right length, tie the two ends together at the front of the ornament.
Bring each end around to the back of the ornament and flip the whole thing over, so that you are working from the back.
Tie the ends in a double knot, pulling the second knot as tight as possible to secure it, before cutting both ends off, close to the knot.
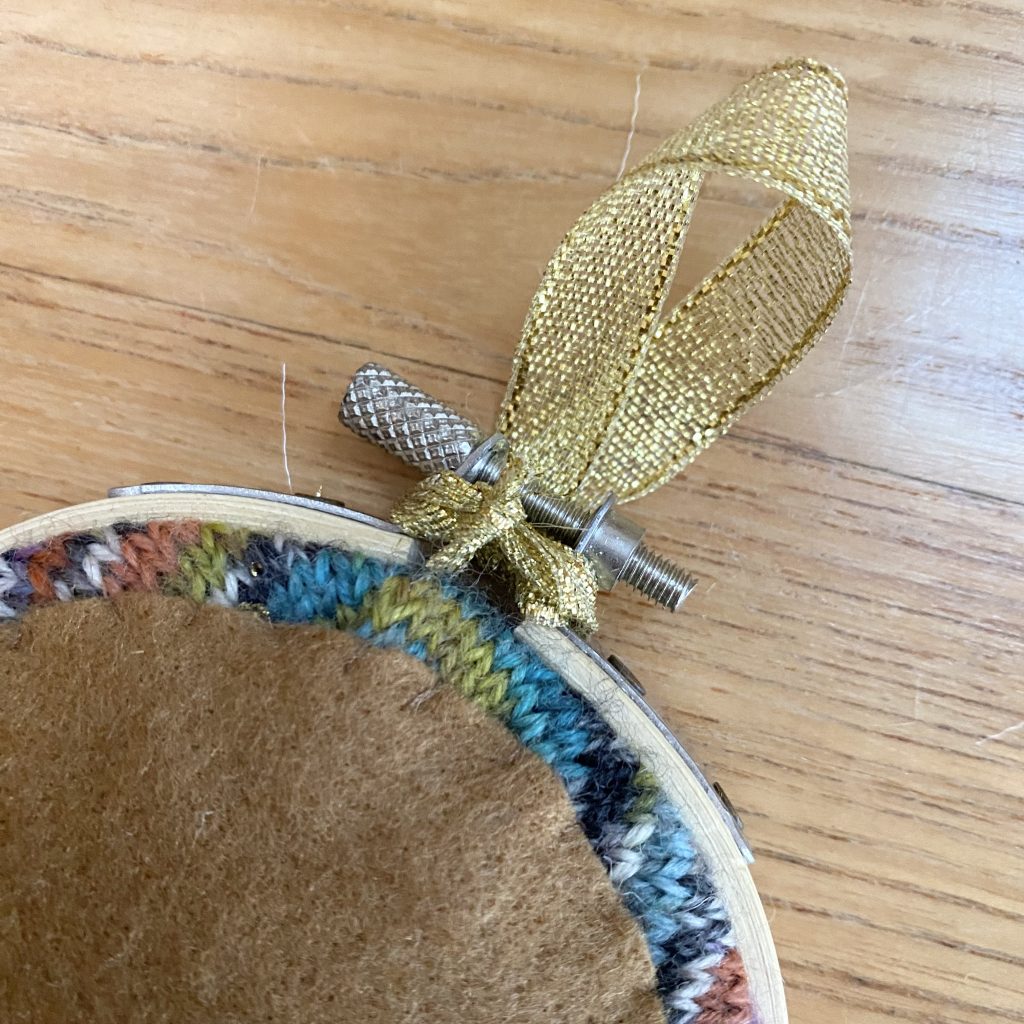
And there you have it, a hanging ribbon to hang your ornament up by!
Final Thoughts
And there you have it- my super-easy Embroidery Hoop Ornaments. The knitting part is really simple (and easy to remember- everything happens in groups of 12 rows!). If you’re not overly confident with hand sewing, assembling the bauble might seem a little daunting, but it’s really not bad at all when you get the hang of it. Plus, it’s the front of the baubles that really matters, so go easy on yourself with the stitching!
I hope you’ve enjoyed my second pattern (and first ever knitting pattern!). As I mentioned earlier, you can also find this pattern on Ravelry. I’d love to hear if you give it a try- let me know in the comments down below!
Gemma
xxx


What a great idea! I will definitely be trying this with some of my yarn leftovers
Thank you, Kate- I hope it goes well!