Every Christmas, my mum knits me a pair of socks. In 2024, I decided to use my newly-developed, knitwear-making skills and knit a pair for her too (you can see them here, on my Ravelry page!). They were pretty simple: just one yarn and a cable design, but she wears them a lot! However, for Christmas 2025, I wanted to be a little more ambitious.
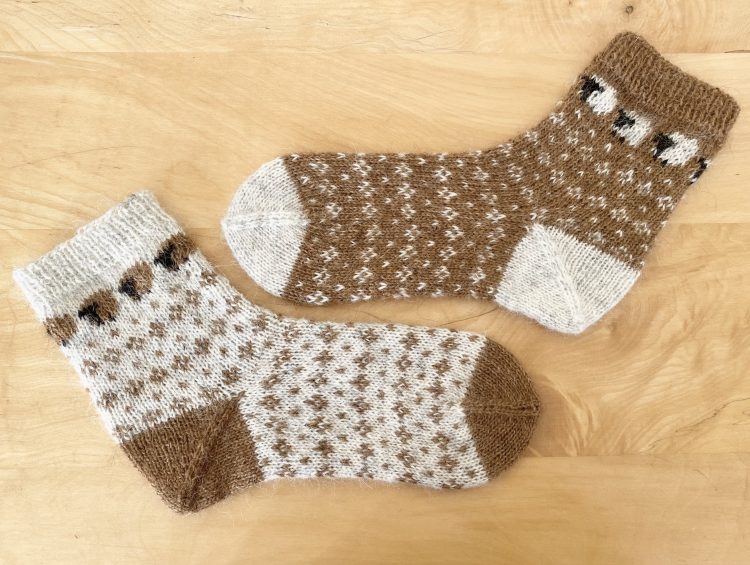
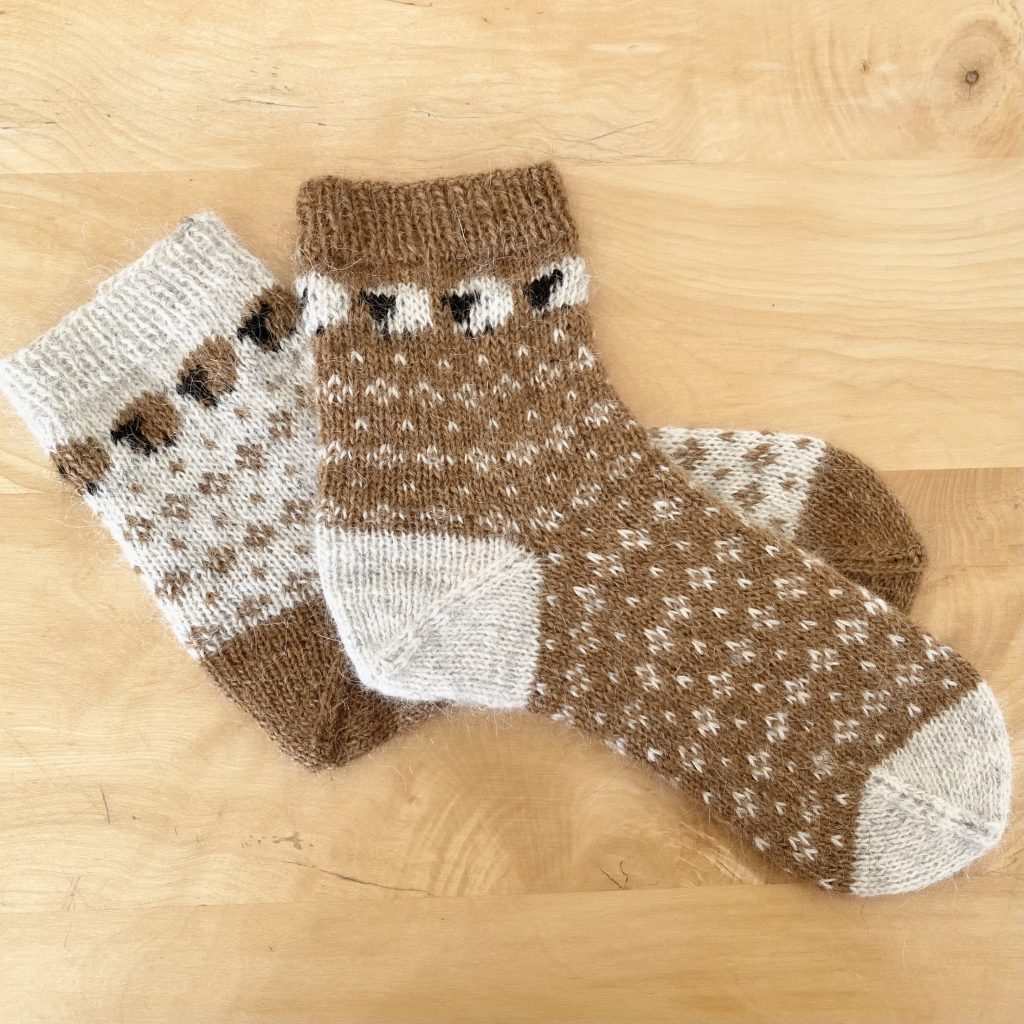
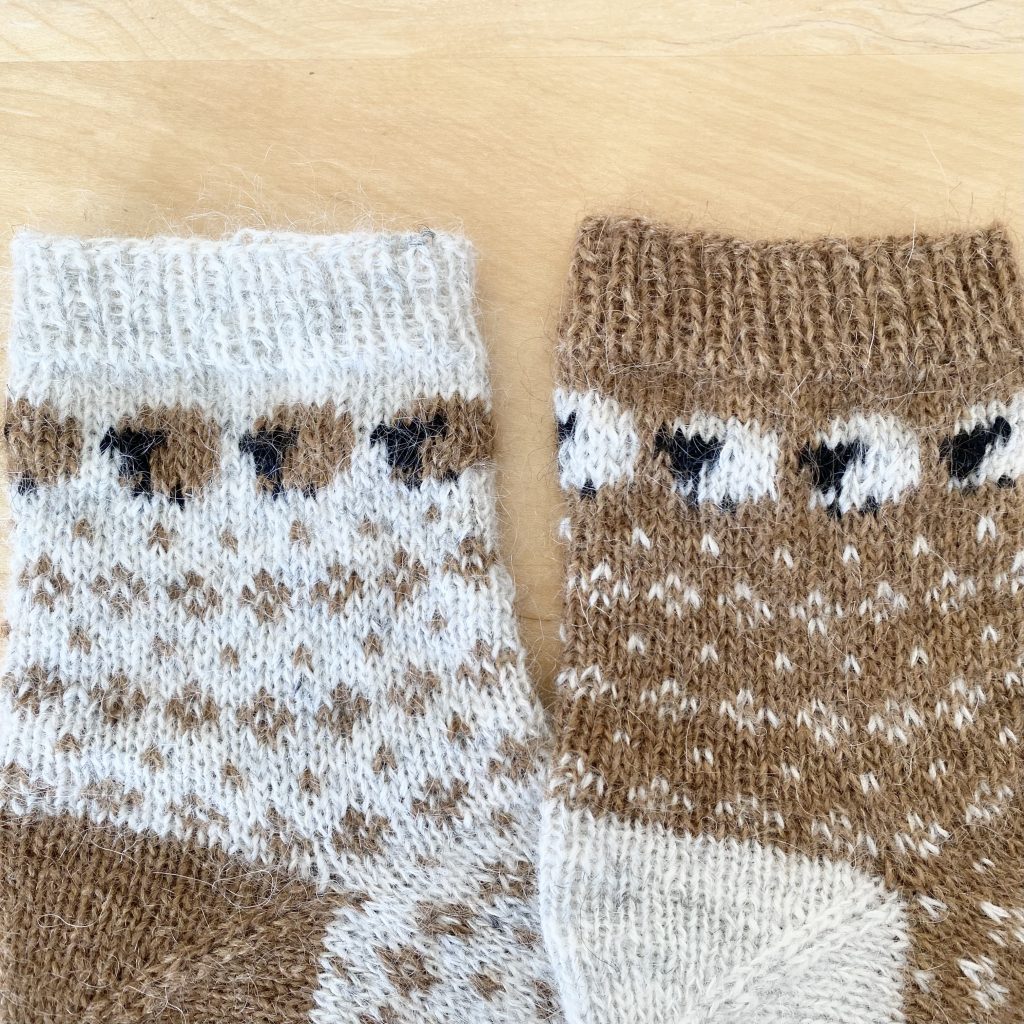
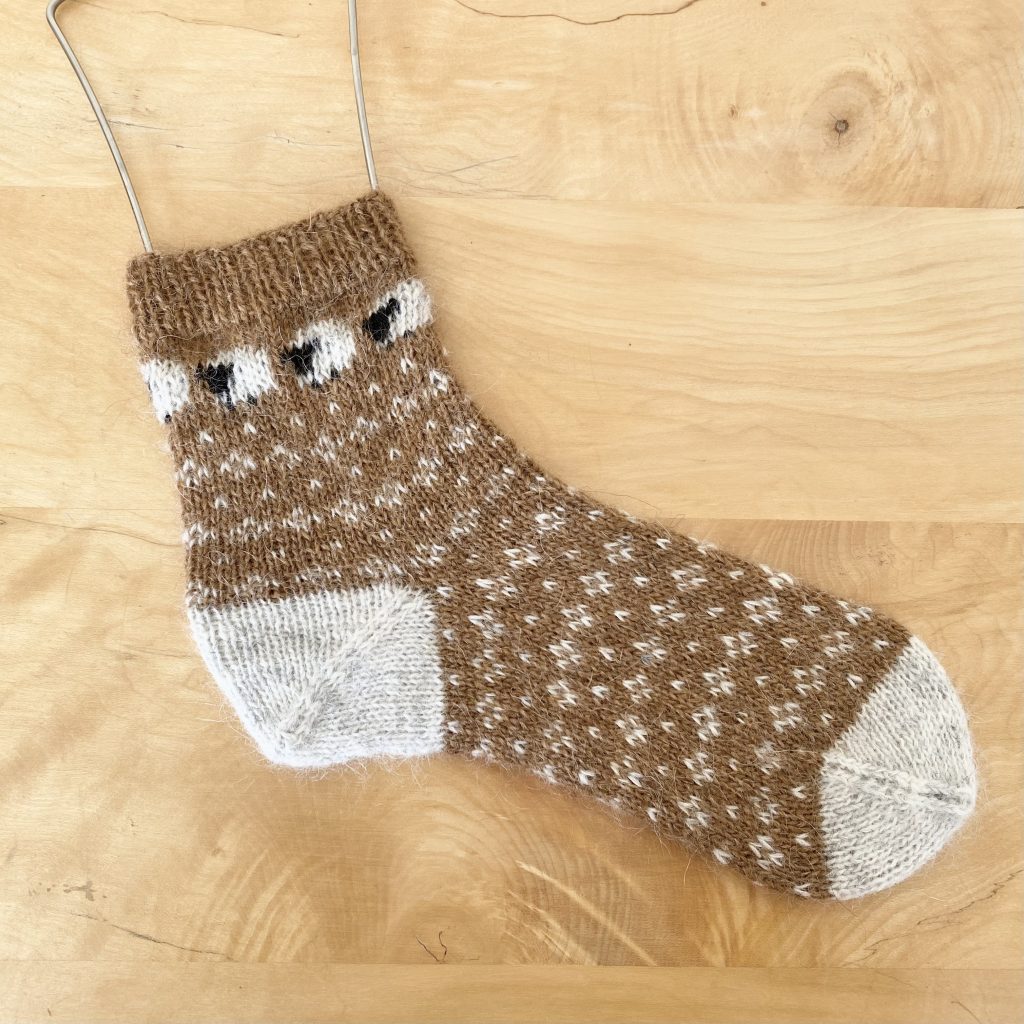
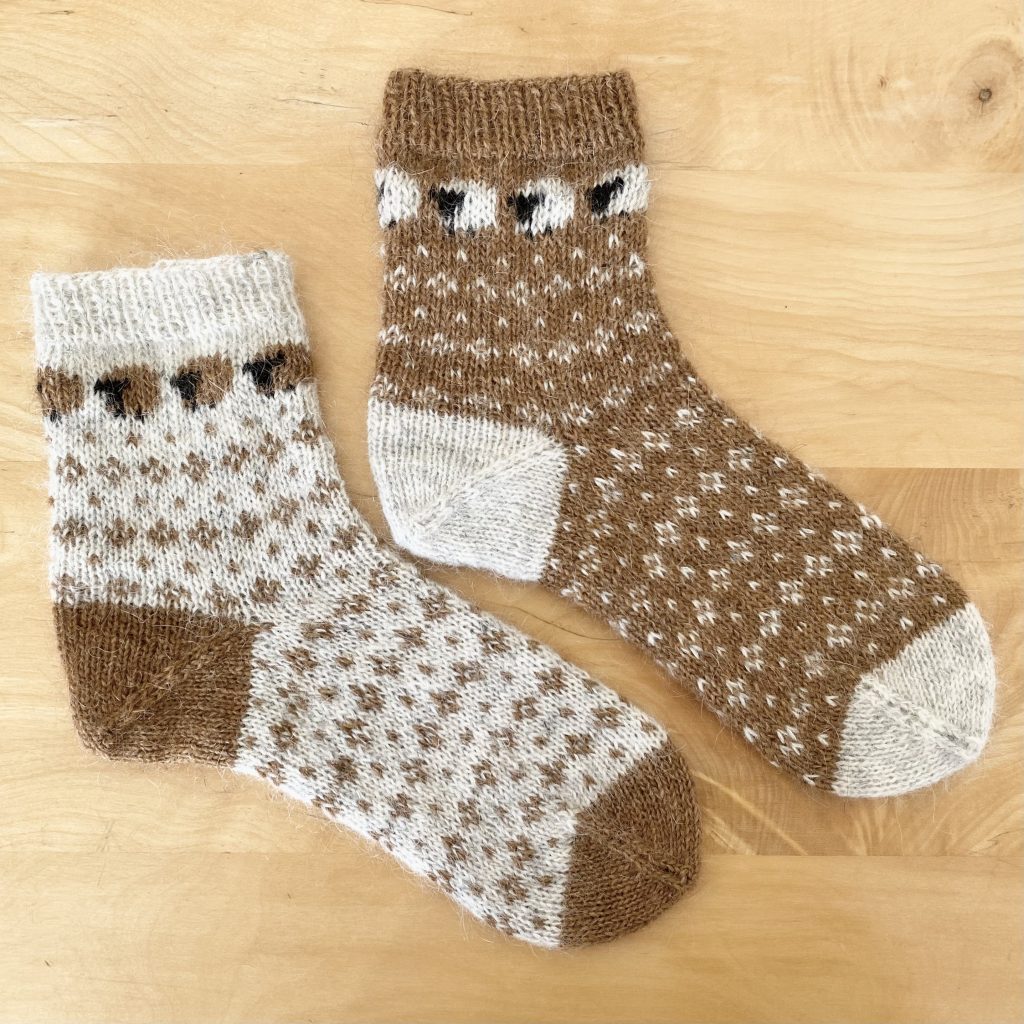
The Ovis Socks by saskie&co are a super popular design in the knitting sphere: they feature a simple, sheep-inspired colourwork pattern that runs across both socks, despite the colours being inverted to make a ‘mismatched’ pair. I’ve wanted to make them for a while, but they’re knitted with a fingering weight yarn held together with a mohair yarn and I don’t love the feel of mohair (in general, really, but particularly on my feet!). Luckily, my mum loves a cosy, fluffy sock (and a sheep motif, she is a knitter after all), so I figured she would be the perfect person to make these socks for!
Full disclosure: these socks took me a while to finish, not because the knitting itself requires a lot of time/effort (they’re actually pretty quick to work up!), but because I ran into so many problems with gauge/fit/trying to knit them without my mum knowing. I started them in early summer and I finished them… in the New Year. Poor Mum had to open a single sock on Christmas Day (and the ends weren’t even sewn in…)!
In this post, as always with my 'Making a...' series, I'll be chatting about my experience making this pattern, as well as detailing any changes/adaptations I made. If you want to make your own Ovis Socks, you can purchase the pattern from saskie&co on Ravelry here!
Table of Contents
The Pattern
The pattern for the Ovis Socks is super clear & concise, without being too brief (I’ve talked before about how I like to be spoon-fed when it comes to knitting patterns!). Each section has a little subheading (e.g. ‘TOE’ or ‘AFTERTHOUGHT HEEL’), which makes it super easy to navigate your way through the instructions— it’s a small thing, but it made a big difference for me!
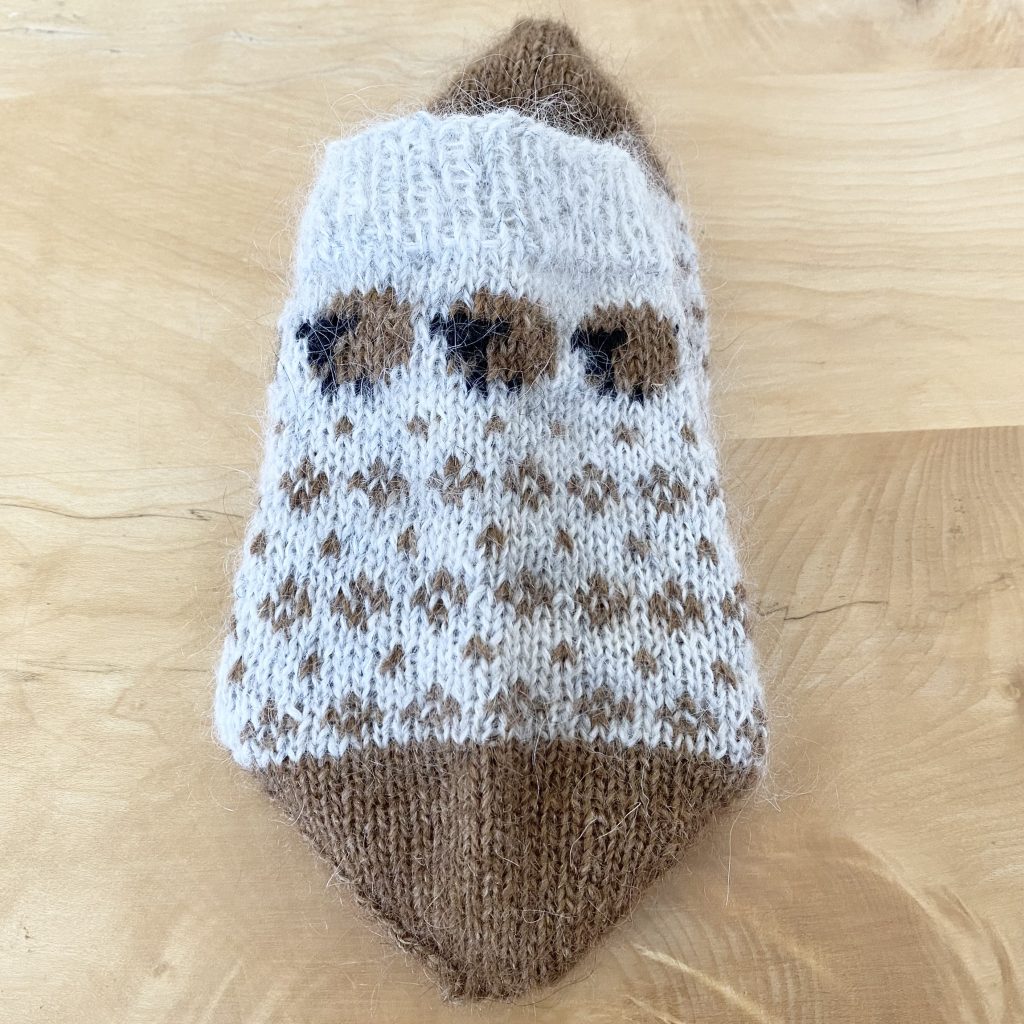
My favourite thing about this pattern is the design: I think the colourwork pattern is simple, but so effective and I really like the whole mismatched vibe. Not only does switching the colours balance out your yarn usage of each colour (yay for saving money!), but I also just think it’s a really fun, unusual feature. I think saskie&co does this for all of their sock patterns, which I love!
In terms of the construction itself, the socks are knitted cuff-down with an afterthought heel. This was my first time knitting an afterthought heel and I actually quite enjoyed it! The socks are pretty short on the leg: if I made them again, I’d be tempted to make them slightly longer so that they can be worn comfortably with hiking boots (I just feel like they’re hiking socks?!). Luckily, that would be super easy to do with this pattern: you’d just knit more repeats of the colourwork chart!
My only real issue with the pattern was the recommended needle size. The pattern instructs you to use 2.25mm needles, which seems pretty small for what is essentially a DK weight sock (especially one with colourwork!). For the first sock I made, I used the suggested needles for the ribbed cuff, toe and heel, then used a 2.5mm needle for the colourwork (because I just couldn’t bring myself to use a 2.25mm needle for that too). I made the whole sock (at great cost to my fingers, which, let me tell you, were SORE from fighting the yarn) and… it didn’t fit on my mum’s foot. Admittedly, this may have been my fault (the main problem area was the stripe of 3-colour stranded colourwork, so maybe my floats were too tight?), but the fabric was so stiff that it was a) no fun at all to make and b) just didn’t give me the right vibe for a sock (socks are supposed to be soft and cosy, right?!).
Ultimately, I decided to switch to using 3.00mm needles for the whole of the next sock (cuff, heel, toe, leg AND foot) and it was much better: the socks fit perfectly and my fingers were (slightly) less sore. I don’t have a particularly tight tension typically, so I don’t think that was the problem here, but no matter, it worked out! Naturally, because mohair is a menace to frog, I opted to just make a third sock instead of trying to rip back the first one, so, if anyone can think of a use for a lone, almost unwearable, but very beautiful Ovis Sock, let me know!
The Yarn
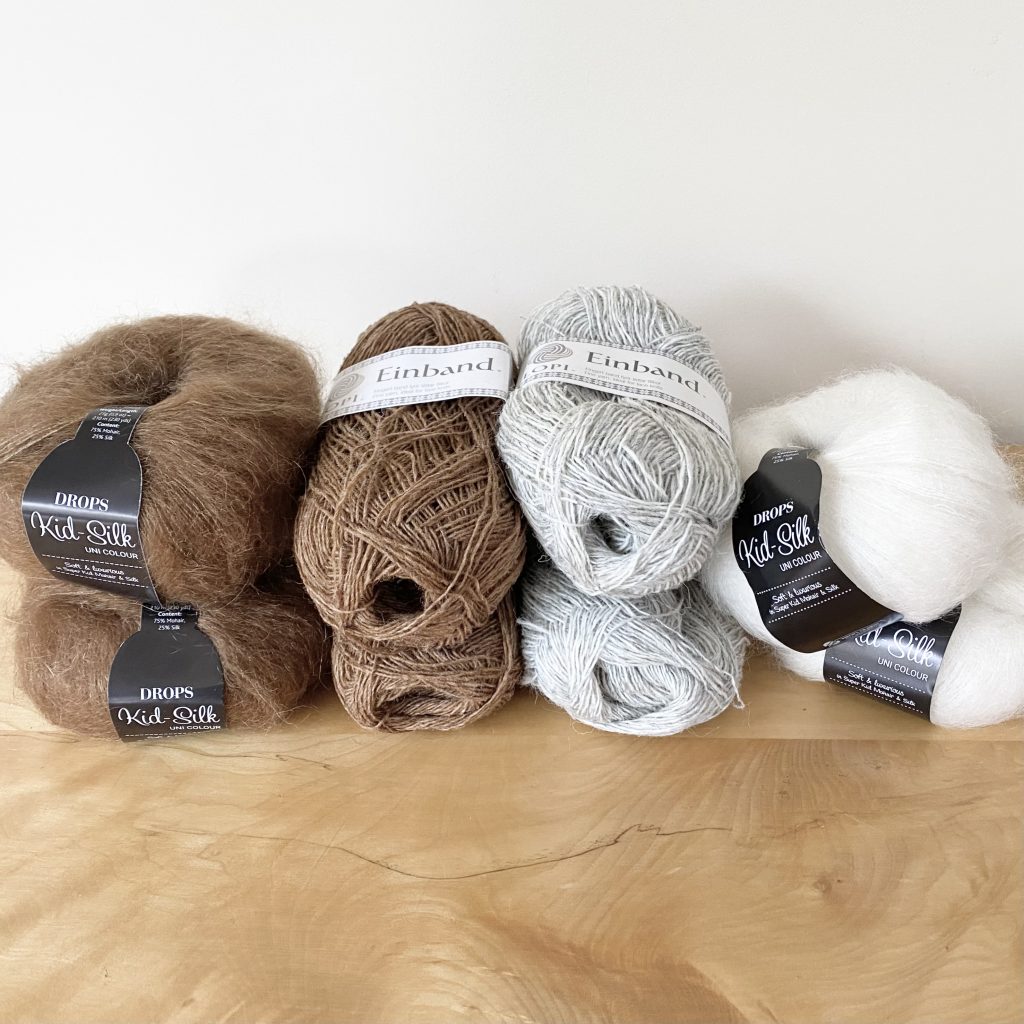
I decided to make things a little easier for myself by using the same main yarn as the one used in the pattern: Istex Einband (in the shades Almond Heather (9076) and Light Ash Heather (1026)). I get most of my wool from Wool Warehouse, but they don’t stock this particular brand, so I bought it from LindeHobby instead.
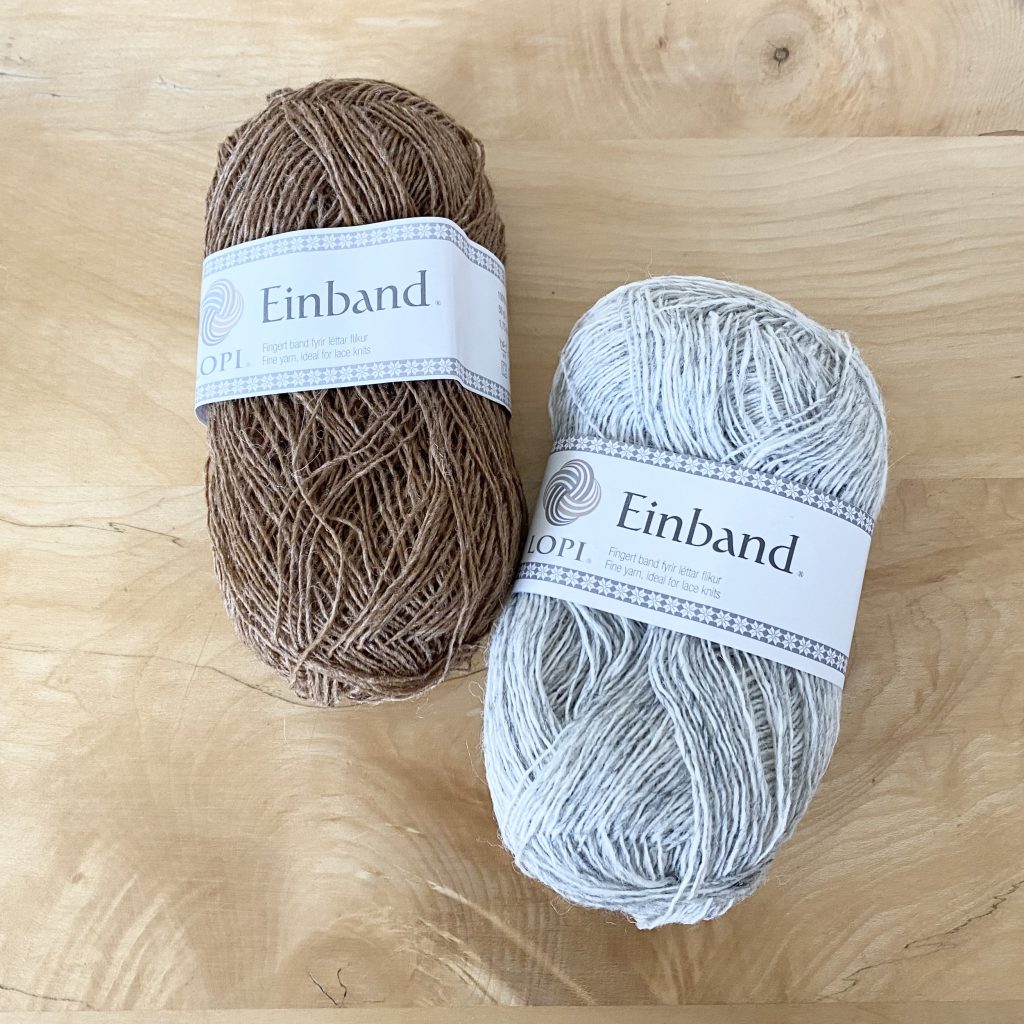
This was my first time using Icelandic wool and I have to say, it was a pretty different experience! Usually, I knit socks in wool/nylon blend yarns, so they’re soft and stretchy, but still hardwearing. This yarn is not at all stretchy and not overly soft (I did find it a little hard on my hands!), but it made a really great pair of socks that I know will last for a long time (plus, the mohair softens up the fabric, so it works out). I do like how natural this yarn feels though and I really love the two neutral shades used in the pattern.
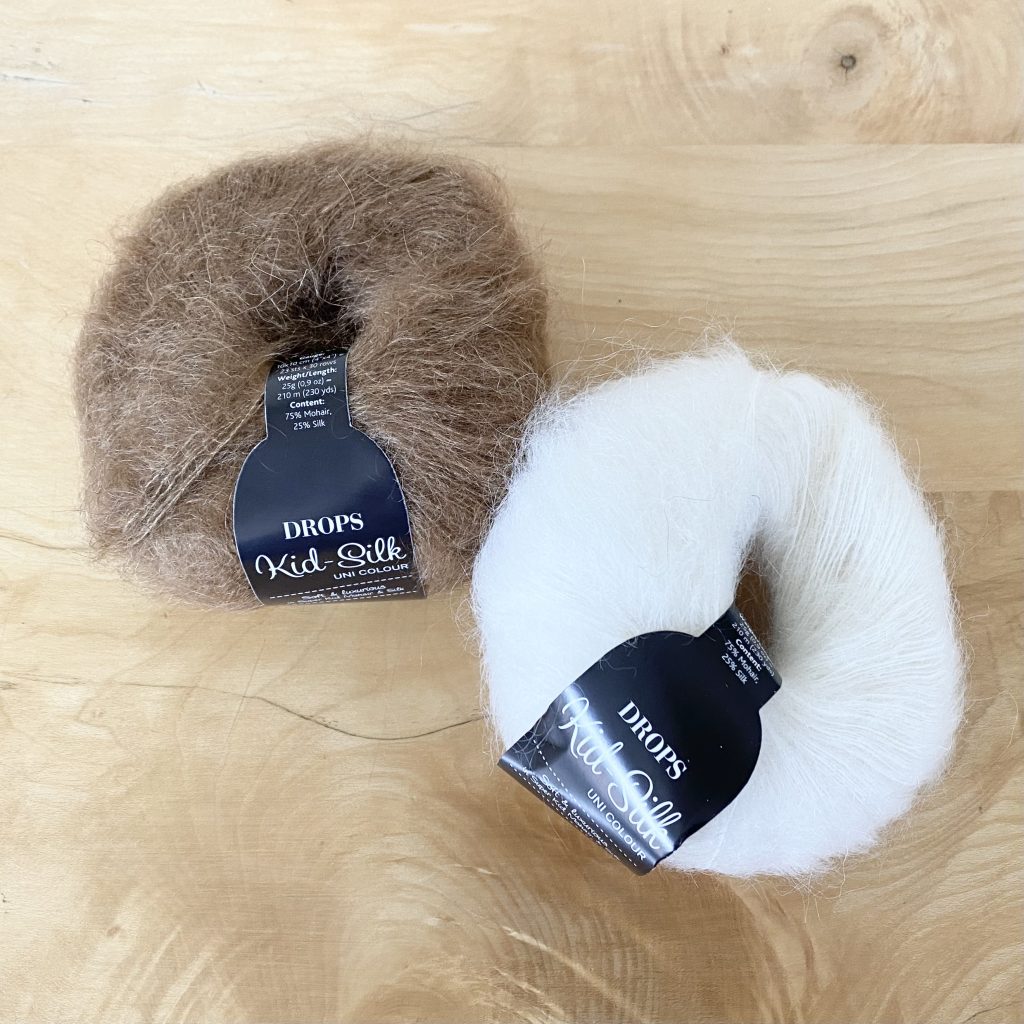
The mohair yarn suggested by the pattern (Ritual Dyes Fae) was a bit out of my price range, so I opted to use a cheaper mohair that I knew pretty well already: DROPS Kid Silk. My mum had actually used this particular yarn for mohair socks before and really liked it, so I figured it was a safe bet. It’s very soft and it has a pretty extensive shade range, so I was easily able to find shades that matched the Einband ones (Off White (01) and Toffee (51)). It does tangle pretty easily, but I think that’s a bit of a classic feature of mohair yarns, so I won’t hold it against it.
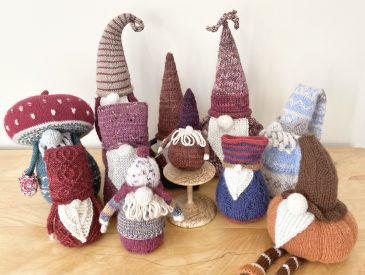
I made the 5th size and bought two balls of each colour in each yarn (which, in hindsight, was a ridiculous amount of yarn? If only I could explain the actions of past Gemma but, alas, I have no idea what was going through my head…). After making 3 socks (2 with the brown shade as the main colour, 1 with the grey shade as the main colour), I had approximately 1 1/4 – 1 1/2 balls of each leftover. Yes, I know, I know: mistakes were made. The required yardage listed for both shades/yarns in the pattern was 251m and the Istex yarn comes in 50g/250m balls, while the DROPS yarn comes in 25g/210m balls. I guess I must have been very worried about running out? Whatever the case, I am writing this realising I have all of this leftover yarn and will, inevitably, have to make another pair of hard-on-the-fingers socks. Sigh. Maybe I’ll try one of saskie&co’s other sock patterns? Or maybe even… the Ovis Mitts?! I do have some dreams of an Ovis Gnome too… urgh, someone restrain me!
The Knitting Process
This pair of socks posed a lot of new challenges for me: it was my first time making socks with no-stretch yarn, making mohair socks, working an afterthought heel, making a DK weight sock AND making mismatched socks! When I think about that, it’s no surprise that I encountered a few issues throughout the process: that’s a lot of first times for one pair of socks!
Cast-On
The pattern calls for using ‘your choice of stretchy cast-on method’, so I opted to use the German Twisted Cast On, because I’d been using it a lot for my various gnomes at this point. However, I have been finding that it hasn’t been working up super neatly for me recently (can you see the slightly uneven edge on the grey sock?), so I wonder if Alternating Cable might have been a slightly better fit here?
Colourwork
I’ve been working on my colourwork technique over the past year (previously, my technique was, quite literally, dropping and picking up the yarns as needed, which wreaked havoc on my tension!) and have started using a two-handed approach, which I first saw on this Instagram video, by @engineeringloops. I’ve been loving this method! It works so well for two colours, but I haven’t found a way to make it work with three colours, so, whenever there are three-colour sections (like the sheep in this design), I revert back to my drop-and-pick-up method of old.
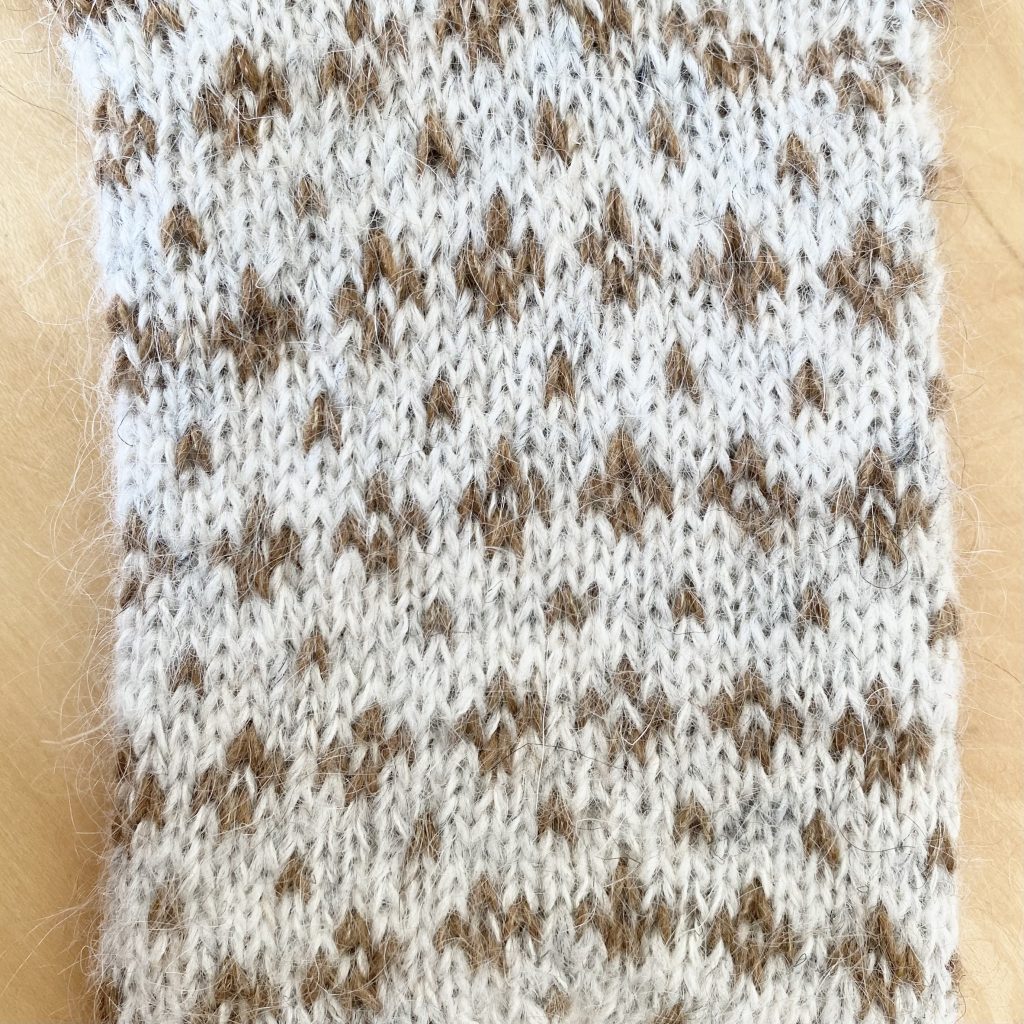
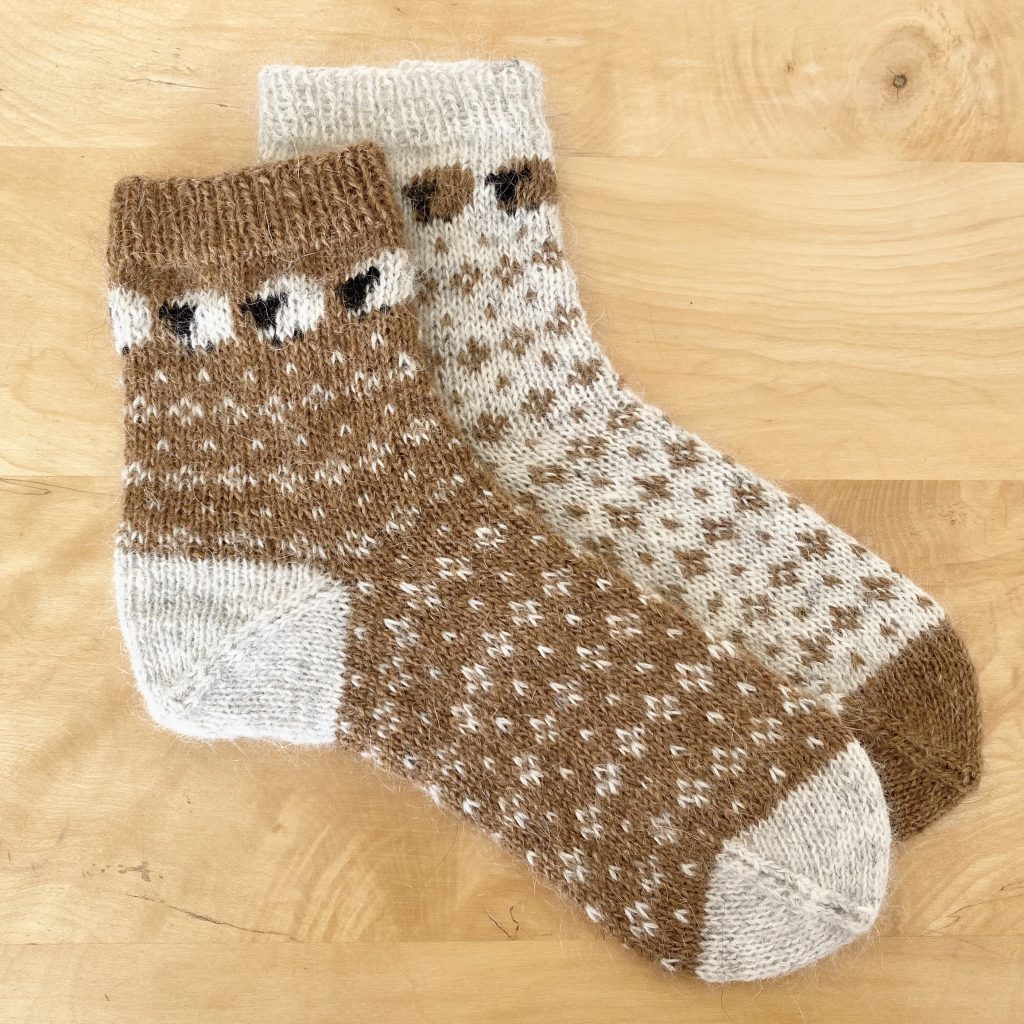
The main colourwork pattern that repeats throughout the leg and foot of the sock is super simple and easy to remember, which makes the knitting process that bit quicker. I love the subtle, rustic effect the design gives the socks.
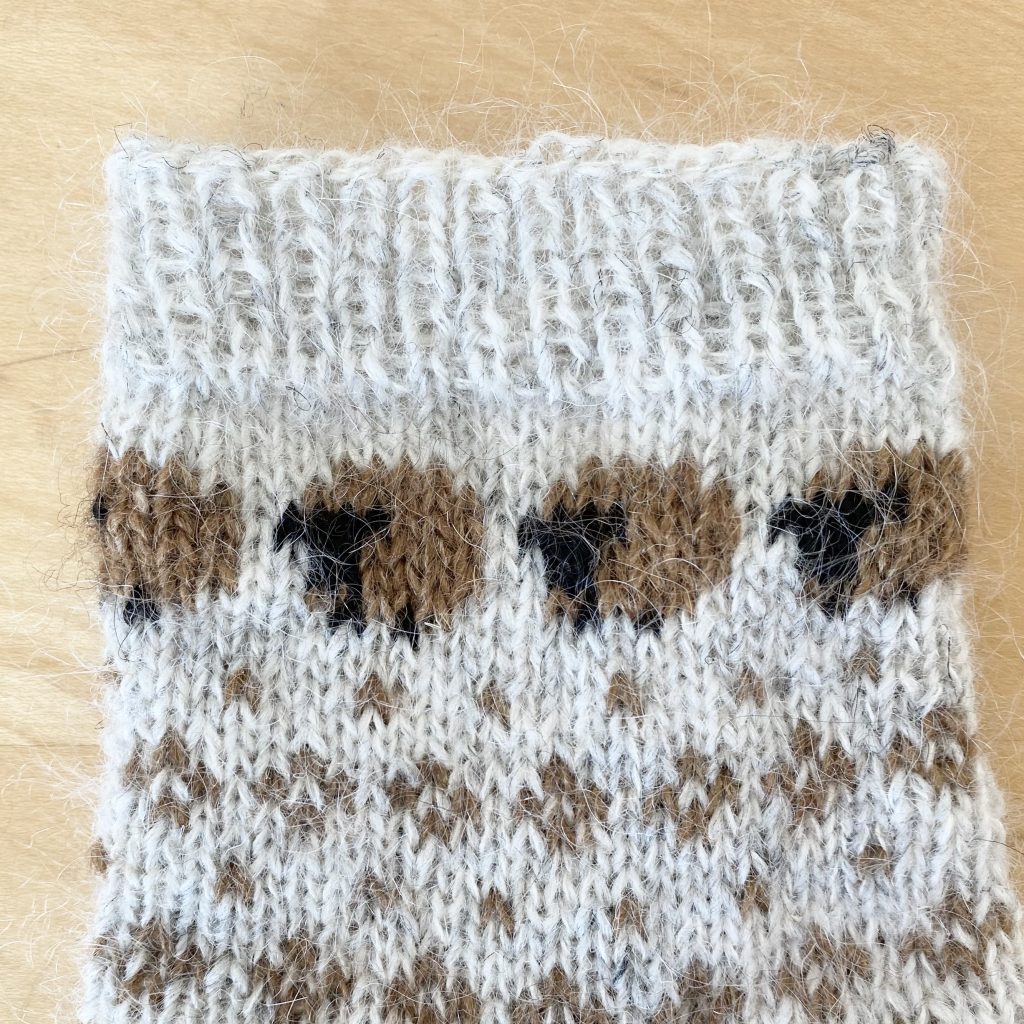
The sheep that sit along the top of the sock are a little more complicated, because they contain a third colour. I was so careful with my floats, making sure they weren’t too tight, but I think just having that extra yarn in there really tightens up this section, which definitely affects the fit of the socks. I can see why some knitters opted to duplicate stitch on the heads/legs of the sheep, but it just felt like too much of an extra step at the time! Luckily, on the larger needle size the socks actually go over my mum’s heel, so all’s well that ends well!
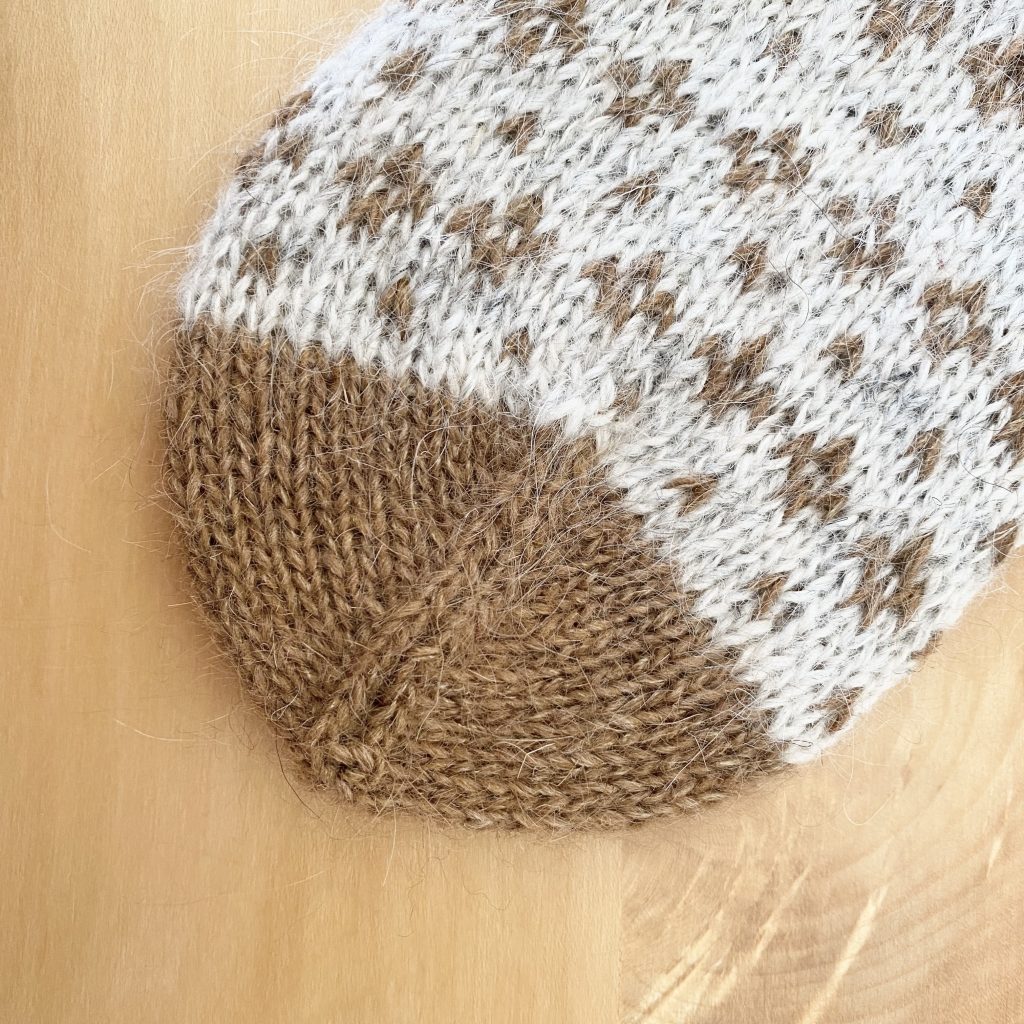
Afterthought Heel
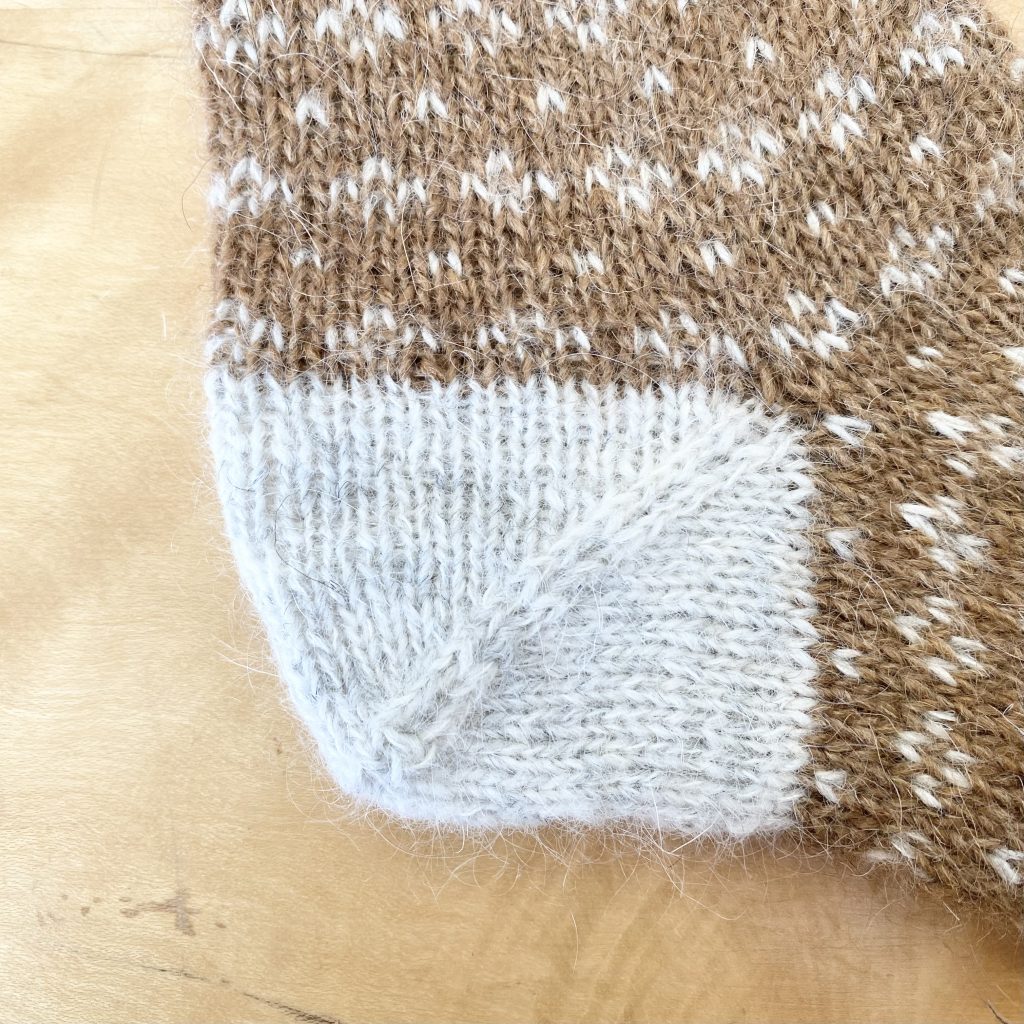
As I mentioned, this was my first time working an afterthought heel and it was so much simpler than I expected! I wouldn’t go so far as to say that I’m a convert (I am loyal to my beloved Shadow Wrap Heel!), but I can see that there is a time and a place for an afterthought one (that time and place being a sock featuring intense colourwork!).
It’s a little bit of a drag to have to go back and work the heel after finishing the toe, and it does feel pretty odd essentially knitting a… second toe? I did also have to look up a separate tutorial for picking up the stitches for the heel (apparently, the rule is you always go into the right leg of the stitch, in case you’re wondering too!), but, once I knew that, I was absolutely fine!
Toe
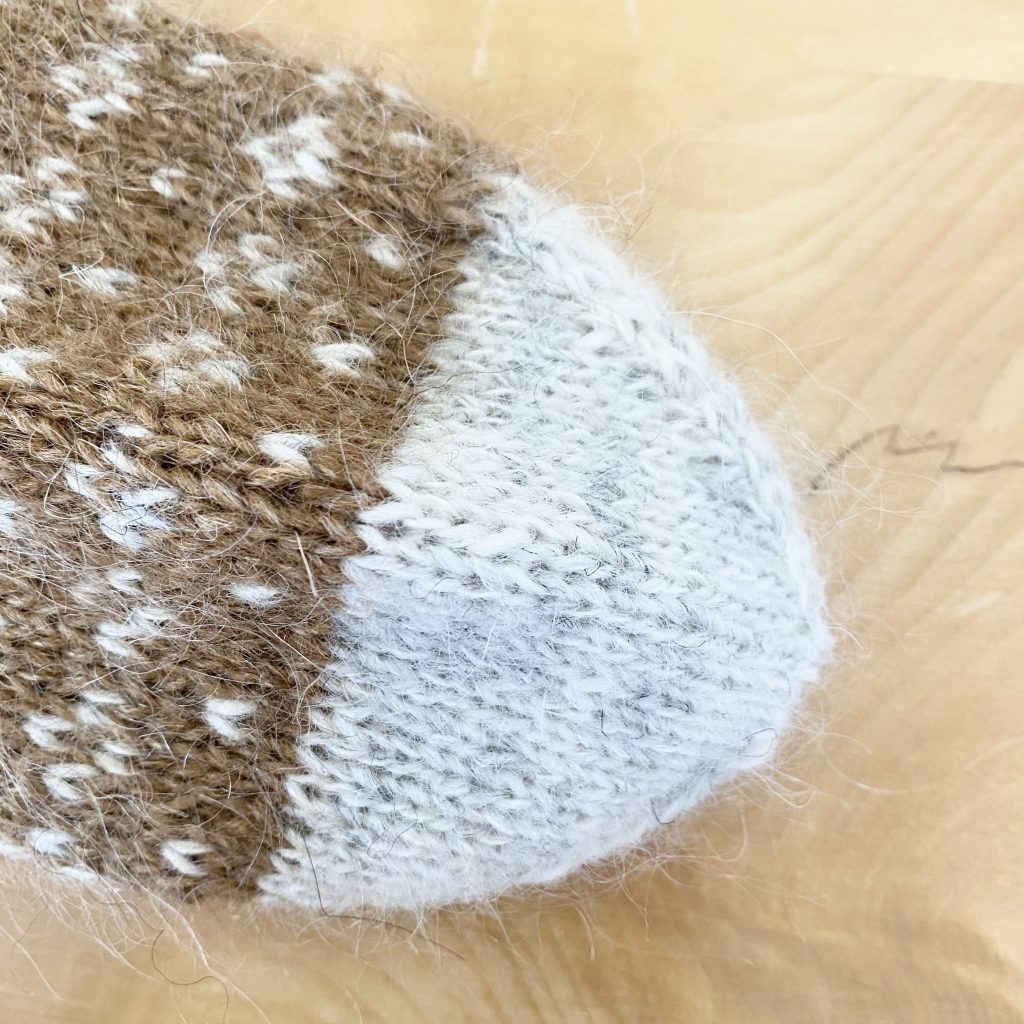
The toe shaping in the pattern is really easy to work, but the finished result is ever so slightly too pointy for my taste: it’s not bad by any means, but I am a big fan of a more rounded toe, so I think I’ll stick to my usual method with future socks.
Blocking
Once I’d made both of the (correctly sized) socks, I wet-blocked them and left them to dry on sock forms (which make the process so much simpler!) to really even out the colourwork and make the knitting (and, by extension, the socks) look super neat! I definitely felt this was necessary, especially with my slightly looser gauge on the 3.00mm needles, which looked a little less neat than the smaller gauge had (but also, you know, actually fit and felt like a sock!). Once blocked though, both sock sizes looked just as neat as each other, so I’m happy.
Final Thoughts
I’m so happy with these Ovis Socks: I’d definitely make them again… for the finished product, not necessarily for the process. If I’m being honest, the yarn hurt my fingers (rip) and the 3-colour section was a bit of a sticking point for me, but I love the design and I really enjoyed learning the new heel technique.
My biggest problem that I ran into with this project was definitely the gauge (and it’s subsequent effect on the fit of the socks). If I did make them again, I do think I would use the 3.00mm needles again: it does make the finished socks ever so slightly less neat, but the fabric is much better (and more sock-suitable!) and it didn’t destroy my fingers in the same way that using the 2.50mm needles did!).
Also, most importantly, my mum (who now finally has her finished Christmas socks!) loves them, which is all that really matters in the end!
If you're interested...

You can buy the Ovis Socks pattern on Ravelry here.

You can find my Ovis Socks project page on Ravelry here.
Gemma
xxx