Welcome to Day 7 of Blogmas At Home 2025! 🎄🎀✨
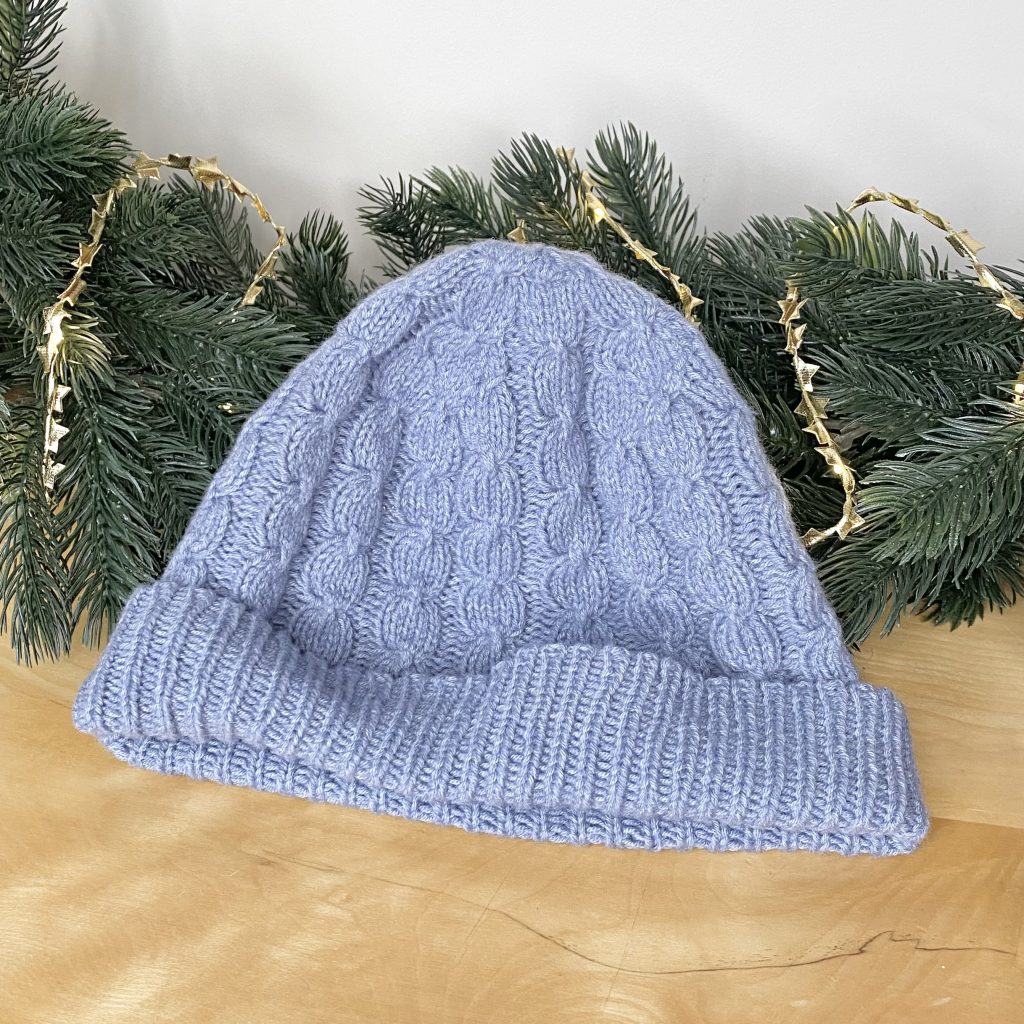
Anddddd… welcome back to my Project Knitwear series, where I’m documenting my journey into the world of knitting my own clothes! This time, it’s the first post in a two-parter (big wow!), because I’m tackling the Season Set by Ullen Knitwear: a wintery, cabled hat and mitten duo. In today’s post, we’ll be focusing on the Season Hat. Let’s get into it, shall we?
Table of Contents
The Pattern
I haven’t made many hats before (read: I’ve made exactly 2, and both were samples for my Pumpkin Strange Brew Sweater, so I was less concerned with the hat itself and more concerned with the yarn/colourwork pattern), so I didn’t really know what to expect going into this pattern.
In light of that, I do have to say that I probably wouldn’t recommend this particular pattern for a beginner hat knitter: there are definitely some clearer, simpler hat patterns out there that would make a better starting point!
There are two main things to keep in mind if you’re planning to use this pattern:
- The sizing
For both the hat and the mittens, only two different sizes are supplied and the only difference between those sizes is the needle size you use (i.e. the gauge of your work). I would have loved to see a larger size range and a stitch-count based variation, because I’m quite picky about how my gauge looks and I feel this would have made the pattern more versatile/easier to work with, particularly for less confident knitters.
- The yardage
I ran into this problem before when I was making the jumper from the Atlantis Set from Ullen Knitwear: the yardage given in this pattern is for BOTH the hat and the mittens (they are not given separately). This means that if you want to make only the hat, you don’t know exactly how much yarn you’ll need (and vice versa, for the mittens). Luckily, I was making both this time around, so I didn’t have to worry about that.
The Yarn
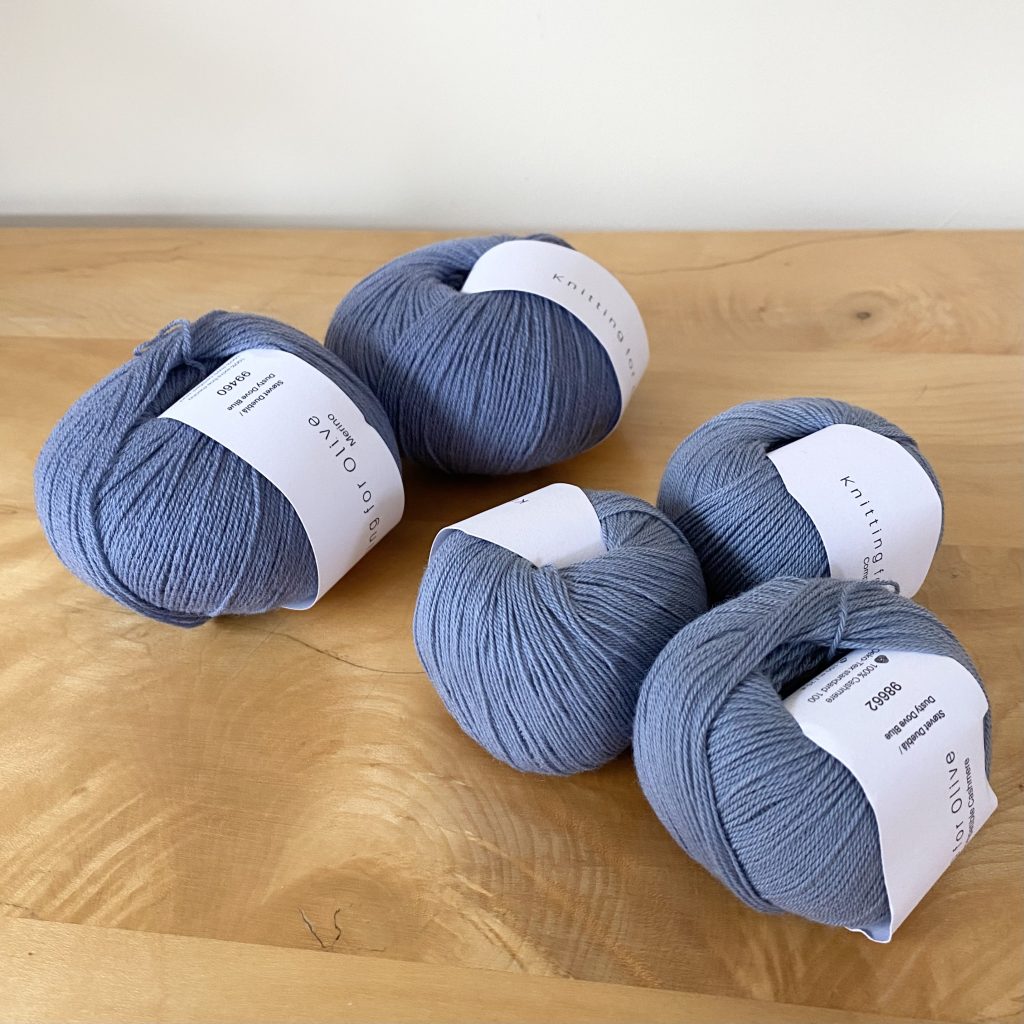
I have been desperate to try Knitting for Olive‘s Compatible Cashmere for a while now, but I couldn’t quite bring myself to do it because of the price! I finally bit the bullet and decided to use it for this project, though, because I figured it was a good way of trying it out: a small knit (which means a small required yardage), where warmth & softness is a top priority, and something that looks a little fancy and can live up to that cashmere name.
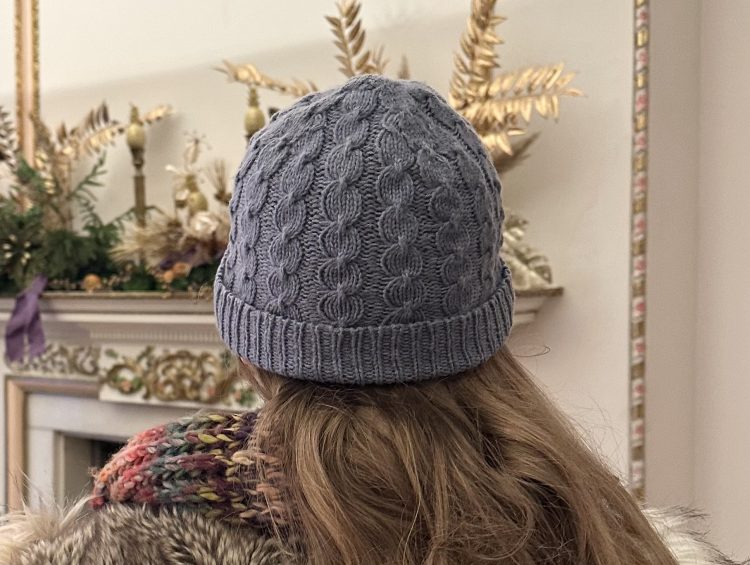
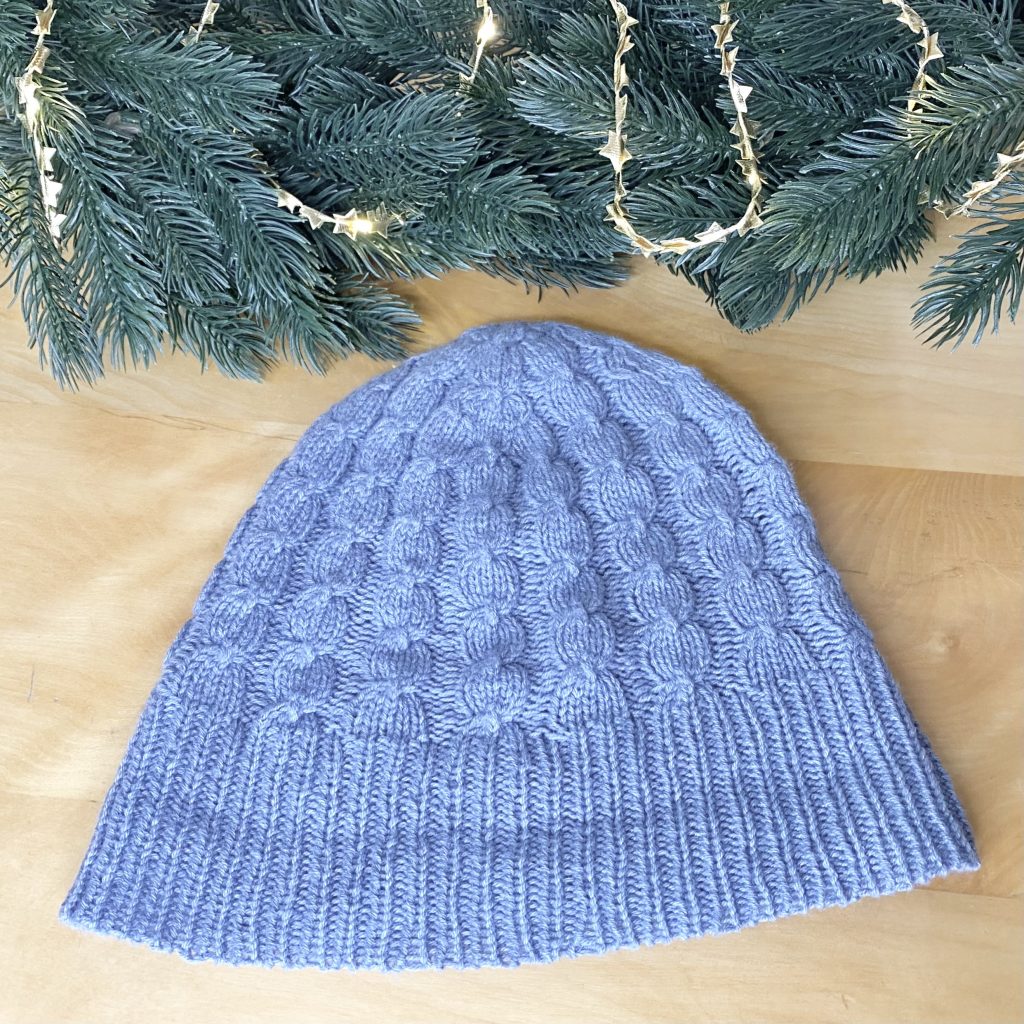
For this hat, then, I used one strand of Knitting for Olive‘s Merino, held together with one strand of Compatible Cashmere. I chose the shade ‘Dusty Dove Blue’, which is a bit of a departure from my usual colour palette (I tend to favour warmer, autumnal shades), but I think it will go really well with my fancy winter coat (it’s a black/grey/white plaid situation).
For the set (i.e. hat and mittens), I purchased 2 x 50g balls of the Merino and 3 x 25g balls of the Compatible Cashmere.
The Knitting Process
This was a slightly trickier knit than I expected it to be: I was hoping for a quick, simple knit and it was… anything but!
Italian Cast On
I encountered a problem as soon as I began with this project: the Italian Cast On! This was a new cast on for me and I found it pretty tricky. It took me a few tries to get it right (I found it really helped to set it up on straight needles, then switch to circular needles afterwards to knit the hat) and, if I’m being honest, the finish isn’t as neat as I would have liked for something that was so fiddly to set up!
I think for the mittens I will try a different cast on (maybe the alternating cable cast on?) and see if I like that a bit better (and find it easier to work!).
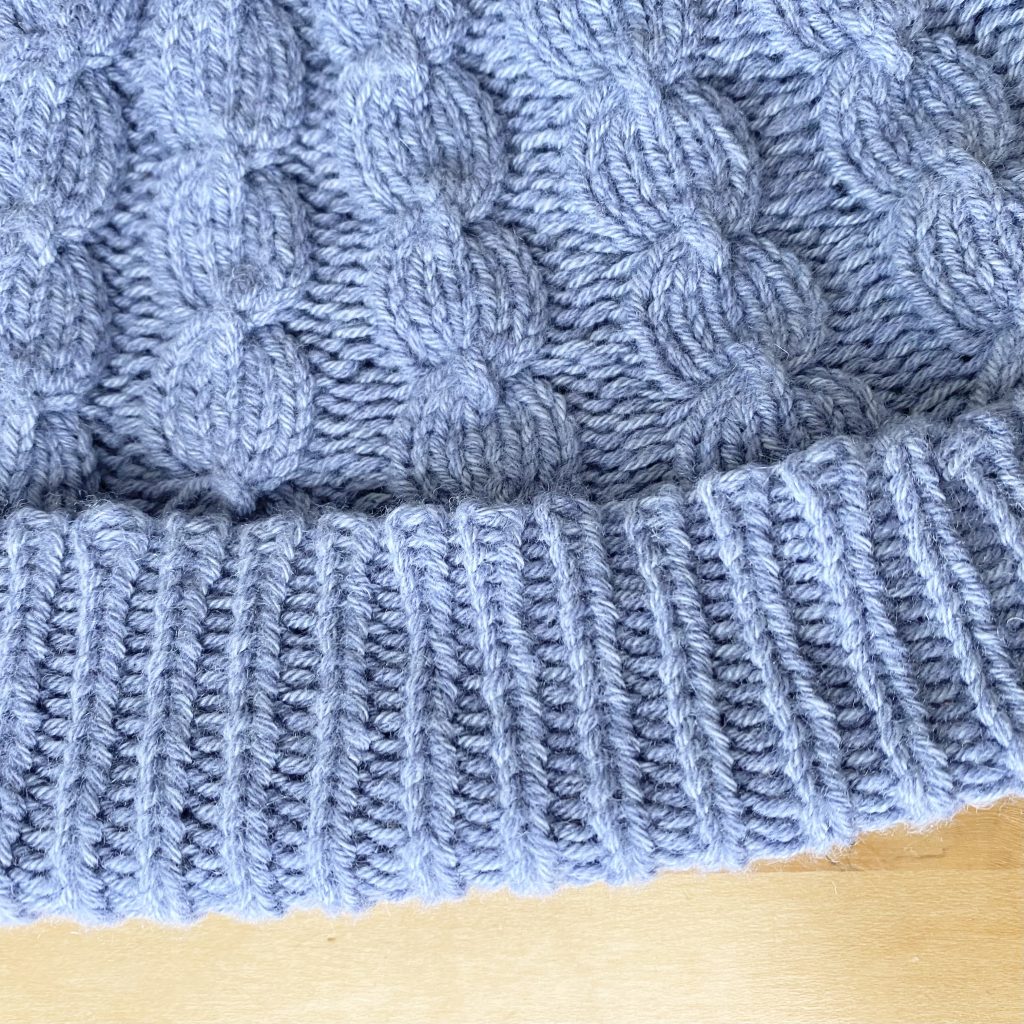
Cables
In general, I love the way cables look, but I have to admit… I just don’t love working them! I find them pretty fiddly and time-consuming, but I keep finding myself drawn to cabled projects because of how pretty and cosy they make things look.
The cables in this pattern aren’t super crazy, but they’re a little more complex than your typical 2×2 twists. I didn’t particularly enjoy working them but, again, I do like how they look, so I guess it’s worth it? I just wish I could find a love of cabling to rival my love of cables…
Decreases
My main struggle with this hat came with the decreases: I could not work out how they were supposed to fit into the pattern (and, honestly, I’m still not sure I did it right— actually, I’m pretty sure I did not do it right). Truthfully, I was baffled throughout the whole of the decrease section, right up to the end of the hat— this could 100% be a result of my inexperience, but I’d love to see some more detailed instructions for that section in the pattern to really help guide you through it, because it is tricky to juggle the cables and decreases.
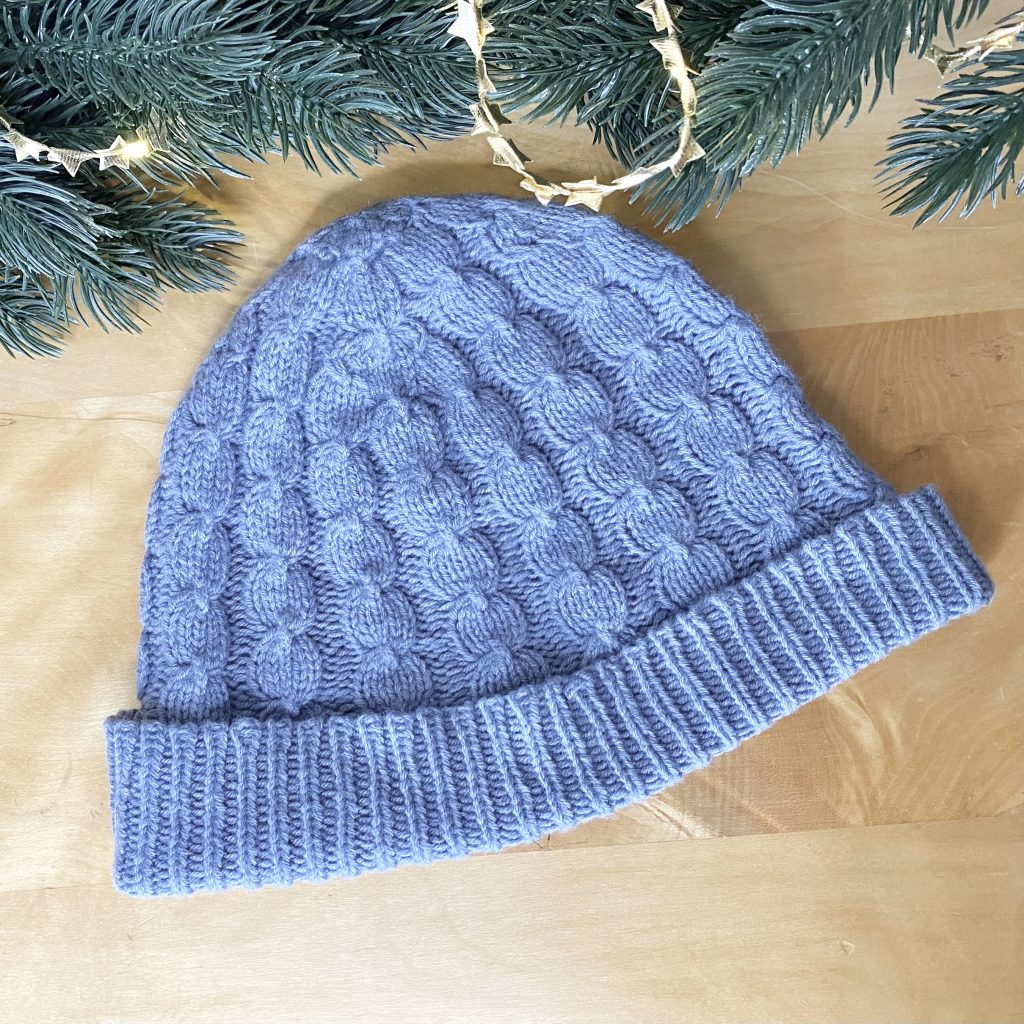
The hat does have a bit of a ‘point’ at the top: it’s not so noticeable when you wear it, but it’s more prominent when it’s off (and it was very noticeable before I blocked it). I wonder if increasing the frequency of the decreases towards the top would help this?
Finally, within the pattern, the decreases are written as ‘d1r’ (I assume, ‘decrease 1 right’) and ‘d1l’ (‘decrease 1 left’?). This terminology is not used in the abbreviations/explanations section, instead, SSK and K2tog is listed. I had to do a quick bit of googling to figure out which one was which (for reference, SSK = d1l and K2tog = d1r) and I used those decreases throughout.
Sizing
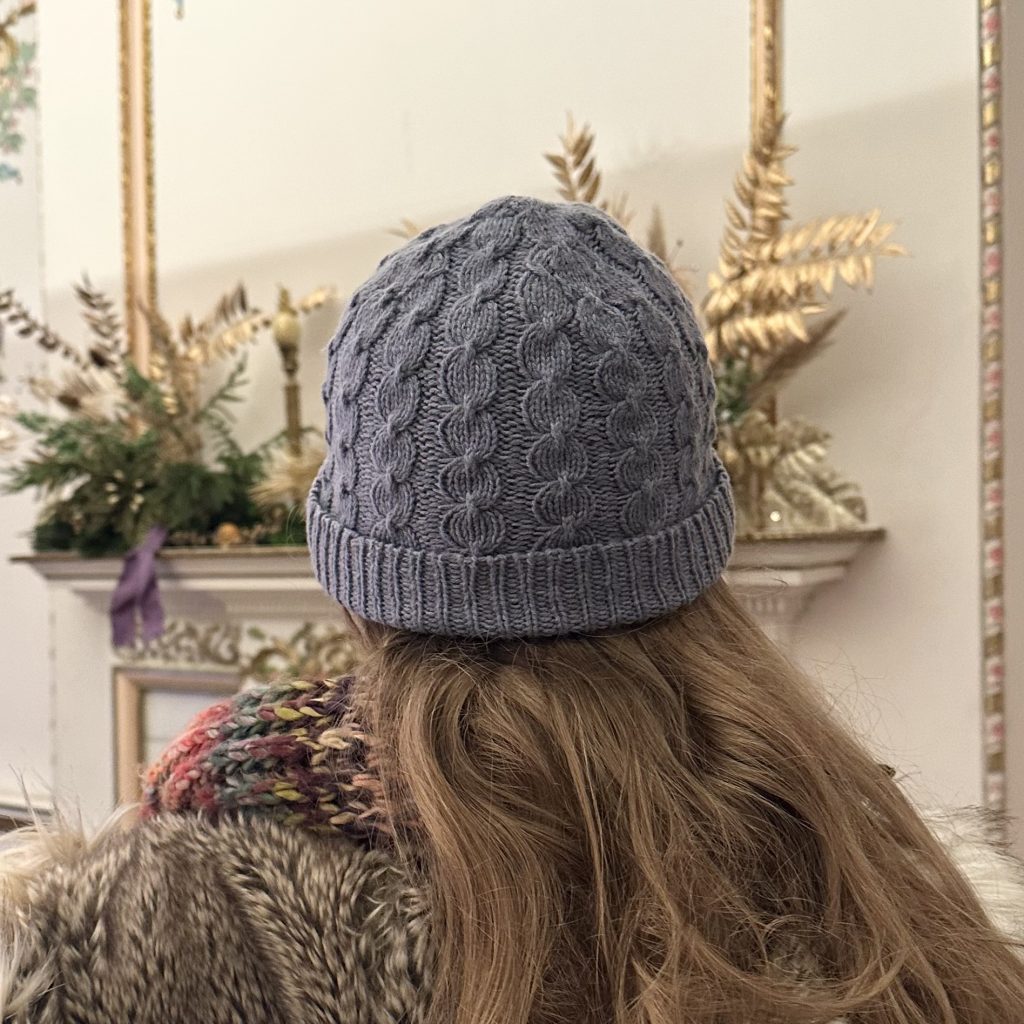
The sizing was a big issue for me with this project! As I mentioned, there are only two sizes supplied (and the only difference in the pattern between those two was 0.5mm in needle size). I ended up making the smaller hat (Size 1), because a) my head circumference is within the range for that size (admittedly towards the higher limit, but still within the range!) and b) I tend to prefer the appearance of a tighter gauge to a looser one.
However… the finished hat is a little small on me. It fits, but it’s not super cosy and it rides up a little bit. Plus, I blocked it on a head mannequin (let’s not even get into that) and I think it stretched it out slightly (so it’s not just me having a big head! Woohoo!), so the gauge (even on the smaller needle size) is quite loose and open, which makes it even less cosy. Overall, if I made this hat again, I’d definitely play around with the sizing.
Techniques
There were a couple of new techniques to me in this pattern, as well as some opportunities to practise techniques I’ve previously met (as always, previously encountered techniques are marked with an *):
- Italian cast on
- 5-stitch cables
- SSK & K2tog*
Final Thoughts
I went into this project with the false impression that it would be a simple, quick and easy knit. Alas, it was much more challenging than I expected and I didn’t enjoy the process quite as much as I had hoped to!
This is one of those projects where you know you’ll wear it and you love how it looks from afar, but up close it’s full of little things you wish you did differently. I wonder if, in the future, once I’ve got a bit more experience knitting hats, cables and decreases, I could come back to this pattern with more confidence and make a hat I’m happier with?
Nonetheless, I love the colour of this hat and I do love the general, cable-y vibe, so I’m excited to wear it throughout the festive season! Stay tuned for Part 2 of the Season Set, where I make the matching mittens!
If you're interested...

You can purchase the Season Set pattern by Ullen Knitwear on Ravelry here.

You can find the Ravelry project page for my Season Set here.
Gemma
xxx