
New year, new bullet journal- that’s how the saying goes, right? I know, I know- we’re a little way into the new year already, but, as always, I am behind with my setups :(. No matter, the first setup in my new bullet journal for 2024 is here now!
In this post, I’ll be showing you the initial pages of my bullet journal for the next 6 months. I always set up lots of different spreads at this stage, because I like having fewer spreads to set up throughout the year. I am very aware, however, that the sheer amount of spreads in this post might seem a little overwhelming! Bullet journalling is such a personal thing- this is what works for me, and, while it takes a lot of time to set up, I don’t mind because I know how much time and stress it will save me in the long term. If you’re new to bullet journalling, I would definitely recommend keeping things simple to begin with, so you can get into the flow of the bullet journalling process.
Anyway, let’s go through my (very un-minimal) setup, shall we?
Table of Contents
- Inspiration
- Equipment
- Things to Look Forward to + Name Plate
- 2024 Cover Page
- Goals
- Future Log
- Tennis Schedule + Results
- Health
- Blog
- Finance
- Media
- Final Thoughts
Inspiration
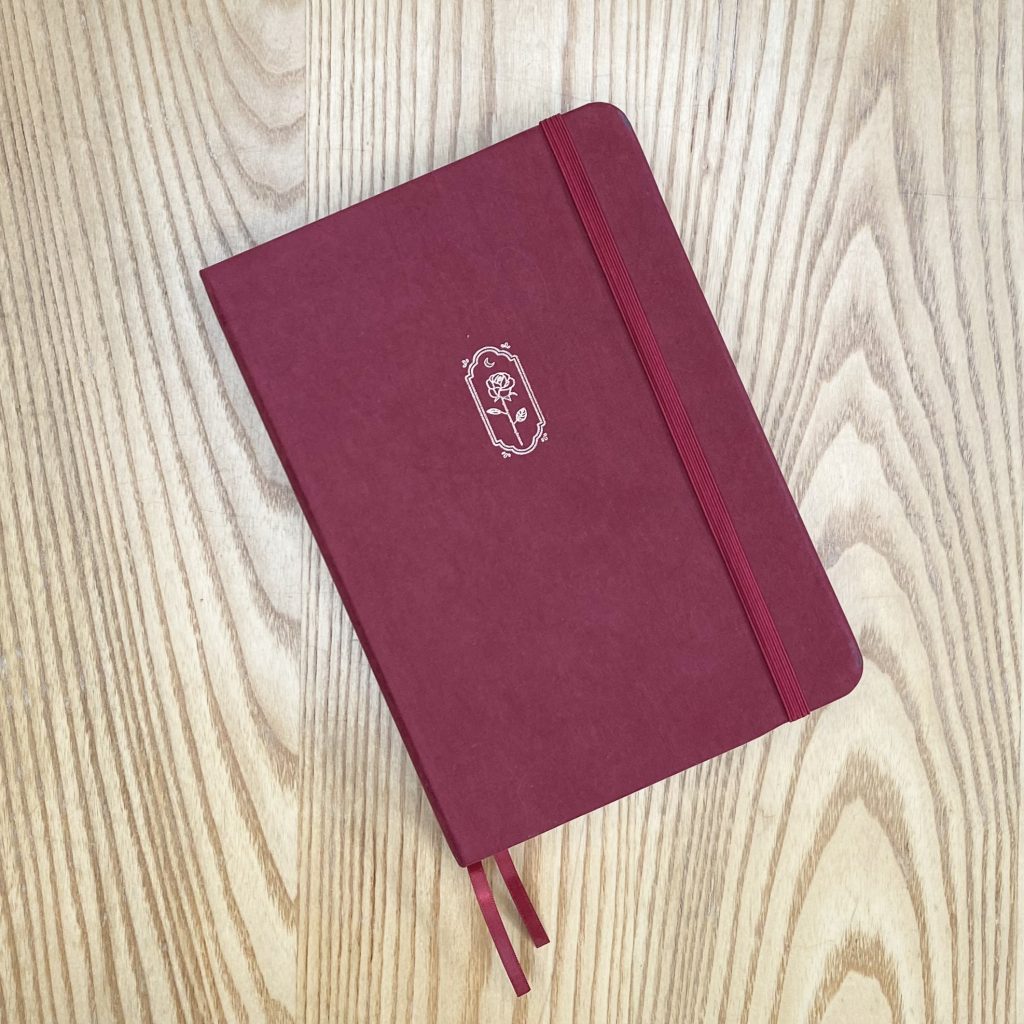
For my January-June 2024 bullet journal, I chose this red notebook from Notebook Therapy. It has a rose design on both the front cover and the spine, as well as two ribbon bookmarks and an elastic closure. It came with a matching rose paperclip and the cover is a super soft velvet. The only thing it doesn’t have is a pen holder, which is a little sad, but not the end of the world. Also… this journal was a limited edition product, so I don’t think it’s still available for purchase :(. On the bright side, there a lots of other lovely journals available on the Notebook Therapy website!
Recently, I’ve been making a conscious effort to match the themes of my initial bullet journal setups to the design of the journals themselves. Of course, I decided to do the same with this one- I went for an ornate, fairytale/storybook theme to reflect the Beauty and the Beast vibes of the journal design.
I’ve always loved illuminated letters- you know, how the first letter in medieval manuscripts/old storybooks is always super ornate and highly-decorated? I think I did a project on them once at school and it just stuck with me. I thought that style of lettering would work perfectly with this theme, so I included as many illuminated letters as I possibly could!
I also opted to use a very minimal colour palette for this setup: it’s essentially just black, red and gold (with the occasional, parchment-y colour for highlighting). I think the black really helps to give this setup a bit of ✨drama✨, but it does give off a slightly more gothic vibe than I was going for- I’m not mad about that, though, because it reminds me a little bit of some pieces of gothic literature, I’m thinking Jane Eyre and Carmilla?- so it still fits my ‘storybook’ theme.
Also, I realised after making this entire setup that the font I used was kind of… Saltburn-y? I haven’t watched the film (I am much too soft for that) but it has been all over my socials, so maybe I was accidentally inspired? I suppose, then, that this is a Beauty and the Beast-inspired setup, with some other accidental influences, including, but not limited to, gothic literature and Saltburn. Makes total sense, right?
Equipment
- Tombow Dual Brush Pen: black (N15) and light sand (990).
- Muji 0.38mm pen, black.
- Crayola SuperTips: dark red and black.
- Uni-ball Signo Broad, gold.
- STAEDTLER Metallic Marker pens: gold.
- Decorative gold washi tape.
- Black paper.
- Ruler.
- Pencil.
- Eraser.
- Scissors.
- Glue.
Things to Look Forward to + Name Plate
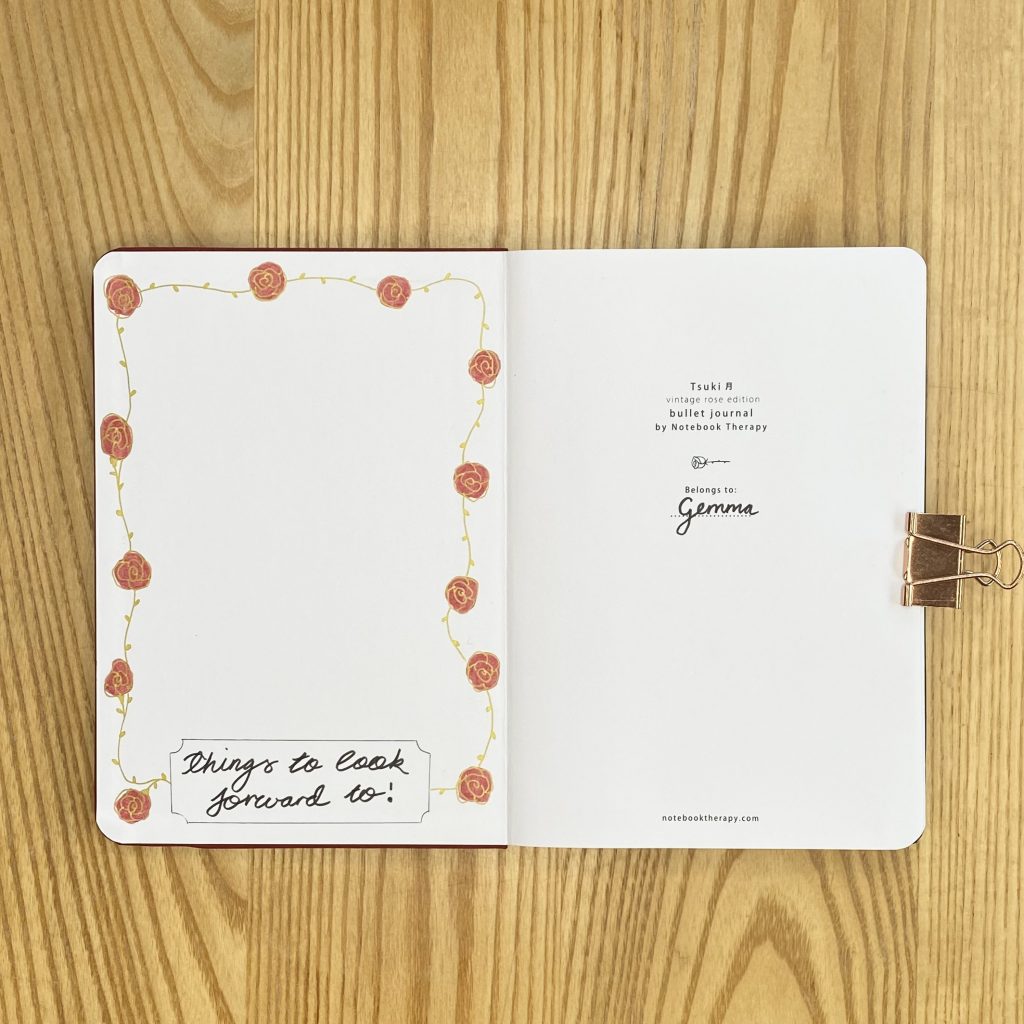
I never used to use the inside cover of my journal for anything, but it is something that I have been doing a bit more over the past year, because I think it’s nice to use all of the available space! This time, I opted to put a ‘Things to Look Forward to‘ spread here- I’ll fill this up with a ‘word cloud’ full of things that I’m looking forward to in the year ahead, so that I can come back and reference it whenever I need a little pick me up.
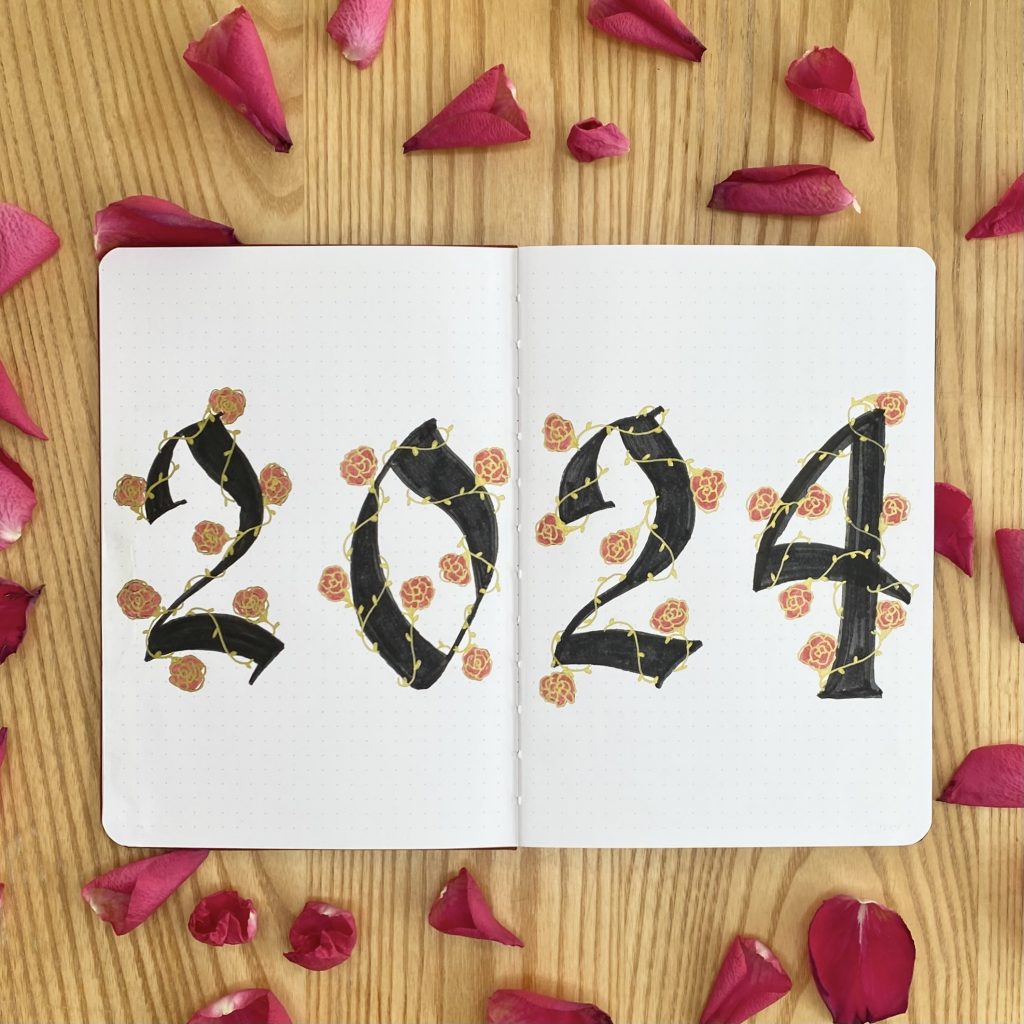
2024 Cover Page
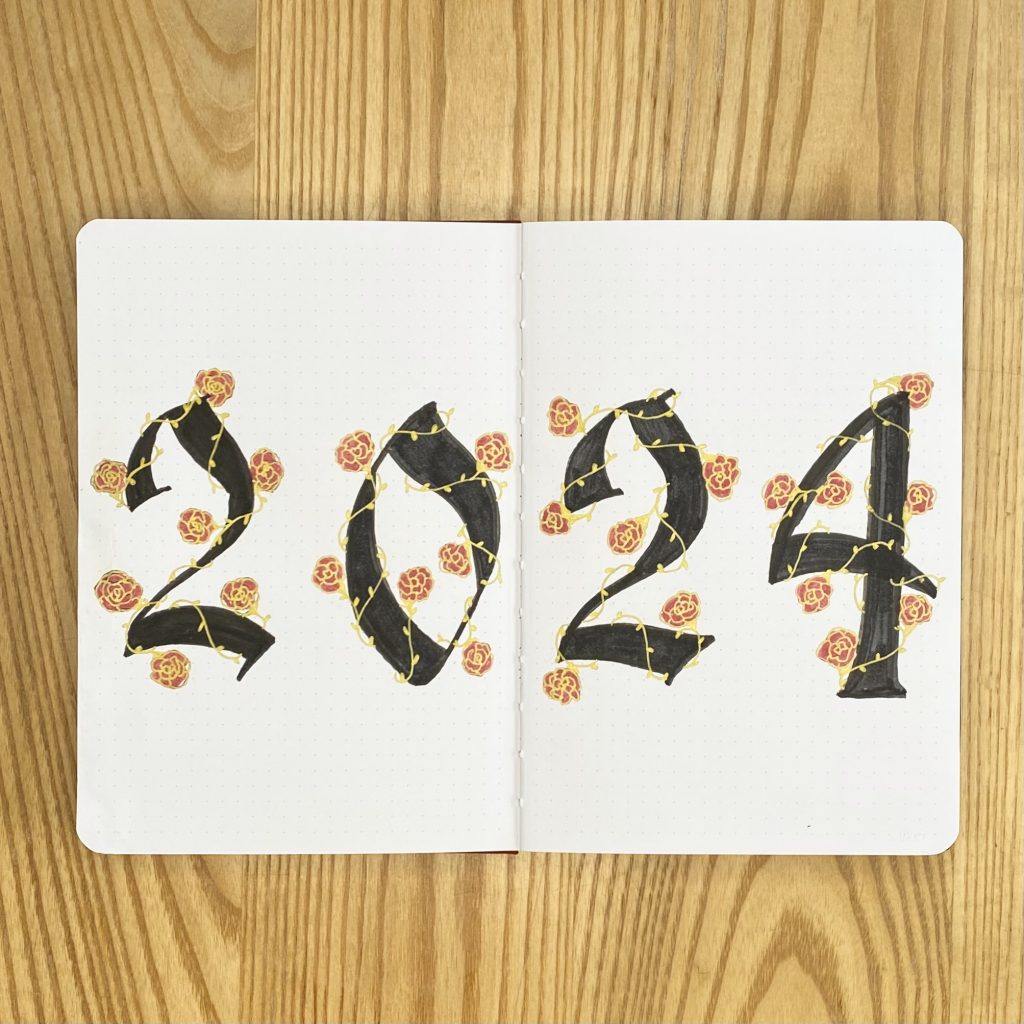
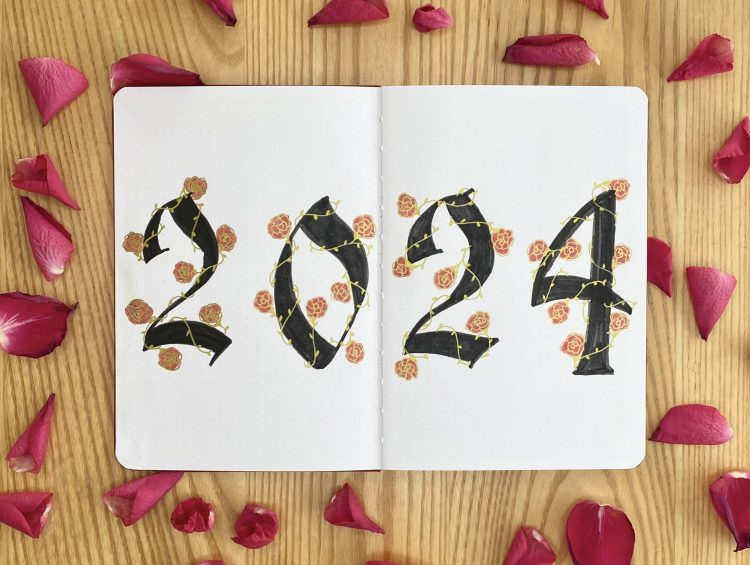
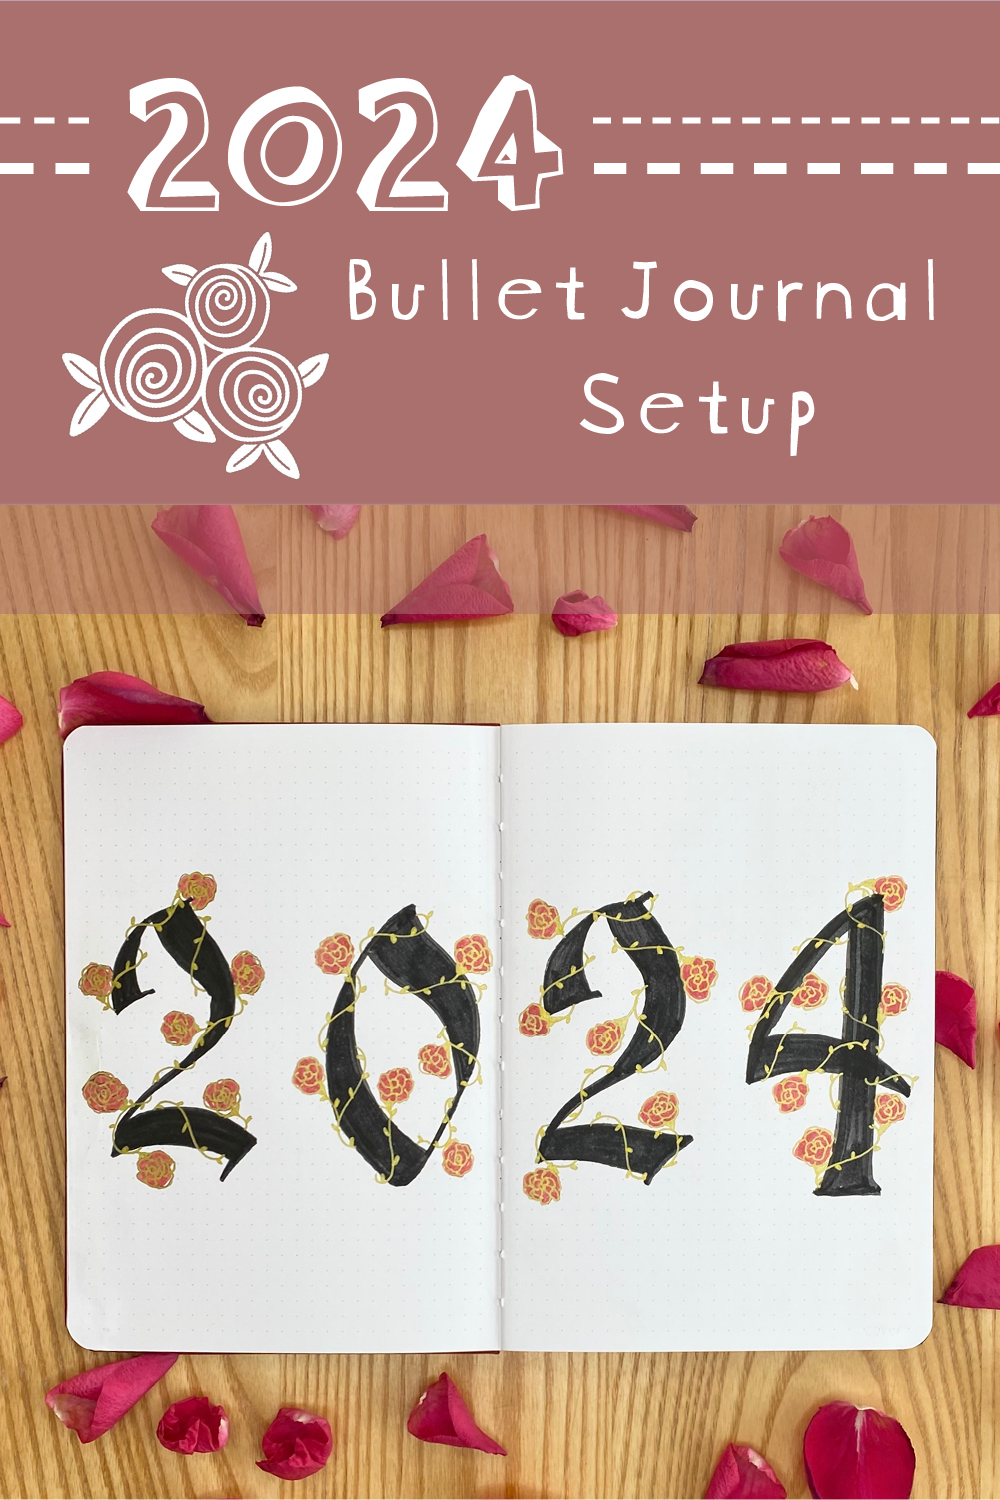
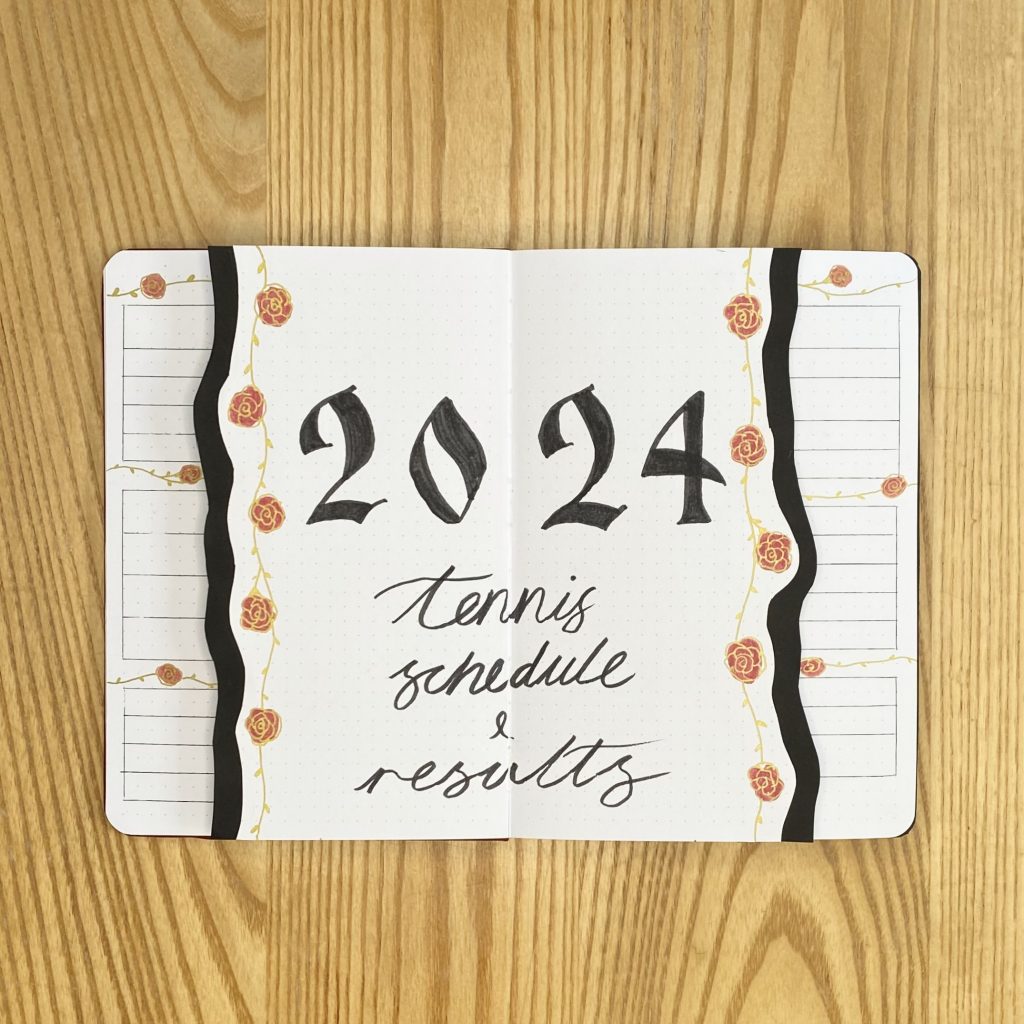
I really wanted my Cover Page to be super dramatic, so I used a whole double-page spread for it. I wrote out 2024 in a classic (accidentally Saltburn-y) lettering, coloured each letter in black and then decorated them with golden vines and red roses, as a little nod to my beloved illuminated letters. I really love how this page turned out!
Goals
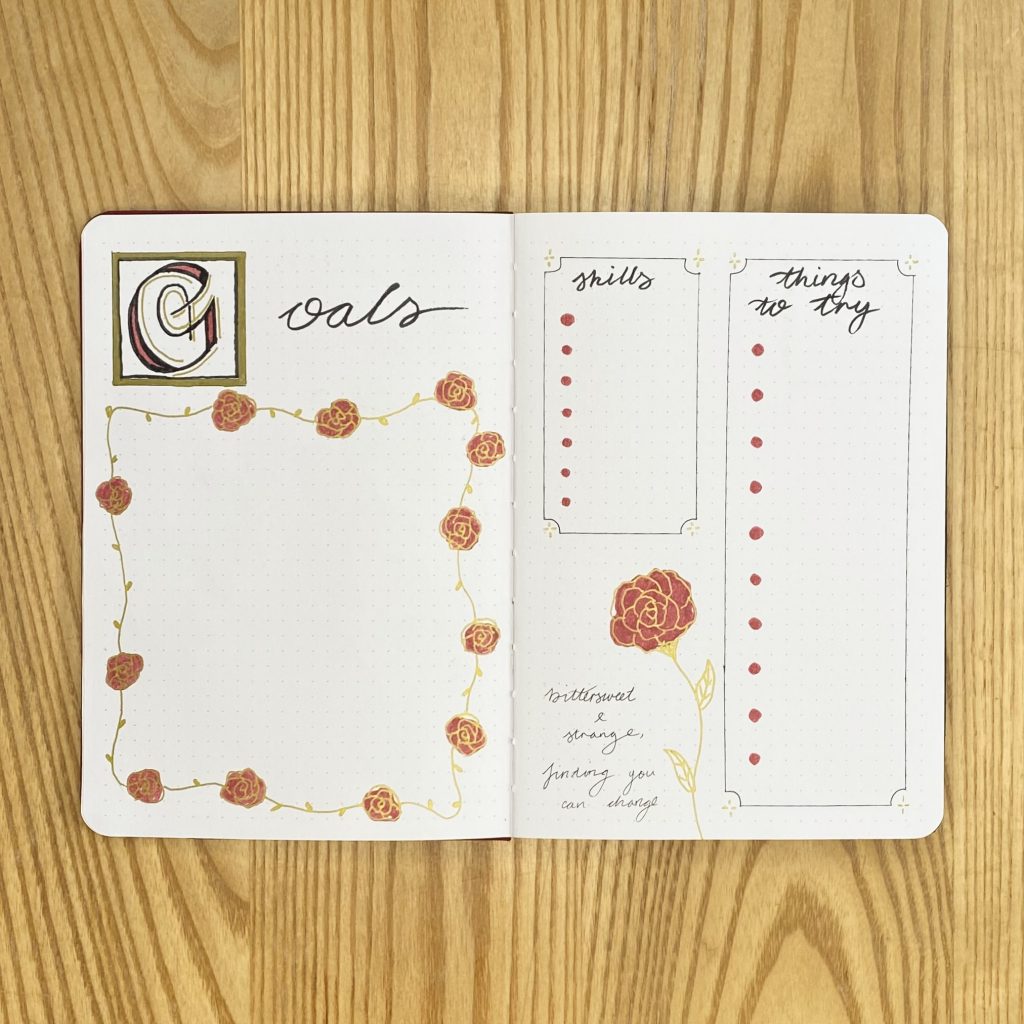
One of my goals for the new year is to be better at actually achieving my goals, which I guess, is kind of goal-ception? I’m going to list my goals on the left-hand page, but I’ve also included some other boxes on the right-hand page, to help me expand on some of those goals. I’ve got a space for any skills I learn over the year and a space for jotting down some things I would like to try out. I also added a quote from the song ‘Beauty and the Beast‘ (from the Disney film), because, really, if Angela Lansbury as a kindly old teapot cannot motivate me, who can?
Future Log
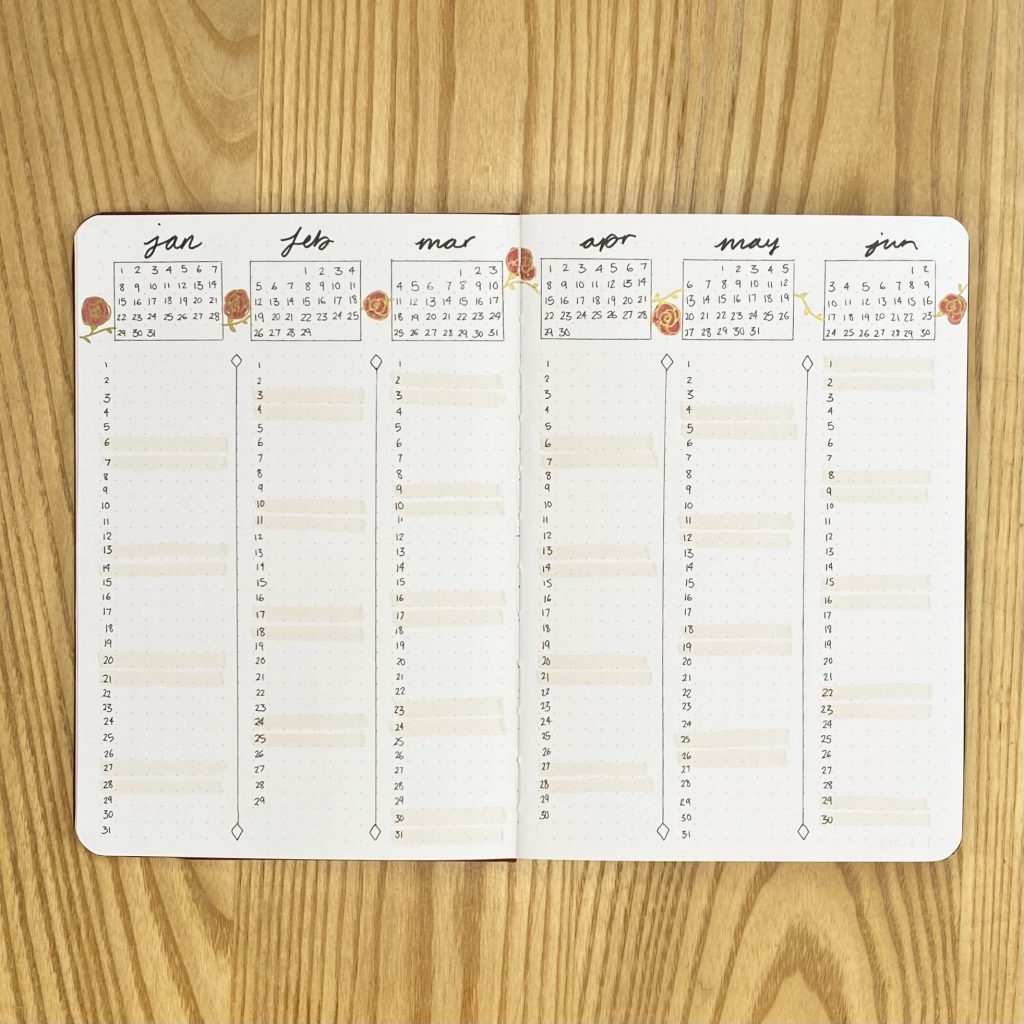
It is an ongoing grievance of mine that a Future Log just does not fit right into an A5 bullet journal. I know there are ways around it, and believe me- I’ve tried them all, but future logs just work better for me when I have a mini Monday-Friday calendar AND a full, vertical calendar for each month. Like that, I can just about fit 6 months in on a double-page spread, but there’s definitely no room for a header/extra decoration. Sigh. Oh well, I want my bullet journal to be functional, first and foremost, so, this time around, I have sacrificed my title, even though it hurt me greatly to do so.
On a more positive note, I’ve been seeing a lot of people highlighting the weekends on their vertical calendars recently and I thought it was such a good idea, so I tried that out, using my Tombow 990.
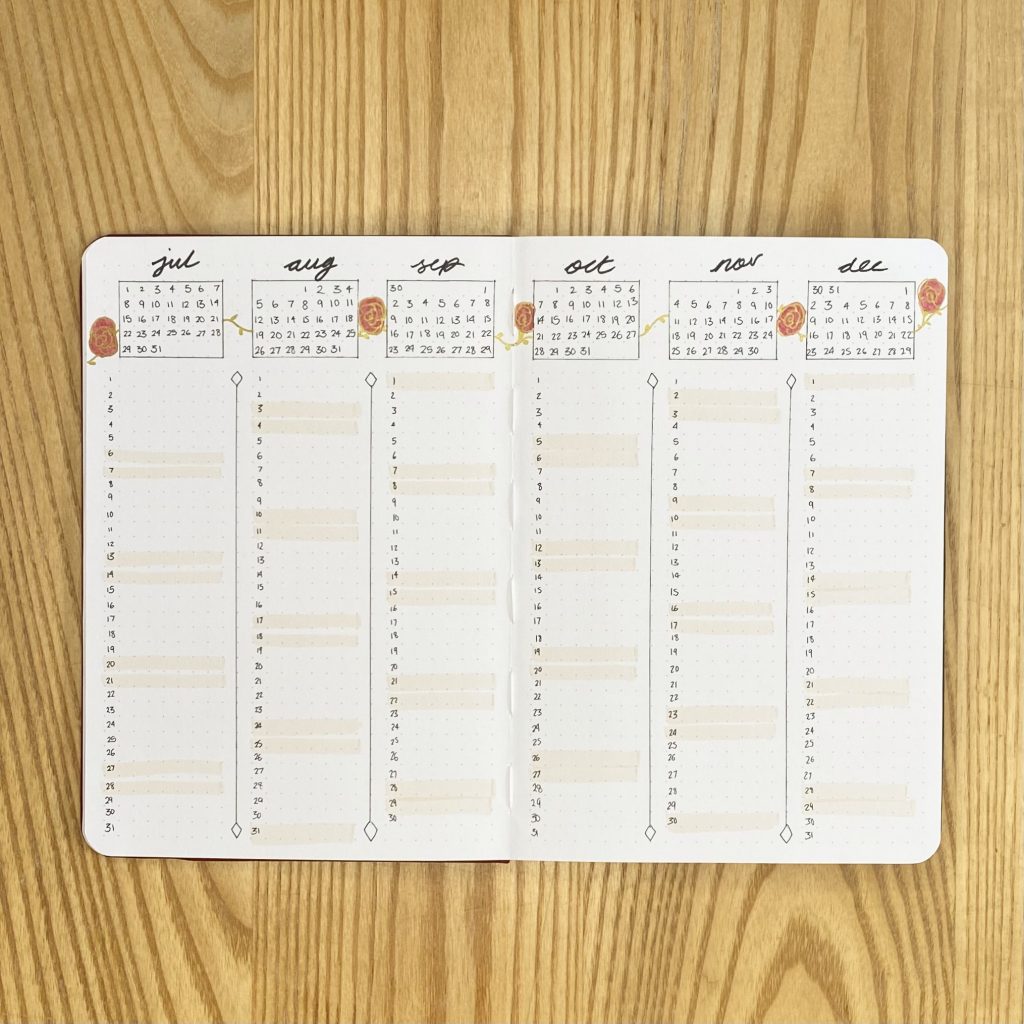
Even though this bullet journal is only for January-June, I have set up another double-page future log for July-December 2024, so that I can keep track of any appointments/plans throughout the year. If I don’t do this, I always seem to have a major panic in June when the second half of the year sneaks up on me. Not the vibe.
Tennis Schedule + Results
Are you excited? I am! It’s time for my beloved, super-niche, straight-up obsessive Tennis Schedule and Results spread. Is this one I imagine you will be including in your journal? Probably not. Could I live without it? Absolutely. Do I want to? Absolutely not. In every bullet journal I set up (admittedly, only from last year onwards, but still), I dedicate 3 whole double-page spreads to my Tennis schedule and, honestly, it’s so worth it- it’s one of my most used spreads. What can I say? I live a quiet, tennis-obsessed life.
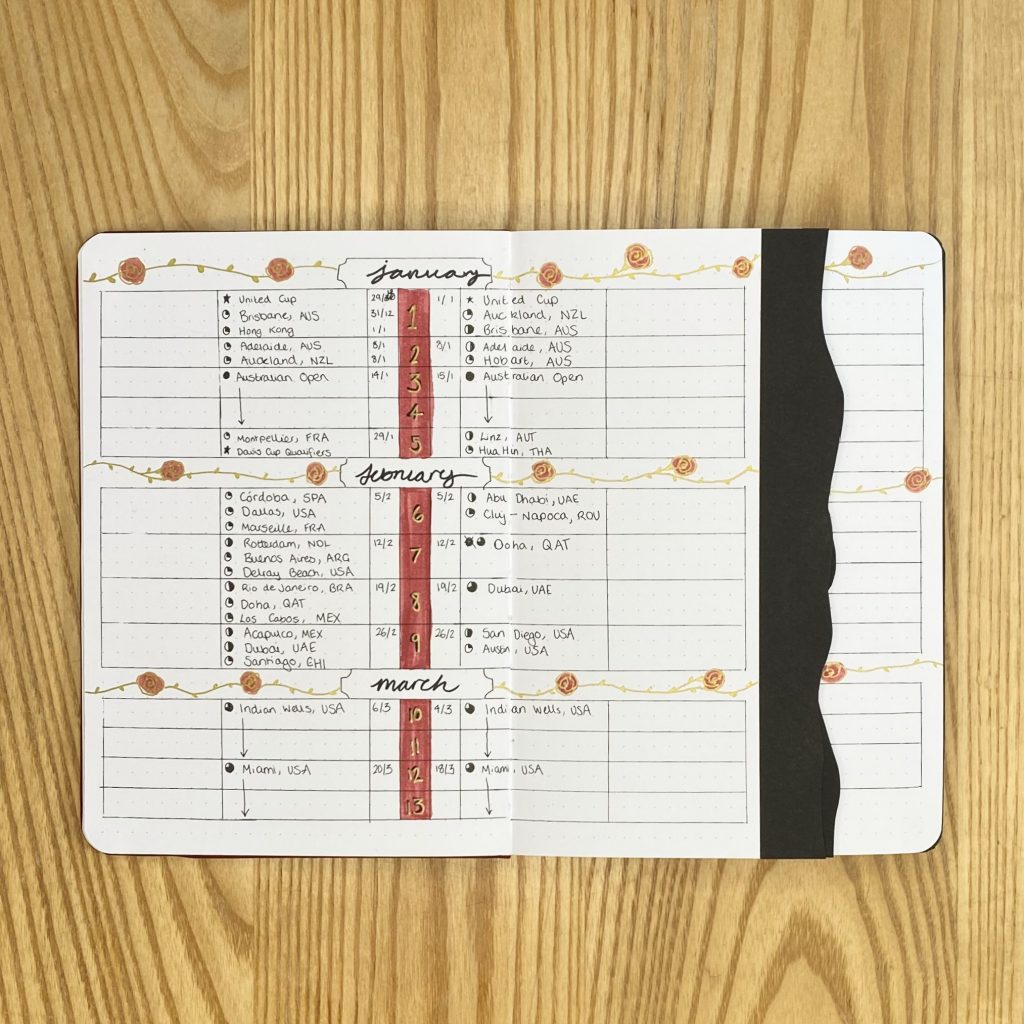
This particular tennis setup is very similar to the other two I have created (you can find my first one here, and the most recent one here). The title goes on the central double-page spread, which I cut down so that the other two double-page spreads before and after are slightly visible. Those two spreads contain the tennis calendar, which is really just a big table in which I write all the upcoming tournaments (ATP (men’s tennis) on the left, WTA (women’s tennis) on the right). As the year goes on, I write in the winners in the empty column.

I know it’s very extra, but it could be worse, right?
Health
With the initial calendar/goal section out of the way, I like to split up the rest of the pages into categories, to help me find everything easily. Each category has its own little ‘cover page’ and I use tabs to keep all of the pages within each category ‘together’, as it were. For the tabs in this setup, I opted for a slightly more ‘classic’ shape to match the theme, and covered each tab with some washi tape (which, fittingly, has a gold, rose design on it). To make sure the tabs really stood out, I stuck some black paper on both the very first page and the very last page of each section, so that, no matter where you are, the tabs are sitting against the black paper.
Keeping track of my health is (obviously) a very important part of my life, so, inevitably, I have a whole section of pages dedicated to it. I like to put it first to make sure the universe knows I have my priorities straight.
Year in Pixels + Cover Page
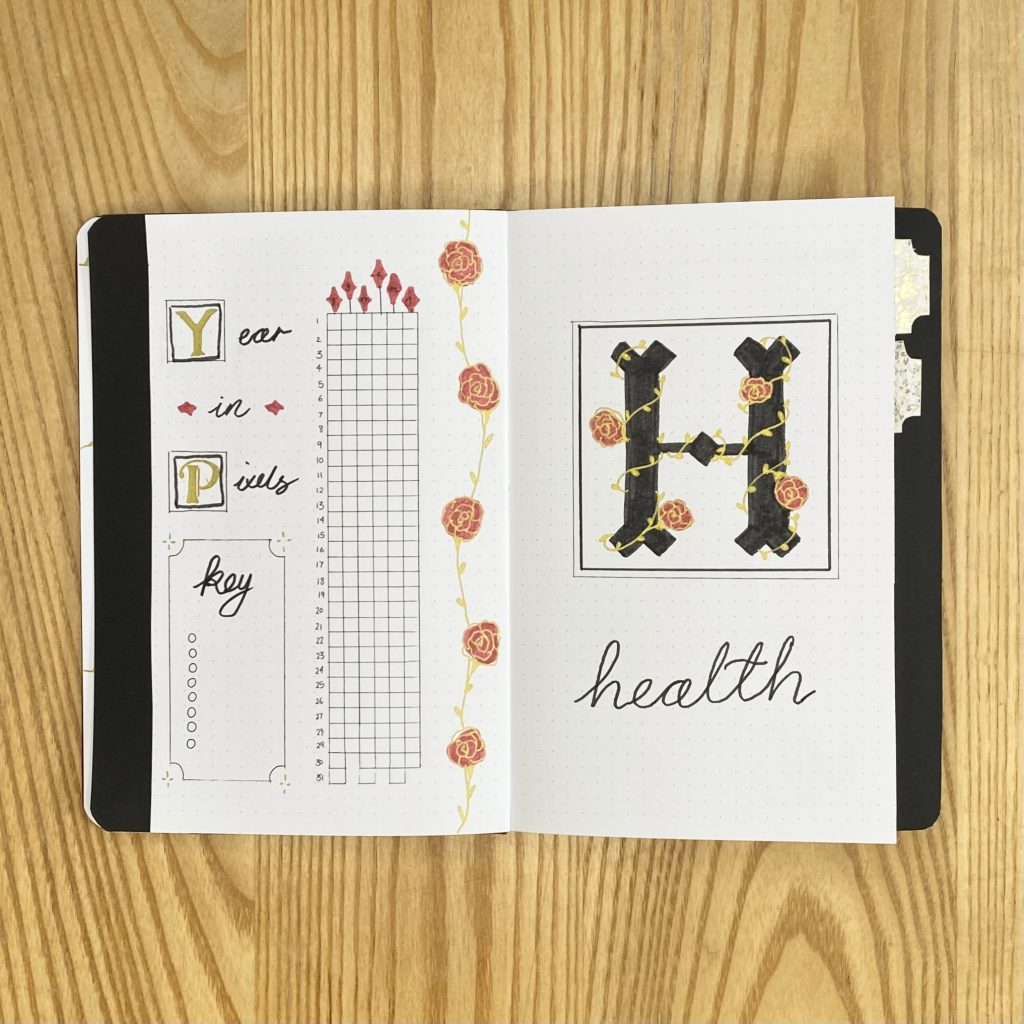
For the mini ‘Cover Page‘ for each section, I created a more traditional, illuminated version of the first letter of the section name (here ‘H’ for ‘health). I’m so happy with how these turned out- I think they look perfect! I also wrote the section name below the letter, using a simple cursive font.
For this section, I put my Year in Pixels (although, admittedly, it’s really only half a year’s worth of pixels…) beside the ‘cover page’. I always include this spread in my journal, so that I can keep track of any patterns in how I’m feeling, both mentally and physically. Essentially, you just assign a colour to each mood/general impression of the day (e.g. great, good, bad, ill, sad etc.) and, each day, you colour in the corresponding pixel in the grid with the colour that represents how you felt that day.
Medical Notes + Prescription Tracker
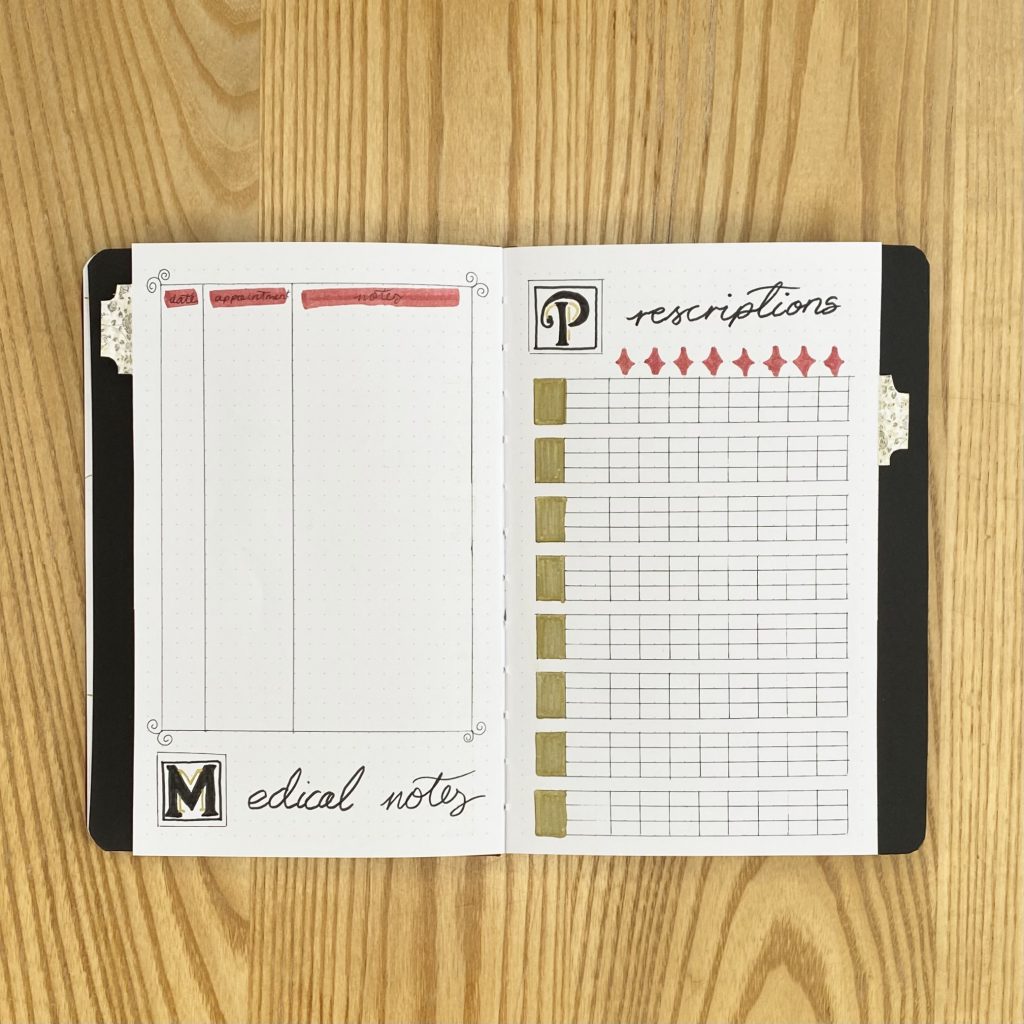
Next is my space for Medical Notes. I have a good number of doctor’s appointments throughout the year, so I like to keep track of what has been discussed/decided in those appointments for future reference. For this, I just set up a simple table, with one column for the date, one column for the appointment type and one column for any notes.
Next to that is my Prescription Tracker, which is such a useful page. Every time I receive a restock of my prescriptions, I fill in this page and work out when I need to order each medication again. I label the red diamonds along the top with the first letter of each of my medications, so that each one has its own column. Each mini table corresponds to one ‘filling out session’- I write the date in the gold column on the left, the fill in the rest of the table with a) the number of tablets I currently have, b) the number of days that equates to and c) the date on which I will run out of each medication (I do usually write these subheadings (in abbreviated form) in the second column, but I evidently forgot to do that before!). From this data, I can then work out when I need to order each medication, and transfer that information to my yearly/monthly calendars. This way, I am always on top of my medication and there’s never a last minute panic when I run out of something important!
Challenges
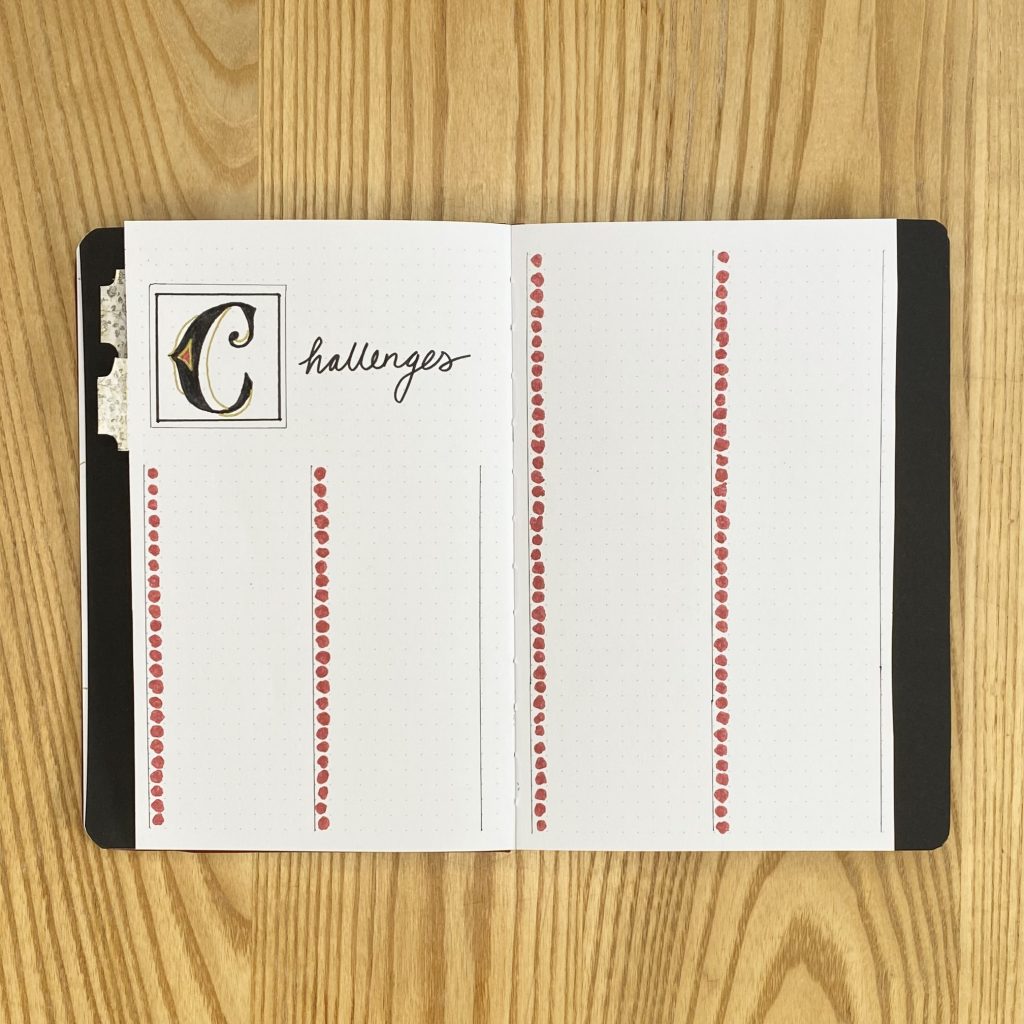
I’ve been using a Challenges spread like this for the past year. It started as a way to encourage myself to do more things that were outside of my comfort zone, but I have also found that it works really well as a form of positive reinforcement: when I write down something challenging that I have done and tick it off, even if I do so after the event itself, I feel a sense of pride that really helps to motivate me to continue doing challenging things. It’s also nice to look back on, if I’m ever feeling a little helpless, to remind myself of all the times I have been brave (and survived!).
Blog
The next section is for all the spreads that I use to track/brainstorm my blog content.
Hub + Cover Page
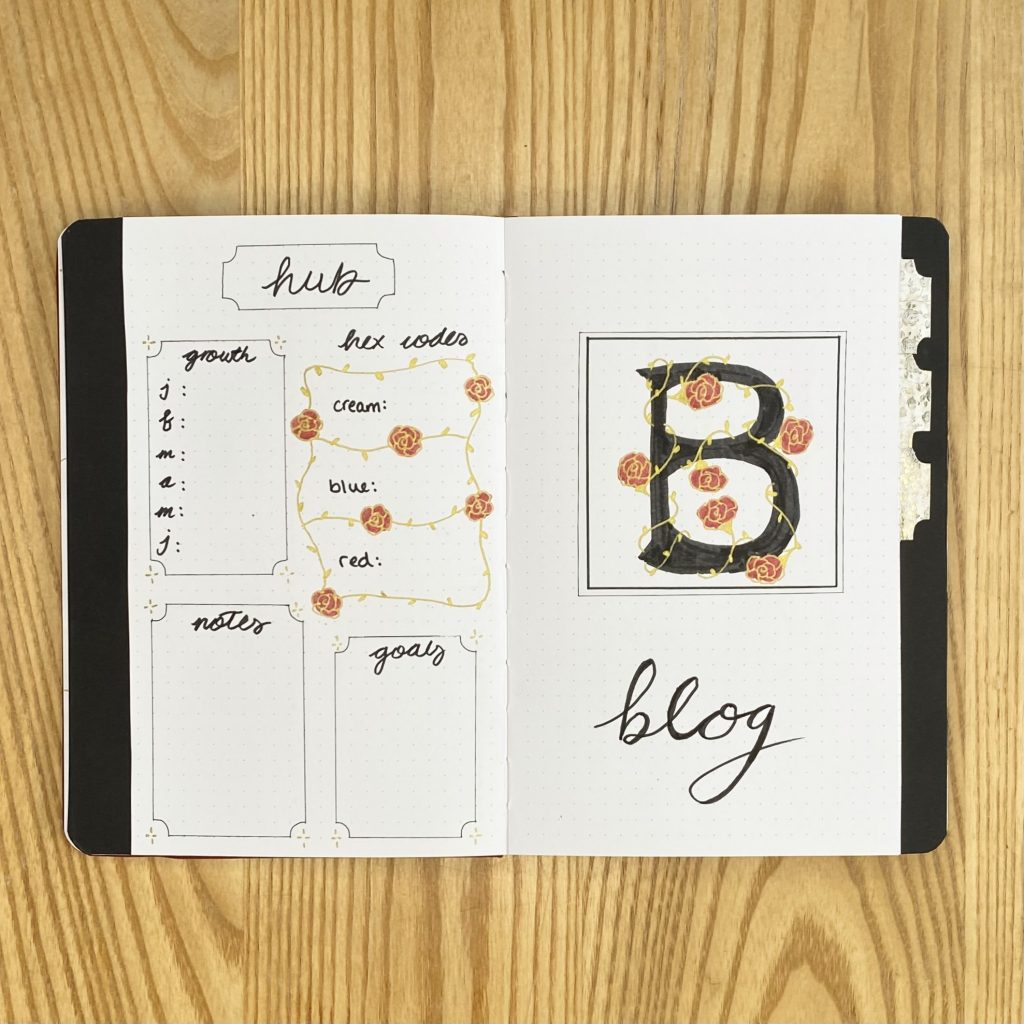
First up, there’s my Hub page. I refer to this page all the time, because I am forever needing to reference the hex codes for this site’s colour scheme! I also like to track my Instagram growth here, as well as my blog-specific goals for the year.
Beside the Hub page, is the section Cover Page, which I made in exactly the same way as the previous one.
Post Planning
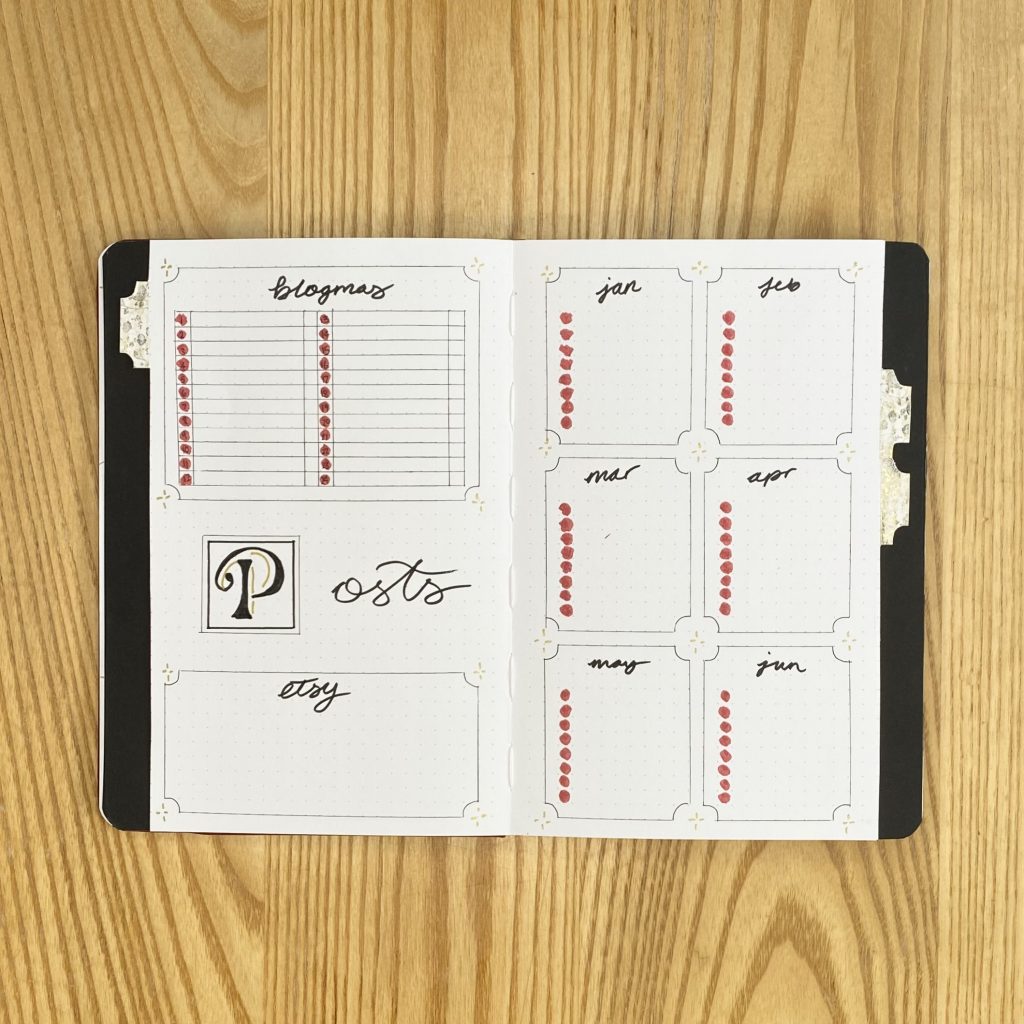
The first spread in this section is my Post Planning page. On the right-hand page, I’ll keep track of the blog posts I have planned for each month. On the left-hand page, I have a space for keeping track of any work I do (wayyyy in advance, obviously) for Blogmas at Home next year and for any notes on some (potential?) Etsy projects.
Kanban Board
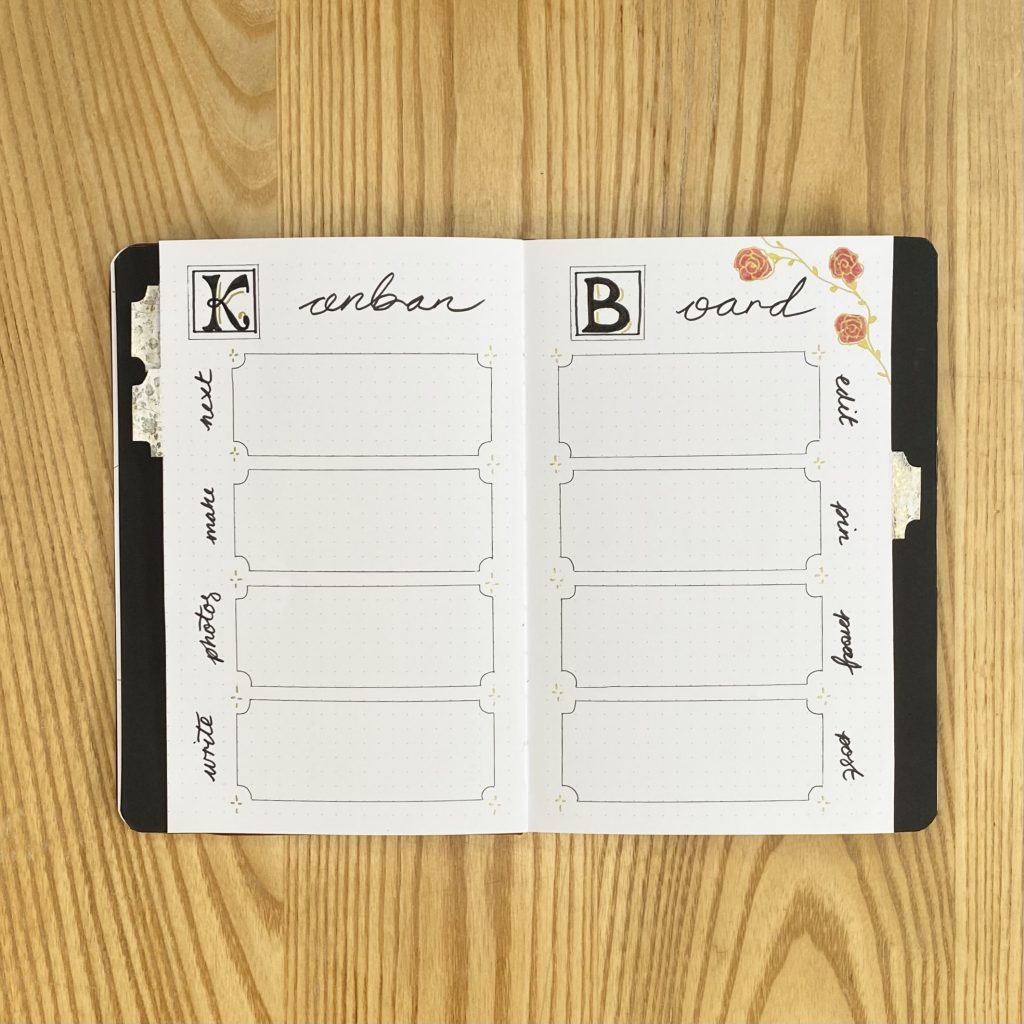
Next, I have a double-page spread for my Kanban Board. I’ve been including this spread in my journals recently, to help me keep track of my posts, particularly when I have multiple on the go at the same time. Essentially, I just write each post on a little sticky note, then move it through each of the stages as I complete them. I think this provides me with a really good visual representation of where I’m at, what needs to be done and what I should prioritise.
Projects + Ideas
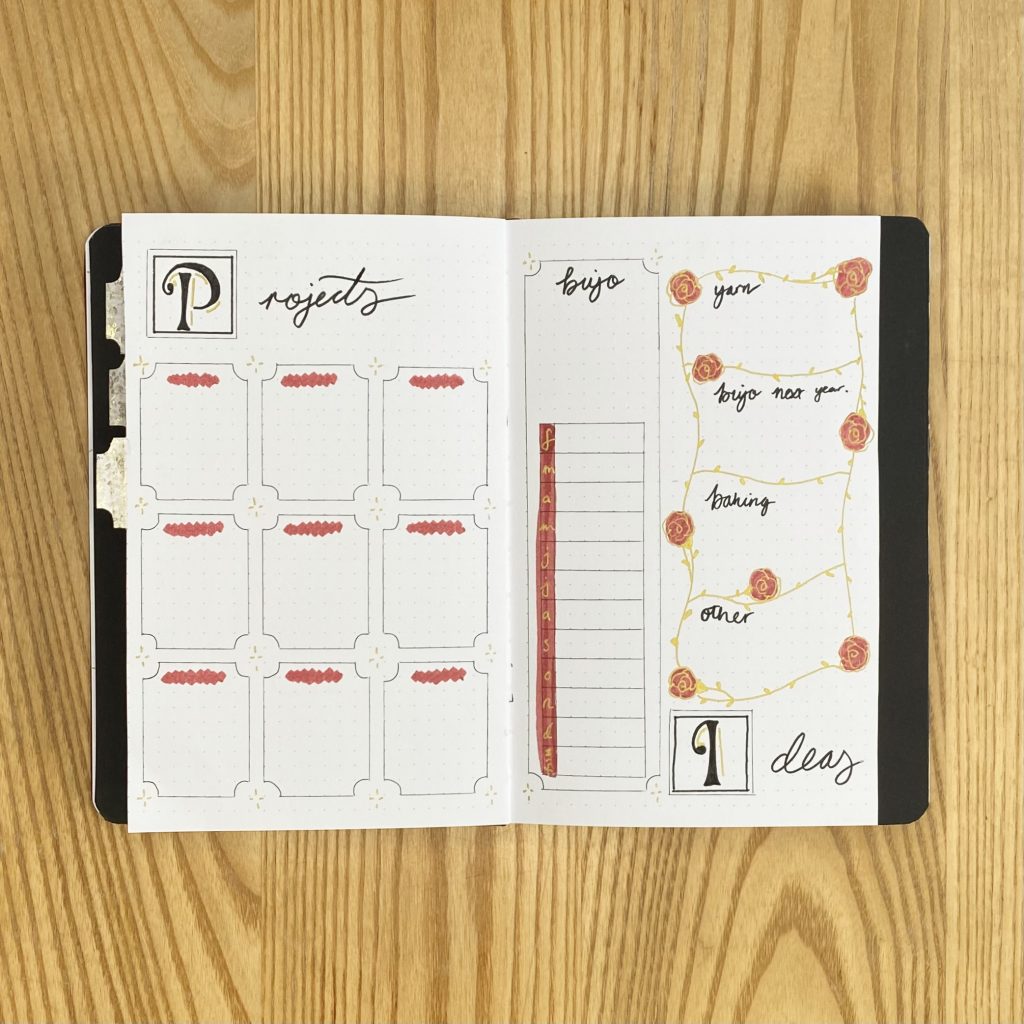
On the left-hand page, I have space for keeping track of specific, long-term Projects. Each box will house one project, providing a space for me to jot down any progress notes/ideas for them.
On the right-hand page, I have a space for my Ideas. On the right, there’s space for any Bullet Journal theme ideas, with a table at the bottom for allocating potential themes to specific months. On the right, I have space for the other categories that I tend to have ideas in (though I have just realised that I made a duplicate Bullet Journal section, which I will have to correct!).
Finance
The next section is for my rather boring, but very necessary, financial notes and plans.
Notes + Cover Page
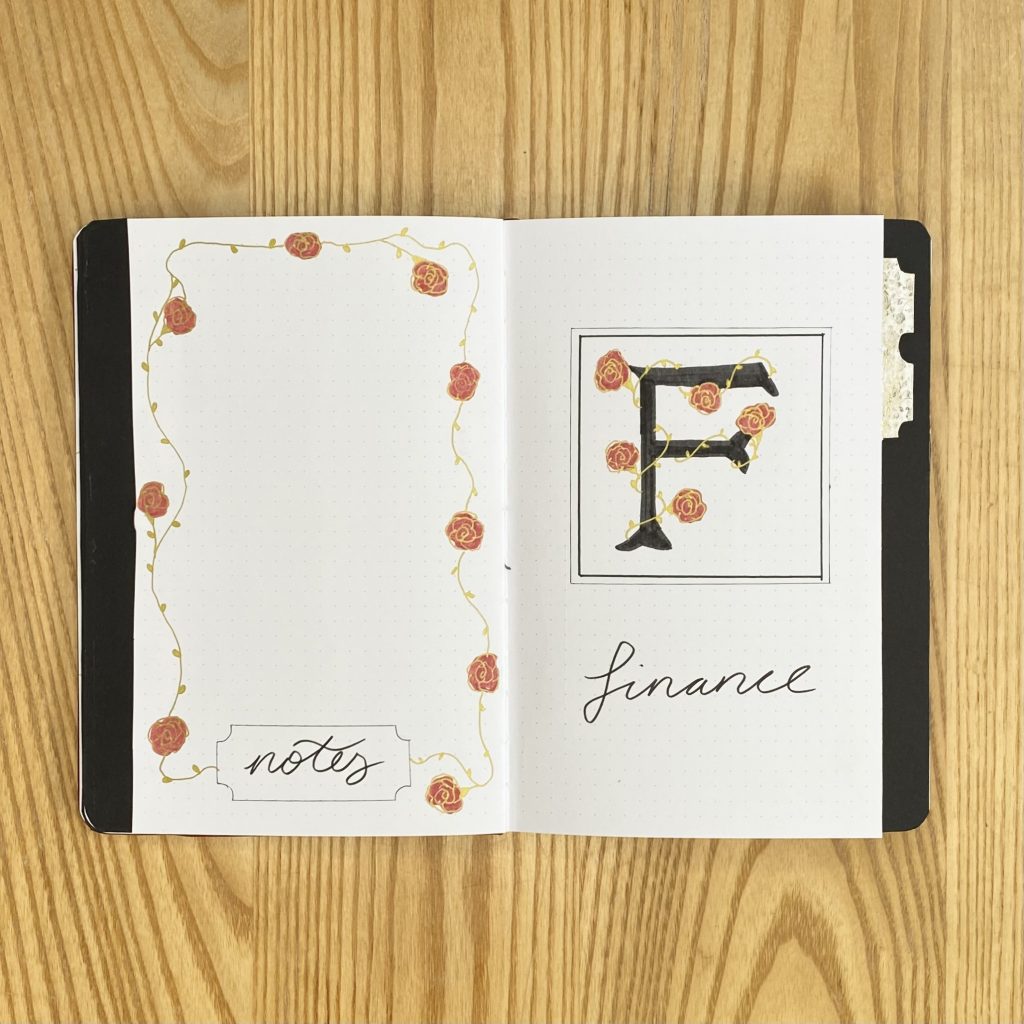
Again, this subsection’s Cover Page is exactly the same as the others. On the page next to it, I just made a big space for any notes that I may need to jot down.
Savings + Income Streams
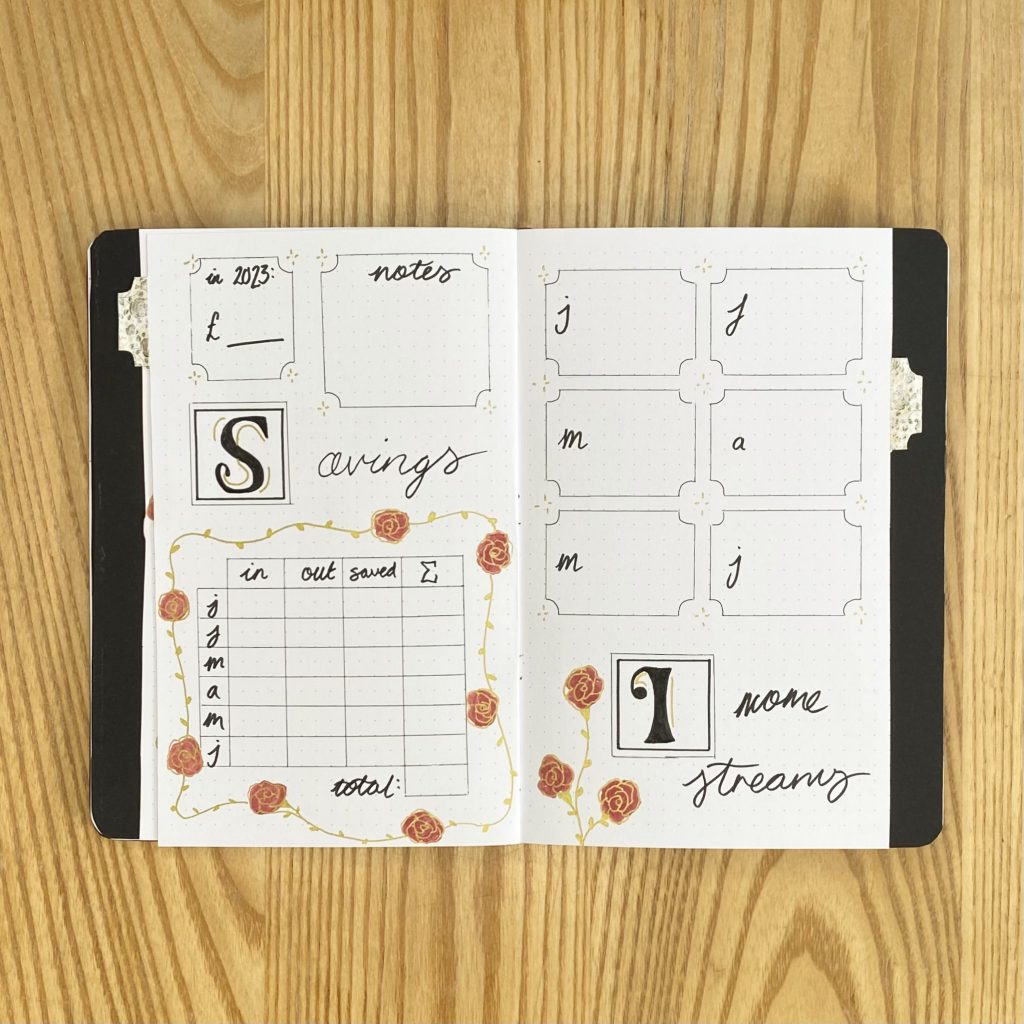
On the left, I have my Savings page. At the start of every month, I look back over my finances from the previous month and work out how much I earned and how much I spent. I then work out the difference to find out how much I saved over the month. I put all of this information into the table at the bottom, as well as working out my cumulative savings, that is, how much I have saved since January. At the top of the page, I also have spaces for how much I saved last year, and any specific notes.
On the right, I have spaces to note down my Income Streams each month. I fill this out at the same time as my Savings page, just so that I can keep an eye on where my money is coming from!
Wishlist
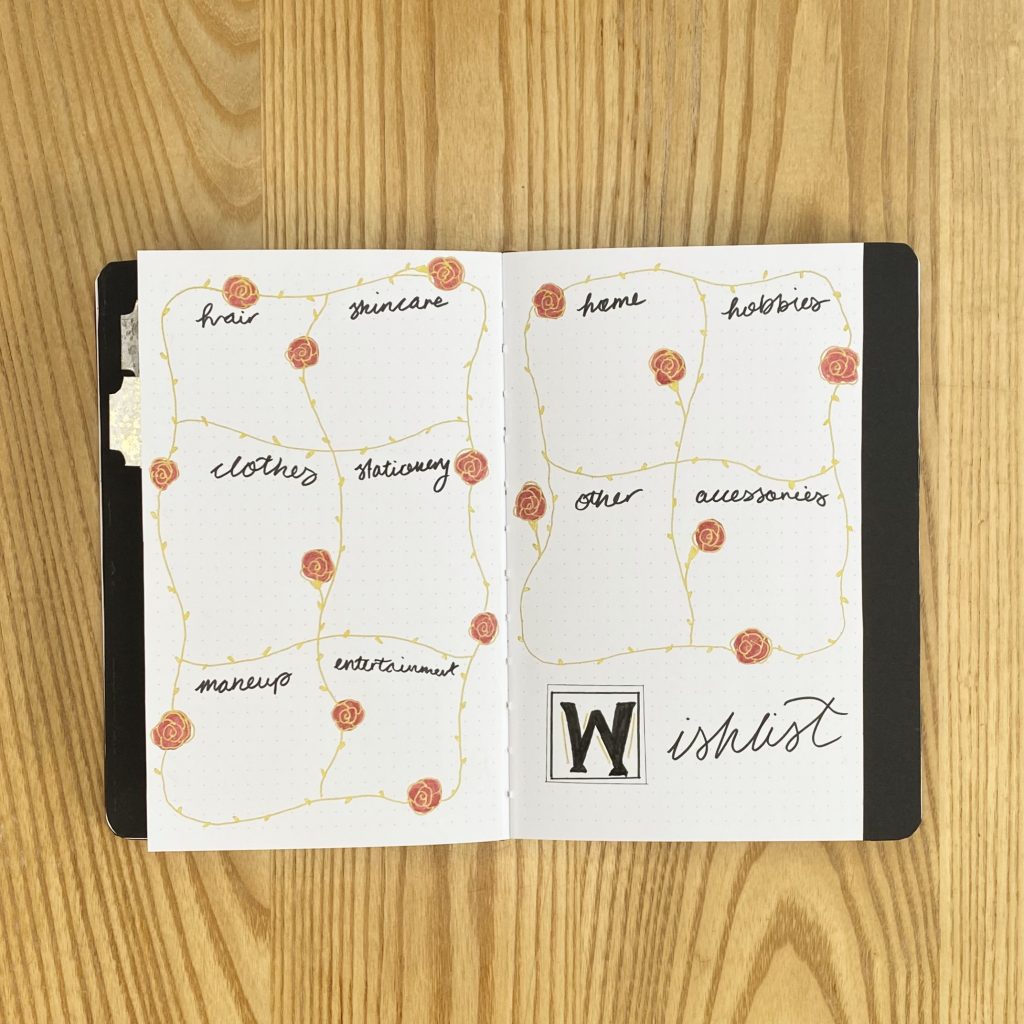
The final spread in this ‘Finance’ section is my Wishlist, which I have divided up into categories to help keep things nice and organised.
Media
The final subsection is for ‘Media’, which I’m really just using to refer to what I am reading and watching…
To Read/Watch + Cover Page
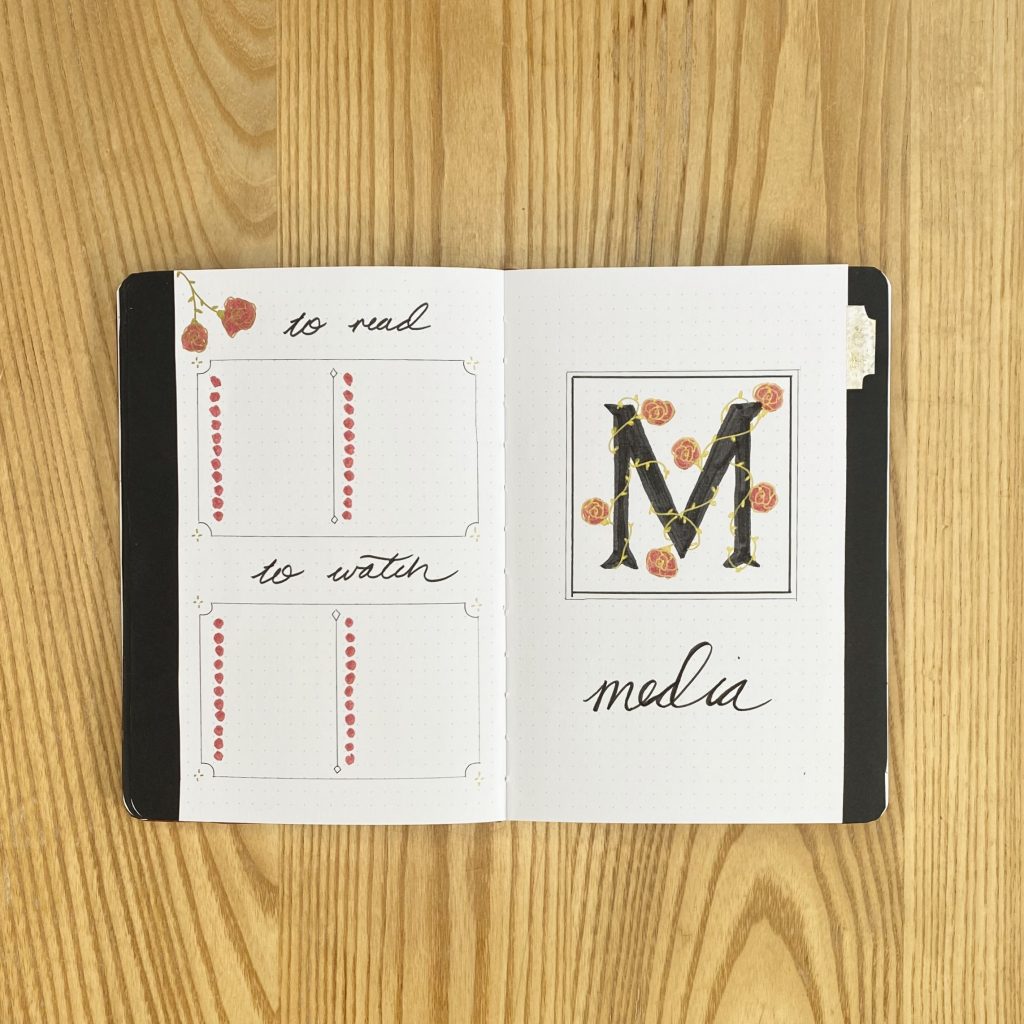
The Cover Page for this section follows the same design as the other ones. Beside it, I have put spaces to keep track of the shows/films that I would like to watch, as well as the books that I would like to read.
TV Tracker + Reading Tracker
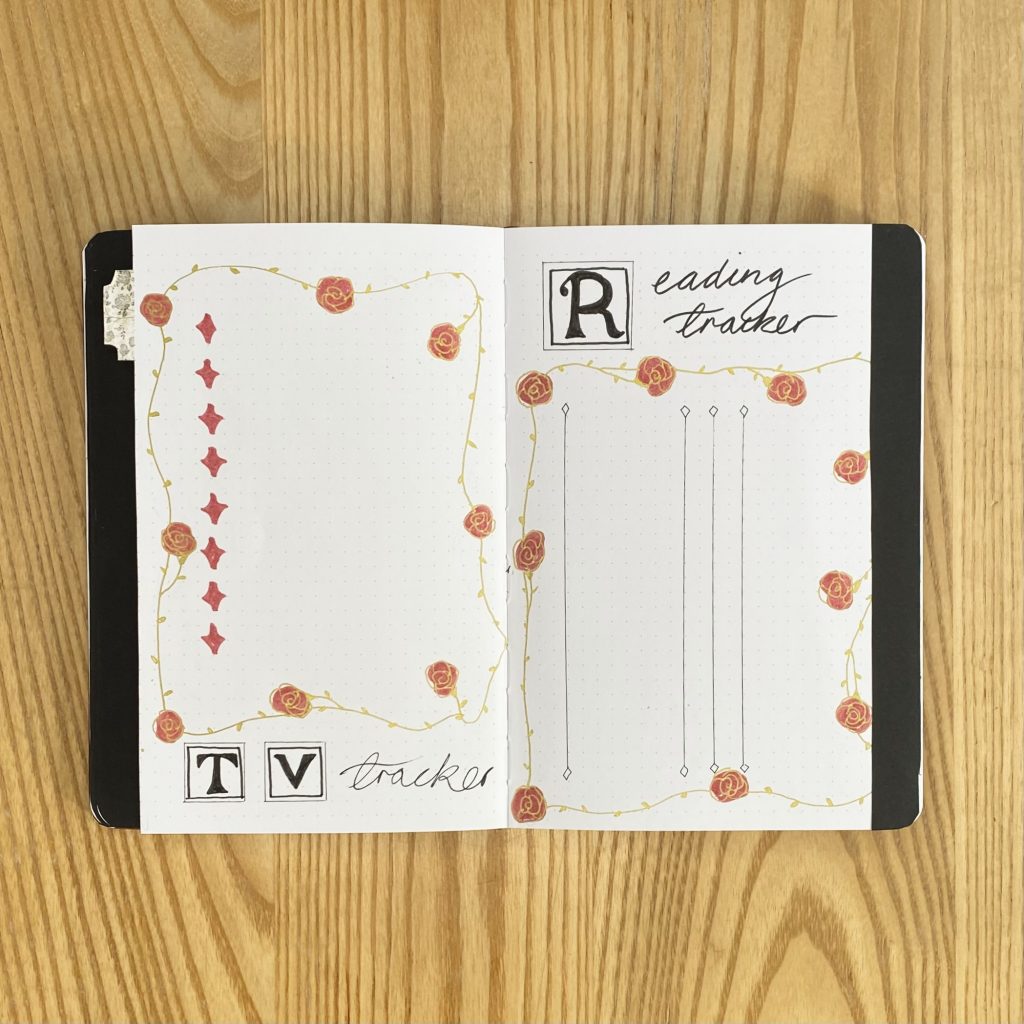
Finally, I have my two ‘media; trackers. On the left, I have a space to track the TV shows I am watching. For each show I watch, I write down the title, then draw one little circle beside it for each series the show has. As I watch each series, I colour in the circle. It’s kind of pointless, but it gives me a huge sense of satisfaction. Also, I like to be able to refer back and find out what I was watching at a particular time, and whether it was long enough ago that I can justify re-watching it (I am a chronic re-watcher, and I will not be ashamed).
On the right, I have my Reading Tracker. You might have seen my 2024 Reading Journal Setup, which also included a version of this spread, but I wanted to include it here too so I would keep on top of it. I always have this journal with me, so it’s not a hassle to fill it in, and it means that I can just transfer the information to my dedicated Reading Journal whenever I feel like it.
Final Thoughts
I have to be honest- I really love this setup. Admittedly, it’s a little bit darker and a little bit moodier(?) than I meant it to be, but I still think it conveys that traditional, fairytale vibe. While it did take a long time to create, it wasn’t anywhere near as time-consuming as I imagined it would be when I first decided to do a super ornate, fairytale theme.
The more bullet journals I set up, the more I feel like I’m getting a better grasp on the spreads I’ll actually use/need. As my needs and interests change, I know my future bullet journal spreads will also need to adapt, but, for now, I’m pretty happy with my go-to spreads. I guess I’ll just have to see how the next 6 months go!
I hope you’ve enjoyed reading about my January-June 2024 Bullet Journal Setup! As always, these initial setups make for super long posts, so thank you for sticking with me and getting this far! My January setup will be coming up next, so keep your eyes peeled for that one. I hope you’re having a lovely start to the new year!
Gemma
xxx


Wow Gemma. I’ve often wondered about a bullet journal but didn’t know if I’d use it or it be worth while for me.yours is impressive, it really is. I do journal every night . Just how the days gone and how I slept or didn’t the previous night. I’ve got the art journal as well. I couldn’t even begin to set one up much as I might use it. I’ve seen ready to use ones but not me. I love your theme and how it carries throughout.
Thank you so much! Journalling can be so helpful. I like to make very detailed setups these days, but when I started out I only did the bare minimum and kept things super simple. If you ever did want to try it out, you could always start small and work up to the fancy stuff, if and when it feels right! I like to make my setups look nice because it makes me happy, but the bullet journalling method itself is what really helps me feel calm and organised. I’m so glad you like this theme, though- it’s one of my favourites!
Thank you.