Welcome to Day 12 of Blogmas At Home 2025! 🎄🎀✨
When I was little, one of my most prized possessions was my Pick & Mix Sweet Shop. It had lollipop holders, trays for assorted sweets and even a little weighing scale in the centre: I loved it. Unfortunately, I never actually had enough sweets at any one time to fill my sweet shop, so it sat in my room, beloved, but rather depressingly low in stock.
Every Christmas, I make quite a few festive sweets and treats for my whole family to enjoy. It occurred to me recently, while preparing for the festive season, that I am a grown adult with free will, so I decided to pay tribute to my Pick & Mix Sweet Shop and make my own homemade, festive, sweet shop this year, filled with all of my family’s favourite treats (unfortunately, I cannot charge my family members for the sweets… it is Christmas after all… so take the term ‘shop’ with a pinch of salt!).
In today’s post, I’ll talk you through all of the equipment I used to set up this sweet shop and go through the 6 sweets that I made one-by-one, in case you too have an inner child with a sweet shop fixation that needs to be HEARD.
Let’s get into it, shall we?
Table of Contents
What You Need
There are only two things that are absolutely essential for making your own sweet shop: sweets (obviously!) and containers to keep the sweets in. However, if you want to go the extra mile, you can also use some fun, festive decorations and make a whole display out of it!
Most of the things I bought for this sweet shop were from Sostrene Grene, one of my favourite places to shop during the festive season. I’ve linked everything down below, but their stock does change up pretty frequently, so the specific items may not be available anymore. Hopefully, though, the links will give you an idea of what each product looks like, so you can find similar versions!
For my sweet shop, I used the following things:
- Sweets
I used homemade sweets for my shop, but you could also absolutely buy your favourite treats and decant them into pretty jars to make it easier (but just as fun and special!).
- Jars
You’ll need one jar/container per sweet. I tried to source a variety of different shapes and sizes: I already had the two square jars and I bought the others from Sostrene Grene (links below).
- Tongs
This was a.. slightly frivolous purchase and by no means necessary, but, when I was buying the jars from Sostrene Grene, I saw these gold tongs and I thought they’d be so cute (and useful!) for getting the treats out of the jars. They actually work really well for the job, so I think it paid off!
- Faux pine garland
This is a festive sweet shop after all, so I nestled the jars in amongst this faux pine garland.
- Christmas lights
You guessed it, these gold star fairy lights are also from Sostrene Grene! They’re wired, so I was able to coax them into the shape I wanted, weaving them around the jars with the garland.
- Knitted sweets
If you’ve been following along with Blogmas At Home this year, you might have seen that I made these knitted sweets earlier on this month and I thought they’d make perfect decorations for this sweet shop! I just dotted them around the place, nestling them within the pine garland.
- Gingerbread Christmas tree
I haven’t shared my gingerbread undertaking for this year yet (don’t worry, it’s coming soon!), so I guess this is a bit of a sneak peak, but I feel like this sprinkle-coated, gingerbread tree fits the whole fun, sweet shop-vibe perfectly, so of course it had to feature!
The Sweets
I made 6 different treats for my sweet shop: Rocky Road Bark, Peppermint Bark, Cherry & Almond Chocolate Puddles, Toffee Popcorn, Pistachio Nougat and Christmas Market-Style Nuts. Because all of these sweets have pretty long shelf lives, I was able to spread the candy-making process out over a week, so I didn’t get too tired out (or overwhelmed by sugar!).
All of the recipes for these treats are available here on the blog. I’ll link to each one below, so you can make them yourself, if you fancy!
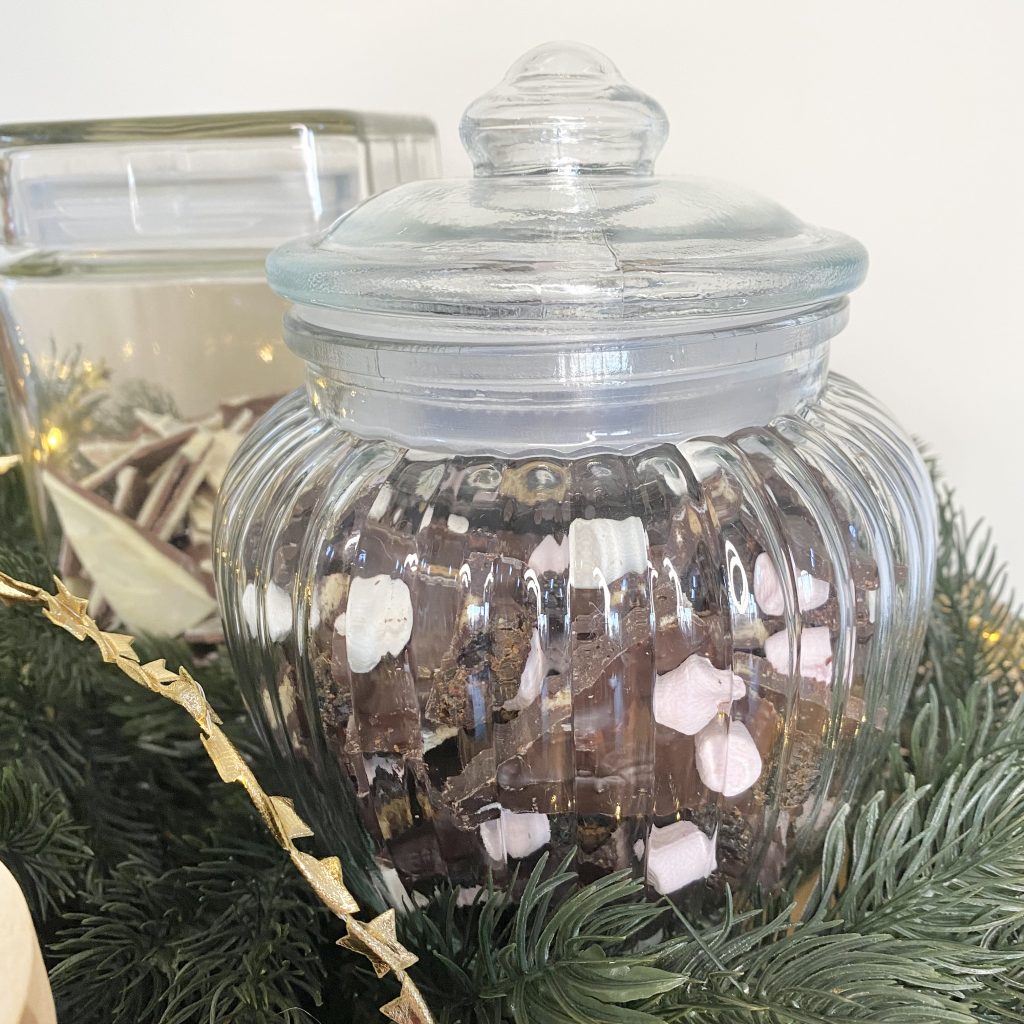
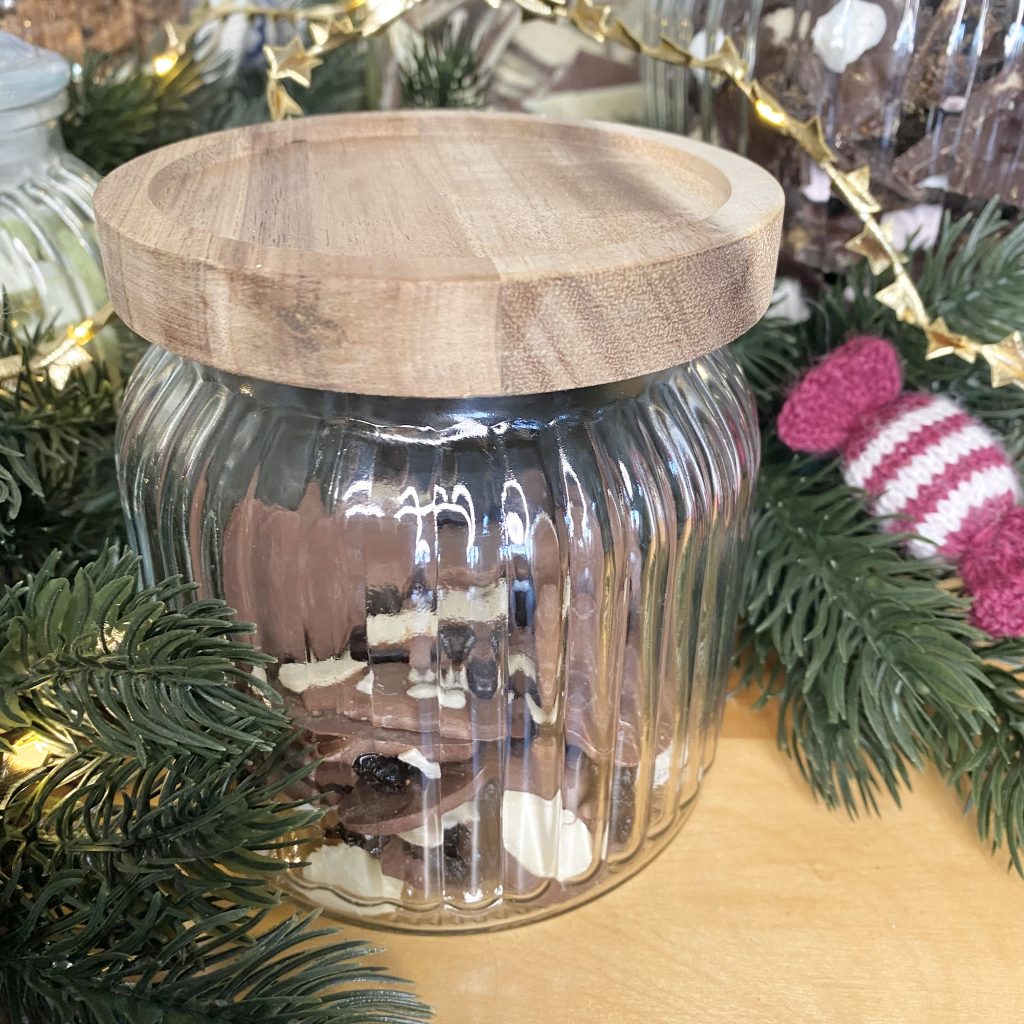
Rocky Road Bark
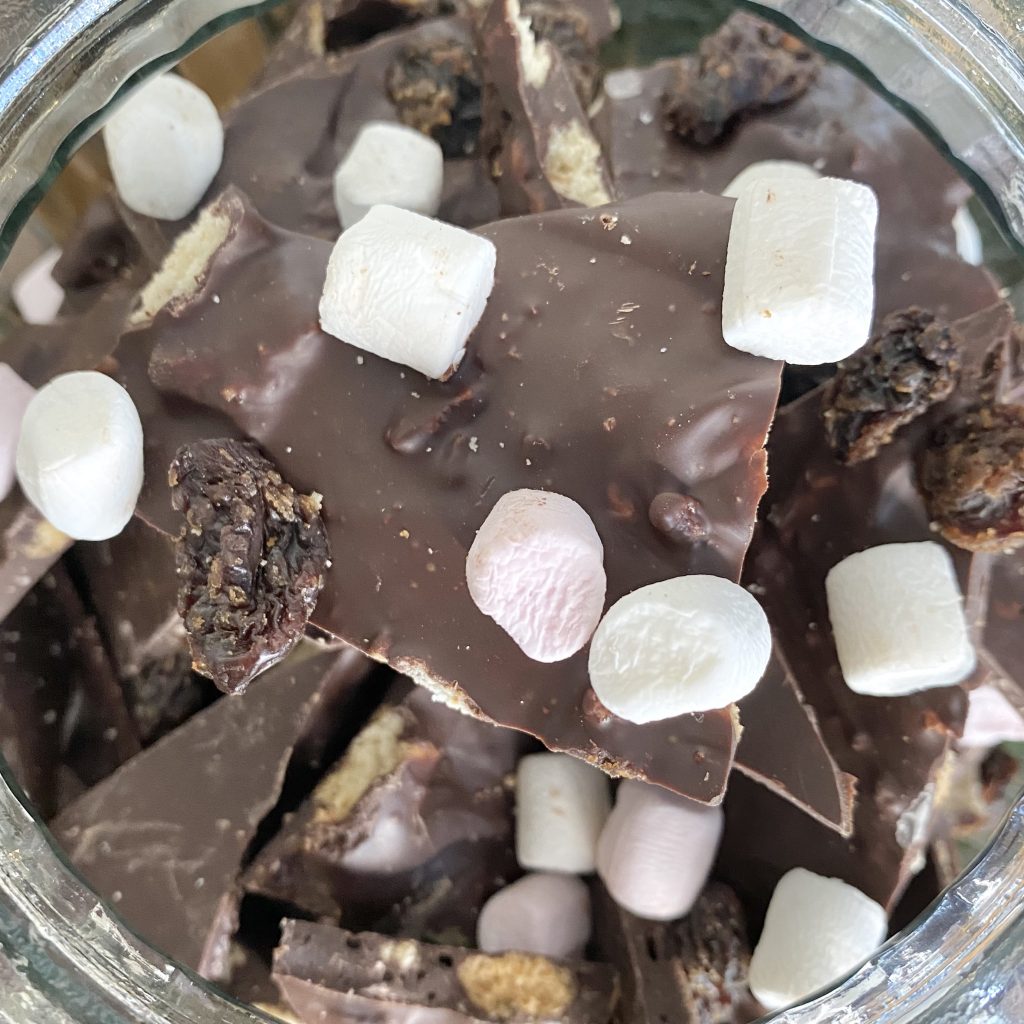
This Rocky Road Bark was a new entry to our festive treat list last Christmas and is a favourite of my sister-in-law!
It’s made with a 50/50 blend of milk and dark chocolate, mixed with crumbled digestive biscuits and topped with a scattering of mini marshmallows and raisins.
Find my recipe for Rocky Road Bark here.
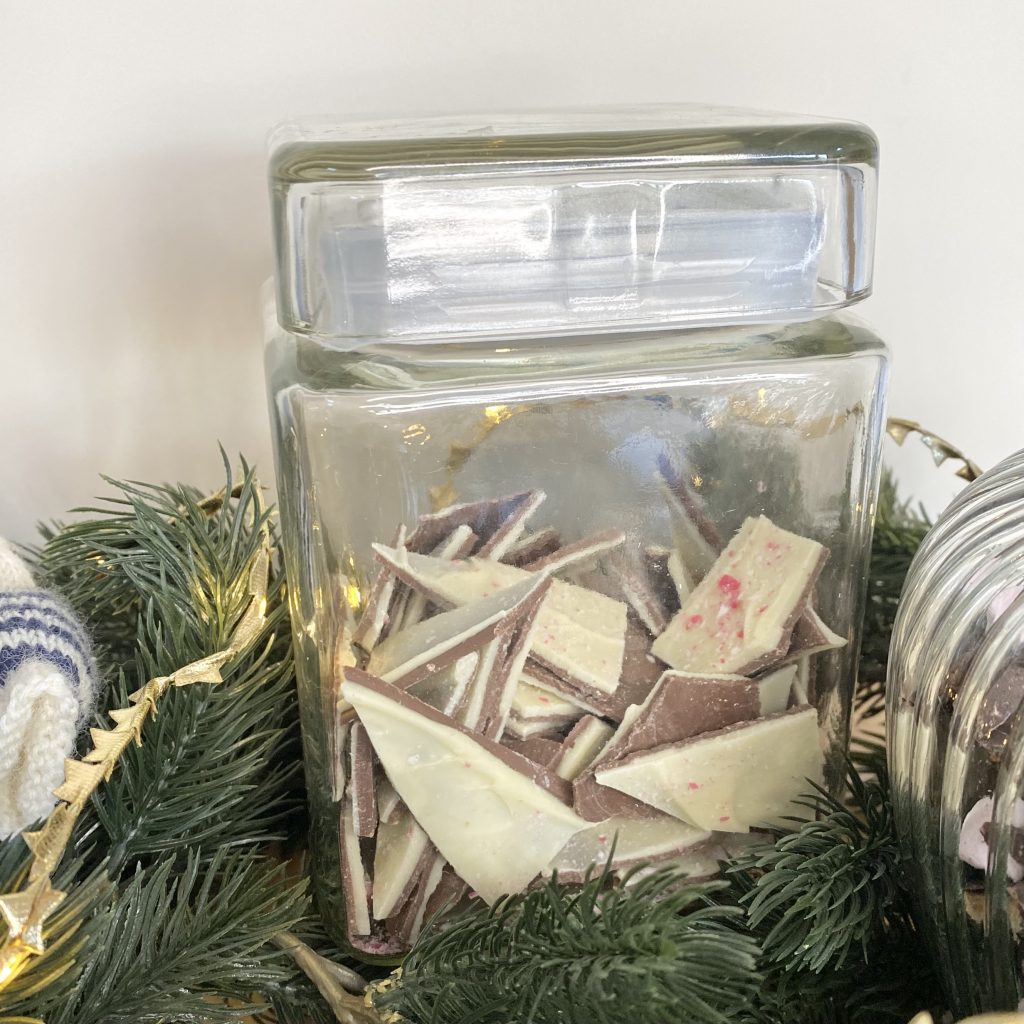
Peppermint Bark
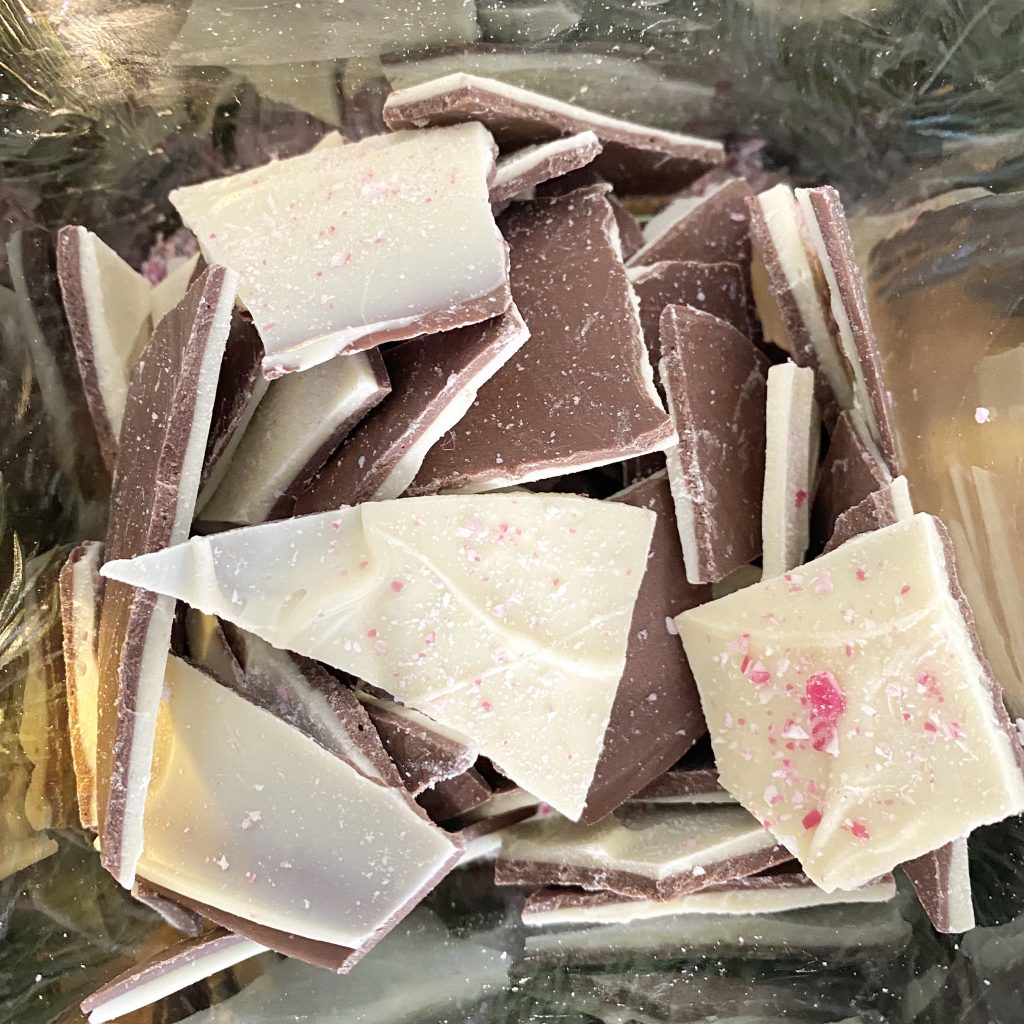
Peppermint Bark is the OG Christmas sweet in our household: my mum received a homemade version as a gift from her friend many Christmases ago and we loved it so much that I had to recreate it immediately! We’ve been making it ever since. In fact, it’s actually the first recipe I ever shared here on the blog!
The bark is made up of a thin layer of milk chocolate topped with a thin layer of white chocolate, which is then sprinkled with crushed up candy canes.
Find my recipe for Peppermint Bark here.
Cherry & Almond Chocolate Puddles
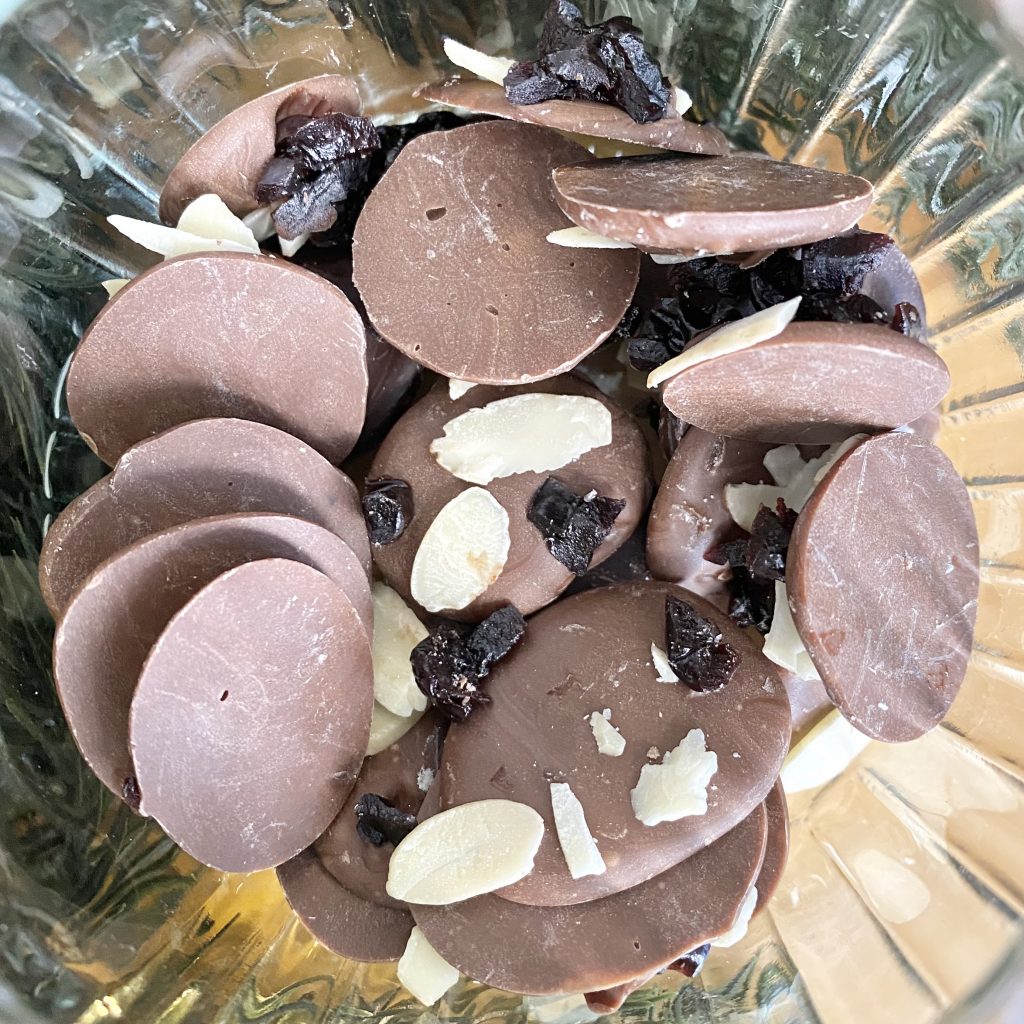
A new addition to the festive spread this year: these Cherry & Almond Chocolate Puddles are the final, chocolate-y offering in my sweet shop and a special request from my brother.
The puddles come in two varieties: dark chocolate puddles, topped with a whole almond and whole dried cherry, and milk chocolate puddles, topped with flaked almonds and chopped dried cherries.
Find my recipe for Cherry & Almond Chocolate Puddles here.
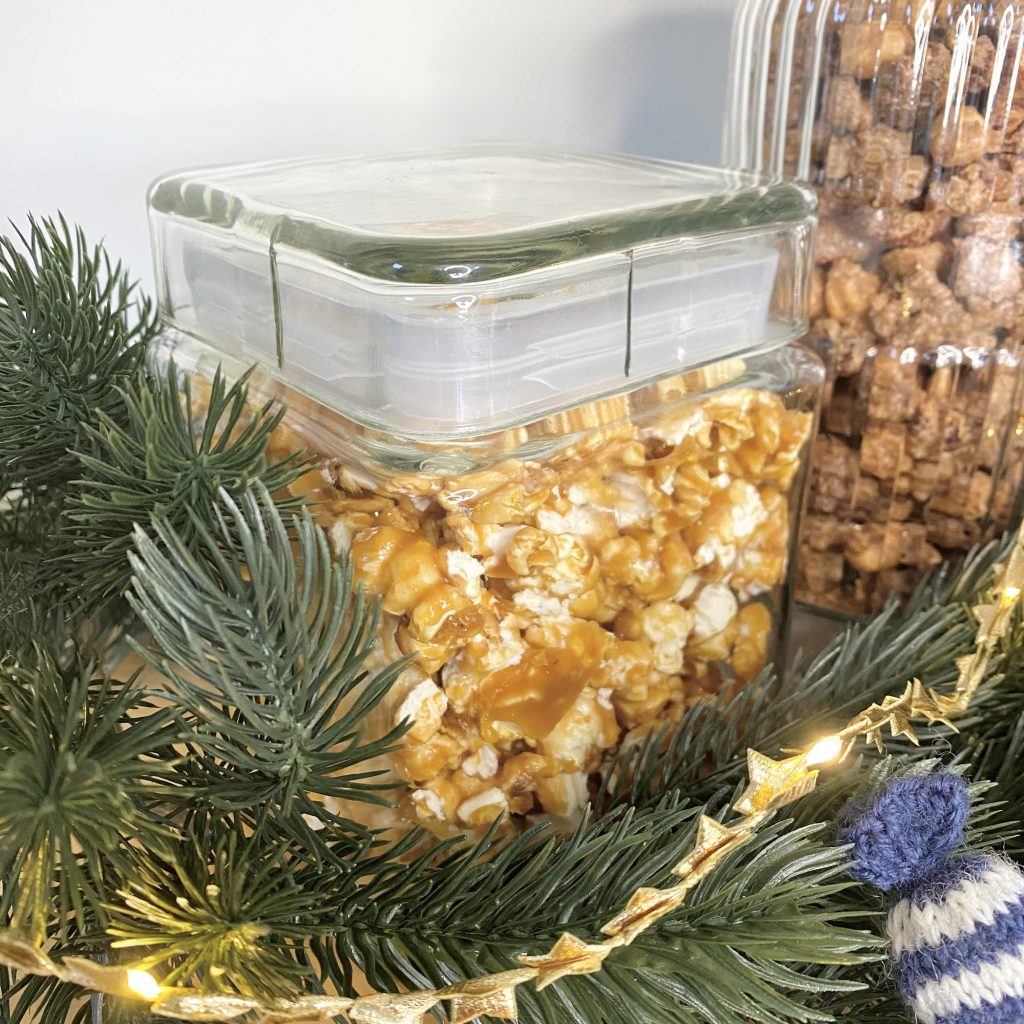
Toffee Popcorn
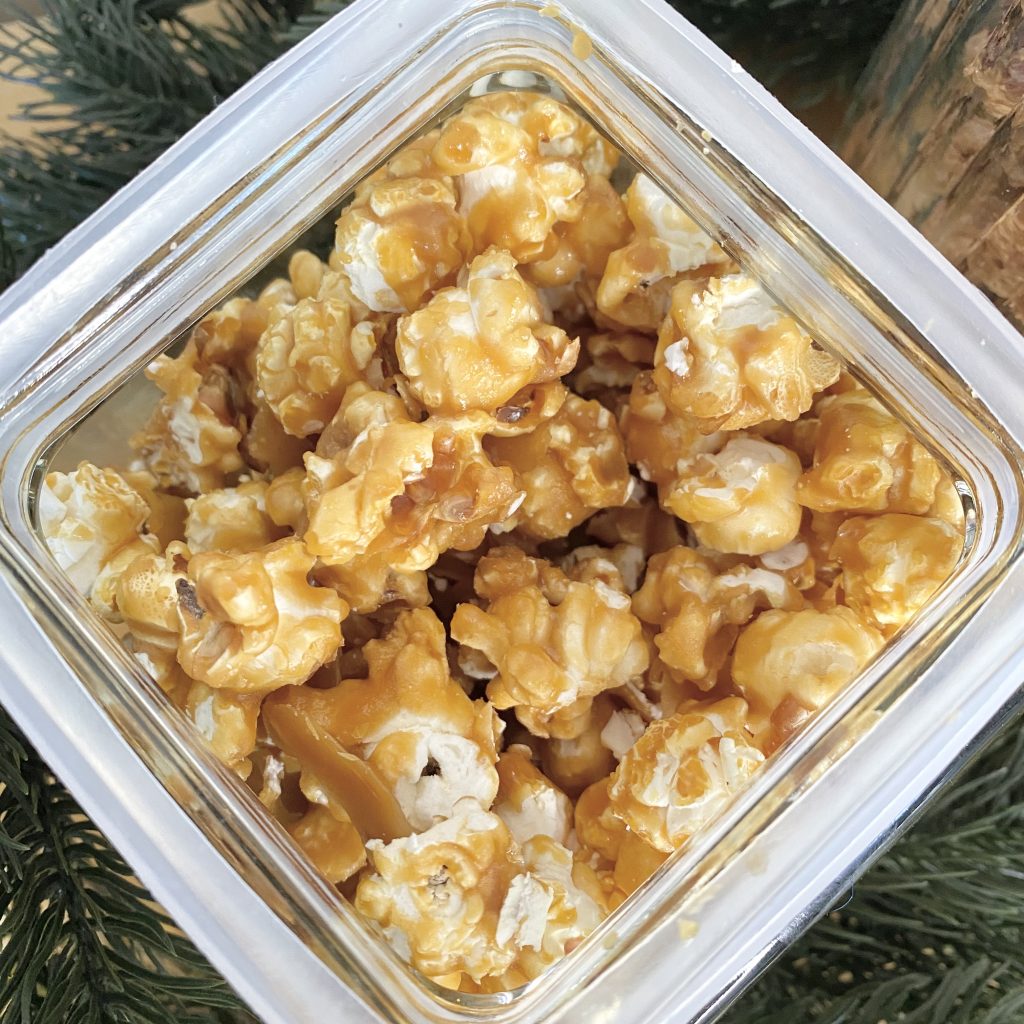
Toffee Popcorn isn’t an inherently festive treat, but it’s so addictive that I like to reserve it for special occasions (like Christmas)! My dad is a huge toffee popcorn fan, so this one’s for him.

This year, I decided to pull out all of the stops and make my toffee popcorn with a special variety of popcorn kernel known as ‘mushroom popcorn’ (I bought the Joe & Seph’s kernels). Contrary to what the name might imply, this popcorn does not taste at all of mushrooms (thank goodness, because I’m not a fan!), it’s the shape of the popped corn that gives it its name, because the kernels pop up into big, fluffy balls (kind of like the cap of a mushroom)! It’s the type of popcorn typically used by cinemas, so it has a really nostalgic, special vibe that I thought would really add to the festive magic this year!
Find my recipe for Toffee Popcorn here.
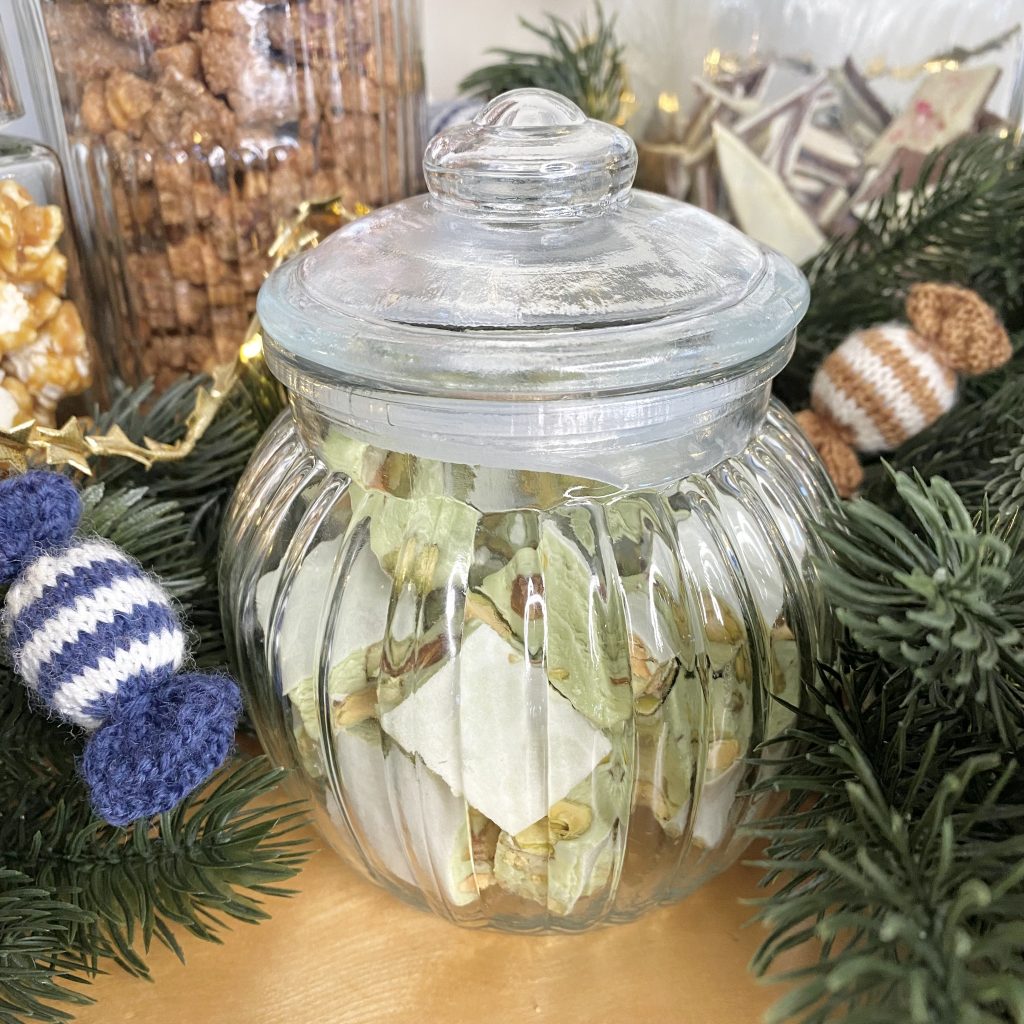
Pistachio Nougat
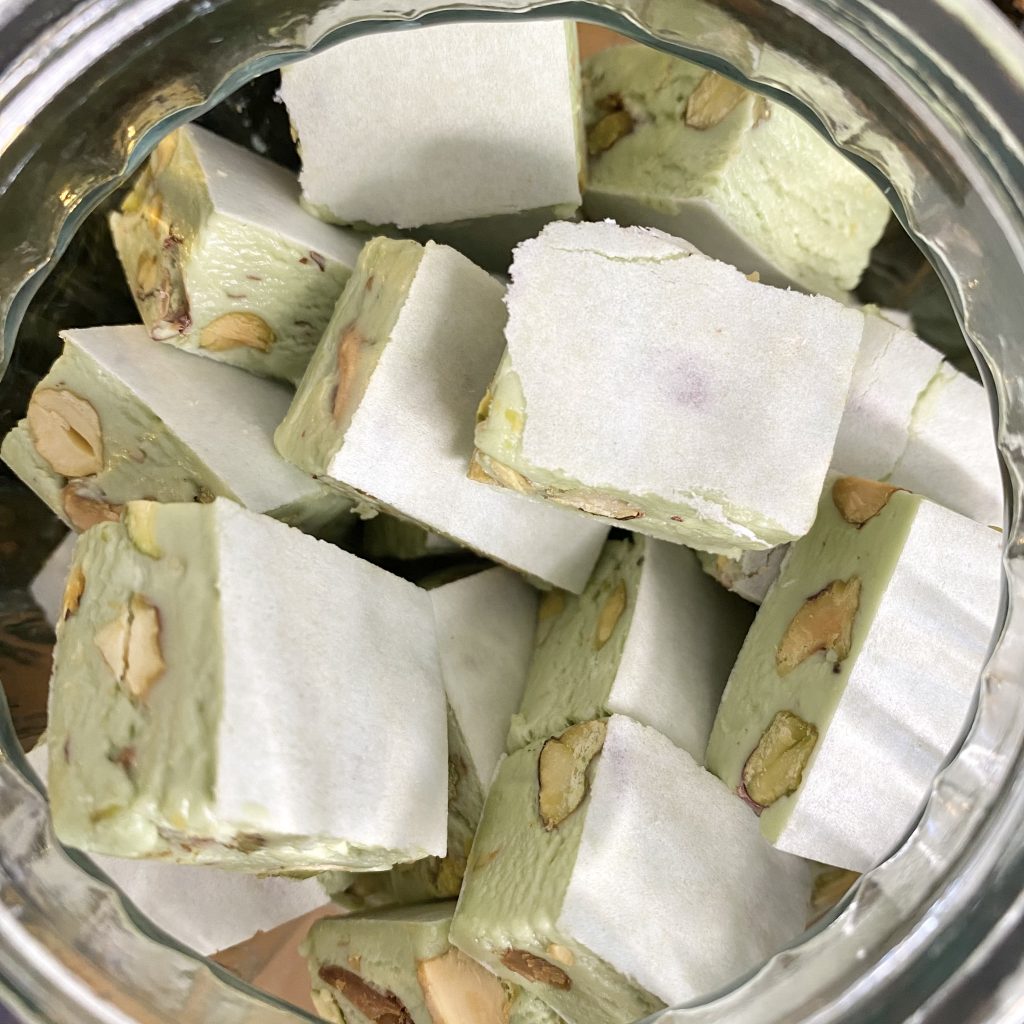
Making nougat is a slightly more involved process than the other sweet treats on this list so, just like the toffee popcorn, I only make it for really special occasions. This Pistachio Nougat is a particular favourite of my mum’s!
Made with egg whites, honey and roasted pistachios, this nougat is a really fun and impressive treat to make this Christmas.
Find my recipe for Pistachio Nougat here.
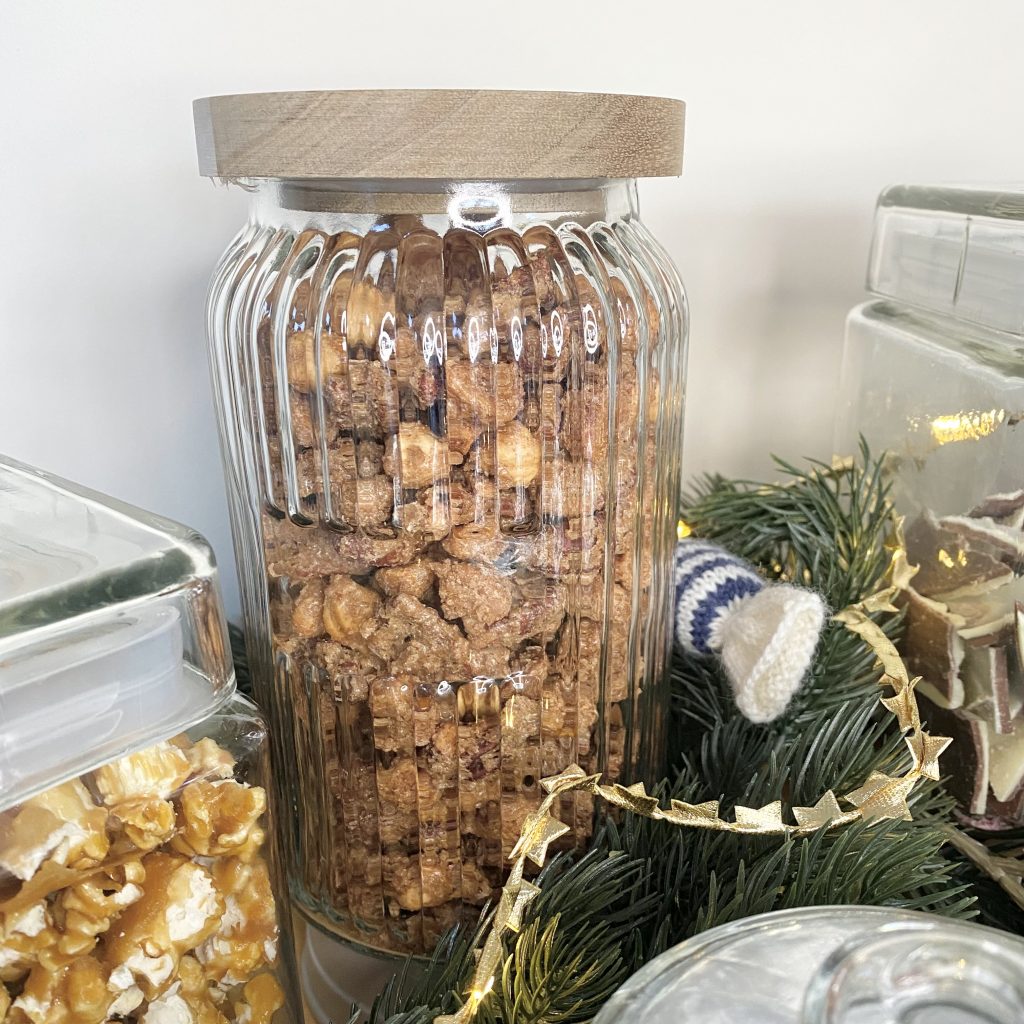
Christmas Market-Style Nuts
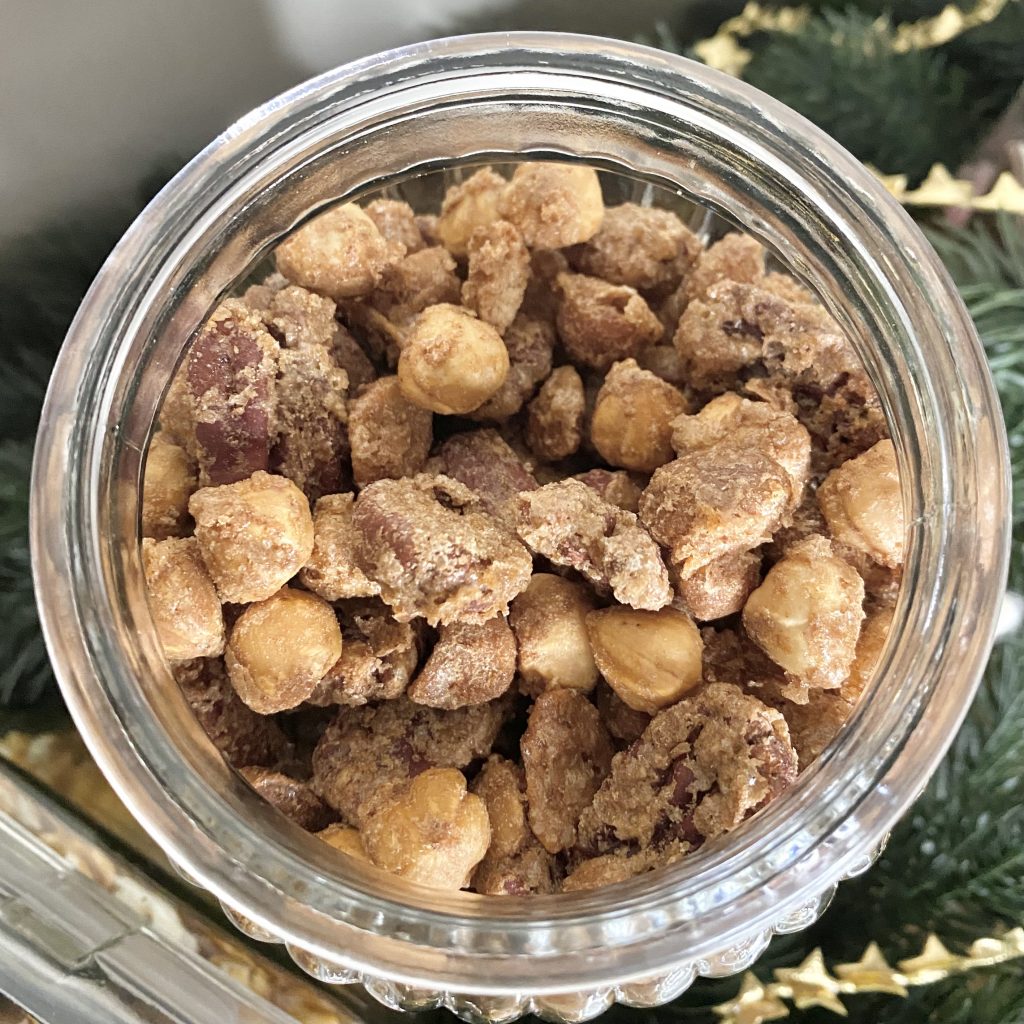
It wouldn’t be December without my Christmas Market-Style Nuts: these are always my absolute favourite treat when I visit any Christmas Market, so learning how to make them at home was a game-changer.
This year, I’ve used a combination of pecans (my all-time favourite), hazelnuts and macadamia nuts. They’re coated in a salty, sugary, cinnamon mixture, then baked until deliciously crunchy.
Find my recipe for Christmas Market-Style Nuts here.
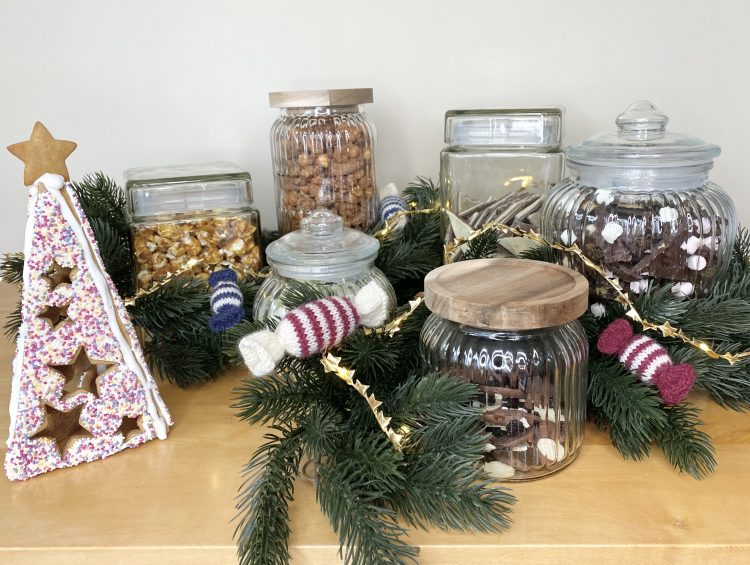
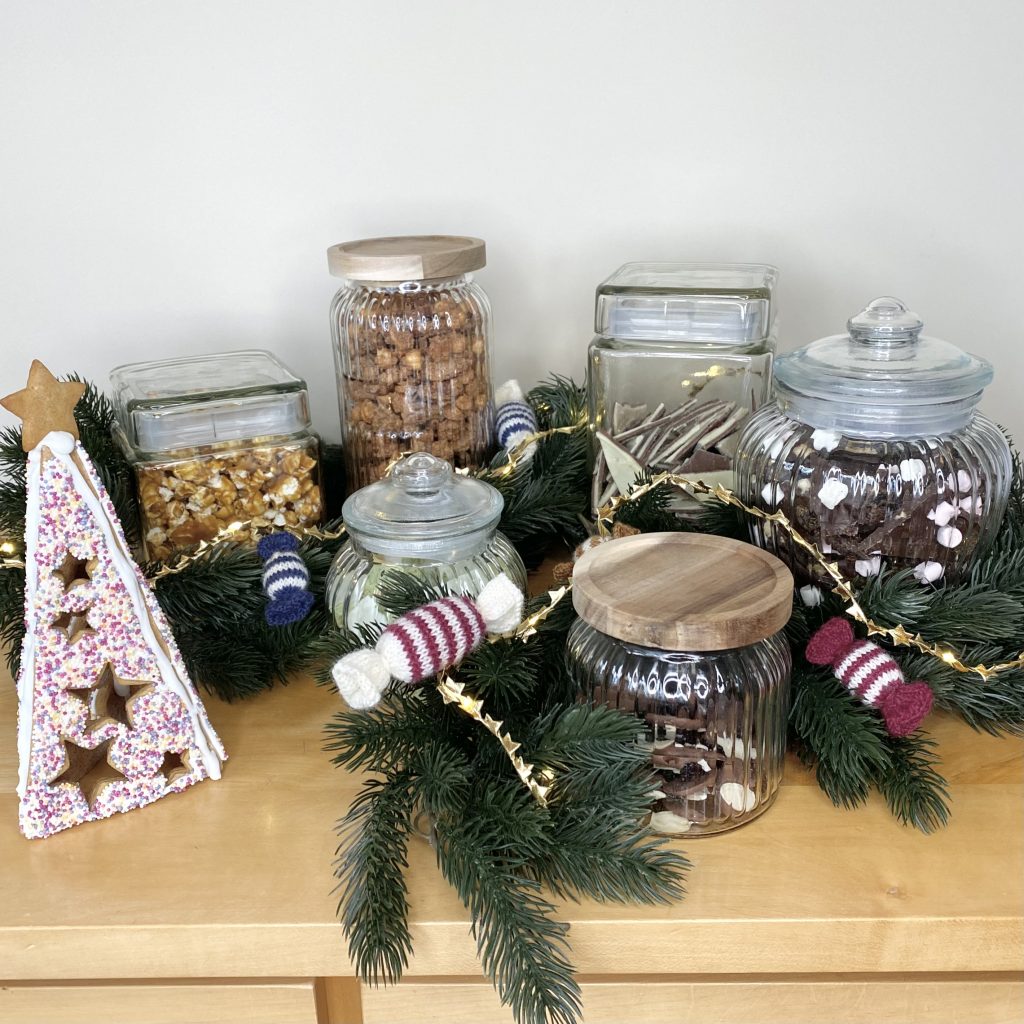
Setting Up the Sweet Shop
Once you have all of your sweets, jars and assorted decorations, you’re ready to set up your sweet shop! Obviously, you can do this however you want and make it as simple or as over-the-top as you want, but, if you’d prefer to relinquish the mental effort and just follow some instructions, here’s what I’d do…
Choose a space that’s both easily accessible (to humans, not to pets!) and out of the way of the typical Christmas hustle and bustle (you don’t want to be knocking over jars as you’re trying to roast a turkey!). A side table or countertop would work perfectly.
Fill each jar with a different sweet/treat. If you have too many sweets for your jars, you can always mix similar sweets together (I’ve done this here: I put the milk and dark chocolate puddles in the same jar!).
Set the jars out first. This allows you to get their positioning right without having to deal with all of the extra decorations. Place the larger jars at the back and the smaller jars towards the front, so that you can see them all from the front. If everything feels a little too on one level, consider placing some of the jars on upturned ramekins (or other assorted knick-knacks), to add a little more height and dimension!
Once you’re happy with the placement of the jars, it’s time to decorate! Here, I’ve used a pine garland, a string of wired fairy lights, some knitted sweets and a gingerbread Christmas tree, but you can obviously use anything you have/think would look good.
I’d recommend starting with the biggest (bushiest?) decoration first (here, that’s my pine garland), as this will give you a base to work with. I wrapped my garland around all of the jars, adjusting (and readjusting) it until I was happy with how it looked.
Next, I added the fairy lights. Adding some lighting helps to make the setup extra festive and cosy-looking. I’ve used these battery-operated gold star lights, which was great because it meant I didn’t have to worry about plugging anything in.
Finally, I added the smaller, individual decorations in amongst the garlands and jars. I placed the gingerbread tree to one side of the setup, then dotted the knitted sweets around the place, nestling them amongst the branches of the pine garland.
And then, you’re done! Turn the fairy lights on, grab some little bowls or paper bags and get the whole family to visit your festive sweet shop before settling down to watch a Christmas film.
Final Thoughts
I think this is such a special, over-the-top (in the best way), thing to do for your family/friends (and yourself!) this festive season. I’m all about making Christmas feel super magical and if putting my homemade treats into some fancy jars and spending a bit of time arranging them does that, then I’m all for it!
Having said that, this is obviously a very extra approach to the festive season and I am aware that not everybody has the time, energy or mental headspace to take on a project like this, particularly at this time of year! You can always take bits and pieces of this idea: make just one of my homemade sweet recipes, find a single, fancy jar in a charity shop and fill it with Quality Street or store-bought nuts, or even just bring some greenery in from the garden and weave a string of fairy lights through it to decorate your home. Christmas is always a bit stressful, but there’s no reason to make it more stressful: I go to such extremes because it brings me joy, not because it’s in any way necessary.
I hope you’ve enjoyed this post: it’s a bit of a special one (it had to be, for the halfway point of Blogmas At Home 2025!), so I’m excited to see what you think. I really embraced my inner child (and my inherent lack of restraint) to make something that I think is really fun and I’m super proud of it!
Gemma
xxx