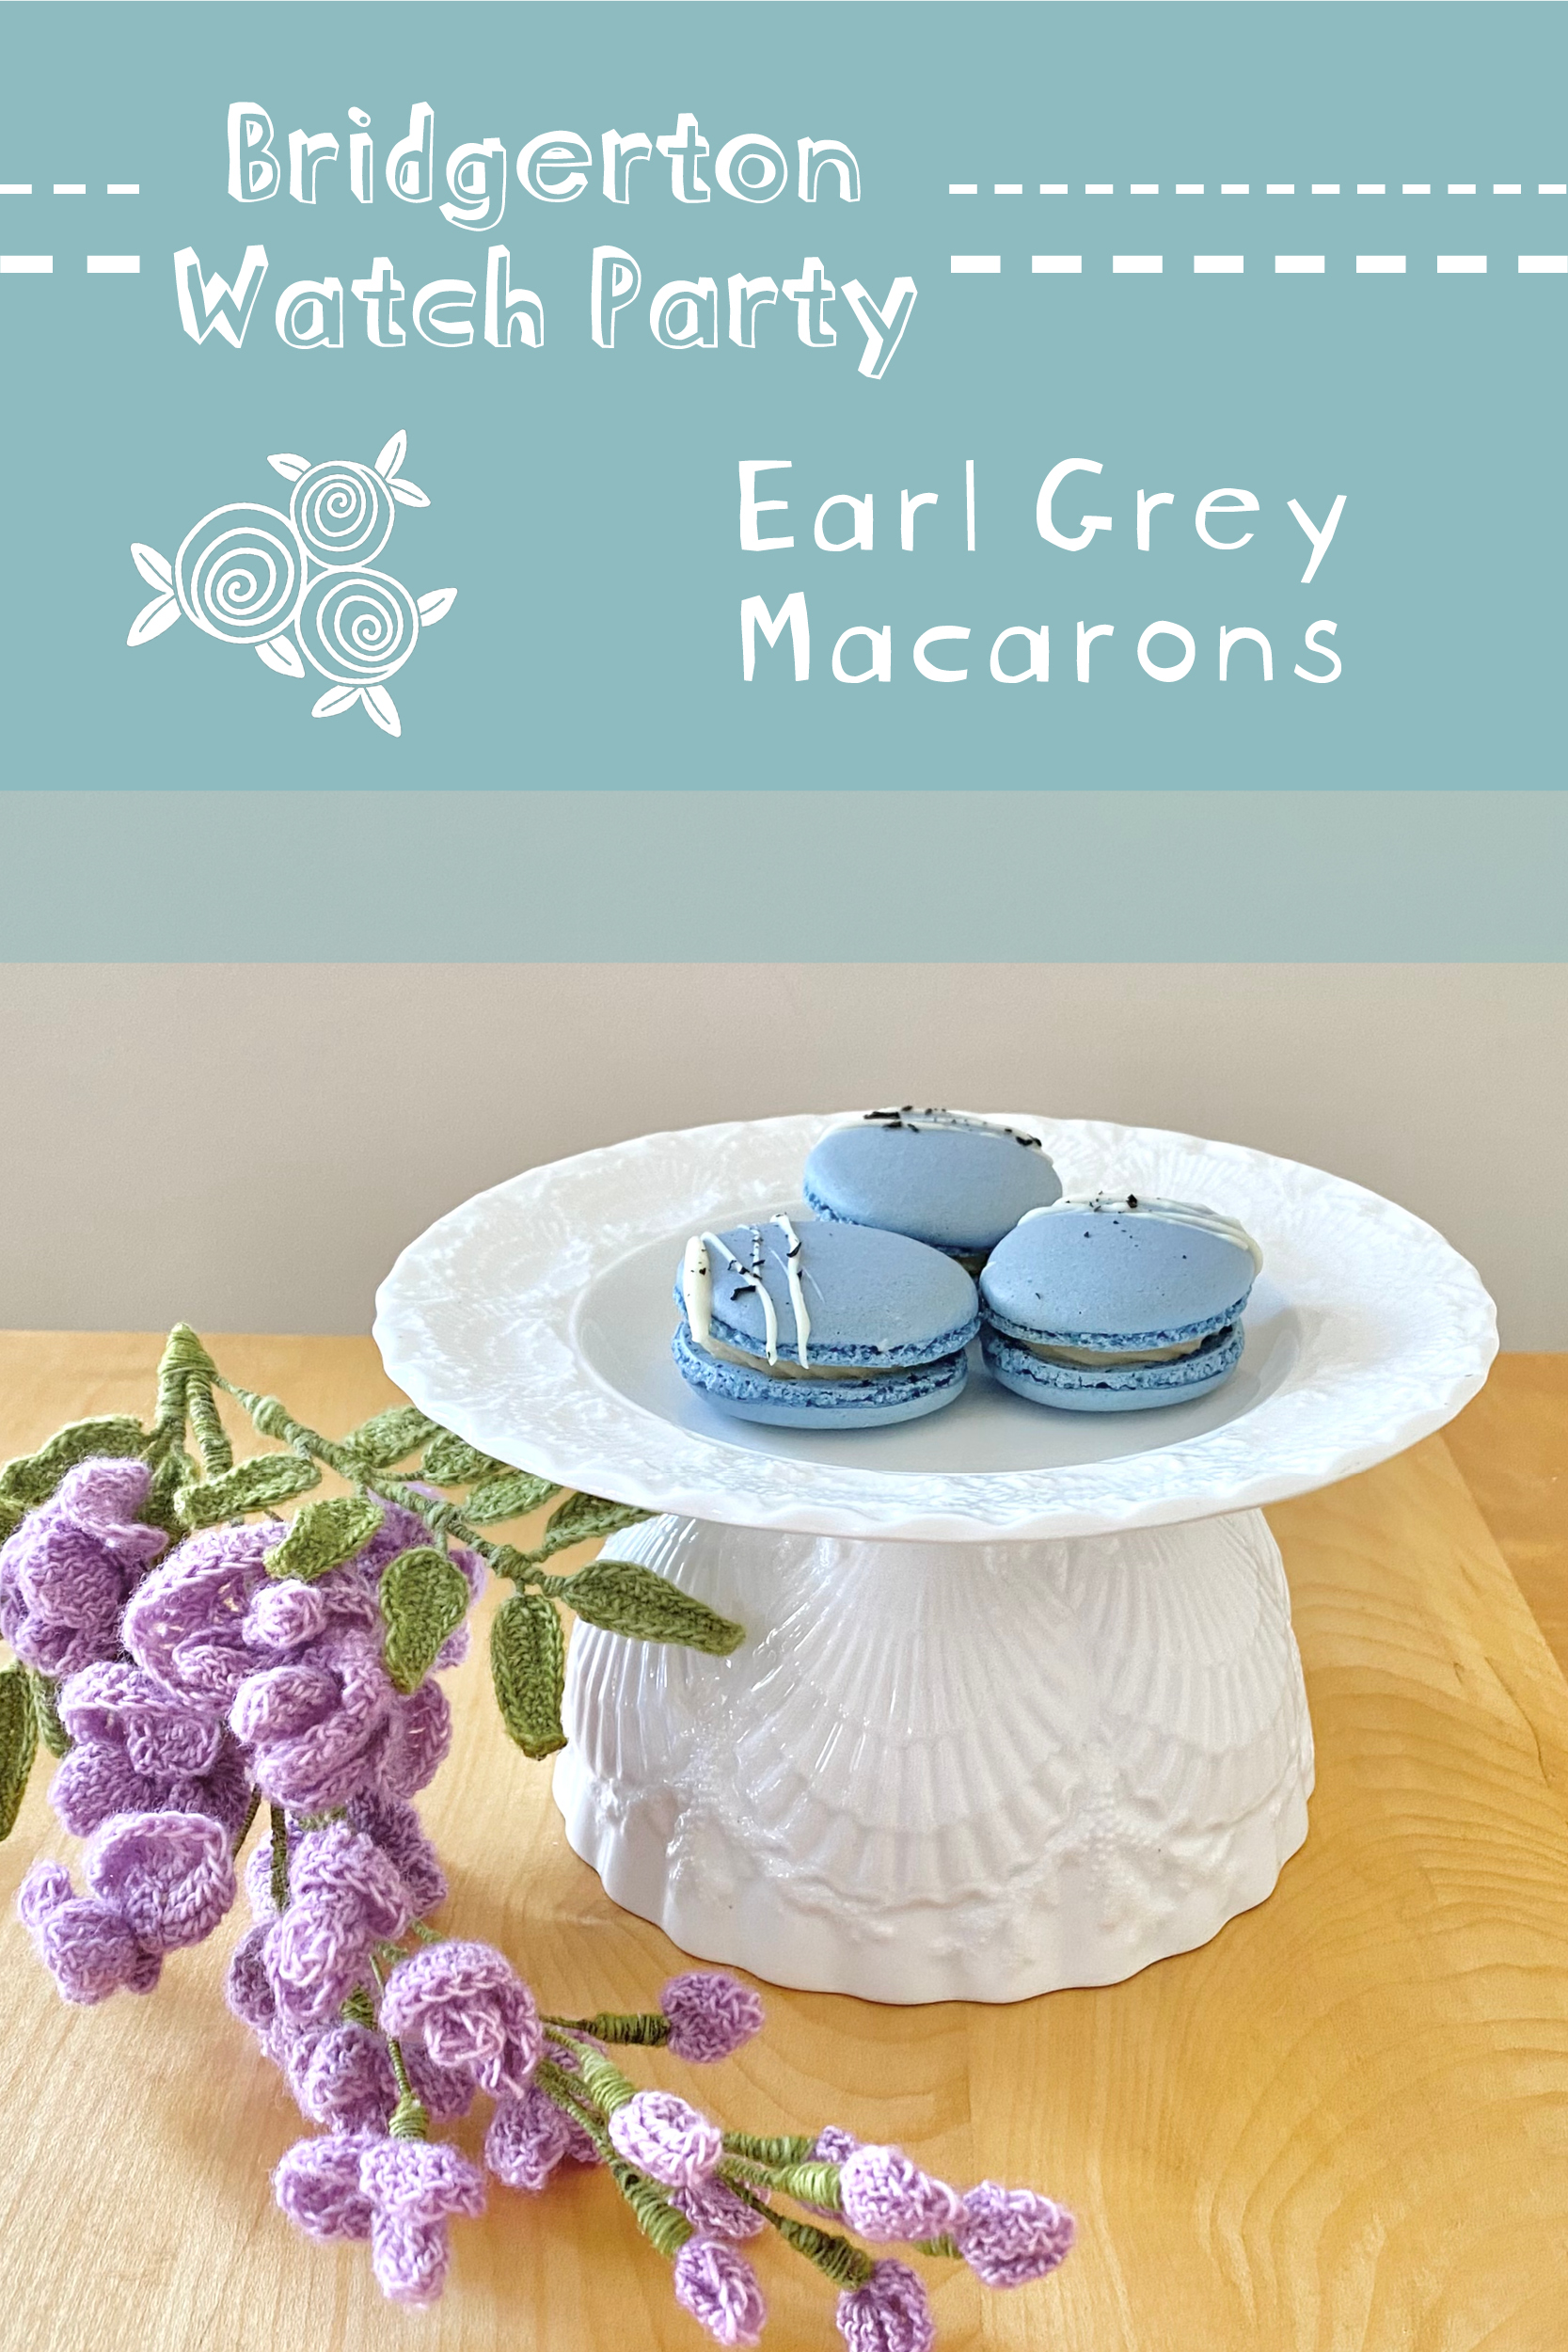
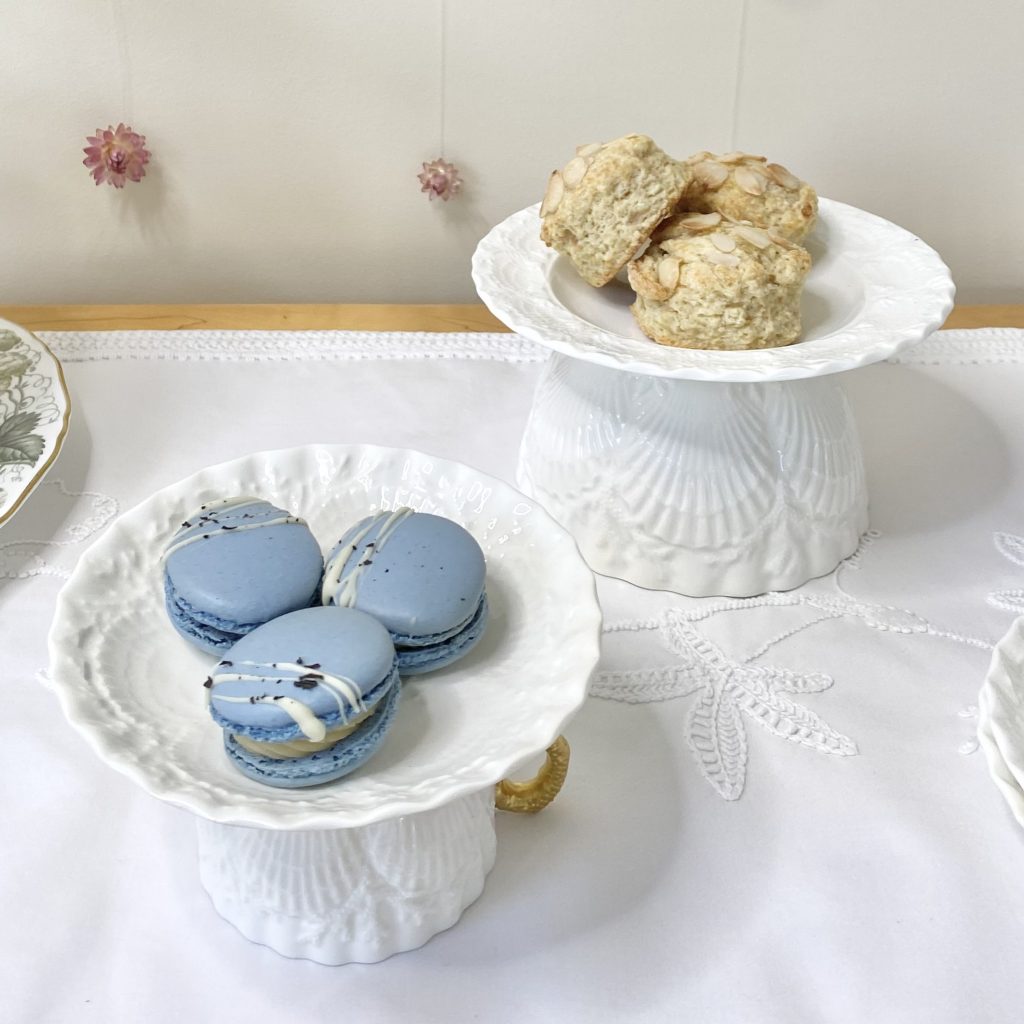
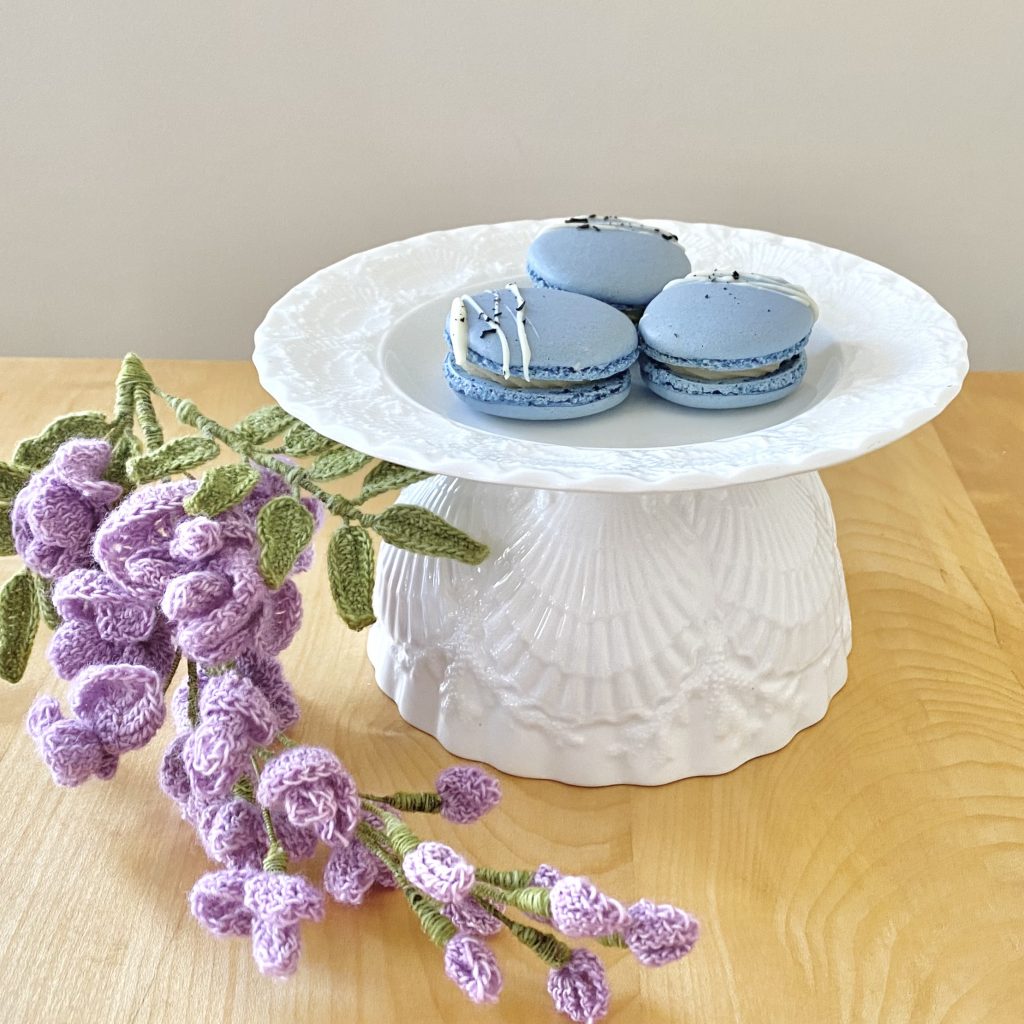
Welcome to Bridgerton Watch Party Week! 7 days, 6 brand new, Bridgerton-inspired recipes & lots of tips, tricks and ideas for creating an afternoon tea-style dessert table worthy of the show. Whether you’re planning to host a Season 3 watch party yourself, or just want to make your own viewing experience extra sweet- I’ve got you covered!
Macarons are one of my favourite things in the whole world- I love making them and I really love eating them. It will be no surprise, then, that I’ve created a macaron recipe for this series- not only are they delicious, but they’re perfect for afternoon tea- I mean, they’re fancy and dainty- the perfect combination! Also, macarons frequently appear on the dessert tables depicted in the show itself, so they’re right on theme!
Table of Contents
- Inspiration
- Ingredients
- Making the Macaron Shells
- Making the Earl Grey Cream Filling
- Assembling the Macarons
- Earl Grey Macaron Recipe
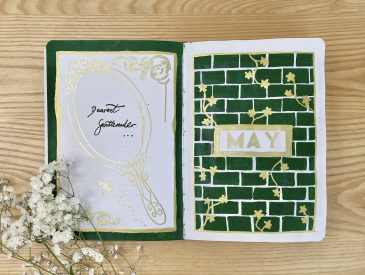
Inspiration
As I mentioned, I knew I wanted to create a macaron recipe for my Bridgerton-themed dessert table- it was just a question of what flavour I would make them! I opted to flavour these macarons with Earl Grey tea- which is a type of black tea flavoured with bergamot that is very popular in the UK. Admittedly, I don’t think it was around back in the Regency Era, but no matter- it gives such fancy, afternoon tea vibes that I’m going to let it slide. If you can’t find/don’t like Earl Grey, you can absolutely substitute your favourite black tea!
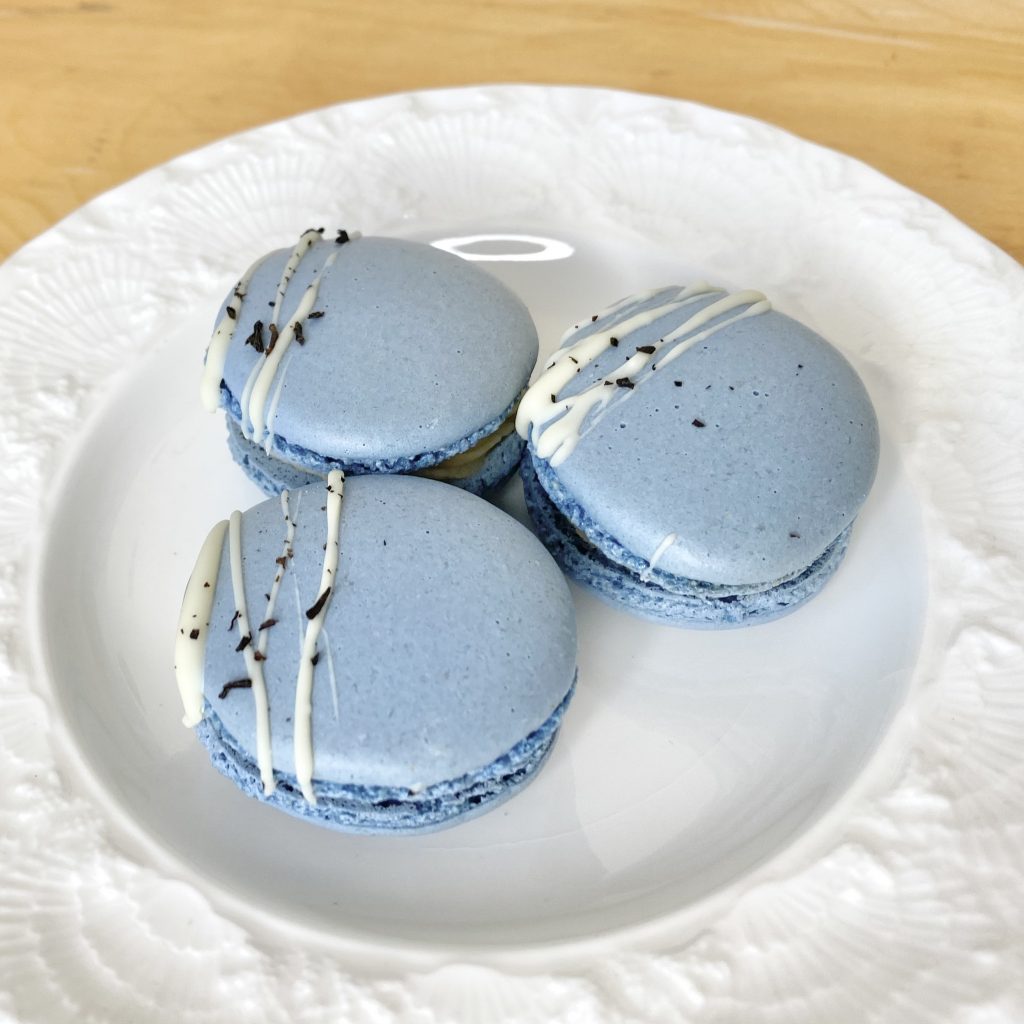
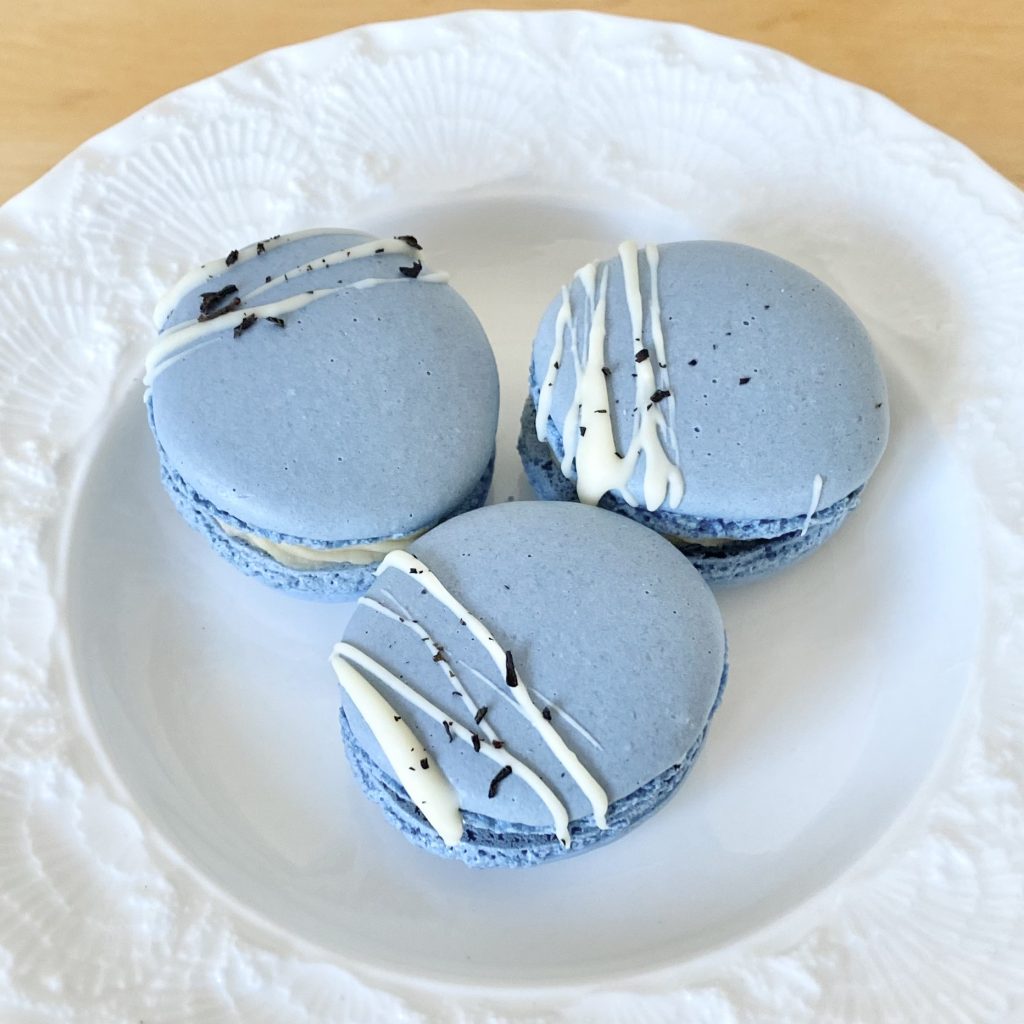
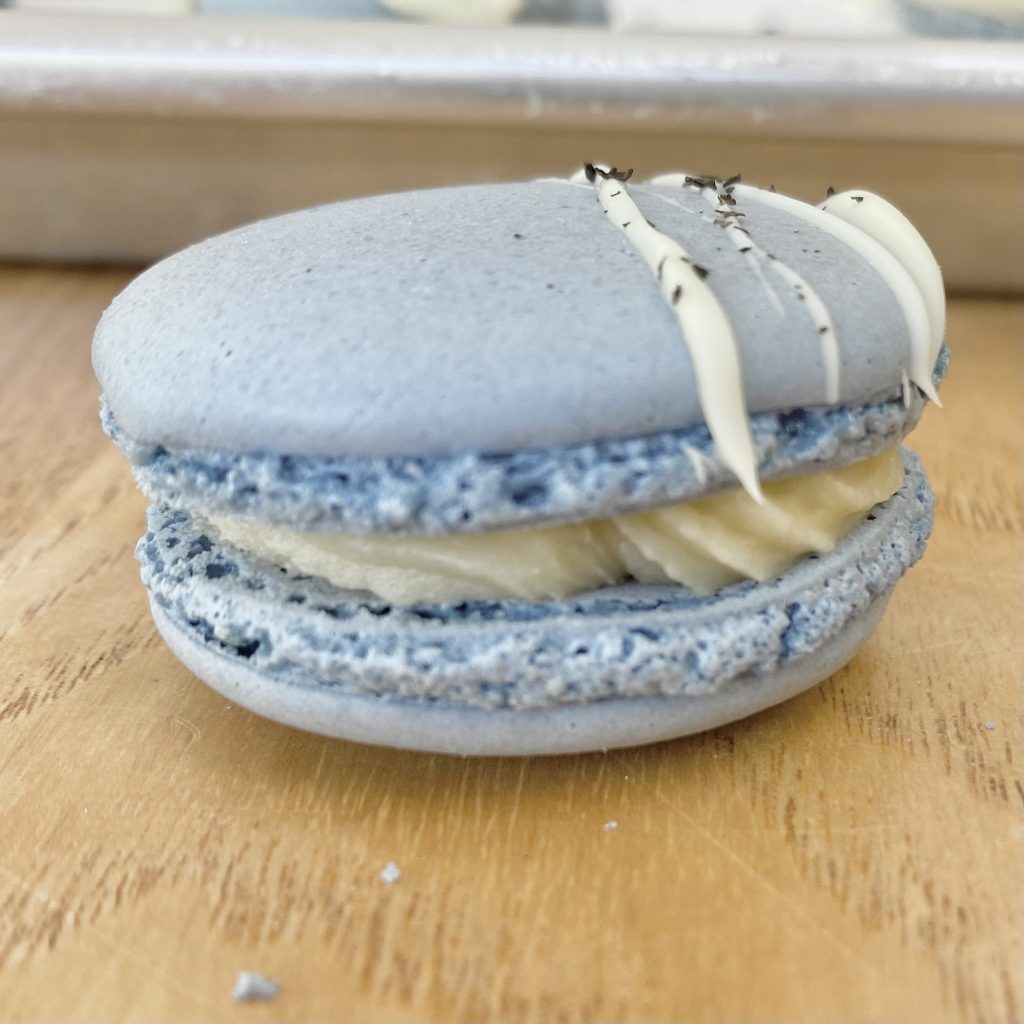
I decided to colour my macaron shells (now that I have finally learned how to do it!) blue, as a nod to the iconic Bridgerton Blue colour that runs throughout the show. I also decorated the shells, just to make them that little bit fancier, with a drizzle of white chocolate and a sprinkle of tea leaves. I’m so happy with how these macarons turned out- I think they really encapsulate the elaborate, yet classic, opulence of the show’s aesthetic. Also, they taste delicious too, so it all works out!
Ingredients
For the macaron shells, you will need the following ingredients:
- Ground almonds
This gives the macarons their iconic, nutty taste and texture. The almonds need to be very finely ground, so don’t skimp on the sieving/blitzing steps.
- Icing sugar
One of the two types of sugar in the shells, the icing sugar is mixed into a paste with the almonds and half of the egg whites.
- Egg whites
You don’t need the yolks for this recipe, so set them aside for a different recipe. You really do need to weigh your egg whites for this recipe, because macarons are very particular about ratios and quantities!
- Caster sugar
The second type of sugar. Caster sugar is heated with the water to form a sugar syrup, which is used to make the Italian meringue.
- Water
This is heated with the caster sugar to make the sugar syrup.
- Blue food colouring
It’s very important that you use the right food colouring when making macarons- it needs to be a water-based, gel food colouring. It is best to use a darker food colouring than the colour you are aiming for, because the meringue lightens the colour significantly when added. Using a darker colour also means you can use a smaller amount of colouring to achieve the right shade, which in turns means that you are less likely to affect the structure of the macaron batter and more likely to get perfect macarons! For these macarons, I used the Colour Mill Aqua Blend Food Colouring in the shade Denim.
To decorate the shells, you will also need:
- White chocolate
You only need a small amount to drizzle onto the shells- this adds decoration and gives the tea leaves something to stick to!
- Earl Grey tea leaves
Or whatever tea leaves you plan to use in your filling- sprinkling a little pinch of crushed tea leaves onto the tops of the macarons adds a little bit of decoration, but also makes it clear that the macarons are flavoured with tea, so no one gets any unwelcome surprises.
For the Earl Grey Cream Filling, you will need:
- Double cream
In the US, use heavy cream.
- Earl Grey tea leaves
Or your choice of black tea leaves. It’s important to use loose leaf tea here, not tea bags, to impart the best flavour, but also to keep the amount of cream the same- the cream tends to stick to teabags, so you end up losing quite a bit when you remove them. You may have to strain out the tea leaves, but it’s much more efficient than using tea bags!
- Corn flour
This helps to thicken the filling, making it extra smooth and creamy.
- Caster sugar
Caster sugar adds sweetness to the filling.
- White chocolate
A small amount of white chocolate is added to both sweeten the filling and help it set to a nice, firm and pipeable consistency.
- Unsalted butter
Like the white chocolate, this helps the filling to firm up, but it also emulsifies into the mixture to create a super creamy, silky texture.
Making the Macaron Shells
I have done a lot of posts on making macaron shells here on the blog, so I won’t be doing a deep dive into that here. If you want a complete walkthrough of the process, you can find my master macaron post here. For this post, though, I’ll be focusing on two things: 1) getting the shells the perfect shade of Bridgerton Blue and 2) decorating them with the white chocolate drizzle and tea leaf sprinkle.
I did make these macarons a little smaller than I usually make them, just to make them even daintier! When piping them, I used a template with 2.5 cm diameter circles as a guide. This means that this recipe makes more macarons in total than my other recipes, despite using the same amount of each ingredient, but the finished macarons are ever so slightly smaller. Just something to be aware of!
Achieving the Perfect Blue Colour
As I mentioned earlier, the food colouring you use is incredibly important when it comes to colouring macaron shells. Your food colouring must be water-based (oil is the enemy of the macaron!) and in gel form, otherwise it will affect the consistency of your batter, which will, in turn, affect your finished macarons. For the same reason, it’s important to use as little food colouring as possible, so I always use a darker food colouring than the shade I want my finished macarons to be. That way, you can add fewer drops of colouring to achieve the same colour.
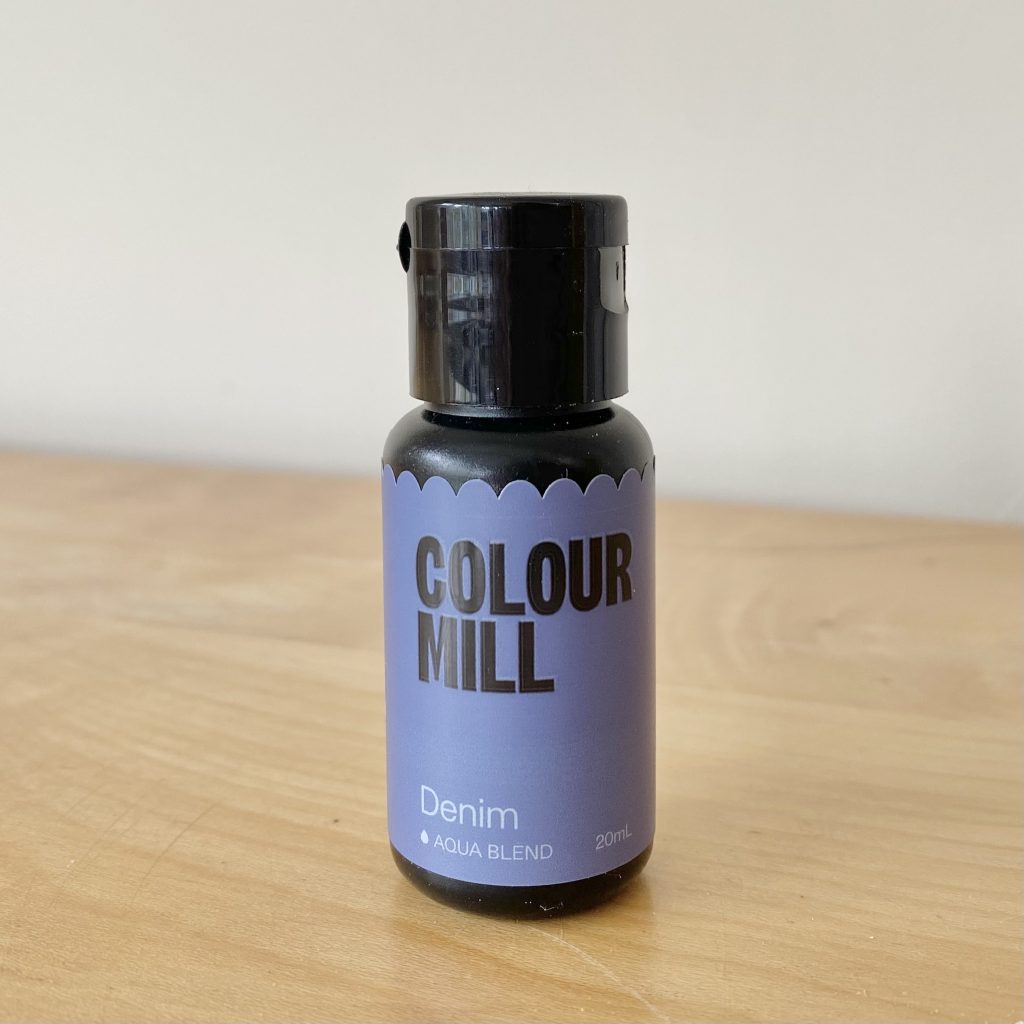
For these macarons, I used Colour Mill’s Aqua Blend Food Colouring, in the shade Denim. This brand of food colouring is my absolute favourite for macarons, because they have such a broad range of colours and work perfectly. Make sure you are using the Aqua Blend range, which is the water-based alternative to the standard Colour Mill oil-based colouring. The standard range won’t work for macarons!
I like to add the food colouring to the almond, icing sugar and egg white paste. Adding it at this stage means you can ensure that it is fully incorporated, so the colour of your shells will be consistent, and you don’t have to worry about over-mixing your macaron batter later.
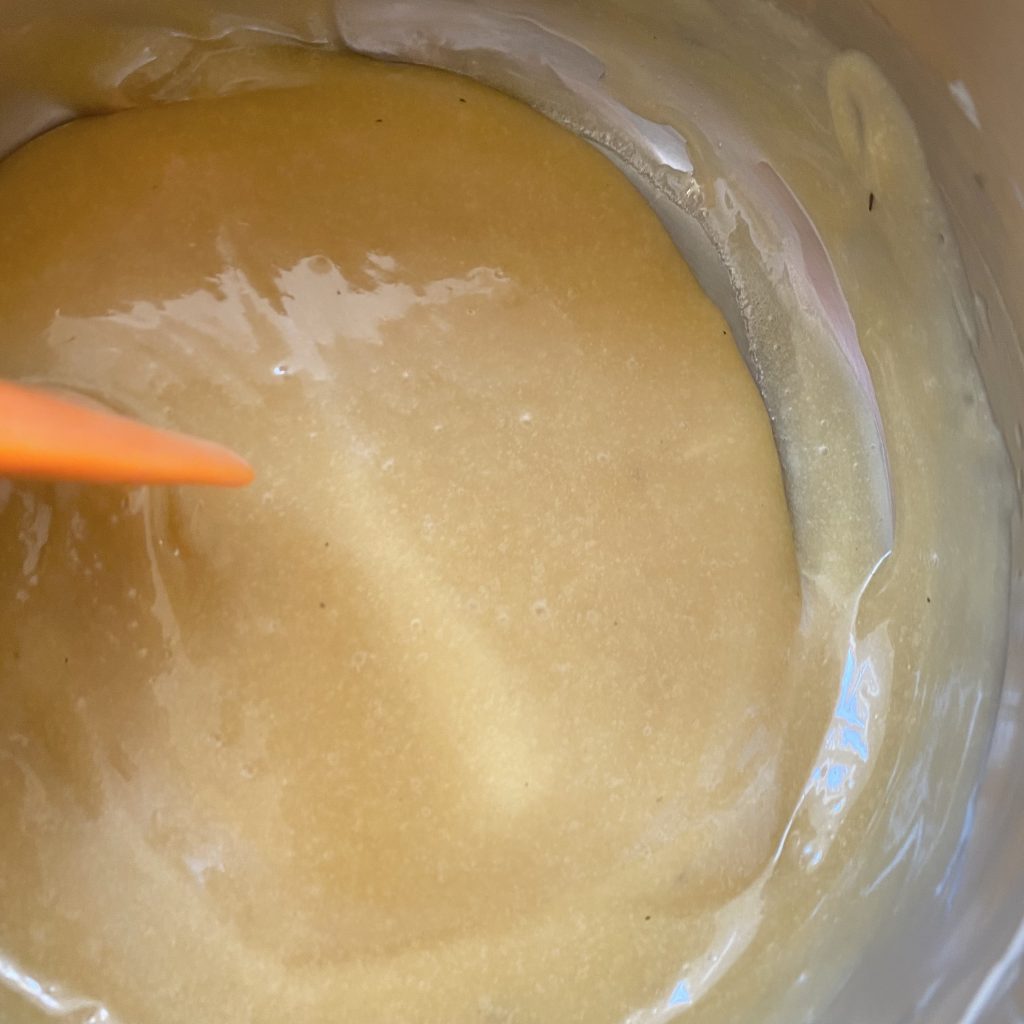
When I made these macarons, I made a half batch (there were a lot of other sweet snacks around at the time) and used 15 drops of Denim food colouring. The reason I specify this is that, logically, that should mean a full batch of macarons would require 30 drops of colouring, but, unfortunately, colouring isn’t usually vey logical. I would recommend starting with 15 and adding more if needed to achieve your desired shade. For reference, my almond/icing sugar/egg white mixture was this colour after 15 drops:
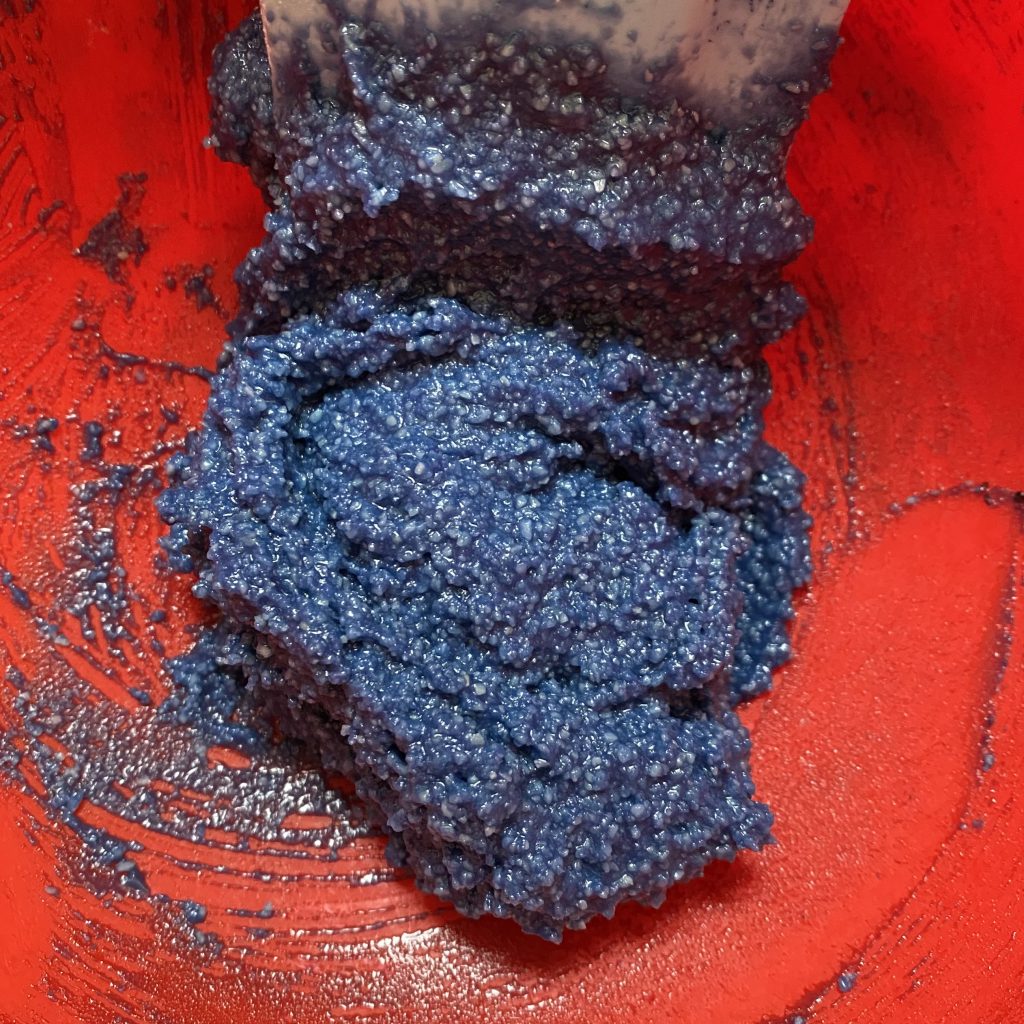
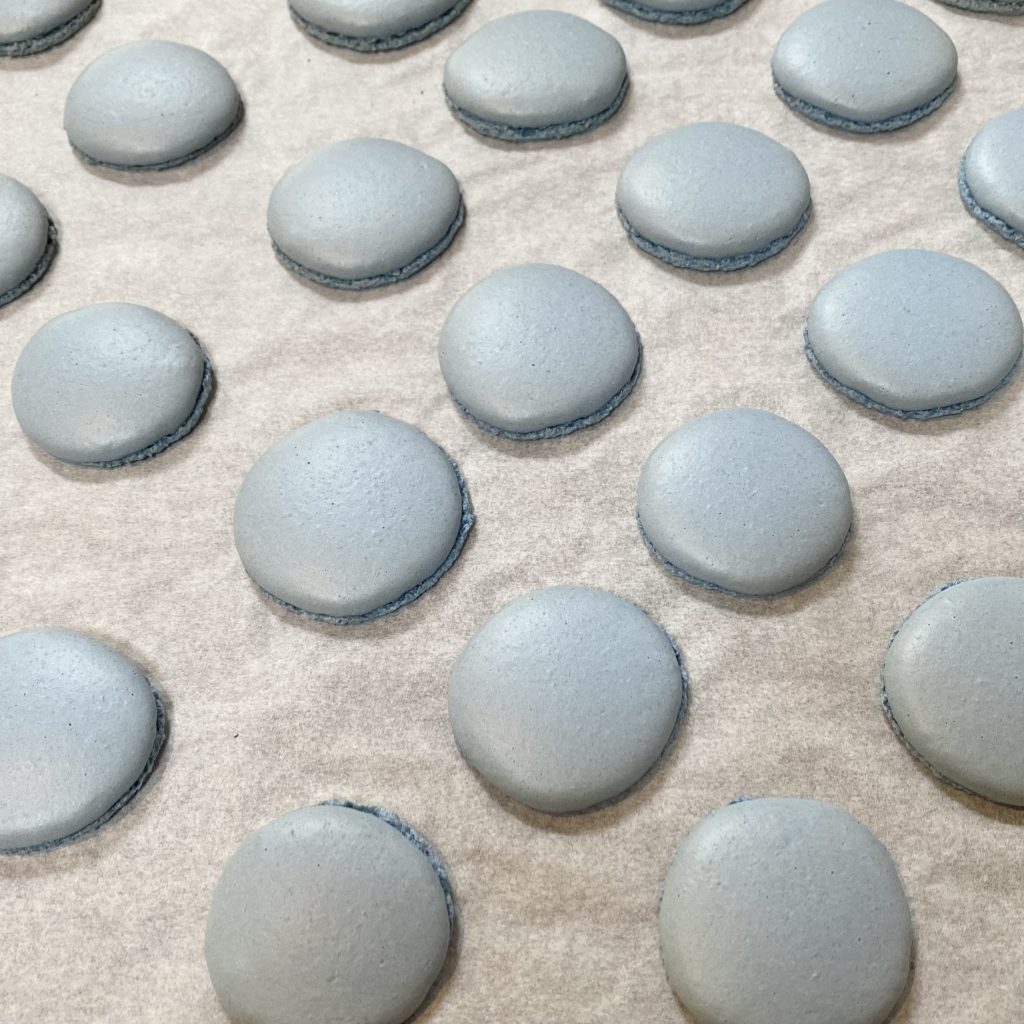
I know, I know- it looks DARK but, as I mentioned, once you mix in the meringue the colour lightens drastically. For comparison, this is how the macarons look once piped:
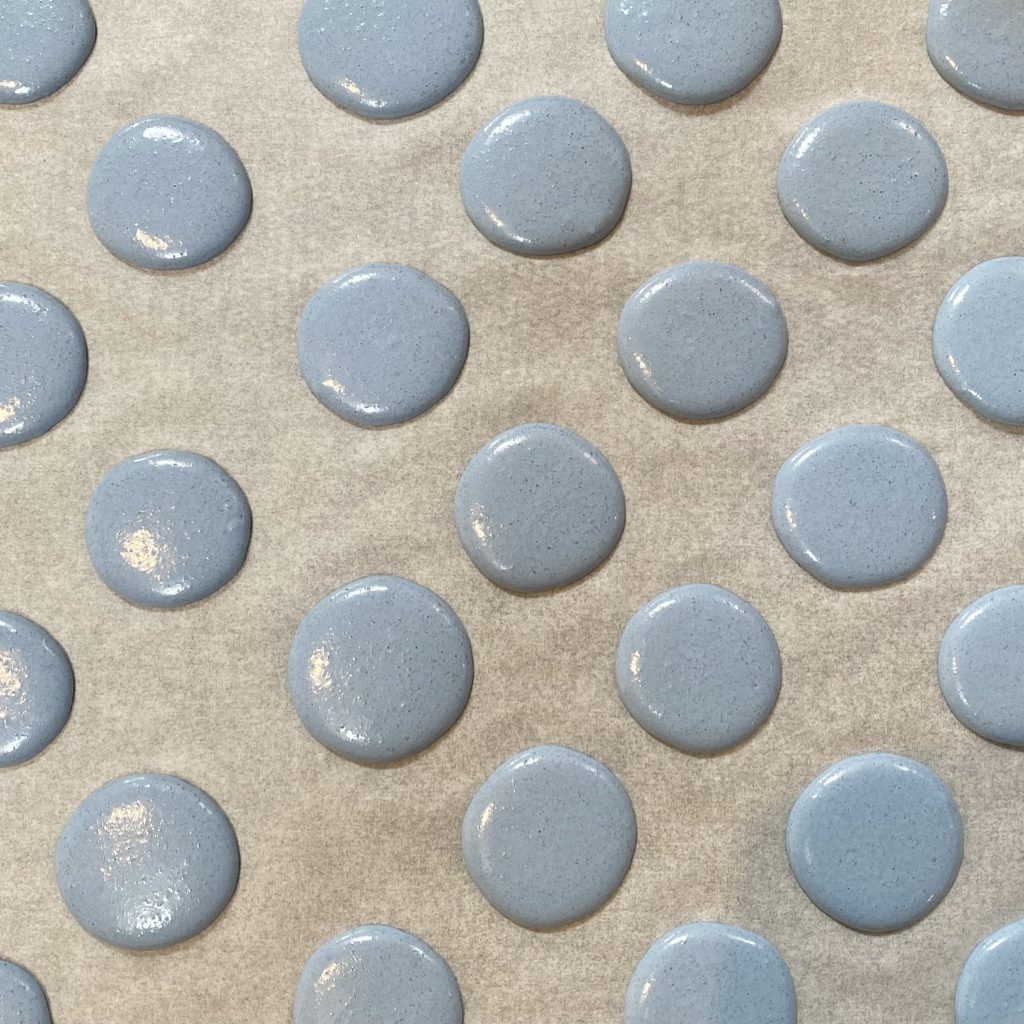
And this is how the piped macarons look once they’re baked:
A much more palatable colour, right?
One final thing regarding colouring macaron shells: it’s particularly important that you keep an eye on them while they’re baking and don’t over-bake them! If they start to brown at all, it will affect the colour of the shells and all your hard work might be ruined…
Decorating the Shells
As I mentioned, I decided to decorate these shells, just to make them extra fancy. This is so easy to do, but it makes a big difference!
Melt a small amount of white chocolate (I do this in the microwave) until it is completely smooth and quite thin, so that you can easily drizzle it over the shells (I find that you don’t need to worry about tempering when you’re using such a small quantity).
I used a spoon to drizzle the liquid chocolate back and forth over half of the macaron shells- keeping my drizzles to one side of the shells. If you want a bit more control, you could use a always piping bag with a small, round nozzle (or even just snip the tip off!). I like to pair up my macaron shells before doing this, to ensure I have even macarons and know which half of the shells to decorate!
While the chocolate is still wet, sprinkle over a few tea leaves, crushing them between your fingertips as you scatter them on.
Allow the shells to sit at room temperature until the chocolate has hardened. Once they’re set, you can get on with filling them!
Making the Earl Grey Cream Filling
This Earl Grey Cream Filling is a slightly adapted version of the Ladurée vanilla cream filling I made for my Heart-Shaped Macarons back in February. This version is infused with Earl Grey tea and piped into the shells, to give the macarons a classy look and flavour!
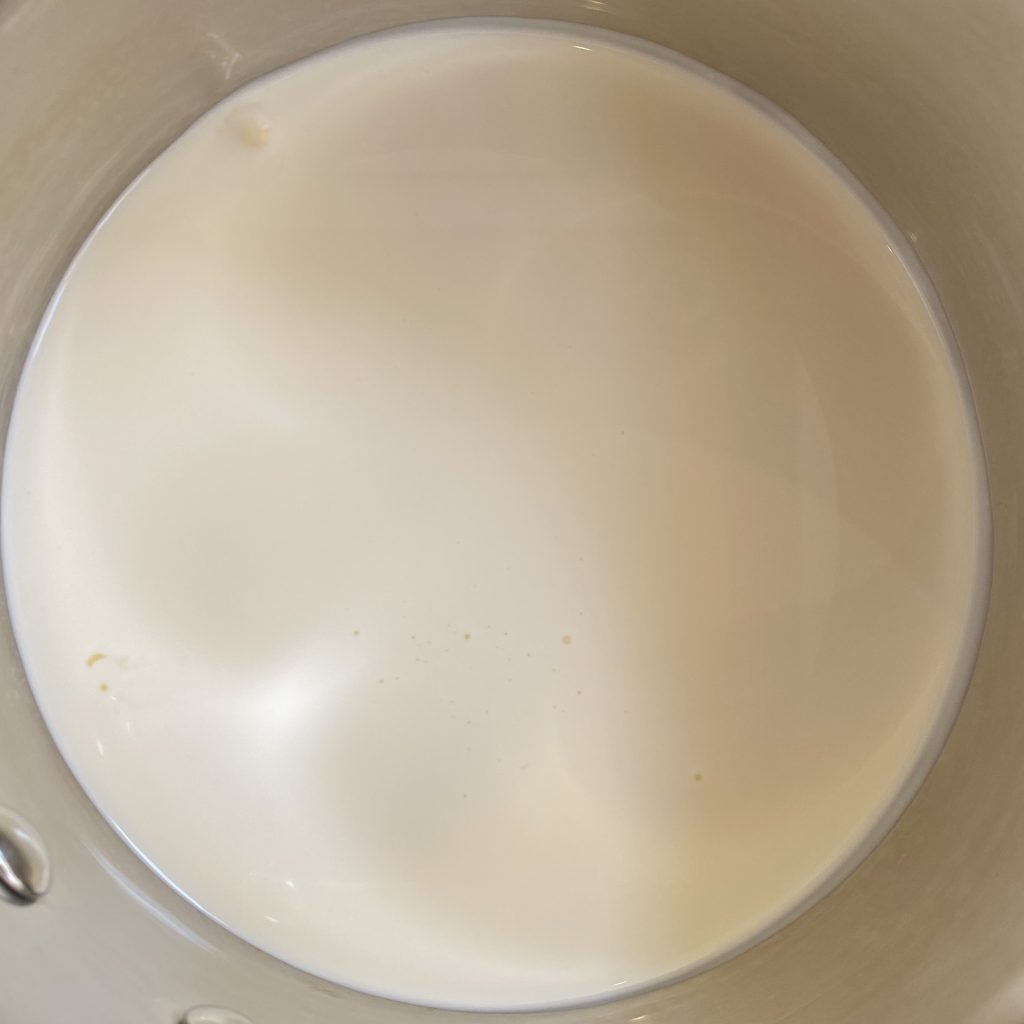
The first step is to infuse the cream. Place the cream into a small saucepan and bring to just below a simmer over medium-low heat.
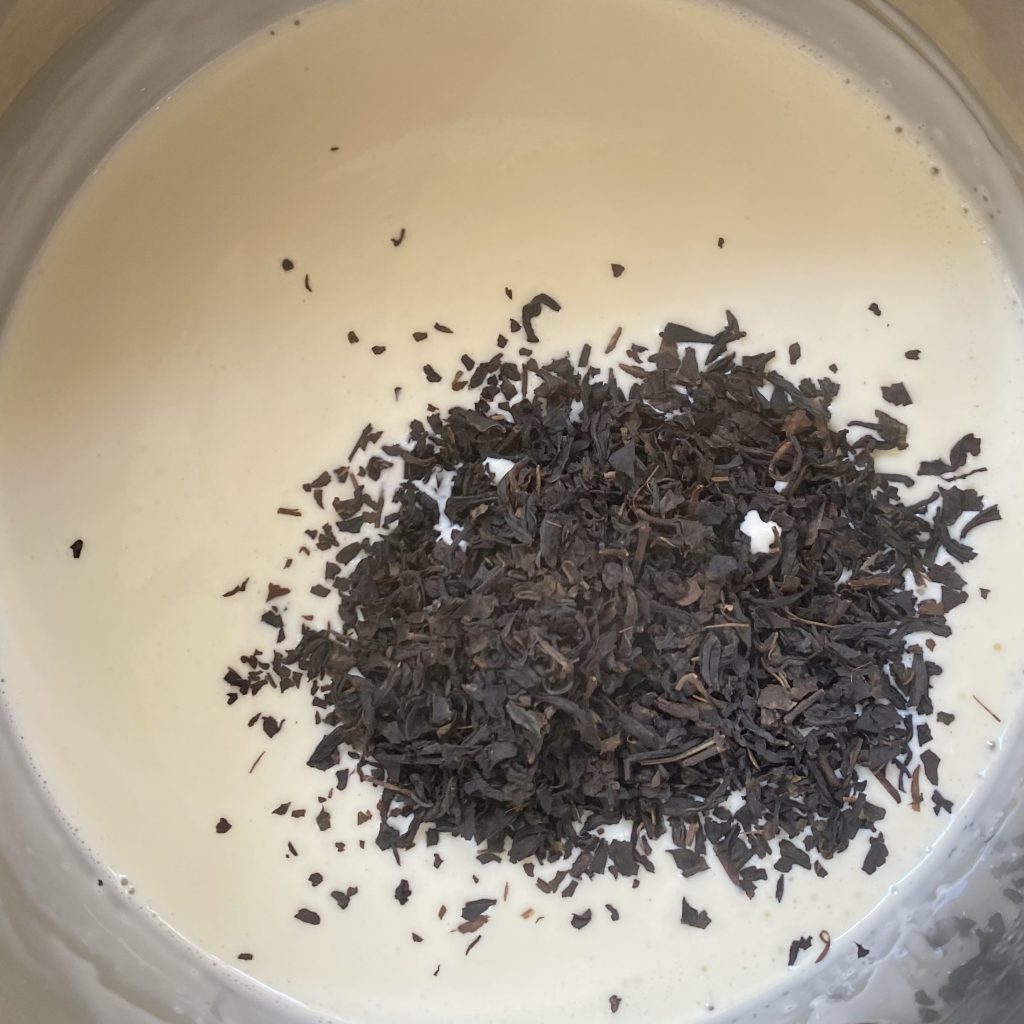
Once the cream is hot, add the loose leaf Earl Grey tea.
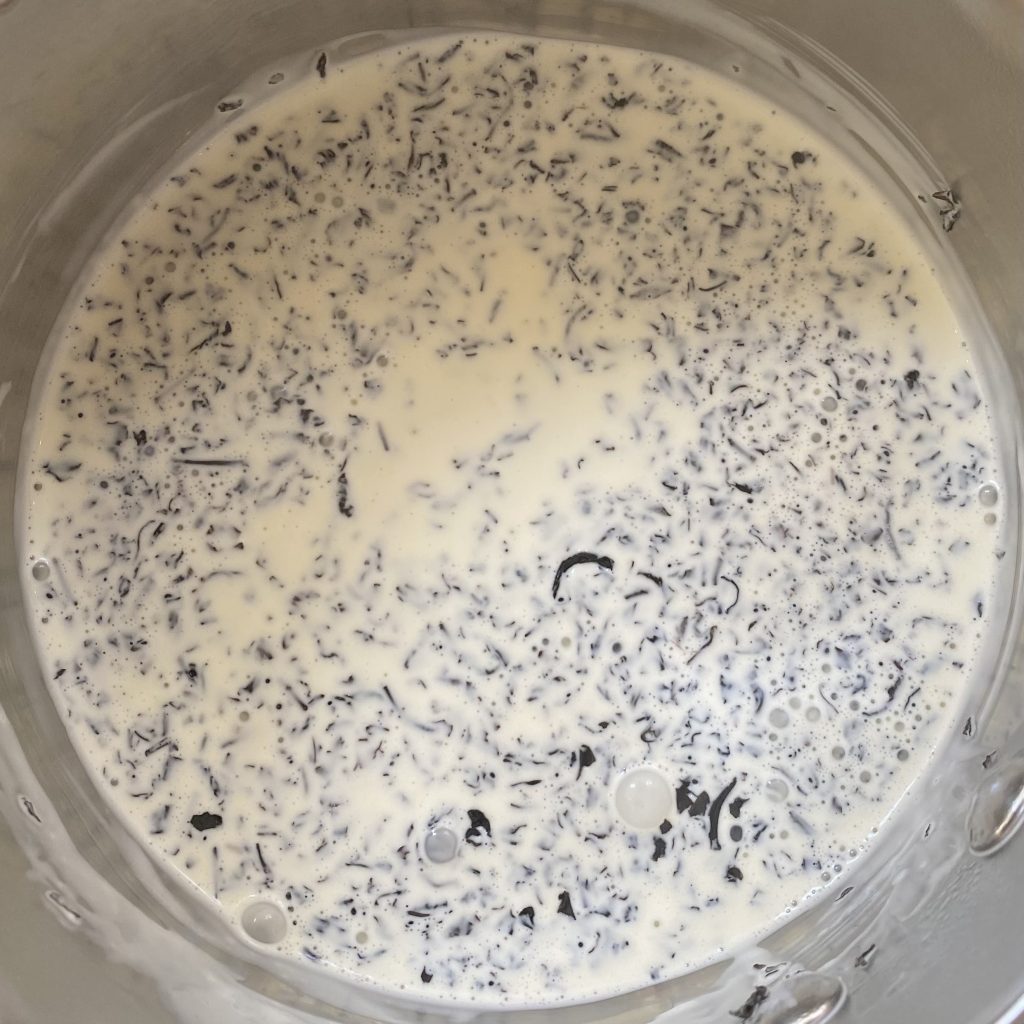
Stir to combine, then cover and set aside to infuse for 15 minutes.
Once the cream has infused, strain it through a sieve to remove the tea leaves. Press down with the back of a spoon to extract as much of the flavour (and cream) as possible.
Gradually add 1-2 tbsp of the infused cream to the cornflour, stirring well until it forms a smooth, creamy paste.
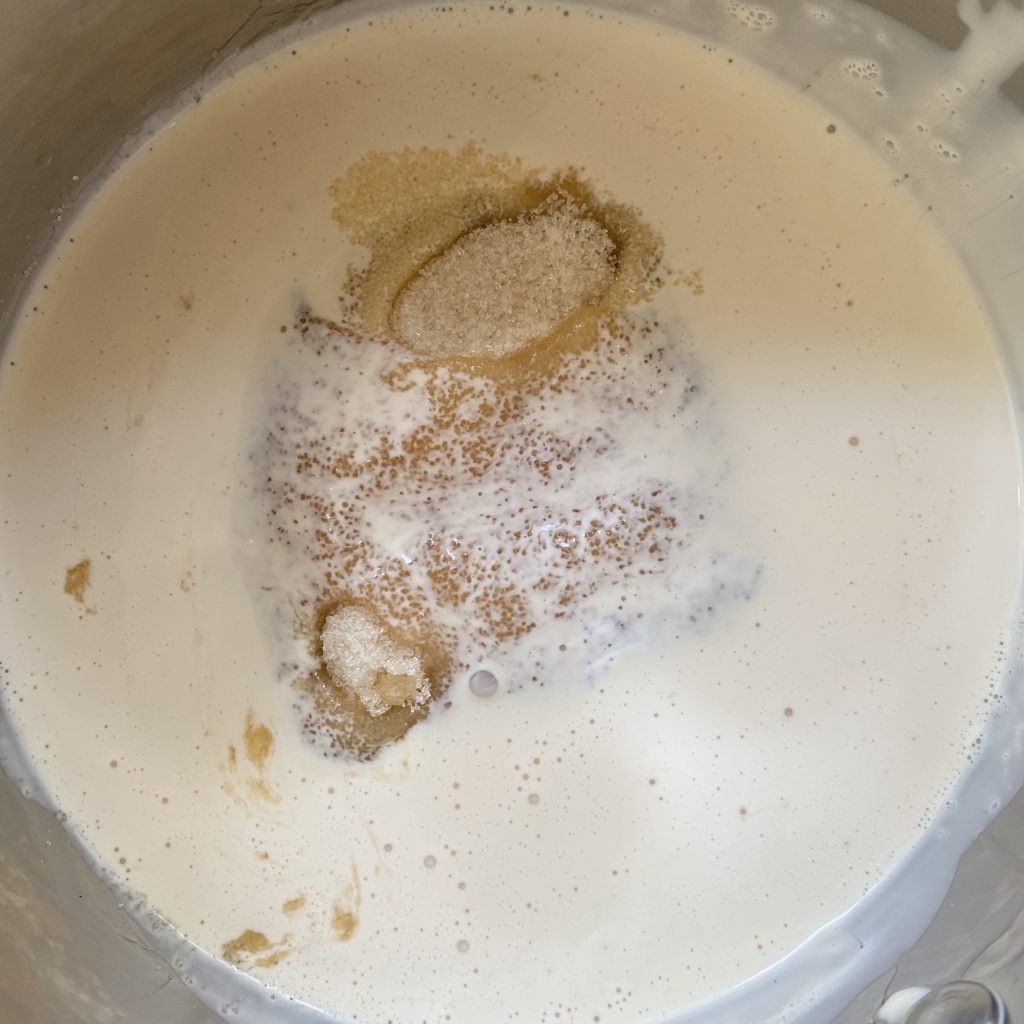
Put the remaining cream back into the saucepan and add the sugar. Bring the mixture back up to just below a simmer, again over medium-low heat, stirring every now and then to help the sugar dissolve and prevent the cream from catching.
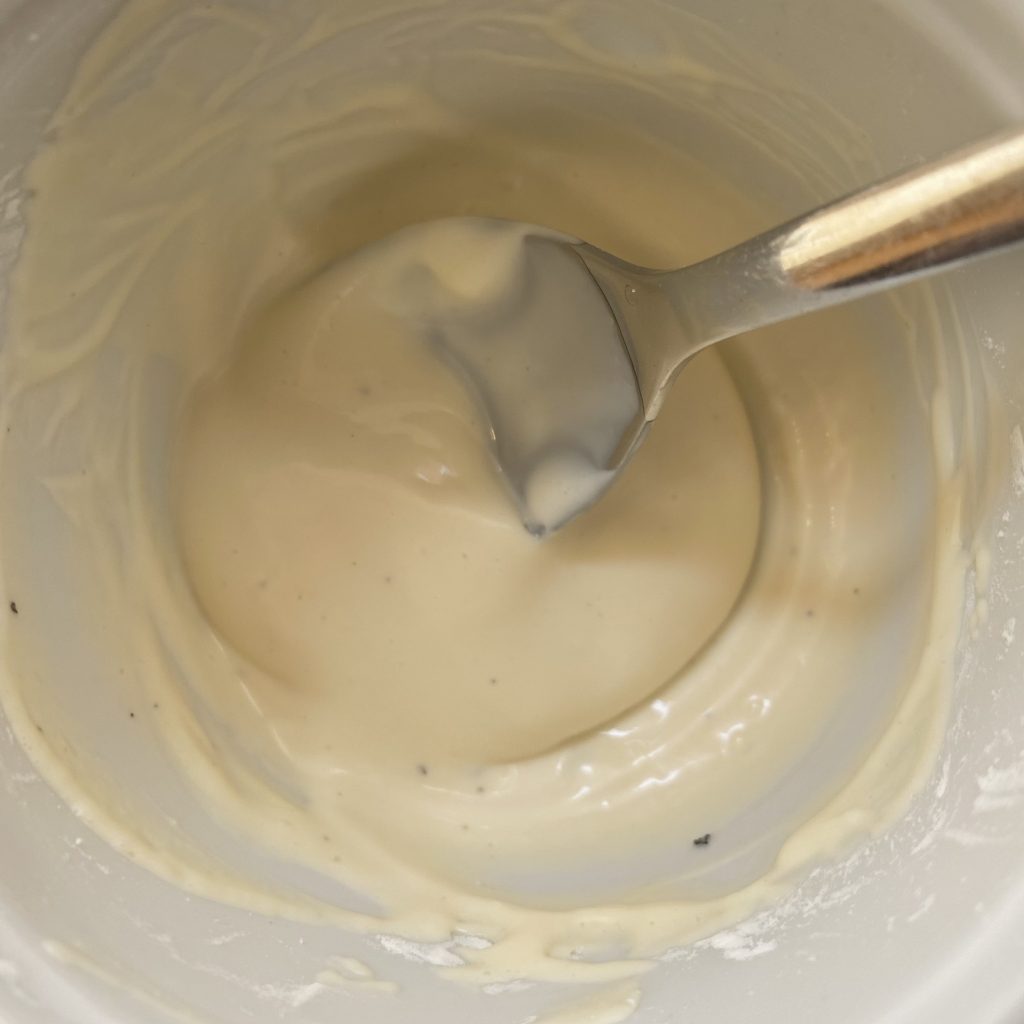
Once the sugar has dissolved and the cream is hot, gradually whisk in the cornflour mixture. Turn the heat to low and stir constantly for 1-2 minutes, until the mixture has thickened.
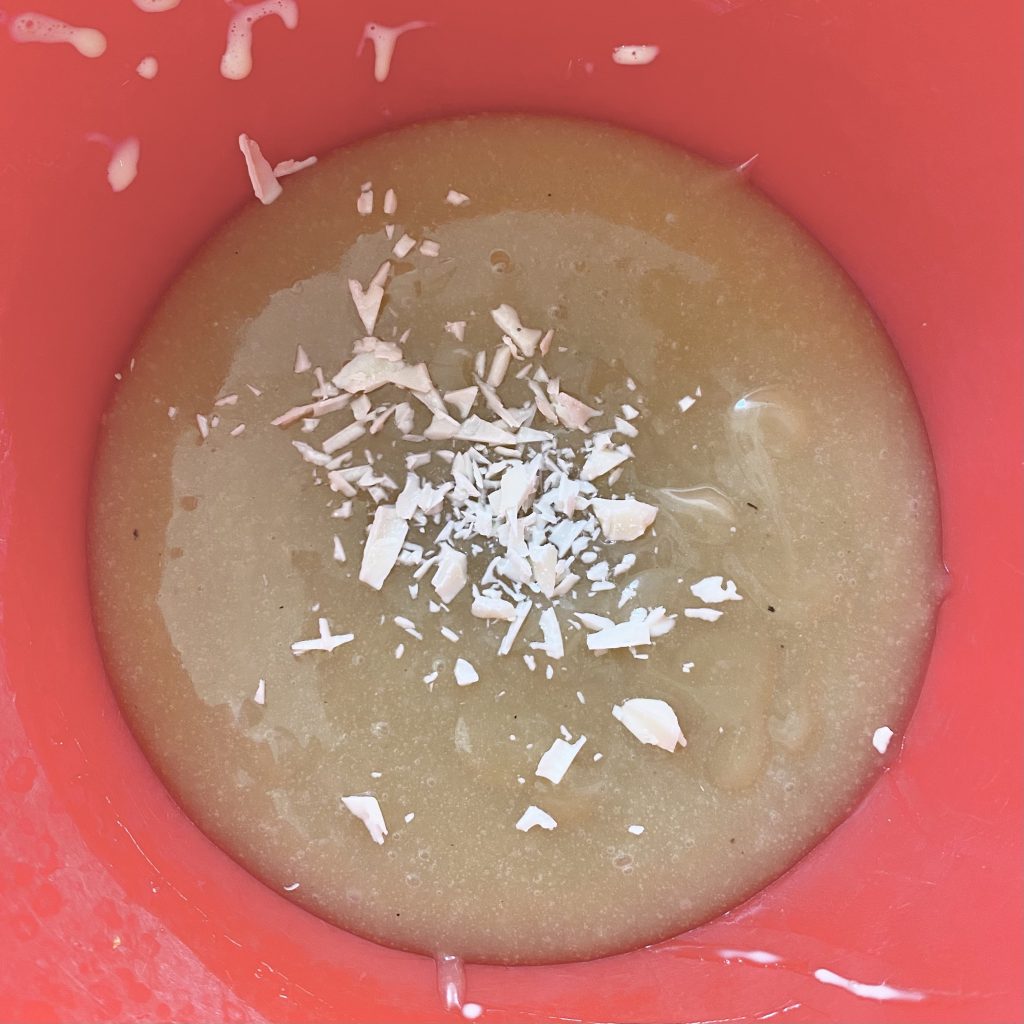
Pour the thickened mixture into a bowl and stir in the chocolate, a little at a time, ensuring that each addition is fully melted before adding more. The mixture will start to thicken a little as the chocolate is incorporated.
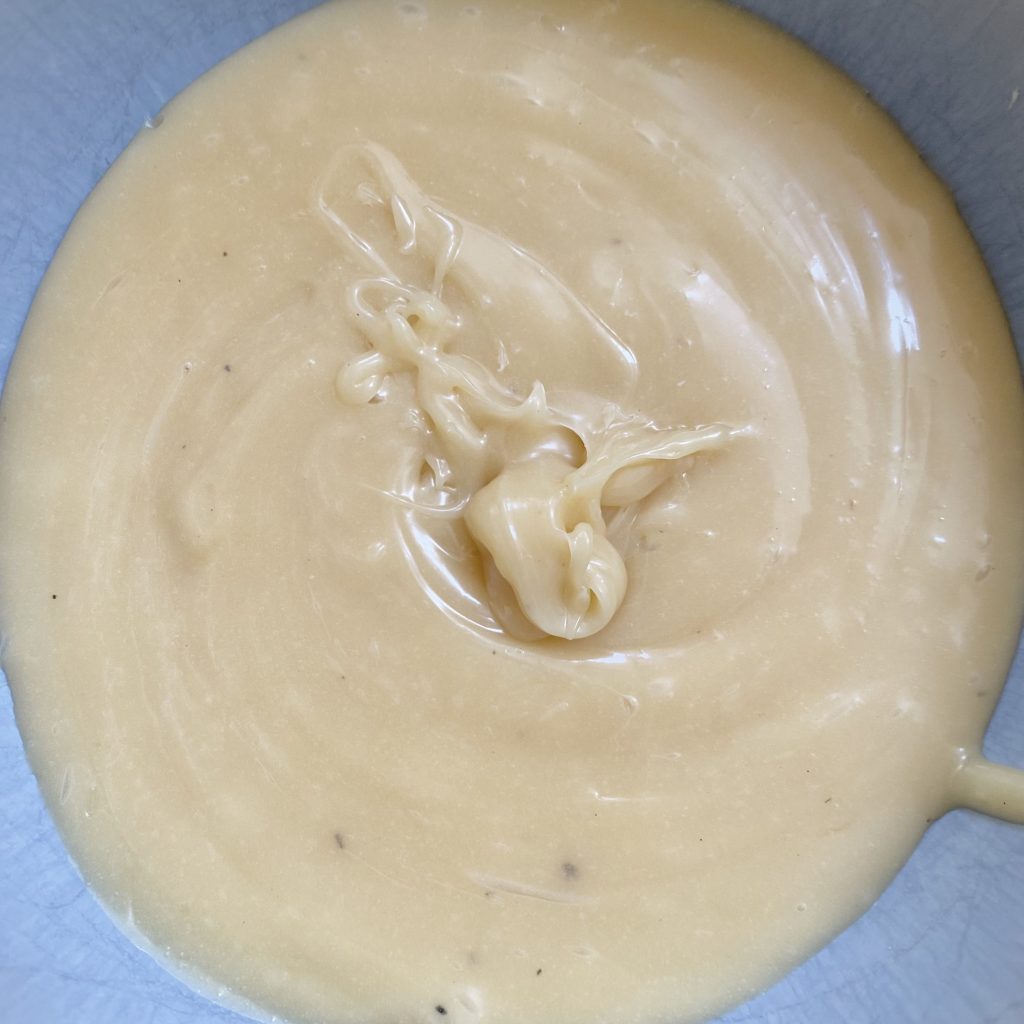
Transfer the mixture to a food processor (I use a mini one, for ease!) and add a cube of butter. Pulse until the butter is incorporated, then add another cube and pulse again. Repeat this process until all of the butter has been incorporated and you have a thick, emulsified mixture.
Transfer the mixture to a small bowl and cover the surface directly with clingfilm. Place into the fridge to chill for 1-2 hours, until pipeable. If left for too long, the mixture will firm up too much to pipe, so keep an eye on it! If this does happen, you can either just spread/spoon it onto the shells, or warm it ever so slightly in the microwave to bring it back to a pipeable consistency.
Assembling the Macarons
When you’re ready to assemble the macarons, transfer the Earl Grey filling to a piping bag, fitted with a medium, open-star nozzle.
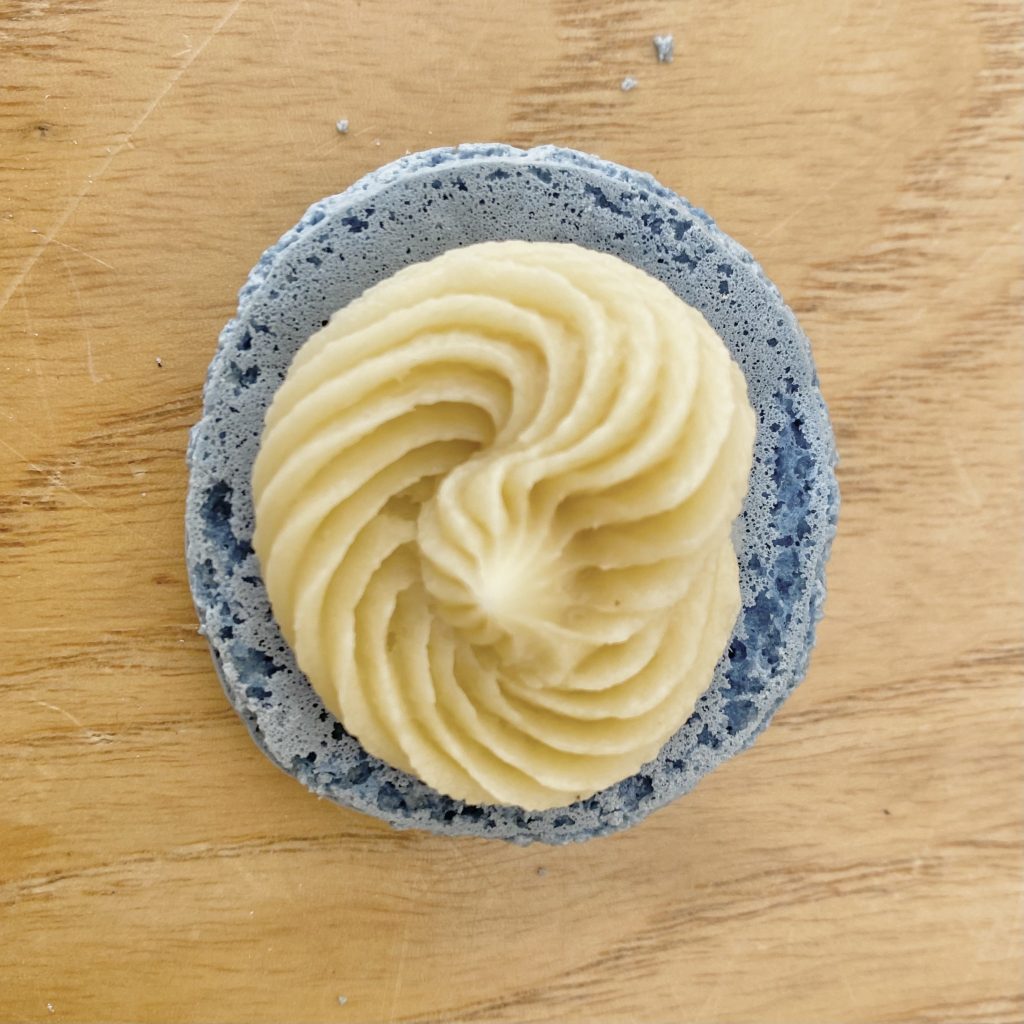
Pipe a rosette of filling onto the underside of one of the undecorated shells.
Complete the sandwich with a decorated macaron shell, gently pressing the two shells together to keep everything together.
Repeat for the remaining macarons, then serve. The macarons can be kept out of the fridge for several hours, but should be kept in the fridge if they are made any further ahead than that. If stored in an airtight container in the fridge, the filled macarons should keep for a couple of days.
Earl Grey Macaron Recipe
Earl Grey Macarons
Equipment
- 1 small(ish), round piping nozzle
- 1 medium, open-star piping nozzle
- 2 piping bags
Ingredients
For the macaron shells:
- 95 g ground almonds
- 103 g icing sugar
- 72 g egg whites, split into two equal portions (2x36g).
- 95 g caster sugar
- 30 ml water
- Blue water-based gel food colouring (see Note 1).
For the Earl Grey cream filling:
- 150 ml double cream
- 1 1/2 tbsp loose leaf Earl Grey tea
- 2 1/2 tsp cornflour
- 75 g caster sugar
- 25 g white chocolate, finely chopped.
- 35 g unsalted butter, diced and at room temperature.
To decorate:
- 40 g white chocolate, melted.
- Loose leaf Earl Grey tea
Instructions
Make the macaron shells:
- Line 2 baking trays with baking paper. Fit a piping bag with a small(ish), round nozzle (mine was 6mm in diameter) and set aside.
- Place the ground almonds and icing sugar into a food processor. Pulse 10 times, then sift into a large bowl, discarding any large lumps. Repeat this process once more, so that you are left with a very fine powder.
- Add one of the 36g portions of egg white to the almond/icing sugar mixture, along with about 15 drops of blue food colouring. Mix well to form a paste with an even, dark blue colour, then set aside. If needed, add more food colouring to achieve desired shade.
- Place the remaining 36g of egg white into the clean (see Note 2), metal bowl of a stand mixer, fitted with the whisk attachment. Leave aside while you make the sugar syrup.
- Place the caster sugar into a small saucepan with the 30ml of water. Place over a medium heat and bring to a boil. Do not stir- swirl gently if necessary. Allow the syrup to continue bubbling, while monitoring the temperature with a digital sugar thermometer.
- When the syrup has reached 114°C, turn the stand mixer to high speed and begin to whip the egg whites to soft peaks. Keep the syrup over the heat.
- Once the sugar syrup reaches 118°C, the egg whites should have reached soft peaks. With the mixer still running on high speed, carefully pour the syrup down the side of the bowl in a slow, steady stream. Once all of the syrup has been added, turn the mixer up to full speed and beat for 5 minutes, or until stiff peaks are achieved and the metal bowl has come to room temperature.
- When the meringue is ready, add 1/3 of it to the blue almond mixture. Mix vigorously to combine the two mixtures and loosen the thick paste.
- Add the rest of the meringue and fold it in, using a figure of eight motion, until the mixture is cohesive and comes off the spatula in ribbons- if you leave those ribbons for 30 seconds they should level themselves out into the rest of the mixture.
- Transfer the macaron batter to the prepared piping bag. Holding the bag vertically to the baking tray, pipe macarons about 2.5cm in diameter.
- Once the macarons are piped, lift the whole tray and drop it down onto the work surface a few times to bring any air bubbles to the surface. Use a sharp knife/cocktail stick to burst any remaining bubbles, letting the mixture fall back on itself.
- Set the macarons aside at room temperature to form a skin- on a relatively dry day, this should take about 30-40 minutes, but can take less time on drier, warmer days and more time on cold, humid days. Check on the macarons every 10-15 minutes or so, if unsure. The macarons will be ready when you can gently touch their surfaces without any batter coming off on your finger.
- When the macarons are almost ready, preheat the oven to 165°C fan. When the macarons are ready and the oven is hot, bake the macarons in the centre of the oven, one tray at a time, for 11 minutes. To check if they are done, place a finger on top of the shells and wiggle gently. When done, the tops of the macarons should not wobble. Remove from the oven and allow to cool completely on the tray before decorating/filling.
Make the Earl Grey cream filling:
- Place the cream into a small saucepan over medium-low heat and bring to just below a simmer. Add the Earl Grey tea, stir to combine, then cover and set aside to infuse at room temperature for 15 minutes.
- After 15 minutes strain the cream through a fine mesh sieve to remove the tea, pressing it to extract even more flavour.
- Gradually mix 1-2 tbsp of the cream into the cornflour, until it forms a smooth, creamy paste. Set aside.
- Return the cream to the saucepan and add the sugar. Heat on medium-low, stirring frequently, until the sugar has dissolved and the mixture comes to just below a simmer again.
- With the pan still on the heat, whisk in the cornflour mixture until it is completely incorporated. Turn the heat down to low and keep cooking the mixture, stirring constantly, for 1-2 minutes, until it becomes thick and glossy.
- Transfer the mixture to a bowl and add a small amount of the finely chopped white chocolate. Stir to combine and, once that chocolate has melted into the mixture, add a little more. Repeat this process until all of the chocolate has been incorporated.
- Pour the mixture into the bowl of a food processor and add a cube of the diced butter. Pulse until the butter has been completely incorporated, then add another cube and repeat. Keep going until all of the butter has been incorporated.
- Transfer the mixture to a small bowl and cover the surface directly with clingfilm. Chill in the fridge for 1-2 hours, until firm and pipeable. If left for too long, the mixture will become stiff and hard to pipe. If needed, gently reheat the mixture to bring it back down to the right consistency.
Decorate the macaron shells:
- While the filling is chilling, decorate the macaron shells. Pair up the macarons, matching them as well as possible in terms of size/shape.
- Drizzle one side of half of the shells (one from each pair) with white chocolate. I used a spoon to do this, but you can use a piping bag with the tip snipped off, if you prefer.
- While the chocolate is still wet, sprinkle with Earl Grey tea leaves, crushing the leaves between your fingers as you sprinkle them. Allow the shells to sit at room temperature until the chocolate has set, before assembling.
Assemble the macarons:
- Transfer the filling to a piping bag, fitted with a medium, open-star tip, ready to fill the macarons.
- Pipe a rosette of filling onto the underside of each of the undecorated macarons. Press the decorated macaron shells on top, sandwiching the filling in the middle and serve. The filled macarons can sit at room temperature for several hours, but any longer and they should be stored in an airtight container in the fridge, where they will keep for a couple of days.
Notes
- You must use a water-based, gel food colouring when making macarons. I like Colour Mill’s Aqua Blend range. For these macarons, I used the shade Denim.
- To clean the bowl and the whisk for meringue, rub a small amount of white wine vinegar over both using a piece of kitchen roll. This will remove any traces of fat/residue that might prevent your meringue from whipping up properly.