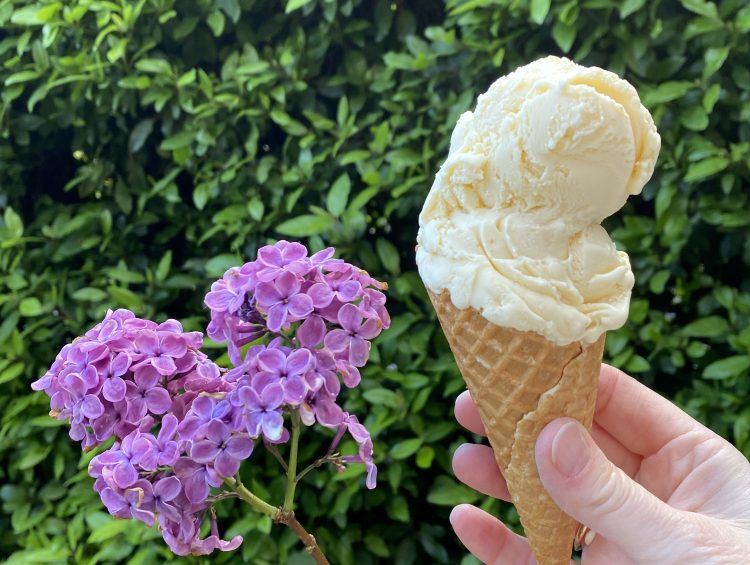
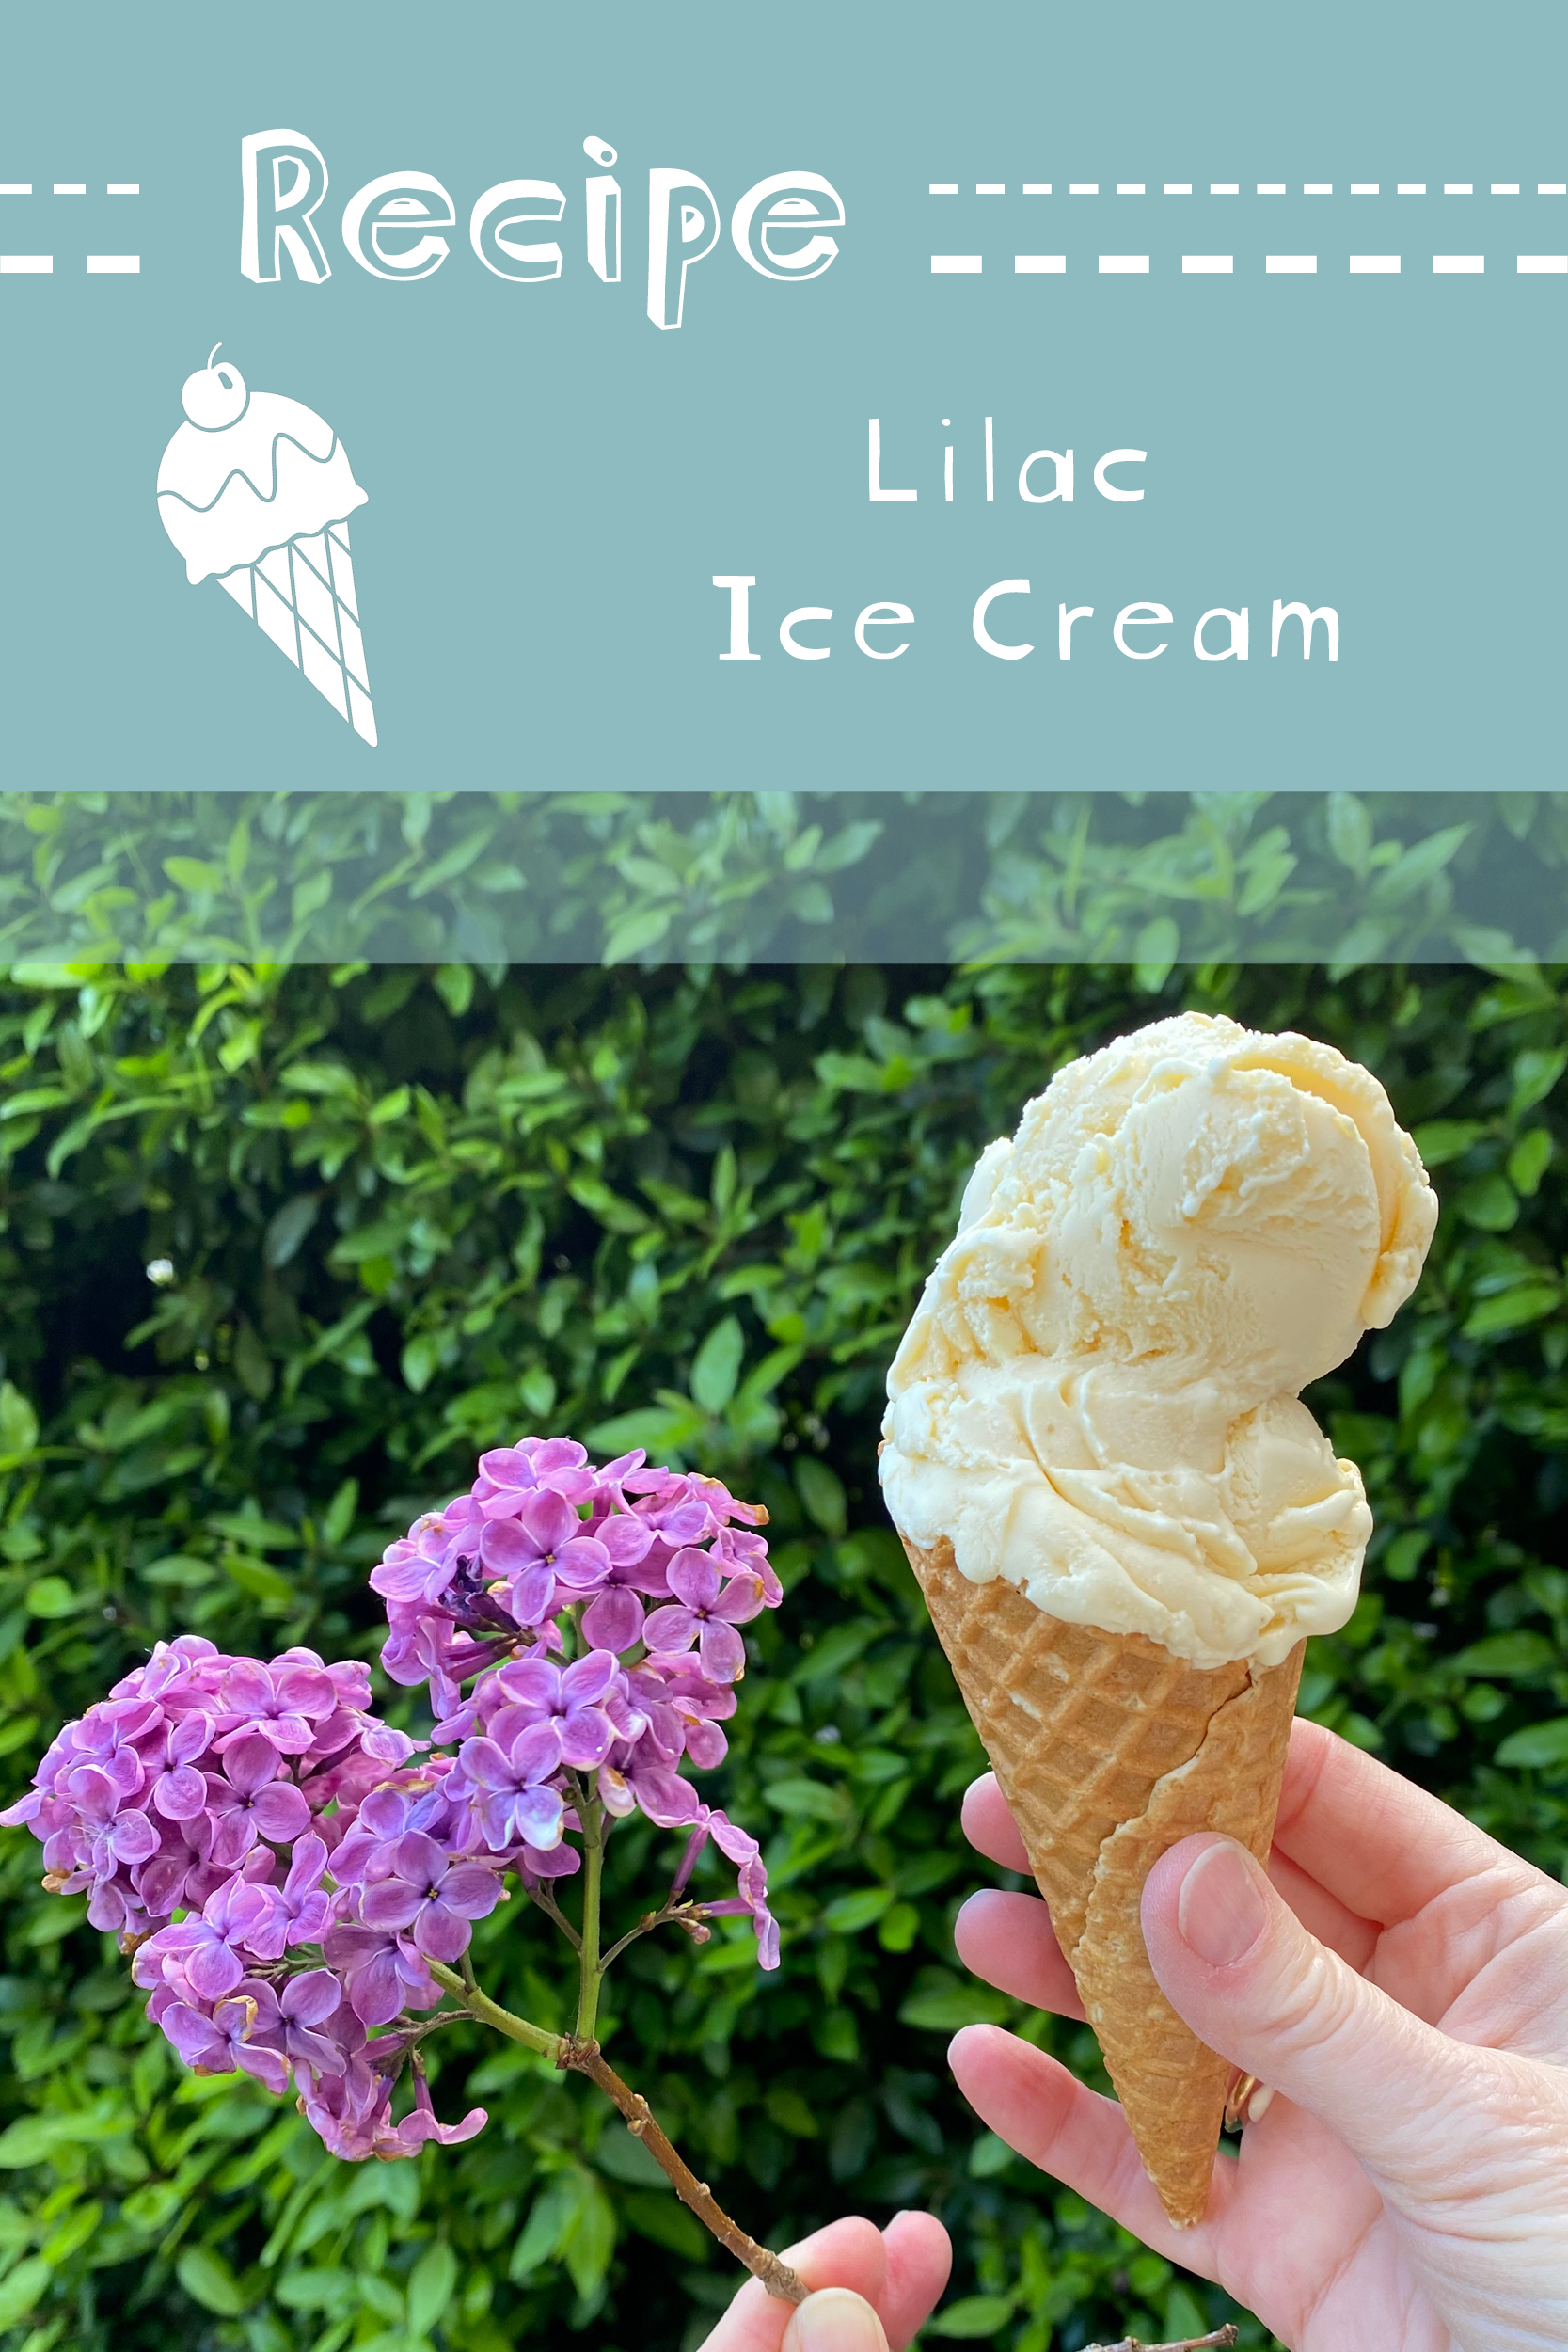
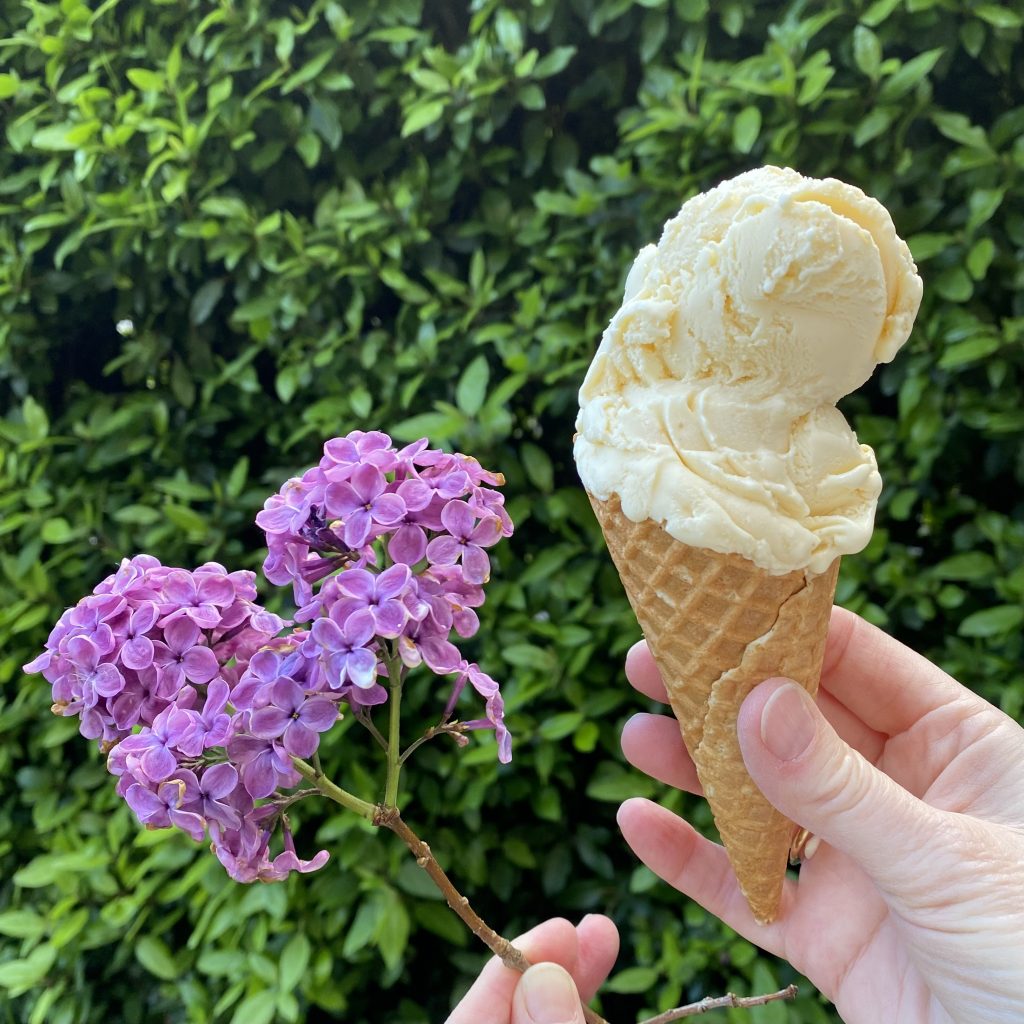
Recently, I discovered that lilacs are edible. Perhaps this is common knowledge, or perhaps I’ve just blown your mind too, but, either way, for me, this was a revelation. When I learned this little titbit of information, I was at home, sat in front of a window that just happened to look out onto, you guessed it, a lilac tree. Safe to say, lives were changed, worlds shifted and fates aligned: it was time for me to try my hand at baking with lilac.
I opted to make a lilac-infused ice cream as my first foray into the world of baking with lilac. It seemed like a good idea, because I always think that ice cream is a perfect blank canvas for trying new flavours or combinations. Plus, if it doesn’t taste good, you can just pretend it never existed and let it fester in your freezer until the end of time (I’m joking, of course…).
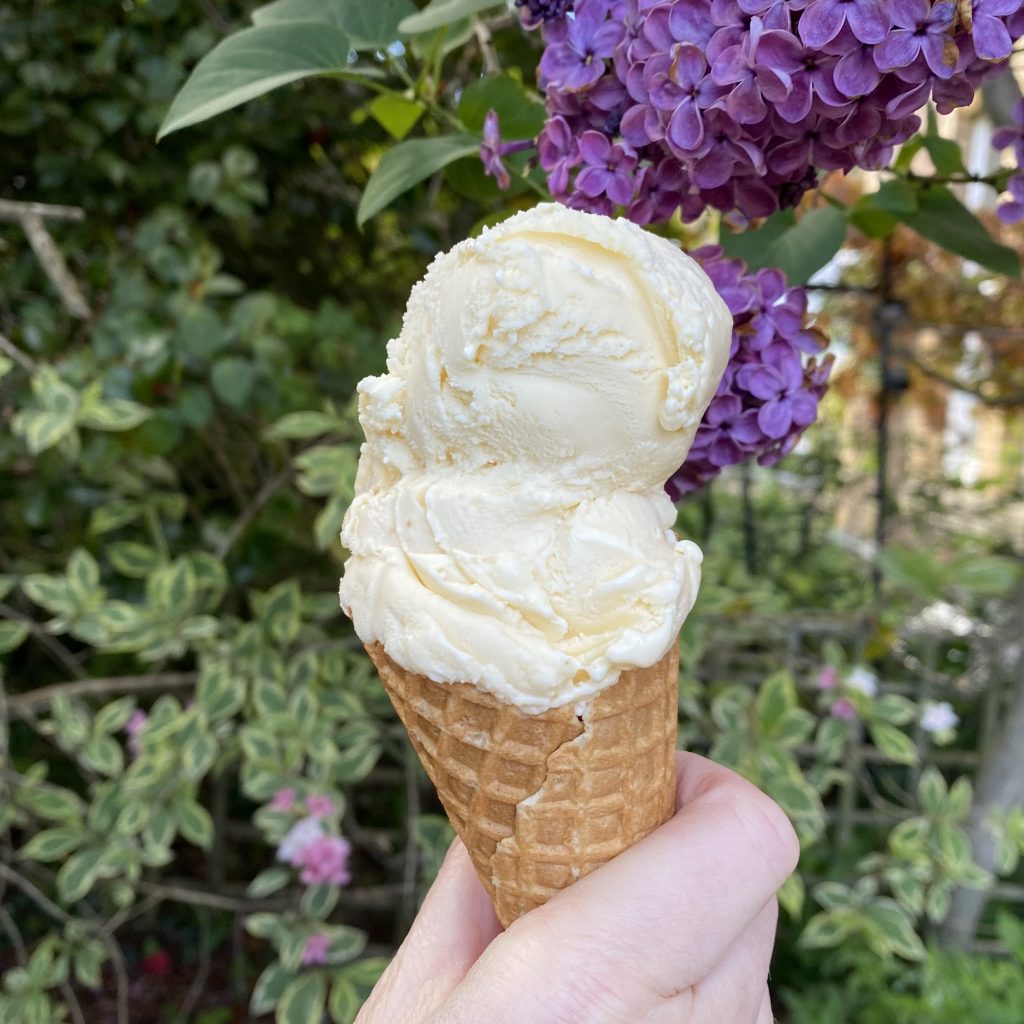
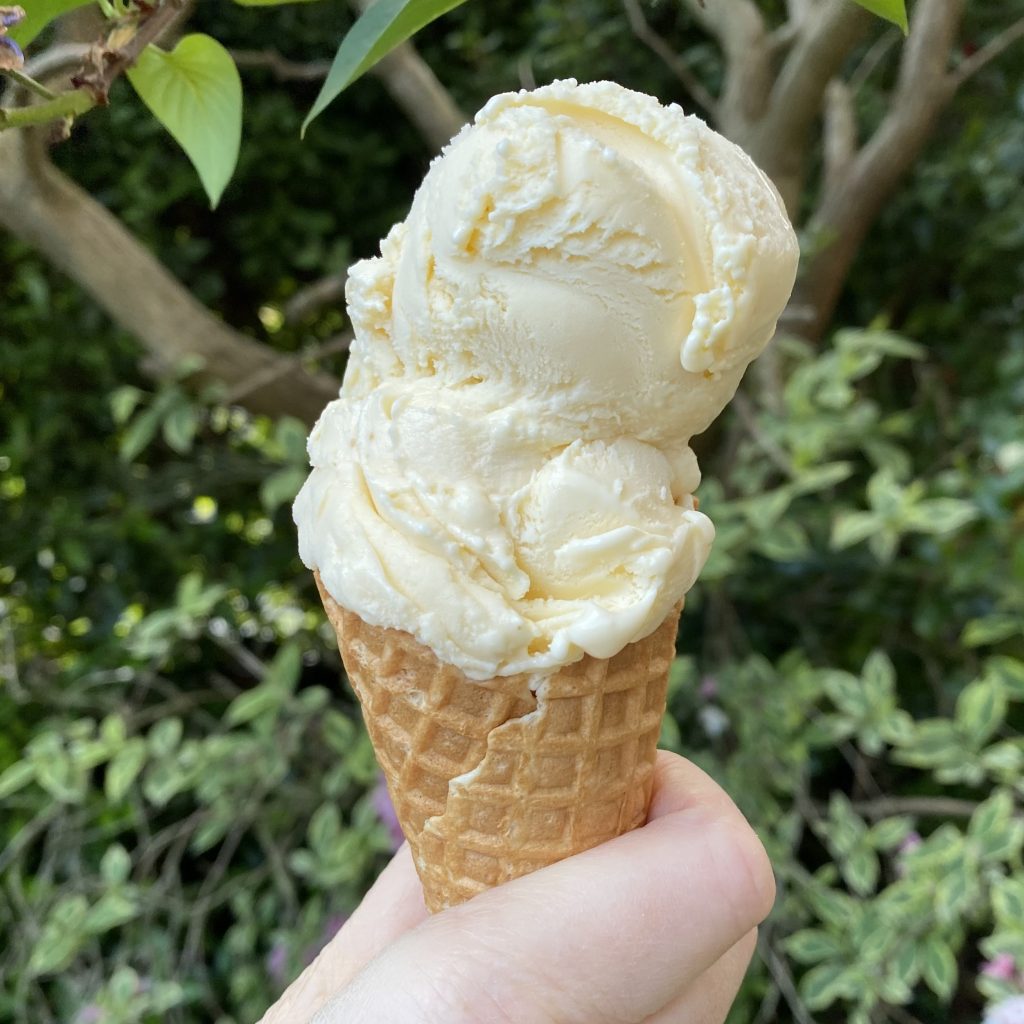
Reader, excellent decisions were made. This lilac ice cream is SO tasty: gently floral, but also sweet and rounded and kind of… cosy and warming? I don’t know why, I don’t know how, but Lilac Ice Cream kind of tastes like a floral rice pudding. Unexpected, yes, but absolutely delicious!
I’m sharing the recipe now, even though lilac season is coming to a swift end where I live, just in case there are any flowers still in bloom near you. Otherwise, you should absolutely save this recipe for next year, when the flowers come out again!
Table of Contents
Ingredients
To make this Lilac Ice Cream, you will need:
- Lilac flowers
Lilac season is brief, but so beautiful! Make sure the lilac you’re using has not been sprayed with anything, so that it’s safe to eat. If you’re not lucky enough to have a lilac tree in your garden, you could ask a friend/neighbour, or forage a few sprigs from public land (making sure to do so sparingly and respectfully, of course!).
The lilac I’m using is a darker variety, but that’s absolutely fine— it all tastes the same, so use whatever you can find! The lilac doesn’t naturally impart any colour to the ice cream anyway (though it would have been pretty cool if it did!).
- Milk
Ideally, you should use whole milk to make ice cream, as this will give you the creamiest, richest texture and flavour. However, you can absolutely use skimmed/semi-skimmed milk instead, if you prefer (in fact, I often use skimmed milk for my ice creams, just because that’s what I usually have in the house).
- Double cream
If you’re in the US, use heavy cream.
- Caster sugar
I use golden caster sugar for this recipe, but white caster sugar will also work.
- Egg yolks
You don’t need the egg whites for this recipe, so save them for another recipe (perhaps one of my macaron recipes?). Egg whites freeze really well, so you don’t need to worry about wasting them.
How to Make Lilac Ice Cream
This Lilac Ice Cream takes a little while to make, but it’s mostly hands-off, chilling-in-the-fridge/freezer time! At its heart, this recipe is just a super simple ice cream base, with the dairy products infused with the fresh lilac flowers ahead of time.
Preparing the Lilac Flowers
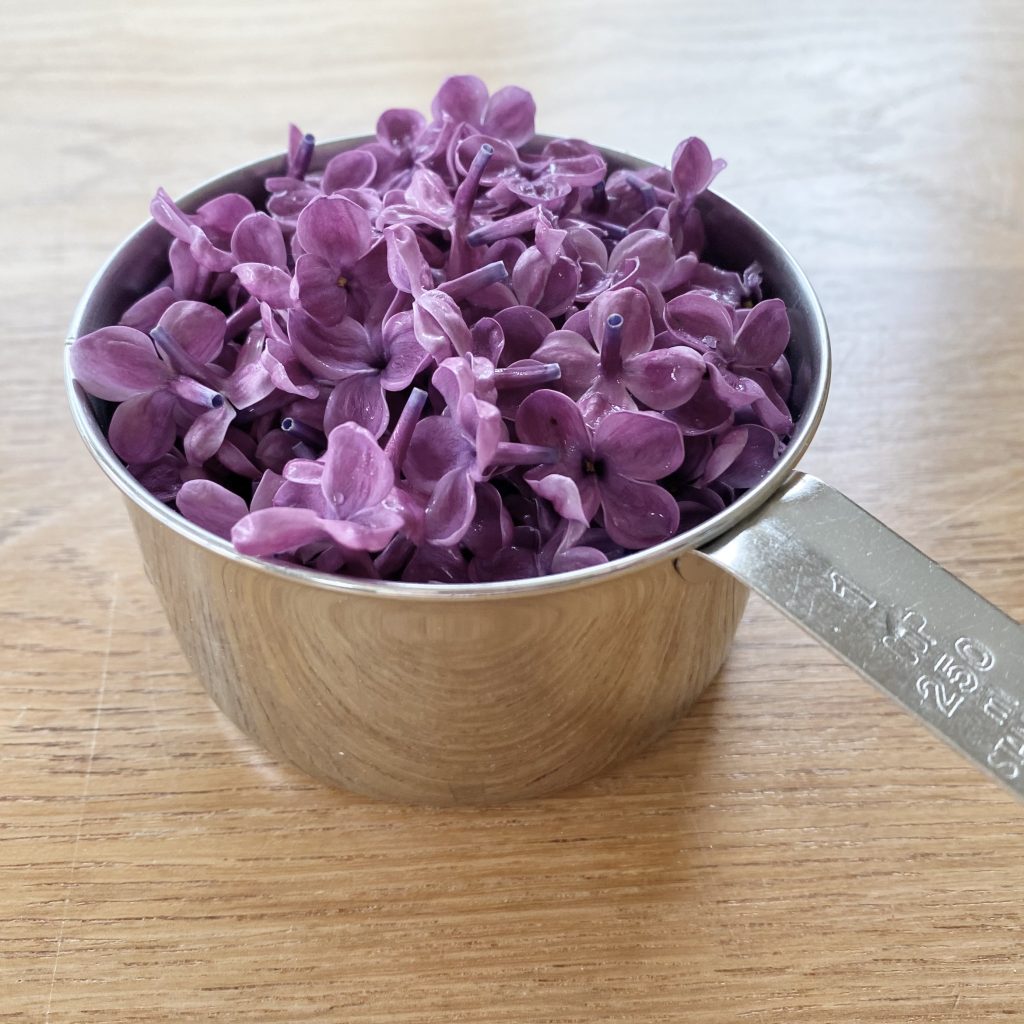
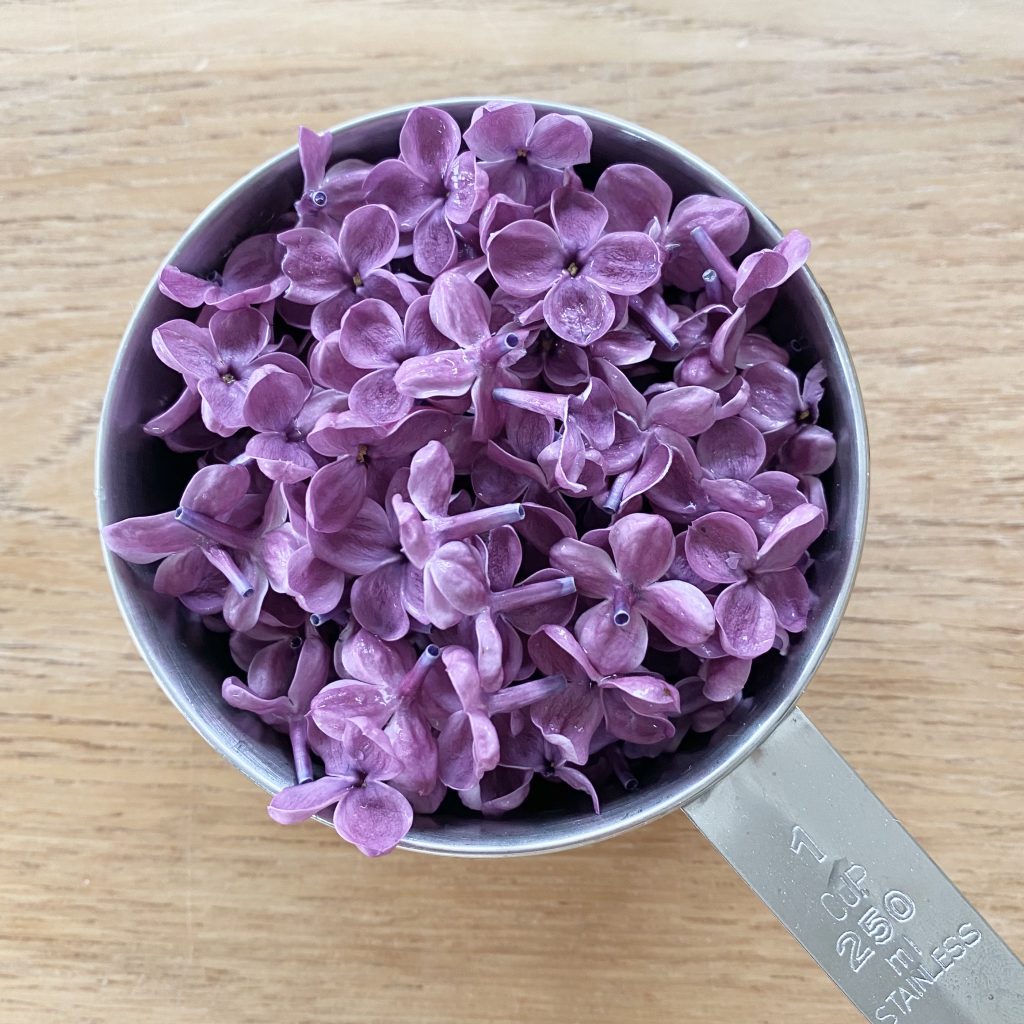
First up, you need to prepare the lilac! When you first pick the lilac, you’ll see that it grows in heads (or, officially, panicles, which is a crazy name, right?). You’ll need approximately 2-3 heads of lilac for this recipe.
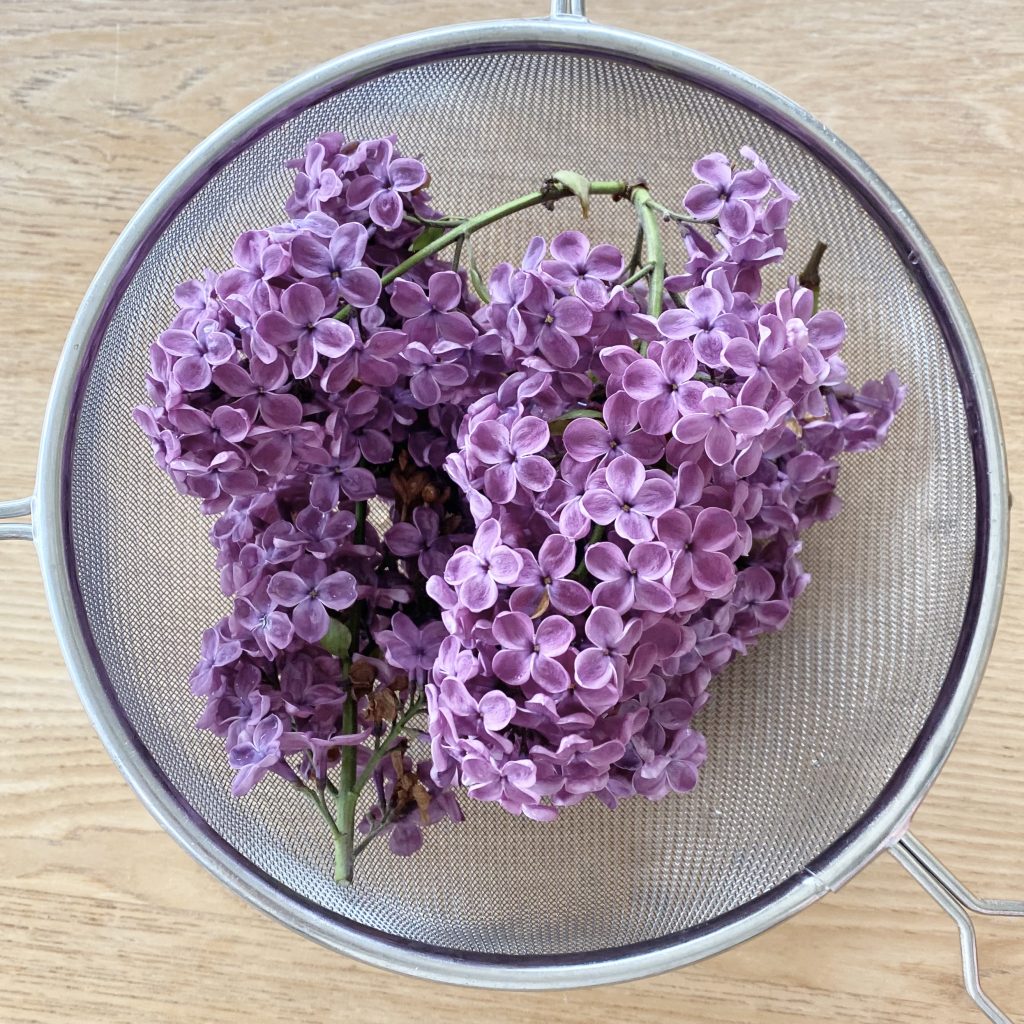
Place the lilac heads into a sieve/colander and rinse under cold water to remove any dirt, bugs or general, unwelcome impurities. Once clean, set them aside to dry off a little bit.
Once the lilac heads are mostly dry, it’s time to pick off the flowers. It’s important at this stage that you just get the little four-petalled flowers (and their little tubular bases), because any green stems/leaves will add bitterness to your ice cream (not the vibe). This process can be a bit time-consuming, but it’s quite satisfying (and very necessary!).
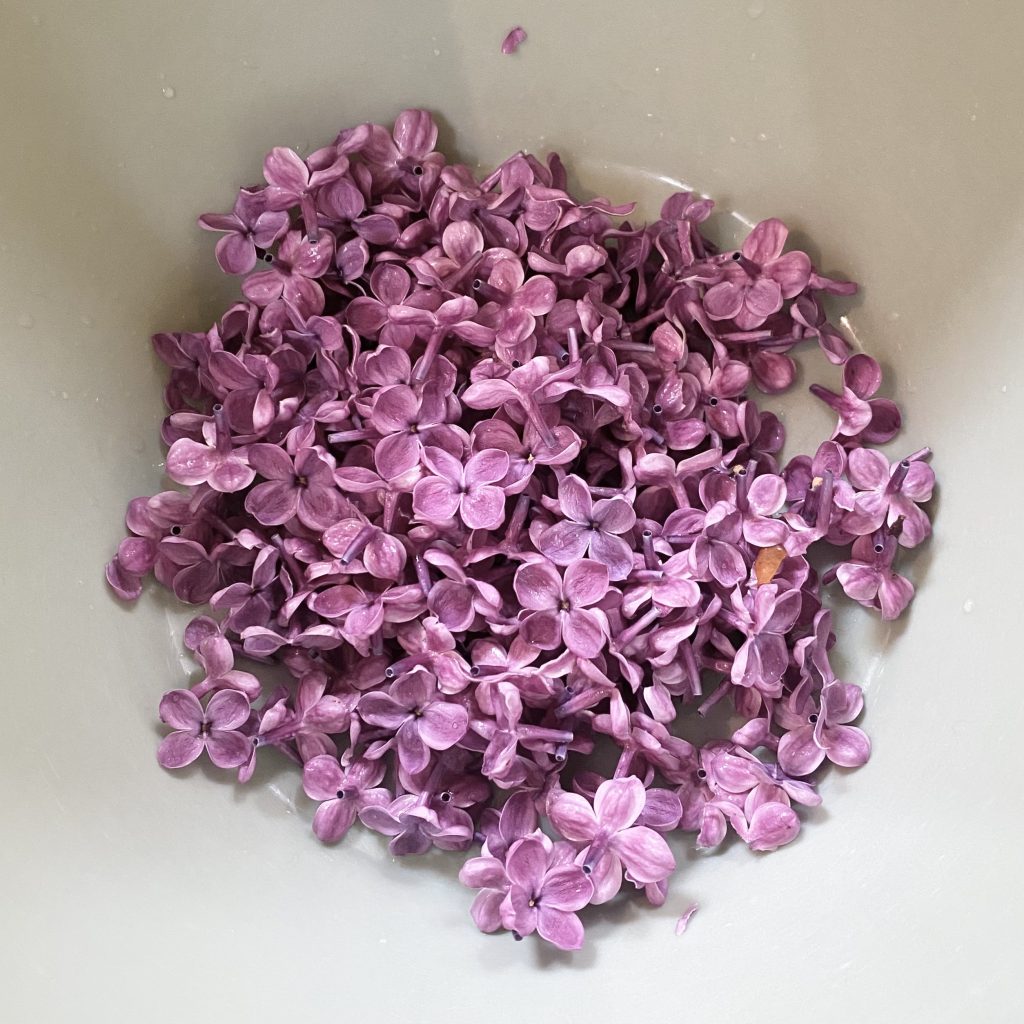
Once you have all of your flowers, place them into a medium bowl, ready for later. Then, you can get on with the infusing process!
Infusing the Cream
Typically, when you’re infusing dairy products, you get the best, most intense flavour by heating the milk/cream right up, until its just below a simmer, before adding your chosen additions and allowing the whole lot to steep for about 30 minutes. However, lilac has a super subtle, fresh flavour that actually benefits from a slower, slightly cooler infusing process, as detailed here.
Start by putting the milk and cream into a saucepan over low heat. Stir frequently while the mixture heats up.
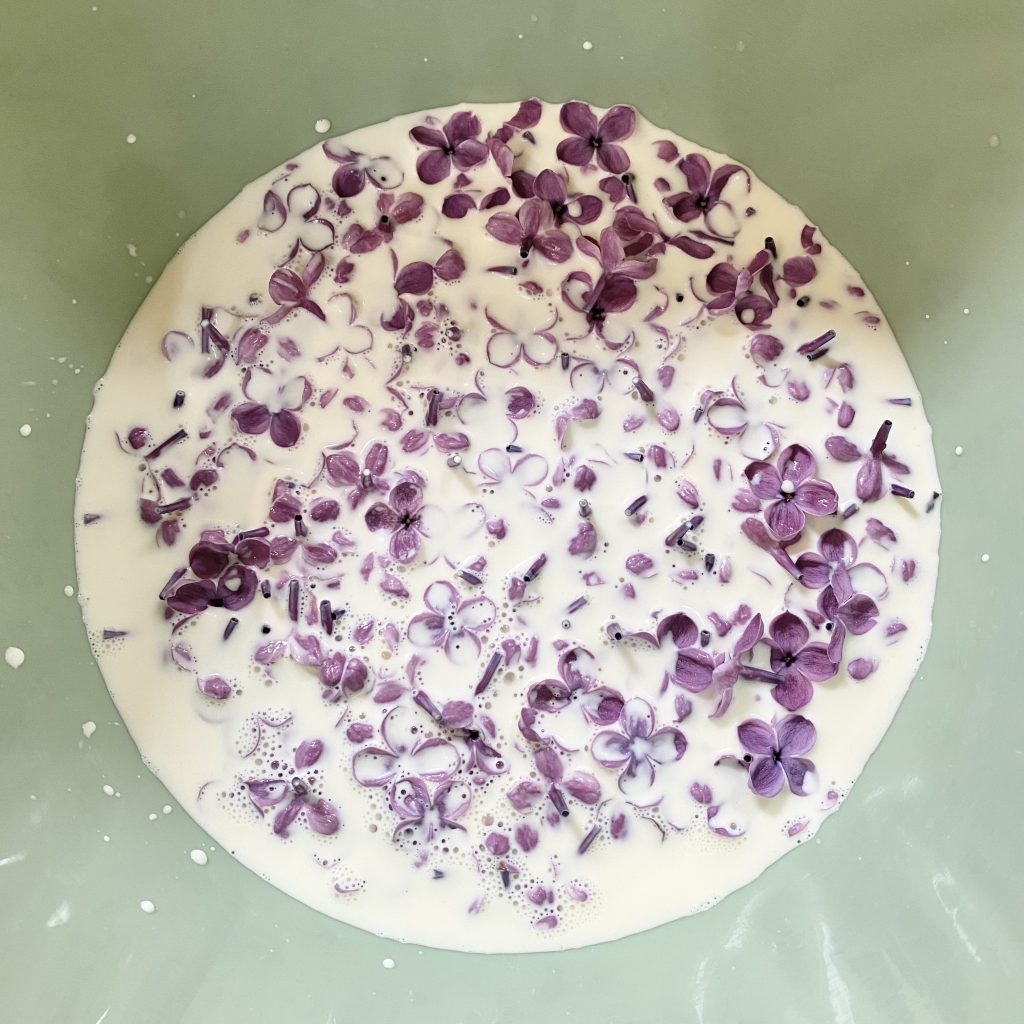
Once the mixture is warm (but not hot), remove the pan from the heat and pour it over the prepared lilac flowers.
Press the flowers down into the cream mixture, then cover the bowl (either with a lid or with clingfilm) and place it into the fridge to infuse overnight. This gives the lilac plenty of time to transfer its fresh, floral flavour to the milk and cream.
Making the Ice Cream Base
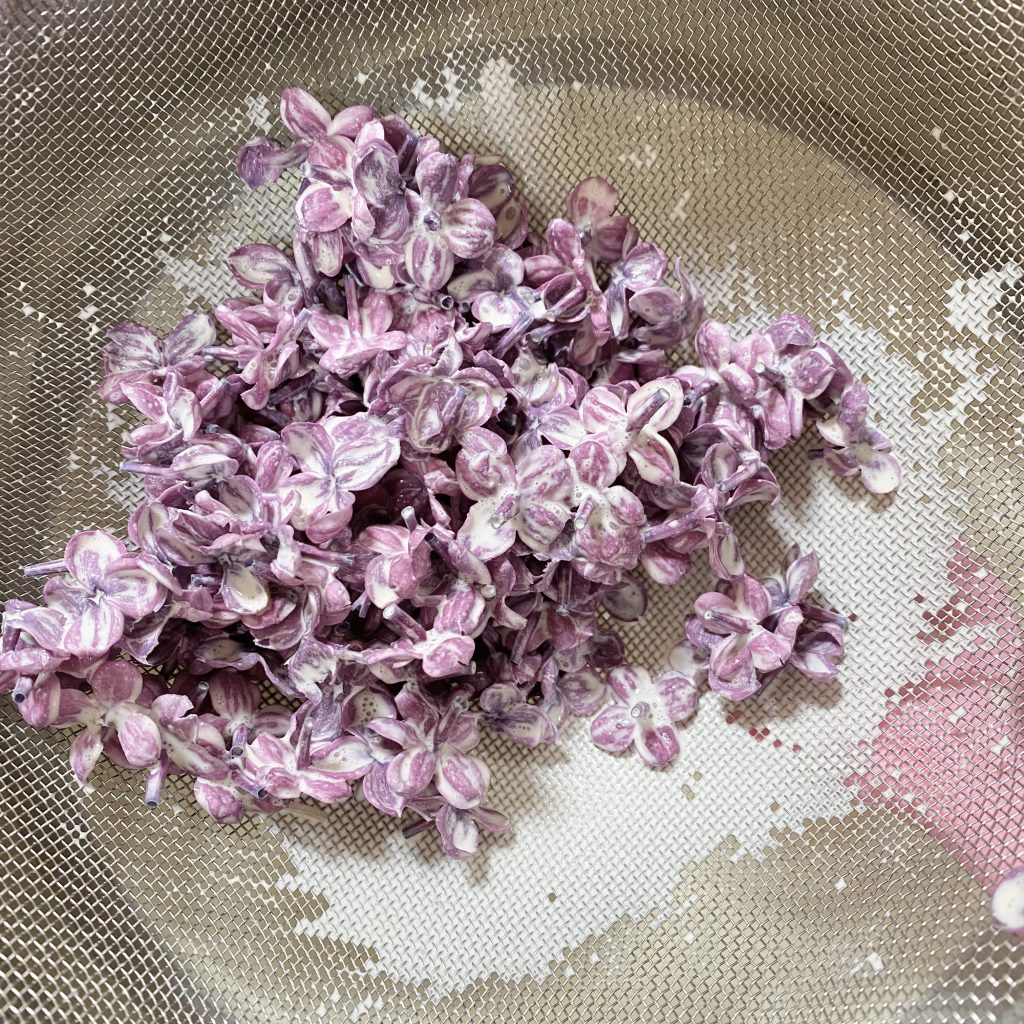
The next day, strain the infused cream to remove the lilac flowers, pressing down on them in the sieve to extract as much flavour as possible. At this point, the lilac flowers can be discarded (RIP, but they’ve done such a good job!).
From this point onwards, this recipe is just a standard, run-of-the-mill ice cream recipe! If this is your first time making ice cream, you can find a full tutorial (with photos!) for this process in my Eggnog Ice Cream post!
Remove approximately 125ml of the infused cream and set it aside, then pour the rest into a saucepan with half of the sugar. Set over low heat and stir frequently until the mixture reaches just below a simmer.
While the cream is heating up, prepare the eggs. In a large, heatproof bowl, whisk the egg yolks with the remaining sugar. I like to use an electric hand whisk for this to ensure that the mixture gets super light and fluffy (it should reach the ‘ribbon stage’, where the mixture falls off the beaters in ribbons that sit on the surface for a few seconds before settling back into the rest of the mixture).
Add the reserved 125ml of infused cream to the eggs and stir through. This will slacken the mixture and make it easier to incorporate the hot cream without scrambling the eggs.
When the cream is hot, remove the pan from the heat. Pour it into the egg mixture in a slow, steady stream, stirring all the time until it is all combined. This is your custard base.
Now we have to thicken the custard, which ensures that the eggs are fully cooked and makes for a super thick, creamy ice cream. Pass the custard through a heatproof sieve back into the saucepan. This removes any little bits of cooked egg or impurities, so that you end up with a super smooth custard.
Place the saucepan back over low heat and stir frequently until the custard thickens. Once thick, the custard should coat the back of a wooden spoon. This will take about 10 minutes.
Pour the thickened custard into a heatproof jug, then cover the surface directly with a layer of clingfilm to prevent the custard from forming a skin. Allow the custard to cool slightly, then transfer it to the fridge to get nice and cold (at least 3-4 hours, preferably overnight) before churning.
Churning the Ice Cream
For churning ice cream, I use an older version of the KitchenAid Ice Cream Maker attachment. However, you can use any ice cream maker for this recipe! Just remember that if your machine has a bowl that needs to be frozen ahead of time, you need to put it into the freezer the day before you plan to churn the ice cream.
Once your machine is ready and your ice cream base is cold, you can get to churning! Get the machine running, then pour in the custard (this helps to prevent too much ice cream from freezing onto the sides of the bowl and damaging your machine). Allow the mixture to churn for 10-30 minutes (or according to your machine’s instructions), until thick and creamy.
Then, transfer the ice cream to a freezer-safe container and place into the freezer to finish firming up for at least another 3 hours, or preferably overnight, before enjoying.
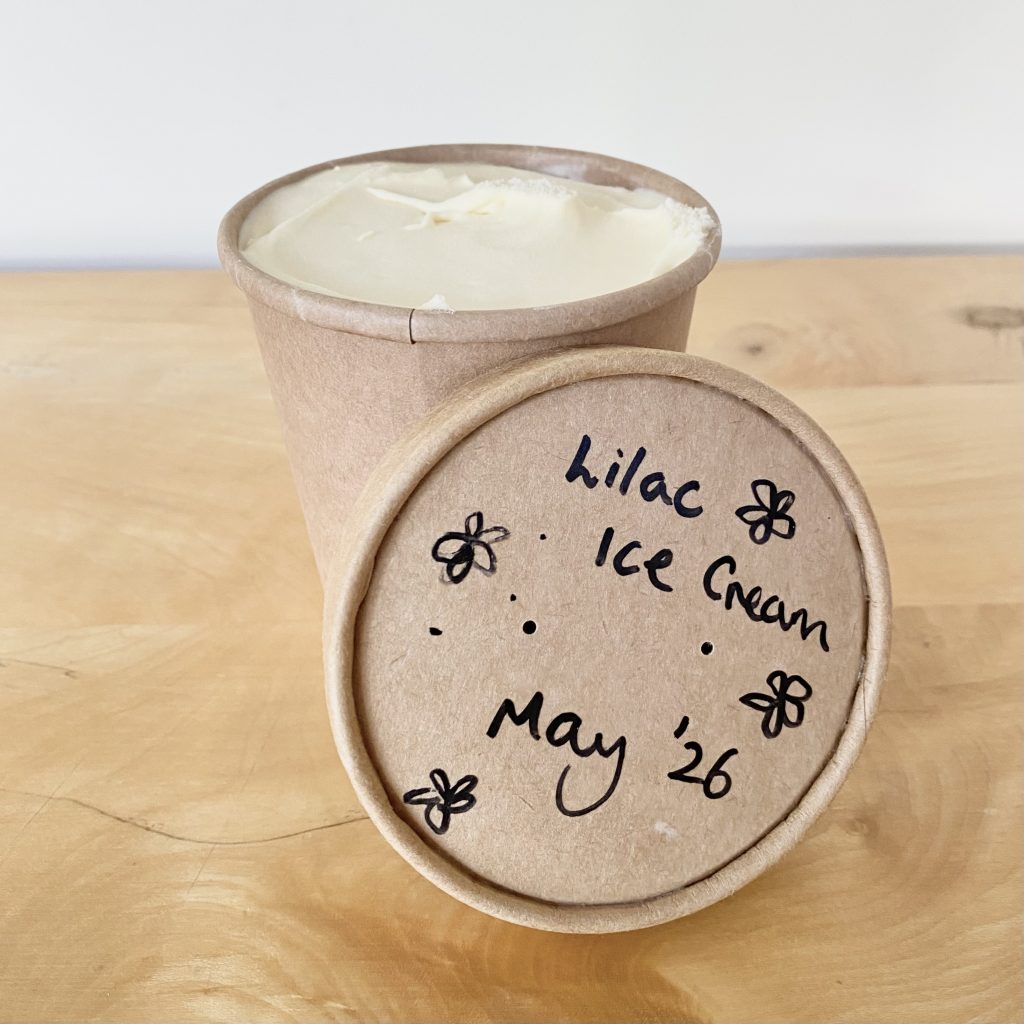
The ice cream will keep in the freezer for up to 3 months, so you can enjoy your homemade, lilac-infused ice cream all summer long!
Recipe

Lilac Ice Cream
Equipment
- ice cream maker (I use the KitchenAid Ice Cream Maker attachment).
Ingredients
- 1 cup lilac flowers, washed and picked from approx. 2-3 heads of lilac (see Note 1).
- 300 ml milk (see Note 2).
- 300 ml double cream
- 120 g caster sugar, split into 2x60g portions (see Note 3).
- 3 egg yolks
Instructions
- The day before you plan to churn the ice cream, place the bowl of your ice cream maker into the freezer.
Infuse the cream:
- Put the lilac flowers into a medium bowl and set aside.
- Pour the milk and cream into a saucepan and place over low heat. Allow to heat for a few minutes, stirring frequently, until warm (not hot).
- Pour the warm cream mixture over the lilac flowers. Cover the bowl, then place into the fridge to infuse overnight.
Make the ice cream base:
- Strain the cream mixture through a fine sieve to remove the lilac flowers, pressing down on the petals to extract as much flavour as possible. Set aside approx. 125ml of the strained mixture and pour the rest into a saucepan with half of the sugar (60g). Set over low heat and bring to just below a simmer, stirring frequently.
- While the cream mixture is heating up, prepare the eggs. Place the egg yolks and remaining 60g sugar into a heatproof bowl and beat with an electric whisk until pale and fluffy (the 'ribbon stage'). Add the reserved 125ml of infused cream and stir through to slacken the mixture.
- Once the cream/sugar mixture has come to just below a simmer, remove it from the heat and pour it into the egg mixture in a slow, steady stream, stirring all the time.
- Pass the mixture through a fine, heatproof sieve back into the saucepan (this will remove any pieces of egg and ensure the custard is smooth). Place the saucepan back over a low heat and stir frequently until the custard thickens. When it's ready, it should coat the back of a spoon— this should take about 10 minutes.
- Once the custard is thick, remove the pan from the heat and pour the custard into a heatproof jug. Cover the surface of the custard directly with clingfilm to prevent it from forming a skin. Allow the custard to cool slightly, then place it into the fridge to chill for at least 3-4 hours (preferably overnight).
Churn the ice cream base:
- Once the custard is cold, set up your ice cream maker as per your machine's instructions.
- With the machine running, pour the custard into the bowl and churn for 10-30 minutes, until thick and creamy.
- Transfer the churned ice cream to a freezer-safe container and freeze for at least 3 hours (preferably overnight) before serving. The ice cream will keep in the freezer for up to 3 months.
Notes
- To prepare the lilac flowers, place the heads into a sieve and rinse thoroughly with cold water. Set aside to dry a little, then carefully pick off the individual flowers, making sure to avoid any green stems/leaves, which will make your ice cream bitter.
- Ideally, you should use whole milk for this recipe— it will give you the richest, creamiest flavour and texture! However, I have made this ice cream with skimmed milk and it is still delicious, so use whatever you have!
- I use golden caster sugar, but white caster sugar will also work.