Before we get into this post, I wanted to start with a quick apology! The blog has been really quiet recently, because September was a busy month for me in terms of healthcare treatments and procedures, which has left me feeling super fatigued for the past couple of months. However, I’m starting to recover now and am determined to get back into the swing of things in time for the festive season (and hopefully the last part of autumn too!). Thank you for sticking around through the radio silence— I can’t wait to get my craft on again!
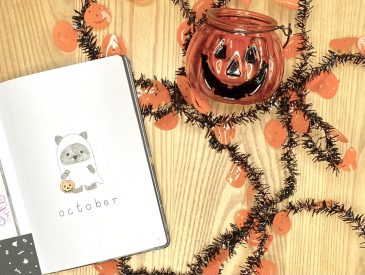
My November bullet journal setup started out life as my October bullet journal setup (which never actually came into existence, as a result of the aforementioned lack of enery). I had an idea for a setup inspired by one of my favourite knitting projects: my Pumpkin Strange Brew Sweater, with colouring pencil ‘colourwork’ designs and kraft paper accents. By the start of October, I’d just about managed to finish the layout & coloured patterns, but hadn’t gone beyond that and made the setup, you know… functional.
Around mid-October, I figured I’d be better off putting my energy into my November setup, rather than finishing off the October one. It seemed a waste to leave all of that colouring/effort behind, so I decided that I would just convert my October setup into a November setup: the pumpkins aren’t quite so relevant, but November’s still autumn here in the UK, so I think it still works??
Anyway, enough chit-chat! Let’s get into the setup…
Table of Contents
- Equipment
- Cover Page + Things to Look Forward to
- Monthly Calendar
- Autumn Bucket List + Daily Sunshine
- Weekly Spreads
- November Review
- Final Thoughts
Equipment
To create this setup, I used the following equipment:
- Uni Pin Fine Line pen: 0.5, sepia.
- Colouring pencils (brown, orange and green).
- Kraft paper.
- Scissors.
- Corner rounder.
- Glue stick.
- Sakura Quickie Glue pen.
- Alphabet stamps + ink pad.
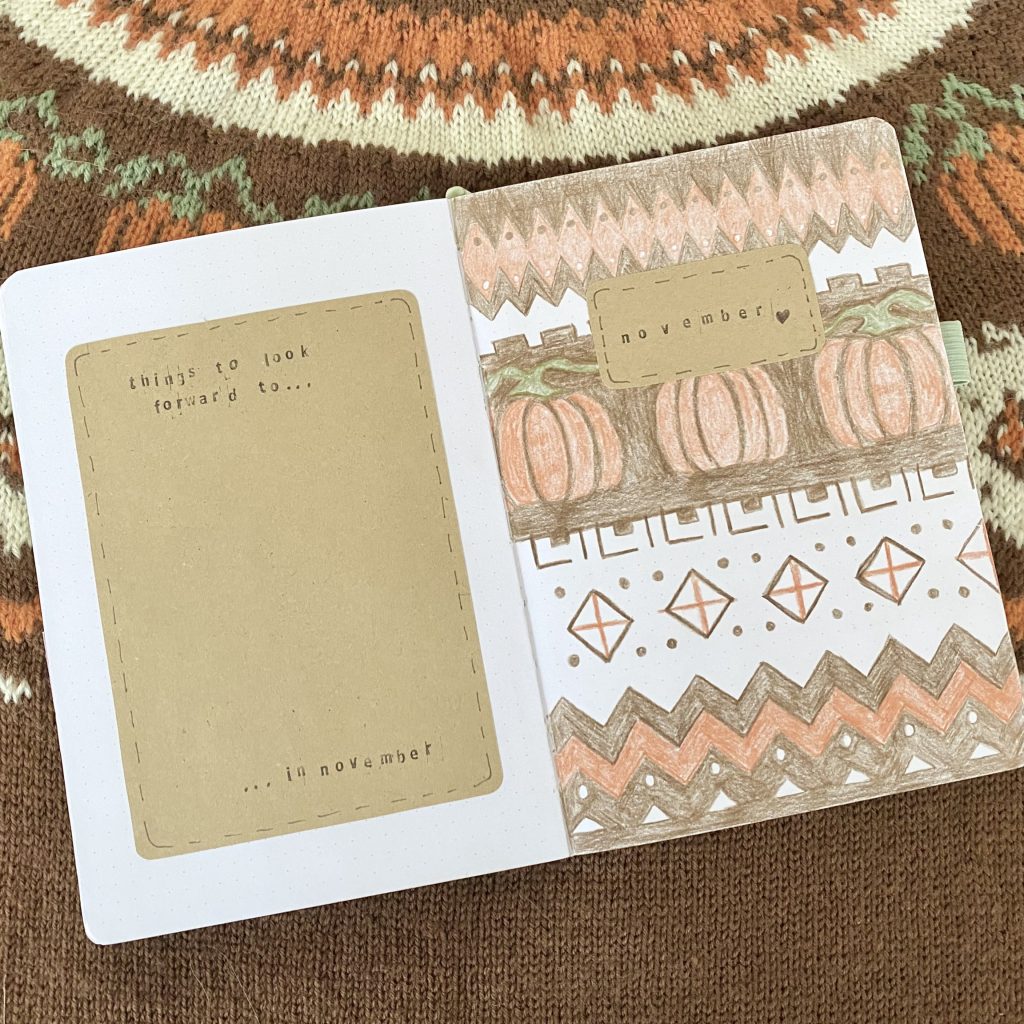
Cover Page + Things to Look Forward to
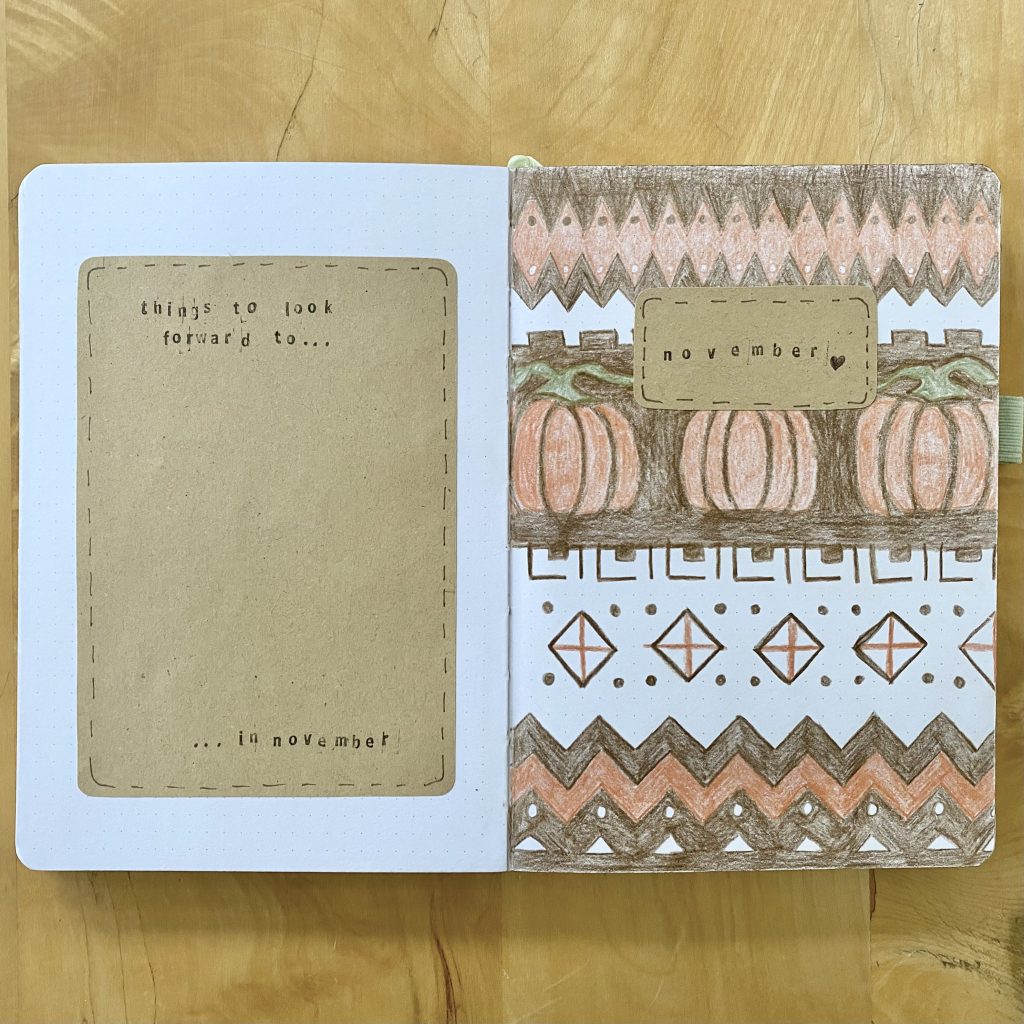
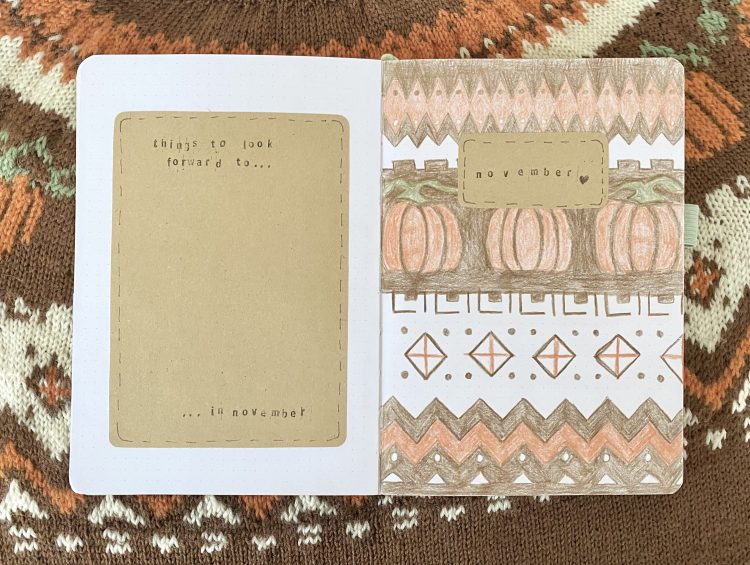
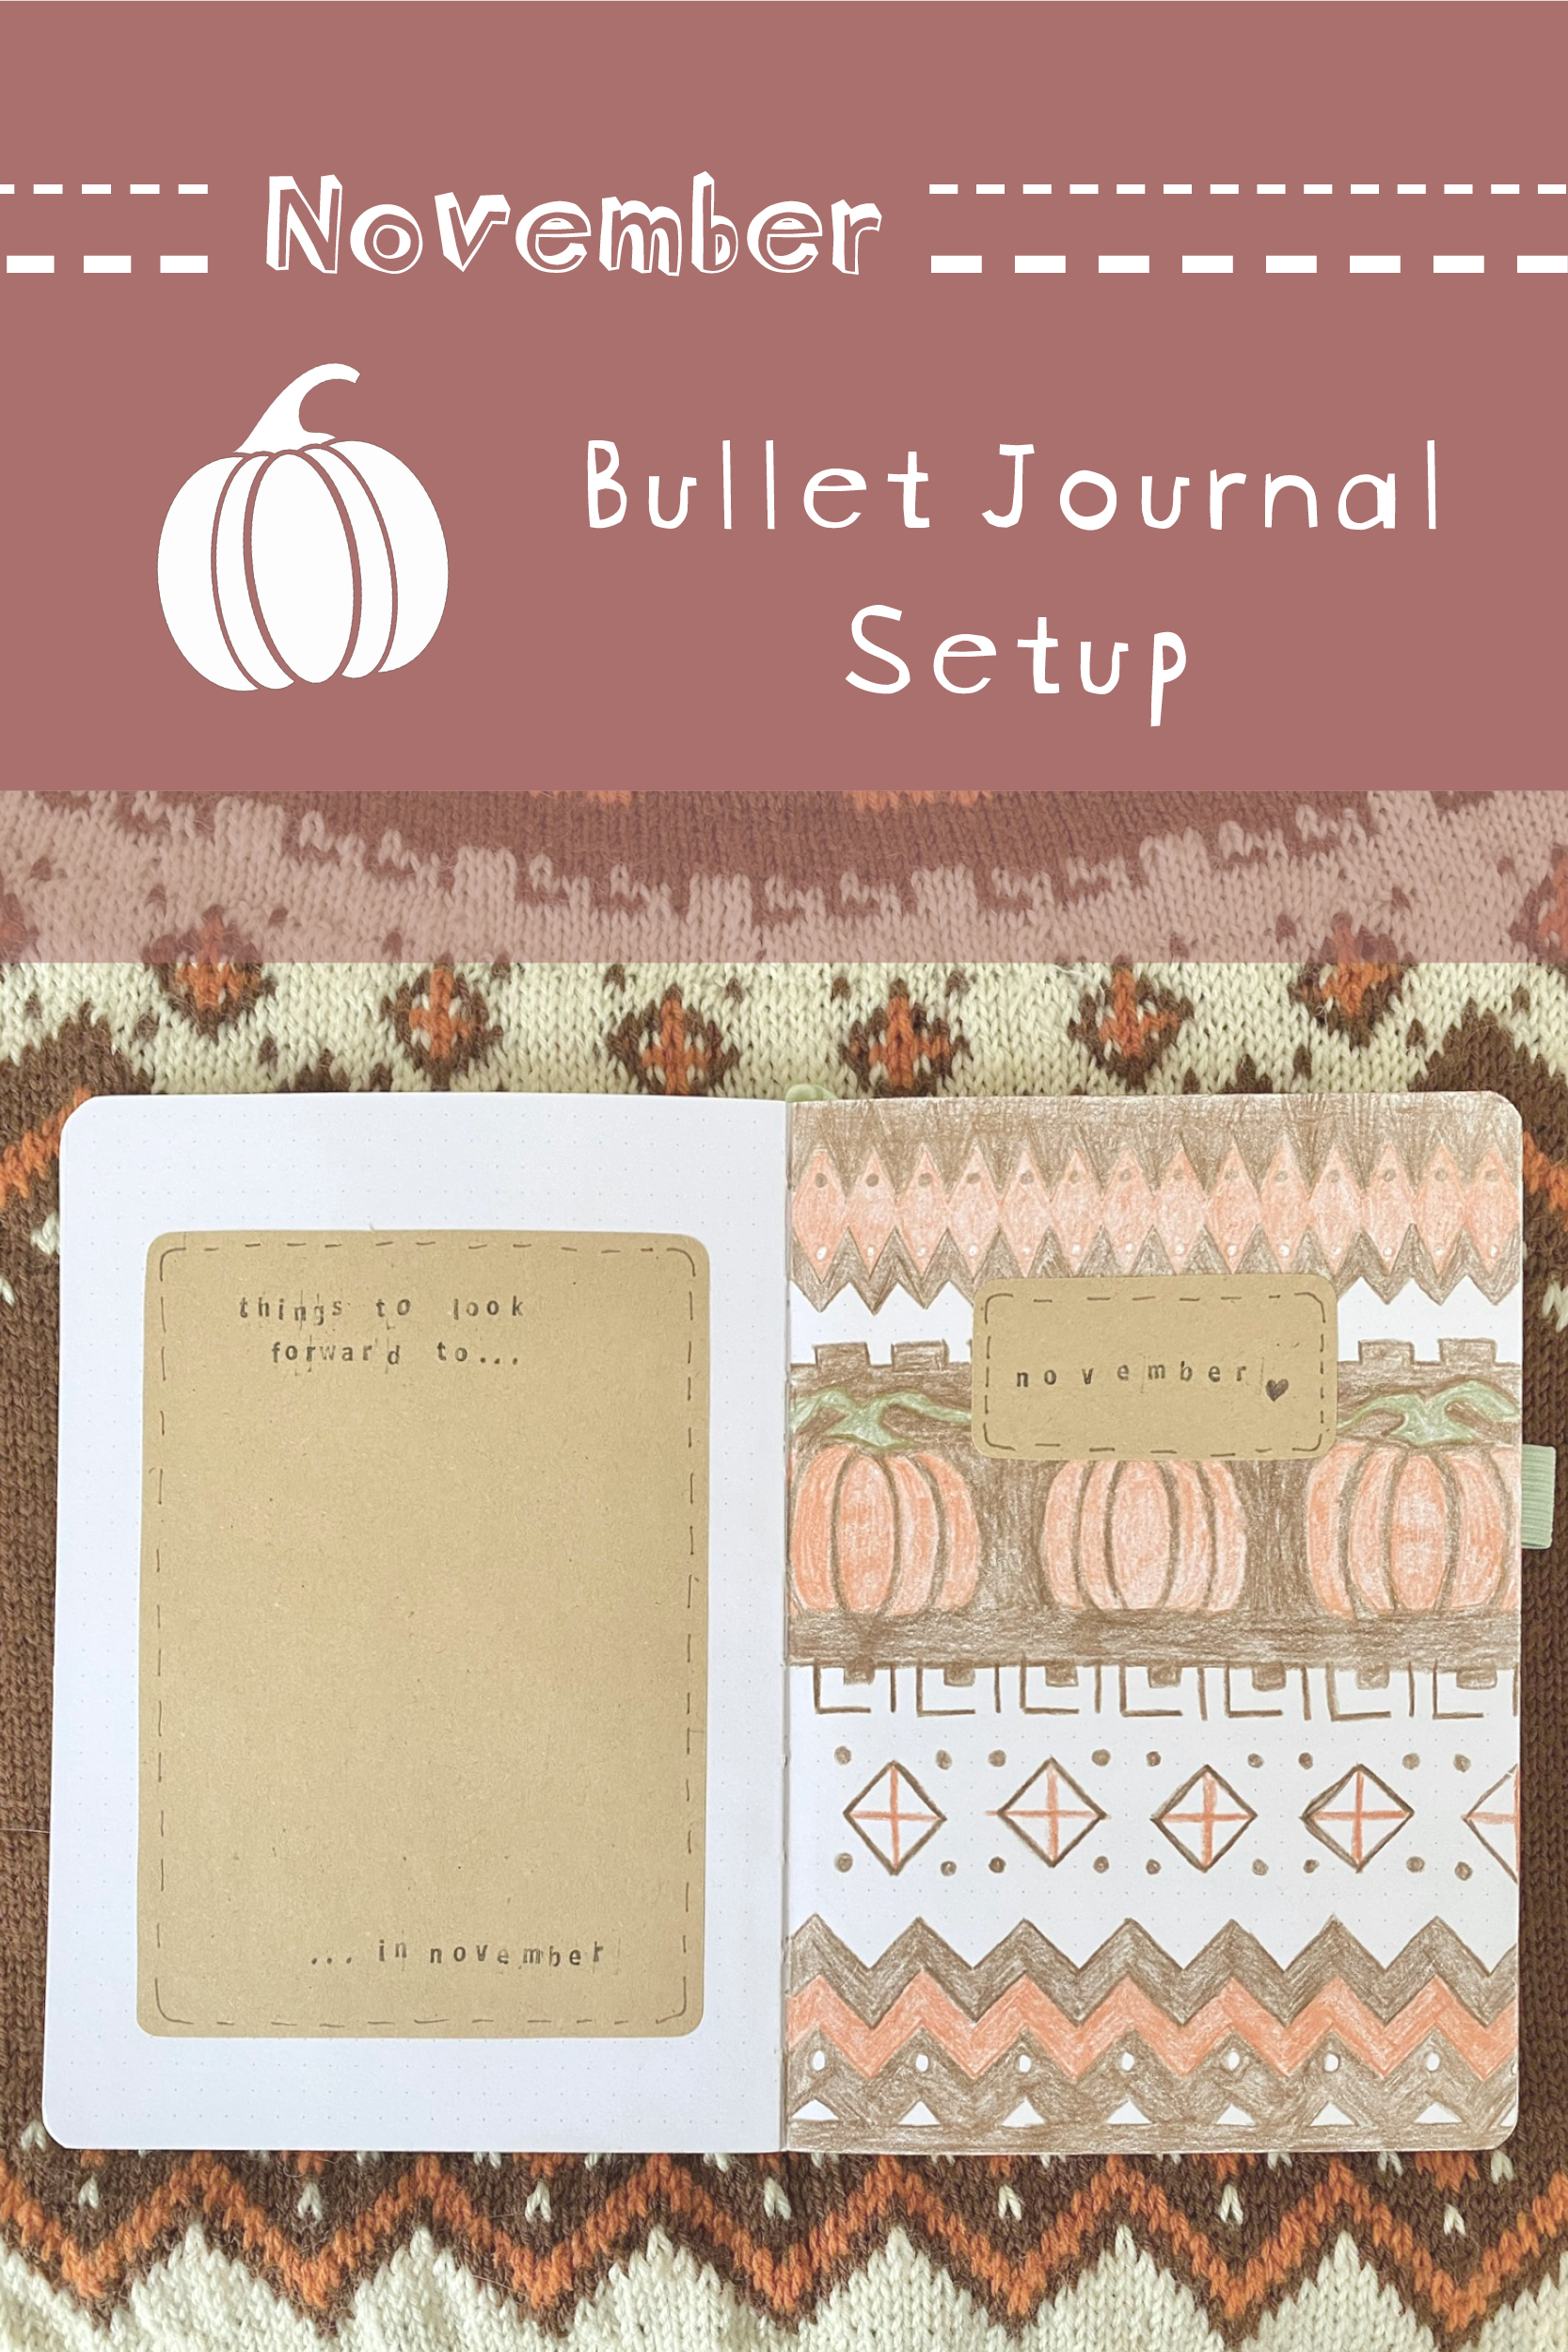
For my Cover Page, I decided to fill the whole page with the colourwork design. Admittedly, this took a rather long time, but I think it really sets the scene for the rest of the setup. I used the alphabet stamps to write the ‘November’ heading on a piece of kraft paper and my brown fineliner to add a ‘stitched’ border around the edge (I was on a bit of a fibre-craft theme this month), then stuck that in over the top of the colourwork design. I really love how this turned out (even if it was pretty labour-intensive to make)!
Alongside my Cover Page, I included a spread that I’ve been really enjoying in recent months: my Things to Look Forward to Page. On this page, I can jot down all the fun things I have coming up throughout the month, so that I can check in on them from time to time and get re-excited all over again. Fun!
Monthly Calendar
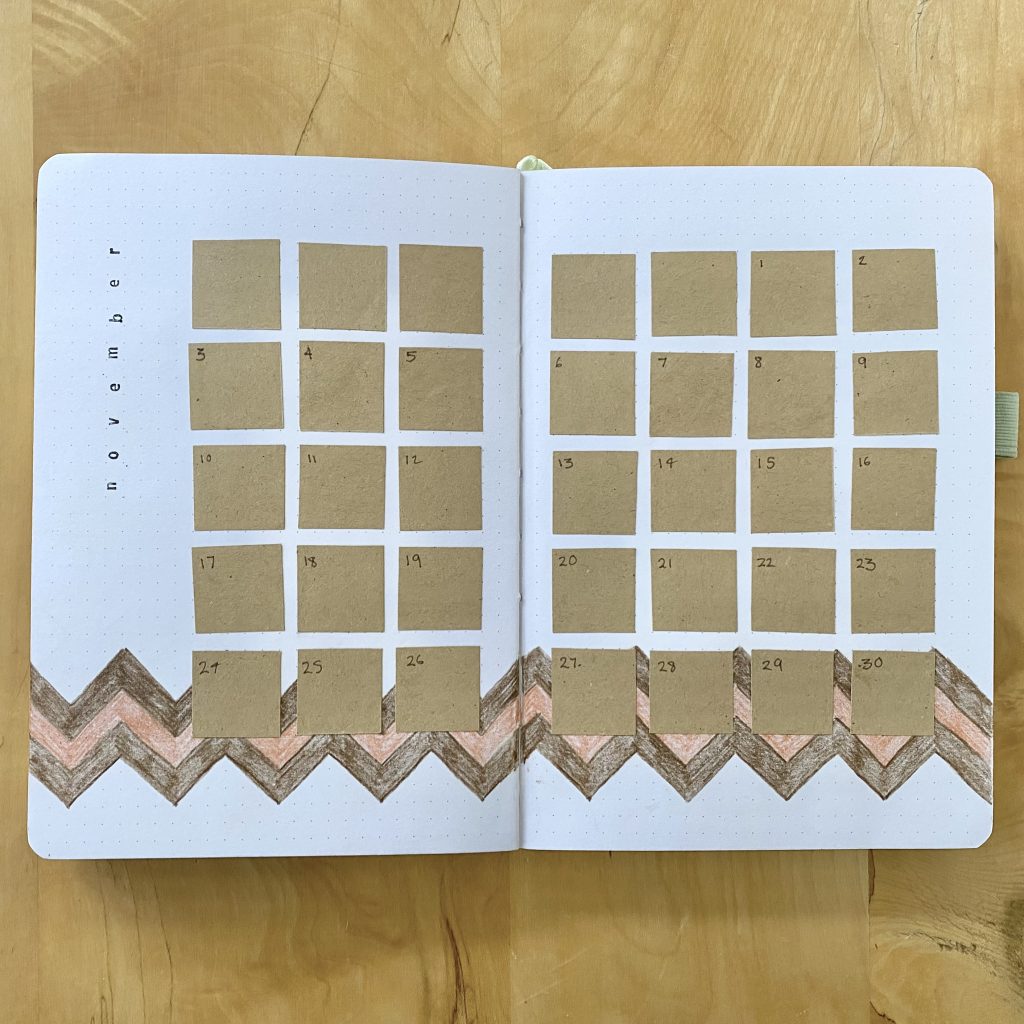
To protect my sanity, I opted to draw just the chevron pattern from my colourwork design as the decoration on most of the other pages in this setup, and for my Monthly Calendar I opted to place it near the bottom. For the calendar itself, I stuck in little squares of kraft paper, then wrote in the dates with my brown fineliner (the alphabet stamps I was using sadly do not contain numbers). Finally, I stamped in the ‘November’ heading vertically, down the left-hand side of the page.
I had actually already set this spread up back when the setup was still in its October phase, so I had to add a few more kraft paper boxes to the end of the month to fit November’s layout (which is why there are 5 blank boxes in the top row… needs must!).
Autumn Bucket List + Daily Sunshine
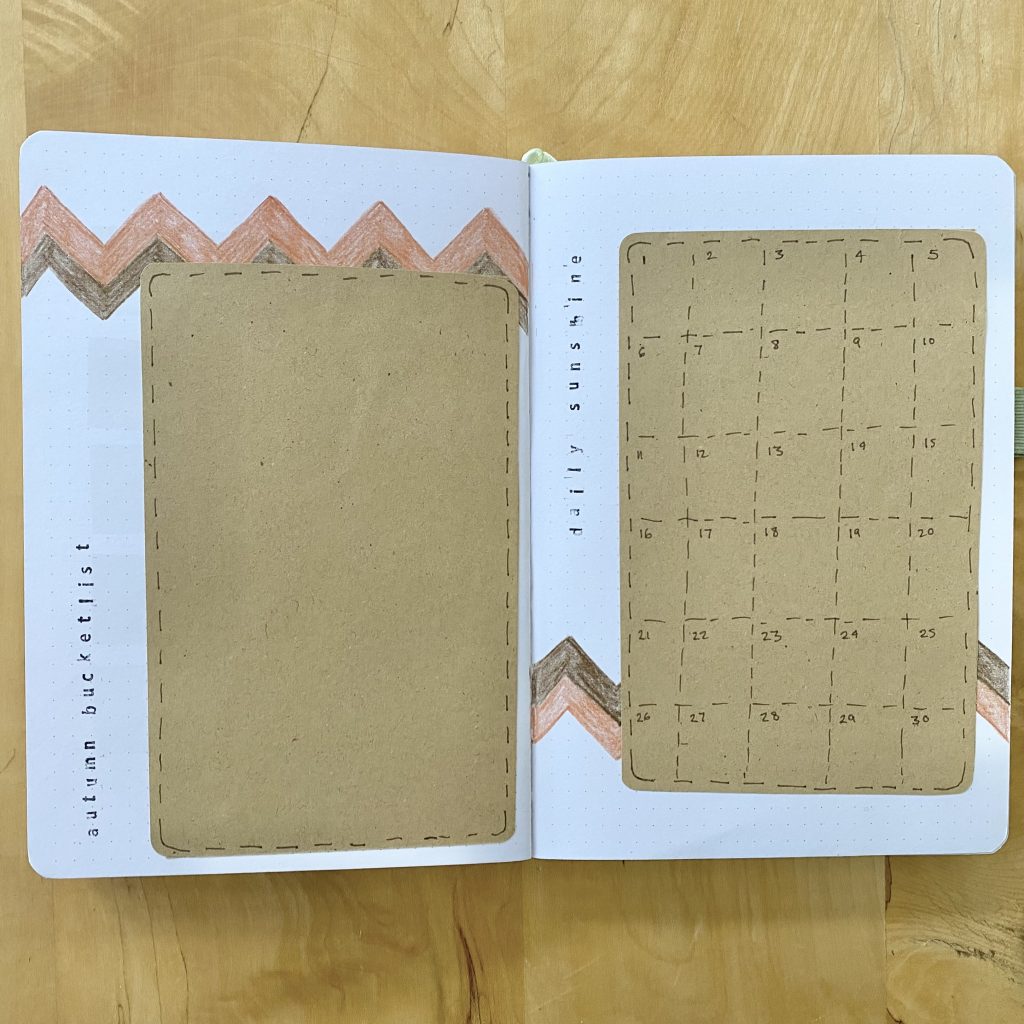
Next up, we have my Autumn Bucket List and Daily Sunshine pages. I used a similar chevron pattern to decorate these spreads as the last spread (only with two stripes this time, rather than three), placing this decoration at the top of the left-hand page and the bottom of the right-hand page.
I plan to use my Autumn Bucket List page to jot down some of my favourite autumnal activities that I don’t want to miss out on before this season ends and the snowy, festive season begins! Autumn is my favourite season and I feel like I’ve missed a lot of it these past two months, so I really want to capitalise on the last of the cosy reds and golds!
My Daily Sunshine page serves exactly the same purpose as usual: each day, I write down one thing that happened that brought me joy or was just, in general, very sunshine-y. I’ve opted for a grid format this month, though I usually prefer a vertical format (it gives me more space to waffle!), so we’ll see how that goes.
Weekly Spreads
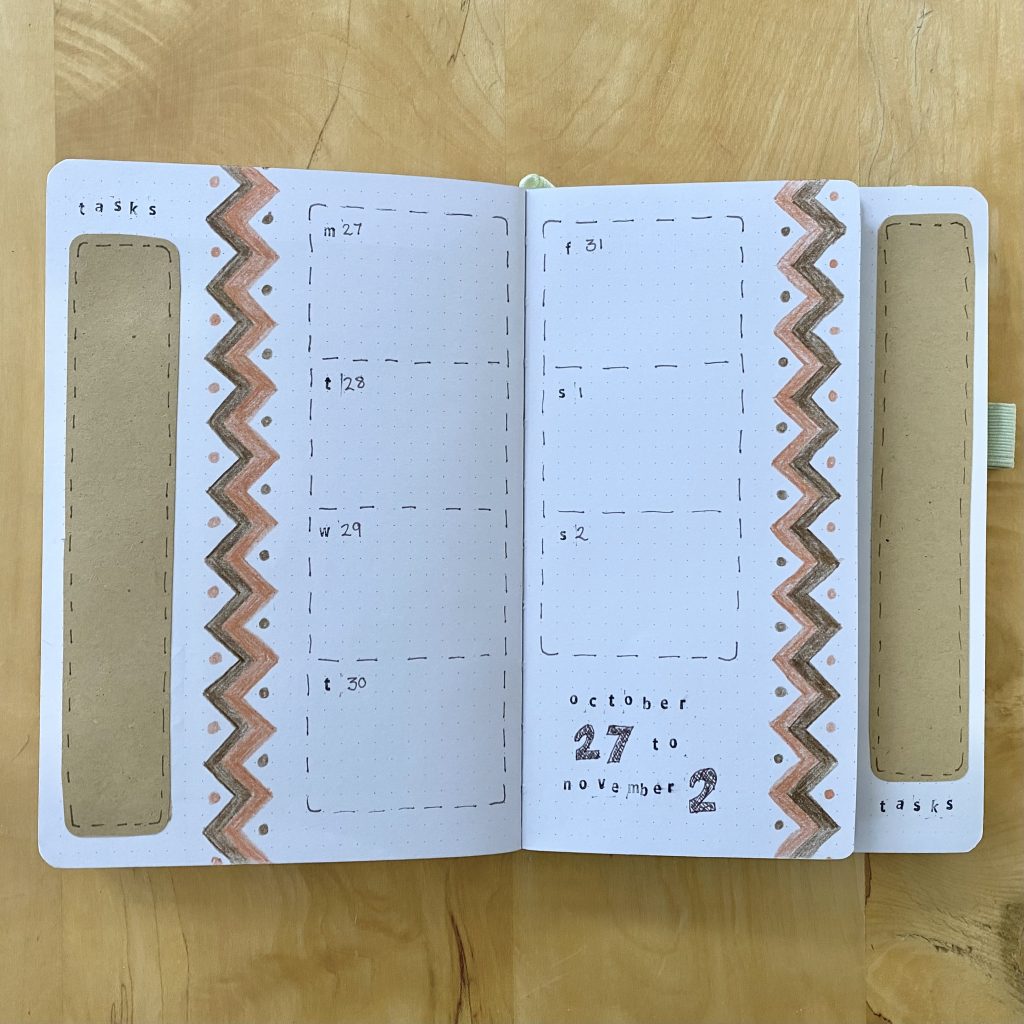
Into my Weekly Spreads now and I’ve used my classic layout again: trimmed down central pages, leaving a section on both the far left and far right exposed. In those exposed sections, I put my ‘master task lists’ (i.e. tasks I need to do, but don’t necessarily have a specific date for), so that I can refer to them easily throughout the month. The internal, trimmed-down pages then house my daily task lists, separated out into individual weeks.
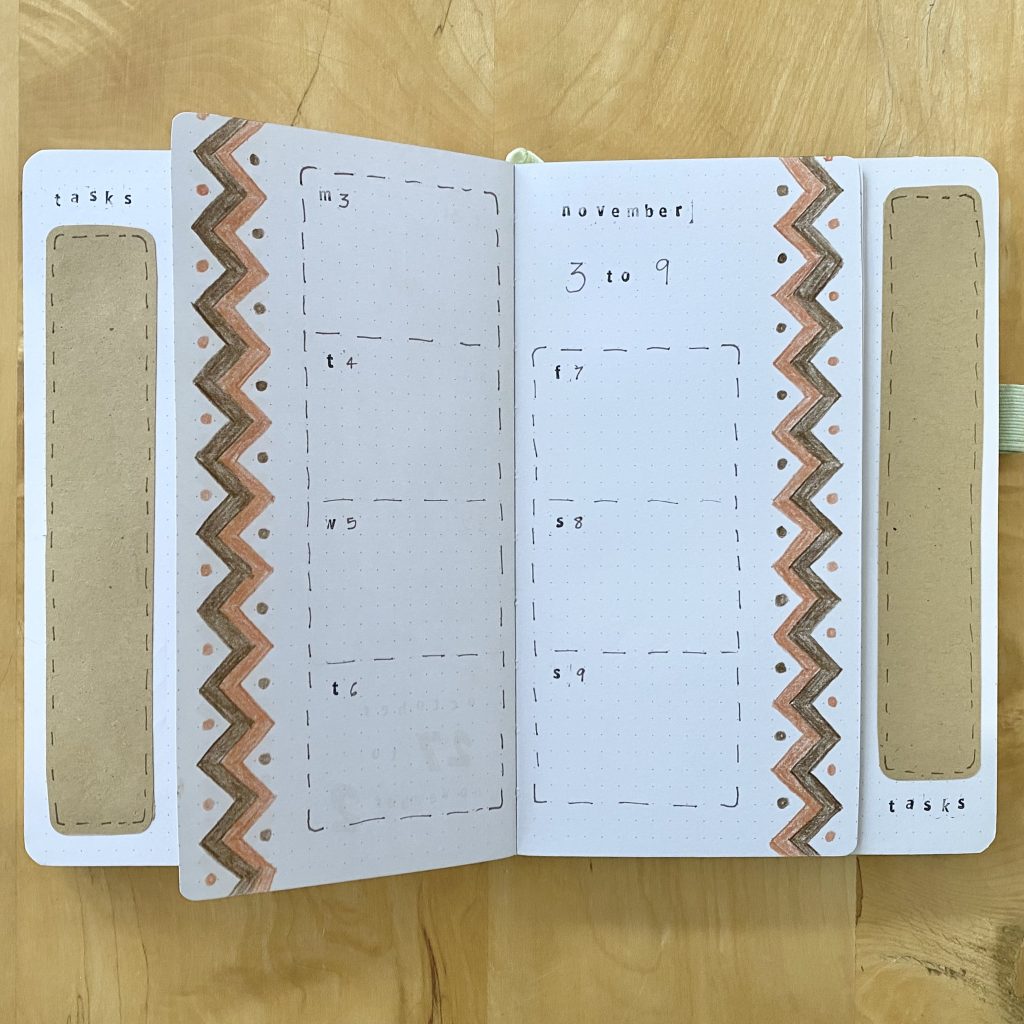
I used a long piece of kraft paper for each of my master task lists. This means that no matter which page of the weekly spread section I am on, there is always a kraft paper accent to the spreads, so I was able to tie this section into my theme with minimal glue-ing in & effort.
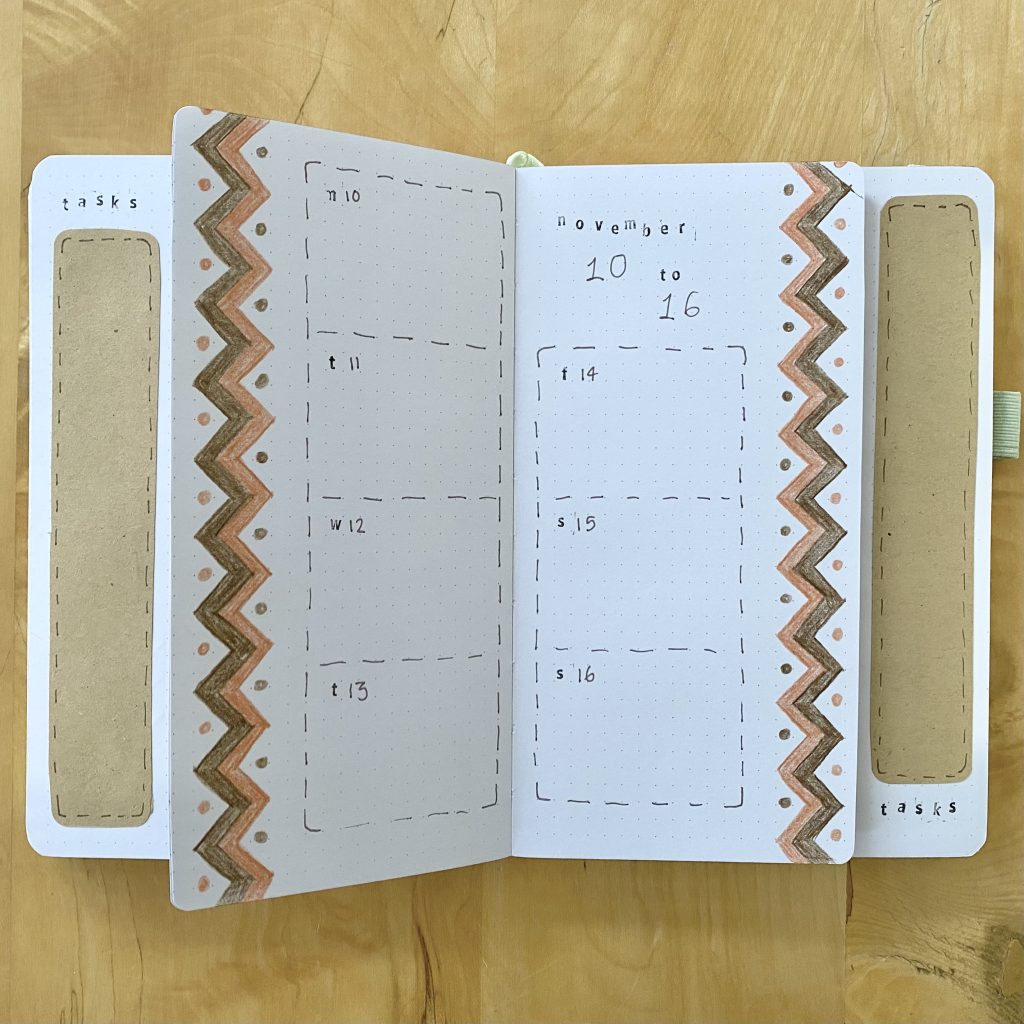
For the weekly spreads themselves, I decorated the right and left side of each spread with that same two-stripe chevron design, though this time I drew it going vertically down the length of the pages and added some additional dots of colour to the pattern.
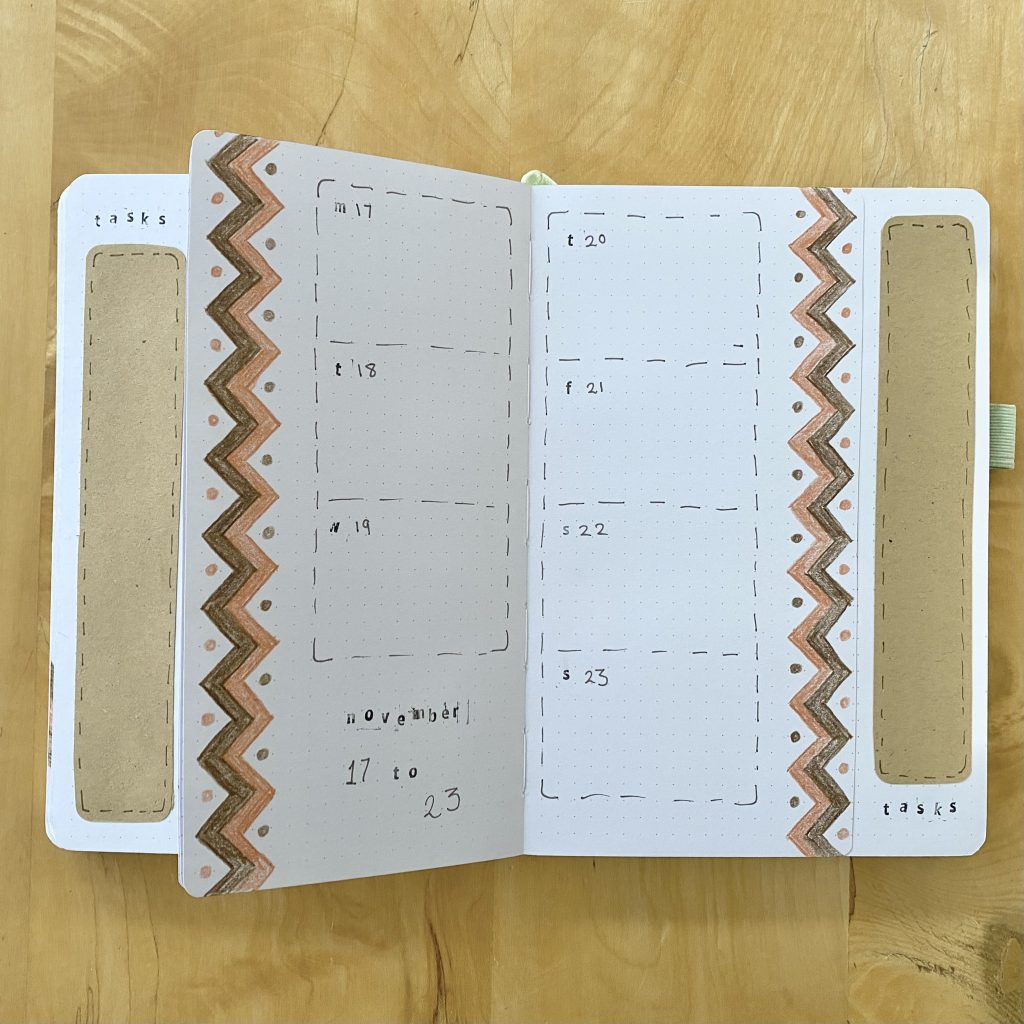
For the daily task lists, I split each spread up into 8 sections (4 down, 2 across). I used my brown fineliner to draw a ‘stitched’ border around 7 of the sections, leaving the final section plain, so that I could use it for the weekly subheadings, which help me to navigate through this section of the setup.
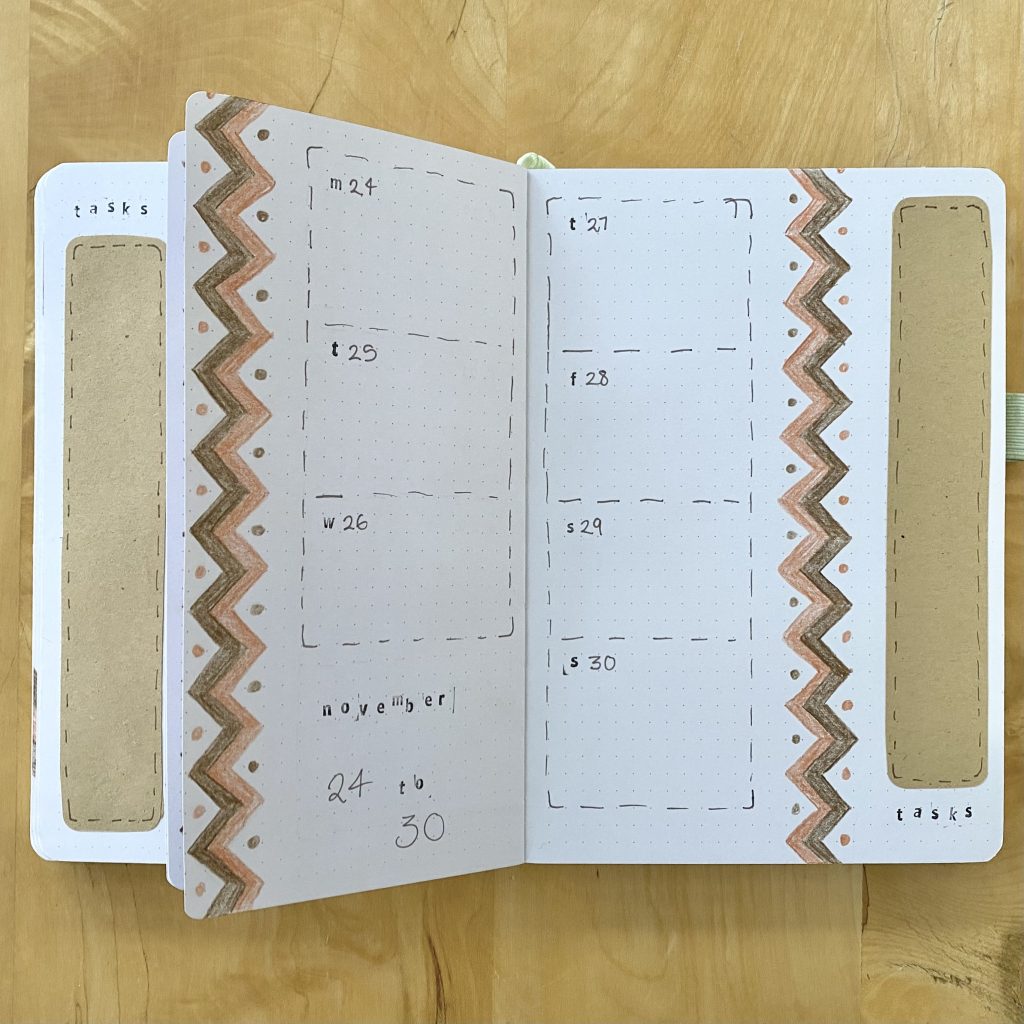
Finally, I used my alphabet stamps to add the weekly subheadings. As I mentioned, this particular alphabet stamp set doesn’t include numbers, so I had to write those in with my brown fineliner. It doesn’t look amazing, but I was kind of losing the will to live by this point, so I let it slide.
November Review
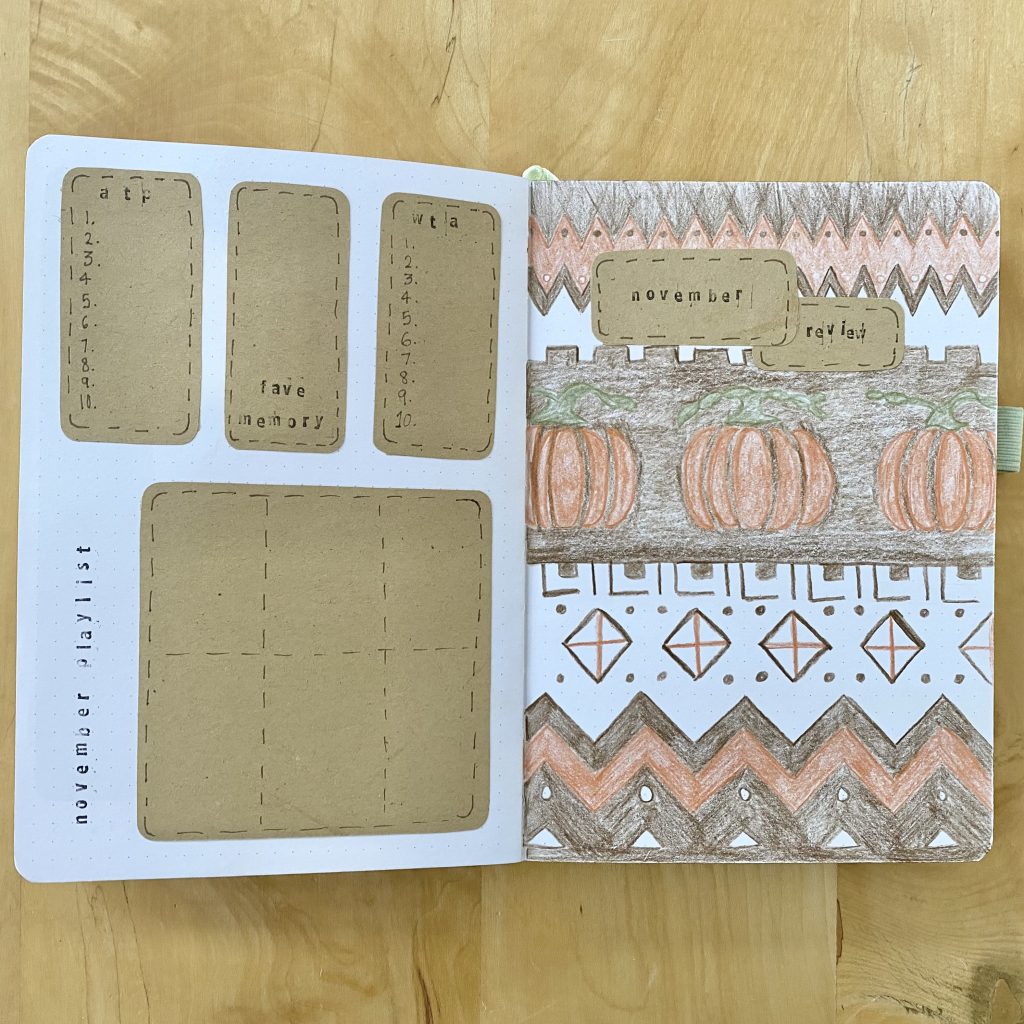
Finally, we come to my November Review spread! The layout of this one is exactly the same as in its previous iterations: on the right-hand page, I have the ‘November Review’ heading (here, stamped onto pieces of kraft paper) and a big space for sticking in a polaroid at the end of the month. On the left-hand page, I have sections for noting down the ATP & WTA (tennis) Top 10 players, a favourite memory and my 6 favourite songs of the month.
I also recreated the full colourwork design from the Cover Page on the right-hand page of this spread, just to really tie it back to the theme (and because I think it will make a great backdrop for the polaroid!).
Final Thoughts
I really love this spread and I’m so glad I opted to carry on with it instead of letting it go to the bullet journal graveyard when October got too overwhelming to finish it off. It was quite labour-intensive, but I think it’s really functional, autumnal and nice to look at, which is exactly what I need in a bullet journal setup this time of year! Admittedly, it probably does suit October slightly better than November (mainly because of the pumpkins), but what’s a girl gonna do? Sometimes life just gets in the way.
I hope you’ve enjoyed reading about my November bullet journal setup!
Gemma
xxx