
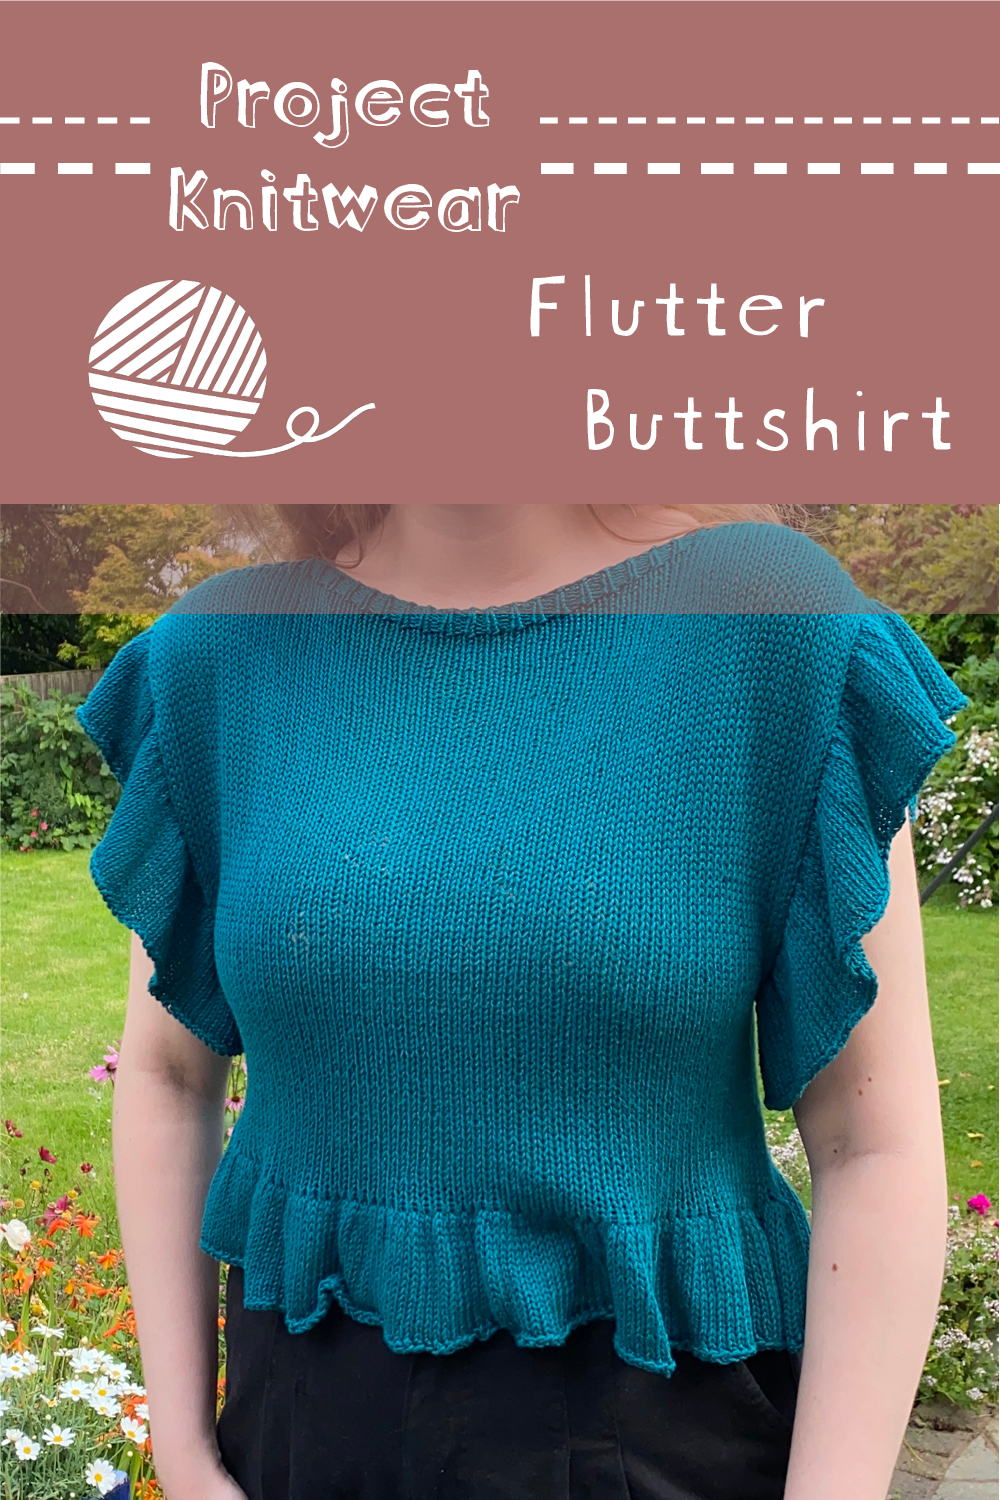
Hi there! Welcome to the second instalment in my Project Knitwear series, where I am sharing my (long overdue) foray into knitting clothes. In the first instalment, I talked about making my first, proper (i.e. non-Weasley jumper) garment: the Daphne Top by Friday Knits. You can read about that here. This week, we’re looking at my second garment- the Flutter Buttshirt!
Table of Contents
The Pattern
Given that I spend so much time at home, I figured that it would be a pretty good idea to make some knitted loungewear for myself. I really wanted to make the Atlantis Set by Ullen Knitwear, but, given that we were heading into summer at the time, I decided it would be better to make something a little more seasonally-appropriate. Enter: the Flutter Buttset (made up of the Flutter Buttshirt and Flutter Buttshorts) by Jessie Maed Designs. I thought this set would be perfect for lounging around the house on a warmer day- I was thinking like pyjamas, but a little more, ‘Yes, I got dressed this morning’, if you know what I mean?
While I did make both the top and shorts for this set, this post will only be about the Flutter Buttshirt. That’s because I ran into real problems with the shorts (they were SO BIG AND I DON’T KNOW WHY!!!!), so I had to frog them! I plan to come back to them and try to get the same effect with a slightly different pattern in the future- I’ll definitely make a post about that when I get around to it. For now, though, let’s focus on the top.
The Yarn
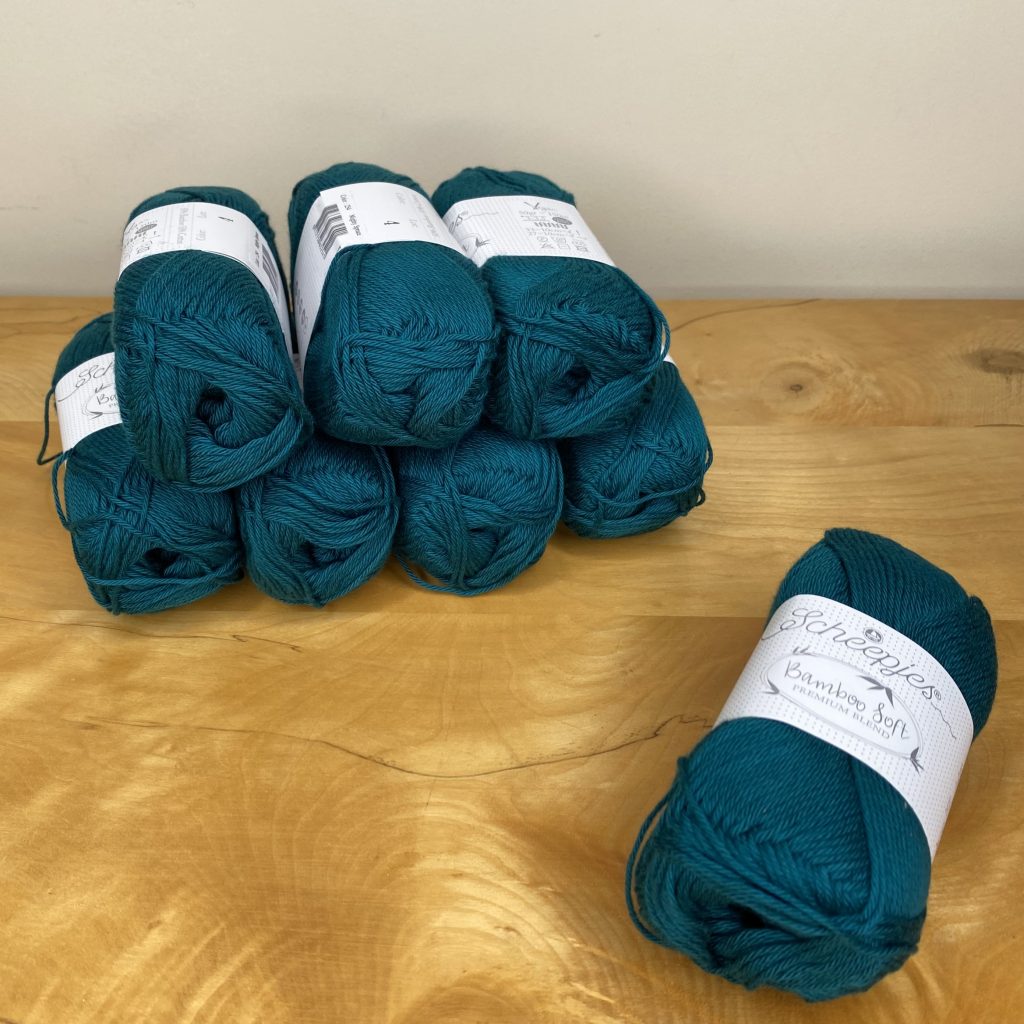
I opted to use Scheepjes Bamboo Soft yarn for my Flutter Buttshirt. It’s a 4-ply, 50% rayon (from bamboo)/50% cotton blend, which I thought would be nice and cool for warm summer days. I followed the advice given in the pattern and, because I was using a bamboo/cotton yarn, I made a size down from what my measurements suggested, to account for lack of memory in the fibre- honestly, I’m glad I did! Even with my slightly tighter gauge, the smaller size fit perfectly from the get-go (which makes me a little worried about it loosening too much overtime, but what can you do?).
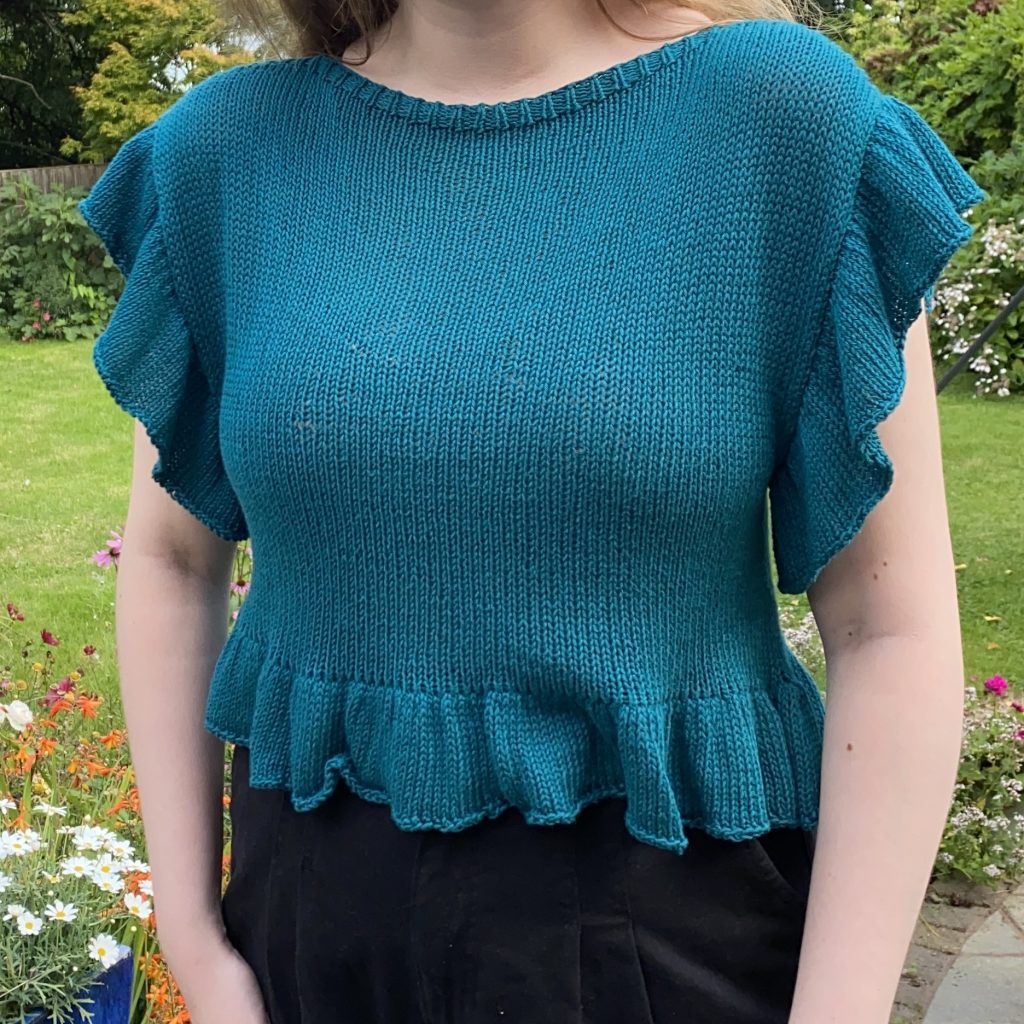
I chose the shade 254 Mighty Spruce, which is a deep, jewel-toned, teal. I admit that it’s probably quite a wintery colour for a summer set, but I just loved it so much! While I usually buy most of my wool from Wool Warehouse, I actually got this yarn from LoveCrafts, because it was on sale there (are you noticing a theme in my yarn purchases? We stan a sale here at Gemma At Home).
The yarn is pretty splitty. It wasn’t unbearable, but it was definitely something that I noticed. What I found more annoying, though, was the number of knots in the balls. Because this pattern is knit at such a loose gauge (more on that later!), you really don’t want to be sewing in extra ends in the middle of your top. I ended up wasting quite a bit of yarn making sure all the ends were left at the sides of the top, so that, when sewn in, they would be hidden by my arms/the sleeves. Other than those two little niggles, I quite liked this yarn: it’s smooth, soft and drapey- everything I wanted/needed it to be for this project!
The Swatch
I made a couple of swatches for this top. On the recommended 5mm needles, my gauge was a little tighter, but I figured that would be okay because a) my yarn choice meant I could afford to make a slightly smaller top and b) I liked the idea of a less see-through fabric, so I just went with it.
Update on my feelings re: swatching: it still makes me so mad. That’s all.
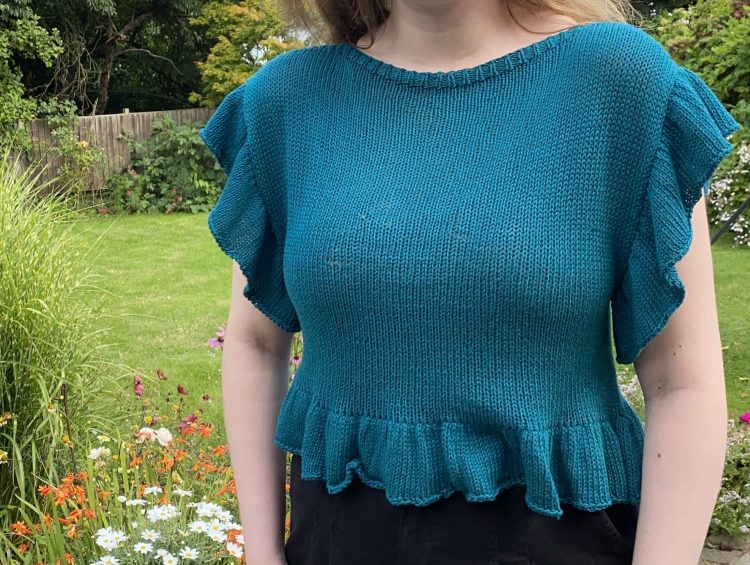
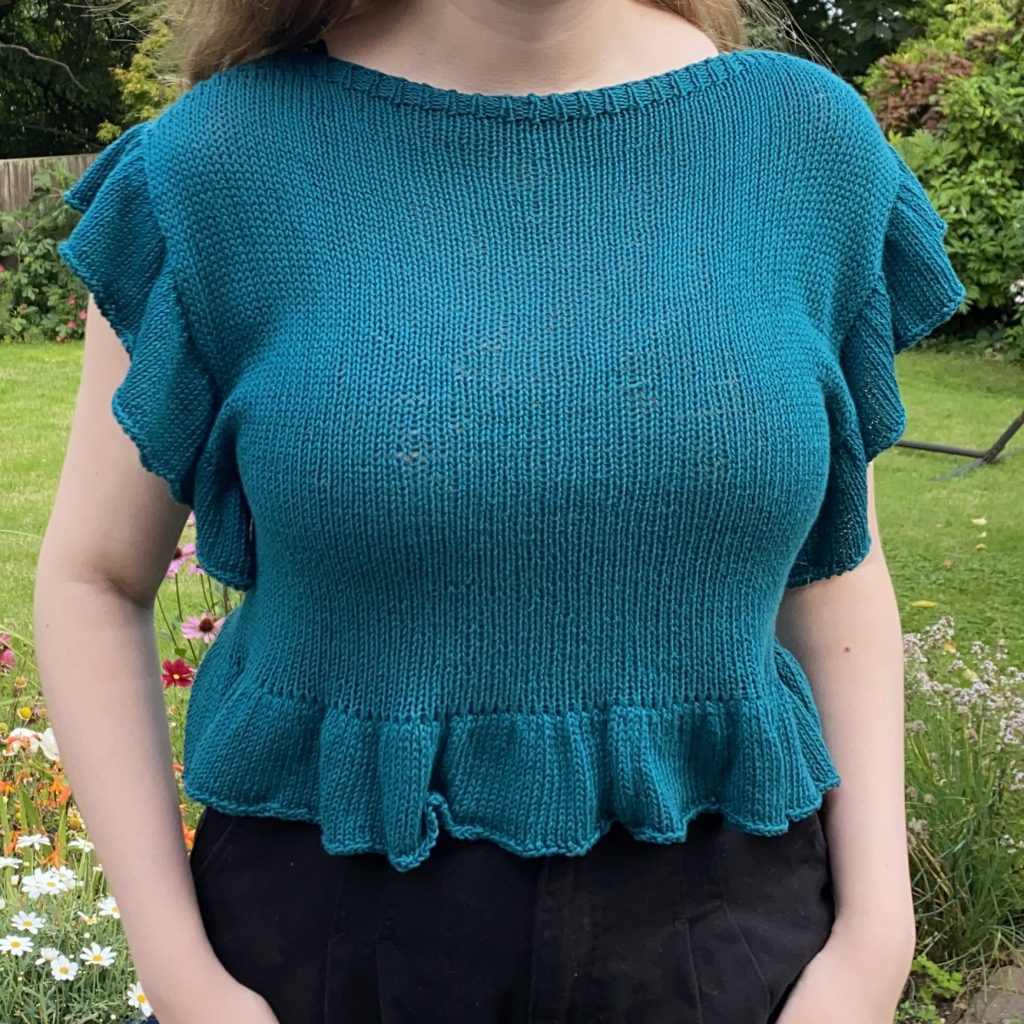
This pattern is knit at an incredibly loose gauge. Like, my gauge was slightly tighter than the required gauge, but it was still super loose- I mean, you’re knitting 4-ply yarn on 5mm needles, so I guess it’s kind of inevitable, but still!? While that loose gauge does add to the drape of the finished garment, I can’t help but feel that it’s just a bit too loose- I’m not crazy about how see-through my finished top is. I’ve found that I can get away with it if I wear a nude vest top underneath (I’m wearing one in the above photo, so you can’t really see how sheer it is! This is a family-friendly site, after all), but the additional layer kind of defeats the point of a summer lounge top to me. I’m a little disappointed 🙁 .
Anyway, with the swatch made, blocked and measured (thank GOODNESS), I moved on to making the top, blissfully unaware of the see-through problems that were to befall me. Sigh.
The Knitting Process
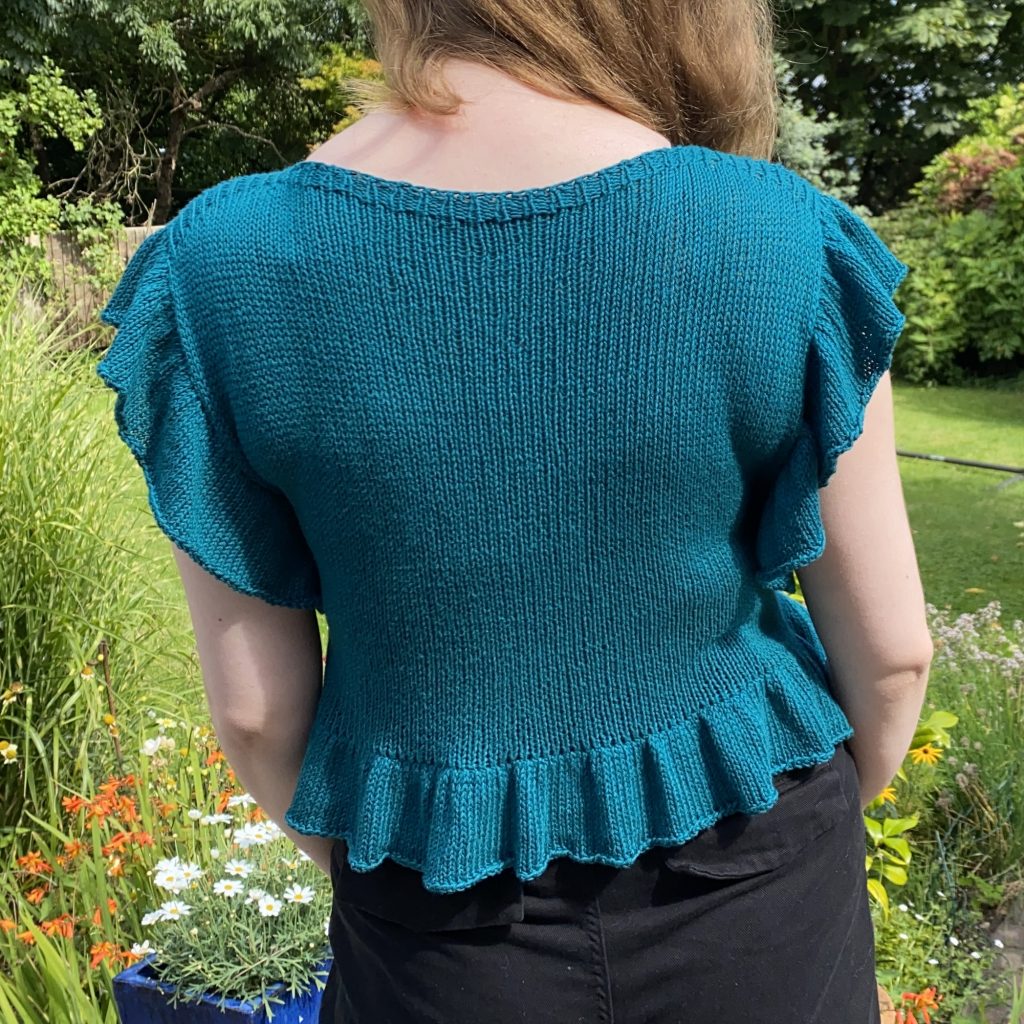
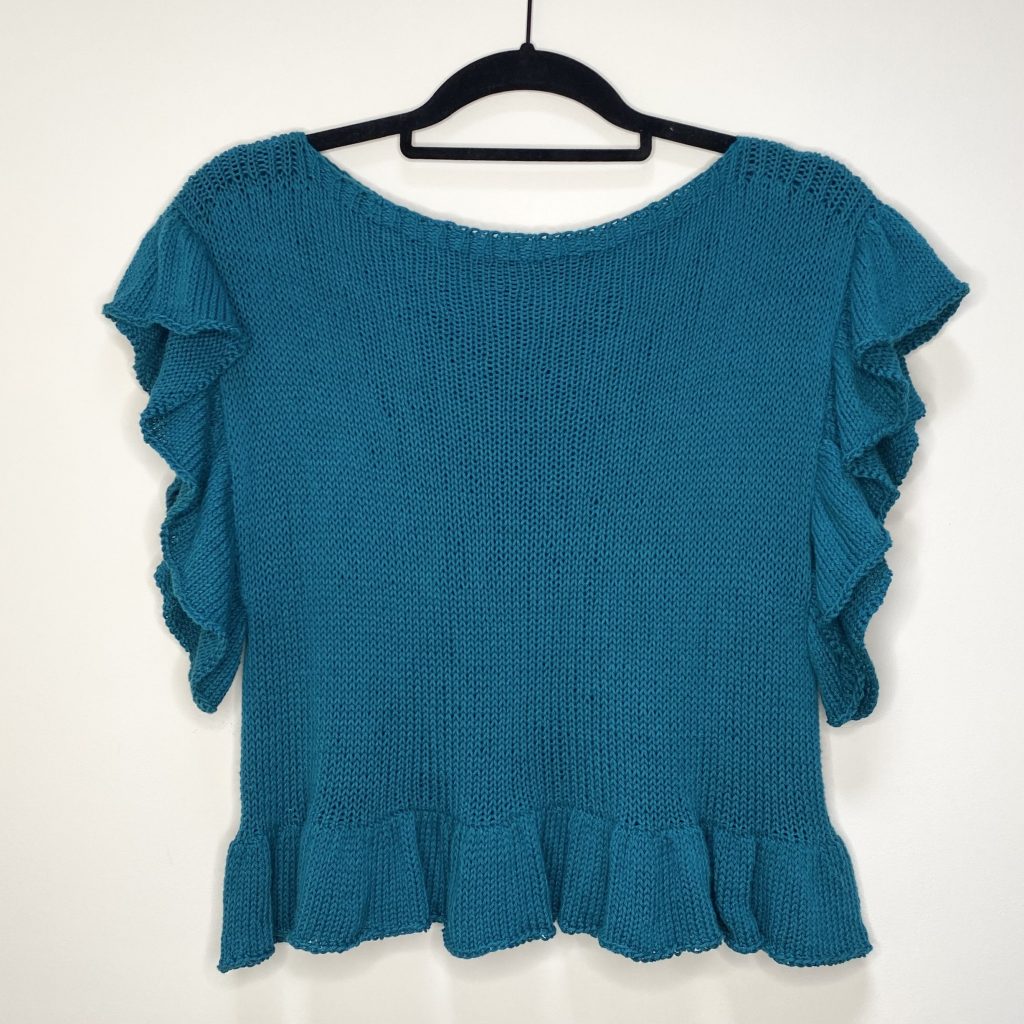
I will say that, particularly compared to the slightly more complicated Daphne Top that I made last time, this pattern is super simple, which I loved. There’s the tiniest bit of shaping around the shoulders, and, of course, the ruffle hems, but most of the top is just knitting around in a circle. In fact, even the shaping and the ruffle hems are much simpler to do than they seem, which made the whole thing even more fun.
I only had a couple of (minor) issues that popped up throughout the process:
- I cast off too tightly around the neck
Everybody warns you to cast off loosely and I always think, ‘Hahah, fools! Of course I will!’. Long story short, I was the fool. I could not get my head through the neck hole and I thought all was lost. Luckily, I hadn’t sewn in my ends yet, so I just unravelled my cast-off edge and tried again. Annoyingly, that meant I also had to re-join the shoulders, but it was a small sacrifice to make for a top that I could actually wear. I ended up using Jeny’s Surprisingly Stretchy Bind-Off for the neck, to make super sure that it was stretchy enough!
- The seams where the sleeves joined the body were super messy
I think this was another problem caused by the loose gauge. All around the sleeves just looked really loopy and uneven, which I (obviously) wasn’t happy with. Ultimately, I found that I could get a neater finish by a) using smaller (4mm) needles to pick up the stitches and b) picking them up through 2 loops, instead of 1. I continued using the 4mm needles for the next 2 rounds of the sleeves, then switched to the recommended 5mm needles for the rest. When it came to casting off the ruffled hems, I opted to use this Stretchy Bind-Off (k1, k2tog tbl). I found this didn’t pull the ruffles too tight, but looked pretty at the same time.
New Techniques
There weren’t as many new techniques for me in this pattern, compared to the Daphne Top, but I still managed to learn a few new things, while also practising some techniques that I have already met (previously encountered techniques are marked with an *):
- Long tail cast on*
- M1L (make 1 left)
- German short rows*
- 3-needle bind off
- Picking up stitches*
- Jeny’s Surprisingly Stretchy Bind-Off
- Stretchy Bind-Off
Final Thoughts
I think this top is SO pretty. I would wear it all the time if I could. However, I cannot. I cannot because it is so SHEER. I can’t decide if it’s the yarn I chose, or if I am simply hyper conscious of wearing something so see-through, but I can really only wear this with a nude vest top underneath, which is a) a bit of a drag and b) annoying seeing as I intended to wear this in summer. If I were a more experienced garment-knitter, I would rework this pattern to use smaller needles, in an attempt to make it less see-through, because I LOVE the style so much! Alas, I am not an experienced garment-knitter. Sigh.
On the bright side, the process for this one was relatively quick and painless, which has given me a boost of confidence for the rest of my knitting journey! If you’ve made this top, though, I’d love to hear what you thought of it- was yours see-through too?
If you're interested...

You can purchase the Flutter Buttshirt pattern here.

You can find the project page on Ravelry for my Flutter Buttshirt here.
Gemma
xxx


looks beautiful, do you have any tutorial recommendations for the german short rows?
Thank you so much! I’d recommend this tutorial from Tin Can Knits— I find it super clear and easy to follow along with.