Welcome to Day 6 of Blogmas At Home 2025! 🎄🎀✨
I haven’t done a lot of embroidery in my time, but I’ve been (very) gradually trying to stitch my way into it and expand my crafty repertoire. I started out with a kit (specifically, the Woodland Fox Embroidery Kit from Tales from the Hoop, a UK-based company run by Marion, who makes incredible, modern embroidery kits & patterns). Next, filled with a (completely irrational) sense of confidence, I designed and stitched my own hoop-based project: a Feathers McGraw hoop for my sister-in-law.
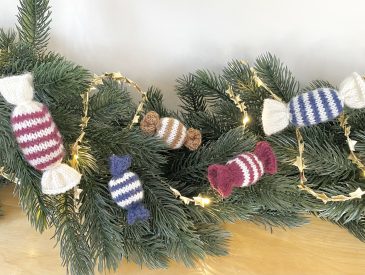
For my next embroidery project, I decided to make a felt garland. Tales from the Hoop has these gorgeous festive letter kits for sale, which feature a minimal, super pretty, pine design. I fell in love with this design the moment I saw it and I thought it would make for such a special Christmas ‘heirloom’ decoration. I’ve been slowly working on it over the past few months, really taking my time to enjoy the process, and I just love how it turned out!
Table of Contents
The Kit
As I mentioned, I made this garland using the Personalized Christmas Felt Letter Kit from Tales from the Hoop. You can buy as many or as few letters as you want: they can be used individually, as baubles, miscellaneous decorations or gift tags, or you can purchase multiple letters and make a garland (which is, obviously, what I did).
A single-letter kit costs £18.50 and you receive the felt (including one sheet printed with the pine pattern/letter outline), 2 embroidery needles, all of the necessary threads, gold beads, stuffing, pins and detailed, printed instructions. Each additional letter only increases the price by £2.50, so, if you plan to make multiple letters, I’d definitely recommend buying them all in one go to save yourself some money!
For this garland, I purchased a 14-letter kit. Currently, this is priced at £51.00, but I actually bought mine back in July for £45.90 (it’s very possible I bought the kit on sale? Or this could just be the inevitable result of rising costs here in the UK). Even at the higher price, I still think this kit is worth it!
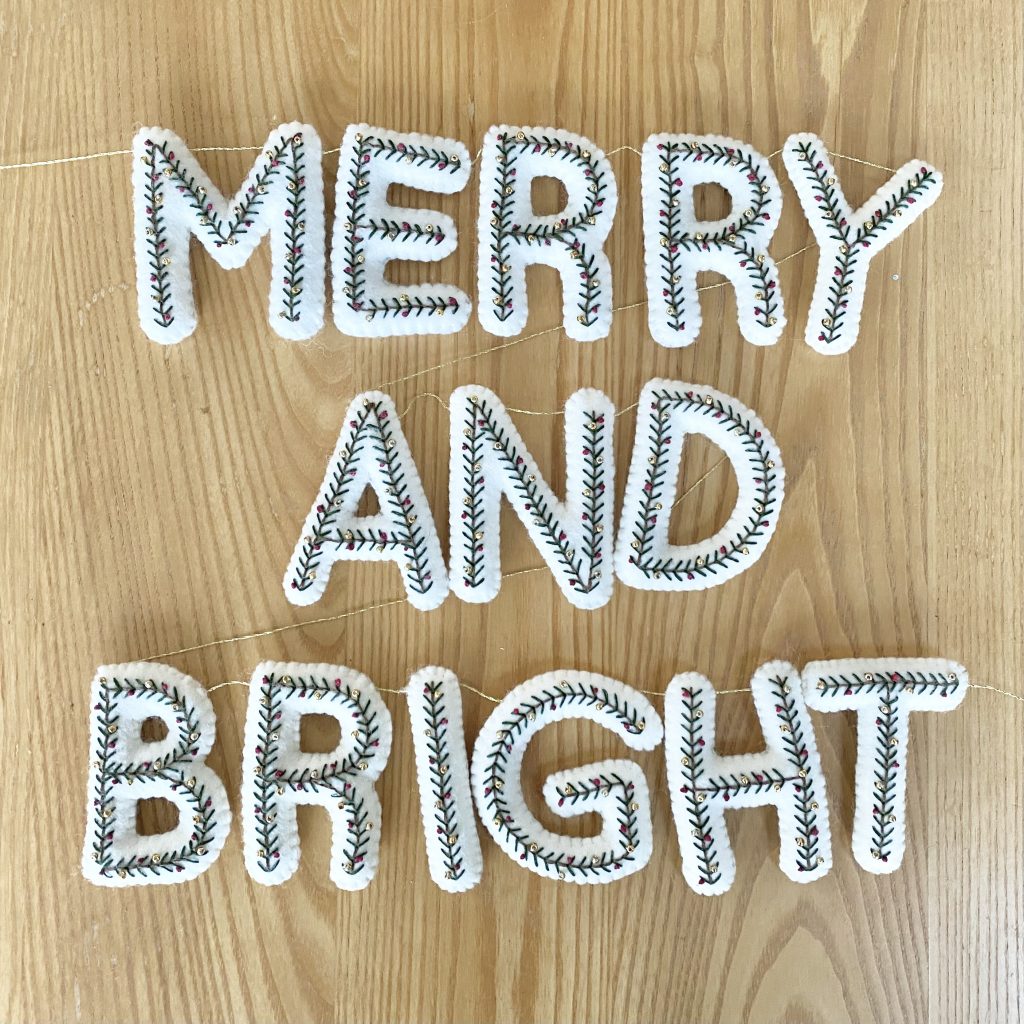
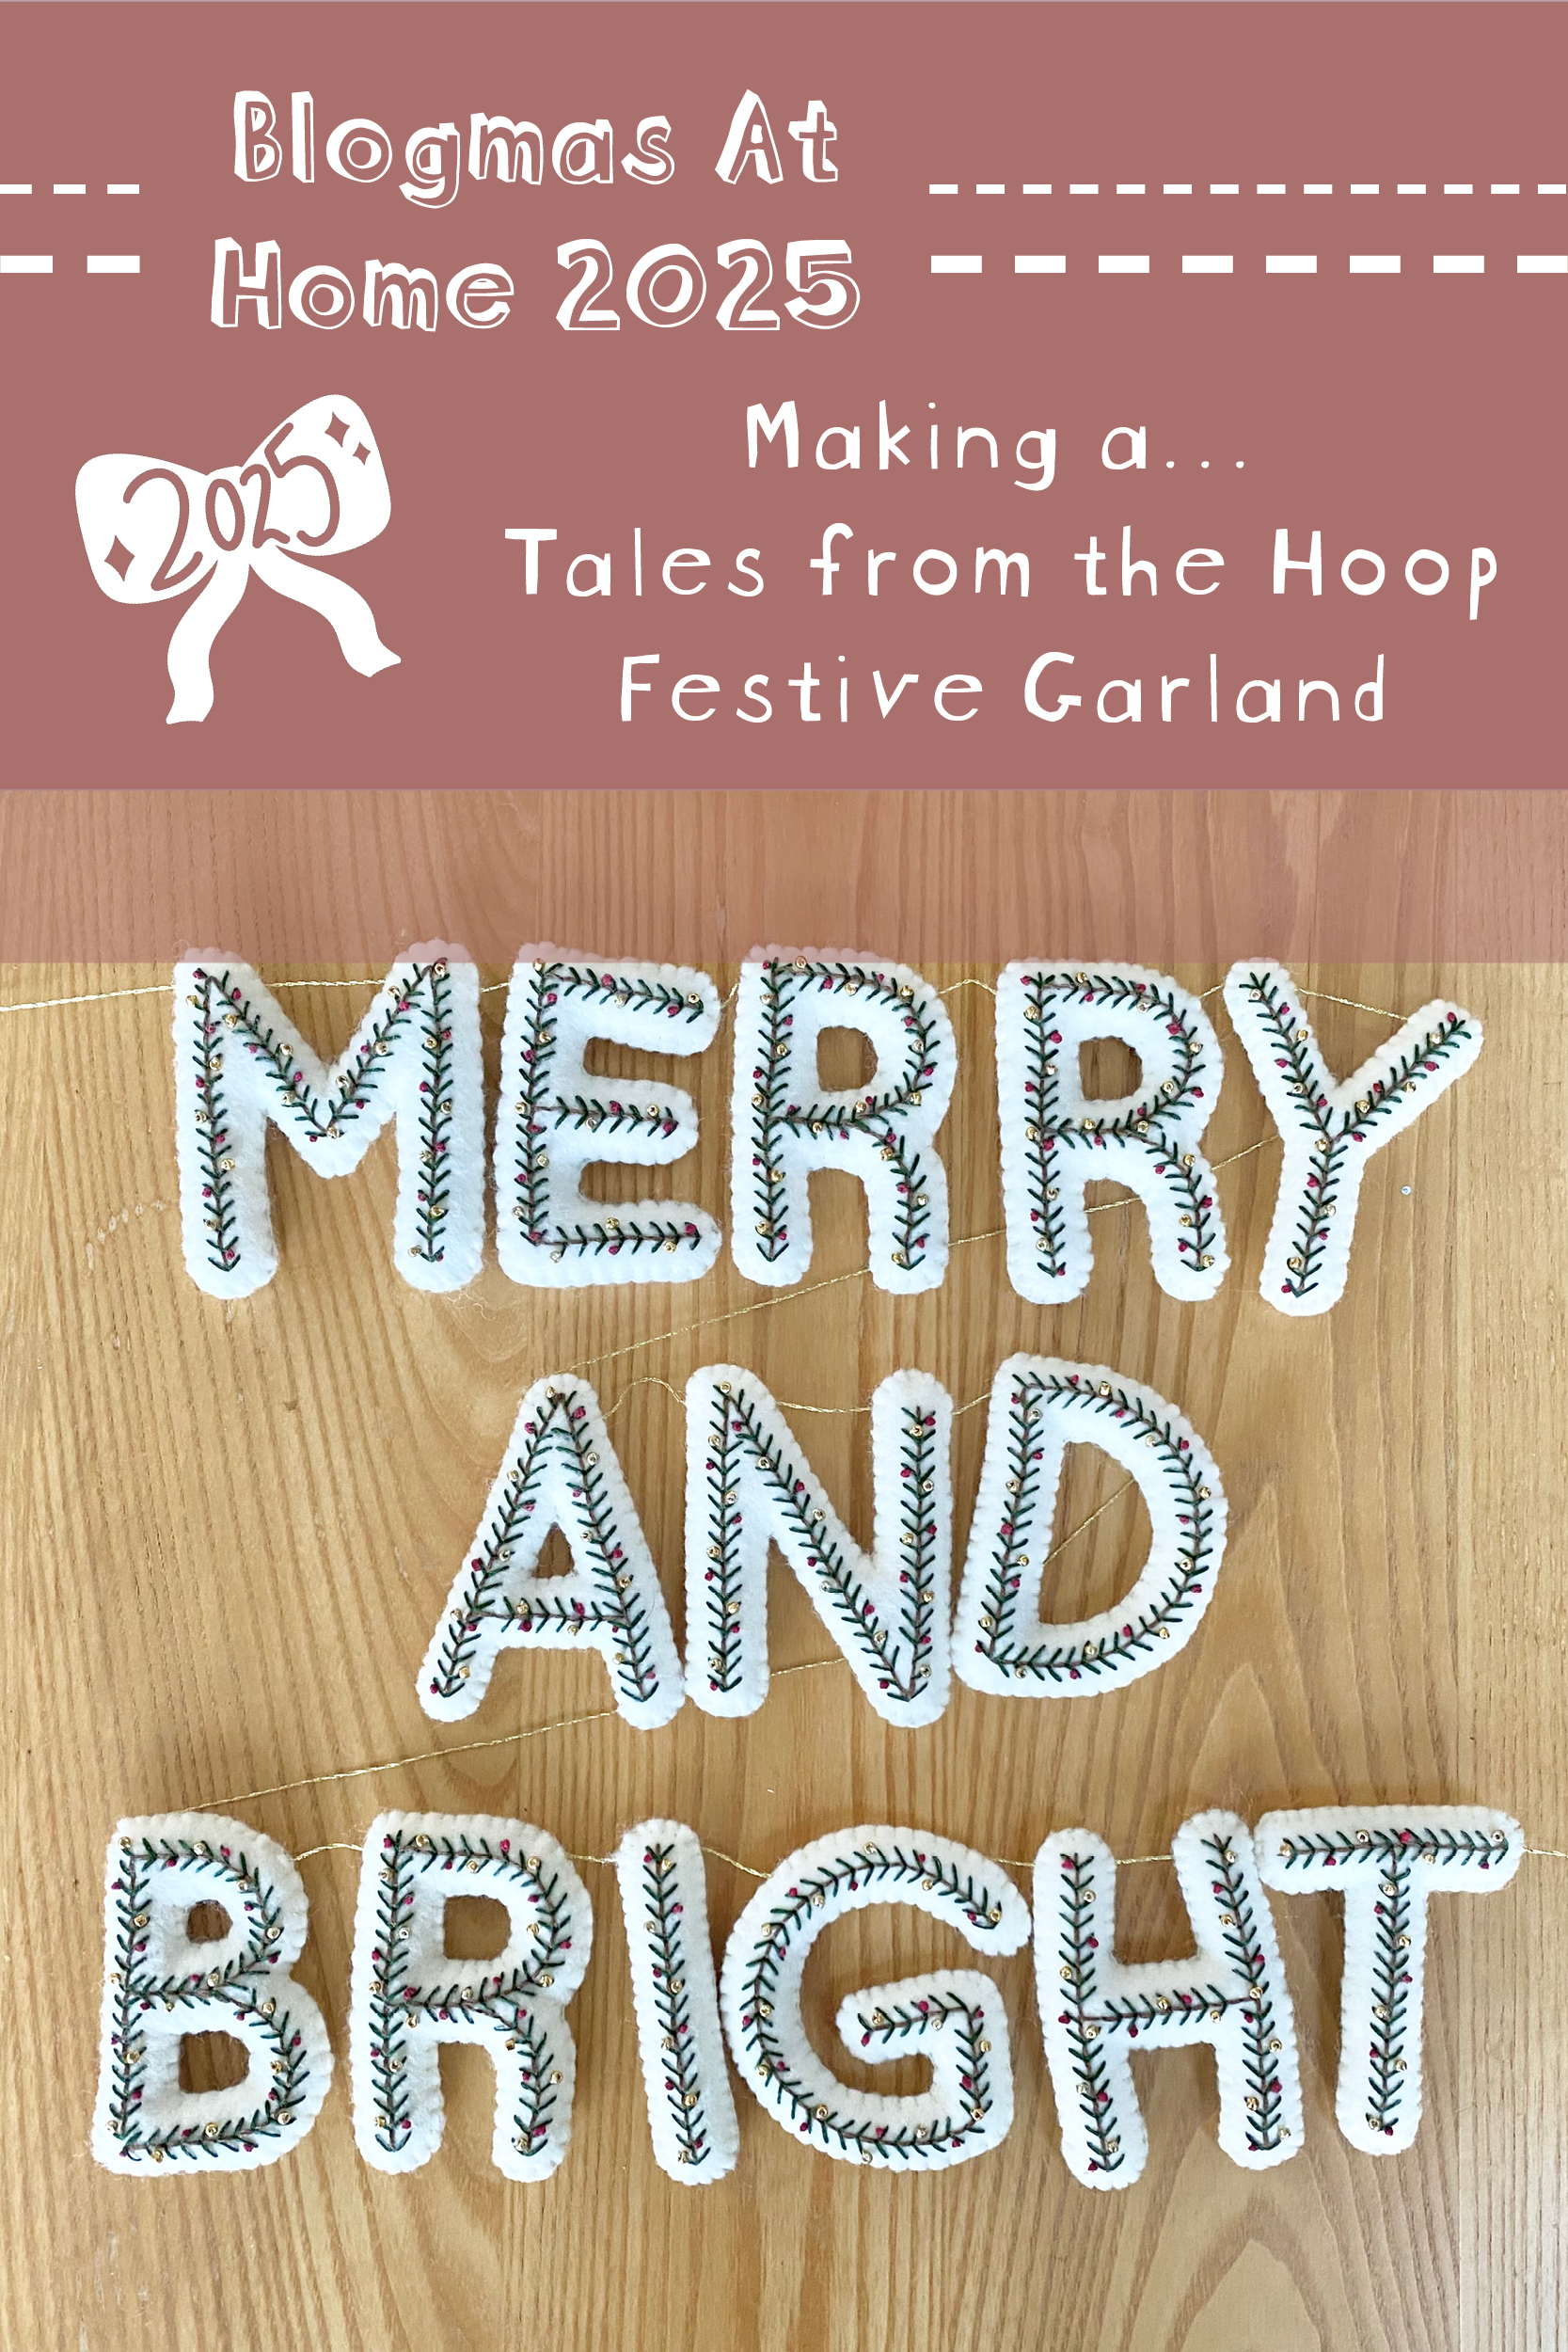
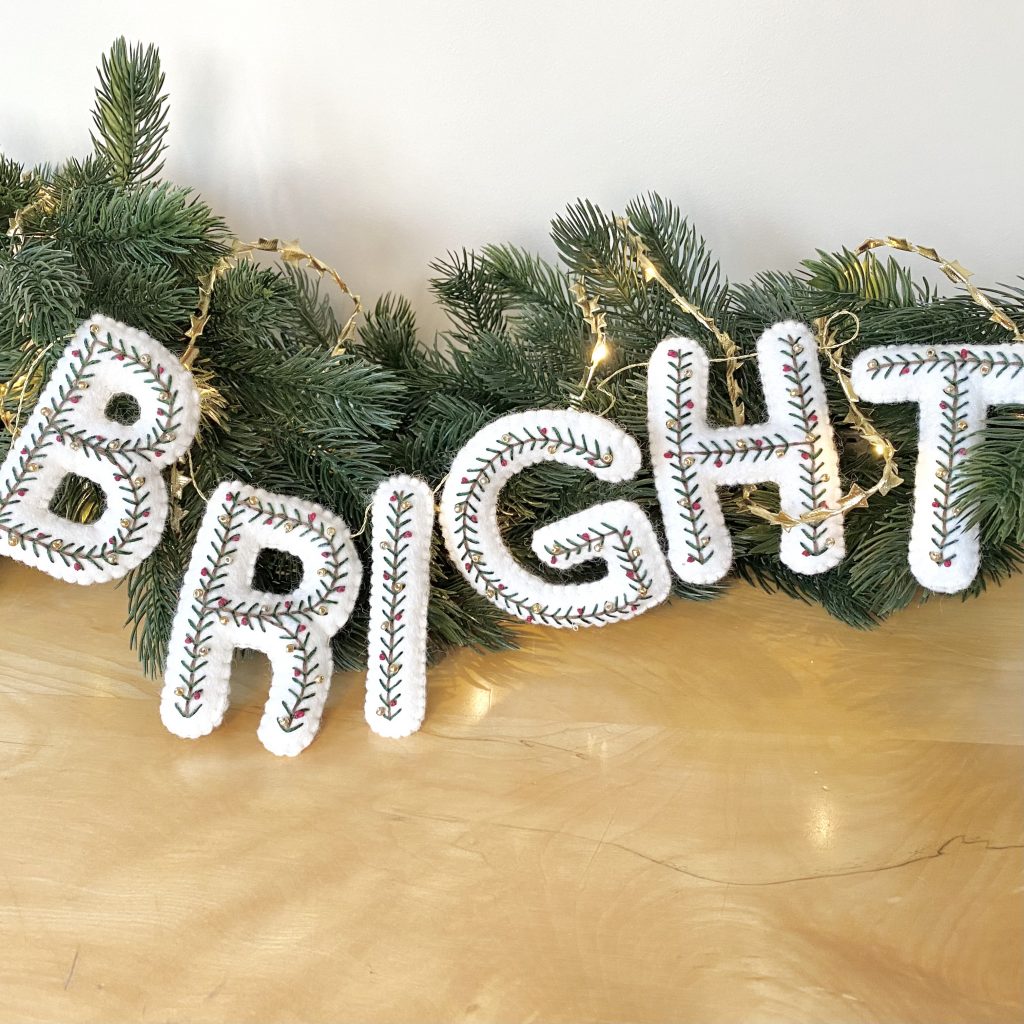
You can select which letters you want for your garland/ornaments in the ‘Personalisation’ section of the order, so I opted for the letters to spell out ‘MERRY AND BRIGHT’. I went back and forth a lot between this and the more classic ‘MERRY CHRISTMAS’ (which unhelpfully contains the same number of letters, so I couldn’t even use the cheaper price as a deciding factor), but I ultimately decided to go with the former because I figured we probably had enough garlands telling everyone to have a Merry Christmas already.
Just like the last time I placed an order from Tales from the Hoop, I had a lovely experience: my kit came super quickly & contained plenty of all of the necessary materials, the instructions were clear & easy to follow AND the finished product looks great!
The Stitching Process
The stitching process was actually pretty simple and straightforward, which was lovely because it meant that I could really relax into the stitching and just chip away at the garland slowly. For reference, the kit uses the following stitching techniques:
- Back stitch
- French knots
- Beading
- Blanket stitch
I had done all of these stitches before except for beading, which was new to me, but was really simple to do and I absolutely love the sparkly effect the beads add: I think they’re such a pretty addition that really makes the letters feel special. This project was also a really good way of practising my French knots & blanket stitching: I got pretty good at the latter, but I do still struggle with the former! I can just about do them now, but they’re not always as neat as I would like! French knots, I’ll be back for you. This isn’t over.
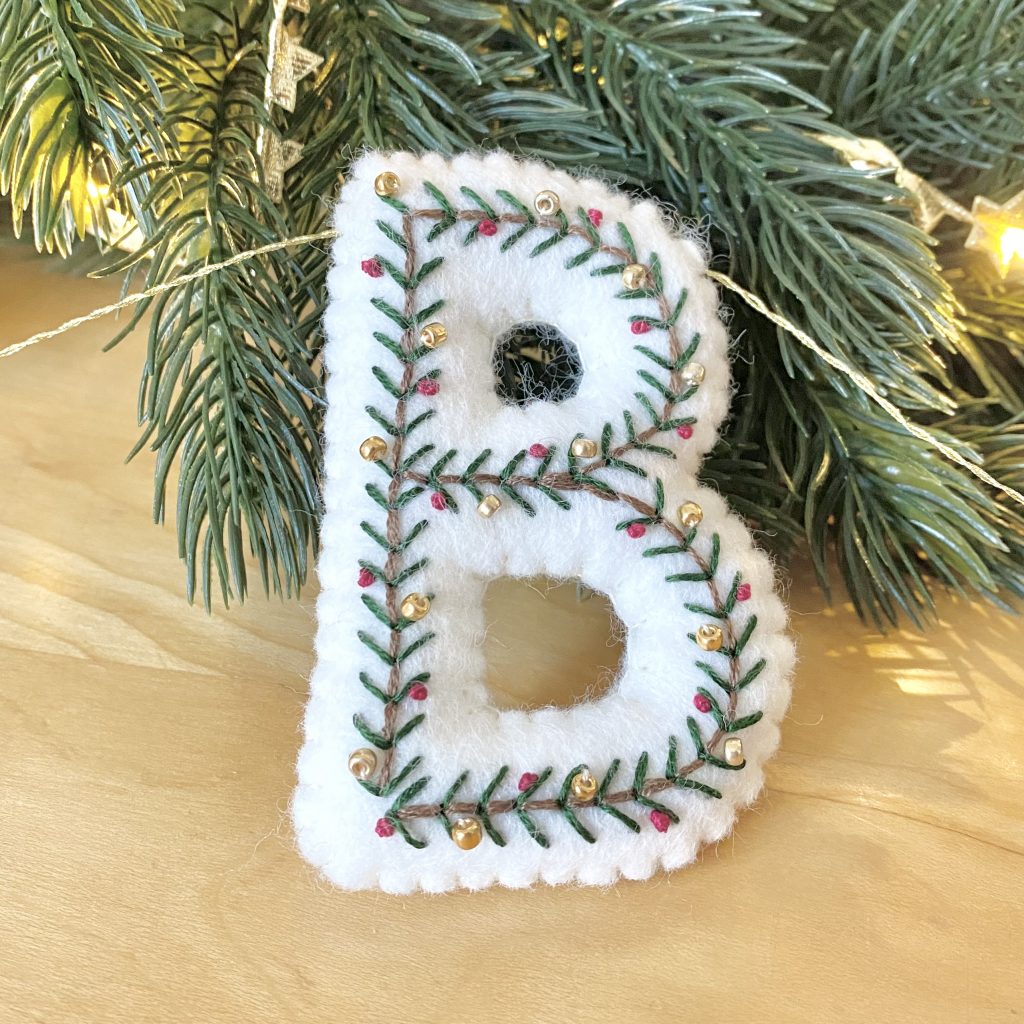
Honestly, the hardest part of making these was cutting out the tiny, internal pieces of felt from some of the letters (the ones like R, A and, in particular, B, which had TWO internal pieces!). It was a bit fiddly, but I found that using a small, sharp pair of scissors made it (a little) easier.

Surprisingly, though, the letter I found the absolute hardest to do was the ‘G’! I think it just required a lot of stitching and I felt like it was slightly more prone to bending out of shape than the other letters. Obviously, the easiest letter was the ‘I’ because it was literally a single, straight line: the dream!
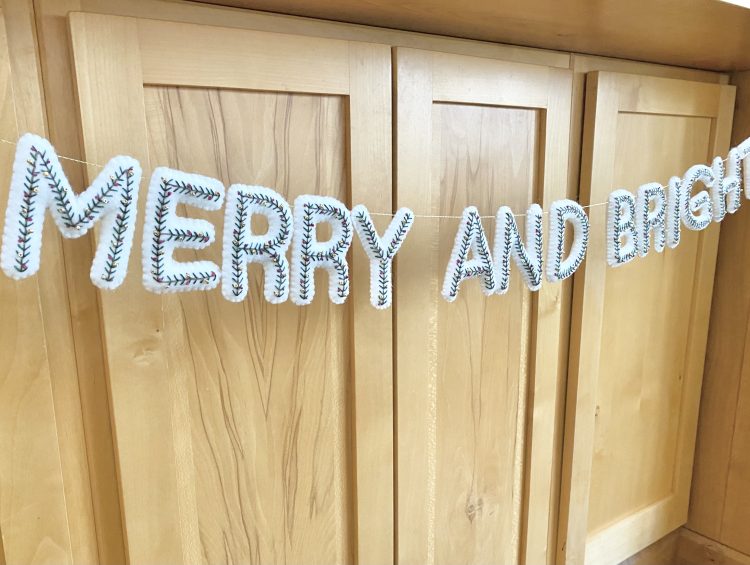
Stringing the Letters into a Garland
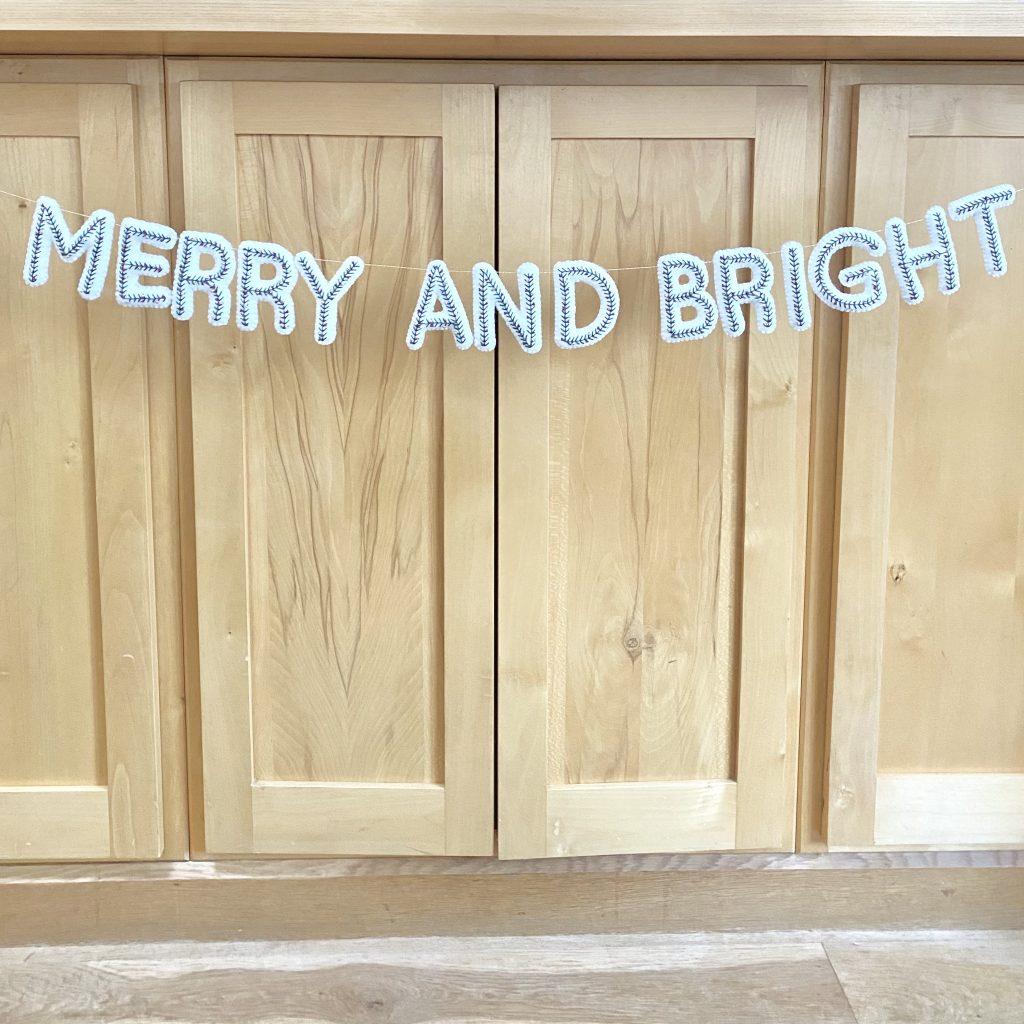
Stringing the letters together was also surprisingly easier than I expected it to be: the stuffing helps to keep the letters in position, so I just carefully lined up each one (I tried to go through where the brown stitch line ended at the top of each letter, to keep things even) and went for it.

The great thing about this whole process is the fact that you can work a stitch, add a letter, add a bead, whatever and, if you don’t like the positioning/how it looks, you can literally just take it out and start again. For someone like me, who has a deathly fear of making mistakes (I know, I know— I’m working on it!), this was a real comfort and made the whole process that bit more relaxing.
The only slight stumbling block I encountered was that I’m pretty sure I accidentally cut through one of my blanket stitches when I was rearranging the top thread on my ‘G’ (why is it ALWAYS the ‘G’?!). I haven’t noticed any drastic unravelling yet though, so let’s all keep our fingers crossed that it stays that way!
Final Thoughts
I loved working on this project almost as much as I love the finished garland: it feels so classic and festive, but still fun and whimsical at the same time, and it makes me so proud every time I look at it (because, you know, I made that!).
It definitely took a bit of time to make, but that was because a) I intentionally took it slow so that I could really enjoy the process and b) I had 14 letters to stitch! If you were just making one letter, it would actually be a really quick little project: you could probably whip it up in a couple of hours!
I definitely felt a few moments of pressure during the process (particularly when it was time to cut out the letters post-embroidery, because, well, what if I did it wrong and ruined all my hard work?!), but I never actually ran into any of the problems I was anxious about, which felt great.
Overall, making this garland was a very rewarding, therapeutic experience: I can’t wait to bring it out every year and feel all warm and cosy knowing I made it!
Gemma
xxx