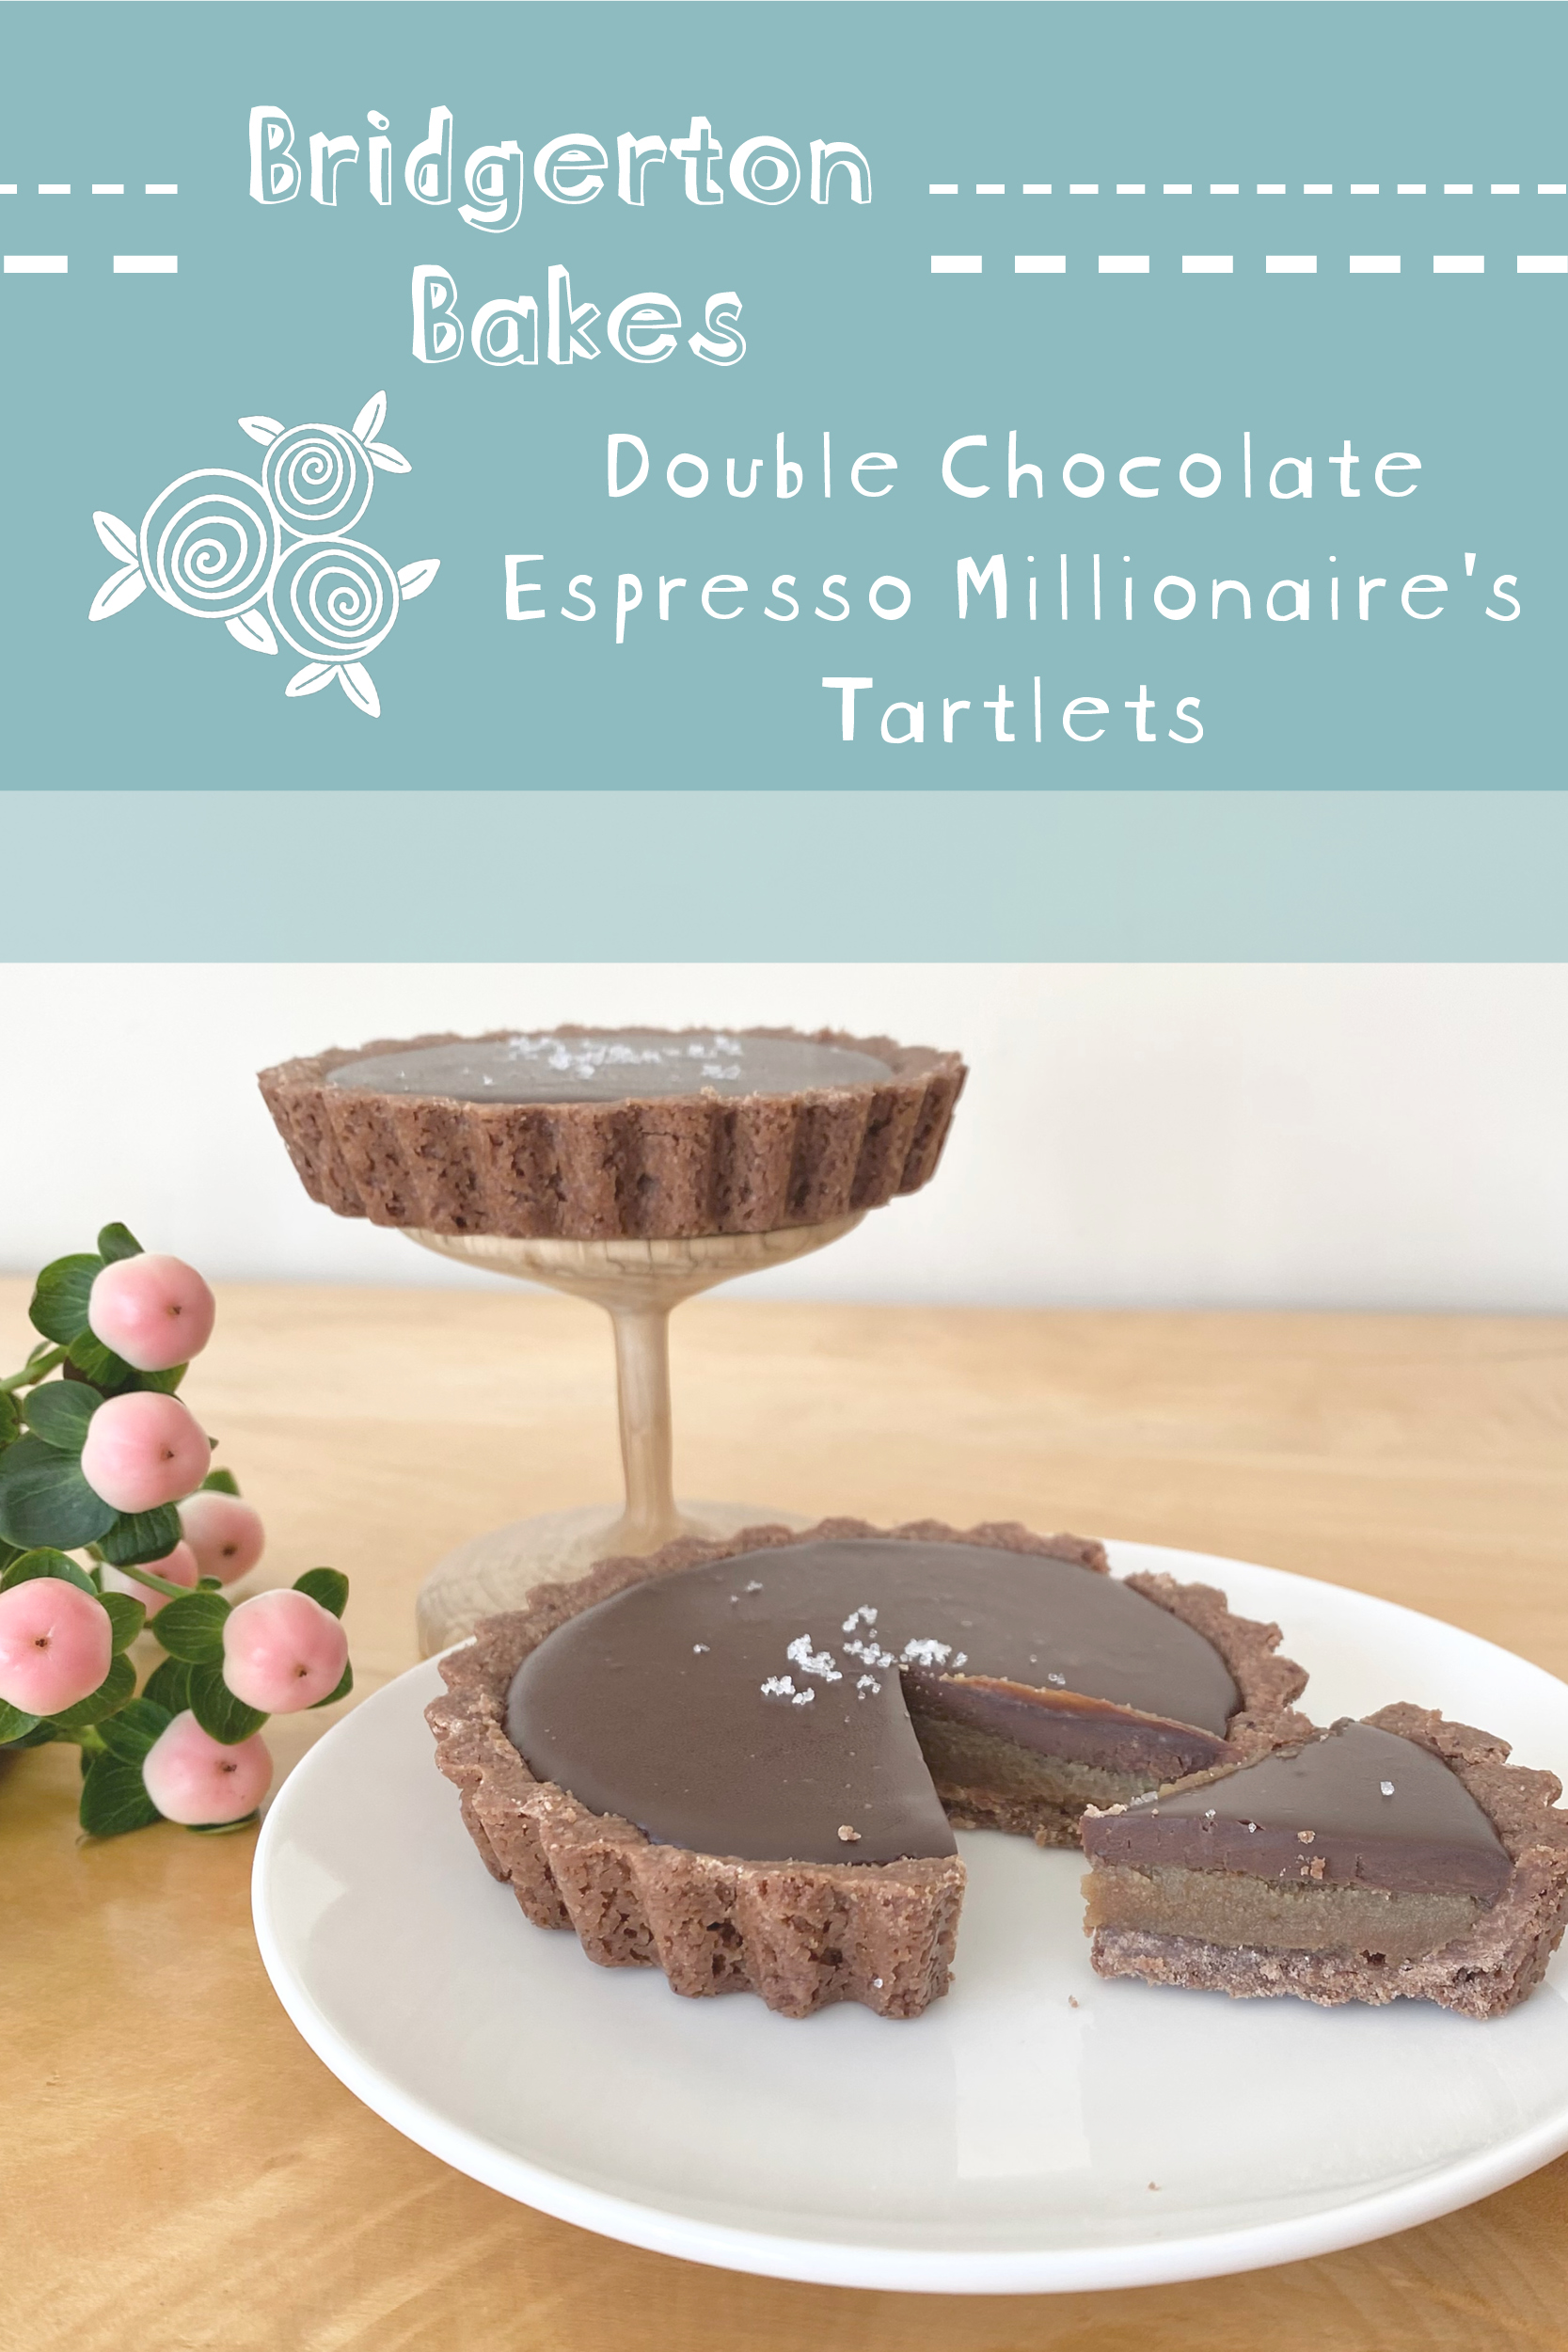
Welcome back to Bridgerton Bakes! In this series, I’m sharing recipes inspired by the latest season of Bridgerton (Season 4!).
I’ve already shared one recipe in this series: my Pink & Green Checkerboard Biscuits, inspired by Rosamund and Posy Li, two of the new characters in Season 4. Today’s recipe is inspired by their mother: Araminta Gun, the Evil Stepmother-esque antagonist of the season, played by Katie Leung (whom you might recognise as Cho Chang from the Harry Potter films!).
Table of Contents
- The Inspiration
- Equipment
- Ingredients
- How to Make Double Chocolate Espresso Millionaire’s Tartlets
- Recipe
The Inspiration

© Netflix / Shondaland
Araminta Gun is the archetypal ‘Evil Stepmother’; she’s twice-widowed, always wearing black and positively brimming with nefarious schemes. When it came to creating a sweet treat inspired by her character, I immediately thought of some sort of double-chocolate tart (I mean, with that all-black wardrobe, it was kind of a must!): chocolate pastry and a dark, chocolate filling for a super moody, but still sophisticated and elegant treat. I actually received some tartlet tins (these ones, from Lakeland!), for my birthday last year, so I decided to make mini tarts instead of one big tart (one of the best decisions I could have made, as it turns out— more on that in a sec!). I also love making my Bridgerton-inspired recipes feel like they could fit right in at a fancy afternoon tea, so tartlets seemed like the perfect choice.
I absolutely could have made a simple, dark chocolate ganache tart with a chocolate pastry, but I wanted something a little bit more unusual for this recipe. I toyed with a couple of different ideas, but eventually settled on something that I was really excited about: a Millionaire’s Shortbread-inspired, espresso-flavoured tart. If you aren’t familiar with Millionaire’s Shortbread, it’s a super popular treat here in the UK: it’s typically served in bar form (like a brownie or slice) and features a layer of shortbread, a layer of condensed milk caramel and a layer of chocolate.
Money plays a key role in Araminta’s storyline, so the whole ‘millionaire’ vibe seemed like a perfect fit. She’s by no means a sweet character though and Millionaire’s Shortbread is (perhaps infamously) a very sweet dessert, so I wanted something that, along with the darker, double-chocolate element, would tone that sweetness down and speak more to the bitterness of her character: enter, the espresso. Chocolate and coffee is such a classic pairing (it even has a name: mocha!), so this flavour combination isn’t anything groundbreaking, but the tartlets still feel pretty unusual and exciting (while still being absolutely delicious and very palatable)!
While you would usually use pastry for a tartlet, I’ve opted to use a shortbread base here for a few reasons. Firstly, I wanted to stick as closely as possible to a typical Millionaire’s Shortbread. Secondly, the added sweetness of the shortbread compared to a pastry actually works really well in this recipe, because both the espresso and chocolate are, well, not so sweet. Thirdly (and finally), I actually have a bit of a mental block about pastry: I just haven’t been able to master it yet! This shortbread base is SO much easier to work with than a classic shortcrust pastry: it’s really great!
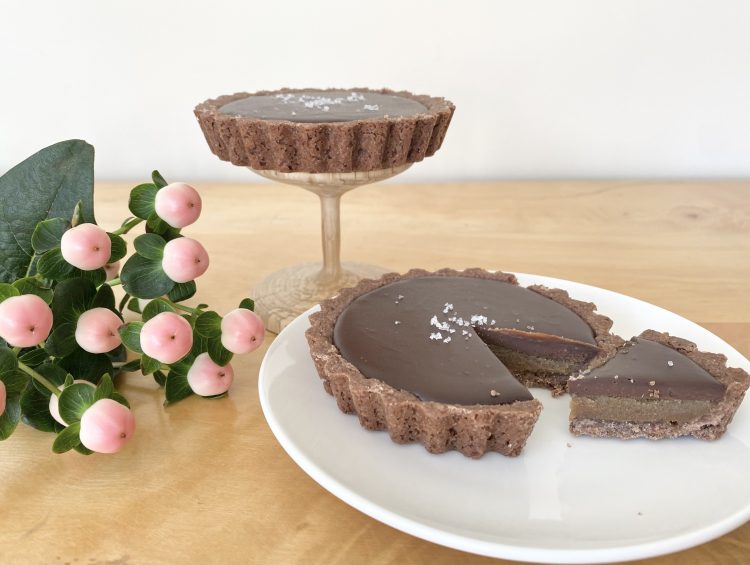
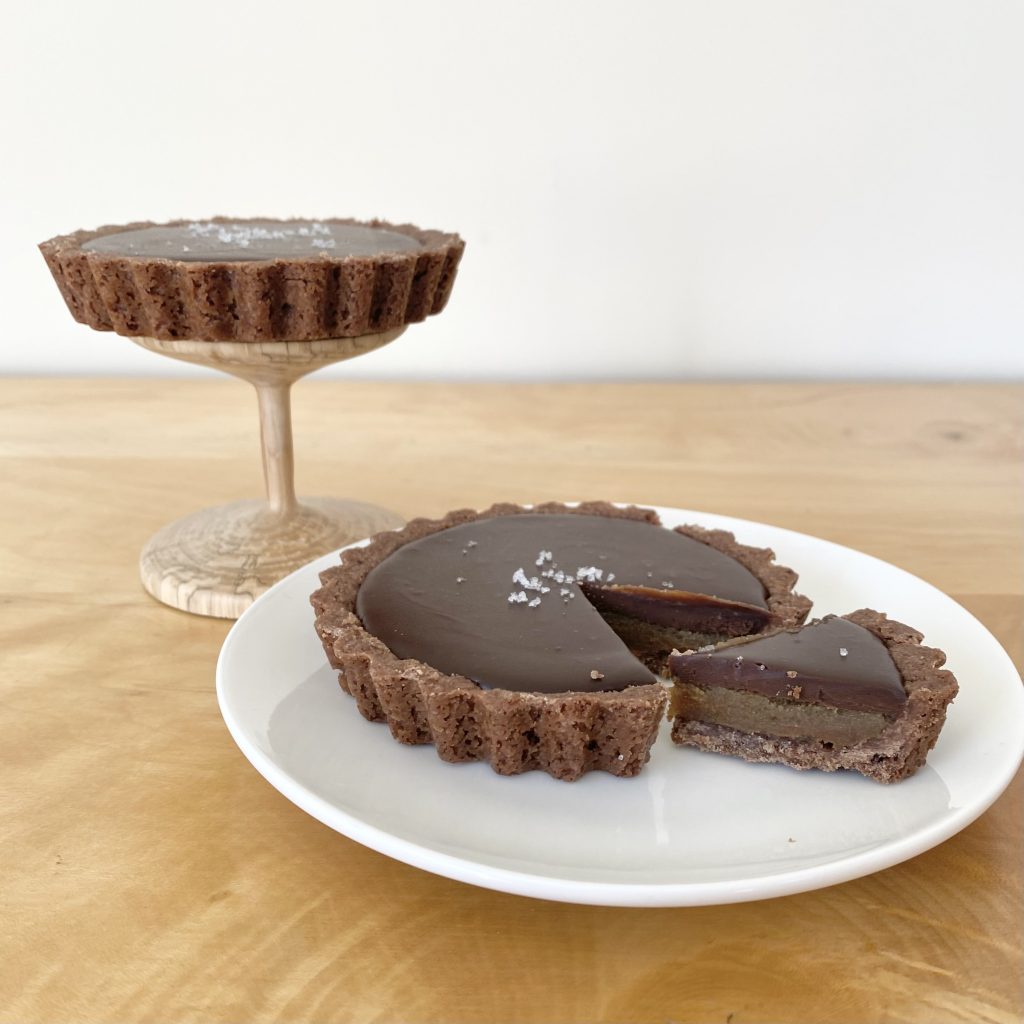
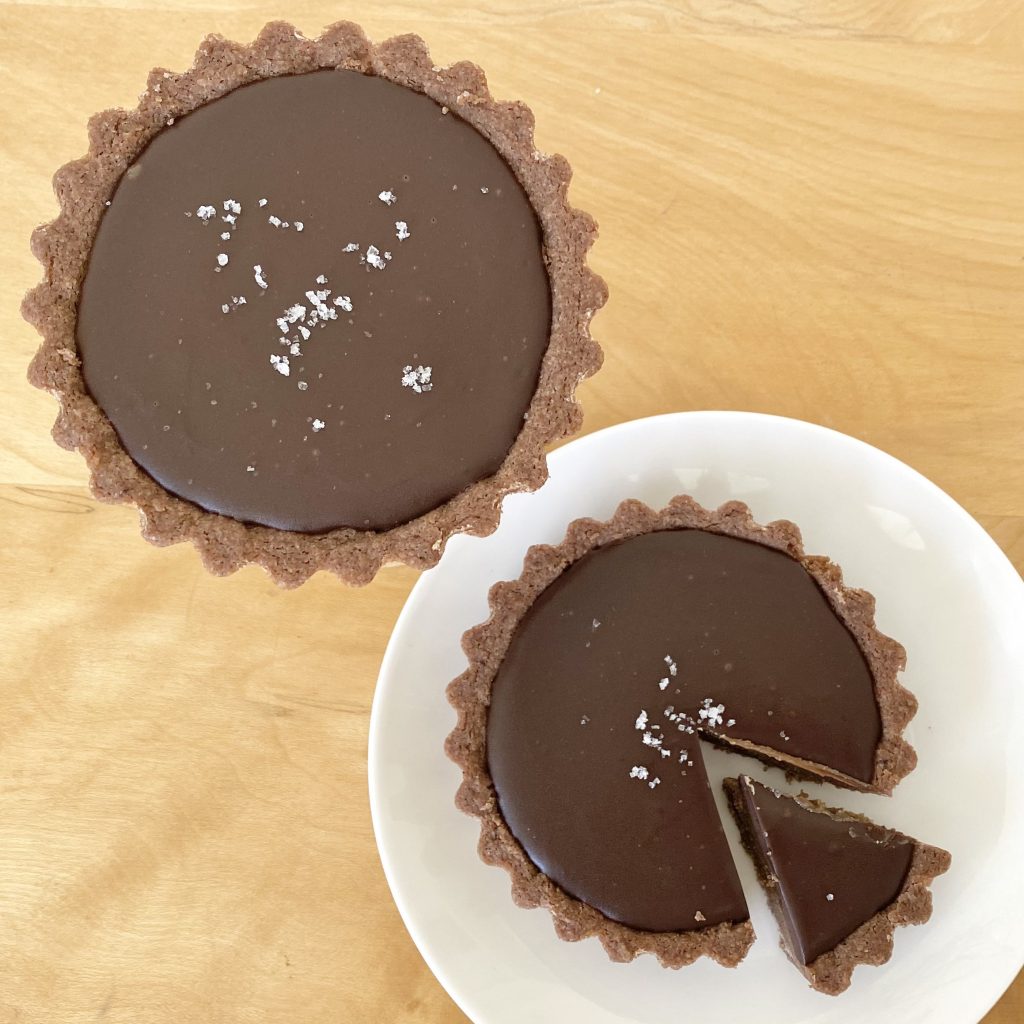
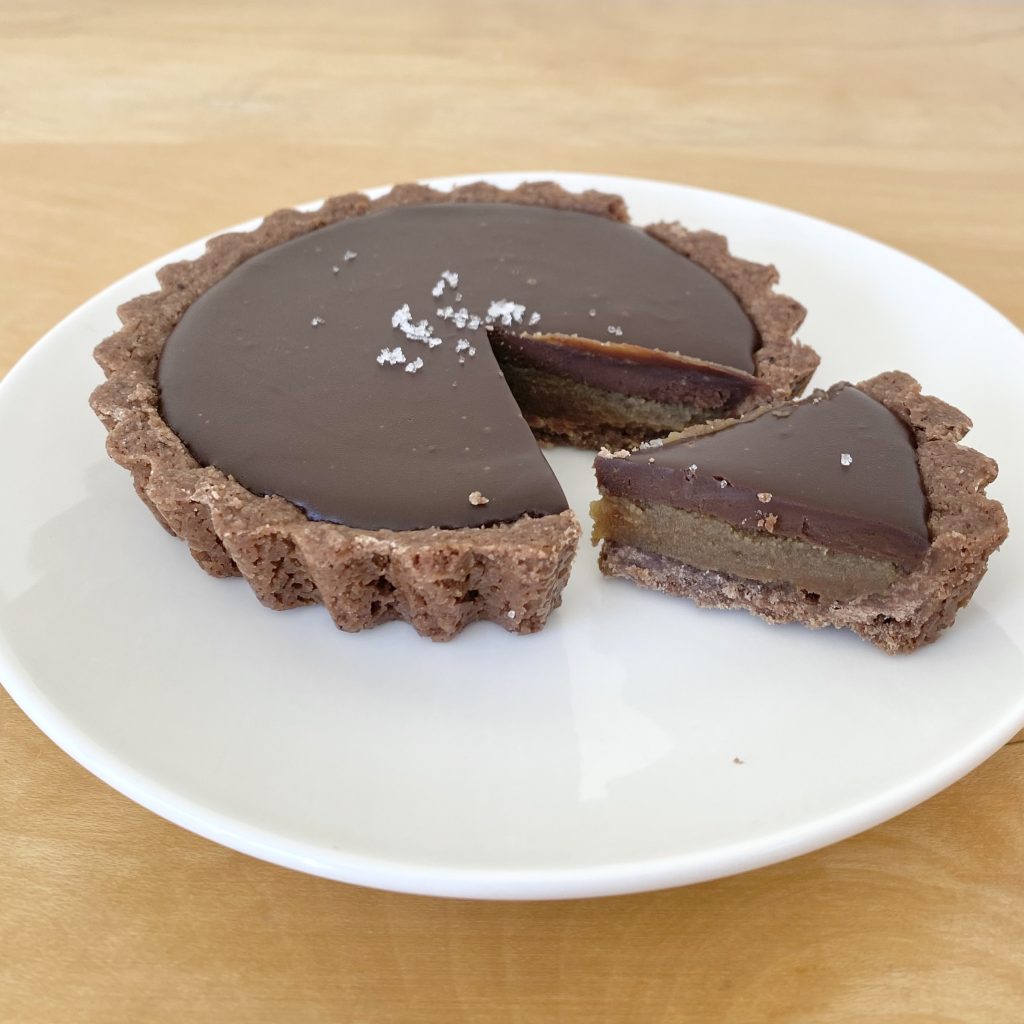
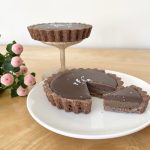
So, in summation: my Araminta Gun-inspired, Double Chocolate Espresso Millionaire’s Tartlets feature a chocolate shortbread crust, an espresso caramel filling and a shiny, dark chocolate ganache glaze. All of these elements come together to make the slightly more refined, much less sweet cousin of the Millionaire’s Shortbread and, I have to say, they might just be one of my favourite treats yet!
Equipment
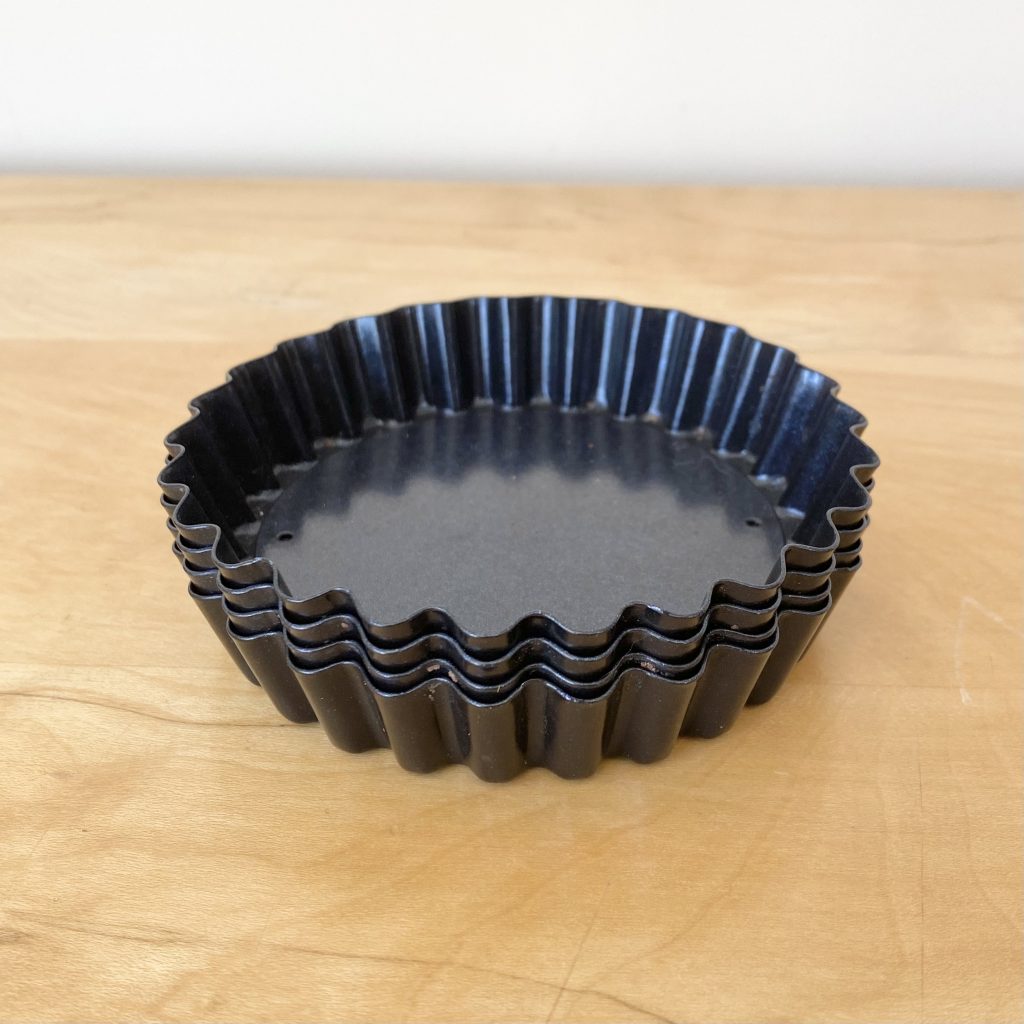
As I mentioned, I used these tartlet tins from Lakeland for this recipe. They’re 10cm in diameter, 2cm deep, non-stick and have fluted edges and removable bases.
If you’re able, I really do recommend making this recipe in tartlet form: I’ve tried it in a couple of different formats (bars, bigger tarts etc.) and the ratio of the different layers is just perfect in the mini form! Plus, they slice so beautifully and look so pretty: I might just have to start developing even more tartlet recipes so we can all justify the presence of specialist tartlet tins in our kitchens…
Ingredients
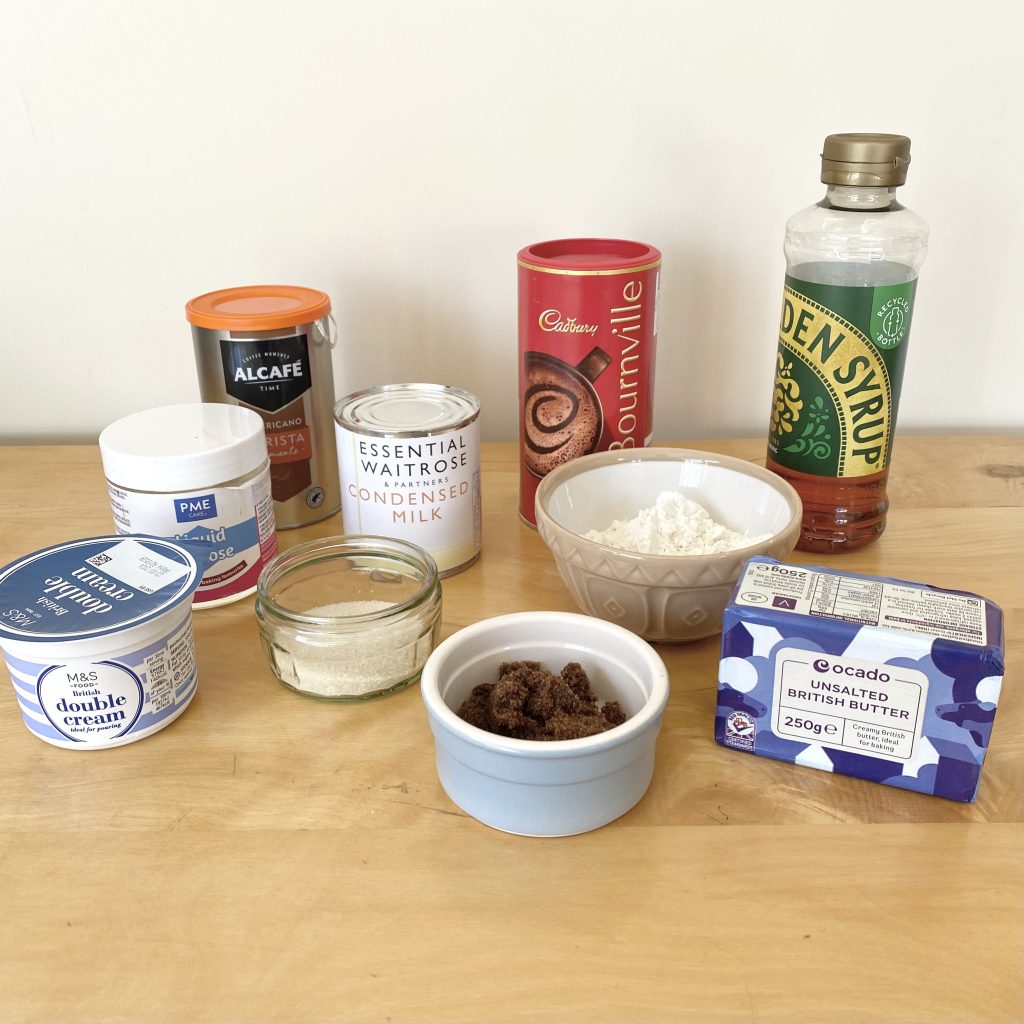
To make these Double Chocolate Espresso Millionaire’s Tartlets, you will need:
- Caster sugar
I use golden caster sugar here, as I do for most of my bakes, because I think it adds a deeper flavour. If you only have white caster sugar though, that will work absolutely fine!
- Butter
I’m using salted butter here, because the salt really enhances the chocolate flavour and helps to temper the sweetness of the caramel. If you only have unsalted butter to hand, that’s absolutely fine— just add a pinch or two of fine sea salt to both the shortbread and the caramel.
- Plain flour
Don’t be tempted to use self-raising flour here, or your shortbread will puff up too much and you won’t be able to fit the fillings into the tartlet cases!
- Cocoa powder
Cocoa powder is what turns regular shortbread into chocolate shortbread. It is quite a drying ingredient though, so the amount of butter in the shortbread is increased slightly to ensure the dough comes together perfectly.
- Condensed milk
Ah, condensed milk: love of my life, bringer of joy. This is a key ingredient in any Millionaire’s Shortbread and this recipe is no different! It is the main ingredient in the caramel layer.
- Dark muscovado sugar
Typically, Millionaire’s Shortbread recipes use a more neutral sugar in the filling (think light brown soft sugar, light muscovado or even golden caster sugar), but I’ve used dark muscovado here to really enhance the bitter espresso flavour in the caramel and bring a little more depth and darkness to the dessert overall.
- Golden syrup
A small amount of golden syrup is also added to the caramel filling. I find that this helps to give the caramel a smoother, more velvet-y texture.
- Instant espresso powder
Instant espresso powder is the key to getting a really intense, espresso flavour without adding to much liquid to the caramel filling (and it’s readily available in most supermarkets). It is different to instant coffee granules: a bit richer and stronger, so do make sure you get the right product!
- Dark chocolate
Use a high-quality dark chocolate here for the best results— the flavour will really shine through in the finished dessert! You can go as dark as you fancy: I’ve used a 54% chocolate, because I really love the taste, but a 70% one would make for an even more sophisticated flavour.
- Double cream
We’ll melt the cream together with the chocolate to make a rich ganache. If you’re in the US, use heavy cream.
- Glucose syrup (optional)
To make sure the final layer of ganache stays really shiny, even after it’s been refrigerated, I like to add a very small amount of glucose syrup. I have this on hand for a bunch of other baking purposes, but it is a bit of a speciality ingredient. You can substitute golden syrup for the same effect, but I do find that it adds a slightly more intense sweetness to the ganache layer, so you might want to consider using a darker chocolate to balance it out!
- Sea salt
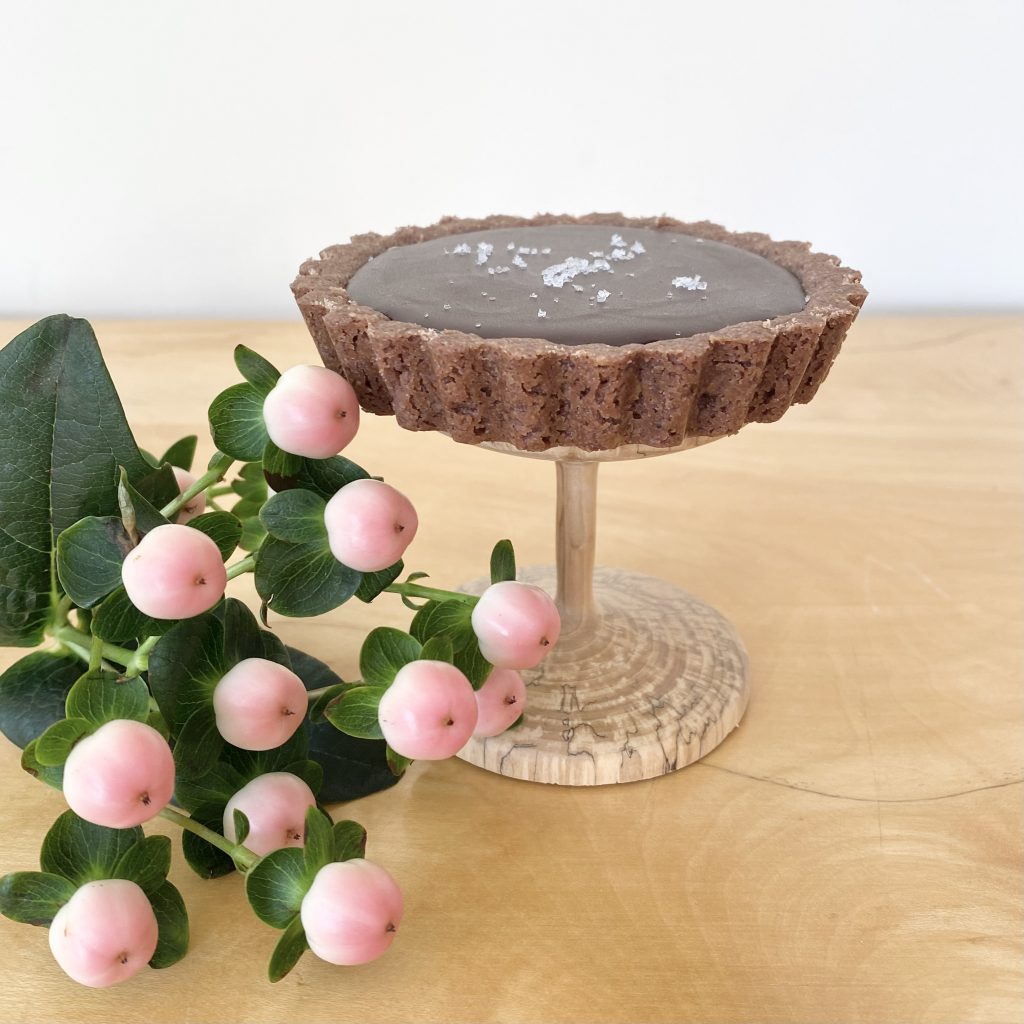
You’ll need to add a little salt to both the shortbread and the caramel if you’re using unsalted butter, just to help all of the other ingredients really shine. I also like to sprinkle the finished tarts with a little flaky sea salt: it’s a really simple decoration but it looks very elegant (and tastes delicious!). I’ve used Fleur de Sel on these tarts, which is extra delicious, but regular sea salt would also be great. Just be sure to sprinkle the salt on just before you serve the tarts, as it can dissolve slightly if it’s left in the fridge, which doesn’t look quite so pretty.
How to Make Double Chocolate Espresso Millionaire’s Tartlets
These tartlets look complicated, and there are a few different steps you need to work through, but each step is super straightforward! The shortbread crust is SO much easier to work with than a typical pastry (and it’s made entirely in the food processor!), the caramel layer is incredibly forgiving and the ganache is truly just a melt-everything-together situation. Take it step by step and you’ll be absolutely fine!
Making the Chocolate Shortbread Dough

To make the shortbread dough, put all of the dry ingredients (caster sugar, plain flour, and cocoa powder) into a food processor and pulse to combine them. I’m using a mini food processor here, because I was making a smaller batch, but I’d recommend using a standard-sized food processor for the full batch!
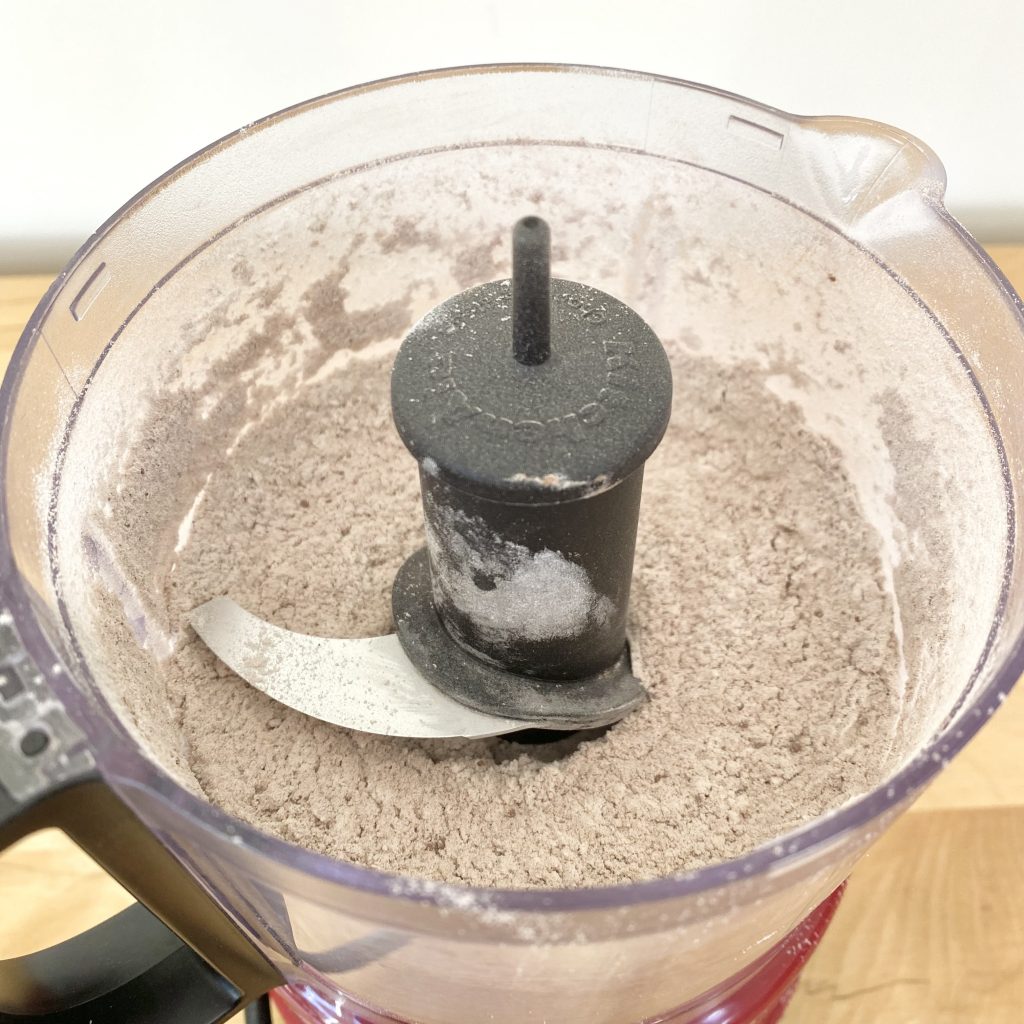
This ensures that the cocoa powder is well incorporated and your dough is evenly chocolatey!
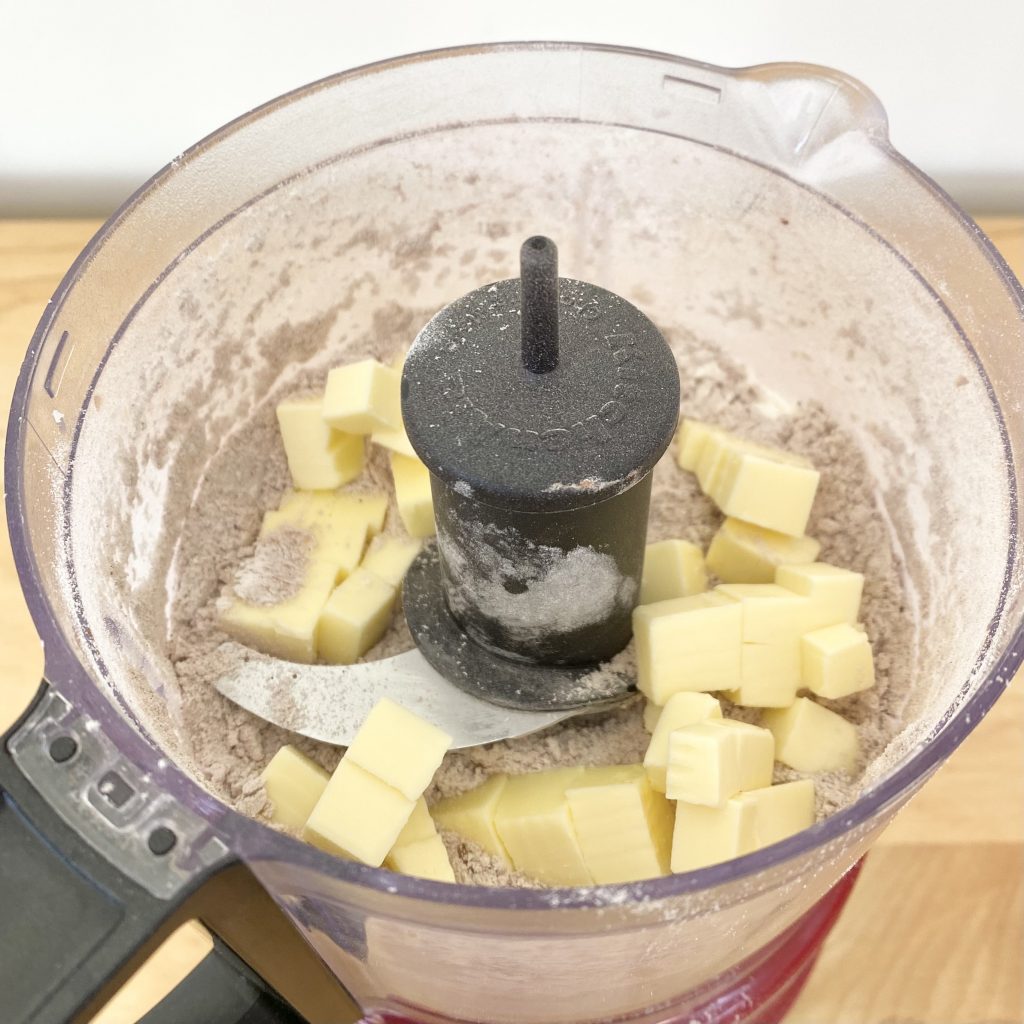
Add the cold, diced butter to the dry ingredients.
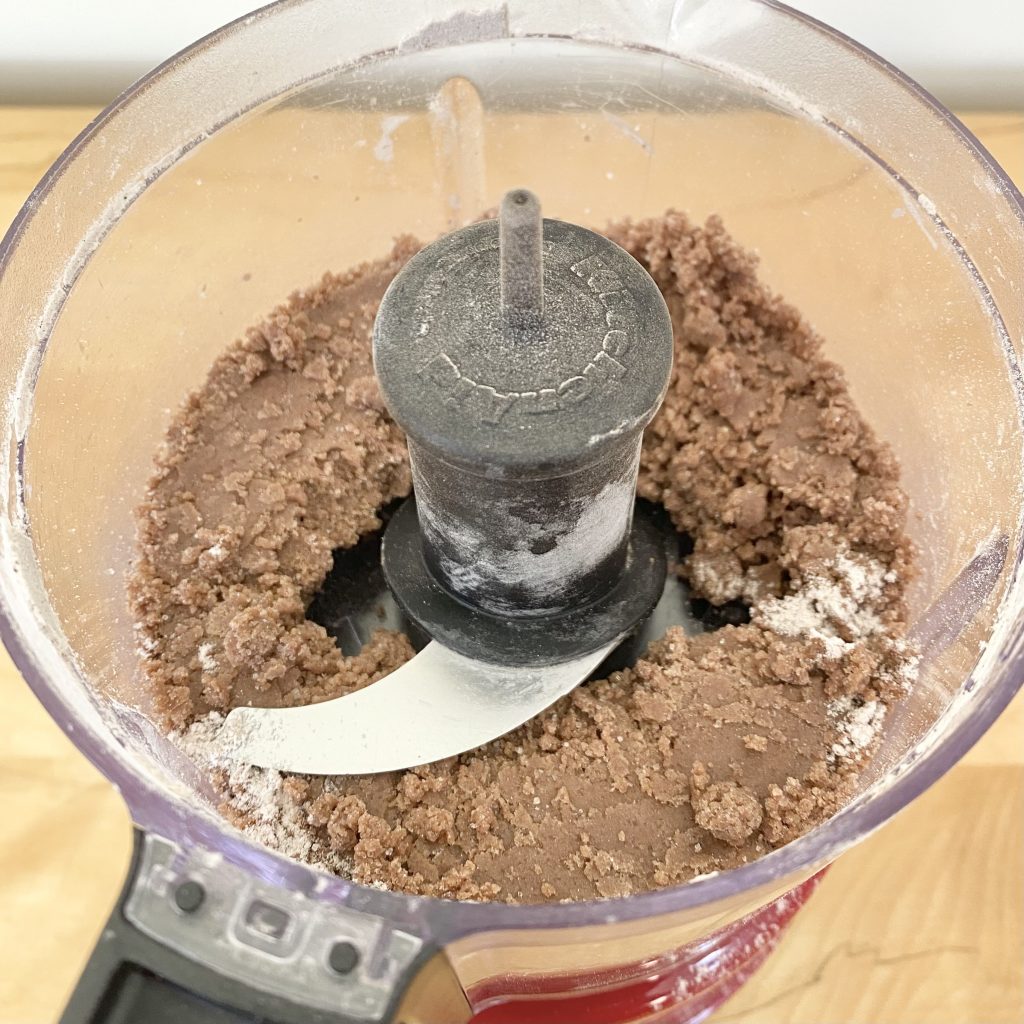
Then pulse again until a chocolatey dough forms. That’s it!
A couple of tips at this point:
- Make sure your butter is cold and diced.
The cold butter helps to make the shortbread really short (hence the name!) and flaky. Dicing it beforehand means that it will combine more quickly with the rest of the ingredients.
- Don’t be tempted to add water.
Because the butter is cold, the dough will take a bit of pulsing/processing before it comes together. You might start thinking that it’s too dry to form a dough, but it’s not! You don’t need to add any extra liquid/butter, just keep processing it and the dough will form. Trust me!
Pressing the Shortbread into the Tartlet Tins
Unlike pastry, this shortbread can just be pressed into the tartlet tins. No rolling out, no flouring the work surface: just pressing in the dough with your fingers.
Start by lightly greasing each of the tartlet tins with butter. This will help you get the tarts out of the tins later on!
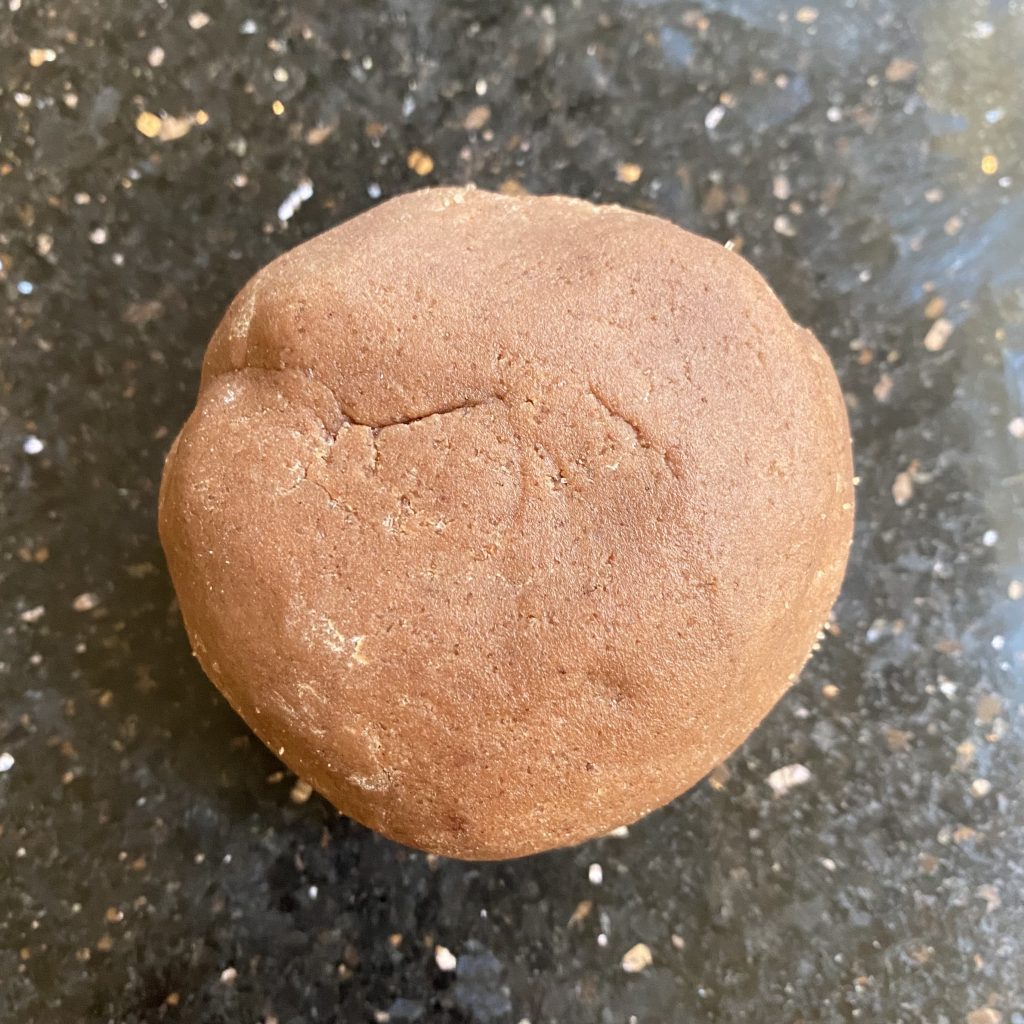
Bring the dough together with your hands, then divide it into 9 equal portions: 1 per tartlet tin. This way, you’ll know exactly how much dough each tartlet requires and you won’t have to worry about over-filling one and under-filling another.
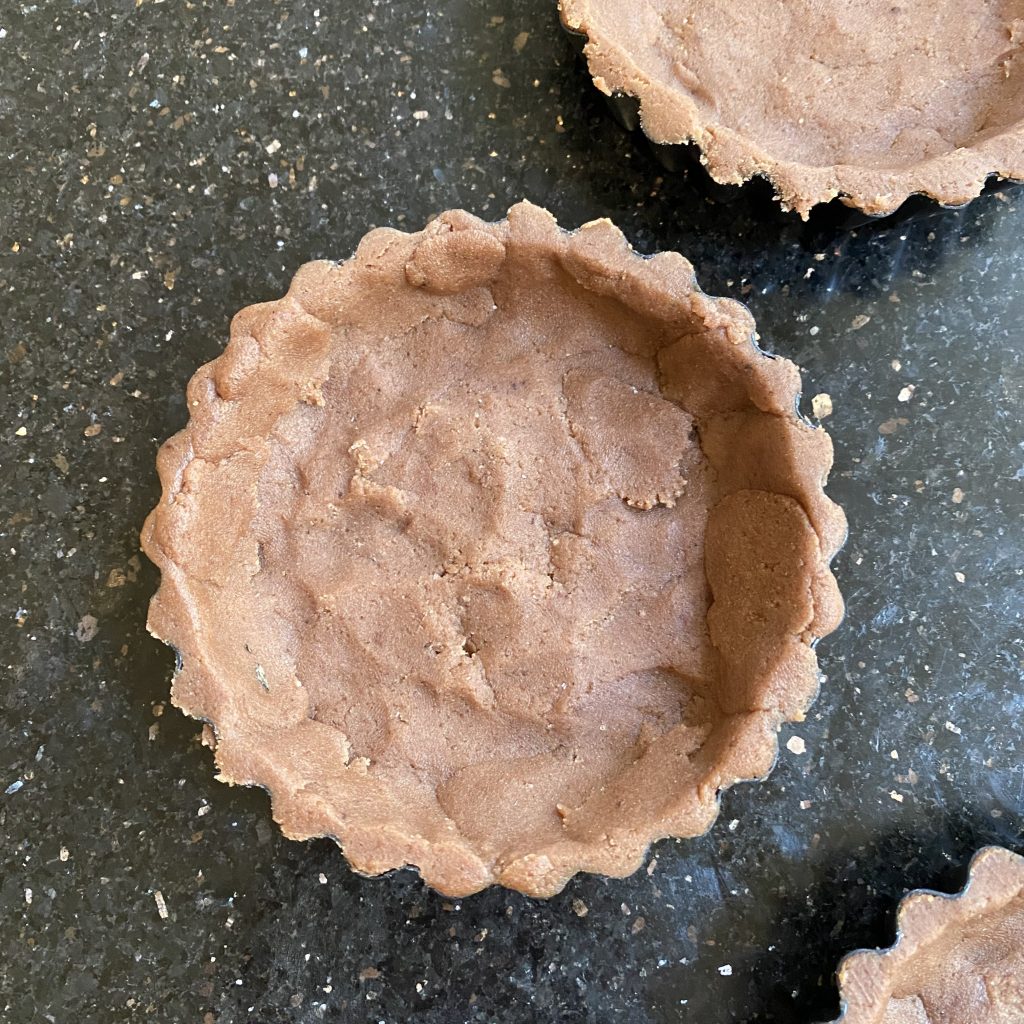
Use your fingers to press one portion of the shortbread into one of the tartlet tins. Aim for an even layer of shortbread across the base and up the sides of the tin, leaving a small amount of overhang at the top edge. This doesn’t need to be perfect, as we’ll smooth everything out later, once the tarts come out of the oven.
Use a rolling pin to roll over the top of each tartlet tin. This will remove the excess shortbread dough and leave a super neat, flat edge on the tartlet shells.
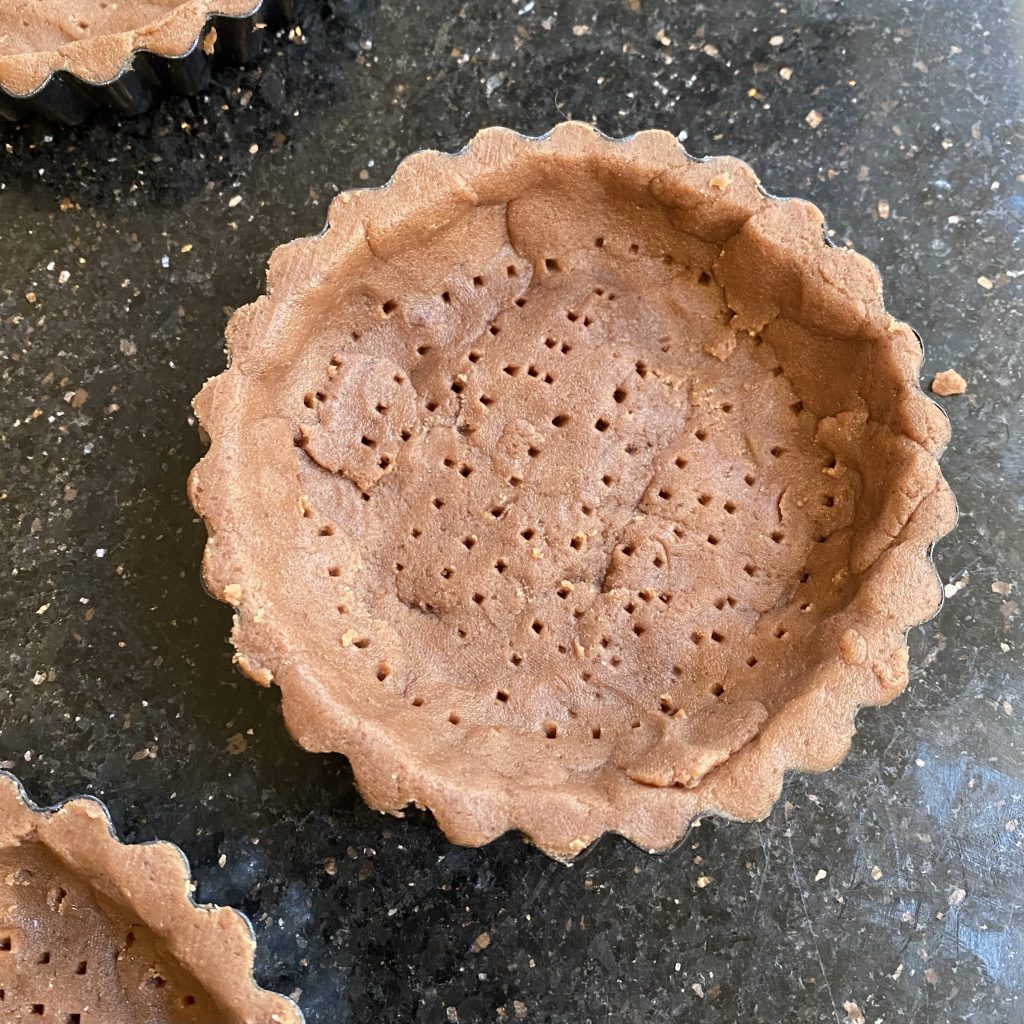
The final step before the tartlet shells can be baked is to prick them all over with a fork. The shortbread will still puff up a little in the oven, but this allows the steam to escape and helps to minimise the puffing, so don’t skip it!

Once all of your tartlet shells are filled with shortbread and ready to go, collect all of the offcuts and bring them together with your hands. These offcuts can be formed into a few little chocolate biscuits, which can be baked alongside the tartlets as chef’s treats. Don’t be tempted to press the offcuts back into the tartlets— you want that extra space for the fillings!
Baking the Shortbread
Arrange the tartlets (and the extra biscuits!) on a baking tray, then bake them in the middle of the oven at 175°C (conventional, not fan) for 12-15 minutes, until the shortbread is puffed and the surface looks dry. If you’re still waiting for your oven to preheat, I’d recommend putting the tartlets into the fridge to keep them nice and cold until you can bake them.
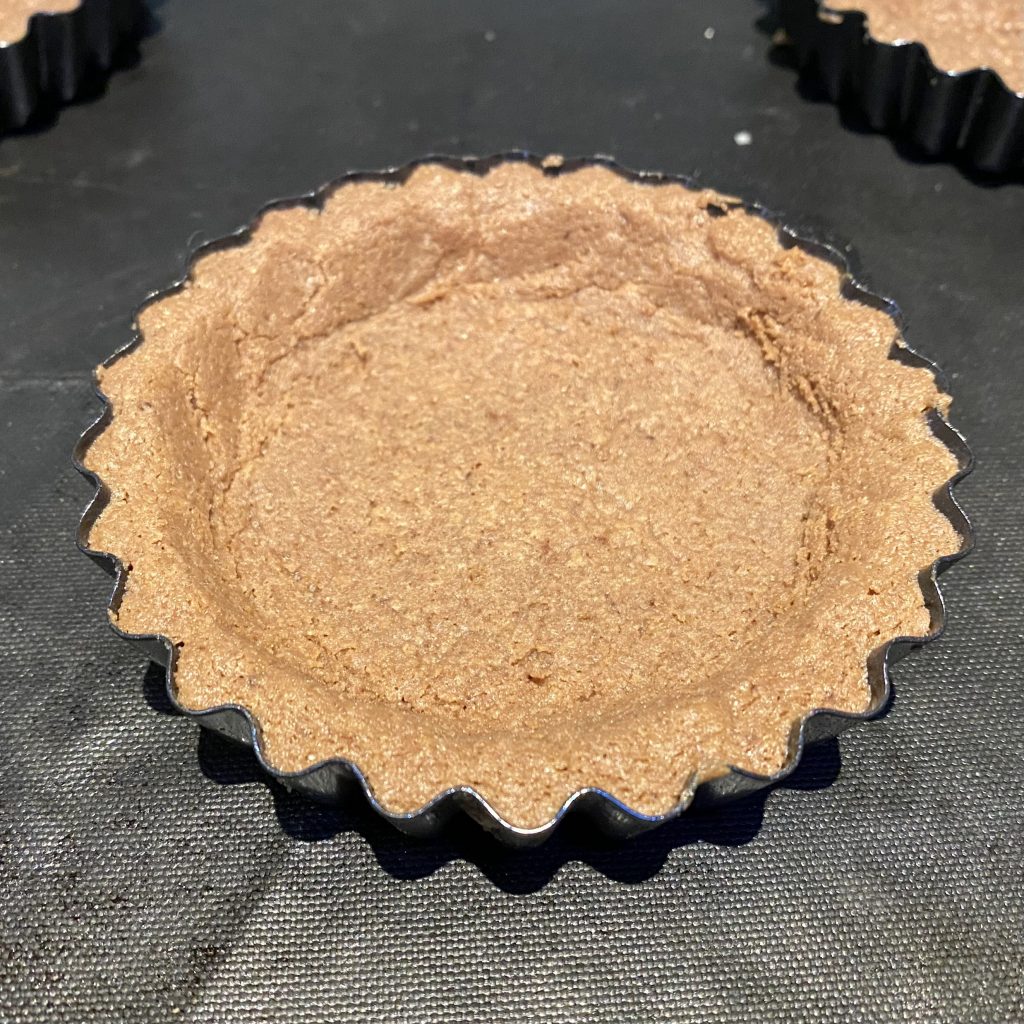
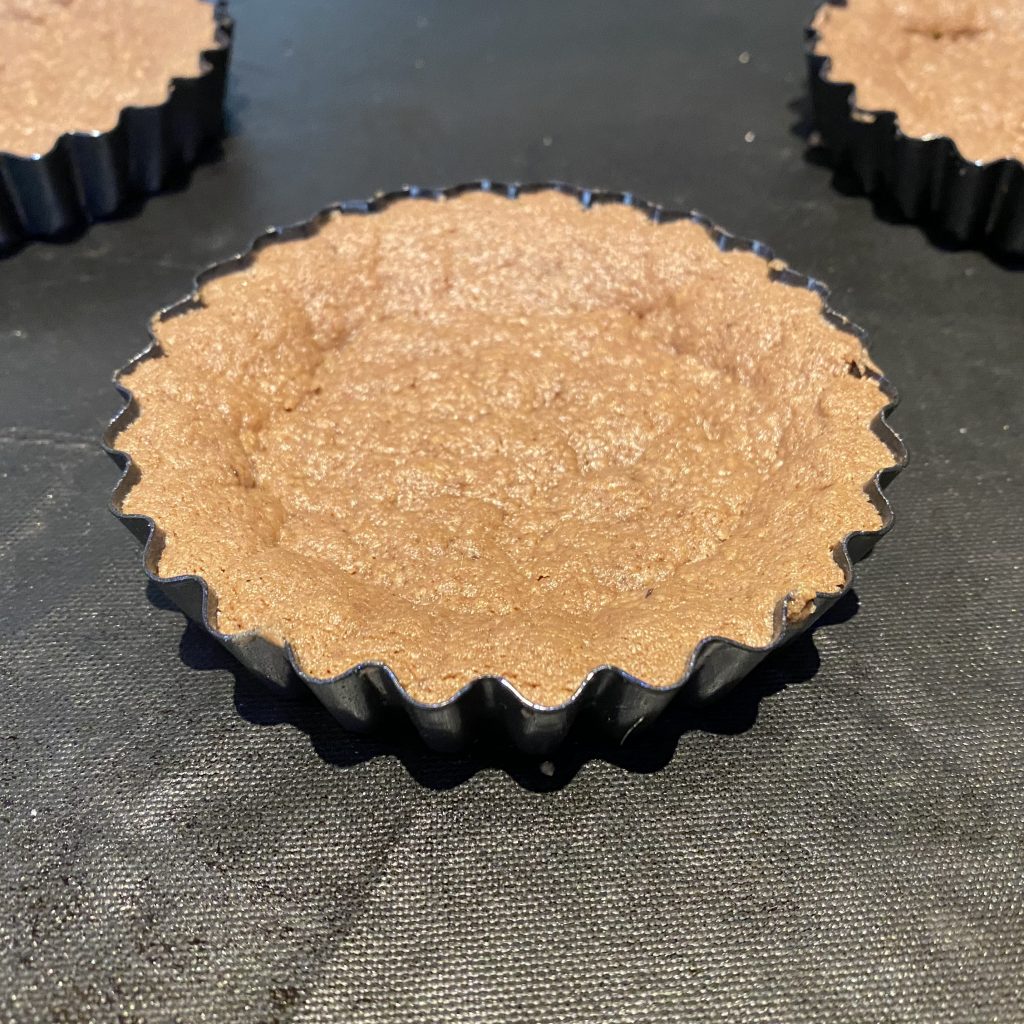
At this point, the shortbread won’t resemble a tart shell. However, while it’s warm, it will be soft enough to manipulate, so you can use a metal dessertspoon/cup measure to gently press down on the base to flatten it back down and against the sides to sharpen them up and make it resemble a tart shell once more. This sounds fiddly, but it’s actually so quick and easy to do (and I would still take it over rolling out pastry!).

Repeat this for all of your tarts, so that you’re left with perfect little cocoa shortbread tartlet shells, ready to be filled! Set them aside to cool slightly while you make the espresso caramel filling.
Making the Espresso Caramel
I know, I know, the word ‘caramel’ can send even the most confident of bakers into a spiral, but I promise, this one’s easy! No sugar thermometers, no convoluted temperature tests, just everything in a pot and a bit of light stirring.
I like to use a saucepan with a pouring spout for this, because it makes it super easy to pour the hot caramel into the tartlet shells when it’s ready. If you have one, I’d definitely recommend it.
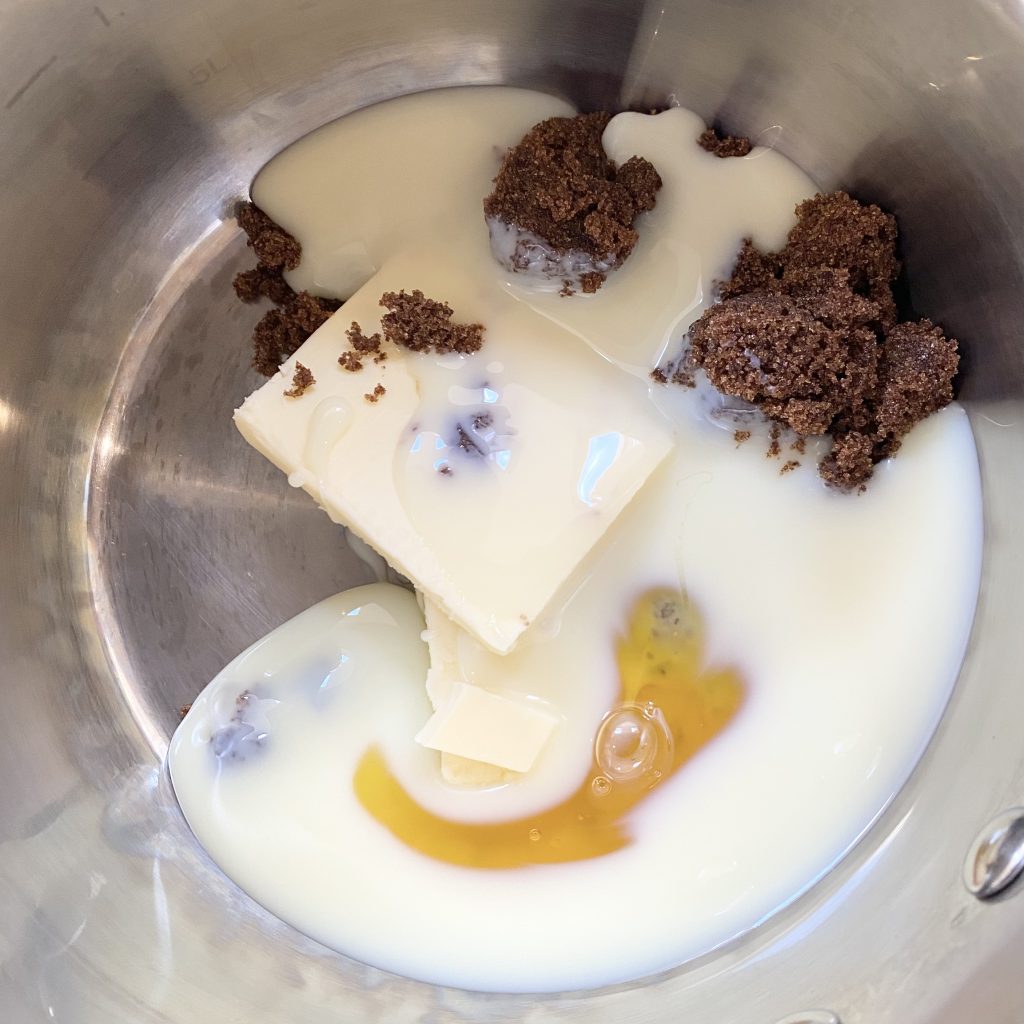
Place the butter, condensed milk, dark muscovado sugar and golden syrup into the saucepan and set it over a low heat.
Stir the mixture every now and then until the butter has melted and the sugar has dissolved.
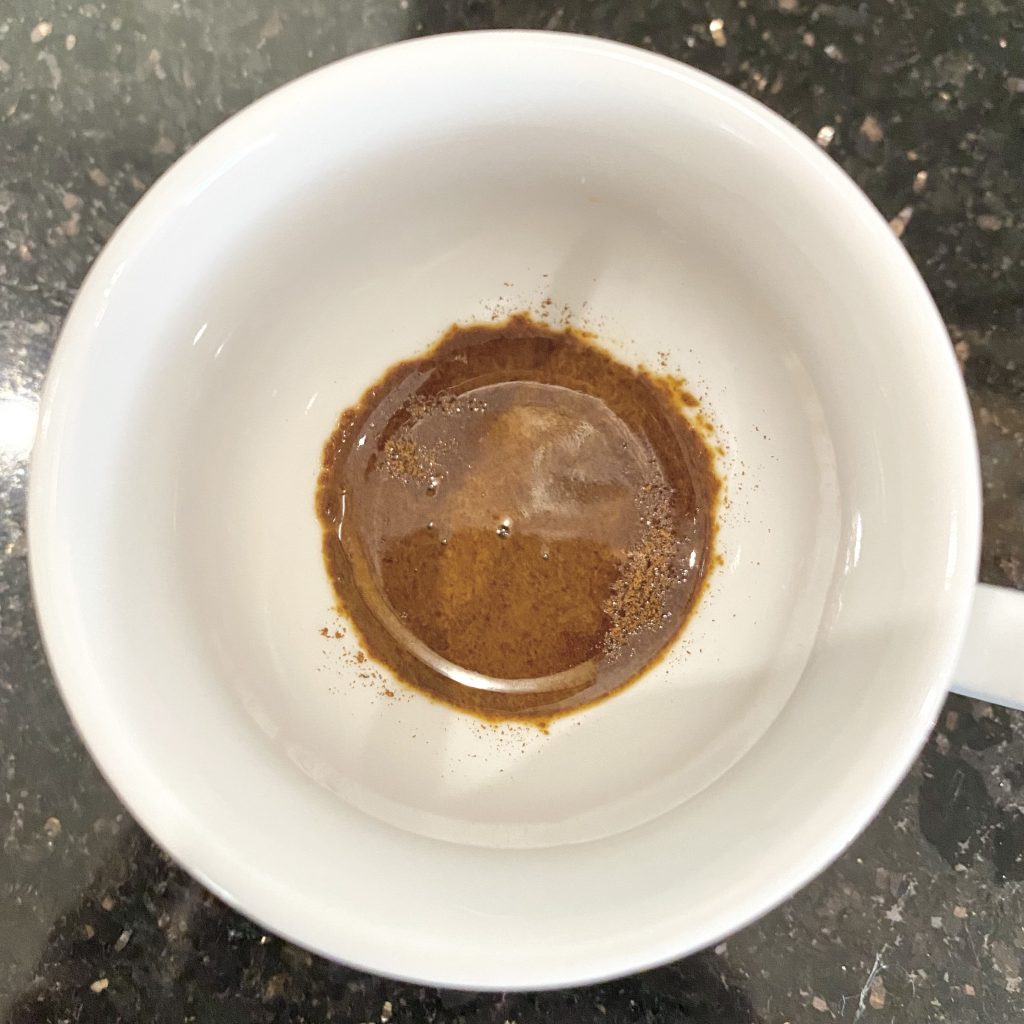
While this is happening, dissolve the instant espresso powder in a splash of hot water and set it aside, ready for later.
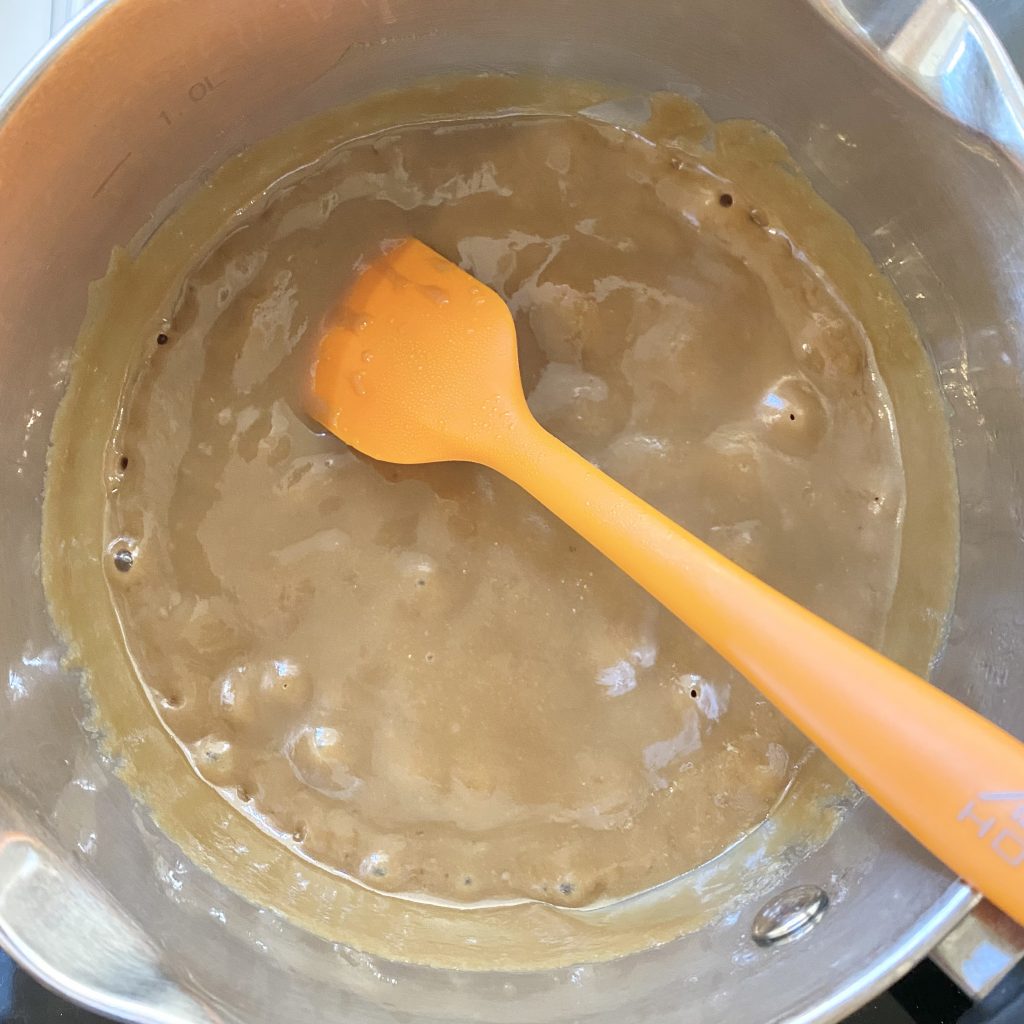
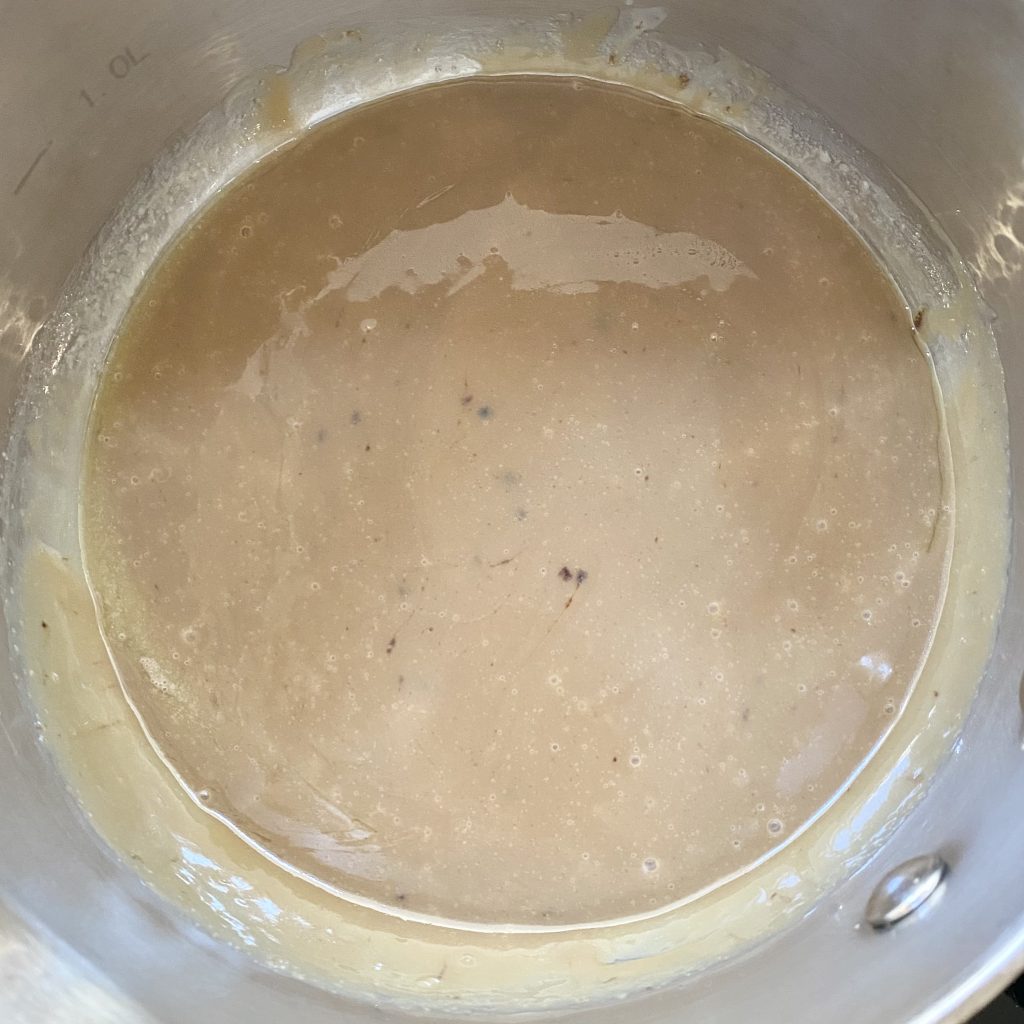
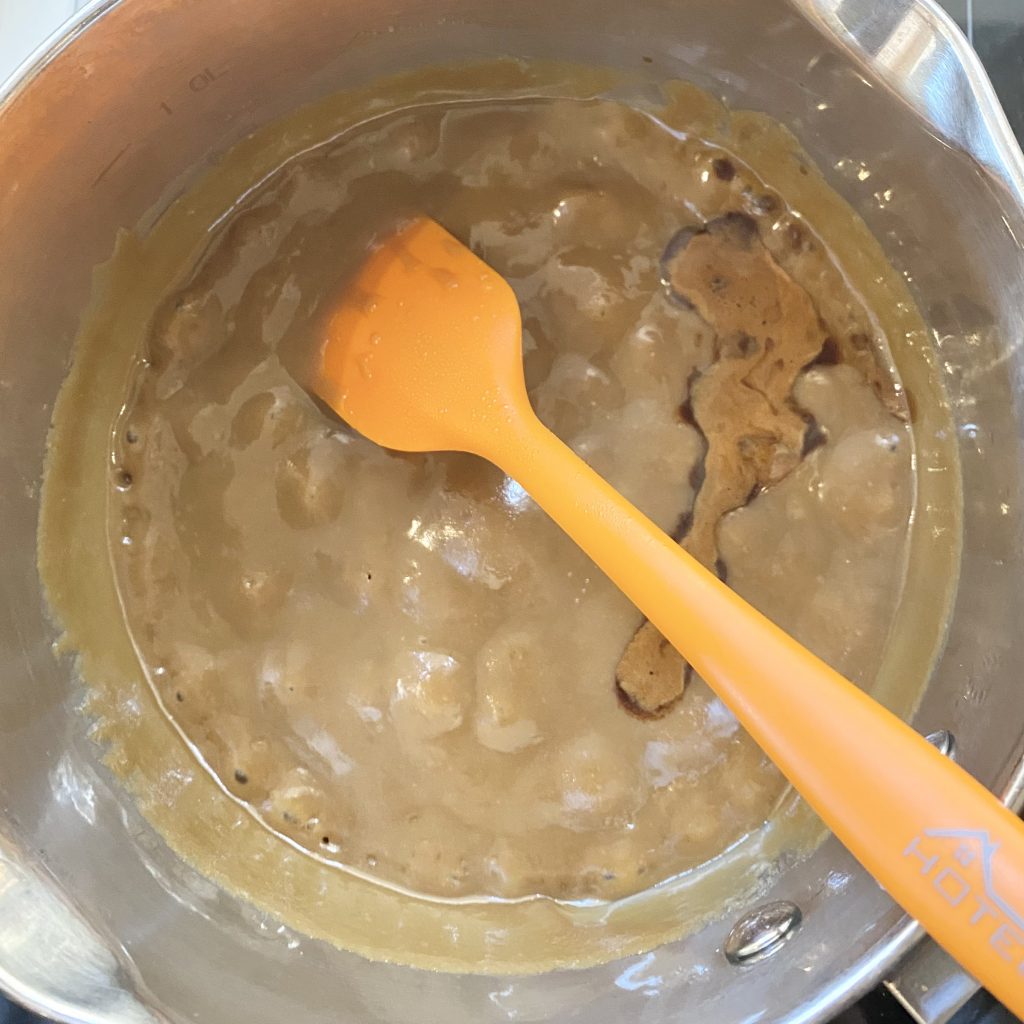
Once the mixture is smooth, turn the heat up slightly to medium-low and bring the mixture to a gentle boil. The mixture has a tendency to stick, so you need to stir more frequently at this stage to stop it from burning.
Allow the mixture to boil for a couple of minutes, until it’s nice and thick. I realise this is a little vague, but don’t stress about it: a minute or two of boiling and stirring and you’ll be absolutely fine!
Remove the pan from the heat and stir through the dissolved instant espresso powder until it is completely incorporated.
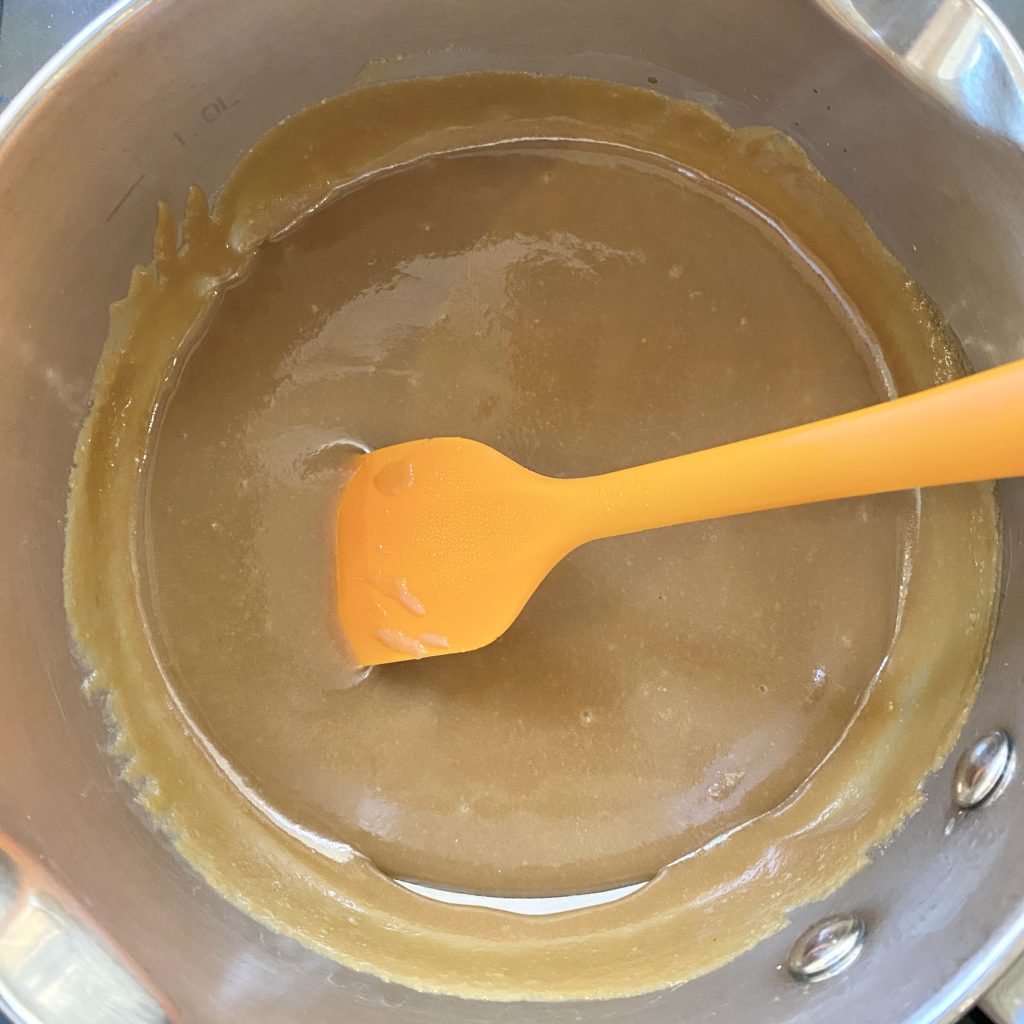
Adding the espresso at this stage ensures that the coffee doesn’t burn while the sugar boils, which would make everything a little too bitter (and much less tasty!).
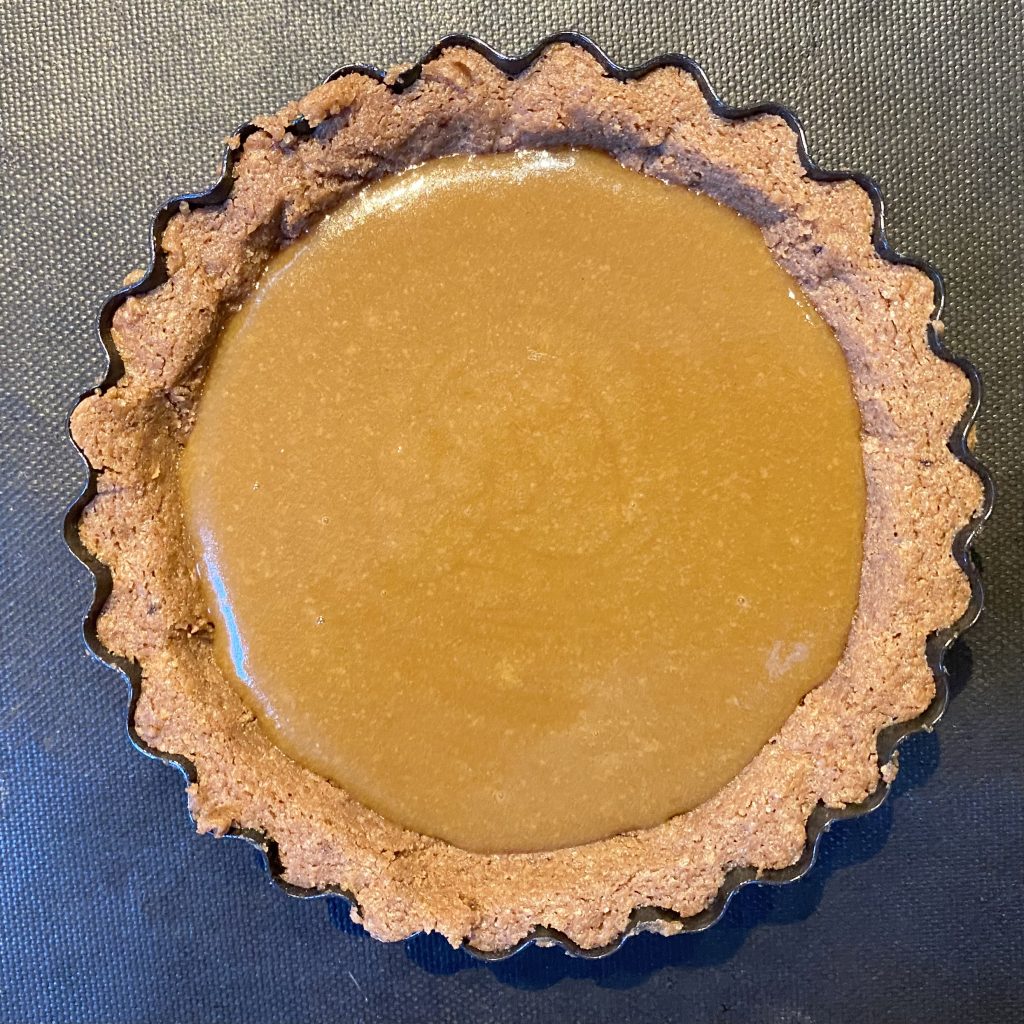
With that, the caramel layer is ready! Pour it into the tartlet shells, filling each tartlet about 3/4 full (this is to leave space for the ganache layer later).
Set the tartlets aside at room temperature to cool completely (about 30 minutes to an hour) before making the ganache layer.
Making the Ganache

The final layer of the tarts is a simple, dark chocolate ganache, with the addition of a not-so-secret ingredient to make it extra shiny and help it slice really nicely when served. This ingredient is glucose syrup (also known as liquid glucose). If you can’t find glucose syrup, you can use golden syrup instead (though this has a slightly more intense, caramel-y sweetness, so I would recommend using a slightly darker chocolate to balance this out if you do).
You can make the ganache in the microwave or on the hob. I tend to use the microwave, because it’s so easy!
Microwave Method
Finely chop the dark chocolate, then put it into a microwaveable jug with the cream and the glucose syrup.
Heat this in the microwave on the lowest heat setting in 30 second bursts, stirring in between each burst, until the chocolate has melted and you have a smooth, shiny ganache.
Hob Method
Finely chop the dark chocolate and place it into a heatproof jug.
Place the cream and glucose syrup into a small saucepan, then set over a medium heat and bring to just below a simmer, stirring frequently to ensure that it does not catch.
Pour the hot cream mixture over the chocolate and leave to sit for a minute.
After a minute, stir the mixture until the chocolate has melted and you have a smooth, shiny ganache.
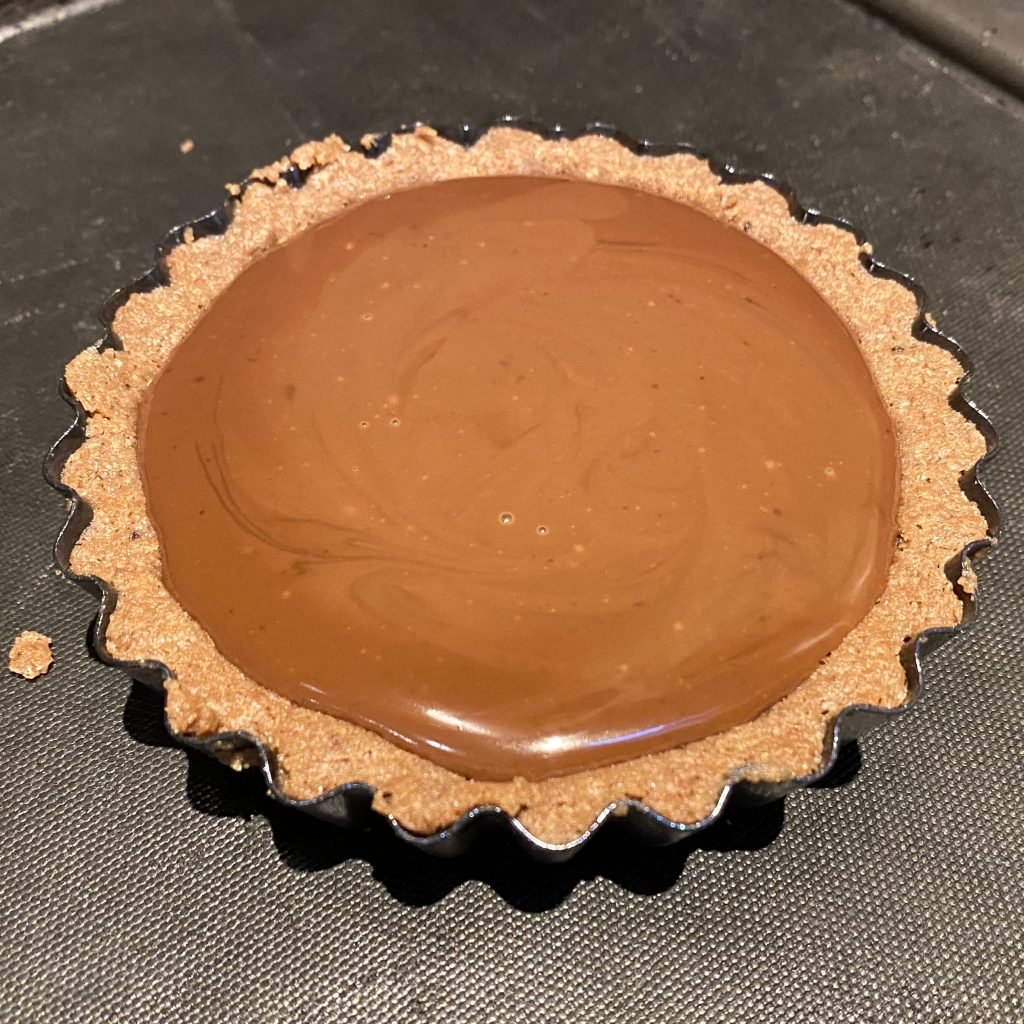
Whichever method you use, once the ganache is ready, pour it over the caramel layer on each of the tartlets, filling them right up to the top, so that the ganache is level with the top edge of the shortbread crust. Give the tarts a gentle shake from side to side to smooth out the ganache layer and ensure that it completely covers the caramel layer below.
Transfer the tartlets to the fridge and allow them to chill for at least 2 hours (though they can be stored in the fridge like this for 2-3 days: the espresso flavour will get even more intense the longer they chill!) before serving.
Serving Instructions
When you’re ready to serve the tarts, carefully remove them from their tins. I find the best way to do this is to gently pull the sides of the tin away from the shortbread all the way around to loosen it, then set the tin on a small jar/tin and press down gently on the top edge to release it, making sure to apply any pressure as evenly as possible around the circumference of the tin. Then, hold the tartlet upside down and use a small, sharp knife to pry the base of the tin off the bottom of the tartlet.
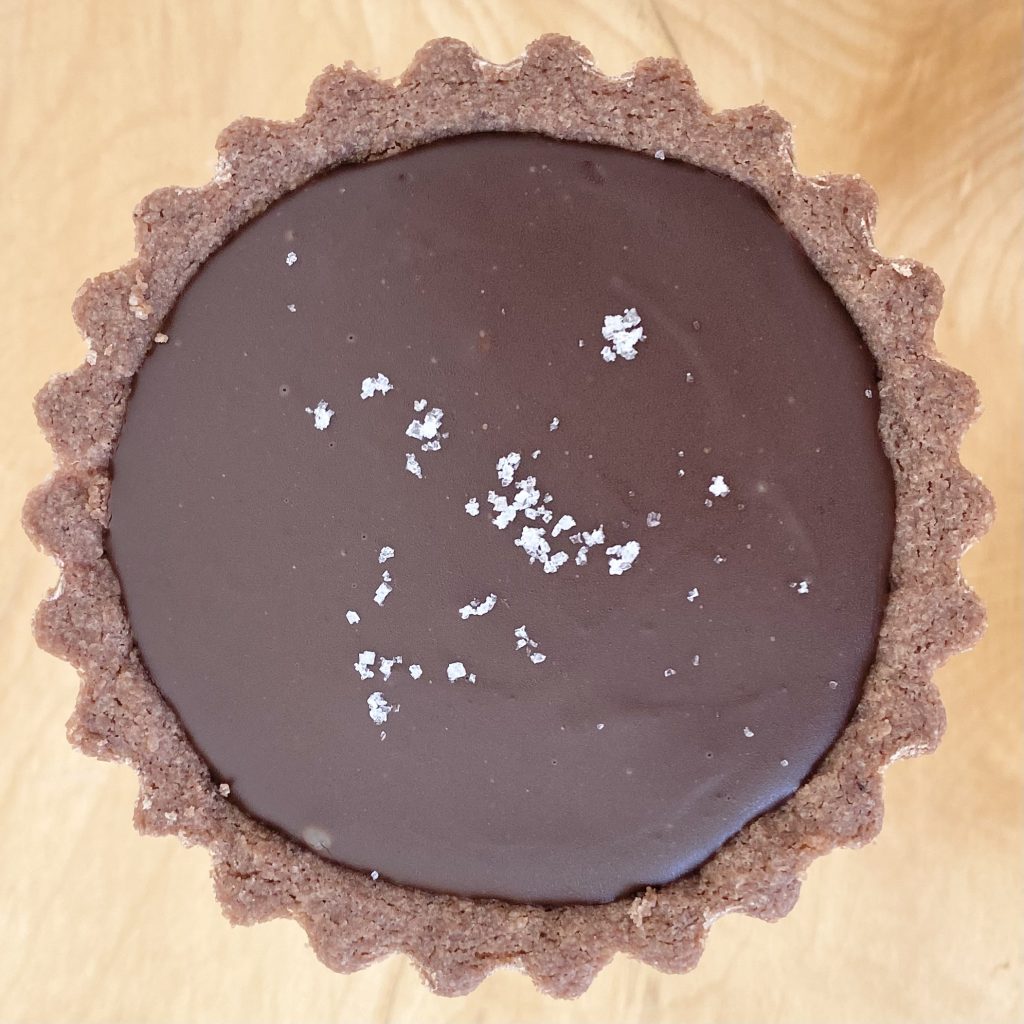
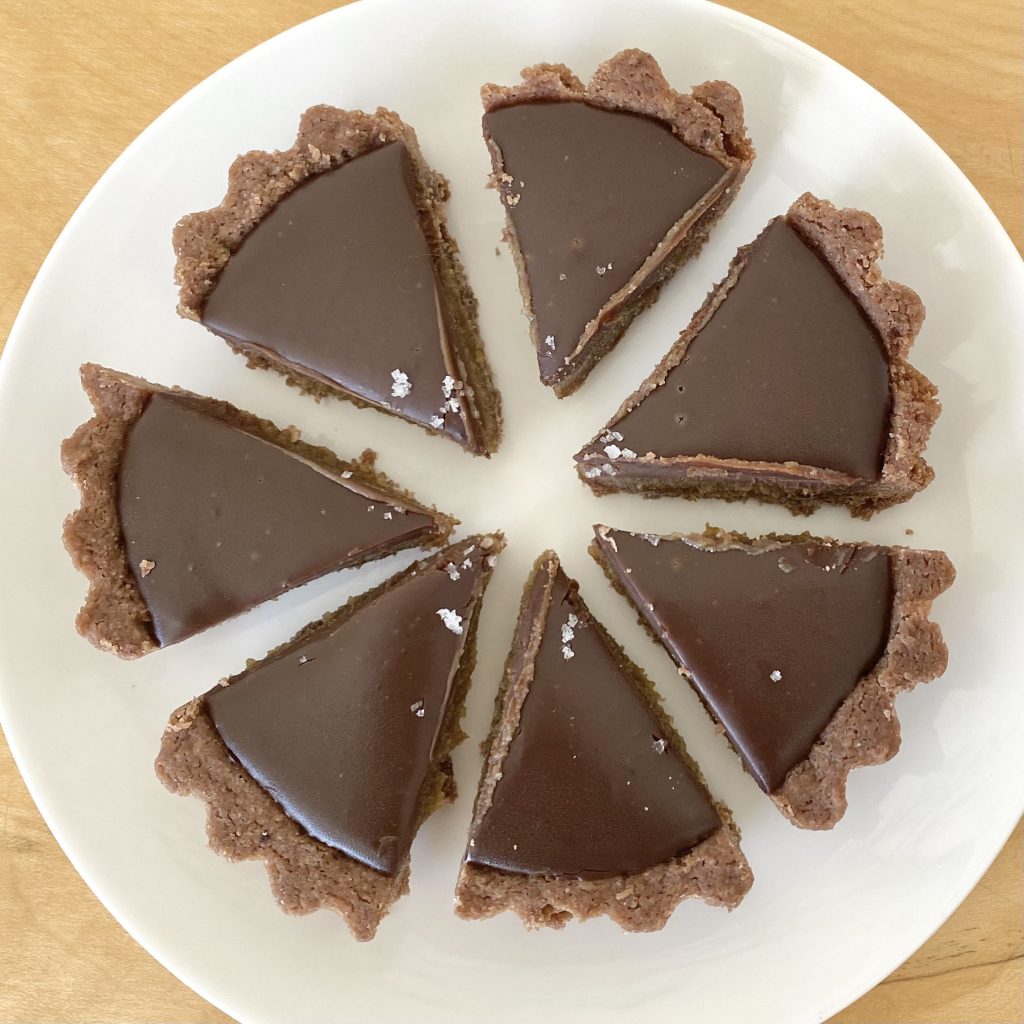
Just before serving, sprinkle the tartlets with a little flaky sea salt (I used Fleur de Sel, for extra fanciness!). You can either slice the tartlets into tiny slices (SO CUTE!) or you can serve them whole for extra decadence. If you are slicing them, I recommend using a small, sharp knife and wiping it off in between each cut so that you can see the pretty layers.
Don’t be tempted to sprinkle the tartlets with salt ahead of time, while they’re still in the fridge, because I find that the salt starts dissolving and looks a lot less pretty if you do this.
Recipe
Double Chocolate Espresso Millionaire’s Tartlets
Equipment
- 9 x 10cm diameter tartlet tins
Ingredients
For the chocolate shortbread:
- 75 g caster sugar
- 225 g plain flour
- 3 tbsp cocoa powder
- 180 g salted butter, cold and diced, plus extra for greasing (see Note 1).
For the espresso caramel layer:
- 100 g salted butter (see Note 1).
- 1 x 397g can condensed milk
- 100 g dark muscovado sugar
- 2 tbsp golden syrup
- 1/2 tbsp instant espresso powder, dissolved in a splash of hot water.
For the ganache layer:
- 90 g dark chocolate, finely chopped (see Note 2).
- 180 ml double cream
- 1/2 tsp glucose syrup (see Note 3).
To finish:
- Flaky sea salt (I used Fleur de Sel, but any sea salt would work).
Instructions
Make the chocolate shortbread tartlet shells:
- Preheat the oven to 175°C (conventional oven, not fan). Grease 9 tartlet tins lightly with butter and set aside.
- Place all of the shortbread ingredients into the bowl of a food processor and pulse until a dough forms (this will take a bit of time— just keep processing and it will come together! Don't be tempted to add any water.).
- Tip the dough out onto a clean work surface and finish bringing it together with your hands. Divide the dough into 9 equal portions, one for each tartlet tin.
- Press a ball of dough into one of the tartlet tins, aiming to get an even layer of shortbread right across the bottom and up the sides of the tin. Leave a small amount of overhang at the top of the tin, then use a rolling pan to roll over the top of the tin to remove the extra dough and leave a super neat edge. The dough offcuts can be used to make a few little chocolate biscuits that can be baked alongside the tartlets.
- Prick the dough on the base of each tartlet all over with a fork, then bake in the preheated oven for 12-15 minutes, until the surface looks dry (the shortbread will still puff up quite a bit, but that's okay— we'll fix it in the next step!).
- As soon as the tartlet shells come out of the oven, use a dessertspoon/metal cup measure to gently press the shortbread down on the base and around the sides. The shortbread will still be quite soft when it's warm, so you can easily reshape it to make the perfect little tart shells.
- Leave the tarts to one side to cool slightly while you make the caramel layer.
Make the espresso caramel layer:
- Place the butter, condensed milk, dark muscovado sugar and golden syrup into a saucepan (preferably one with a pouring spout, if you have one). Set over low heat and stir every now and then until the butter has melted and the sugar has dissolved.
- Turn the heat up slightly to medium-low and allow the mixture to boil, stirring frequently, for a couple of minutes, until thick.
- Remove the pan from the heat and stir through the dissolved instant espresso powder until completely incorporated.
- Pour the hot caramel into the tartlet shells, filling each tartlet about 3/4 full (you need to leave room for the ganache layer). Set the tartlets aside at room temperature to cool completely (about 30 minutes to 1 hour).
Make the ganache layer:
- Once the tartlets are completely cool, make the ganache layer. Place all of the ganache ingredients into a microwaveable jug and heat on the lowest setting in 30 second bursts, stirring in between each burst, until the chocolate has melted and you have a smooth, shiny ganache. If you don't have a microwave, bring the cream and glucose syrup to just below a simmer in a saucepan, then pour over the chopped chocolate, leave to stand for a minute, then stir until smooth.
- Pour the ganache onto the cooled tartlets, filling them right up to the top, so that the ganache sits level with the top of the shortbread crust. Give the tarts a gentle shake from side to side to make sure the ganache layer is smooth and completely covers the caramel layer below.
- Transfer the tarts to the fridge and chill for at least 2 hours before serving. The tarts can be stored in the fridge for 2-3 days, so you can make them ahead of time (the espresso flavour will also get more intense as they chill).
To serve:
- Carefully remove the tartlets from their tins. Sprinkle with a little flaky sea salt and serve.
Notes
- You can use unsalted butter instead: use the same amount but add a pinch or two of fine sea salt.
- I used a 54% dark chocolate, which isn’t super dark, but works really well with the other flavours. If you want a slightly more bitter, intense flavour, use a darker chocolate (a 70% would work well!).
- Adding a small amount of glucose syrup to the ganache makes it super shiny and helps it slice really nicely. Glucose syrup is a bit of a specialist ingredient though so, if you don’t have it to hand, you can use golden syrup instead. Golden syrup has a slightly more intense, caramel-y flavour and sweetness, so, if you do this, so you might want to consider using a darker chocolate to balance it out.