These Easter Nests are SUCH a nostalgic treat for me— growing up, we’d make them every year and I always had just as much fun helping to make them (read: licking the spoon) as I did eating them!
This is such a simple bake that it barely even warrants a recipe (truthfully, we never used to use one and just did everything by eye), but I do like knowing the exact ratios, so I wanted to share the exact recipe here anyway.
Table of Contents
Ingredients

You only need 3 ingredients to make these Easter Nests:
- Milk chocolate
- Rice crispies
- Mini Eggs

After a bit of trial and error, I found that the ideal ratio for these nests was a 2:1 ratio of chocolate to rice crispies (i.e. half the weight of rice crispies to that of the chocolate). With this combination, there’s enough chocolate to hold the nests together, but not so much that the nests set super hard (and are, as a result, super tricky to eat!).
You can absolutely tailor these nests to your preferences by changing up these basic ingredients. Check out the Substitutions & Variations section below for some ideas!
How to Make Easter Nests

Line a 12-hole fairy cake tin with paper cases and set it aside while you make the nest mixture.


You can serve the nests in the paper cases (handy for bake sales and keeping little fingers slightly less messy) or you can take them out of the cases before serving them (for maximum nest-iness), but definitely don’t skip the paper cases, or the nests will be a nightmare to get out of the tin!
For the nest mixture, start by melting the chocolate in a large, heatproof bowl. I do this in the microwave (on the lowest heat setting for 1 minute bursts at a time, stirring between each burst, until the chocolate is completely melted and smooth), but you can also do it on the hob, by setting the bowl over a pan of barely simmering water and stirring frequently until the chocolate is melted, if you prefer.

As soon as the chocolate is completely melted, add the rice crispies and mix everything together thoroughly.

You want every bit of cereal to be nicely coated in the chocolate. Make sure you work quickly though, because you don’t want the mixture to set at this point!

Once everything is well-combined, divide the mixture between the 12 paper cases in the fairy cake tin (about 1 heaped dessertspoon of mixture per case).

Use a spoon to gently push the mixture to the edges of each case. This will create a slight dip in the centre of each one, which gives the treats a more nest-like shape (and makes the perfect little space for the Mini Eggs!).
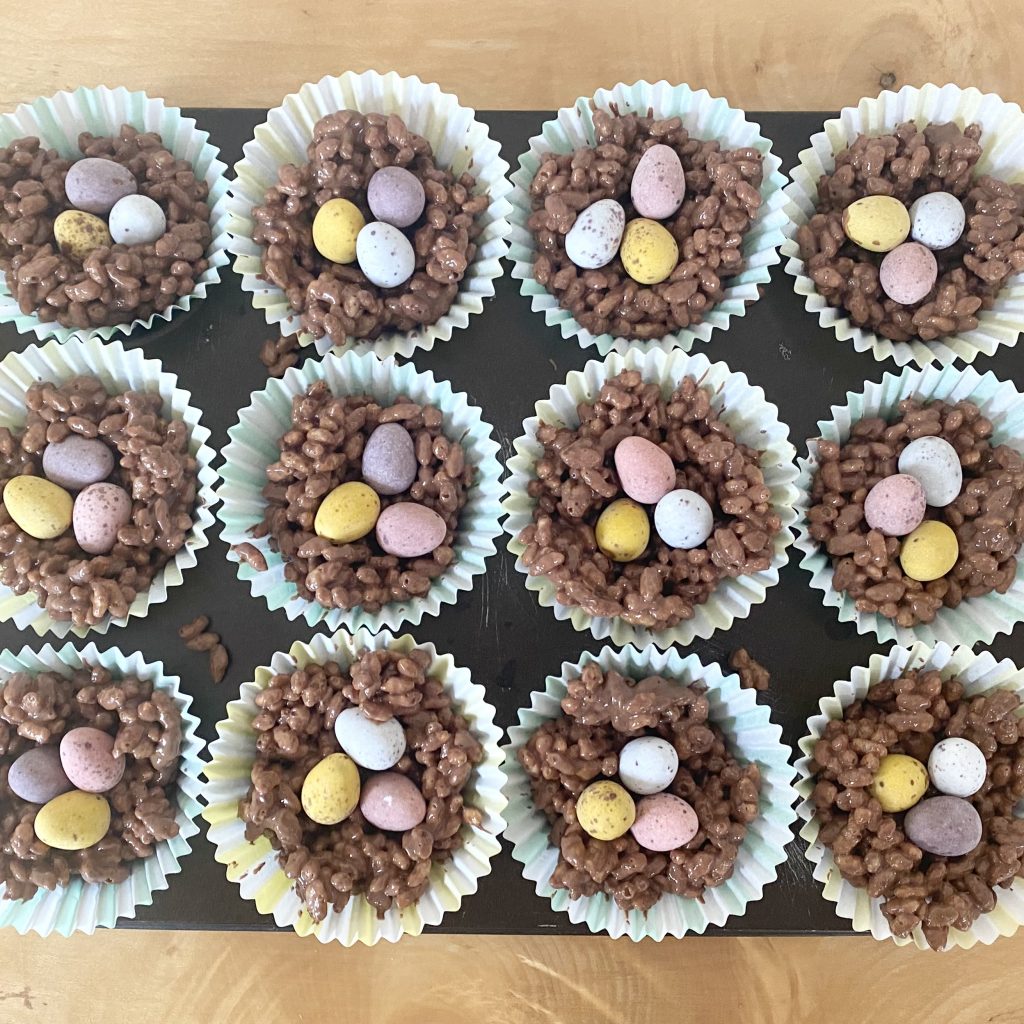
Press 3 Mini Eggs into each nest, placing them in the little dip you just made. Make sure to press them in gently, rather than just setting them on top, so that they stick to the chocolate and won’t fall out later.

Then, set the nests aside at room temperature for 1-2 hours, until the chocolate has completely set and the nests have firmed up, before serving. You can speed this process up by putting the nests into the fridge to harden, but I prefer to leave them at room temperature, because the chocolate can sometimes bloom in the fridge, which isn’t very pretty!
Substitutions & Variations
It’s super simple to customise this recipe to suit your personal preferences! Each element can be easily swapped/adapted, so you can make any kind of Easter Nest you feel like:

- Chocolate
Swap the milk chocolate for dark chocolate, or a 50:50 mix of milk and dark for a slightly less sweet version (you could also use white chocolate, but it wouldn’t look quite so nest-like!).
- Rice Crispies
You can also swap the rice crispies for another type of cereal: Shredded Wheat, cornflakes and cocoa pops are all popular alternatives (Shredded Wheat, in particular, gives a very nest-like appearance, though I don’t think the finished nests taste quite as nice as the rice crispy ones!). Just remember that different cereals have different surface areas, so you might need to increase/decrease the amount of cereal you use. I’d recommend starting with less cereal than you think you’ll need, then gradually adding more as needed, while you stir it into the chocolate, until you have a good balance of chocolate to cereal.
- Mini Eggs
I’ve used Mini Eggs here, because a) they’re delicious and b) they really help drive home the whole nest vibe, but you can absolutely use different sweets on top. There are loads of other small egg-shaped sweets around these days (particularly this time of year), or, if you’re not too bothered about maintaining the nest-iness, you can use any shape of small sweet! You could even add some fun sprinkles, if you like.

And that is my not-really-a-recipe recipe for Easter Nests! Let me know if you try them out!
Gemma
xxx
Recipe

Easter Nests
Equipment
- 1 12-hole fairy cake tin lined with paper cases.
Ingredients
- 180 g milk chocolate
- 90 g rice crispies
- 36 Cadbury Mini Eggs (approx. 120g).
Instructions
- Start by melting the chocolate in a large, heatproof bowl. You can do this in the microwave (heat for 1 minute bursts on the lowest temperature setting, stirring in between each burst, until chocolate is smooth) or by placing the bowl over a pan of barely simmering water.
- Once the chocolate is completely melted, add the rice crispies. Stir well until every bit of the cereal is coated in the chocolate, working quickly so that the chocolate doesn't set.
- Divide the mixture between the 12 paper cases in the prepared fairy cake tin (about 1 heaped dessertspoon of mixture per case). Use a spoon to make a slight dip in the centre of each nest.
- Before the chocolate sets, place 3 Mini Eggs into the central dip of each nest, making sure to press them in gently so that they stick.
- Set the nests aside at room temperature for 1-2 hours, until the chocolate has hardened. Once set, the Easter Nests are ready to be enjoyed!