Welcome to Day 23 of Blogmas At Home 2024! 🎄🎅🏻✨
I dream of becoming one of those amazing, gingerbread architects who make the most elaborate, inventive, super precise & gorgeous structures at Christmas every year. However, I am not an architect, I am not particularly logically minded and I am yet to master the art of precise piping. To achieve my dream, then, I must practise my gingerbread art form, and so, over the past couple of years, I have been undertaking a new gingerbread project every Christmas to learn new skills, practise old ones and, in short, become at one with the gingerbread.
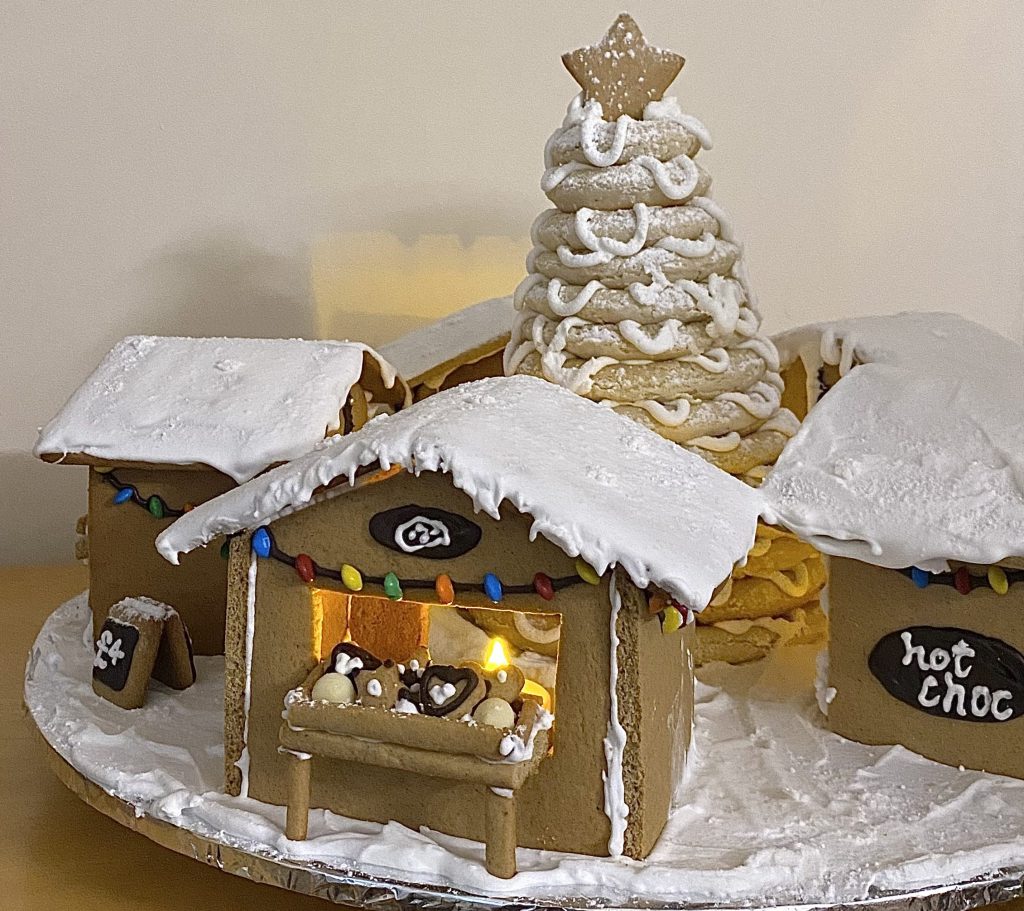
Two years ago, I made a Gingerbread Christmas Market. This was particularly special to me, because I created the whole thing by myself: the idea, the templates, the construction— the whole lot. Through that project, I practised my engineering skills, my piping skills and the use of tempered chocolate in gingerbread decoration.
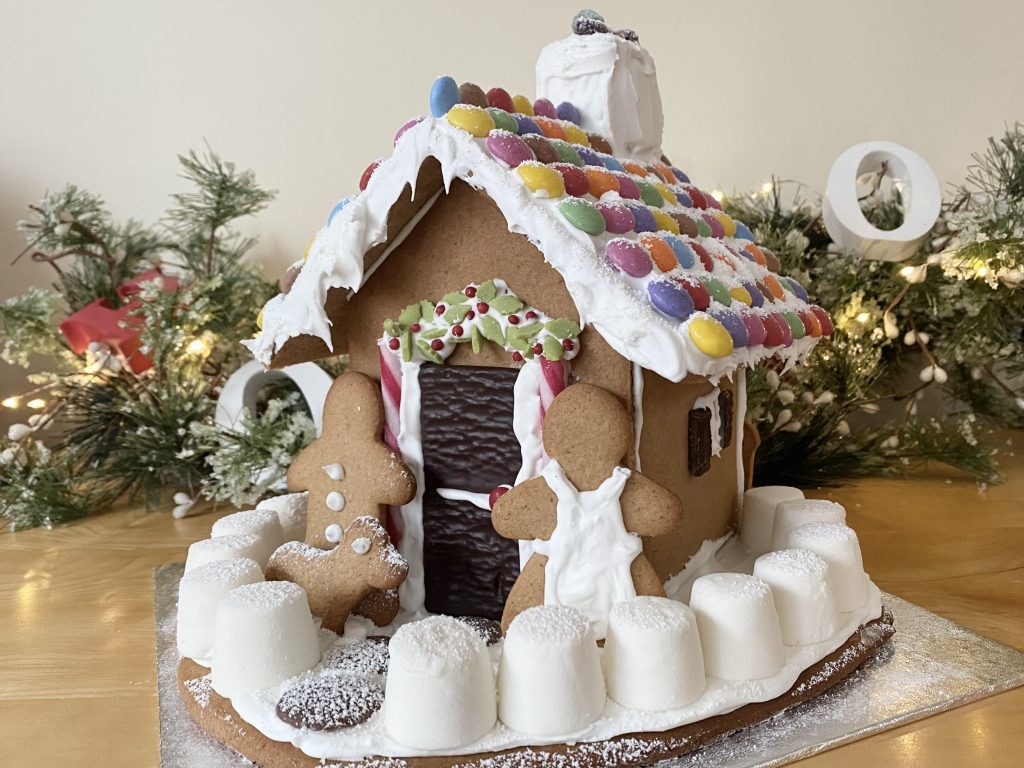
Last year, I wanted something a little more simple, so I decided to make my family’s traditional, classic Gingerbread House, with a few little decorative changes, here and there. The main focus of this project was finding new, exciting ways to incorporate sweets into the design, for the most Hansel and Gretel-esque house I could possibly make.

This year, I wanted to practise some different skills. I saw this Gingerbread Defender on Pinterest and I was absolutely BLOWN away! I’m not big into cars, but this felt very Christmassy and original and it really stuck with me— I couldn’t get it out of my head! The maker (@chlorosiswolff on Instagram) has actually made her templates + tutorial available for free (you can find these via the link in her Instagram bio), which is so incredibly generous & convinced me to give it a go myself! With all of the hardcore engineering work done for me, I figured this project would give me a chance to work on some new, gingerbread-related skills, including making sugar windows, using caramel glue and assembling a more complex structure. I also knew it would give me a chance to practise my piping skills, so it felt like the perfect project for this year’s gingerbread undertaking!
I made this Gingerbread Defender with my (soon to be) sister-in-law, and, while it was a daunting project, and our defender is less… precise than the original (and, unfortunately, only stood strong for 36 hours), it was SO much fun (though we both needed several naps to recover after making it)!
Table of Contents
- The Gingerbread
- Cutting out & Baking the Pieces
- Making the Sugar Windows
- Making Caramel Glue
- Using Caramel Glue
- Making Royal Icing
- Piping the Details
- The Wheels
- Final Thoughts
The Gingerbread

To make this Gingerbread Defender, I opted to use a different gingerbread dough to the one I would normally use for my gingerbread structures. My typical gingerbread recipe (that isn’t really gingerbread at all) is on the softer, thicker side, which I didn’t think would be suitable for a super detailed, complex project like this.
Instead, I used my favourite, proper gingerbread recipe, which is the Light Gingerbread Dough by Mima Sinclair, from her book Gingerbread Wonderland. I love the taste of this dough and it works so well for building— you can roll it very thin and bake it until it’s super dry, so it is nice and strong. I made one batch of the dough and it was more than enough for this project (I had a bit leftover, which I used to make a bunch of tiny gingerbread house pieces, using these cookie cutters from Søstrene Grene).
Cutting out & Baking the Pieces
It was at this point, when I was painstakingly cutting out the template pieces with a craft knife, that I began to wonder if this whole thing was a mistake. Cutting out the templates was rough and all I could think about the whole time was how I had to do it all over again, but with gingerbread dough.
To be honest, though, cutting the pieces out of gingerbread ended up being easier than cutting the paper templates out. Go figure. Freezing the rolled out dough before cutting them out helped hugely, so I’d definitely do that again in the future!
I also froze all of the cut-out pieces for about 15 minutes before baking, to help limit any spreading. After cutting out all of the pieces, I baked them at 140°C for 8-20 minutes, depending on the size of the pieces on the tray (I did try to group pieces of a similar size together, so they baked evenly). The lower oven temperature helps to fully dry out the gingerbread, without it browning too quickly, so it can be used for building.
I did get a bit of spreading, though, so I just made sure to use a small, serrated knife to trim down all of the important, structural pieces as soon as they came out of the oven, before the gingerbread hardened too much. I just placed the corresponding template on top of each piece and trimmed around it as best as I could.
Making the Sugar Windows

Now onto the most exciting part of this project (for me, at least): the sugar windows! I’ve never actually made sugar windows in any of my previous gingerbread projects, so this was something entirely new for me and I think it worked SO WELL!

I’ve heard of using crushed boiled sweets before, but a) clear boiled sweets are a little tricky to come by these days and b) what are you supposed to do if your gingerbread spreads in the oven? However, the tutorial supplied a different method, where you make a sugar syrup, cook it to hard crack stage and pour it into the window spaces of the cooled, baked gingerbread pieces. I followed the instructions exactly (although I used glucose syrup instead of corn syrup) and they turned out perfectly. Overall, the process was much easier than I expected it to be and I can definitely see myself doing this again. LOVED this.
Making Caramel Glue
Using caramel to stick a gingerbread structure together is something I’ve seen a lot of (mainly on Bake Off, let’s be real), but never actually done myself. I’ve heard caramel glue is stronger than royal icing, so it seemed like a necessary step for this more complex project.
I used the recipe for ‘Caramel Glue’ from the same Gingerbread Wonderland book, and it only took 2 attempts to get right (I accidentally crystallised the first batch). I actually took the caramel off the heat before it was done and it continued cooking in the pan so much that within a minute it was very nearly burnt! However, I just caught it in time and from then on I had no problems with keeping it at the right consistency: I just set it over a very low heat while we assembled the car.
Using Caramel Glue

The caramel glue was… a little hard to use. The tutorial said to brush it onto the pieces, but this was actually quite tricky? I also don’t think it worked as well as I expected it to at keeping the pieces stuck together— there was definitely some movement (the back wheel fell off about 10 times)! My biggest problem with the caramel glue, though, was the weeping! I wonder if our kitchen environment is just too humid for using caramel, because it got quite sticky (making the joins less secure), it wept quite a bit (actually through the royal icing overnight, which made it look like… brown snow… which is not the vibe at all) and the icing didn’t stick so well over the top, which was a whole thing. Also, after a day and a half, our Gingerbread Defender did, sadly, collapse (RIP). Overall, I feel caramel glue should work well for gingerbread assembly and I’m very glad that I’ve tried it (a new skill!), but I think I’ll stick to my faithful royal icing in the future!
Also, a quick note here, I think you need more caramel glue than the tutorial calls for! I ran out towards the end, which was a bit stressful. I could have just made more, but I was kind of sick of it by that point…
Making Royal Icing

The original tutorial suggests using a thick glacé icing for this project, but I decided to use a royal icing instead, because it would dry hard and I think it’s just better for piping finer details. To make the icing, I just whisked together 400g of icing sugar, 2 egg whites and 2 tsp of lemon juice until smooth and thick. I ended up using about 3/4 of the icing in total.
Piping the Details

I… am not the best at piping fine line work (I blame my shaky hands). I think, together though, we did pretty well! I’d still like to practise this a little more, and I think I probably should have used a slightly finer piping tip for extra precision, but it’s pretty recognisable as a car, right?

Also, piping the icicles was a lot of fun. That was my favourite part! Let’s not talk about the huge gob of icing I managed to drop on the back wheel though… that was an unfortunate mistake…
The Wheels

The wheels gave us the most strife, which was unfortunate, seeing as they are supposed to bear the weight of the whole structure (which I still can’t quite fathom). We ran into lots of problems with the wheels: one ended up all tilted after the attached skewer slipped in the caramel while it was setting, one snapped off its skewer after I dropped it (that was obviously my fault), the skewers on the base of the car kept falling off (see aforementioned caramel troubles) and the whole wire-binding thing was troublesome and unsuccessful (for us, at least!).

Ultimately, we had to improvise. We ended up jacking the car up on a large hunk of marzipan (pictured above, camouflaged by hastily applied royal icing!), then removing the wheels from their smaller skewers and just propping them up against the central skewers, in the right position. We also covered the serving board in a thin layer of royal icing, so that the marzipan/wheels had something to stick into, then attached the car to the marzipan with a little more icing. The marzipan we used was golden marzipan, so it was quite visible and, at the last moment, I decided to try and human pretzel myself so that I could cover it in royal icing, while it was under the car. If you’re doing this, you should definitely add the icing before you put the car on top.
Final Thoughts
Overall, I was SO proud of our (slightly wonky) Landrover. She was a bit askew, she was a bit weepy and she was a bit improvised, but she’s one of the most complicated gingerbread projects I’ve ever undertaken, so I’m still very pleased with the whole experience. Making it was a chaotic process, but it was a lot of fun (and I definitely couldn’t have done it by myself— thank you, Amy!).
Here’s what I learned…
- Freezing sheets of the rolled out dough is a game-changer and makes cutting out the more detailed pieces SO much easier.
- Caramel Glue is not my vibe. I tried it, I had fun (and only burned myself twice), but it’s not for me.
- Sugar windows on the other hand, are absolutely my vibe and I want to make them all of the time. Will they be fun to eat? Probably not. Do they look absolutely incredible? Yes, yes they do.
- Icing covers a multitude of sins. Truly, once we added the decorative icing onto the car, it looked 1000x better (until the caramel weeped through, but we don’t talk about that).
- And, additionally, icing sugar covers even more sins! After the caramel weeped, I dusted the whole thing liberally with icing sugar for the photos and it really worked wonders.
- Use a smaller piping tip than you think for detail work. Also, speed is your friend when it comes to piping straight lines.
- Snowflake sprinkles make everything look festive. You can’t argue with the facts.
And that was my gingerbread undertaking for 2024! I learned a lot, I had a lot of fun and I fully intend to never make a Gingerbread Defender again.
Gemma
xxx