Christmas has always been my absolute FAVOURITE time of year. The lights, the baking, the films- they all speak to me on what I can only classify as a spiritual level. I have lots of fun projects and ideas to share with you this year, so let’s jump right in.
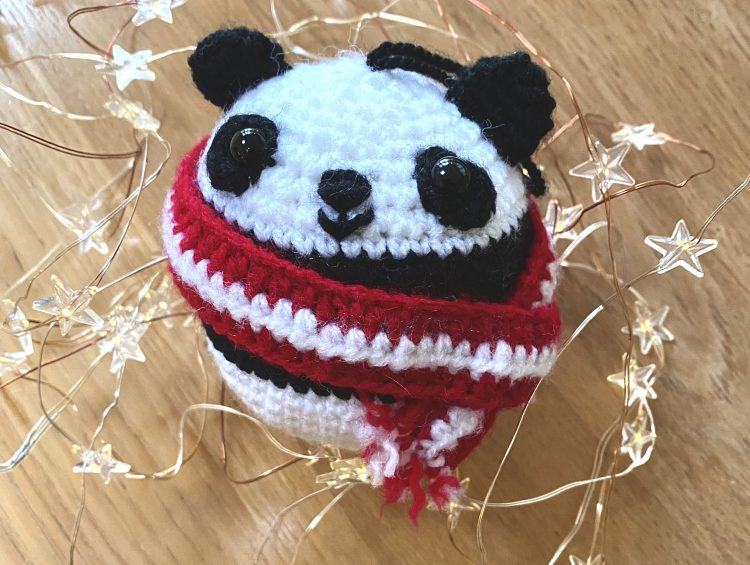
First up is the Panda Bauble:
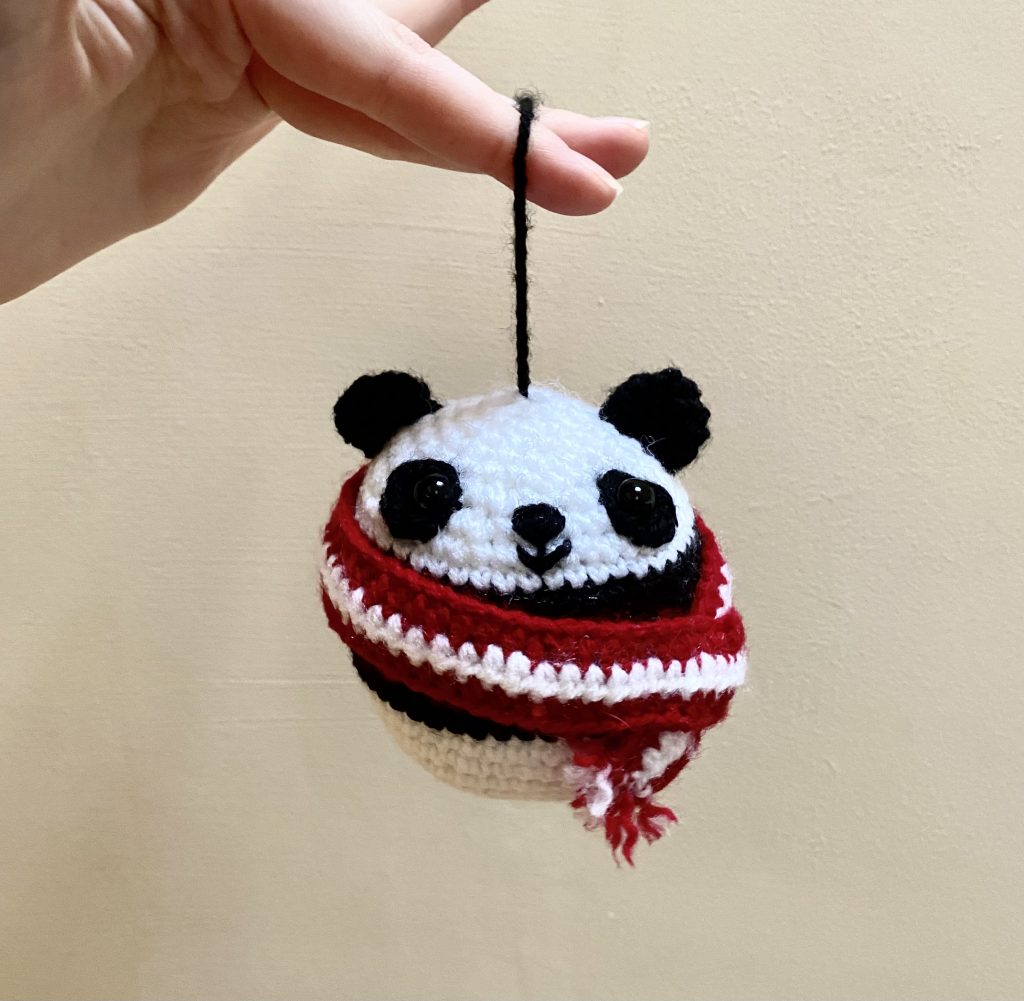
Isn’t he just adorable?! I made him as a present for my friend. I used this pattern, by Stephanie Lau from All About Ami (who, by the way, is my go-to for all things amigurumi! Stephanie’s patterns are clear, easy to follow and SO cute!). The pattern includes variations for a teddy bear and a koala, so it is very versatile. Overall, it took me about two days to completely finish the bauble, but it could just have easily have been one day, had I not procrastinated the sewing-up process (as always…). If you want to check out my panda bauble on Ravelry, you can click here. If you want to see some other baubles made using Stephanie’s pattern, click here to go to the Ravelry page for the original pattern.
To make my panda bauble, I used:
- Black, white and red yarn from my stash (knowing me, all of these were most likely Stylecraft Special DK – probably 1001 White, 1002 Black and 1246 Lipstick)
- 2.0mm crochet hook
- 7.5mm safety eyes
- Darning needle
- Polyester stuffing
Also, please note that I am British, so I use British crochet terms:
- dc = double crochet = insert hook into stitch, pull yarn through, yarn over and pull through both loops on hook (US equivalent = sc)
- htc = half treble crochet = yarn over, insert hook into stitch, pull yarn through, yarn over and pull through all three loops on hook (US equivalent = half double crochet)
- tc = treble crochet = yarn over, insert hook into stitch, pull yarn through, yarn over and pull through first 2 loops on hook, yarn over and pull through remaining 2 loops on hook (US equivalent = double crochet)
- ss = slip stitch = insert hook into stitch, pull yarn through stitch and loop on hook (the same as in the US, thank goodness!)
I did deviate from Stephanie’s pattern in a couple of places: instead of making the eye patches with felt (I didn’t have any!), I made them with yarn and I made the scarf slightly longer (I think I may have been a bit too generous with my stuffing!). I ended up using 70 ch (instead of the original 62) for my scarf. For the fringing, I split short lengths of my red and white yarn into 3 individual strands. I then used 1 red and 1 white strand together to make each fringe and placed 5 of these fringes on each end of the scarf.
The pattern I used for the eyes was as follows:
R1: 5ch, join to first ch with a slip stitch.*
R2: ss into the loop made in R1. Continuing to work into the loop: htc, 3tc, htc, ss, then ss to the first stitch and fasten off.
Sew eye patches onto bauble in place of felt patches. Attach safety eyes through centre loop of patch.
* I usually prefer to use a magic loop for amigurumi. However, here I found the magic loop did not work as well as a chain loop, because it was too neat! I needed something that I could easily crochet into, but that would remain open enough for me to poke a safety eye through. For once, the chain loop was my best friend!
Anyway, 2 days of intermittent crochet later and I had myself an incredibly cute panda bauble to give to my friend:
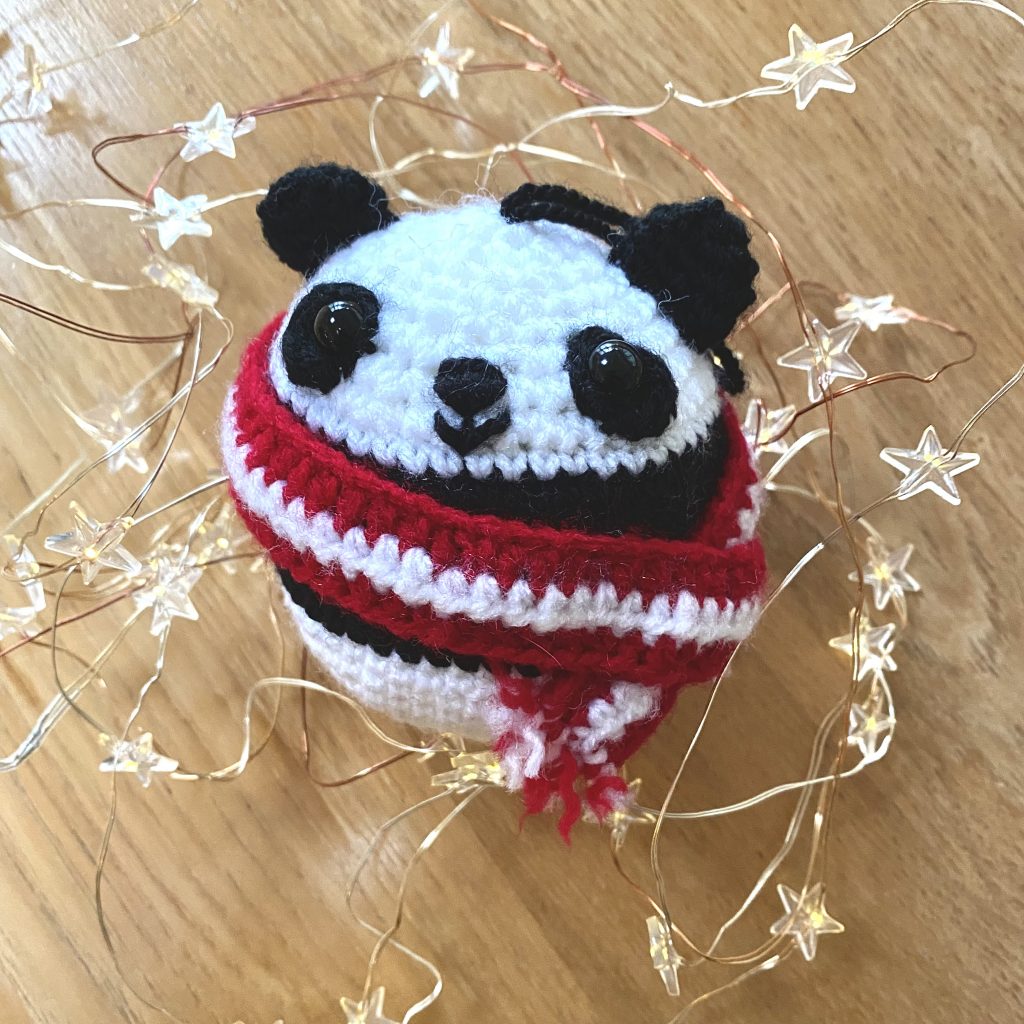
I was very pleased with how it turned out! What do you think? Have you made an amigurumi Christmas ornament before? I’ve seen a lot of adorable versions that I would love to have a go at. Let me know!
Gemma
xxx