Despite the autumnal weather that we’ve been having here in the UK, we’re technically still in our summer season. I feel like the single week of warm weather we had was not enough to fully embrace the joys of homemade ice cream, so I decided to make some despite the less than ice cream-worthy weather.
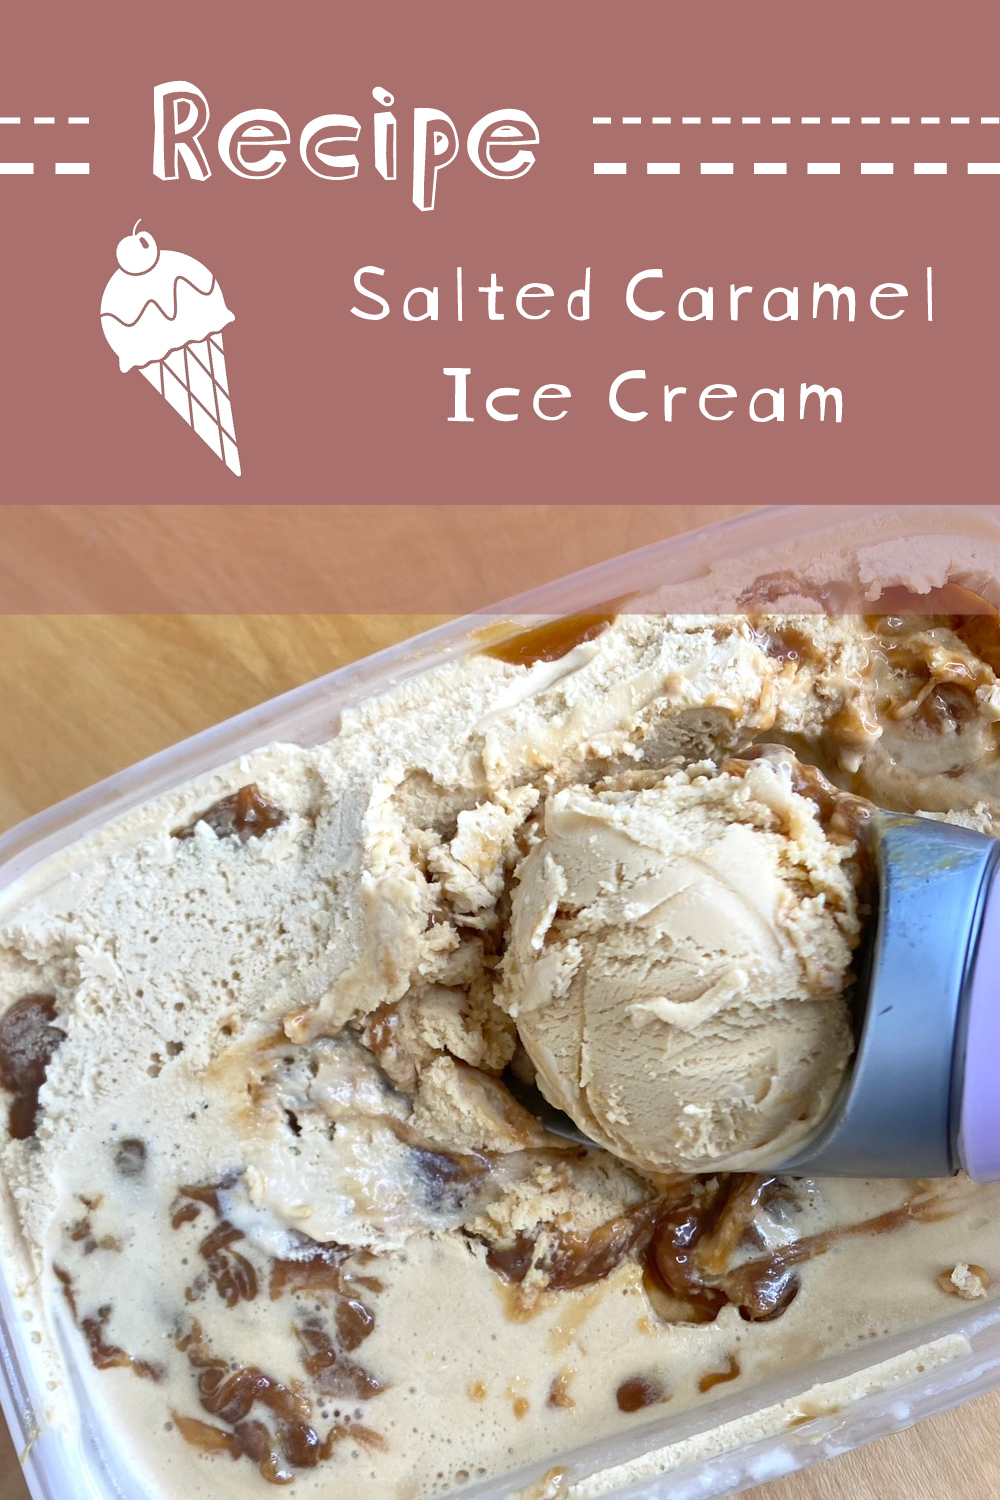
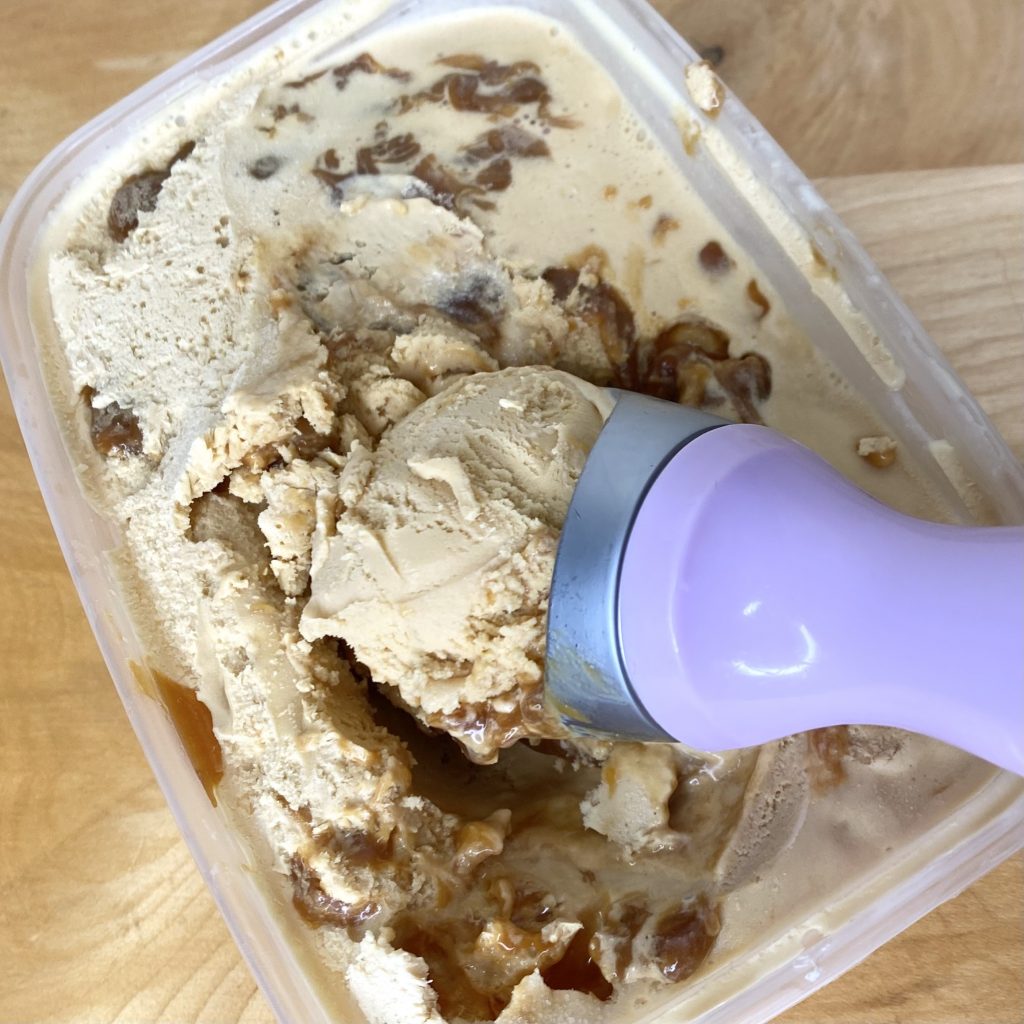
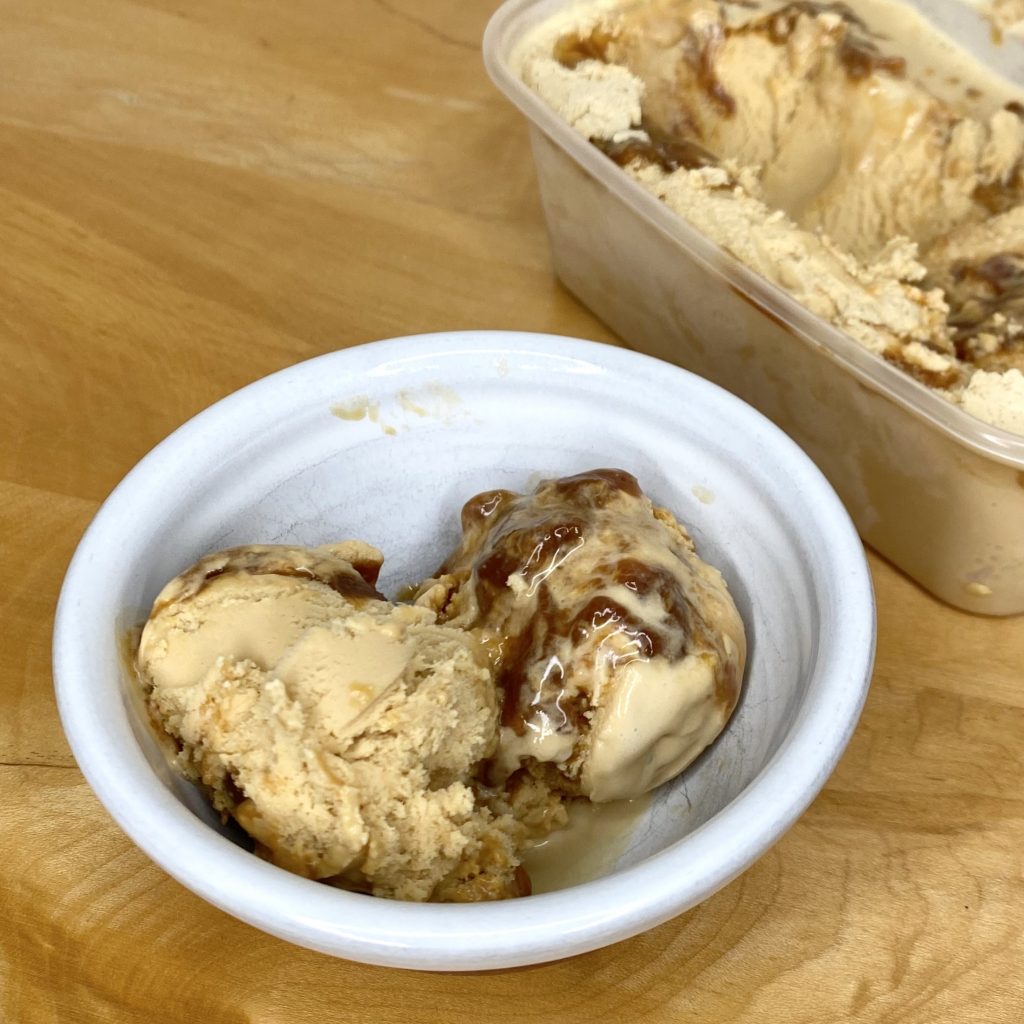
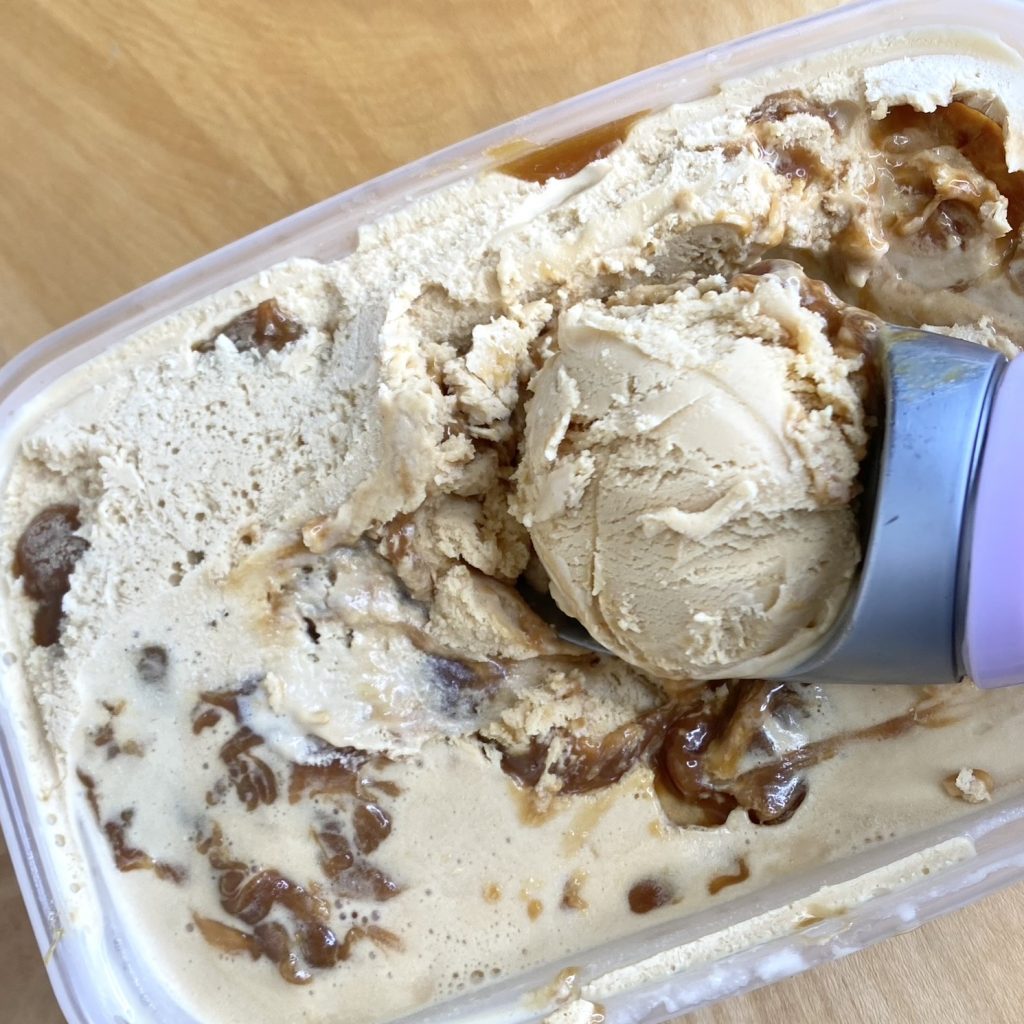
Enter: my Salted Caramel Ice Cream. A super smooth, creamy & rich ice cream, laced with sweet, salty, toffee-y goodness AND rippled with gooey, chewy, homemade caramel. I mean… please. It’s perfect scooped into a cone or bowl, layered into an ice cream sundae, or, as the days get colder, dolloped on top of warm apple pies and sticky toffee puddings (okay, yep, maybe I am ready for autumn now).
Also, I am yet to master the art of ice cream photography (it melts SO QUICKLY 🙁 I mean… I know that’s kind of the point, but it still feels a bit unnecessary). Anyway, I promise that all the photos are of the exact same batch of ice cream, even though they seem to be completely different colours… I just made the mistake of changing my position while I was taking the photographs. Ah well, you live and learn, I guess?
Let’s just get into it, shall we?
Table of Contents
- Ingredients
- Equipment
- Making Salted Caramel
- Making the Ice Cream Base
- Churning the Ice Cream & Finishing Touches
- Recipe
Ingredients

- Caster sugar
Sugar is a standard ingredient in any ice cream recipe, but we’ll be using some of it to make a caramel sauce as well. The type of sugar you use makes a difference- caster sugar comes in two varieties: golden and white. In general, when making caramel, it’s best to use white caster sugar, because it gives you more control over the caramelisation process. You won’t be able to heat golden caster sugar for as long before it burns, making the process a little more finicky, but it will have a lovely depth of flavour. For this recipe, I used golden caster sugar and took it off the heat as soon as it had melted, for that dark, nutty flavour, but you can use white caster sugar, if you prefer, and just give it more time to melt and caramelise fully.
- Butter
A rogue ingredient for a typical ice cream base, but a necessity for a caramel sauce! You only need a tiny bit, but it gives the sauce a rich, smooth texture.
- Double cream
Much like the sugar, double cream is a necessity for ice cream, but it’s also a necessity for caramel sauce! The cream takes what would otherwise be a brittle, translucent golden sugar into a silky smooth, opaque caramel sauce. In other words, it’s the best bit.
- Flaky sea salt
I mean, what is salted caramel without salt? For the best flavour, you want to use a good quality flaky sea salt. If you have to use table salt, halve the amount- otherwise it will be way too salty, even for salted caramel!
- Milk
As always, I use half milk, half cream for my ice cream base, which gives it a perfectly smooth, creamy texture. Ideally, you should use a full fat milk, but I almost always use skimmed milk and it works out fine.
- Egg yolks
You only need the yolks for this recipe, so you can either use the egg whites for another recipe (such as my macarons!) or freeze them for another day.
Equipment
- Ice cream maker
To make a custard-based ice cream (like this one!) at home, you need a good ice cream maker. I use this KitchenAid attachment and I love it. It can be a little fiddly to set up, but once you get it going it works really well. Just make sure to pour the ice cream base in with the machine running (it will be a bit messy, but you can easily clean it up after. Otherwise, the ice cream will freeze to the bowl before you have a chance to churn it and you run the risk of damaging the machine). You have to freeze the attachment in advance (overnight!), as is the case for most ice cream makers, so don’t forget to plan ahead. When it comes to churning your ice cream, most machines will come with their own set of specific instructions. Using the KitchenAid attachment, I churn mine for about 20 minutes and it comes out perfectly.
- Fine mesh sieve
This recipe calls for you to strain your ice cream base before thickening it. The reason for this is that, even though you will be whisking constantly as you add the hot cream to the eggs, you can still sometimes get some pesky, unincorporated bits of egg that have cooked slightly from the heat of the cream. Straining the mixture through a (heatproof!) fine mesh sieve removes those pesky eggy bits and leaves you with a super smooth ice cream.
- Electric whisk
I like to use an electric hand whisk when I make ice cream, but you can absolutely use a stand mixer, fitted with a whisk attachment. You’ll need some sort of electric whisk though, because the egg yolk/sugar mixture needs to be whisked for a while in order to reach the required ‘ribbon’ stage.
Making Salted Caramel
Confession: for years, I considered caramel to be my baking nemesis. I tried, over and over, and I could never seem to get it right! Eventually, I realised my problem. I was using golden caster sugar!
Caster sugar comes in two main forms: golden and white. Golden caster sugar is unrefined, so, unlike white caster sugar, it retains some of the molasses, giving it a slightly more caramel-y taste and a darker tone. Because of this, golden caster sugar caramelises much more quickly than white caster sugar and, in recipes that are expecting you to use white caster sugar, it may burn before the desired temperature is reached. I find that you can heat it up just enough to melt it, but leaving it on the heat any longer than that will leave you with a bitter, burnt caramel. In general then, for most caramel recipes, you’ll want to use white caster sugar. It will give you much more control over the caramelisation process and most recipes are written with white caster sugar in mind. Having said that, I did make this recipe with golden caster sugar, and it worked! It’s actually quicker than using white caster sugar, because you take it off the heat as soon as it has melted, and it lends the ice cream a lovely, almost nutty, flavour. It does mean you have to keep a closer eye on your caramel though, because you have to make sure the sugar has completely melted, but take it off as soon as it has, so that it doesn’t burn. If you’re using white caster sugar, the sugar will melt and then begin to caramelise, giving you more time/control over the finished colour of the caramel. All this to say, then, that you can use either of the two sugars, but you’ll need to adjust your caramel-making process slightly depending on the sugar you choose.
Once you’ve got your knowledge of sugar differences down, the caramel-making process is actually pretty straightforward. For this recipe, we’ll be starting with a dry caramel (i.e. straight sugar, with no added water).
- Make your dry caramel
Put all of the sugar into a large, heavy-based saucepan (the caramel will bubble up a lot later, so make sure you have plenty of room in the pan). Put the pan over a medium-low heat and allow the sugar to melt. Try not to mix it too much, because that can cause the sugar to crystallise, but you can move it around a little bit, to help it melt evenly.
Once the sugar has melted, don’t stir it! If you need to move the sugar, give the pan a gentle swirl. You want the sugar to reach a nice, deep golden colour- if you’re using golden caster sugar, the caramel will probably reach this stage as soon as it has melted. If you’re using white caster sugar, keep the pan over the heat and allow it to bubble until the desired shade has been reached.
- Remove from the heat and add the butter
Once the sugar has reached a deep, golden shade, take the pan off the heat and add in the butter (it will bubble up a bit here, so watch out for the steam!). Whisk the caramel vigorously to make sure the butter is fully incorporated.
- Return to the heat and add the cream
Place the pan back onto the medium-low heat, and, whisking constantly, add the cream in a slow, steady stream. The caramel will bubble up a lot, so be careful, but just keep whisking until all of the cream has been incorporated. Then, allow the caramel to bubble away over the heat, undisturbed, for a further minute.
- Remove from the heat and add the salt
After 1 minute, remove the caramel from the heat. Add in the flaky sea salt, and stir to distribute it evenly. With that, your caramel is done! Allow it to cool a little in the pan (it will be super hot at this point!), before working with it. For this recipe, you’ll want to transfer 2 tbsp of it at this stage to a heatproof container and place that into the fridge for later. The rest will be used to make the ice cream base.
This recipe makes about 7 tbsp of caramel sauce. After reserving 2 tbsp of it for drizzling later, you’ll be left with 5 tbsp- exactly how much you need for the ice cream base.
Making the Ice Cream Base
Once you have your caramel sauce made, you can get on with making the ice cream base.
- Heat up the cream, milk and remaining caramel sauce
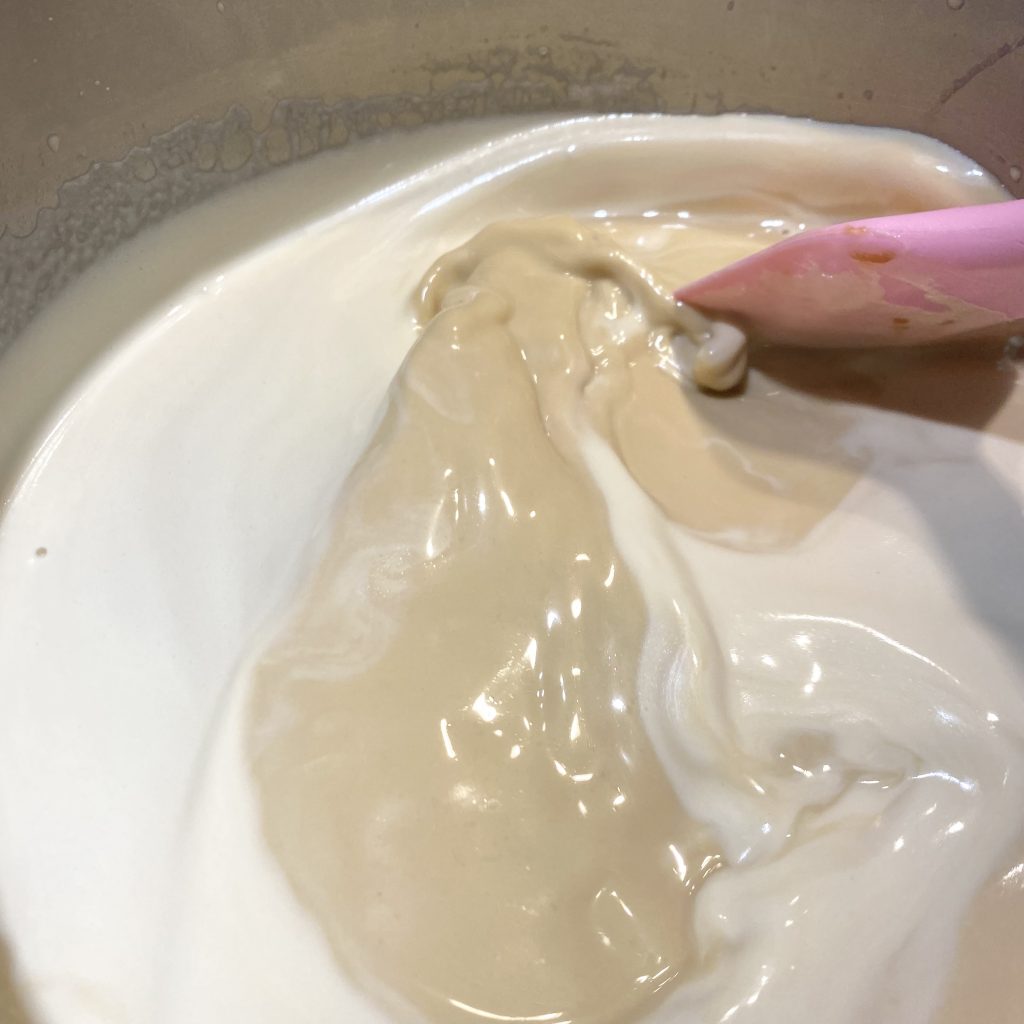
Start by making a hot cream mixture to temper the eggs. Usually, I add straight caster sugar to the cream and milk, but we’ll be substituting that with our caramel sauce in this recipe. Place all the ingredients into a saucepan (it would be helpful to use a pan that has a spout, as we will be pouring from this saucepan later!) and set over a low heat. Stir frequently and allow the mixture to come to just below a boil. Your caramel sauce will inevitably have firmed up a bit before you start, but don’t worry! As the milk/cream mixture heats up, the caramel will melt right down, leaving you with a smooth, golden cream.
- While the cream mixture heats up, whisk the egg yolks and the sugar
While the cream mixture is heating up, you need to whisk the egg yolks with the caster sugar, until they are fully combined and have reached the ‘ribbon’ stage. At this point, the mixture should be thick, pale and significantly more voluminous- you should be able to draw a complete figure of 8 with the whisk before the ‘ribbon’ settles back into the rest of the mixture.
- Add the hot milk to the egg mixture
Usually, I prefer to loosen the eggs with a slightly cooler cream mixture before adding the hot liquid. However, because of the caramel in the cream mixture, it’s best to use it while it’s hot. To make sure you don’t accidentally cook the eggs, pour the hot milk into the egg/sugar mixture in a slow, steady stream while whisking constantly. Only stop whisking when all of the cream mixture has been incorporated.
- Strain the ice cream base back into the saucepan
Despite the constant whisking, there will inevitably be a few pesky bits of egg that got a little… cooked when you added the hot cream mixture. By straining the ice cream base as you transfer it back into the saucepan, you can remove any impurities, leaving you with a silky smooth custard base.
- Thicken the custard
Place the saucepan over a medium-low heat and, stirring constantly with a spatula, allow it to thicken (this will take about 8-10 minutes). When it’s ready, it should coat the back of the spatula.
- Place the custard into the fridge to chill
Transfer the thickened custard to a jug and cover the surface directly with clingfilm to prevent the custard from forming a skin. Place the jug into the fridge and allow it to chill for at least 3 hours, preferably overnight (you want it to be super cold!), before churning it.
Churning the Ice Cream & Finishing Touches
Once your custard base is super cold, you can churn the ice cream, as per your ice cream maker’s instructions. Using the KitchenAid attachment, this usually takes me about 20 minutes, but this will vary based on your machine. When it’s ready, your ice cream will be thick and creamy.
It’s worth reiterating at this stage: you must pour the base into the ice cream maker with the mixer on. Otherwise, the ice cream will freeze onto the bowl of the machine, leaving you with ruined ice cream and potentially damaging your machine. Trust me, been there. Make sure the mixer is running!
While the ice cream is churning, you need to warm up the reserved 2 tbsp of caramel sauce. I do this in the microwave (it took about 1 minute on the lowest setting, with intermittent stirring), but you can do it in a small saucepan over a low heat if you prefer. Just warm it up enough so that it is pourable- don’t let it bubble, or it will affect the finished texture!
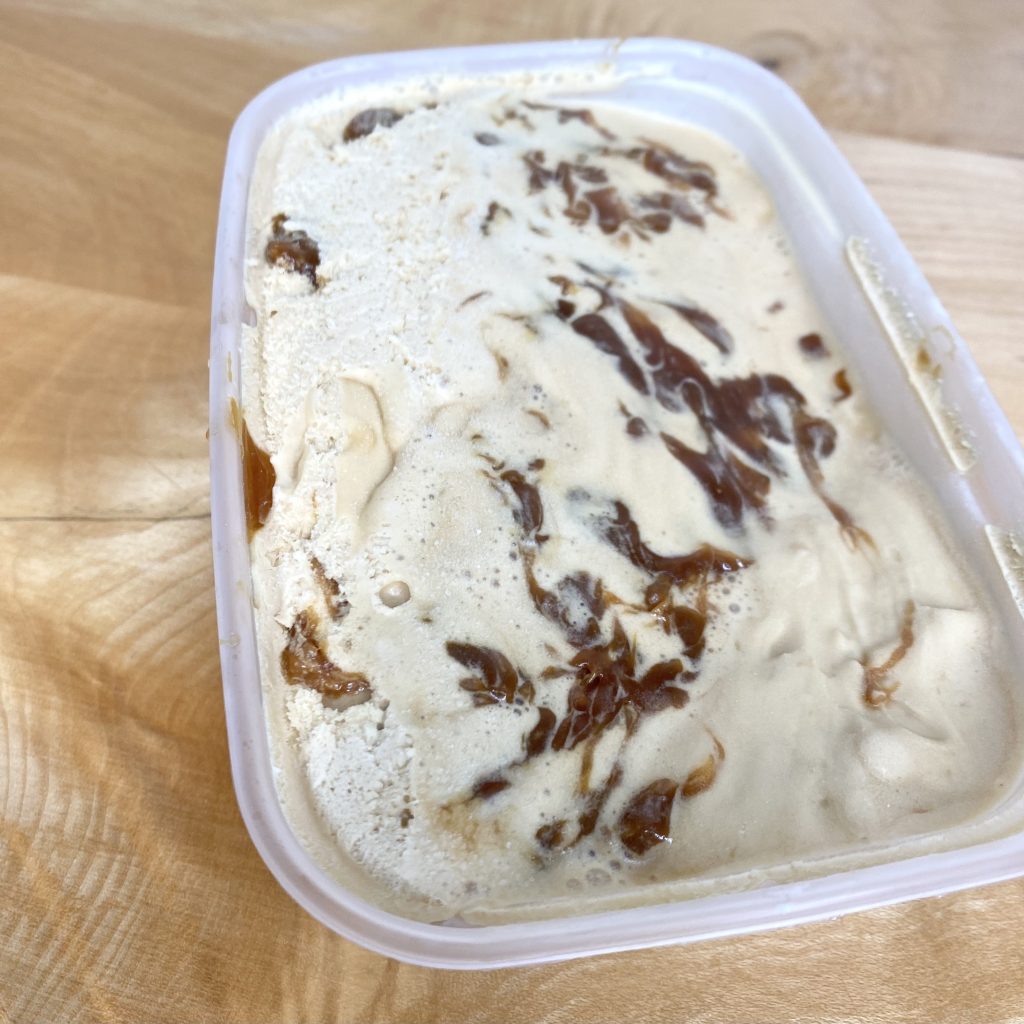
Once your ice cream has churned, you need to transfer it to a freezer-proof container, ready for a final freeze. At this point, you can drizzle over the caramel sauce, so that the finished ice cream is rippled with gooey caramel. The caramel will set almost immediately when it hits the frozen ice cream, so try to drizzle it evenly over the surface.
After that, you just need to allow the ice cream to firm up in the freezer for at least 3 hours before you can tuck in an enjoy it! Once frozen, the ice cream will keep for up to 3 months in the freezer.
I’d love to hear what you think of this ice cream if you give it a try. I love this one- I think it might be my favourite ice cream that I’ve made to date!
Gemma
xxx
Recipe
Salted Caramel Ice Cream
Equipment
- ice cream maker
Ingredients
For the salted caramel sauce:
- 90 g golden caster sugar (see Note 1)
- 35 g unsalted butter
- 60 ml double cream
- 1/4 tsp flaky sea salt
For the ice cream:
- 240 ml double cream
- 300 ml milk
- 50 g caster sugar
- 3 egg yolks
Instructions
- The day before you want to churn your ice cream, place the bowl of your ice cream maker into the freezer.
For the salted caramel sauce:
- Put the sugar into a large, heavy-bottomed saucepan. Cook over medium heat, swirling the pan every now and then, until sugar has just melted and is a deep, golden colour (see Note 1).
- Remove the saucepan from the heat and add the butter. Whisk vigorously until butter is melted and fully incorporated, then return to the heat.
- Add cream to the pan in a slow, steady stream, while whisking constantly. Once all cream is incorporated, stop whisking and allow to bubble, undisturbed, for 1 minute.
- Remove caramel sauce from the heat and stir in the salt. Allow caramel to cool slightly, then transfer 2 tbsp of the sauce to a heatproof container, cover and place in the fridge for later. Keep rest to use in ice cream base.
For the ice cream:
- Place the double cream, milk and remaining caramel sauce into a medium saucepan. Place over low heat, stirring frequently, until caramel has melted into milk/cream and the whole mixture reaches just below a boil.
- While the cream mixture is heating, place the sugar and egg yolks into a large, heatproof bowl. Using an electric whisk, beat until the mixture is thick, pale and fluffy (the 'ribbon' stage).
- When the cream mixture has reached just below a boil, with the mixer on, add it in a steady stream to the egg mixture. Mix until incorporated, then pour through a heatproof, fine mesh sieve back into the saucepan.
- Return the saucepan to a medium-low heat. Stir the custard with a heatproof spatula as it heats up, until it becomes thick and glossy- about 8-10 minutes. Pour the custard into a heatproof container, cover the surface with clingfilm and allow to cool to room temperature before placing into the fridge to chill for at least 3 hours, preferably overnight.
- When the custard is thoroughly cold, churn it according to your ice cream maker's instructions. Using the KitchenAid attachment, this takes around 15-20 minutes.
- While the ice cream is churning, gently heat the reserved caramel sauce. I did this in the microwave (about 1 minute on the lowest setting), but you can do it in a saucepan if you prefer. Stir the sauce well to ensure it is smooth and evenly melted.
- When your ice cream has finished churning, transfer it to a freezer-proof container. Smooth out the ice cream, then drizzle the warmed caramel sauce evenly over the top. Place into the freezer to firm up for at least 3 hours before consuming. The ice cream will keep in the freezer for 3 months.
Notes
- The type of caster sugar you use will make a difference! I find that golden caster sugar gives the caramel a lovely, deep flavour, but you have to be more careful with it- it will turn golden much quicker, so take it off the heat and add the butter as soon as all the sugar has melted. If you’re using white caster sugar, you’ll have a little bit more leeway and more control over the colour of your caramel- it will require a bit more time over the heat after it has melted to turn a deep, golden colour.