🎄☃️✨ Welcome to Day 21 of Blogmas At Home! It’s 4 days until Christmas and and the Grinch is about to get a wonderful, awful idea any day now… ✨☃️🎄
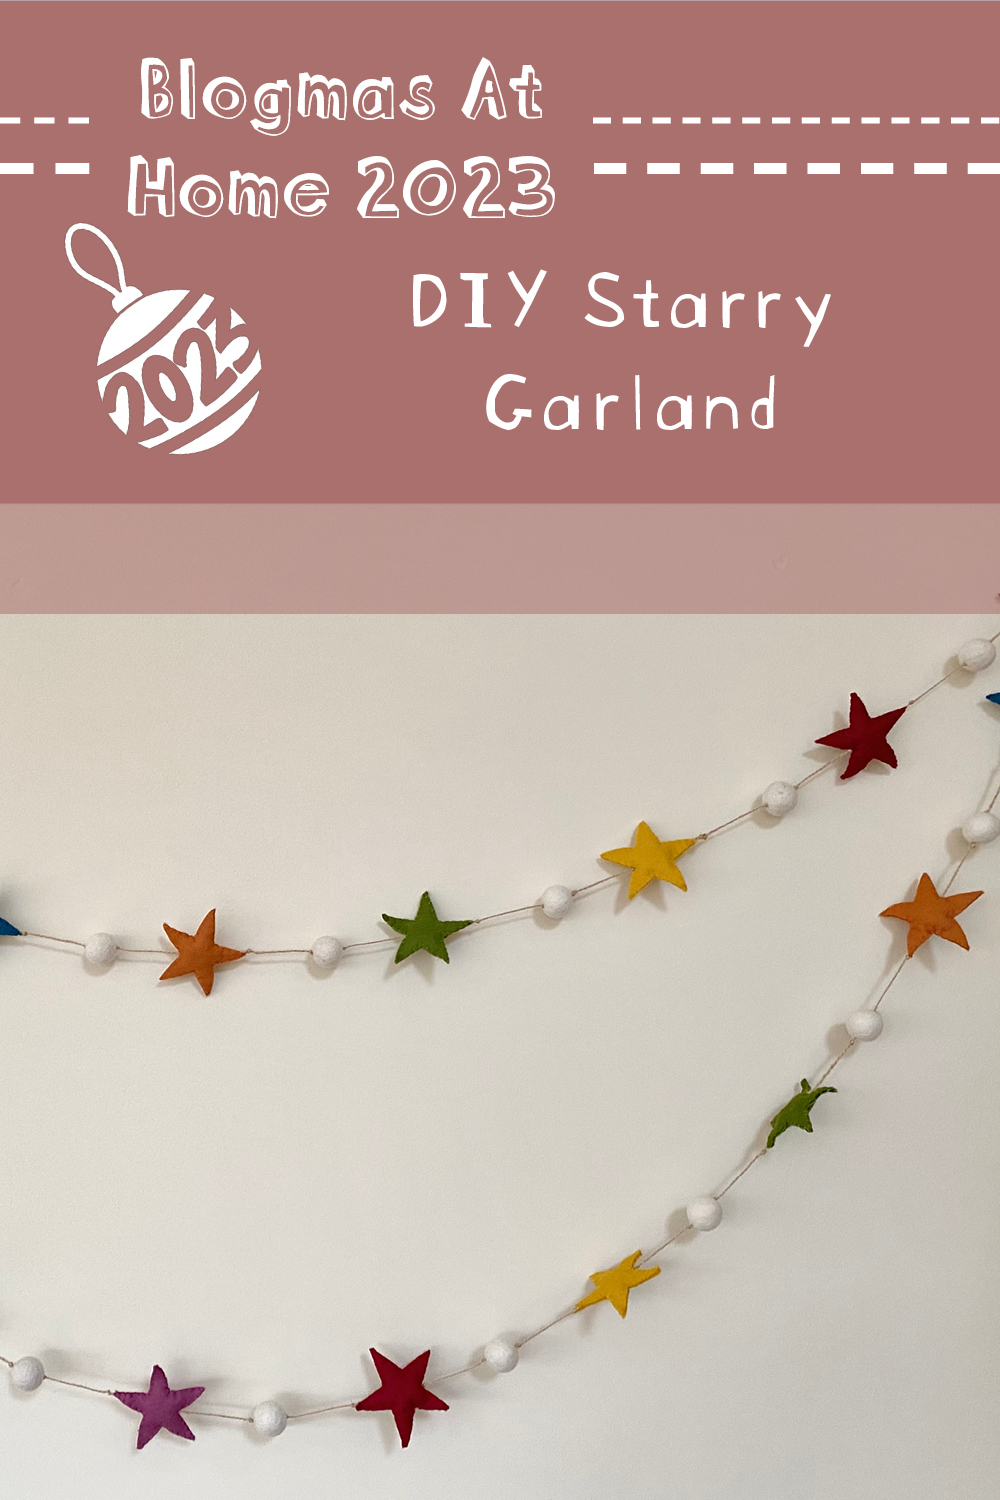
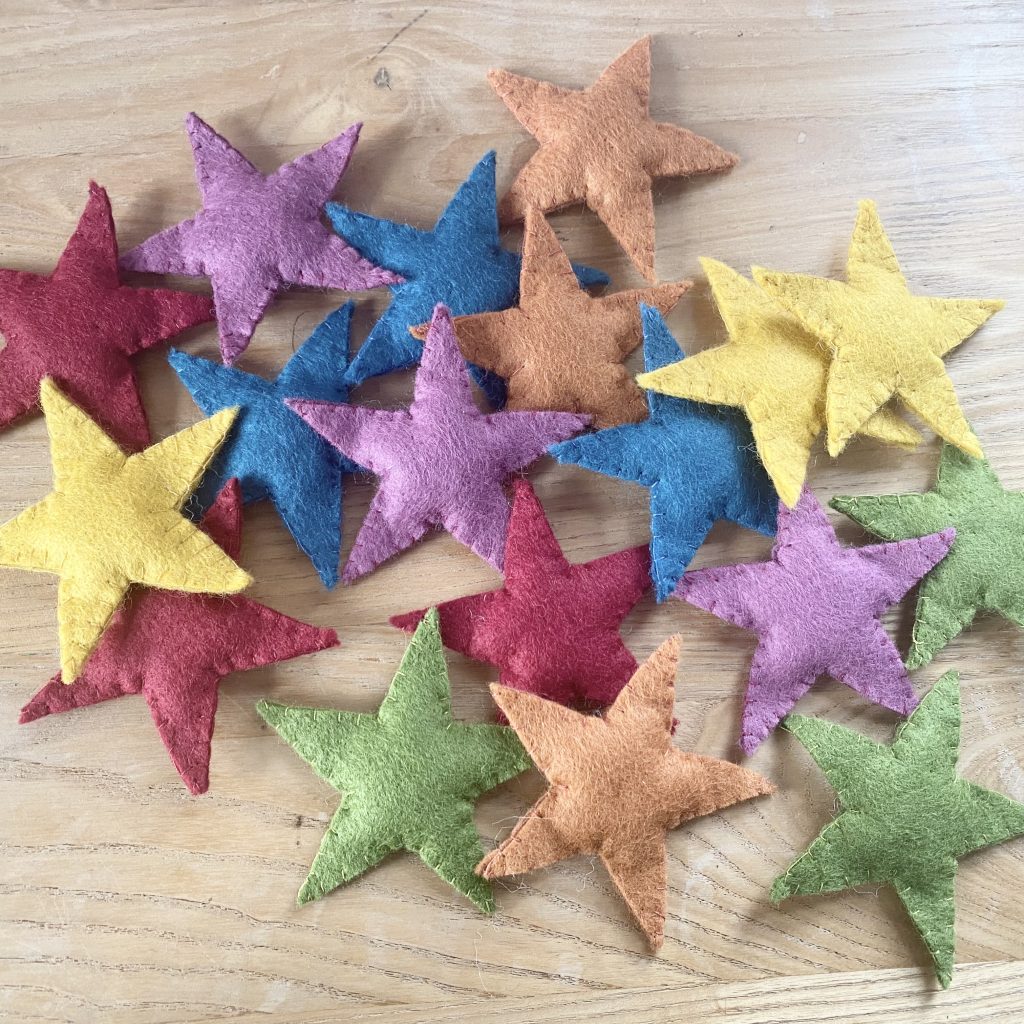
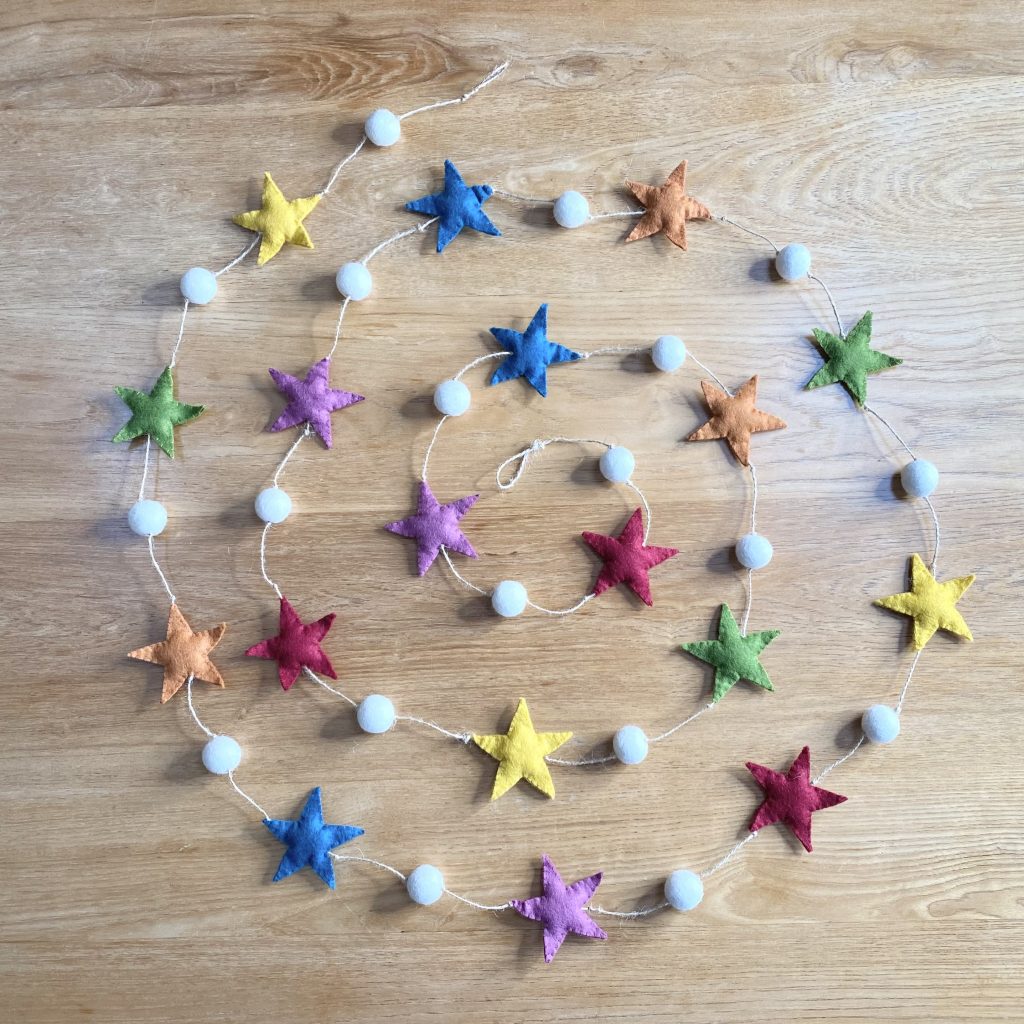
Today’s post is something a little bit new to the blog- it’s still fun and crafty, but it’s not a craft that I am super well-versed in. In this post, I’ll be showing you how I made this hand sewn, wool felt garland for my mum’s birthday present.
Let me be honest, I have NO idea where the inspiration for this project came from. I feel that there must have been something that made me want to make it, but I truly have no idea what. Oh, well. Maybe I just dream in craft projects. I also don’t know what made me make this for my mum, because while it’s… kind of her style? It could also very much not be her style. I think I just designed and made it with her in mind. How bespoke! Anyway, by the time you’re reading this, I guess I’ll know one way or the other! Fingers crossed. (Update: she likes it! What a relief!).
Table of Contents
Equipment + Supplies
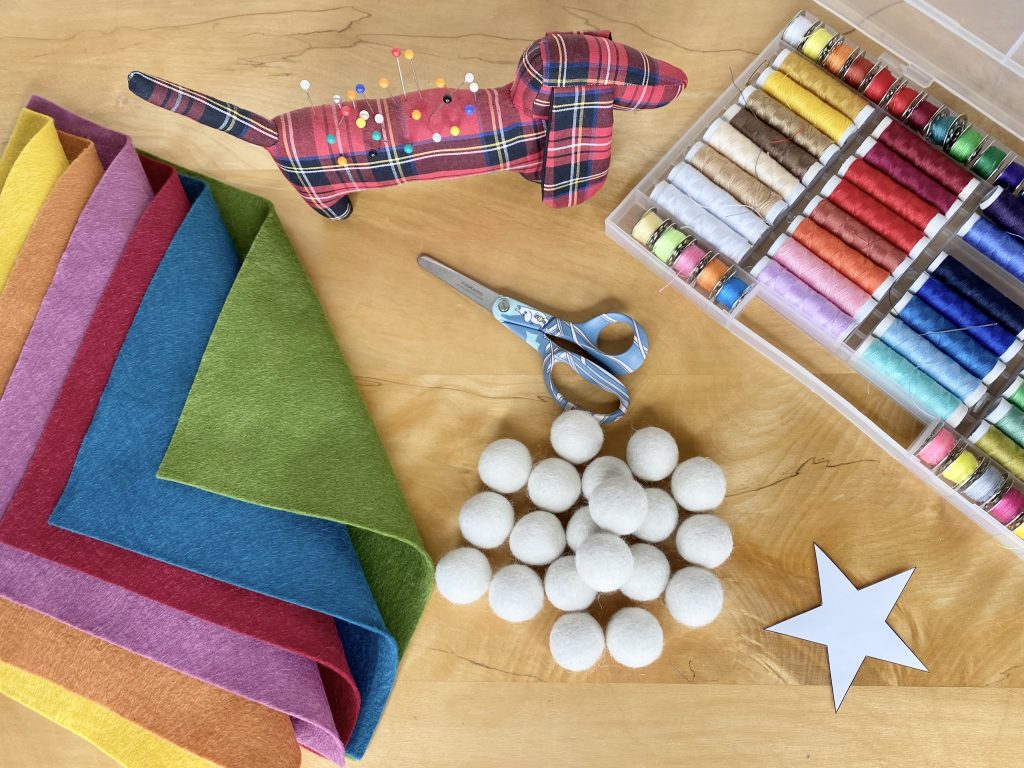
To make this Starry Garland, you will need:
- Felt
My mum loves all things wool, so I decided to use real wool felt for this project. I bought mine from SuesCountryCreations on Etsy. There is such a good selection of colours that you can pick and choose from- I purchased 6 sheets and chose the colours Ruby, Fox, Gold, Moss, Petrol Blue and Mulberry (I was going for a kind of deep-toned rainbow). You don’t need loads of each colour, so you can use any leftovers for another project.
- Felt balls
I decided to use plain, ivory felt balls for this, because, even though I was using lots of colours of felt, I still wanted the garland to look kind of… elegant and intentionally mismatched- both mismatched and matched, all at once, I suppose. I purchased this 20-pack from PocketCraftSupplies (also on Etsy) and ended up using 19 balls in the finished garland.
- Twine
I was a while deciding what I wanted to string my felt components onto and I eventually settled on using twine. It did make threading them a little trickier (because the twine is thicker than typical thread/string), but I did develop a successful stringing technique along the way (more on that later!). This twine was actually from Wilko’s, years ago, but I’m sure you can find a similar product online.
My finished garland was about 340cm long, but I started with a length of twine that was about 400cm, to account for the knots/loops (plus, it’s better to have too much than not enough!).
- Star template
I just printed off an outline of a star (about 8cm wide) on some paper for this. I then cut around it and used it as a guide for cutting out all of the felt stars for the garland.
- Handsewing needles
Yep- you’ll need two for this garland. A standard one for sewing the felt stars together with the sewing thread and a longer one, with a larger eye, for threading the garland together. The larger eye is necessary because the twine is much thicker than sewing thread, while the length just makes it easier to guide it through the felt stars/balls.
- Pliers
At first, I could NOT find a way to thread the twine through the felt balls- it was just too thick at the eye of the needle, where it is also doubled. Eventually, I discovered that if you push the needle as far as you can through the felt ball, you can use the pliers to grip the needle more firmly and pull it through the rest of the way. Just make sure your needle is sturdy enough to withhold the force!
- Pins + pin cushion
To cut out the star shapes from the felt, I pinned the template to the felt, then drew around it with a pen.- I found this was the easiest and most accurate method. The pin cushion will come in handy for storing the pins, but also for keeping track of your needles while sewing/threading the final garland! I also used a pin to distribute the stuffing within the finished stars more evenly.
- Sewing thread
This is for sewing the felt stars together, so, ideally, you want to have a matching thread for each of your colours of felt. Alternatively, you could embrace the contrast and use one contrasting thread for all of them- perhaps white?.
- Stuffing
I added a small amount of stuffing to the centre of each of my felt stars, just to give them a little bit of ✨poof✨.
- Sharp sewing scissors
To cut the felt and the thread. Using sharp scissors will make sure all of your cuts are nice and clean, which will make your finished felt stars look super neat. In the photo above, you can see my round-tipped scissors- I very quickly gave up on these and switched to a pair with a sharp tip, which made cutting out the star shapes much easier.
- Pen
As I mentioned, I found that the best way to cut out the star shapes from the felt was to pin the template to the felt and trace around it with a pen. If you’re using a particularly dark colour of felt, you might find it easier to use a white pen.
Making the Felt Stars
For the garland pictured, I made 3 felt stars in each colour of felt, for a total of 18 stars. You will need to cut out 2 star shapes from the felt for each finished star, so, in total, I cut 6 from each colour.
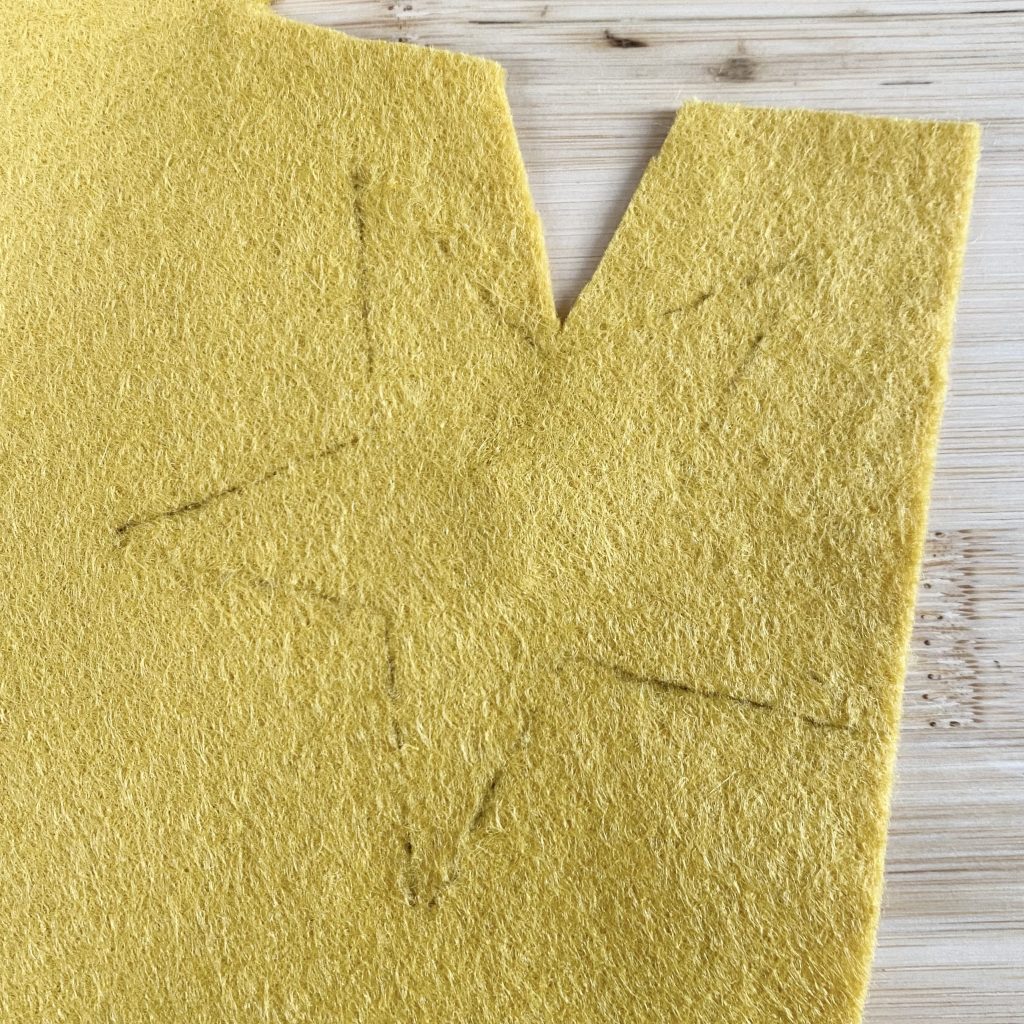
As I mentioned earlier, I found that the best way to cut out the stars was to pin the template onto the felt with a pin. I then traced around the secured template with a ballpoint pen, before removing the template and cutting around the shape. This gave the most accurate results.
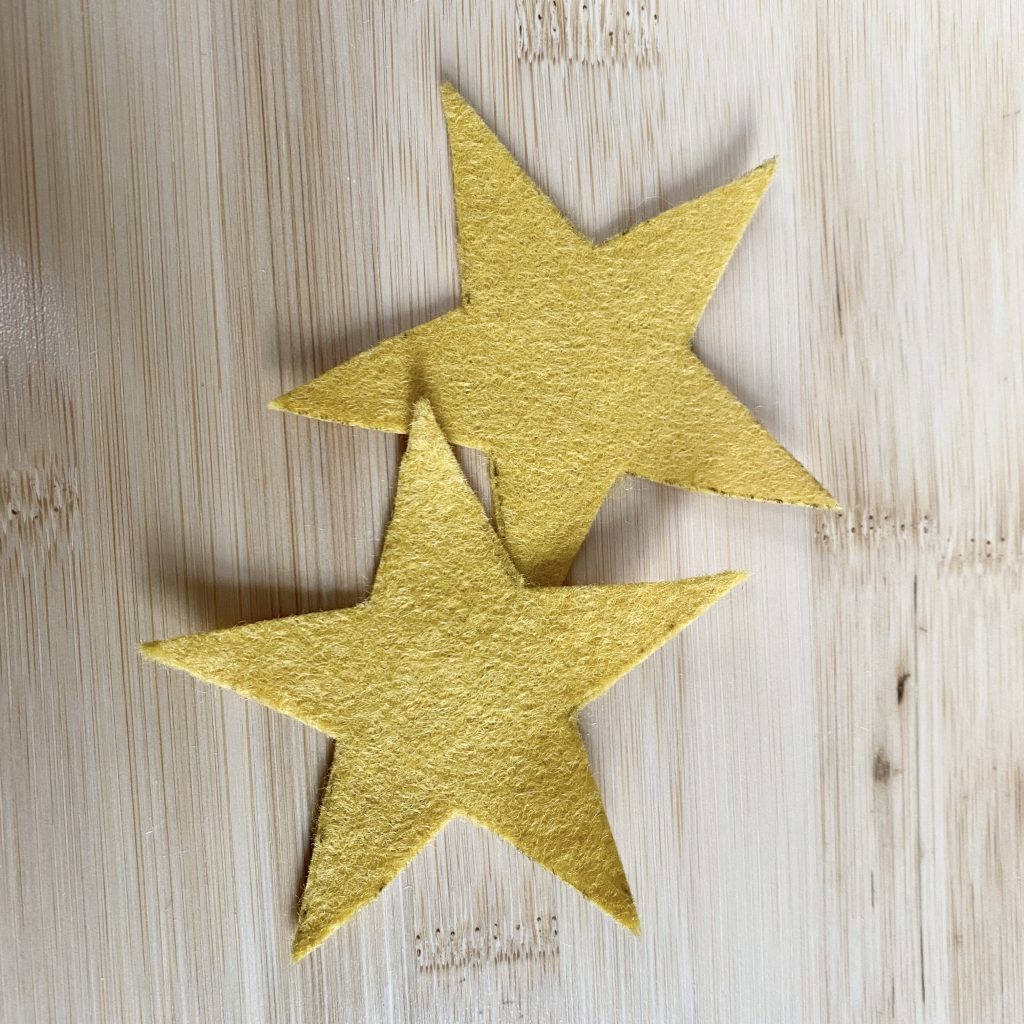
Pair up the stars and place them wrong sides together (in this case, the wrong side is the one with the pen markings on it. By sandwiching the pen in the centre of the star, you hide it from view in the finished stars).
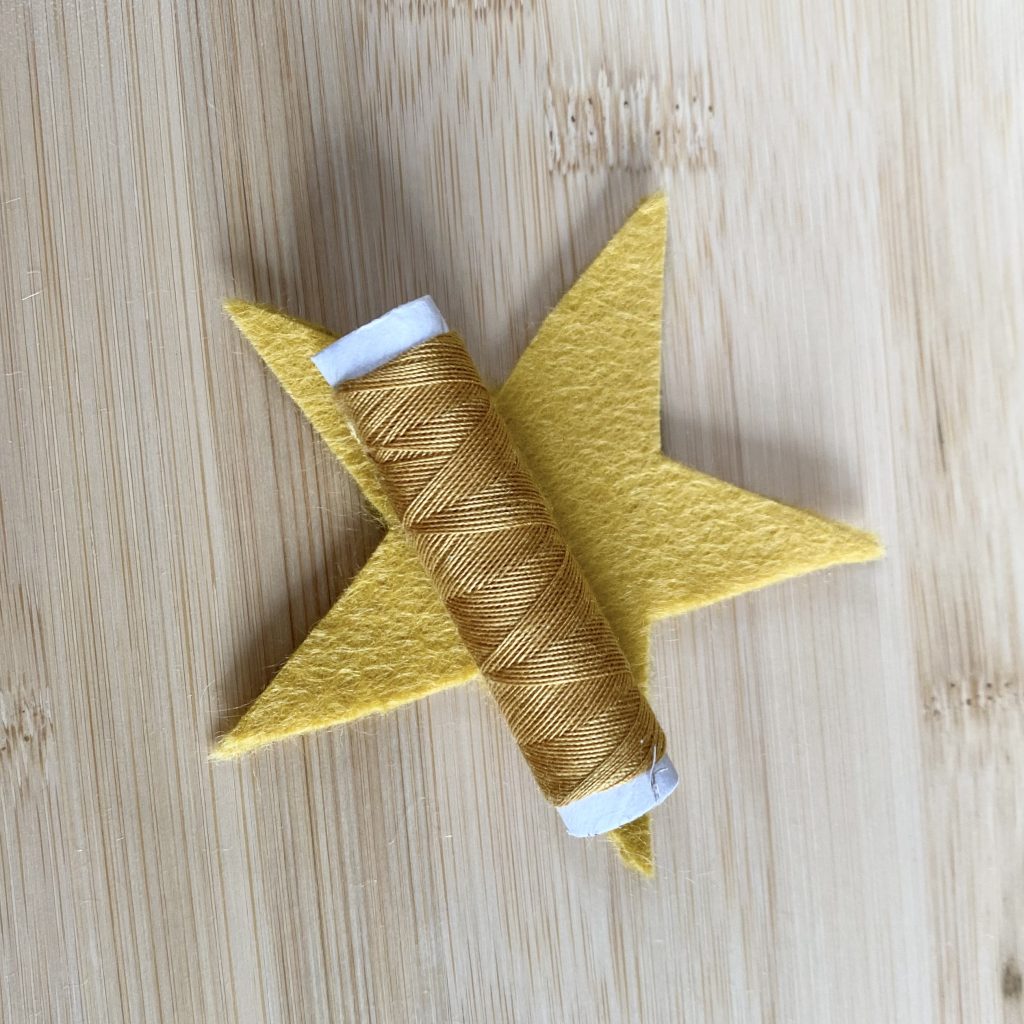
Take the sewing thread that matches your felt, cut a long length of it and tie a knot in the end. If you aren’t super confident at hand sewing, start with a shorter length of thread. You will need to fasten off and rejoin a new thread part of the way around the star, but you will be much less likely to get in a tangle (if your thread does get knotted, try not to pull it too much as this will tighten the knot- I find that you can usually untangle the thread by inserting the tip of the needle into the knot and gently tugging the various threads around it until it comes loose. This won’t always work though, especially if the knot is super tight!).
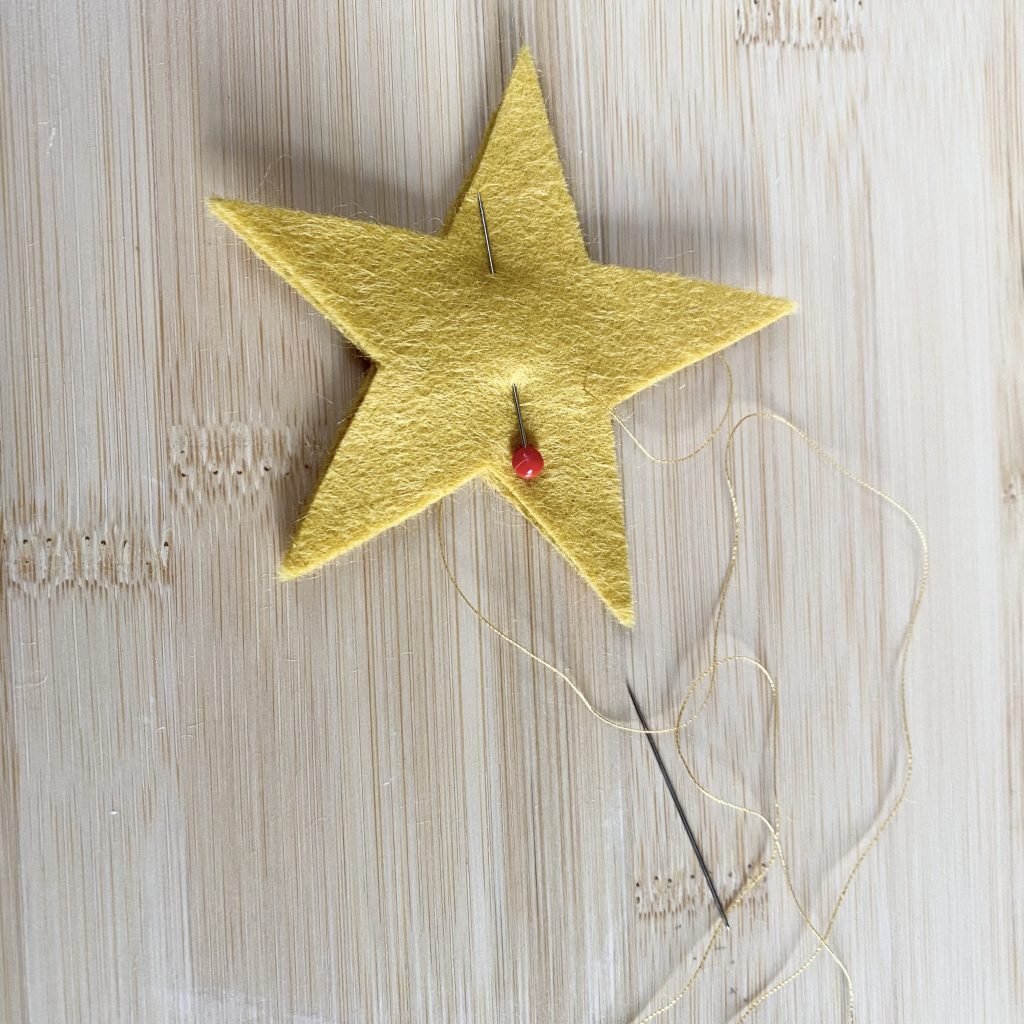
With the two stars lined up together, hide the knot on the inside (between the two layers), then blanket stitch around the perimeter, leaving one of the points unstitched for stuffing (but do not cut the thread).
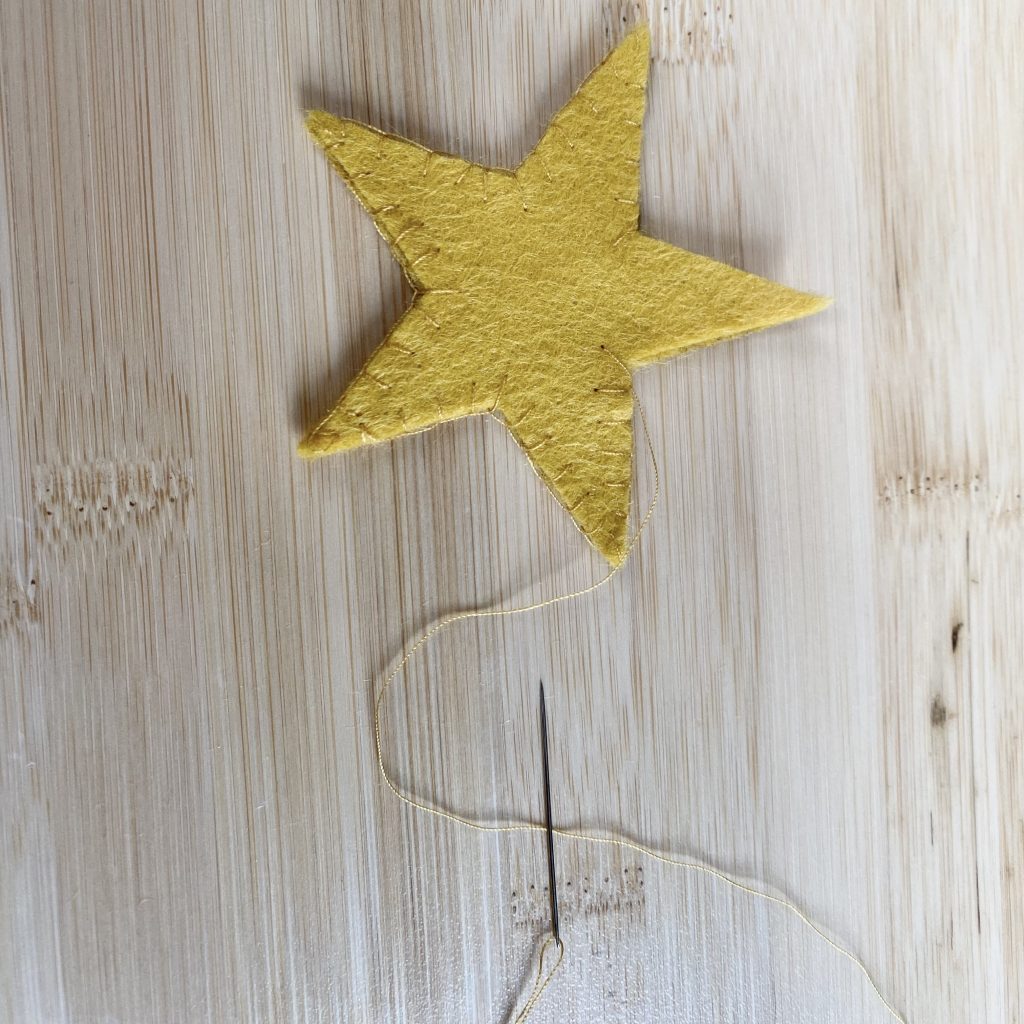
Once you have stitched around 4 of the points, lightly stuff the centre of the shape. Once stuffed, finish stitching the final point, then secure the thread and fasten it off.
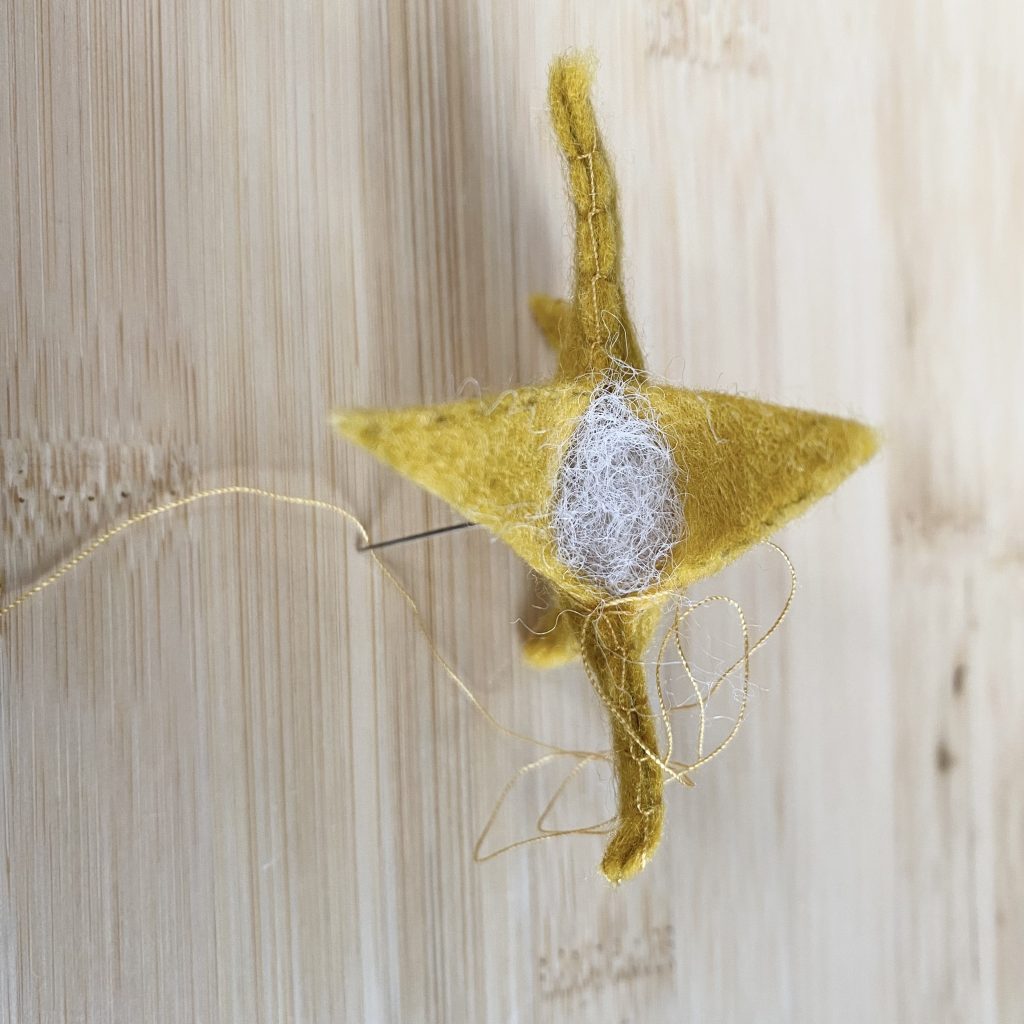
At this point, I used a pin to distribute the stuffing into the points a little more, just to even everything out, but this is optional.
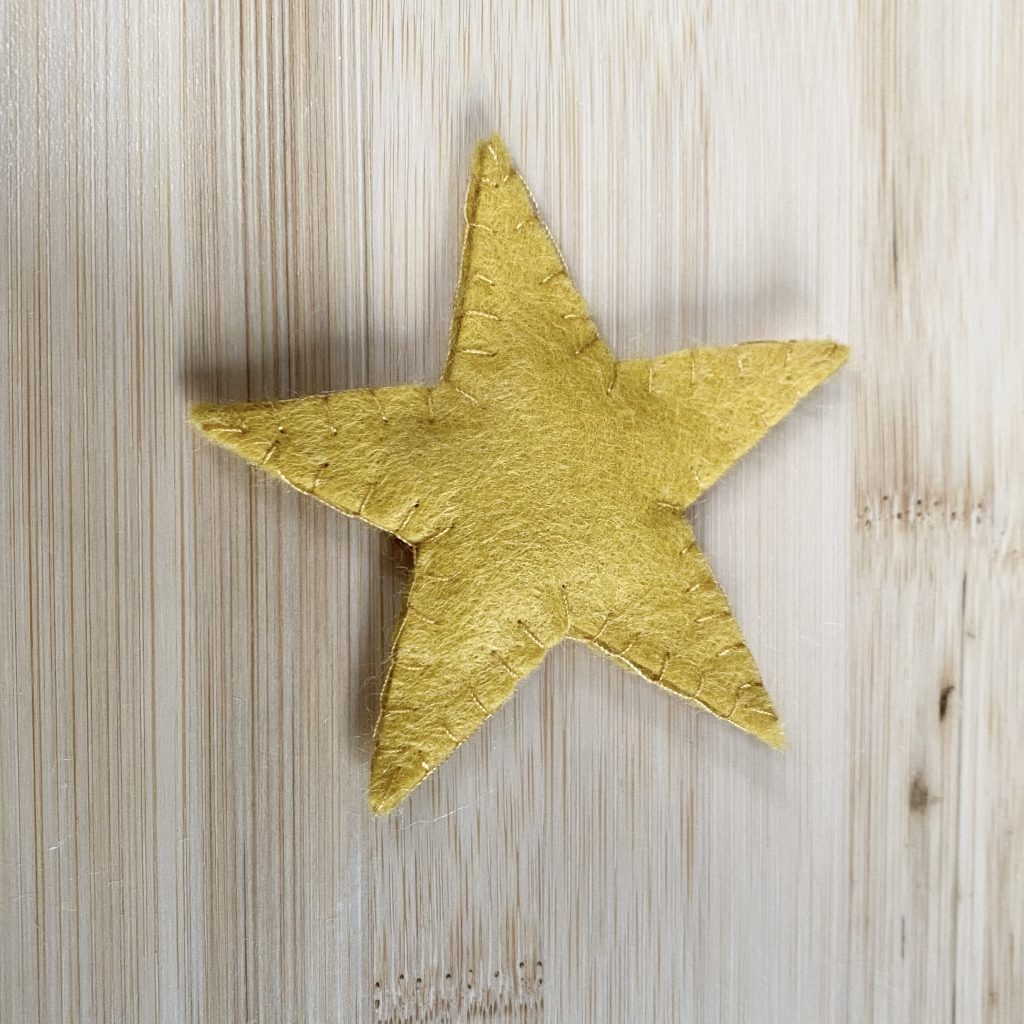
Once you are happy with your star, repeat this process for all of your colours of felt, until you have a mound of plushy rainbow stars.
Stringing the Garland
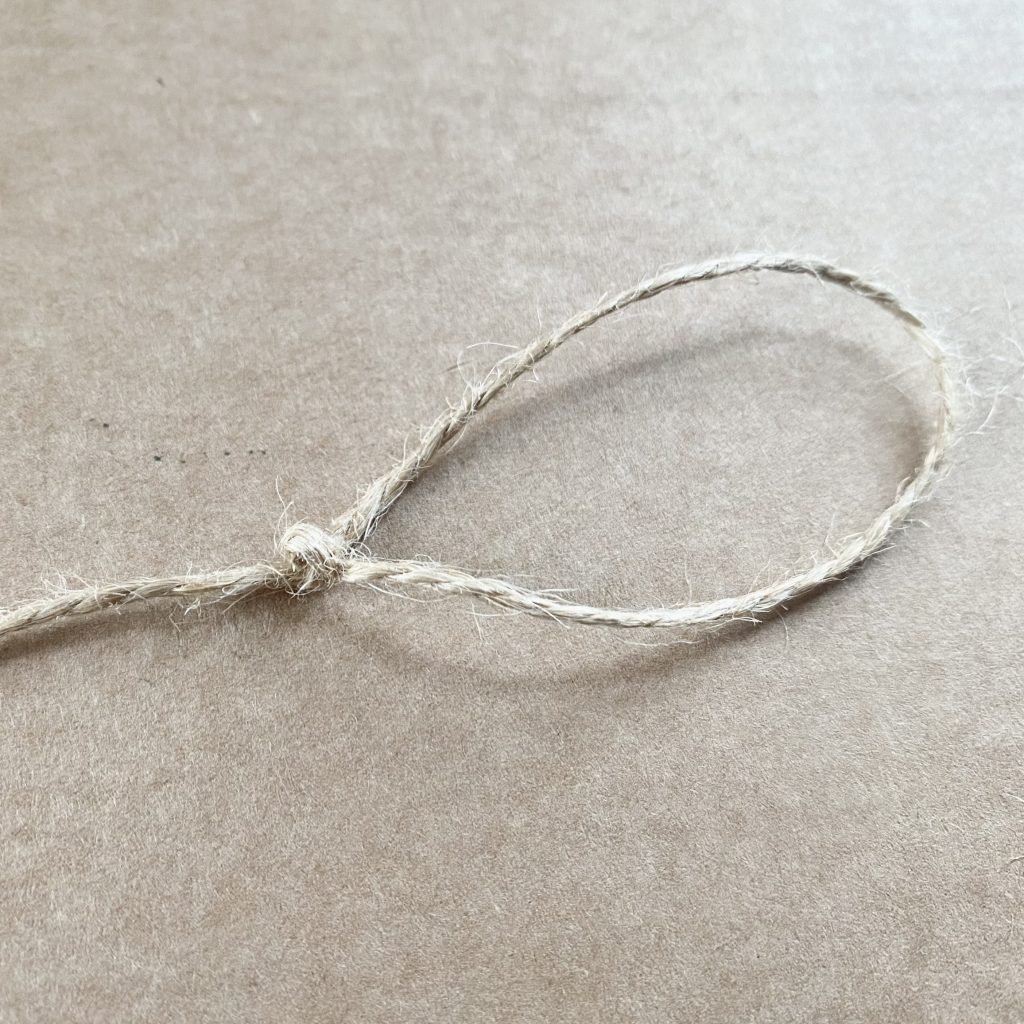
Once you have all of your stars, you need to string them into a garland. Cut a length of twine- for this garland, I used about 400cm, then make a loop in one end. I am useless at knots, so I just followed this tutorial and it seemed to work fine!
It’s up to you how far apart you want to space out each element of the garland. I went for a 5cm gap between the felt stars/balls, but you can do whatever you want, as long as you’re consistent!
To thread the felt elements, tie a knot where you want the first element to start (I made mine 5cm from the knotted part of the loop). Thread the element on, until it hits that knot, then tie another knot after the element, to lock it in place. Measure another 5cm from that second knot and tie another one for the next element to sit against, and so on.

Once you have used up all of your elements (I used 18 stars and 19 felt balls), cut off some of the excess twine, then measure 5cm and tie another loop for the other end. With that, your garland is finished! Hang it by the loops at either end, and/or use command hooks to place it exactly where you want it.
Troubleshooting
Because this process can feel a little tricky, I have put together some tips and tricks for the garland-stringing process:
- To prevent getting into a tangle with the long length of twine:
You need a long length of twine to make this garland, which means there’s a high chance of it getting tangled. To prevent this, keep the twine threaded on your needle at all times (and preferably, stick the needle into a pin cushion when you’re not holding it, so you don’t lose it!). If you’re working at a desk, let the threaded end of the garland hang down on one side of you, and the non-threaded parts on the other. When threading, pull a length of twine through, then let it fall on the side with the non-threaded parts. Keep doing this, keeping the lengths long and tossing them in that direction, so they don’t get tangled.
- To tie knots in specific places:
It can be a little tricky to tie a knot in a specific location. I found the easiest way to do it was to lay a ruler flat on the desk in front of me. When I tied the knot, I would line the previous knot up on the zero mark, then slowly tighten the new knot, manoeuvring it towards the 5cm mark as I went. You don’t have to be too perfect, but using the ruler as a guide will help your garland to look more even.
- To tie the knots without getting into a tangle:
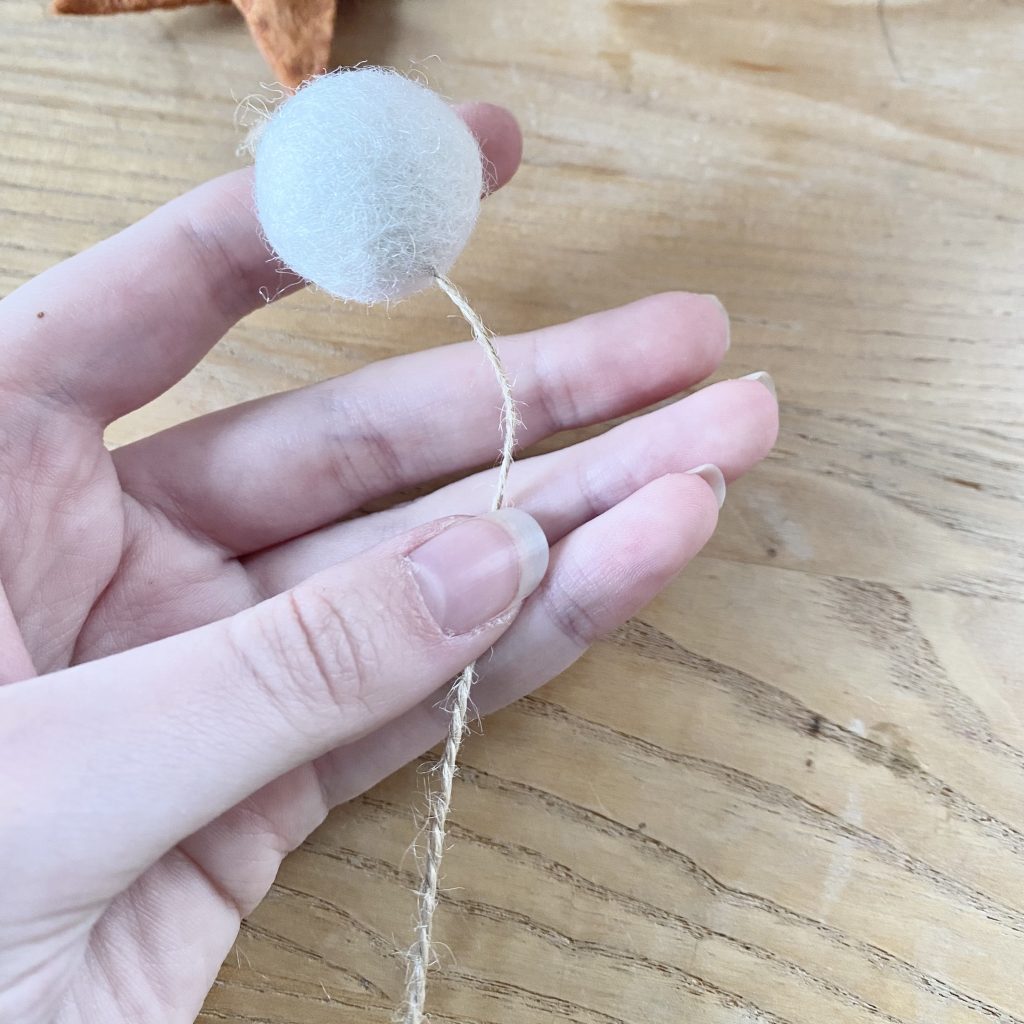
When tying the knots, hold the thread closest to the intended location between the thumb and fourth/little finger of your non-dominant hand and hold the needle in your dominant hand.
Loop your needle over the thread, bring it under it (above where you are holding it with your non-dominant hand),then bring it out between the ‘loop’ of twine you have created to form the knot (see above image).
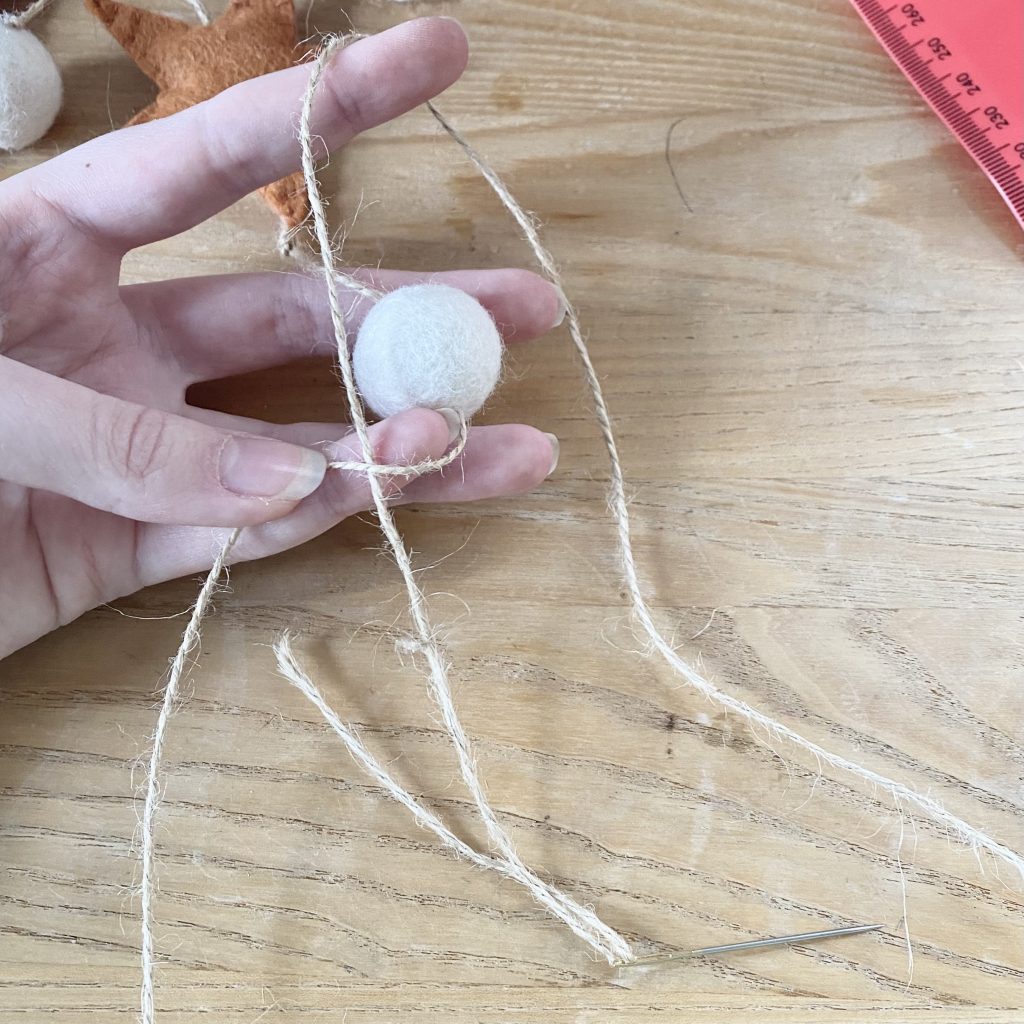
When pulling the long length of twine through to tighten the knot, hook your index finger under the twine from the needle (as pictured) and, as you pull, allow the thread to ‘run’ over that finger. This will help you keep it in place and stop it from tangling.
- Threading the felt balls:
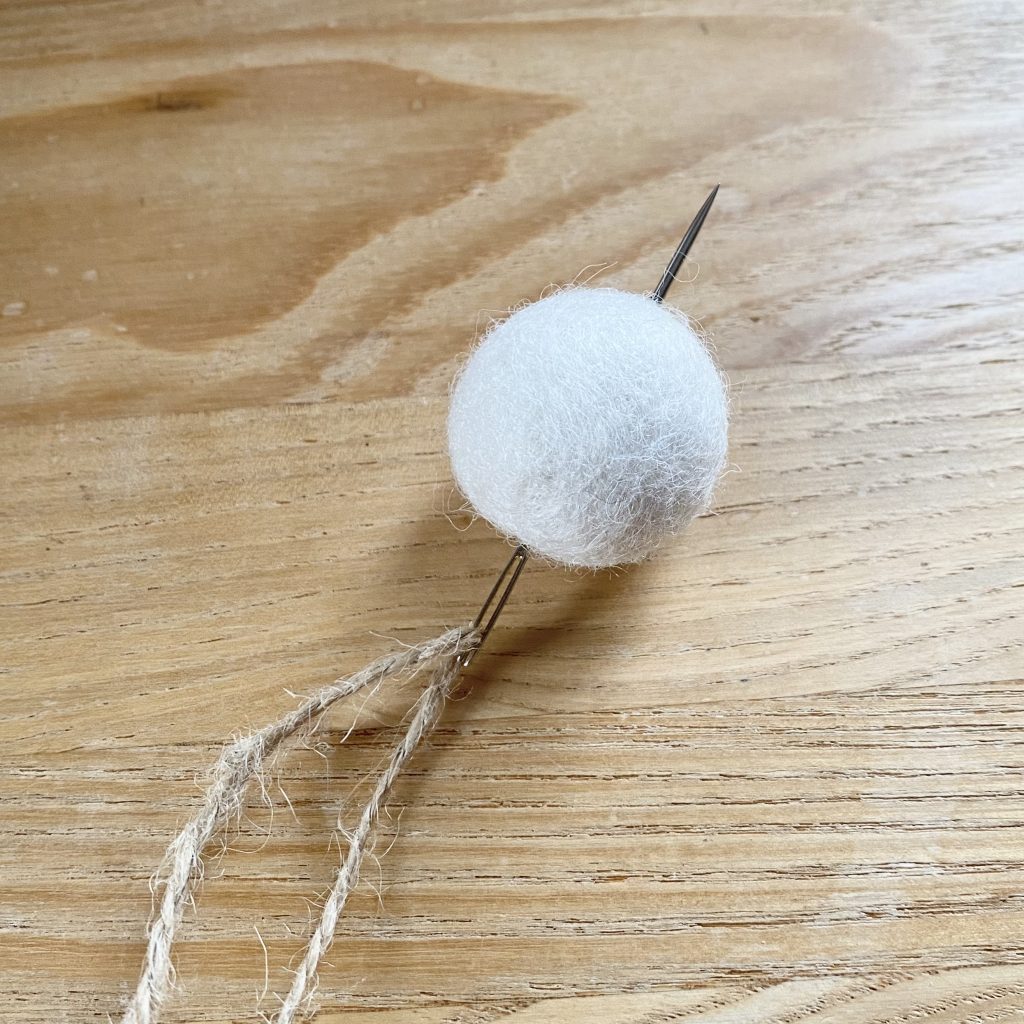
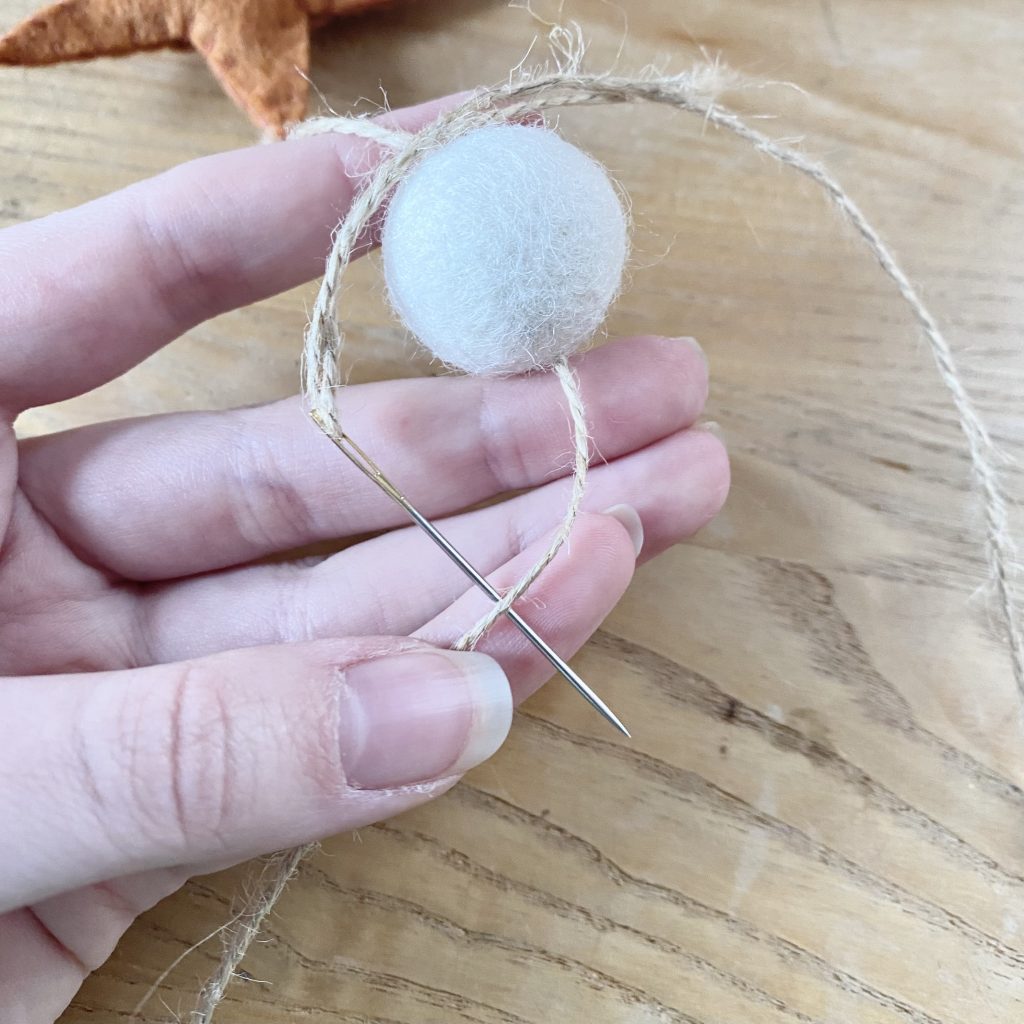
As I mentioned earlier, I found that I needed to use pliers to thread the felt balls. To do this, I pushed the needle (threaded with the twine) into the ball, being careful to stay as close to the centre as possible, so the ball sits evenly. The needle should come out on the other side of the ball, but will be prevented from going all the way through by the added thickness of the doubled-over twine/eye. At this point, grasp the pointy end of the needle with the pliers and pull the needle through like that. The extra grip and strength will make the process so much easier!
- Threading the felt stars:
Thread the stars through one inner corner and one outer corner, as pictured. This will make sure they sit evenly on the twine. I found it easiest to find the inner corner with the largest gap between the stitches, insert the needle there, then gathered the felt over the needle until it comes out on the opposite point.
Final Thoughts

I’m so happy with how this garland turned out! It was a little bit of a random project, but I really just followed my ✨vision✨ and I was very lucky that everything worked out. It was a little bit of a labour of love- I mean, the stringing process only took a few hours, but sewing all of the stars together definitely took a while.
I realise this tutorial might seem a bit overwhelming at first, but I have tried to include as many photos as possible to help illustrate all of my ramblings! I’d love to hear if you give this Starry Garland tutorial a go- let me know in the comments below!
Gemma
xxx