 Gemma
Gemma 
It’s the final day of Wedding Cake Week: Season 2!
Yesterday, I shared the recipe for Florrie & Mohit’s main wedding cake: an 8-inch round, 2-layer chocolate cake, filled with a cardamom-infused buttercream and a homemade cherry jam, decorated with dark chocolate curls and fresh cherries.
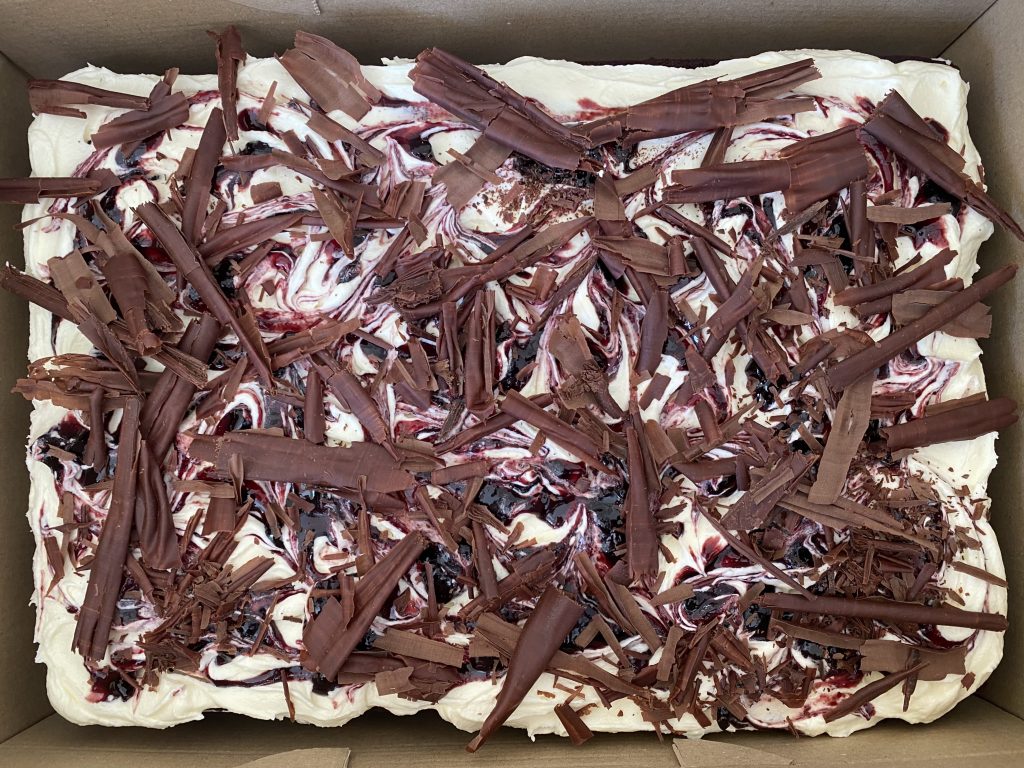
Today, I’m sharing the recipe for the scaled up version of that cake: all the same flavours and components, just in a bigger, 13 x 9-inch rectangular cake. I made this cake for the wedding, to be kept in the kitchen and sliced once the main cake was cut, so that there was enough cake for all of the guests. This is an approach I’ve taken before, with the Orange & Olive Oil wedding cake I made last year. I think it’s really great, because it means the couple can have exactly what they want for their ‘official’ cake, without needing to worry about size/servings.
This is a big cake, so the recipe probably won’t be super useful to you if you’re looking for a gentle Saturday afternoon bake… However, sometimes you need a big cake (I’m thinking parties, events, large family gatherings?), so I wanted to share the share the recipe for this version with you as well!
Because this cake is exactly the same as yesterday’s recipe, I won’t be going through all of the ins-an-outs of the ingredients in this post. If you want to read about that, check out yesterday’s post! In this post, I’ll be focusing on the specifics of this particular size cake: working with large amounts of batter, handling bigger bakes and the logistics of scaling the recipe up to line up with your required servings.
Enough chit-chat: let’s make a ginormous chocolate cake!
A Note on Customising Serving Sizes
The recipe below makes 1 x 13 x 9-inch chocolate cake. Once the cake is cool, the top is levelled and the remaining cake is cut in half horizontally, leaving you with two separate cake layers.
Technically, the cake I made for Florrie & Mohit’s wedding was 1 + 1/2 of the recipe I’m sharing today, because I made it with three layers of cake (I made 2 cakes, cut each in half horizontally and used 3 of the resulting 4 layers). For ease, I’m just giving you the recipe for the single rectangular cake, with 2 layers, but you can adapt it to suit your required servings super easily.
For reference, the 2-layer version of this cake should yield about 50 wedding servings. The cake I made was designed to yield about 75 wedding servings. 2 x 2-layer cakes would yield about 100 servings, and so on.
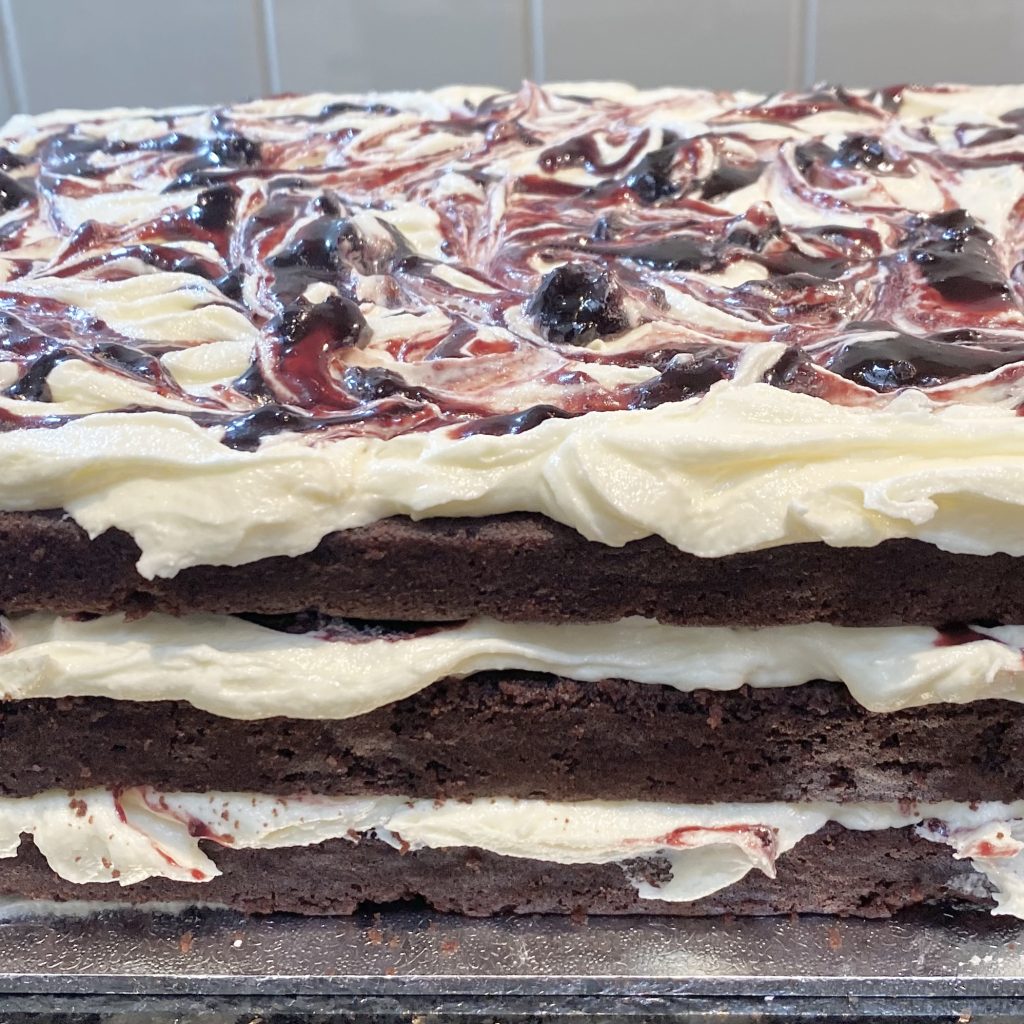
Obviously, there is a limit to how many cake layers you can realistically stack on top of each other. Three layers was absolutely fine, but I probably wouldn’t push it too far past that. If you want 100 servings or more, I’d recommend making multiple cakes, each with 2-3 layers!
Whatever you’re doing, just remember to multiply up/down the buttercream and jam too, so that you have enough of it. For a three layer cake, you’ll need 1.5x the quantity of both buttercream and jam listed in the recipe.
Components
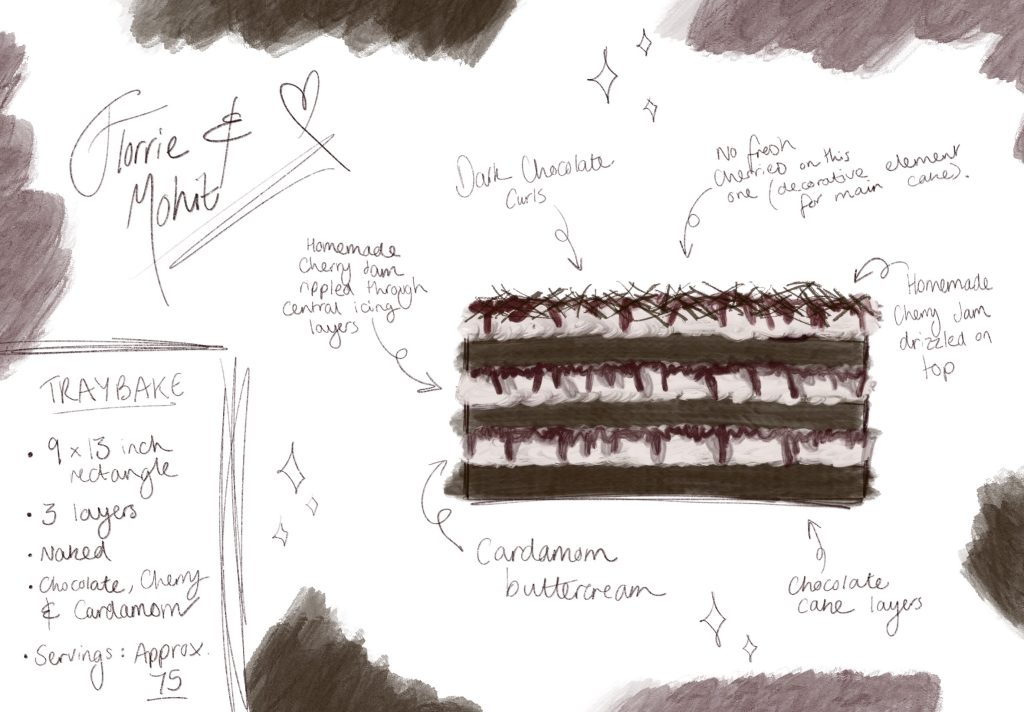
This rectangular cake is made up of 4 components:
- Chocolate cake layers
- Cardamom-infused buttercream
- Homemade cherry jam
- Handmade chocolate curls
All 4 of these components are exactly the same as the main cake: it’s the same chocolate cake batter, the same cardamom buttercream, the same cherry jam and the same chocolate curls— there’s just much, much more of each one!
Unlike the main cake, I didn’t bother putting fresh cherries on top of this cake, because it wasn’t on display and they were a more of a style-over-substance addition. Instead, I just covered the surface with as many chocolate curls (which have both style and substance) as I possibly could!
Making a 9 x 13-inch Chocolate Cake: The Differences
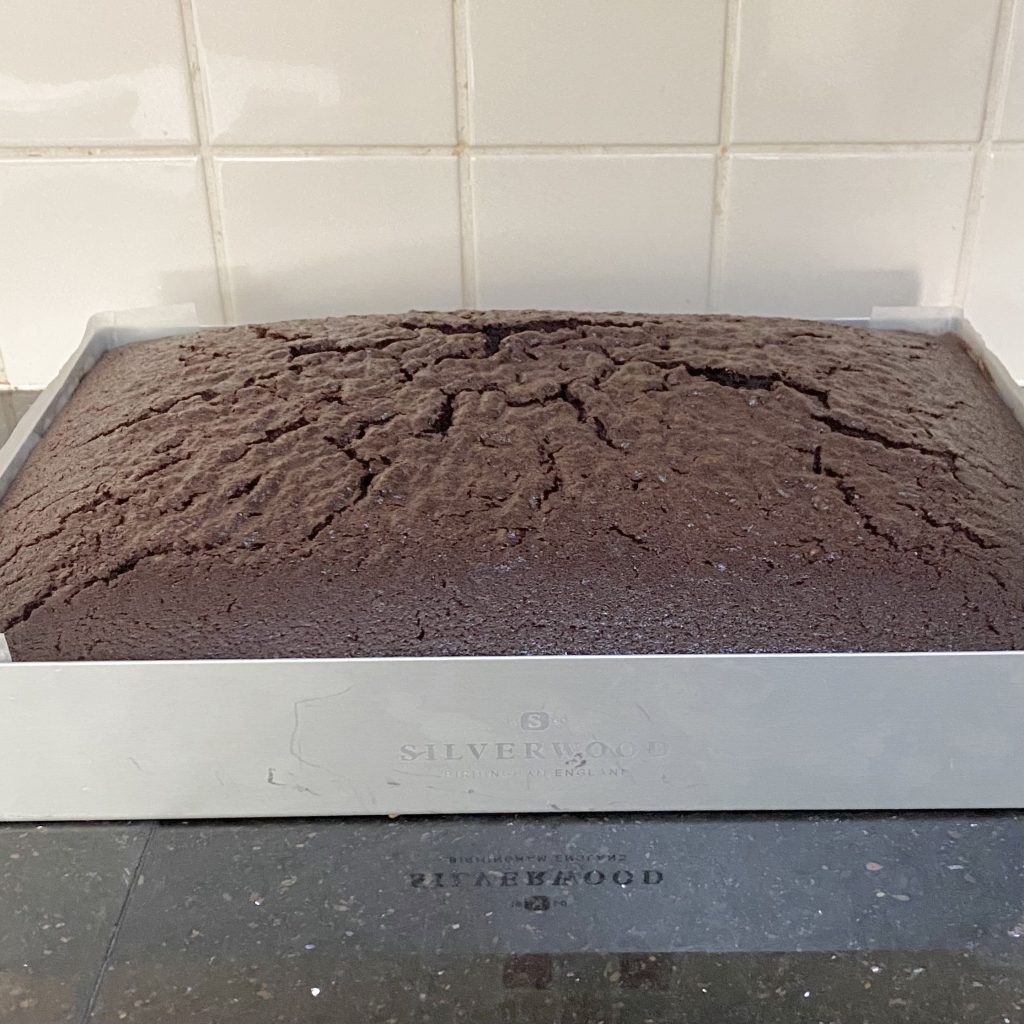
This cake is made using the exact same chocolate cake batter as yesterday’s round cake recipe, but, as I’m sure you’ve gathered by now, is much bigger (not to mention rectangular!). Because of this, there are a few differences in the baking process between the two cakes:
- Oven temperature
This cake is baked at a lower temperature (150°C) than the 8-inch round cakes, which are baked at 180°C (both temperatures are conventional oven, not fan). This is a pretty standard rule for baking: the bigger the cake, the lower the temperature you bake it at to ensure it is cooked through.
- Baking time
Much like the oven temperature, the bake time changes based on the size of the cake too. This cake takes much longer to bake (90-95 minutes) compared to the 8-inch round cakes (50-55 minutes), because, again, it is so much larger (and because with the 8-inch cakes, the batter was divided between two tins. In this cake, it’s all in one, big tin, so the heat needs more time to permeate through it!).
- Lining the tin
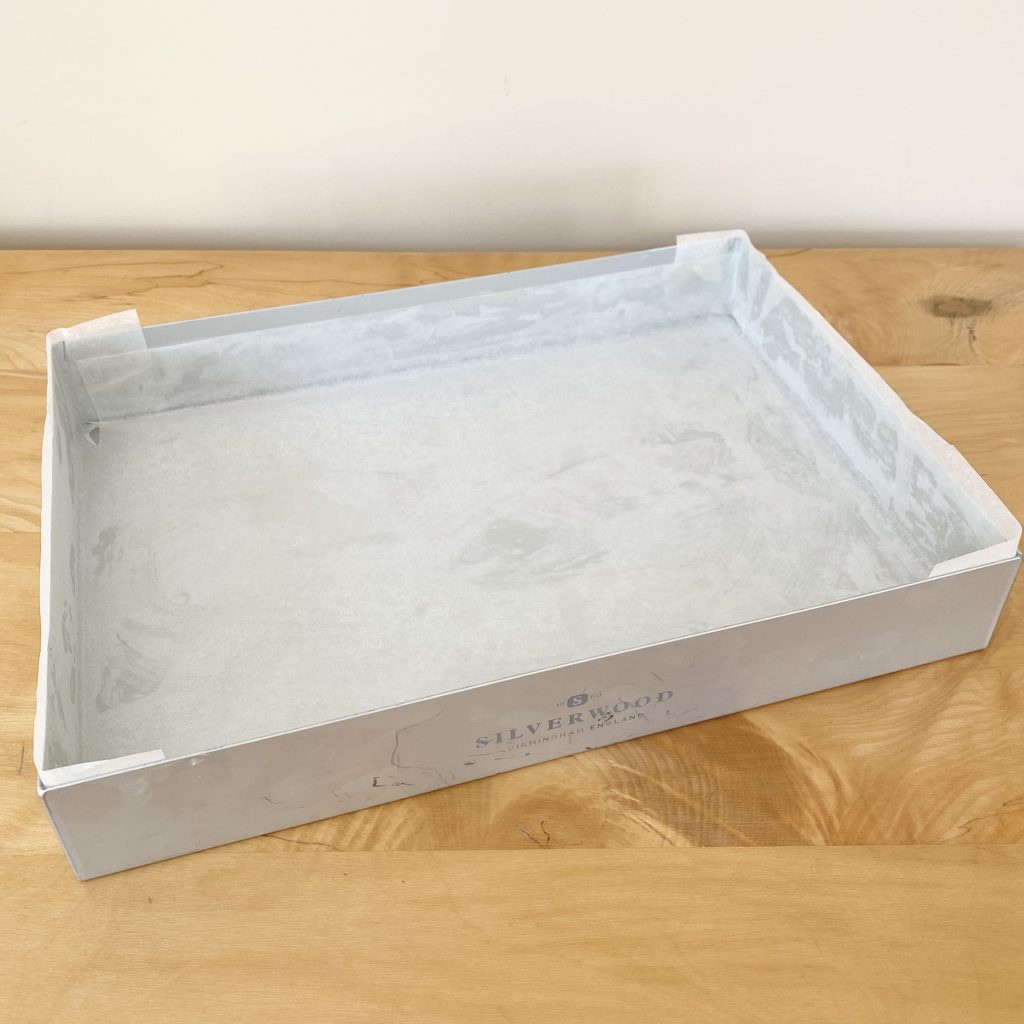
This is mainly personal preference: for round cakes, I find that I usually only need to line the base of the tin with a circle of baking paper, after greasing the bottom and sides. For rectangular cakes, I tend to line the whole tin, base and sides, with the paper, just because it’s easier to cut the baking paper for and because it makes it easier to get the cake out of the corners. I still grease the whole tin with Stork (a margarine baking spread— but you can use softened butter instead) though!
- Releasing the air bubbles
This particular cake batter is a little prone to ‘tunnelling’, where large air bubbles bake into the cake and form these harmless, but kind of random, ‘crater-like’ holes. Truly, no one is going to notice them, but the perfectionist in me wants them gone, so I always tap the tins down on the work surface to help release the air.
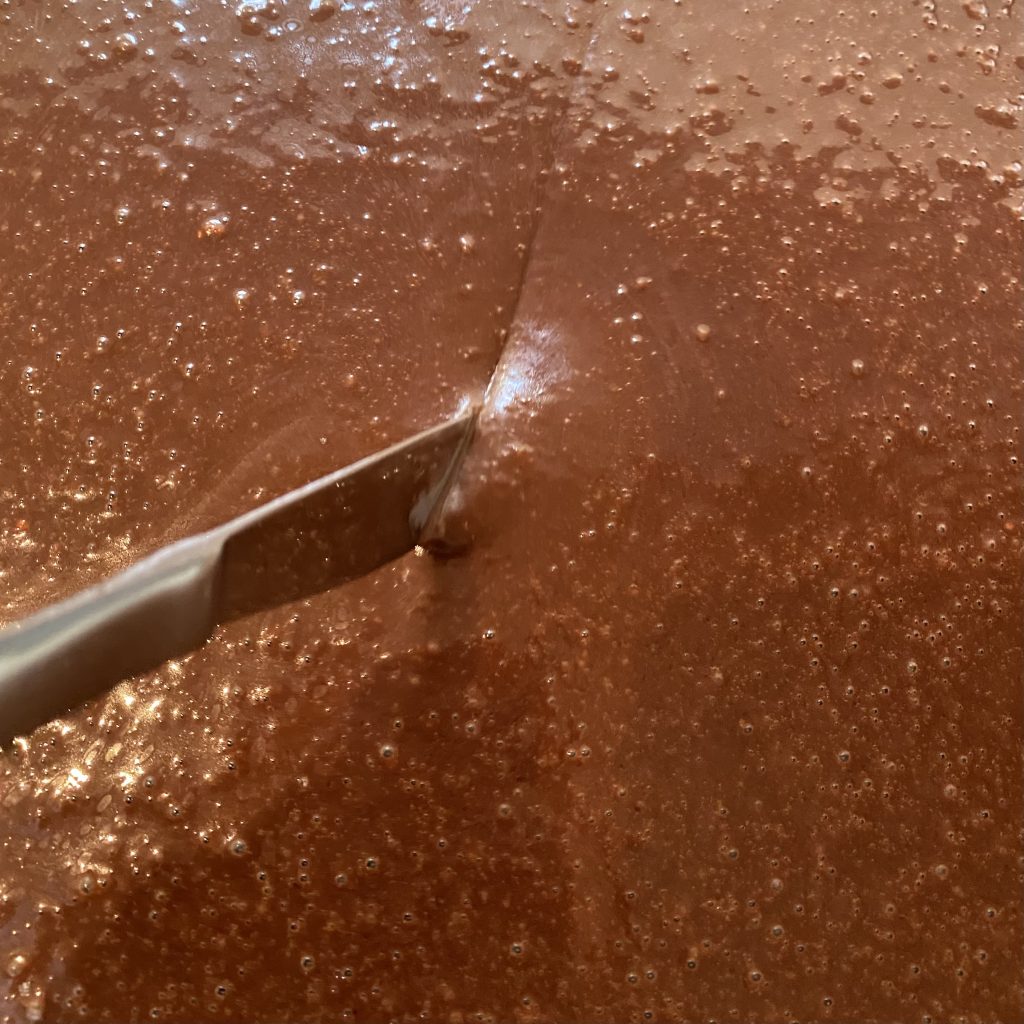
The problem with this cake is that a) it’s very heavy, so it’s kind of hard to tap down and b) it’s big, so there’s even more space for air bubbles to form. Ultimately, with a cake this large, I find that it’s easier to give it a few taps (if you can manage), then run a blunt knife back and forth through the batter to pop any lingering bubbles. I know it sounds like a bit of a faff, but it really does help!
Assembling the Cake
In theory, this cake is assembled in exactly the same way as the main cake, so:
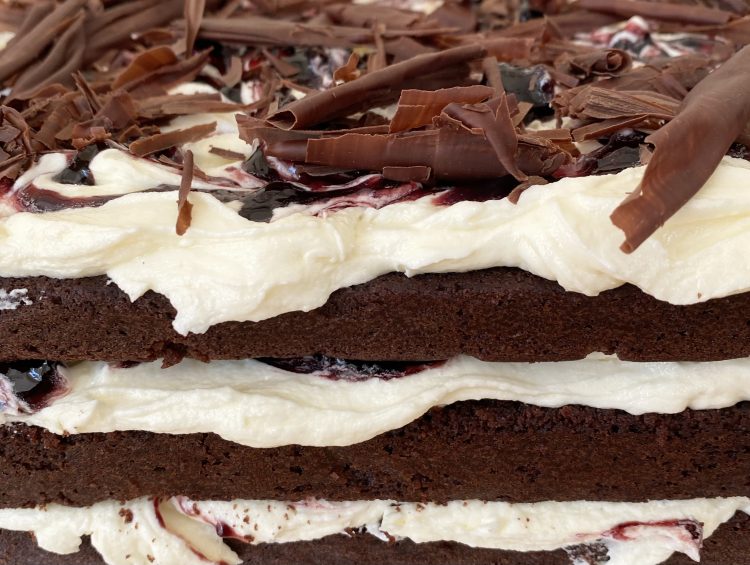
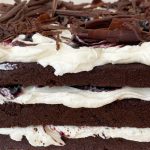
Cake + icing + jam + cake + icing + jam + chocolate curls
However, the process is a tiny bit different because of the size difference.
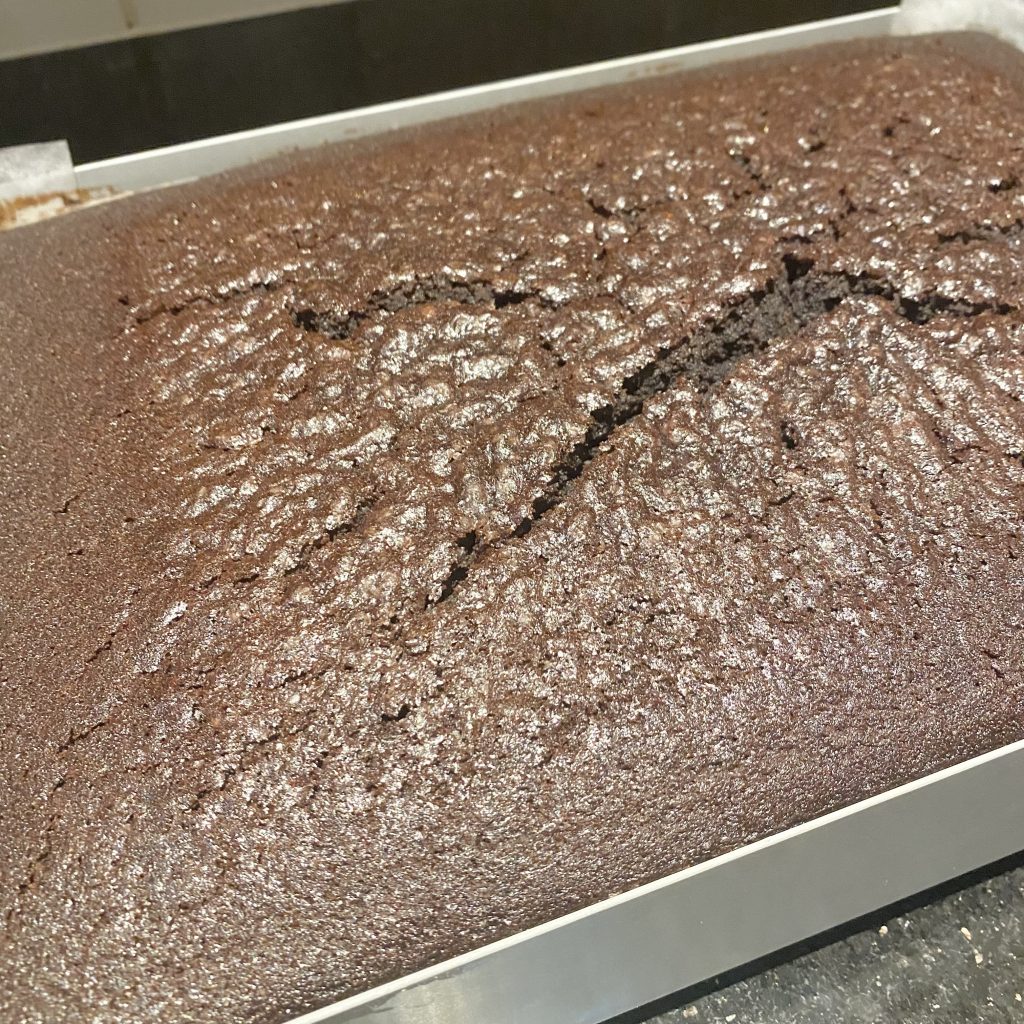
Just like with the main cake, you start by levelling the cake. For this, I levelled the domed top off, then cut the remaining cake in half horizontally, leaving me with two thinner layers of cake. It’s easier to get a clean cut if the cake has been chilled in the fridge (wrap it tightly with clingfilm to keep it fresh and moist), though this does make it a little harder to cut through, because the butter in the layers hardens up. Pick whichever way you prefer, but be aware that these layers will be a bit more fragile than the round ones, because of their increased surface area, so be careful when handling them!
You’re welcome to leave the domed top on, if you’d prefer. Just remember that you can’t add another layer of cake on top of that domed layer, or it won’t sit flat: if you’re keeping the dome, it needs to be at the top.
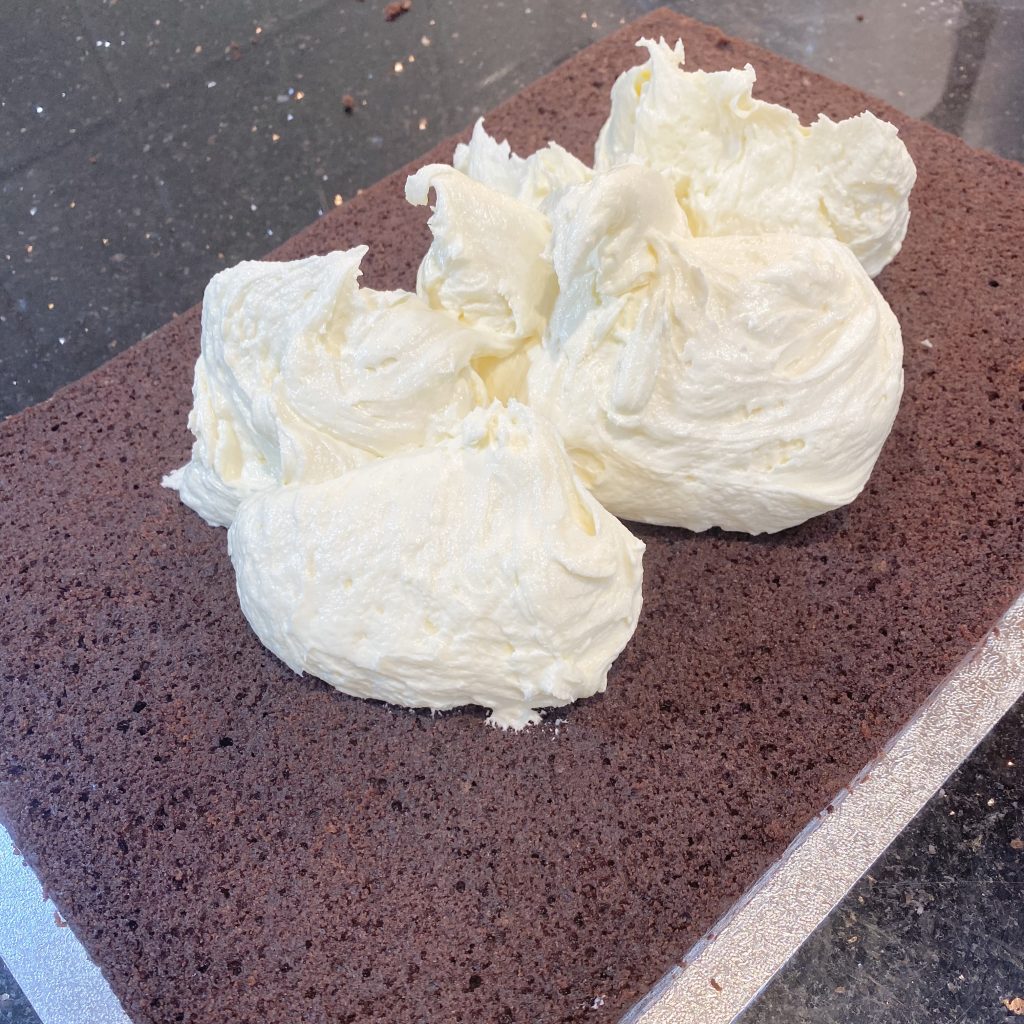
Then, spread on half of the icing.
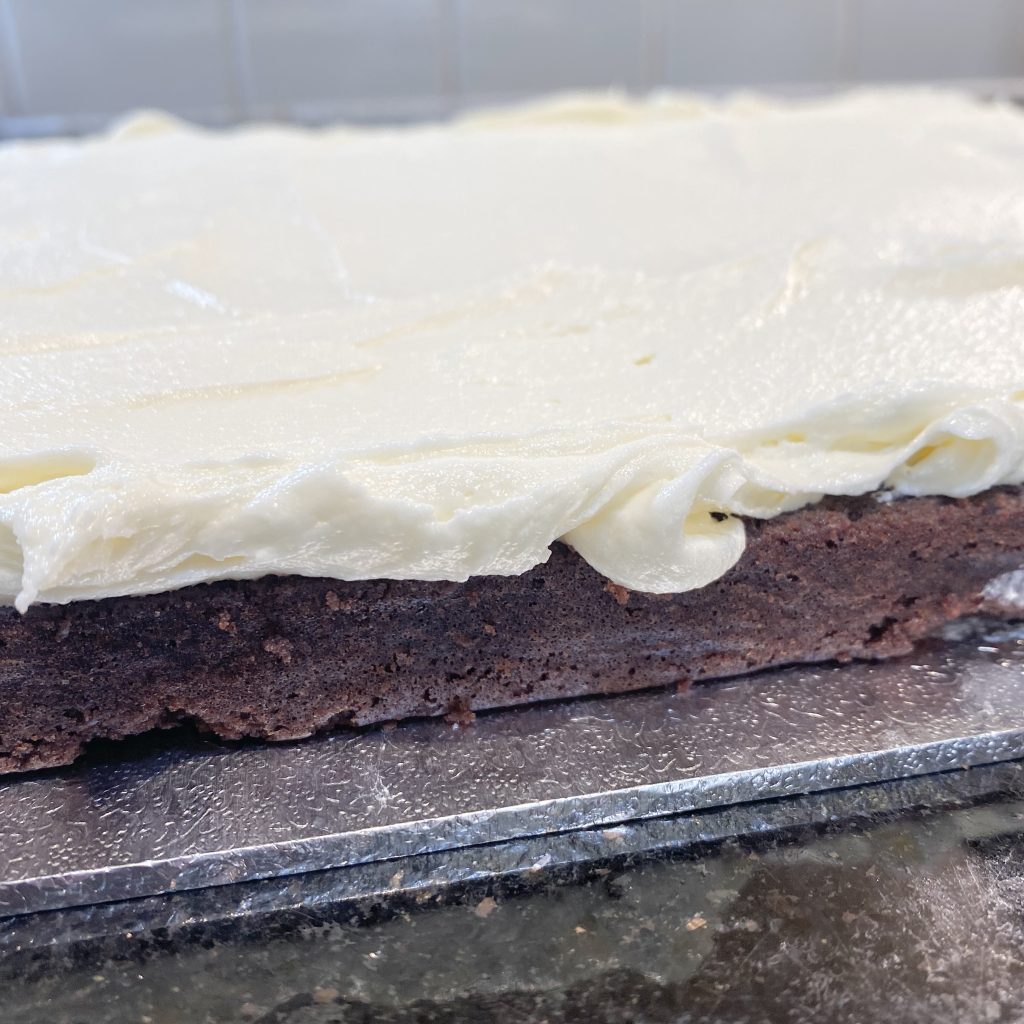
Make sure it’s in a flat, even layer.
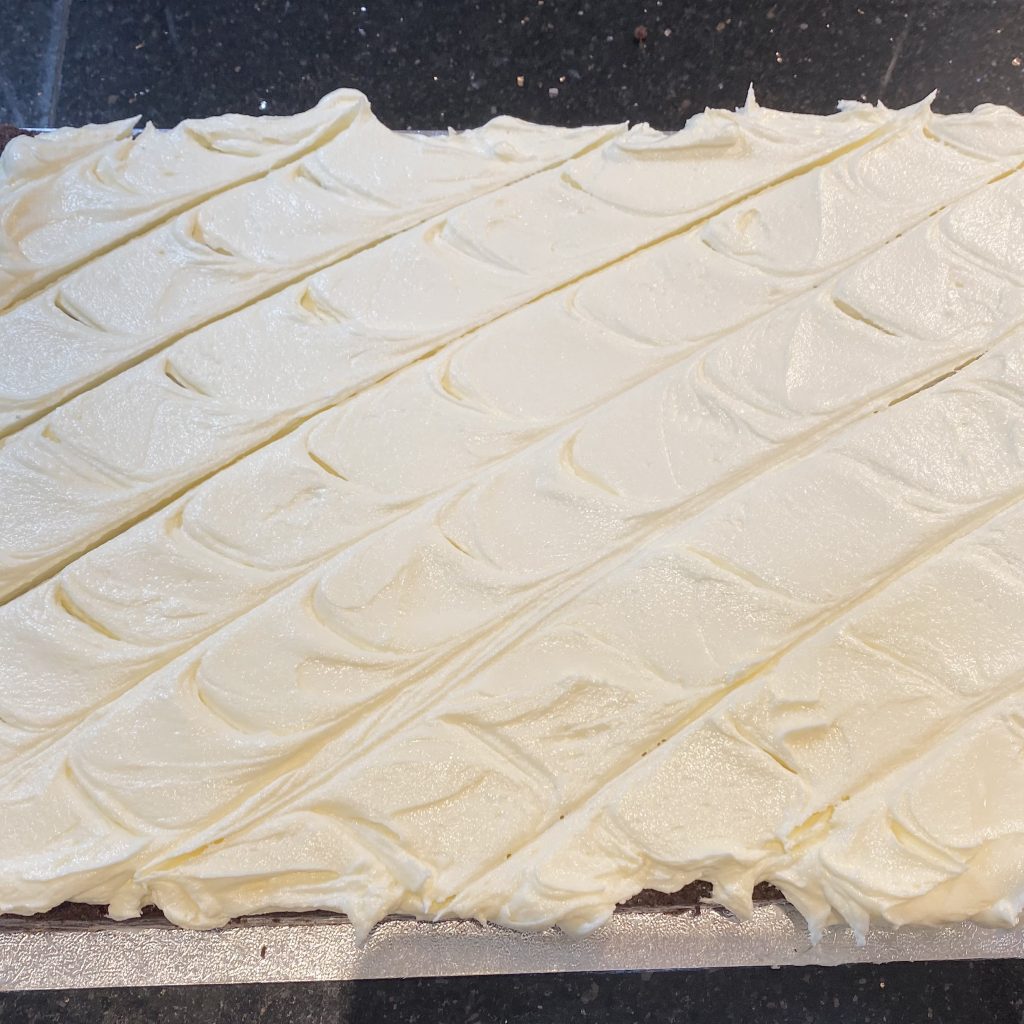
I wanted to make sure I had an even distribution of jam across the cake, so I made myself some guidelines using a blunt knife.
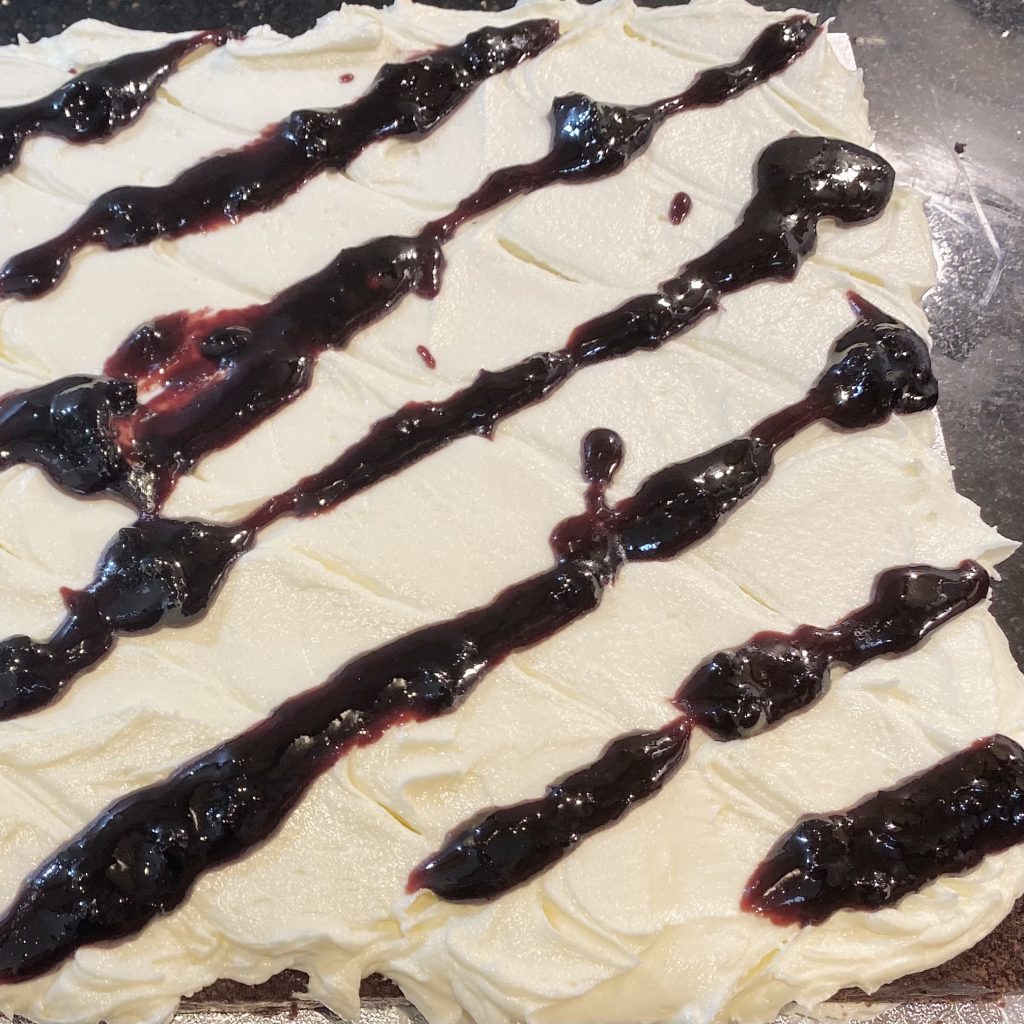
I added the jam along those lines (in a kind of haphazard manner, but the thought was there!).
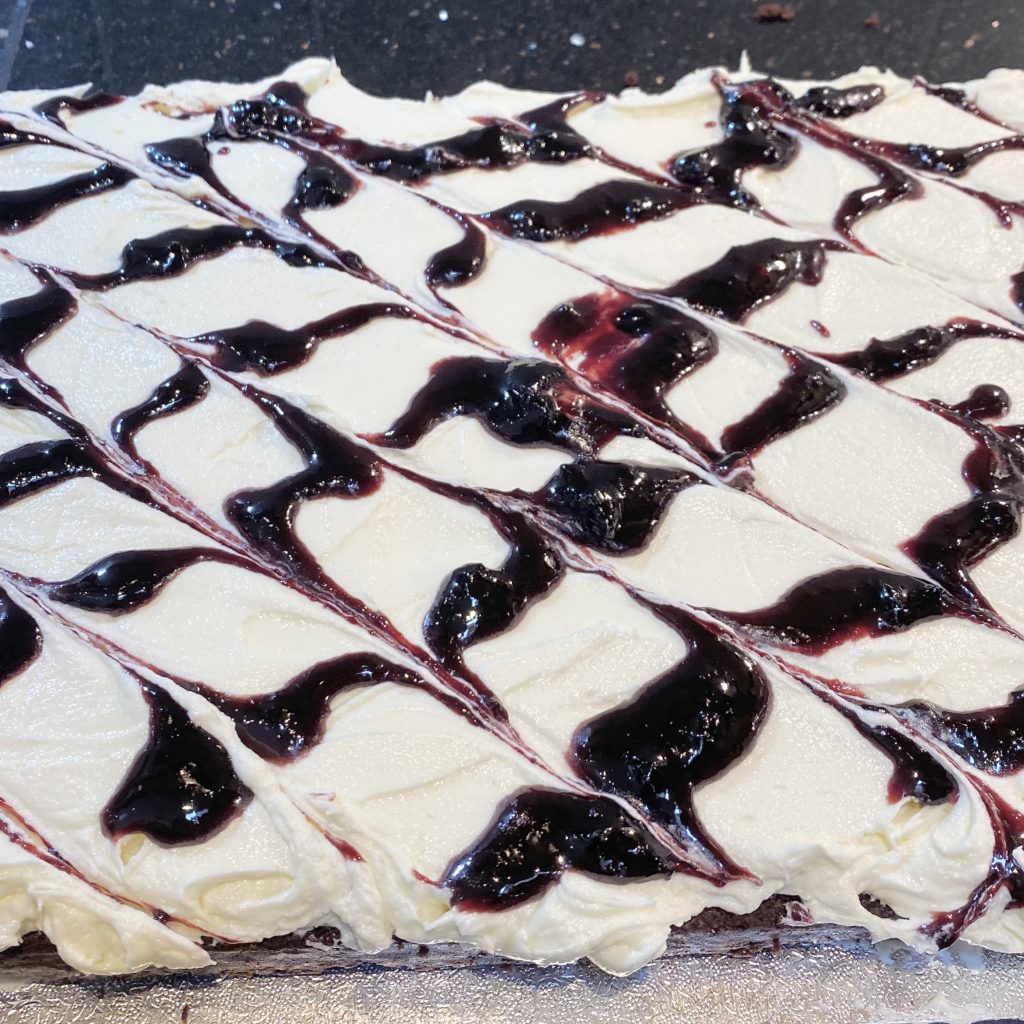
Then I started my swirling by dragging the jam through the buttercream perpendicular to the original lines.
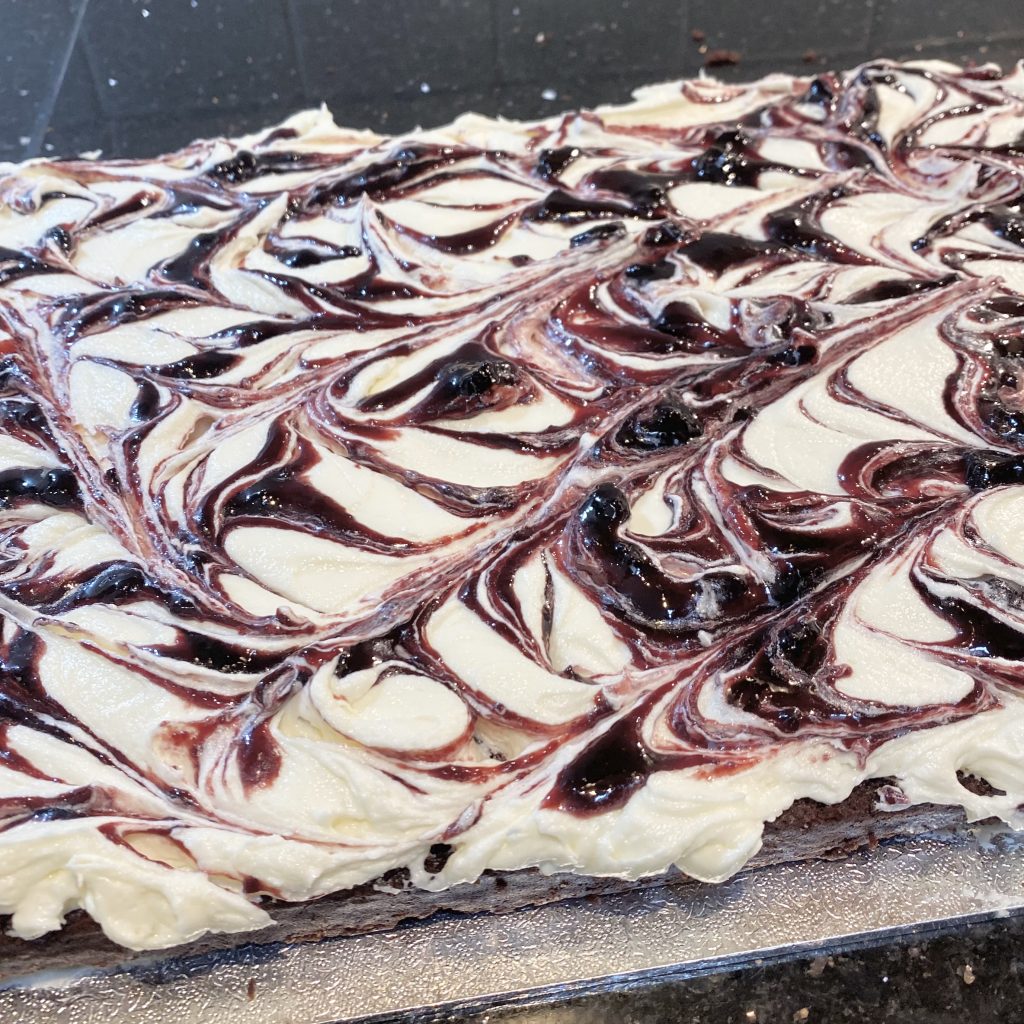
With a pretty even coverage established, I finished swirling the jam through the buttercream. I recommend swirling the jam in, instead of adding a whole layer of jam with a buttercream dam, because a) I think it’s nice to be able to see the jam once the cake is stacked up and b) it will make your cake much more stable.
Then, I added the second layer of cake and repeated the whole process, all over again.
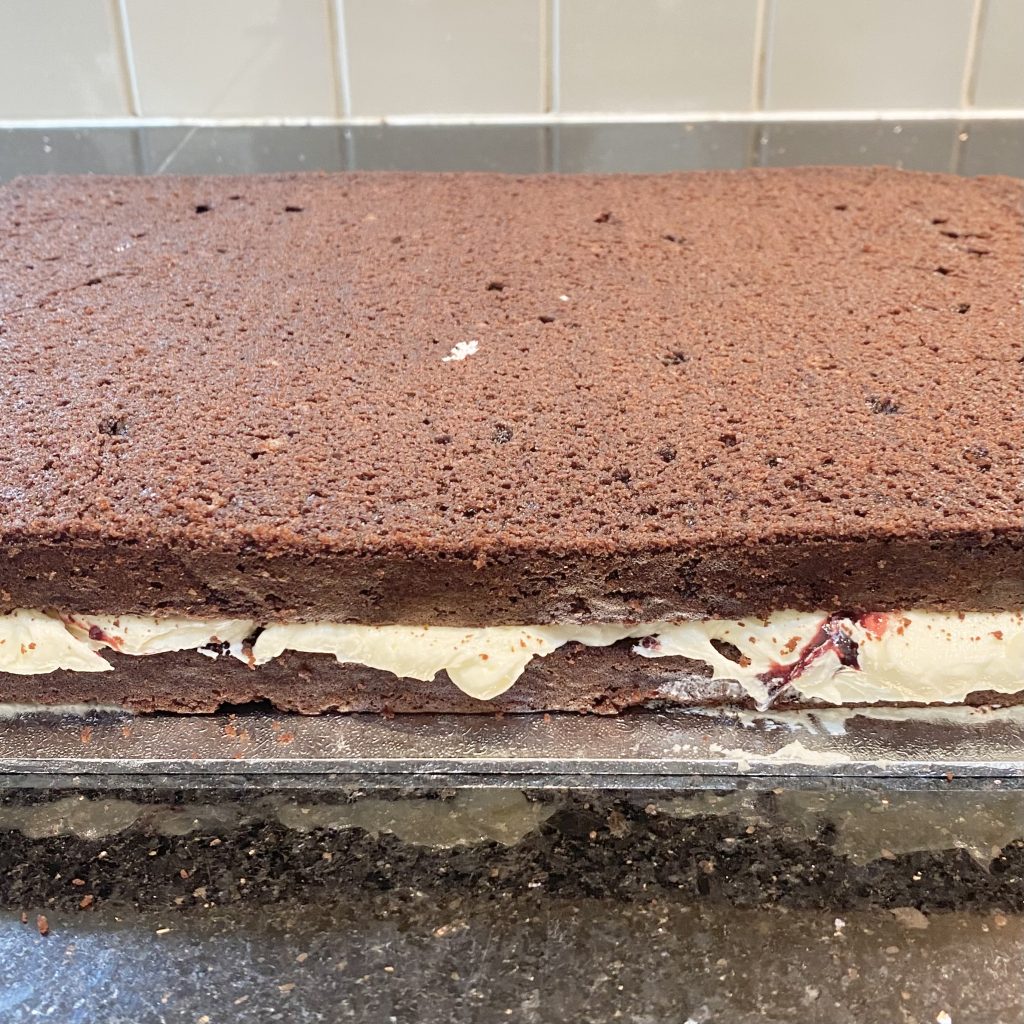
Once you’ve added the icing and swirled in the jam, if you’re following the recipe below, you’ll be done and you can get on with decorating the cake (aka: throwing copious amount of chocolate curls on it).
However, if, like me, you’re making an extra tall cake, you’ll need to repeat the process all over again with a third layer of cake.
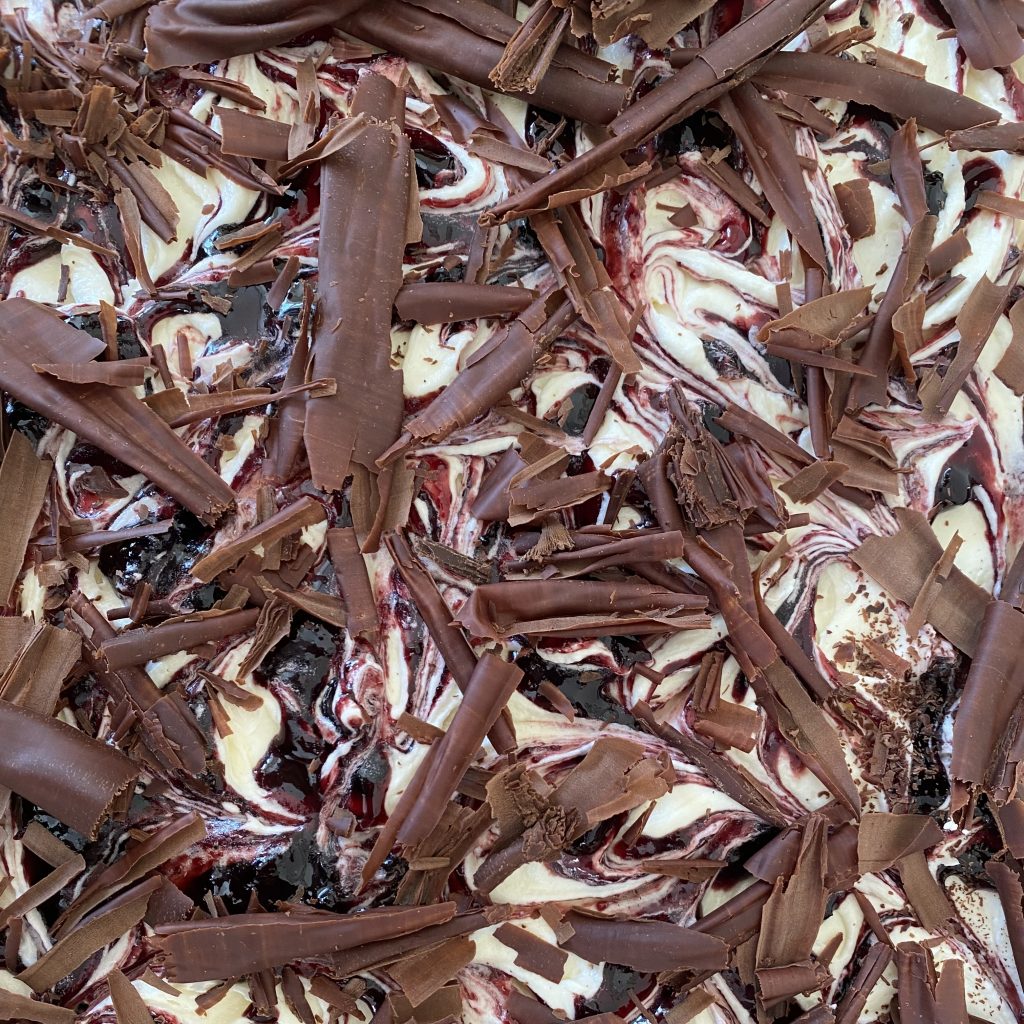
Then it’s time to decorate. As I mentioned, there are no fresh cherries on this one, because the cherries were more for the aesthetic on the main cake, so it’s all down to the chocolate curls. Again, just like with the main cake, the goal is to be exceedingly liberal: more is more!
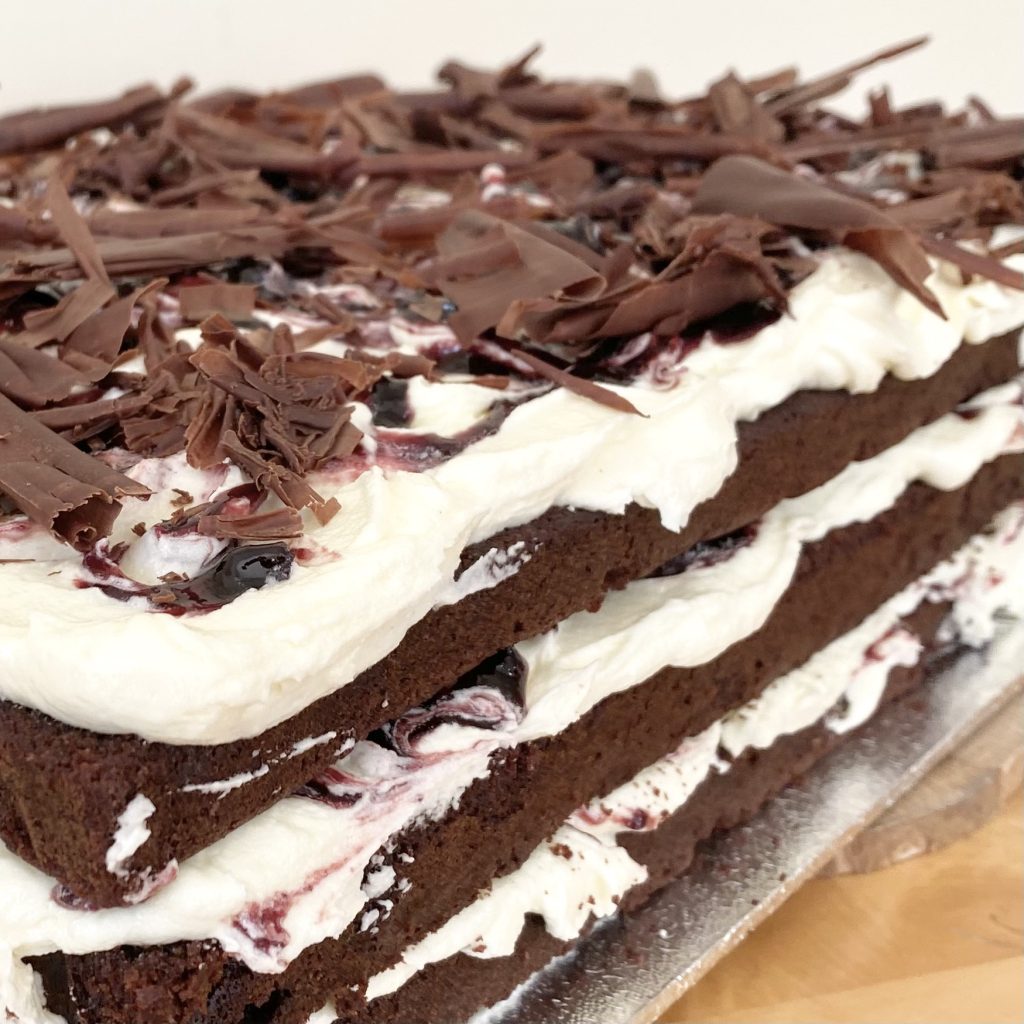
And with that, your giant Chocolate, Cherry and Cardamom Cake is done! Just like the main cake, it can be stored at room temperature or in the fridge, preferably in an airtight container, where it will keep for a few days before it starts drying out.
Baking Giant Cakes 101
In case you still weren’t 100% sure, this cake is big.
Really big.
It’s weird, because a 13 x 9 inch tin doesn’t look that big, but somehow, when it’s filled with the (very heavy) chocolate cake batter… it seems bigger.
I remind you of this because I find that you kind of have to adjust your mindset when making big cakes like this. There are a few things you really need to consider ahead of time, otherwise everything’s going to start going south pretty quickly:
- Bowl sizes
You need a lot of batter to fill this tin. Because of that, you really need to use the biggest bowls you can find to make it! I’ll tell you now: the bowl of a KitchenAid stand mixer is not big enough. I had to crack out the big guns, the big bowl for this one.
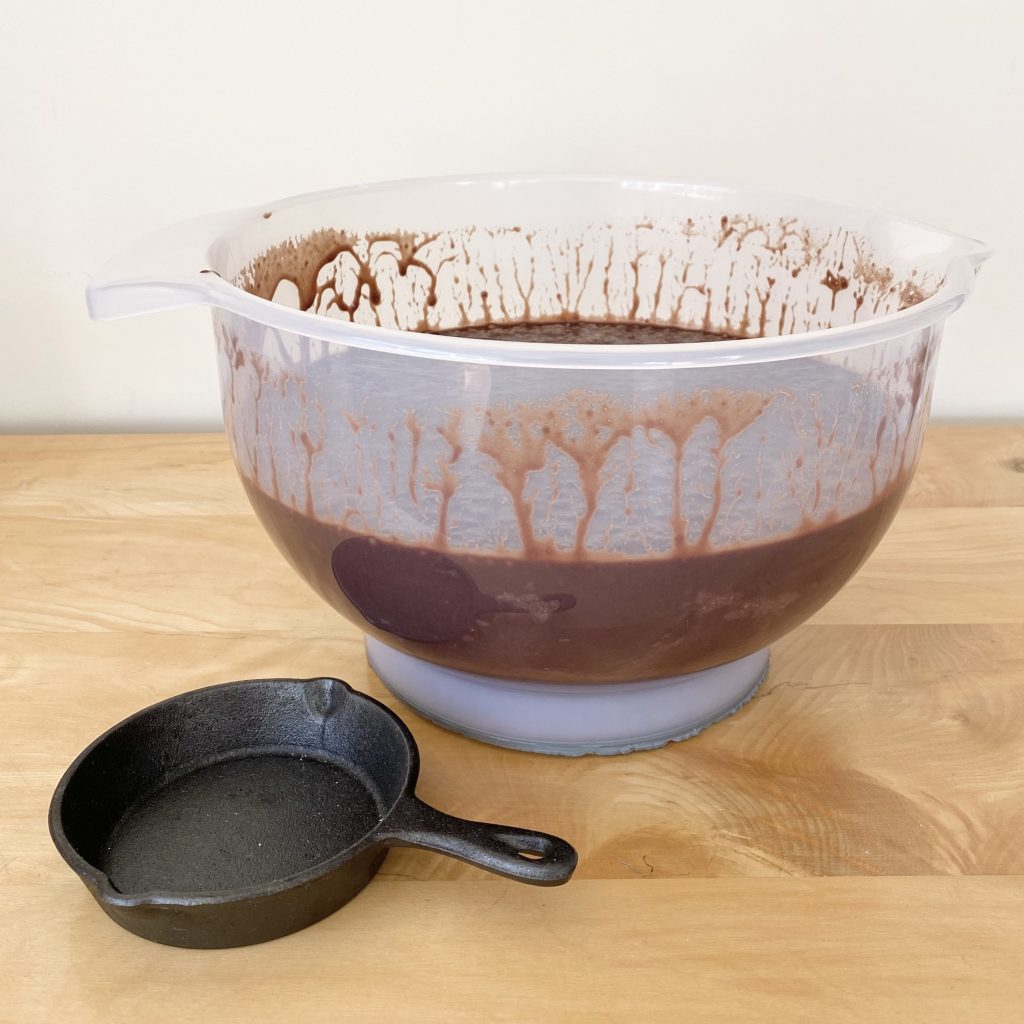
Put your dry ingredients into the biggest bowl, because that’s the one that all the batter will be mixed in eventually. Whisk your wet ingredients together in your second biggest bowl (preferably one with a spout, for easy pouring!).
- Weight
This sounds silly, but this cake is heavy. It’s heavy before it goes into the oven and it’s heavy afterwards: it’s a dense, heavy cake (but, like, in a delicious way).
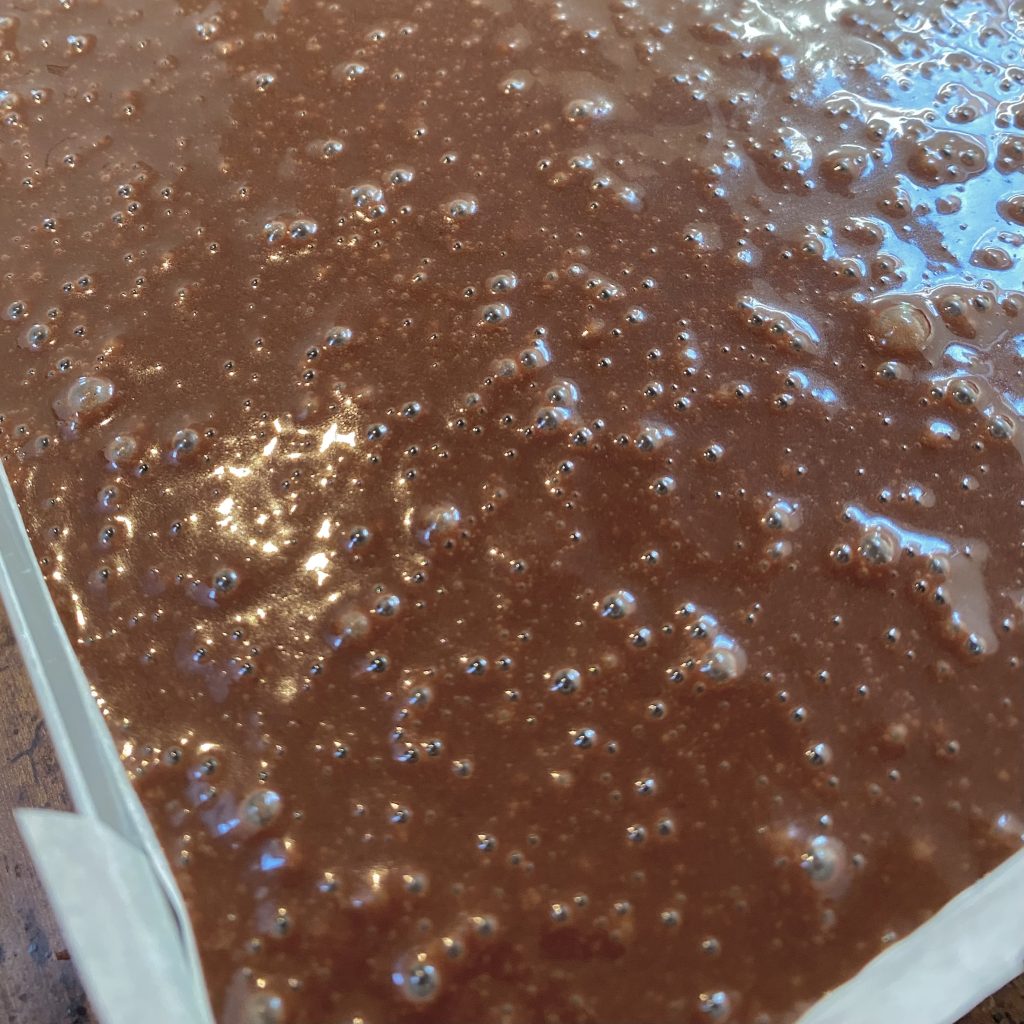
Be super careful when taking it in and out of the oven— make sure that you have a good grip on it and aren’t going to drop it all over your oven. If you happen to be baking with kids, this is definitely a job for an adult!
- Baking time
The cake takes a long time to bake: 90-95 minutes to be exact. It really does need that amount of time (and it’s at a relatively low temperature, 150°C, if that makes you feel any better about the energy usage…?) to ensure the cake is cooked through. On the bright side, that’s 90-95 minutes of completely passive work, which is always nice!
- Cooling time
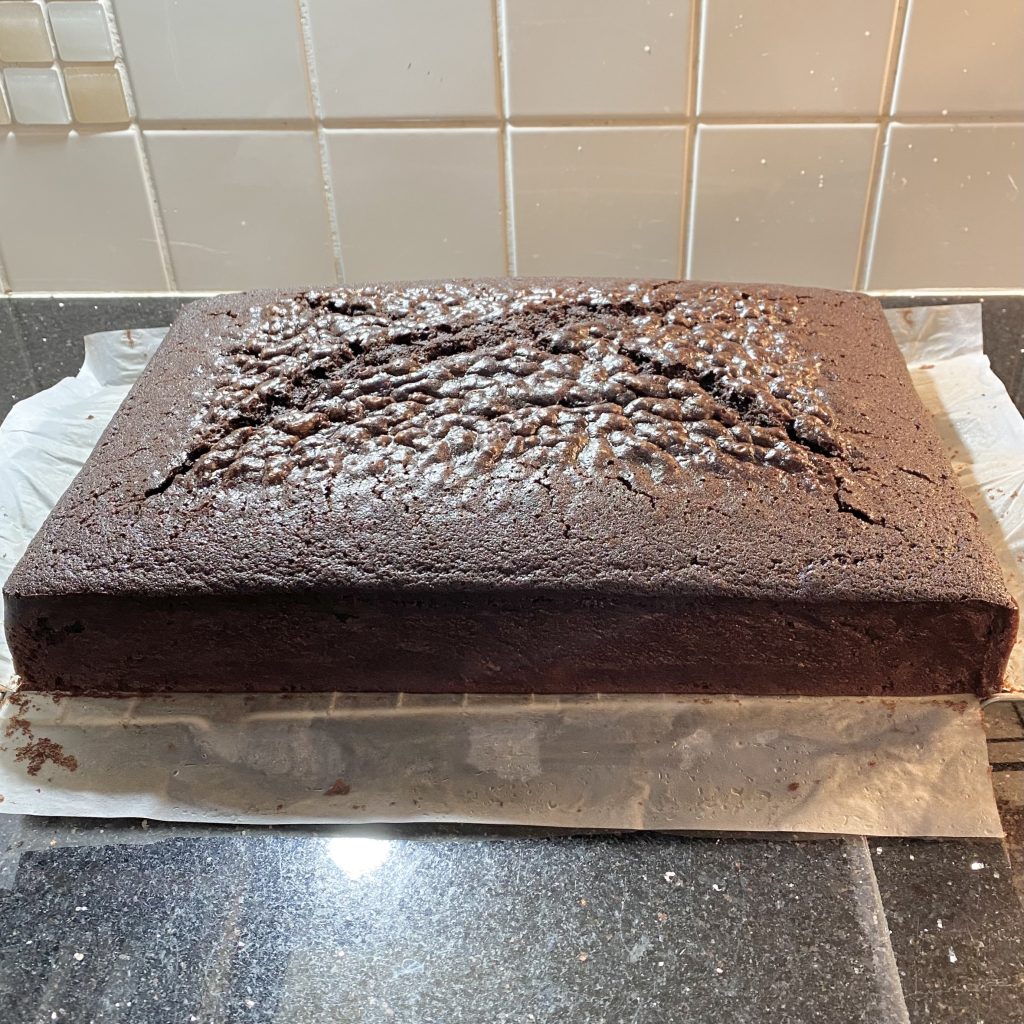
As long as the cake takes to bake, it takes even longer to cool. Literally, hours. It’s big, it’s dense and it’s going to retain heat. Just be patient, keep it away from any pets/hungry family members, turn it out onto a wire rack once it’s cool enough to handle (probably about an hour or so), then leave it until it’s really, truly cold before icing/storing it in the fridge (wrapped in a tight layer of clingfilm, of course).
Recipe
Chocolate, Cherry and Cardamom Cake (Rectangular Version)
Equipment
- 13 x 9 x 2 inch rectangular cake tin (see Note 1).
Ingredients
For the cardamom-infused milk:
- 45 cardamom pods
- 80 ml whole milk
For the chocolate cake layers
- Stork or softened butter, for greasing.
- 1 1/2 tbsp instant coffee granules (I used decaf).
- 450 ml boiling water
- 150 g cocoa powder (see Note 2).
- 210 g salted butter, diced.
- 600 g plain flour
- 690 g golden caster sugar
- 1 3/4 tsp bicarbonate of soda
- 450 g buttermilk
- 180 g sunflower oil
- 1/4 tsp vanilla extract
- 6 eggs
For the cardamom buttercream:
- 400 g unsalted butter, room temperature.
- 800 g icing sugar, sifted.
- 6 tbsp cardamom-infused milk (see above).
- 1/4 tsp lemon juice
- 1 pinch fine sea salt
To assemble:
- 240 g cherry jam (approx. 1/2 of my Homemade Cherry Jam recipe- see Note 3).
- Dark chocolate curls (see Note 4).
Instructions
Infuse the milk for the buttercream:
- Bash the cardamom pods to crack open the pods. Place them in a heatproof container along with the milk and microwave for 10 seconds on high until the milk is hot. Cover, cool to room temperature, then leave in fridge overnight to infuse.
- The next day, strain the milk through a sieve, pressing down on the cardamom pods to extract as much flavour as possible. Discard the pods and keep the milk to use in the buttercream later.
Make the chocolate cake layers:
- Preheat the oven to 150°C (conventional, not fan). Grease a 9 x 13 x 2 inch cake tin with Stork (or softened butter) and line completely with baking paper. Set aside.
- Place the instant coffee granules into a medium bowl. Pour over the boiling water and stir to dissolve. Add the cocoa powder and whisk until smooth.
- Gradually add the diced butter to the hot cocoa mixture, whisking in each addition until all of the butter has been added and everything is smooth.
- Sift the flour, caster sugar and bicarbonate of soda into a large bowl. Whisk together until well-combined, then set aside.
- Add the buttermilk, oil and vanilla extract to the warm cocoa mixture. Whisk until incorporated.
- The cocoa mixture should now be cool. Add the eggs and whisk thoroughly, until completely incorporated.
- Pour the cocoa mixture into the dry ingredients gradually, whisking all the time, until the batter is smooth and well-combined, with no lumps of flour.
- Pour the batter into the prepared tin. It will be pretty full, but it shouldn't overflow when baking. Firmly tap the tin down on the work surface a few times to help release any large air bubbles, then drag a blunt knife back and forth through the mixture a few times. This helps to prevent 'craters' from forming in the cake when it is baked (but don't worry too much— no one will notice once it's filled with icing anyway!).
- Bake the cake in the centre of the preheated oven for 90-95 minutes, until a skewer inserted into the centre of the cake comes out clean, or with just a few moist crumbs. The cake will be very domed and the surface will be quite cracked— don't worry, that's how it's supposed to be!
- Leave the cake to cool in the tin for about an hour or so, then run a palette knife around the edge of the tin to loosen it before turning it out onto a wire rack. Allow the cake to cool completely before assembling (or wrapping tightly in clingfilm and storing)— this is a large, dense cake so it will take a long time to cool (like… 3-4 hours!).
Make the cardamom buttercream:
- Place the butter into the bowl of a stand mixer fitted with a paddle attachment. Beat on medium-high until smooth, fluffy and noticeably paler in colour.
- Turn the speed to low and gradually add the icing sugar, mixing all the time until it is incorporated.
- Add the cardamom-infused milk, lemon juice and sea salt and mix on low until incorporated.
- Turn the speed up to high and beat until light and fluffy. Use immediately or transfer to an airtight container and store in the fridge. The chilled icing should be brought to room temperature and given a gentle whip on low speed before using.
Assemble the cake:
- Start by levelling and splitting the cake. Use a cake leveller or serrated palette knife to trim the domed surface off the cake, then cut the cake in two horizontally. The cake layers will be a little fragile (because of their large surface area), so handle them with care.
- Spread a thin layer of buttercream on the serving board, and place one cake layer on top. Spread half of the remaining buttercream on top of the cake, then swirl half of the cherry jam through the icing.
- Place the second cake layer on top and spread the remaining buttercream on top of that layer. Swirl the remaining jam through the icing, then generously top with the chocolate curls, remembering that more is more!
Notes
- I used this tin from Silverwood.
- Using really good cocoa powder will take your chocolate cake from amazing to absolutely incredible. My favourite is the Valrhona cocoa powder, but it is… very expensive. I did use it for this recipe (because I figure weddings deserve the best stuff!), but you can use a cheaper alternative if you prefer— your cake will still be delicious, just not quite as amazing!
- You can find my Homemade Cherry Jam recipe here. If you’d prefer to use store-bought jam, that’s absolutely fine— just get the most delicious one you can find!
- I made the curls for this cake using a 72% dark chocolate, which I think contrasts nicely with the sweet icing and brings out the chocolatey-ness of the cake. However, you can absolutely use whatever chocolate you prefer to make your curls! You can find my chocolate curl tutorial here.