 Gemma
Gemma 
Welcome to the first official post in Wedding Cake Week: Season 2!
If you missed yesterday’s post, I recently made another wedding cake (my third overall!) and I’m sharing all of the recipes/behind-the-scenes info with you this week!
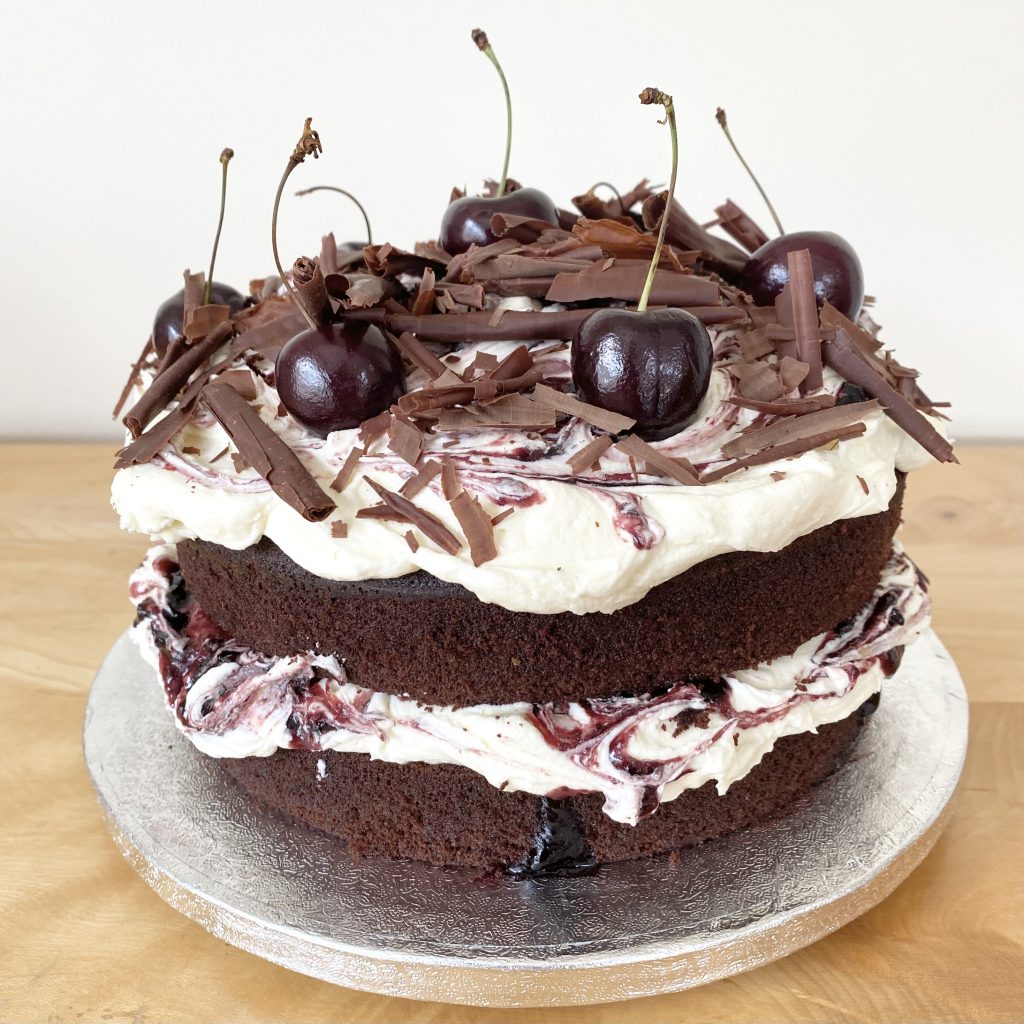
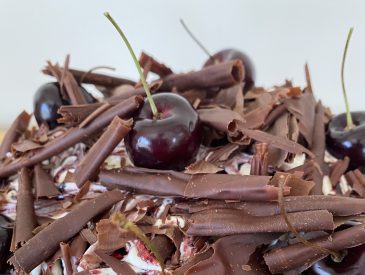
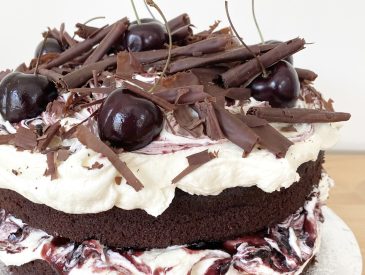
This time around, the cake in question was a Cherry, Chocolate and Cardamom Layer Cake: a rich chocolate sponge, filled with a cardamom buttercream and homemade cherry jam, then decorated with heaps of chocolate curls and fresh cherries.
In today’s post, I’m sharing the recipe for the Homemade Cherry Jam! Making your own jam isn’t strictly necessary for the cake: if you’re short on time, or want to make the process a bit quicker/easier for yourself, you can absolutely use a good, store-bought cherry jam (insert Ina Garten meme here)— I recommend looking for one made with morello cherries for the most delicious results! However, if you have time, making your own jam is pretty straightforward and makes your cake extra special (and extra delicious!).
Using Jam as a Cake Filling
Jam is a super common cake filling (Victoria Sponge, I’m looking at you!), but it can be a little tricky to work with when you’re aiming for a super stable finished product. While jam is very sticky (all that sugar!), it’s more… slippery?… than buttercream, which can lead to your cake layers sliding a bit if you use too much of it to sandwich the layers (a little bit like lemon curd… which, if you were here for the last Wedding Cake Week, you’ll know is my ultimate nemesis!).
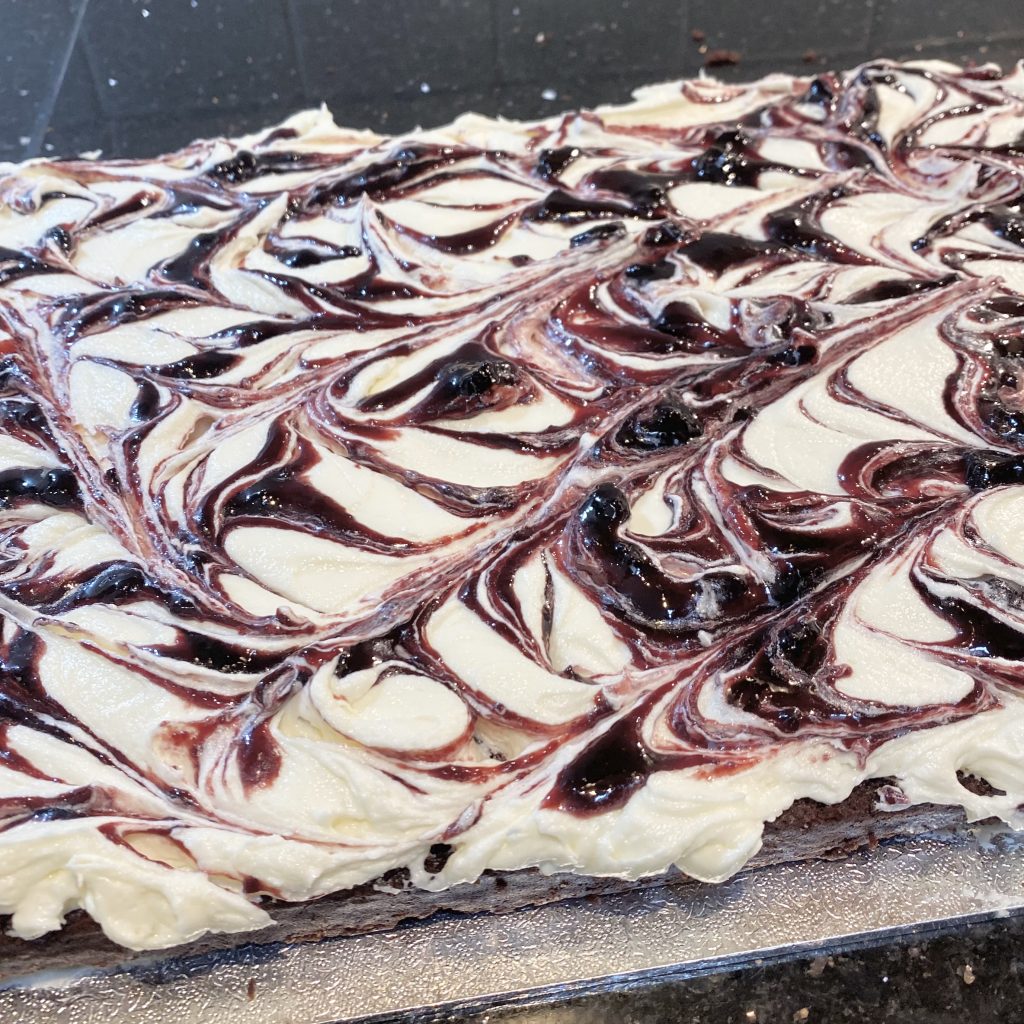
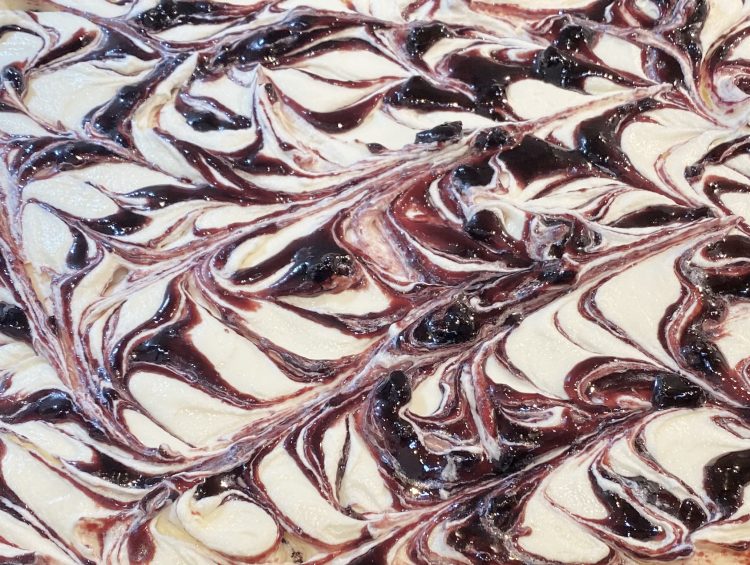
To avoid this problem, particularly because the cake had quite a long distance to travel to get to its destination, I opted to swirl the jam into the buttercream: you still get all the flavour of the jam, but it’s the buttercream that’s doing the heavy work keeping the cake upright, so you’ve got the best of both worlds!
This is a chunky jam, but the chunk is controlled: instead of a more natural-style jam, where the cherries break up a little, but not completely, as it cooks, I’ve made a smooth jam and then added diced cherries to it part of the way through the cooking process. There were two main reasons for this: aesthetics and taste. The smoother jam (with intentional chunks) looked a lot better on the cake, while the added pieces of cherry really amplified the overall flavour. If you’d prefer to make a more natural-style jam, though, go for it— it will still taste lovely!
Ingredients
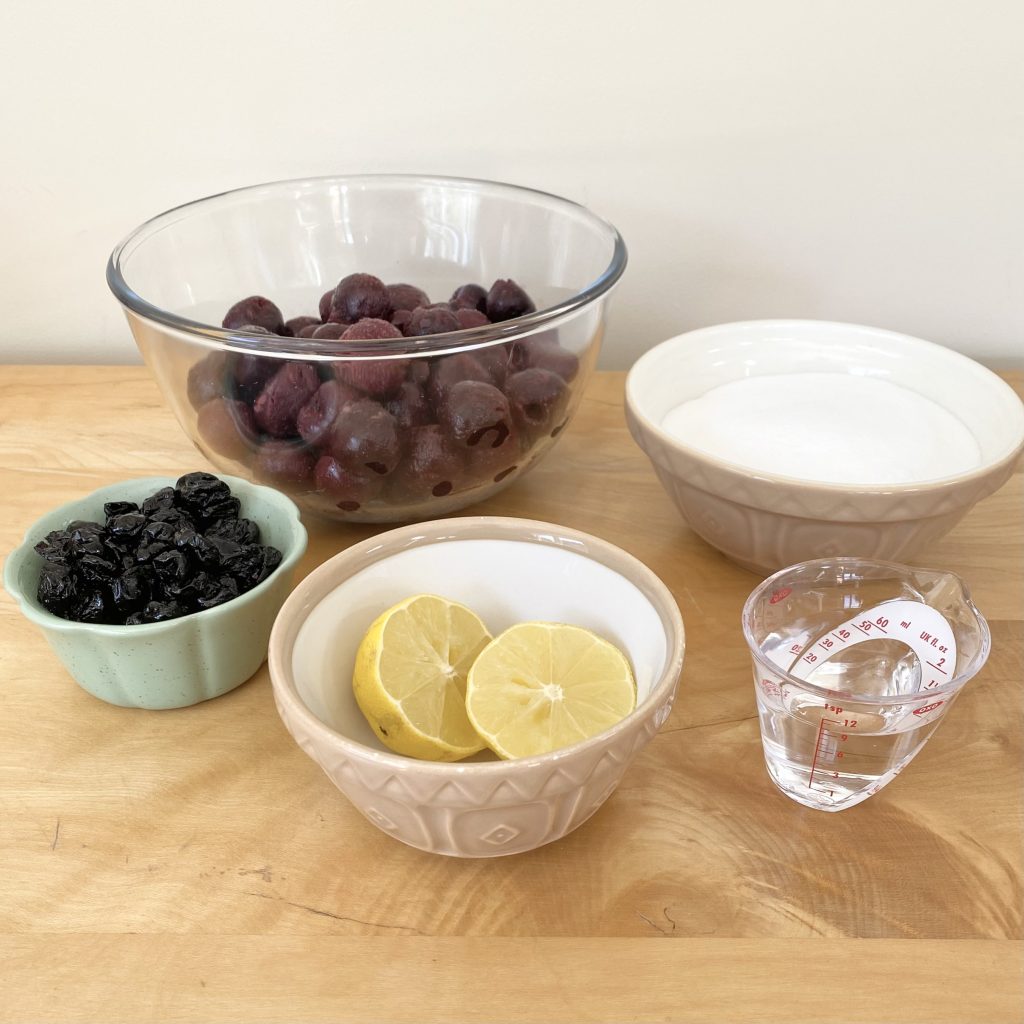
To make this homemade cherry jam, you will need the following ingredients:
- Frozen cherries
I like to use frozen cherries, because they’re available year-round and I find them more convenient. I prefer to buy the darker cherries, because I think they give the jam a better colour, but as long as they’re pitted, any type will do.
- Dried cherries
Cherries have quite a subtle flavour so, to amp up the intensity of this jam, I use a small amount of dried cherries alongside the fresh fruit.
- Caster sugar
I like to use white caster sugar when making jam, because I find that golden caster sugar adds too much of a caramel flavour and is more prone to burning.
- Lemon juice
Cherries are pretty low in pectin, so I add a little bit of lemon juice to help the jam set properly. The tartness of the lemon juice also helps to balance the sweetness of the jam, so it’s a win-win!
- Water
The water is just there to help everything melt and cook together into a delicious jam.
How to Make Homemade Cherry Jam
Before you start making the jam, place a small plate into the freezer. This will be used later on to check whether the jam is ready or not.
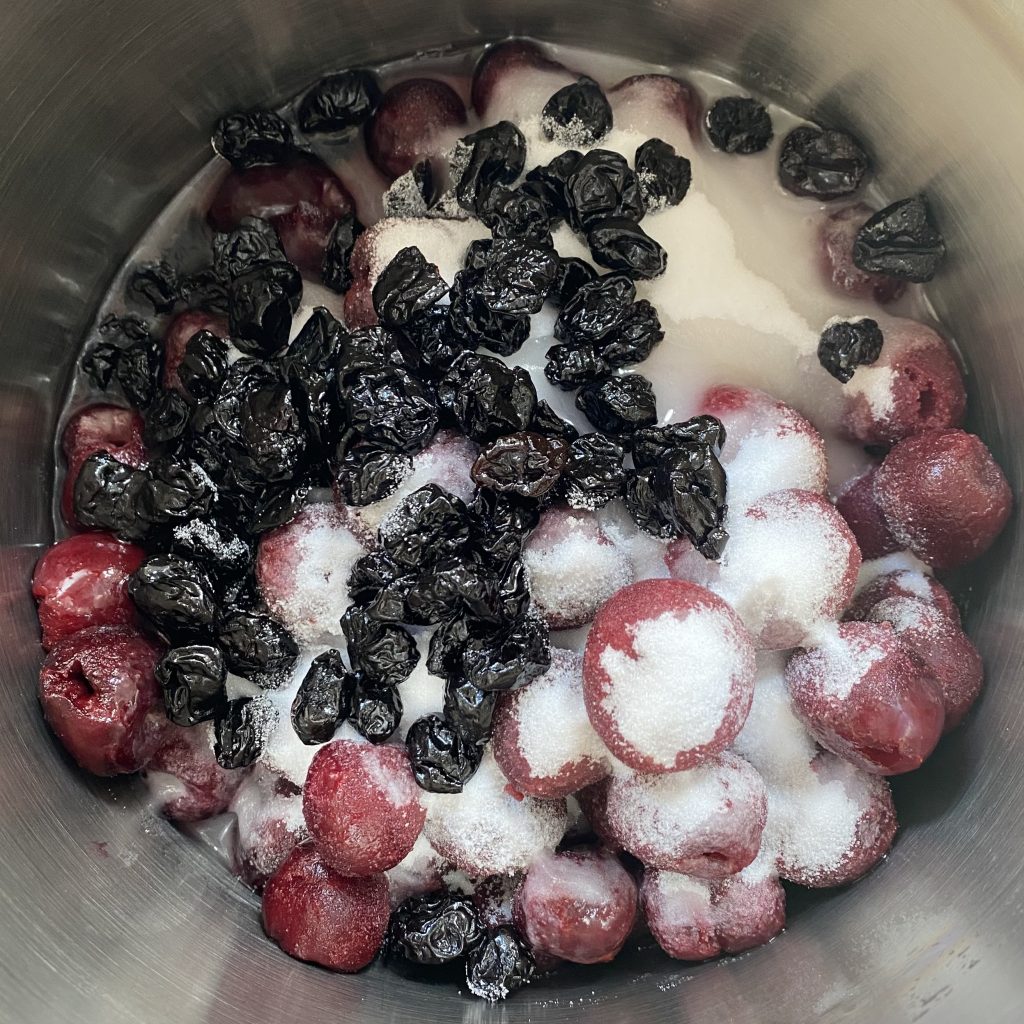
To make the jam, put all of the ingredients into a large saucepan and place it over a medium heat.
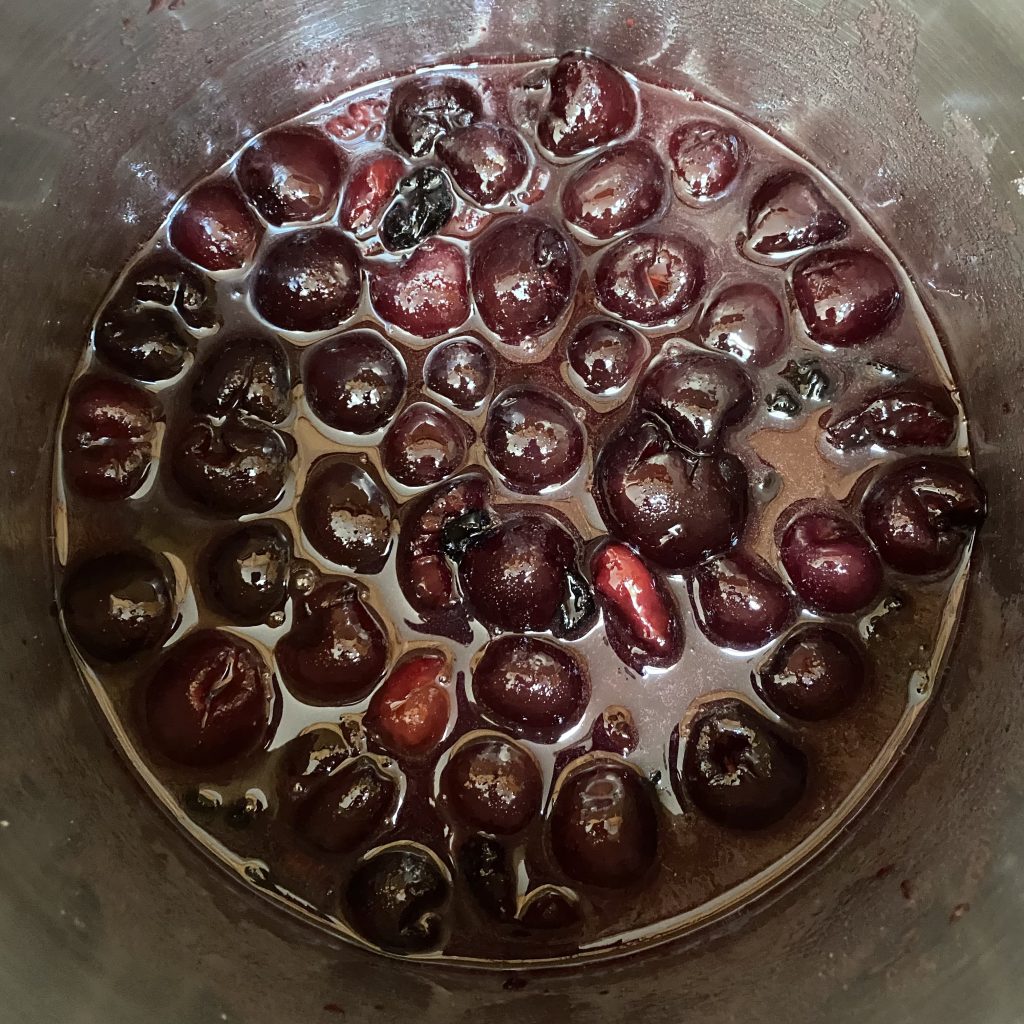
Stir the mixture every now and then until the sugar has completely dissolved and the frozen cherries have defrosted— you should be able to squish them pretty easily with a wooden spoon.
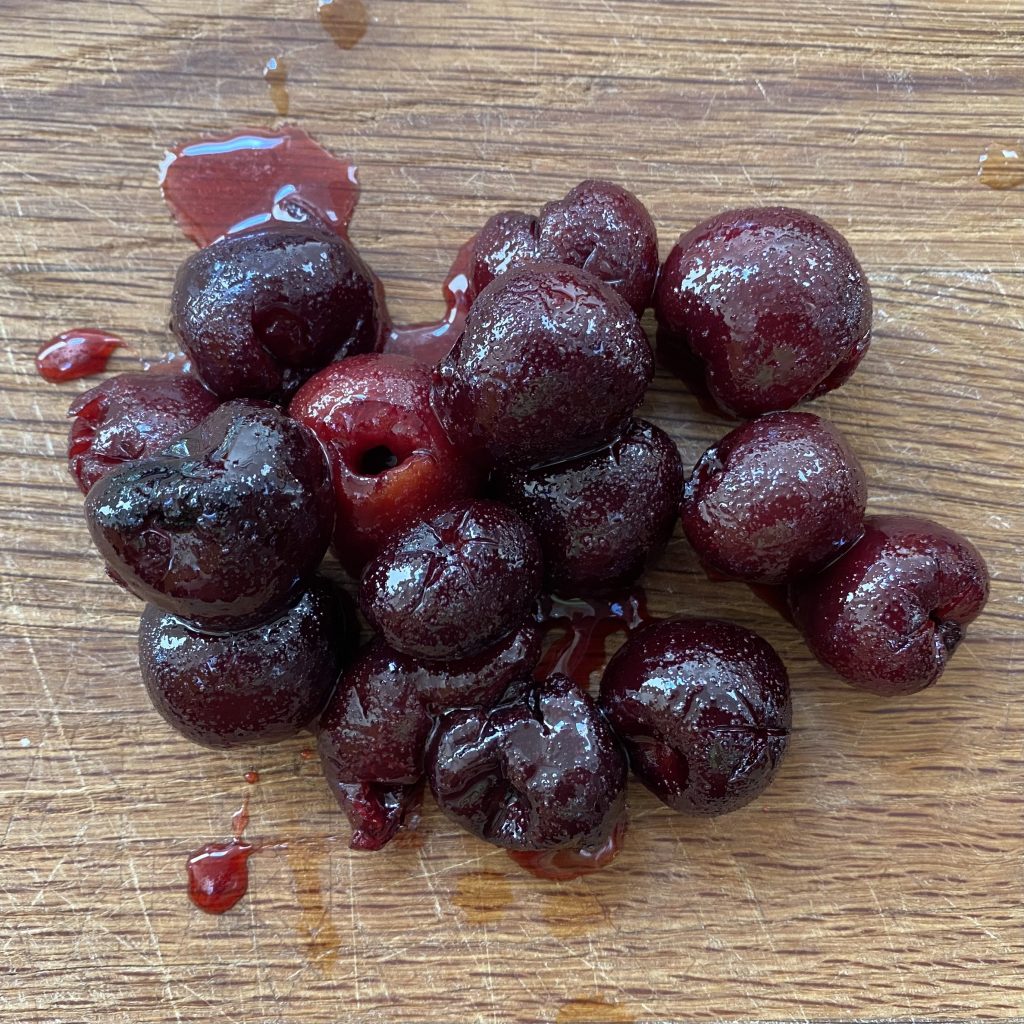
Use a slotted spoon to remove about 1/3 of the cherries (just the frozen ones, not the dried ones) from the mixture and transfer them to a chopping board. Set them aside to cool slightly.
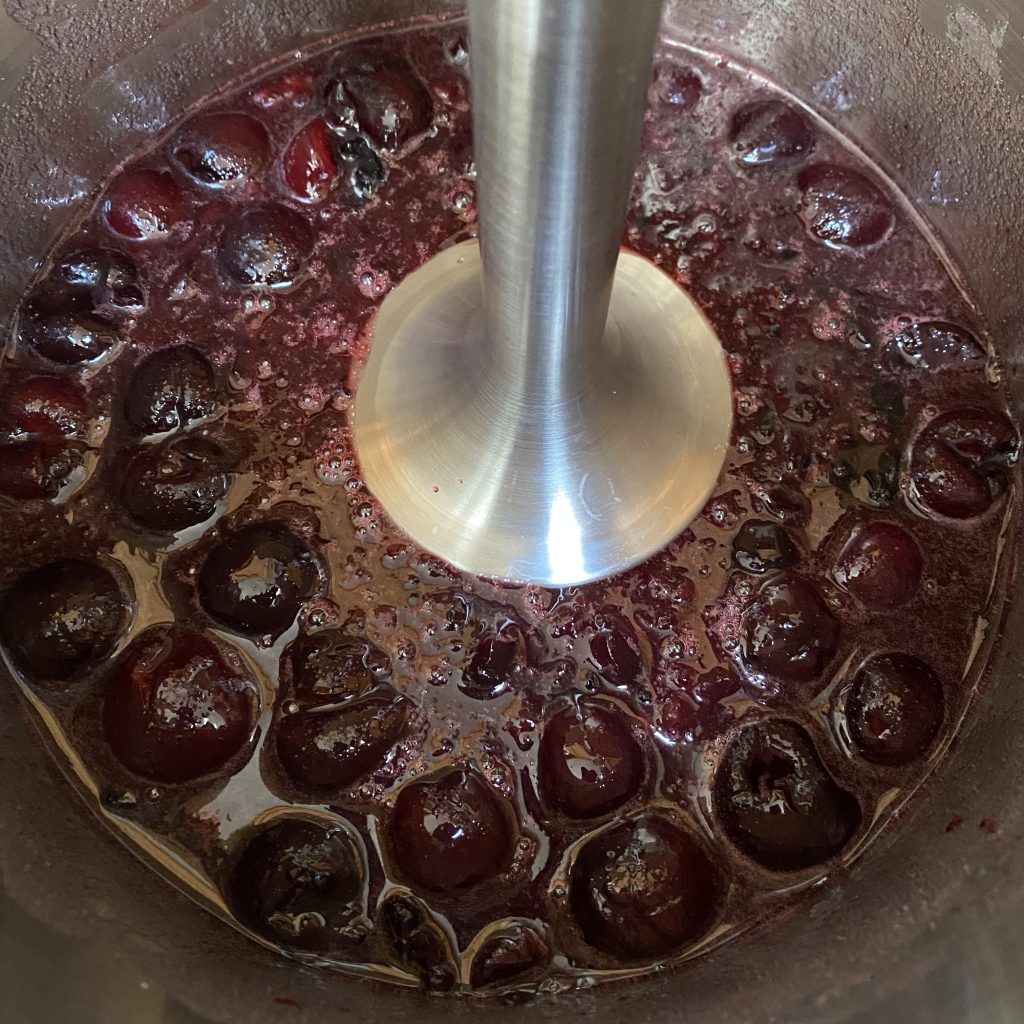
Use a stick blender (or whatever blender you have, really) to purée the remaining mixture in the saucepan, aiming to get the jam as smooth as possible.
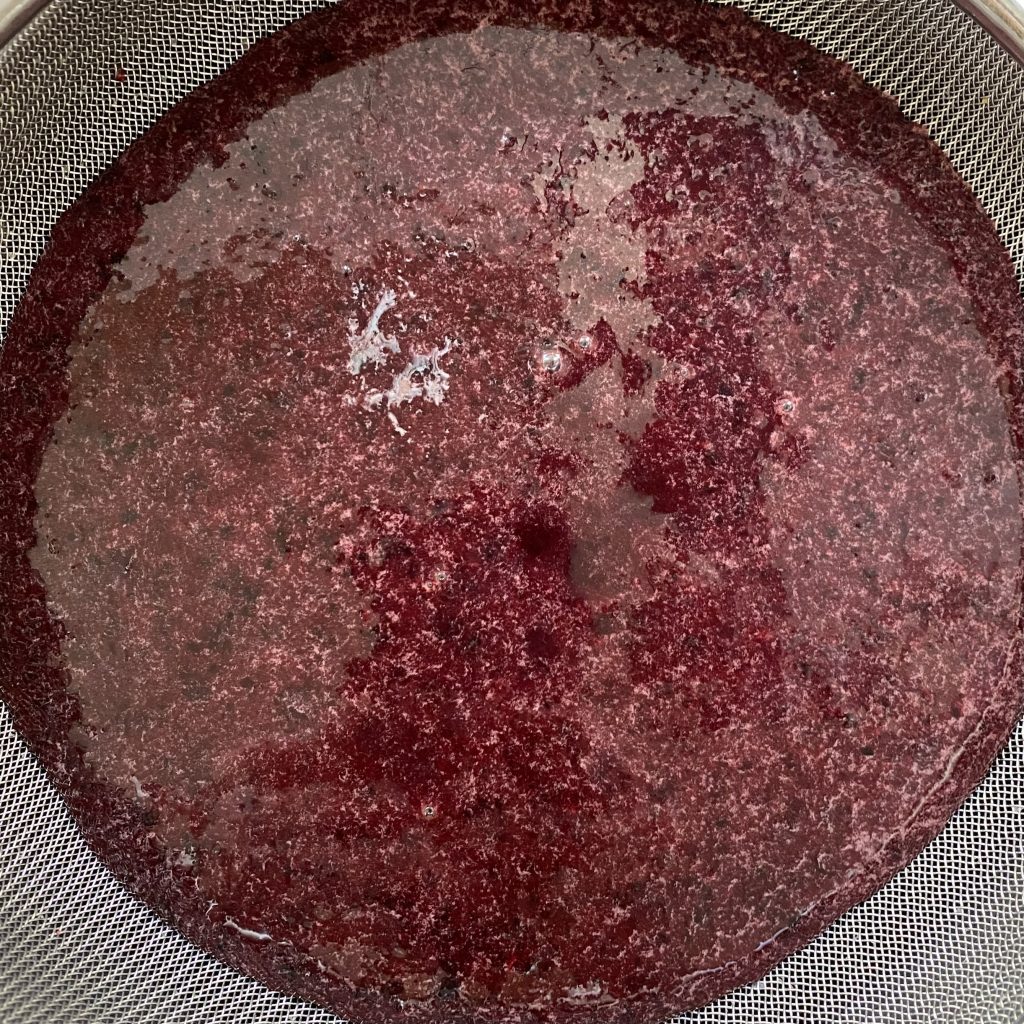
Strain the puréed jam mixture through a heatproof sieve into a clean saucepan, using the back of a spoon to push as much of the pulp through the sieve as you can.
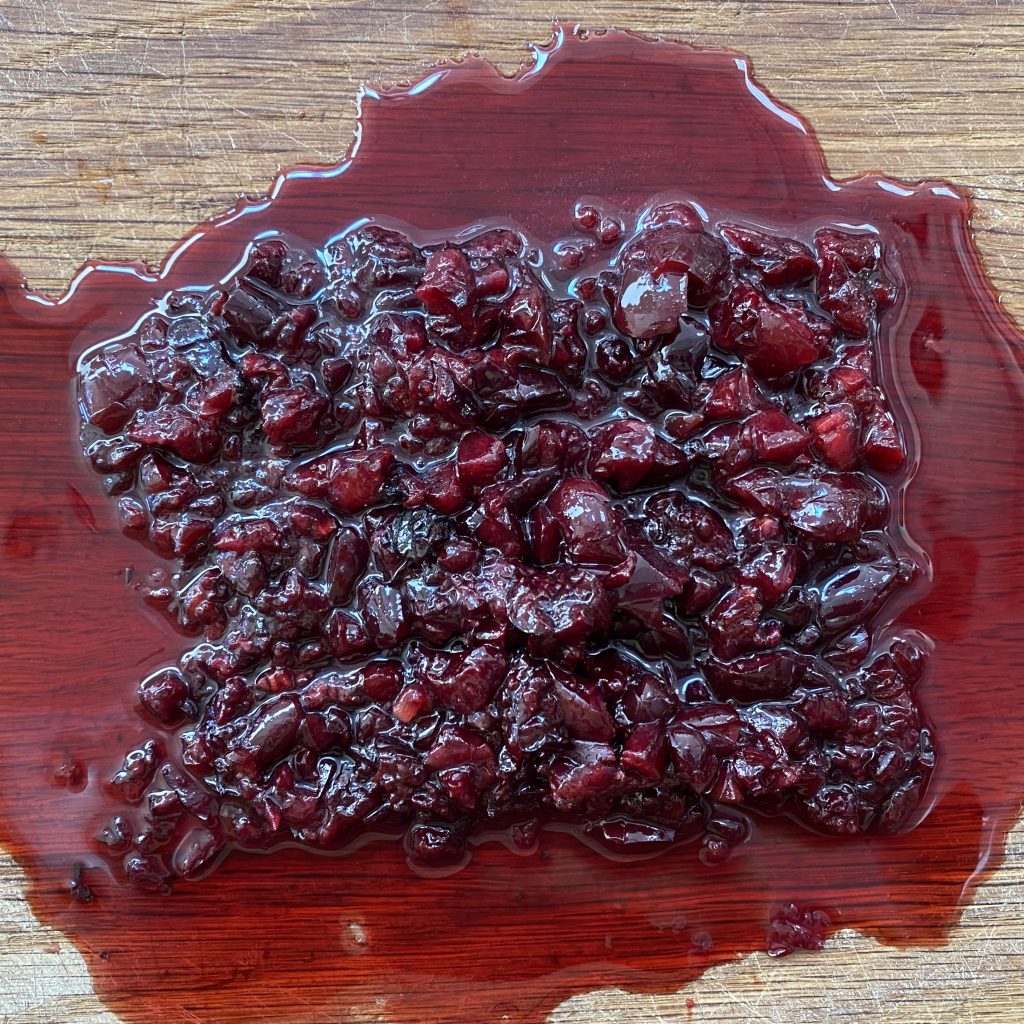
Finely dice the reserved cherries (they should be cool enough to handle now!), then stir them into the strained jam mixture. This method allows you to control the size of the cherry chunks, while still ensuring that the jam base is perfectly thick and smooth.
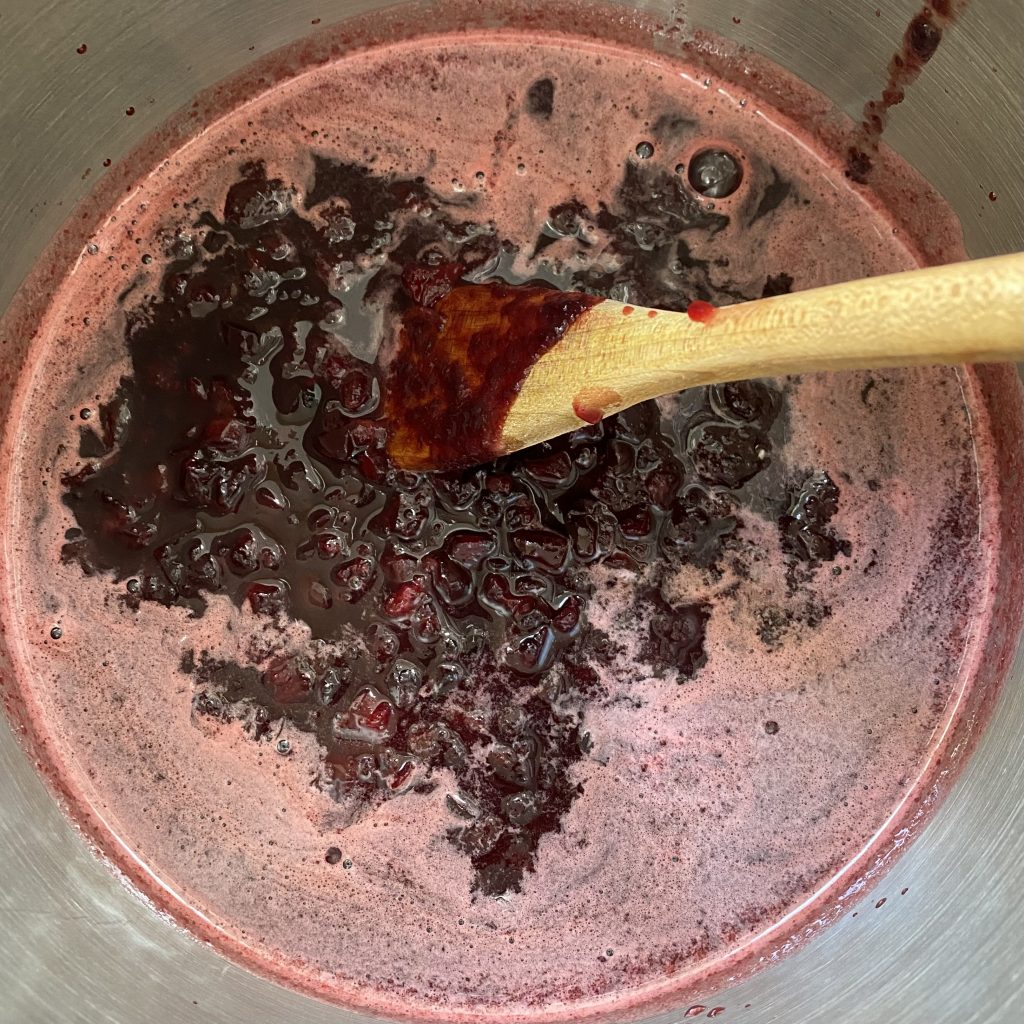
Set the pan back over medium heat and bring the mixture to a rolling boil, stirring gently every so often.
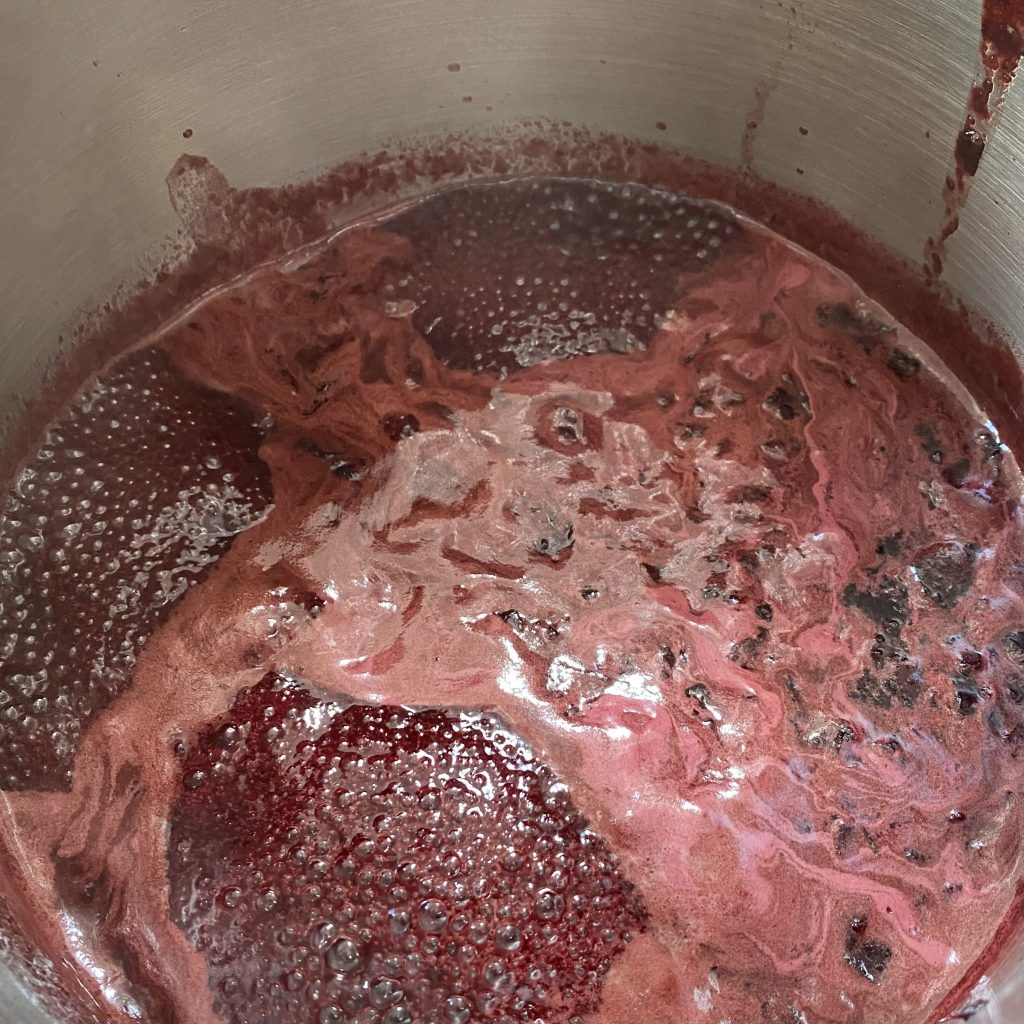
Once the mixture reaches a rolling boil, keep it on the heat and monitor the temperature. I tend to use a digital probe thermometer for this, because I find it the most accurate and easy to use, but a regular candy thermometer would also work.
You might find that a layer of foam starts forming on the surface of the jam as it cooks— use a spoon to skim as much of it off as you can, but don’t worry about it too much!
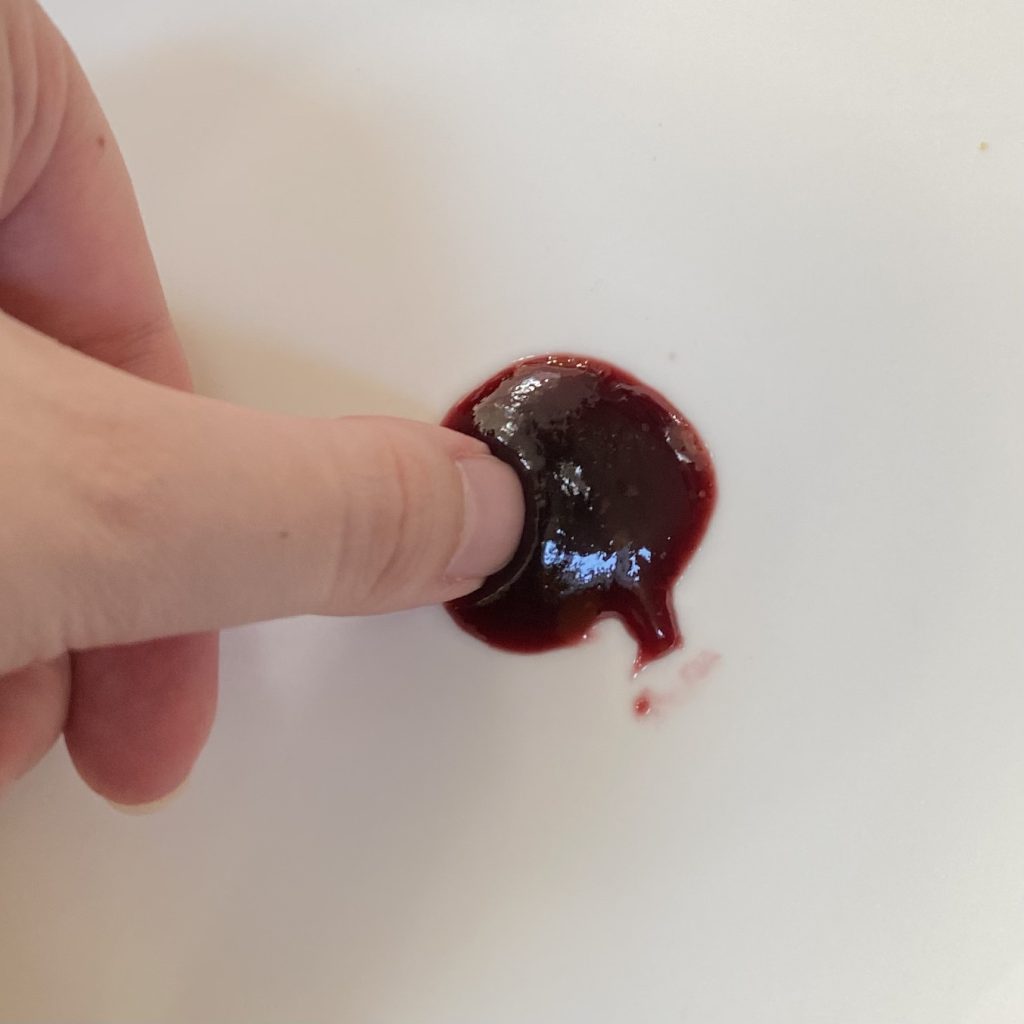
When the jam reaches 105-110°C, remove the pan from the heat and grab your plate from the freezer. Place a small spoonful of jam onto the cold plate and leave it for 1 minute. After 1 minute, push the jam gently with your finger. If the surface wrinkles, your jam is ready! If it doesn’t wrinkle, return the plate to the freezer and the pan to heat for a further minute, then test it again. Repeat this process until the jam wrinkles.
Once the jam is ready, pour it into a heatproof container. Cover it with clingfilm or a lid, then allow it to cool to room temperature before transferring it to the fridge, where it can chill until you’re ready to use it.
Troubleshooting
Making jam isn’t hard, but it can feel a bit overwhelming at first! The main difficulty is getting the right set on it and, while it doesn’t need to be perfect, there are a couple of things you can do if you run into problems.
If your jam is too liquid:
The most likely culprit for this is that the jam was not boiled to the correct temperature: it needs to hit at least 105°C, at which point it should ‘pass’ the wrinkle test on the frozen plate. If your jam is too liquid, you can put it back on the heat and boil it again, testing it every minute or so until it passes that test.
Your jam will also stay more liquid if you omit the lemon from the recipe. Cherries don’t contain much pectin, which is what helps jam to set. Lemons, on the other hand, contain lots of pectin, so the juice is not just a flavour-based addition here: it’s a vital ingredient!
If your jam is too firmly set:
This jam recipe was specifically designed as a cake filling, so it is a little more firmly set than your average jam. You’ll probably find that, once it’s been chilled in the fridge, it is too firm to work with: that’s what you want! It gives you the ability to warm it up slightly, work with it, then let it firm back up to give your cake more structure and stability.
To get your jam to working temperature, warm it for 10 seconds in the microwave. It will be perfectly drizzle-able!
Recipe
Homemade Cherry Jam
Equipment
- Handheld blender (or your preferred blending device)
- Digital probe thermometer (see Note 1)
Ingredients
- 600 g frozen cherries, pitted.
- 120 g dried cherries
- 320 g white caster sugar
- 2 tsp lemon juice, freshly-squeezed.
- 60 ml water
Instructions
- Before you start making the jam, put a small plate into the freezer. This will be used for testing the consistency of the jam later on.
- Place all of the ingredients into a large saucepan and cook on medium heat, stirring every now and then, until the frozen cherries have defrosted and the sugar has dissolved.
- Use a slotted spoon or tongs to remove about a third of the frozen cherries (not the dried cherries) from the mixture and set aside on a chopping board to cool slightly.
- Use the handheld blender to purée the jam, making it as smooth as possible.
- Strain the mixture through a sieve into a clean saucepan, using the back of a spoon to push as much of the pulp through as possible.
- Finely dice the reserved cherries, then add them to the strained jam mixture in the new pan.
- Set the pan over medium heat and bring the jam to a rolling boil, stirring gently. Use a metal spoon to remove as much foam as possible from the surface of the jam as it cooks.
- Use a thermometer to monitor the temperature of the jam as it boils. Once it reaches between 105-110°C, remove the pan from the heat and grab the plate from the freezer.
- Place a small spoonful of jam onto the frozen plate, let it sit for 1 minute, then gently push the jam with your finger. If the jam wrinkles, it's ready. If not, return the plate to the freezer and the pan to the heat. Boil the jam for a further minute, then test again. Repeat this until it passes the 'wrinkle test'.
- Once the jam is ready, pour it into a heatproof container. Cover and leave to cool to room temperature before placing into the fridge until ready to use.
- The jam will firm up significantly in the fridge. If it is too firm to use when it first comes out of the fridge, just give it a 10 second blast in the microwave to thin it back out a little.
Notes
- You can use a regular candy thermometer for this, but I prefer to use a digital probe thermometer, like this one, because I think it is easier to use and gives a more precise measurement. If you don’t have a thermometer, you can still make this jam, you’ll just need to rely more heavily on the ‘wrinkle test’ to check if it’s ready!