 Gemma
Gemma 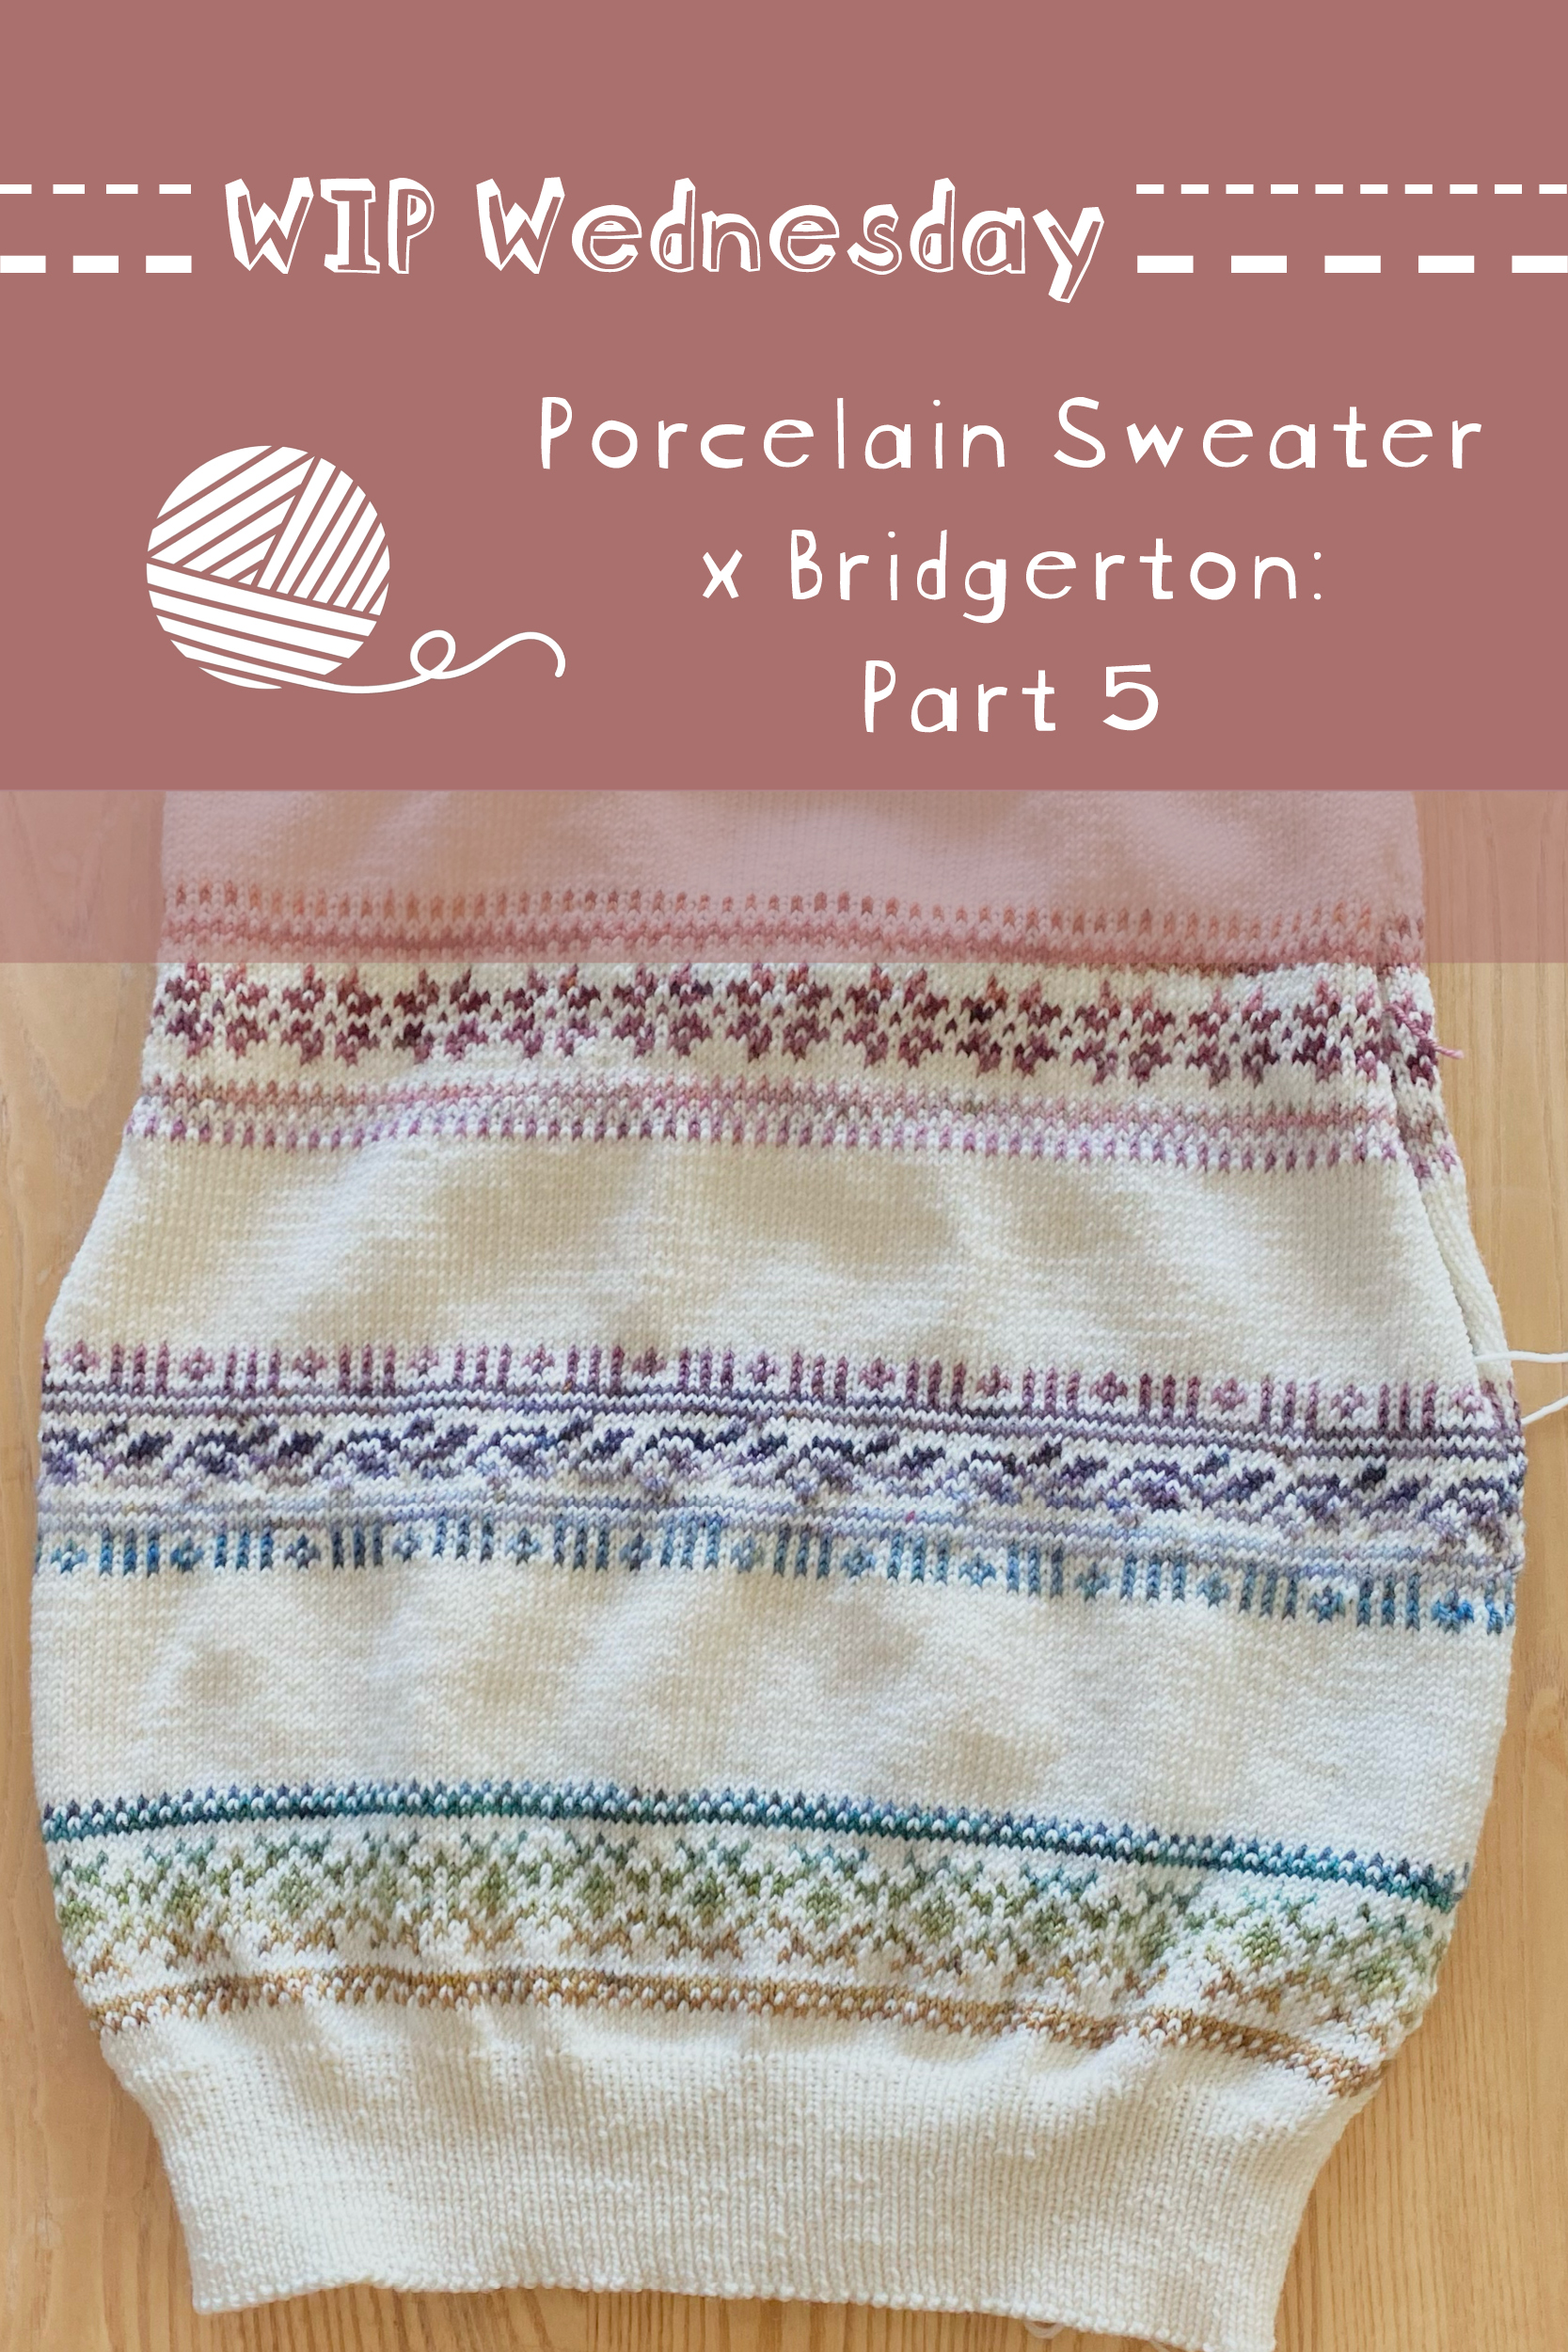
Happy WIP Wednesday!
I didn’t share a WIP Wednesday post last week because I was busy with Wedding Cake Week: Season 2, so this post will be covering weeks 4 & 5 of making my Porcelain Sweater (pattern by LE KNIT by Lene Holme Samsøe), using the 2025 Bridgerton Advent from Castle View Yarns as the contrast colour(s).
Progress
I definitely feel like my progress has slowed down a bit— the more excited I get to finish this project, the slower I seem to knit!
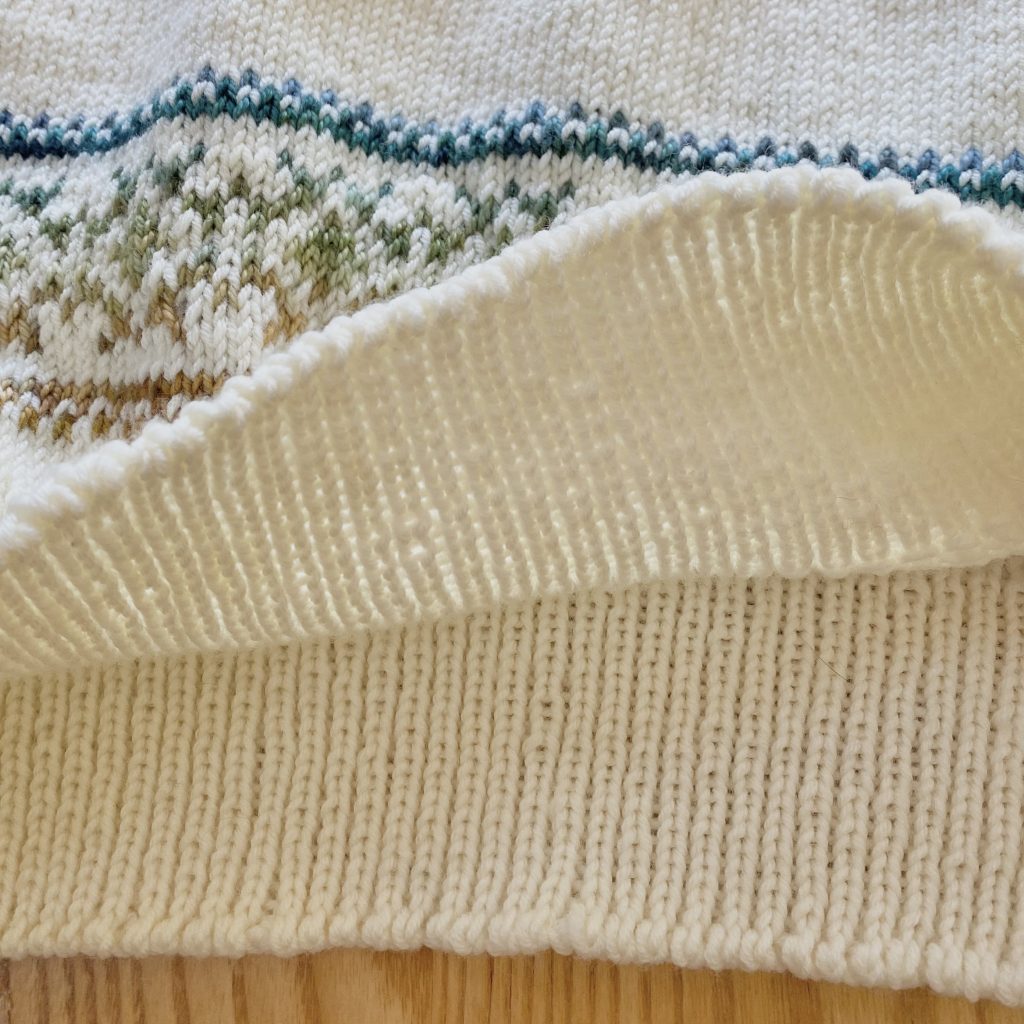
In the fourth and fifth weeks of knitting, I have…
- Finished the 1×1 rib section on the body
- Cast off!
In my defence, I spent most of the first week making another wedding cake, so I only managed to knit about 6 rows that week— most of this progress took place in the second week (Week 5).
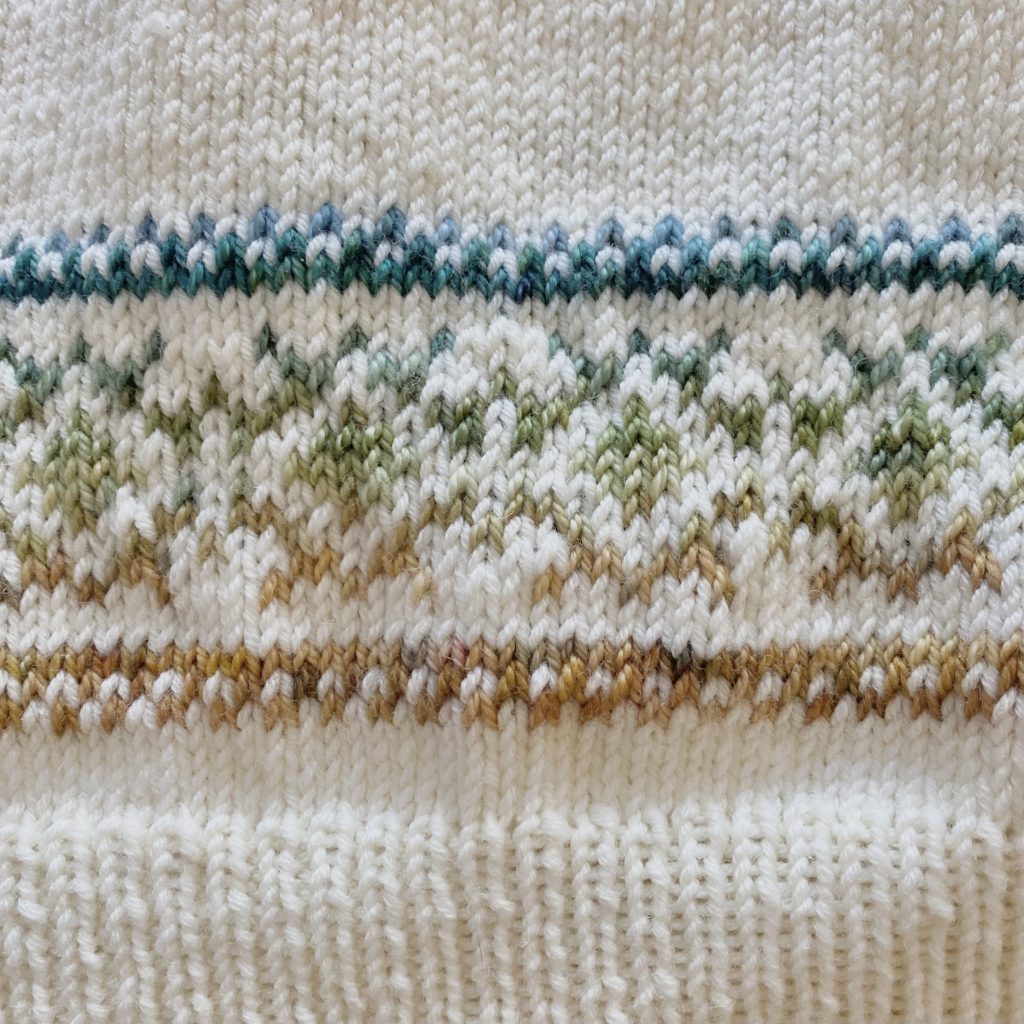
Also: now the ribbing is done, you can finally see the third colourwork band in all its glory! Wahoo!
Mid-Knit Thoughts & Musings
My goodness… I forgot how interminable 1×1 rib feels!
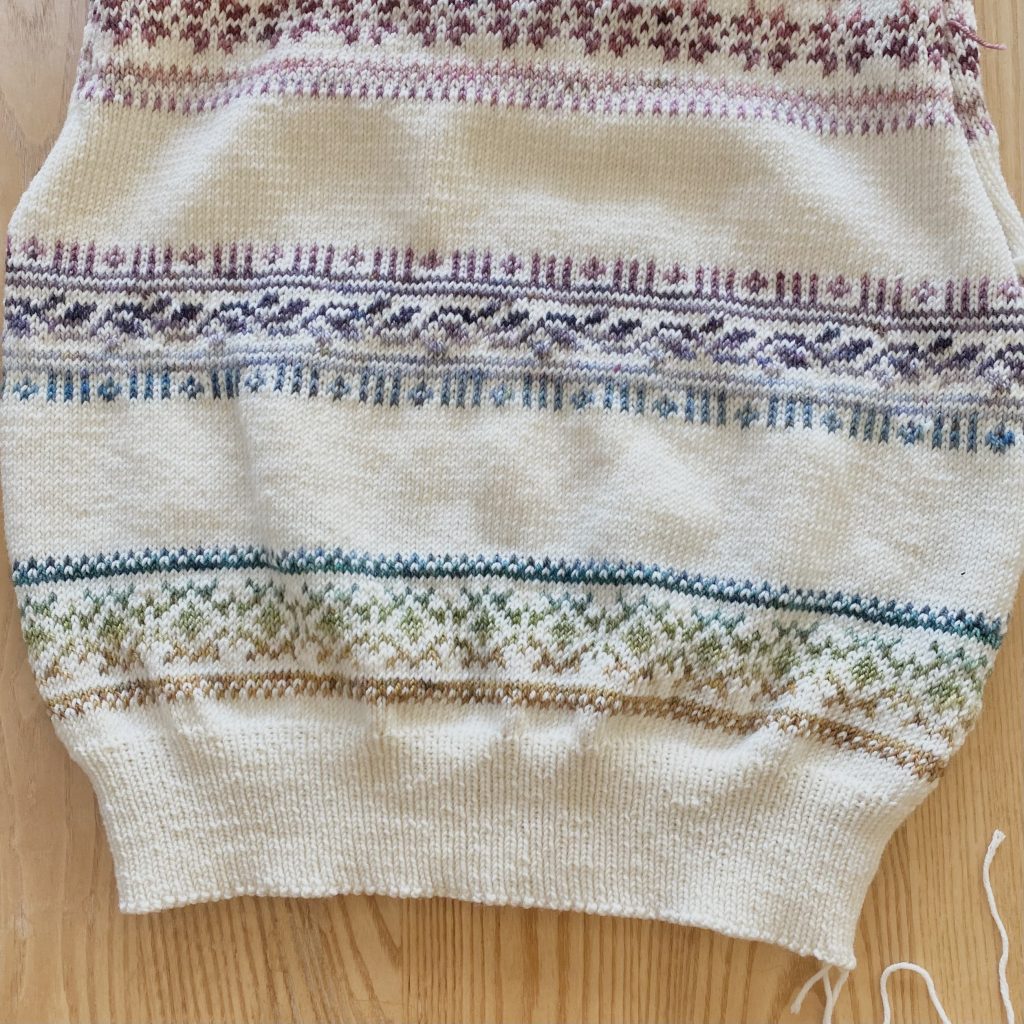
There’s a pretty hefty chunk of rib at the base of the body and, honestly, I didn’t love working it. The stitches were flying off my needles while I was doing the stockinette/colourwork sections, but I really had to dig deep to get the ribbed section finished.
In fairness to 1×1 rib, white it is usually slower than regular stockinette, there were a couple of extra things slowing me down this time around…
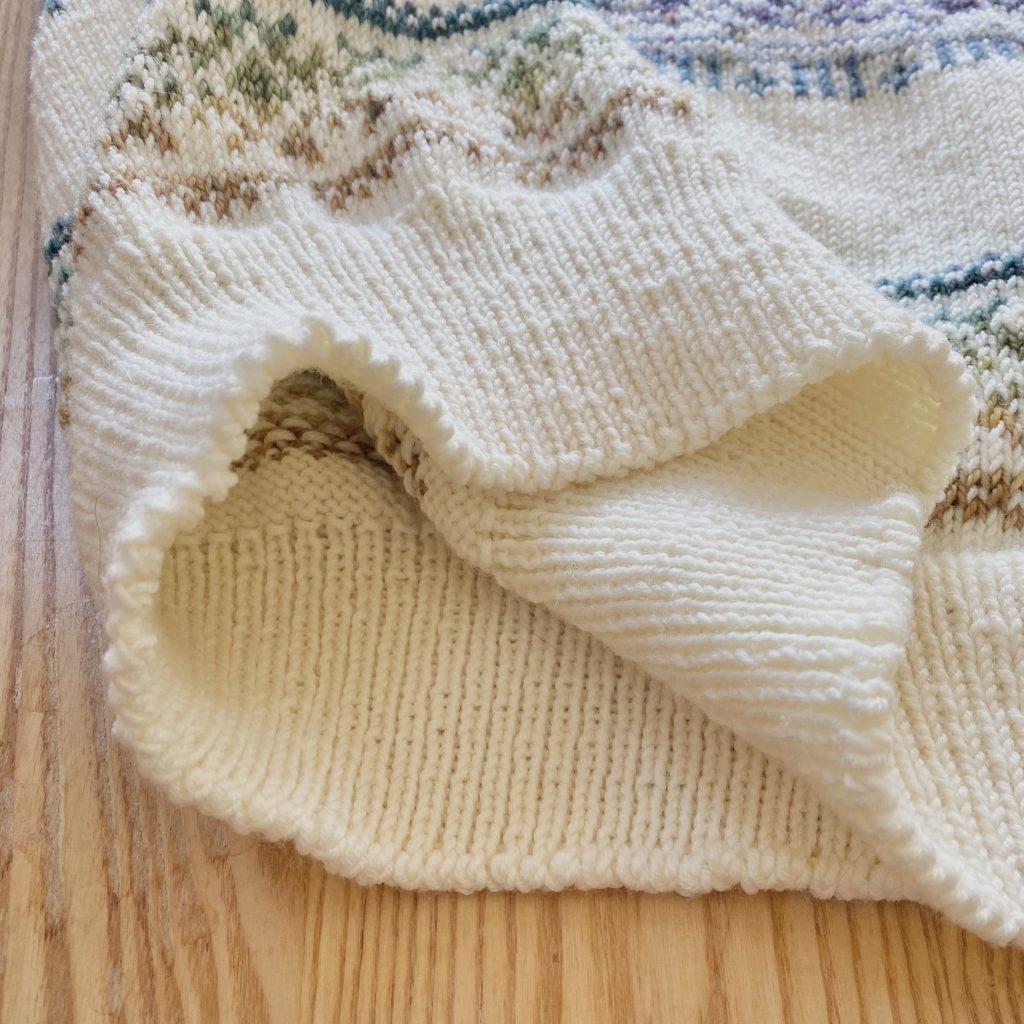
Firstly, for most of the ribbing, I was using a circular needle with ever-so-slightly too long a cable, so I was kind of yanking the work around the needles a lot. I knew this was happening, but I couldn’t believe it was enough to slow me down quite that significantly, so I stuck with it for about 3/4 of the ribbing… big mistake! Eventually, I made the swap to the shorter needles and… it was a lot quicker. I could have saved myself a lot of time if I’d done that earlier.
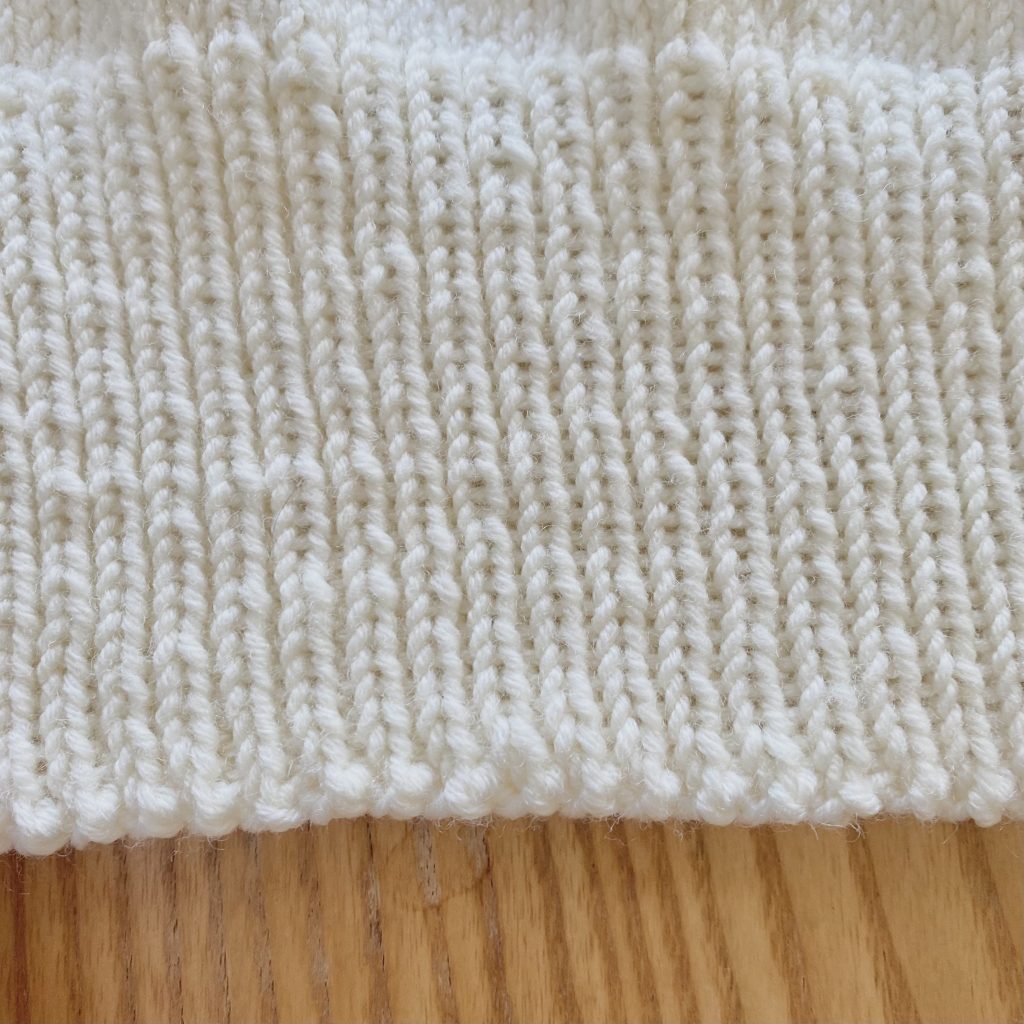
Secondly, I wanted my ribbing to be really neat, so I opted to use a technique I’ve been trying out recently where you knit the knit stitches normally (for me, that means English-style, or ‘throwing’) and purl the purls continentally (also known as ‘picking’). This can help tighten up the ribbing, which makes it look neater.
I actually really like this as a technique and have been doing it for most of my ribbing recently, but it does make the process take longer because you have to keep changing the direction of the yarn (and you have to remember to purl into the back of the purl stitches, because the continental method reverses their position on the needles!).
All-in-all, 1×1 rib is super slow, but I managed to make it even slower for myself. I’m just a glutton for punishment, I suppose.
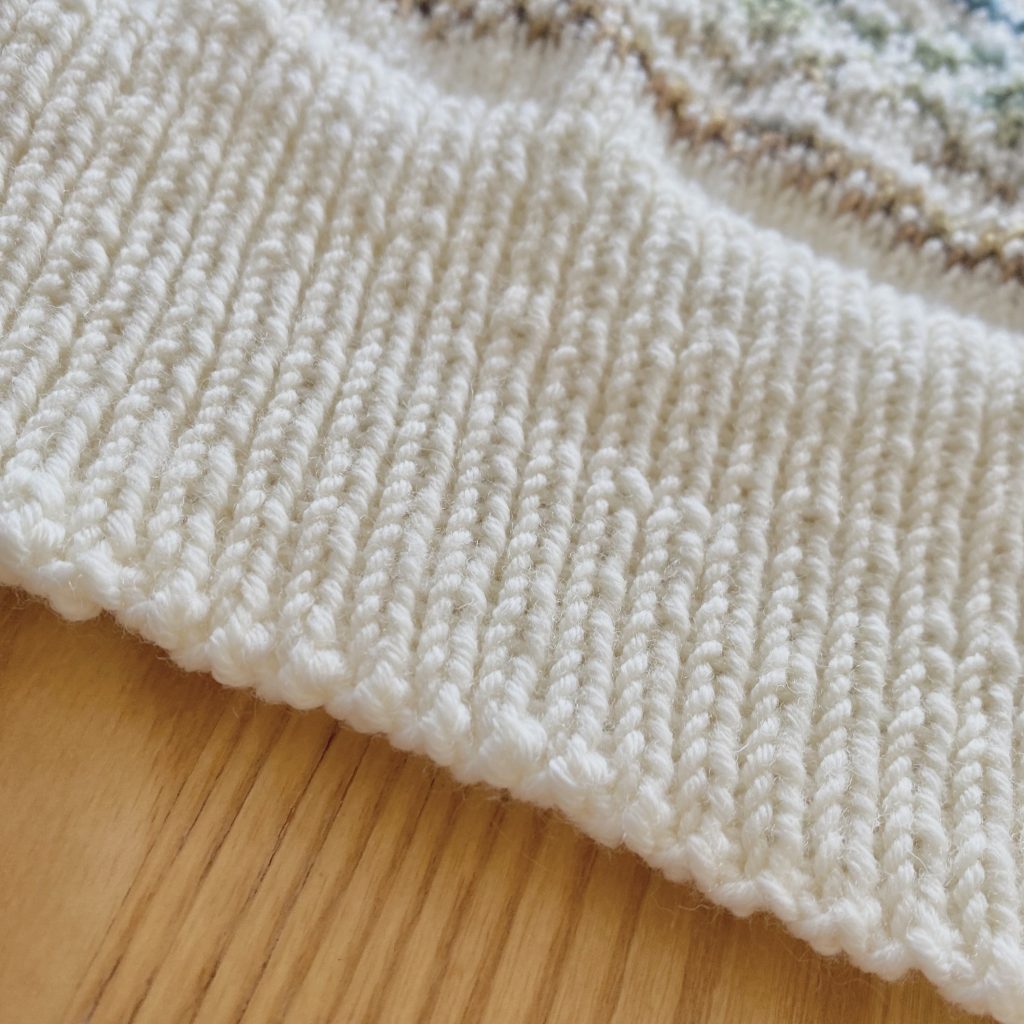
After the ribbing, the pattern suggests using a tubular bind-off. I have done this technique before, with my Braidy Loop Sweater, but I didn’t love it: it felt like a lot of work, involved grafting with a very long piece of yarn and I think it has quite a tight, firm feel to it that isn’t my favourite.
Instead, I used HiyaHiya Grandma’s Stretchy Bind Off, where you purl the knit stitches and knit the purl stitches, always moving the working yarn behind the stitches as you work them, then pass the initial stitch over the second stitch. You can see the technique in action in this YouTube video by Carrie Ramirez (in the video, this technique is used for 2×2 rib, but it works for any ribbed pattern).
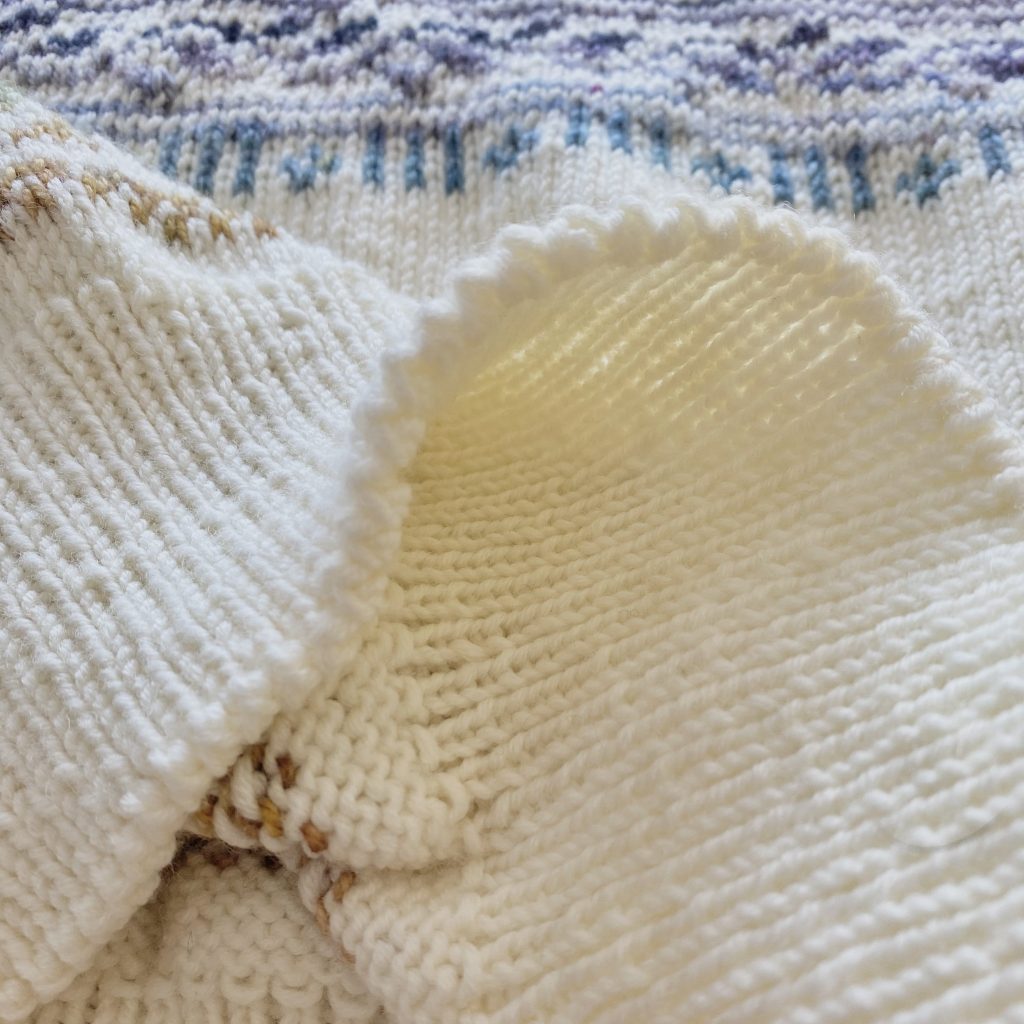
This bind off still has its own faffs (mainly the constant slipping of stitches back and forth to get the working yarn in the right position), but it doesn’t require any setup rows, it’s not a sewn cast off (so no trying to manage ridiculously long lengths of yarn!) and it has a soft, even feel and neat appearance, so I still think it’s preferable to a tubular bind-off!
Final Thoughts
Essentially, the ribbed section at the bottom of this sweater took me 2 whole weeks to finish (though, as I mentioned, there was a wedding cake-shaped distraction in that first week!). I didn’t really enjoy this stage of the process, because it just felt so endless and a little bit foreign to my fingers after all of that dreamy stockinette.
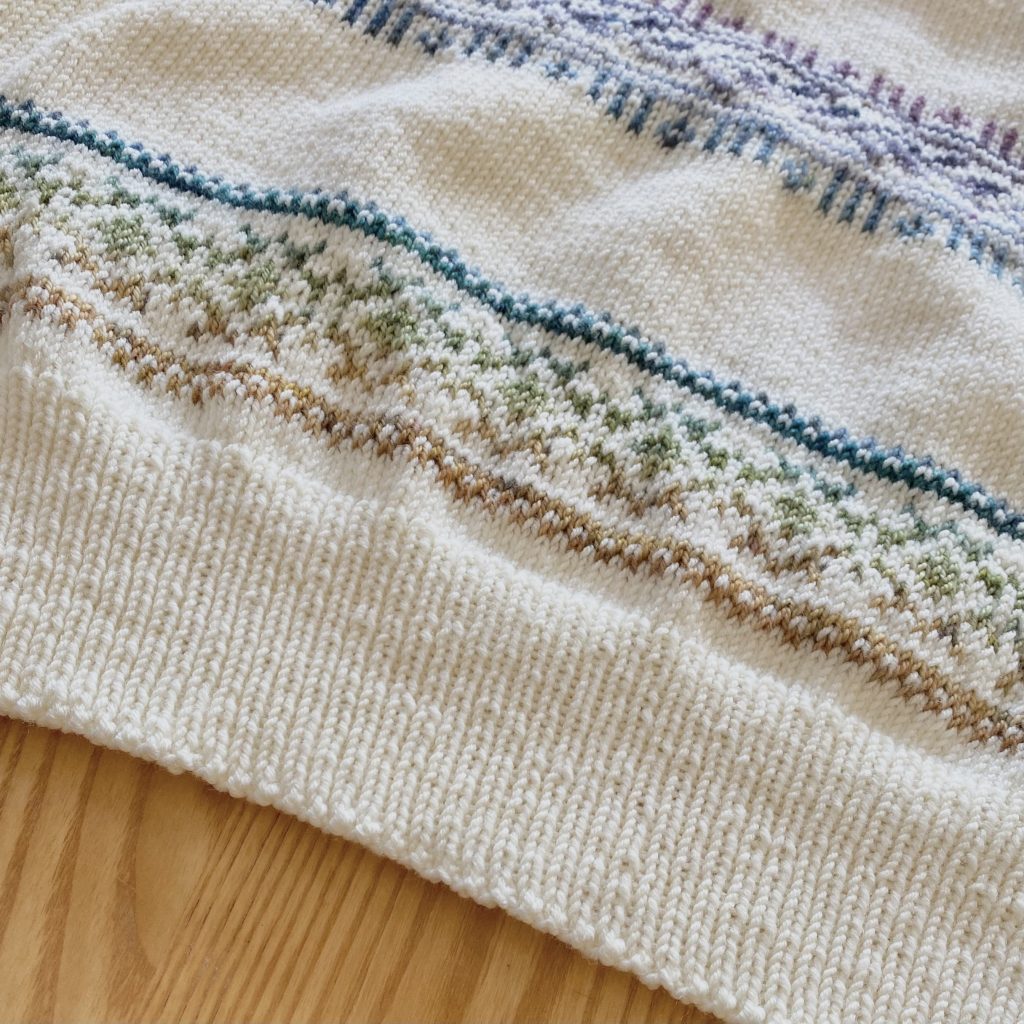
Nevertheless, it is done! Now I can move on to making this sweater body into an actual sweater: just the neck and sleeves to go!
If you're interested...

You can purchase the Porcelain Sweater pattern by LE KNIT by Lene Holme Samsøe on Ravelry here.

You can find the Ravelry project page for my Porcelain Sweater here.

You can check out Castle View Yarns here.