 Gemma
Gemma 
Happy WIP Wednesday!
It’s week 7 of making my Porcelain Sweater (pattern by LE KNIT by Lene Holme Samsøe), using the 2025 Bridgerton Advent from Castle View Yarns as the contrast colour(s).
Last week, I made the neckband of the jumper (you can find that post here). In today’s post, we’re talking all things sleeves!
Progress
In the seventh week of knitting this project, I…
- Made the whole left sleeve (!)
- Made about half of the right sleeve
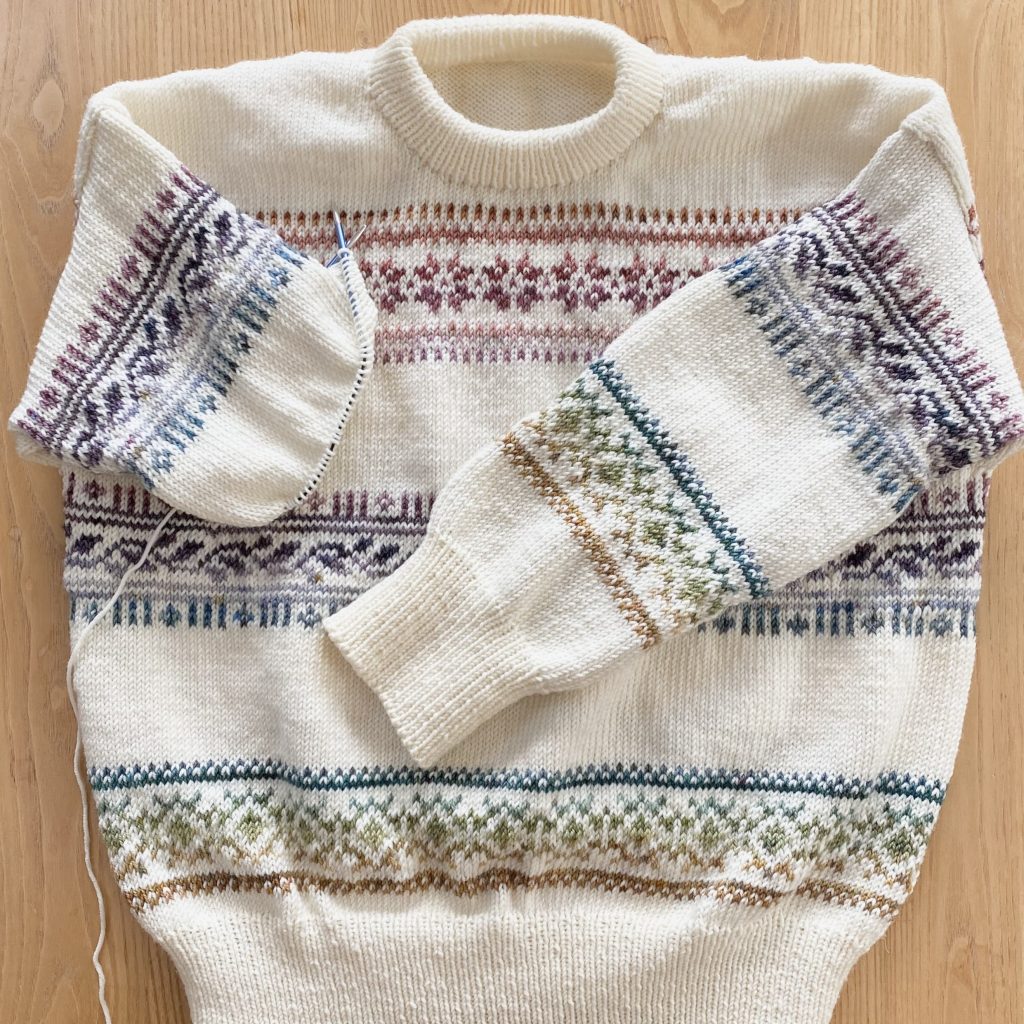
I’m super happy with my progress this week! I was a little worried about making the sleeves, because there are two bands of colourwork on each one, as well as the section of 1×1 rib for the cuffs, so I thought they might take a little while to work up. Fortunately, I was wrong! The smaller circumference really makes them fly by (even with the colourwork/rib), which I’m very pleased about!
Mid-Knit Thoughts & Musings
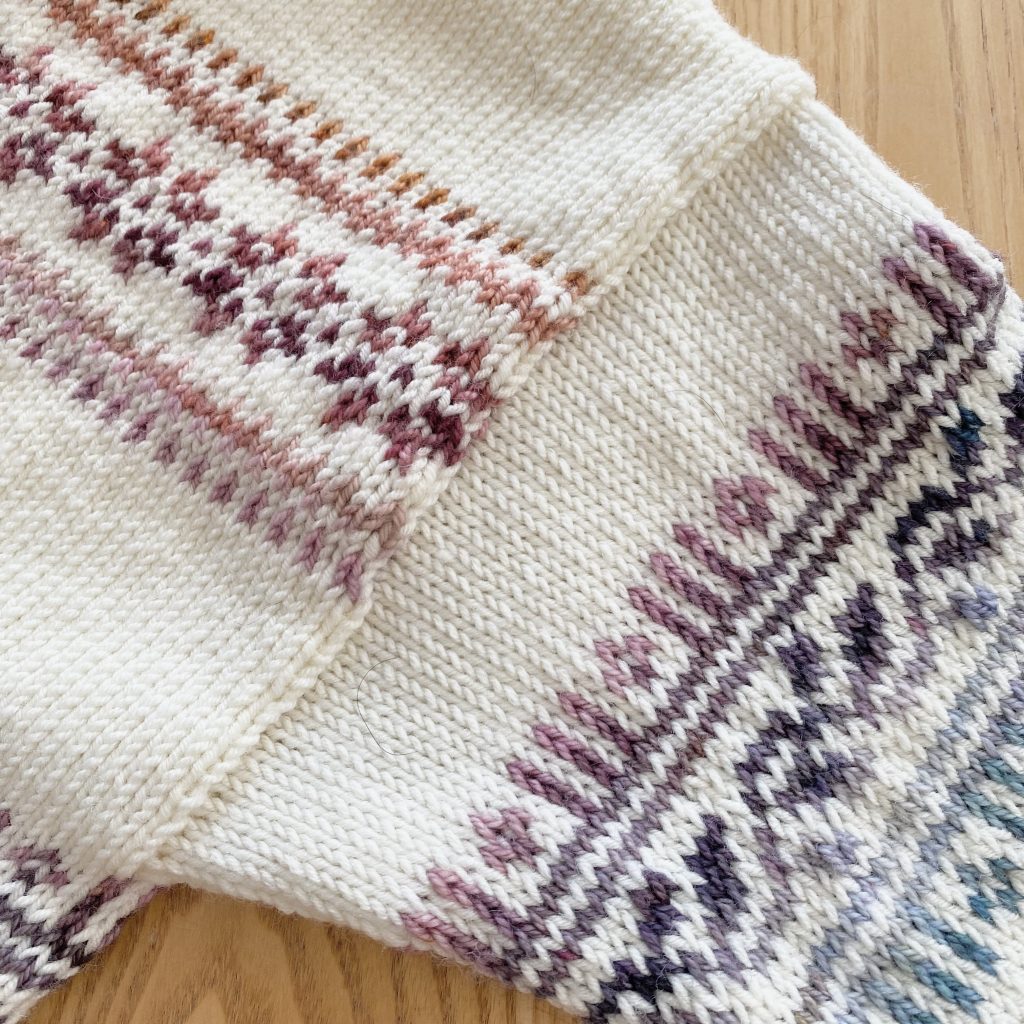
Just like with the neckband, picking up the stitches for the sleeves around the armholes was… a little bit of an ordeal. You’re supposed to pick up approximately 3 sts for every 4 rows, but my row gauge is a bit off (something I’ve had to keep in mind throughout the whole project), so mine was a bit different. For the majority of the armhole, I picked up the stitches in the following pattern:
Pick up 1, skip 1, pick up 2, skip 1.
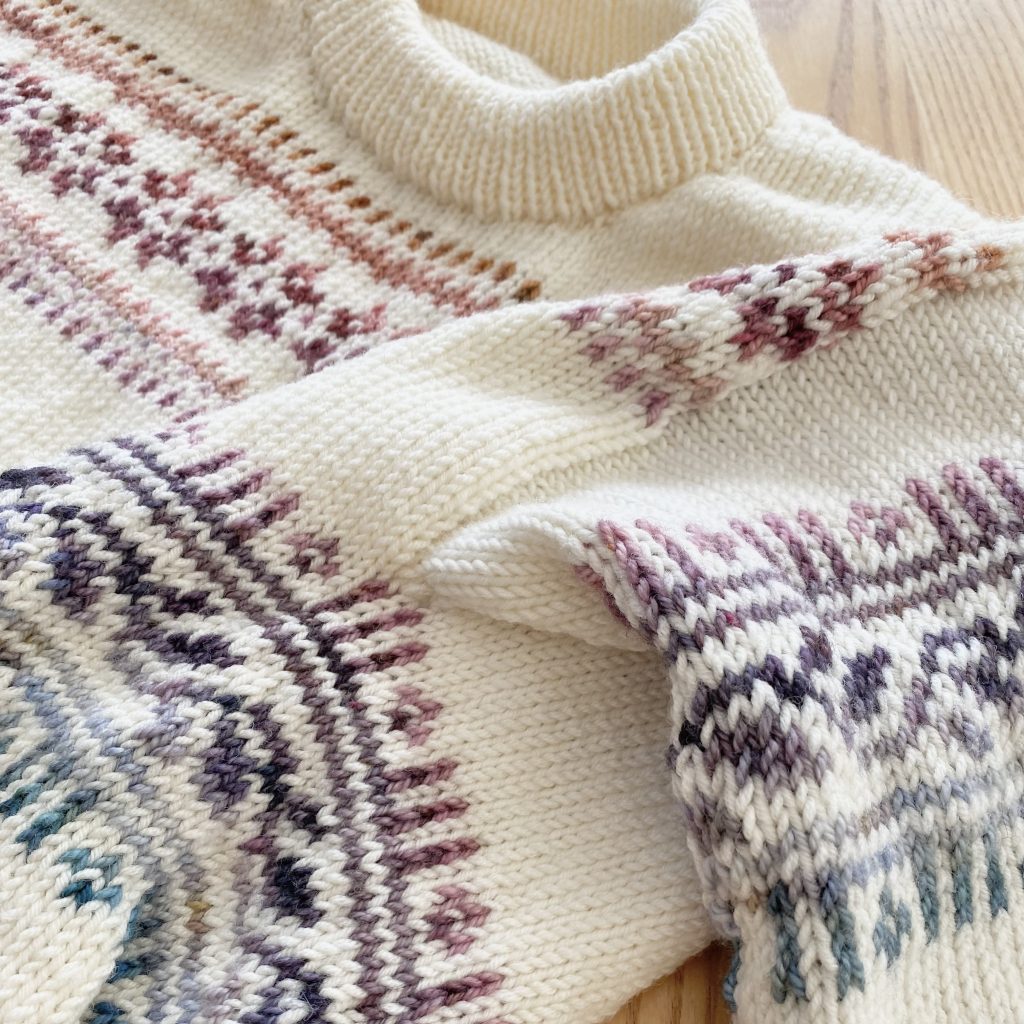
I did pick up all 3 of the stitches at the underarm, because I wanted to make sure the seam was nice and strong there, which can often be a weak point.
I also picked up 3 extra stitches, which I spaced out evenly (one at the shoulder and one at the halfway point between the underarm and the shoulder on each side), just to get to the right stitch count.
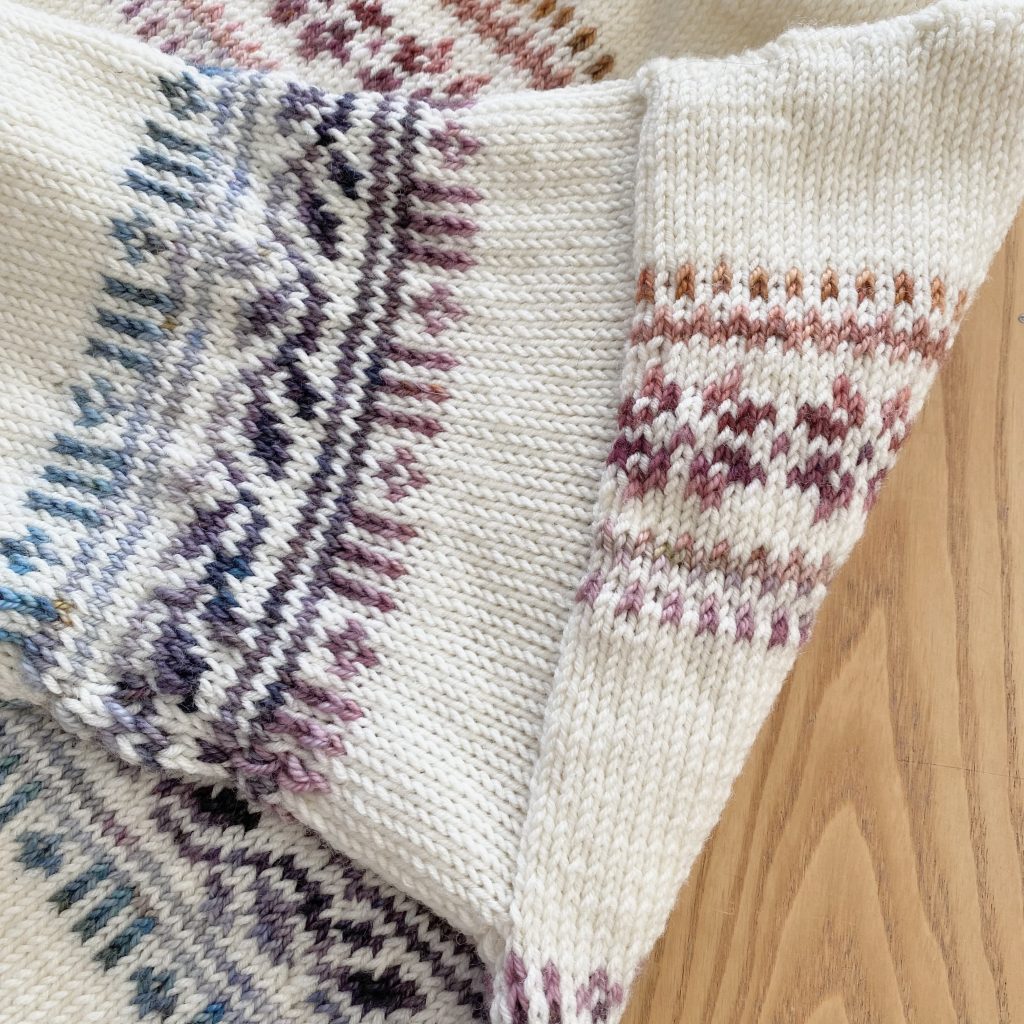
It’s a bit complicated, but it’s what worked for me! The aim was just to keep the picked up stitches as evenly distributed as possible.
On the bright side, unlike the neckband, there were no diagonal sections, so it was much easier to work out where to pick up the stitches from this time around.
Once the stitches were picked up, it was time for some plain stockinette— I worked 14 rows.
Then, it was colourwork time!
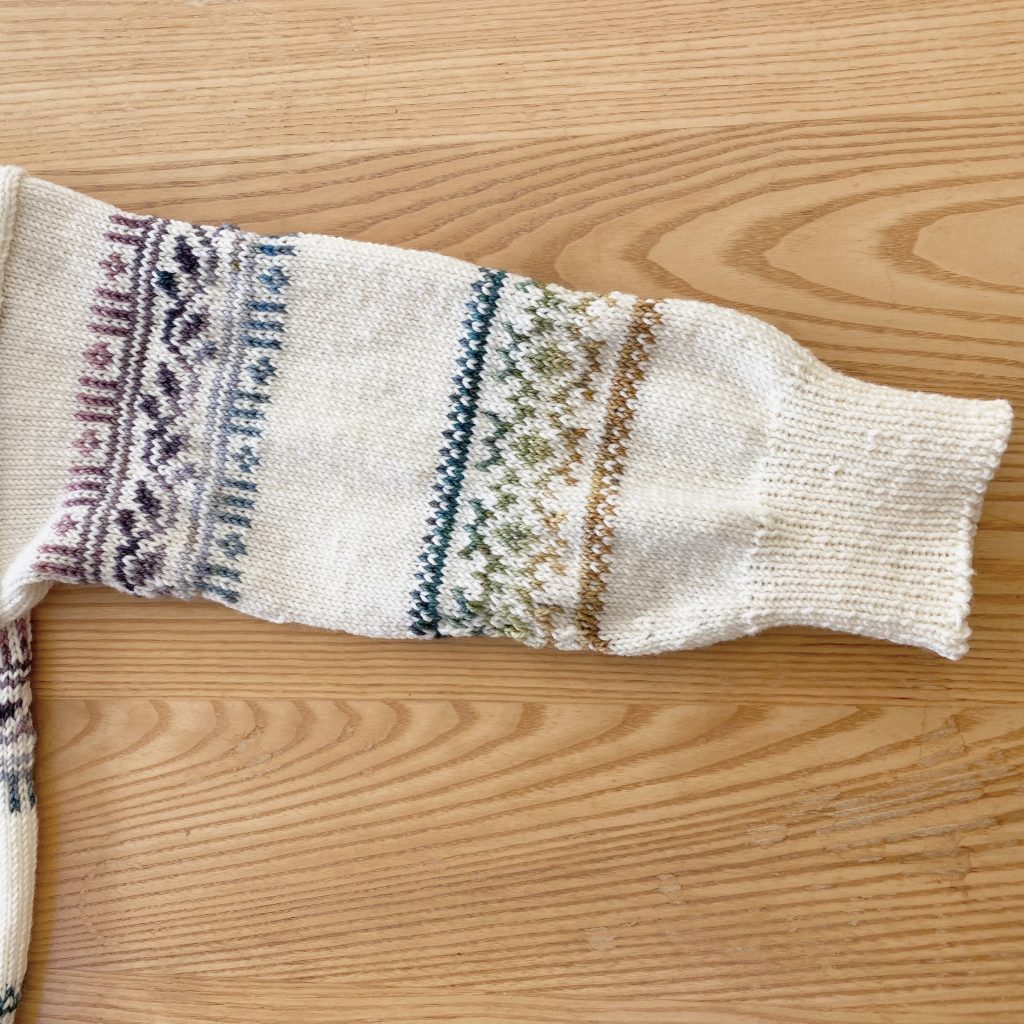
I have to say, when I saw the charts for the sleeves… my heart sank. They looked so intimidating!
Luckily, I got used to them pretty quickly— the motifs themselves are exactly the same as the body charts, they’re just laid out in their entirety (rather than as a repeating motif) to make it easier to work the different sizes. Once you figure out the pattern repeat on each round, it gets a lot easier (you just have to pay a bit more attention at the beginning and end of each round!).
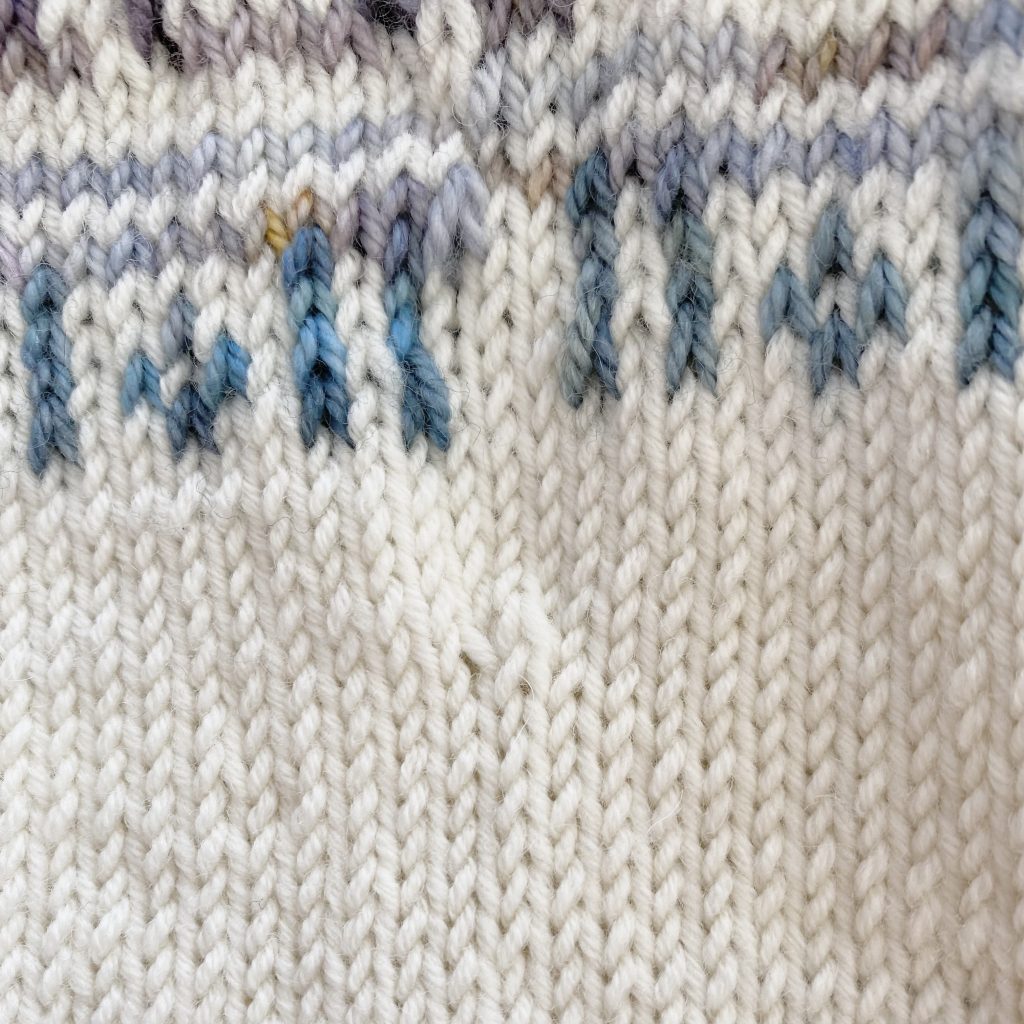
The sleeves are shaped using centred double decreases. I enjoy working these decreases and they look very neat, but they are a little bulkier than a regular decrease (because they use 3 stitches instead of 2).
For my size (L), you’re supposed to work the decrease on the third round of Chart B, but, because you decrease right at the end of the row/start of the next row, I couldn’t quite figure out how that fit in with the colourwork in the chart. In the end, I worked that particular decrease at the end of round 2/start of round 3 instead, which I think fit better? Who knows!
All of the other decreases within the charts (there are two decrease rows in each one) fall in the blank sections of the colourwork, so I just worked the other three decrease rows as instructed.
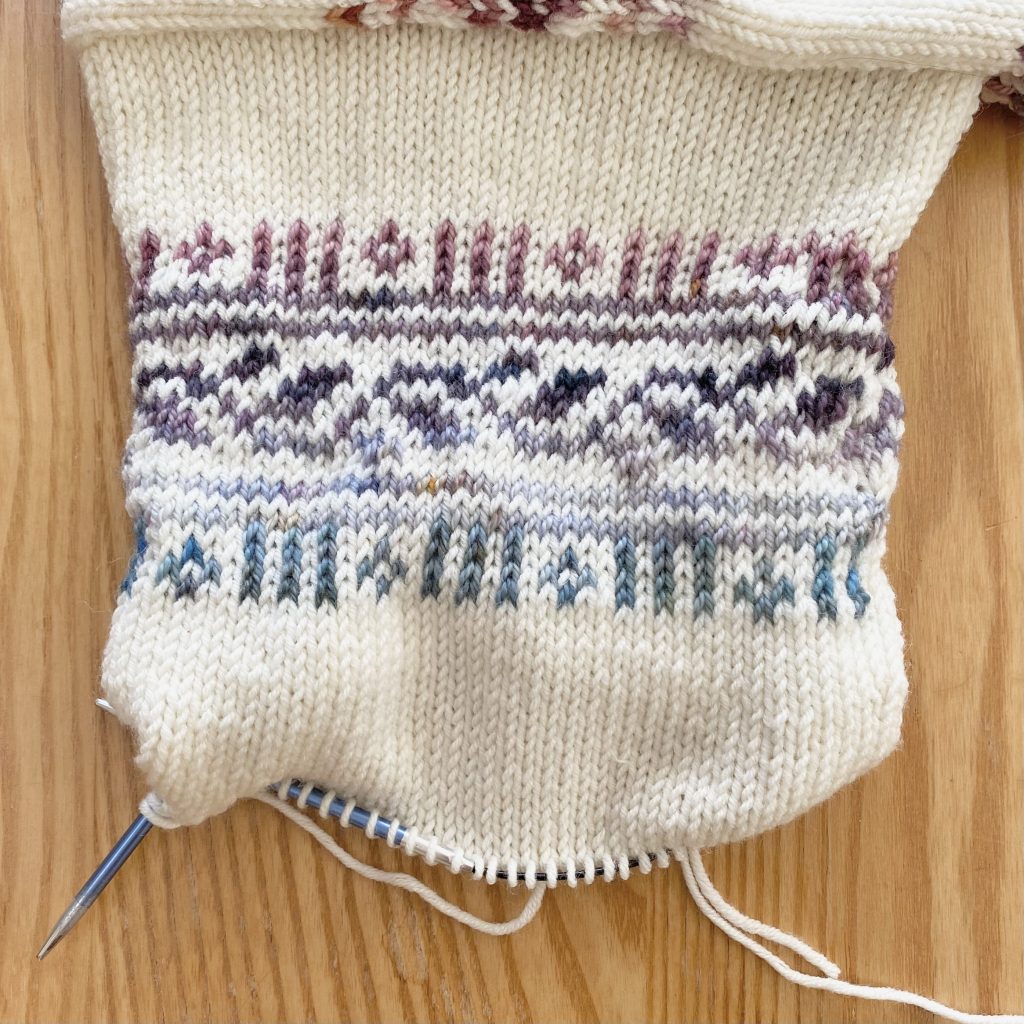
One thing that I was super happy about was that, on the sleeves, you don’t have to alter the stitch count for the leaf motif— it just fits in! I was so pleased, because I found changing up the stitch count on the body a bit fiddly (it took me far longer than it should have to work out the logistics of) and I was kind of dreading having to do it again.
For the stockinette section in between the bands of colourwork, I worked 24 rounds, which is the same number of rounds that I worked between the bands on the body (this is more than the pattern calls for, because of my tighter row gauge).
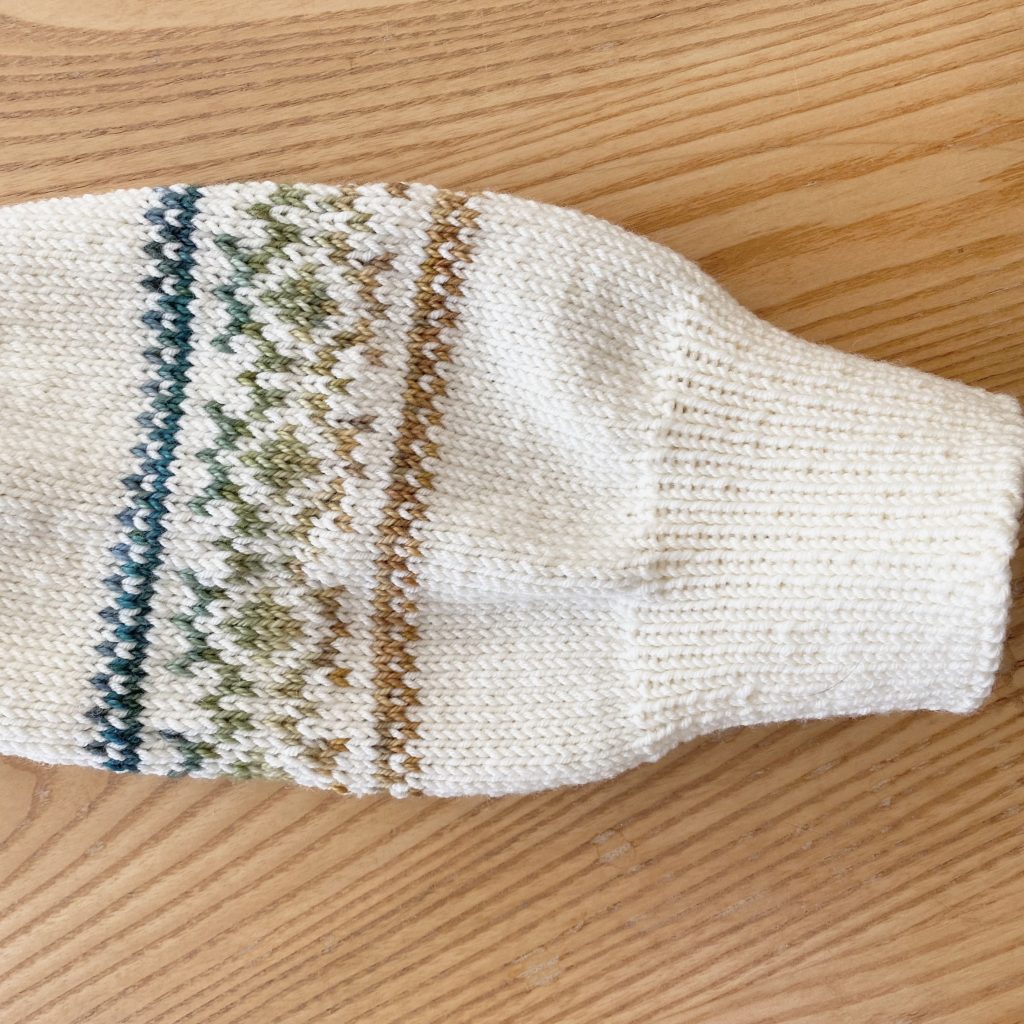
After working Chart C, I worked 16 rounds of stockinette before beginning the cuff. I actually forgot to change to the smaller needles on the final round of stockinette, so I had to tink back…
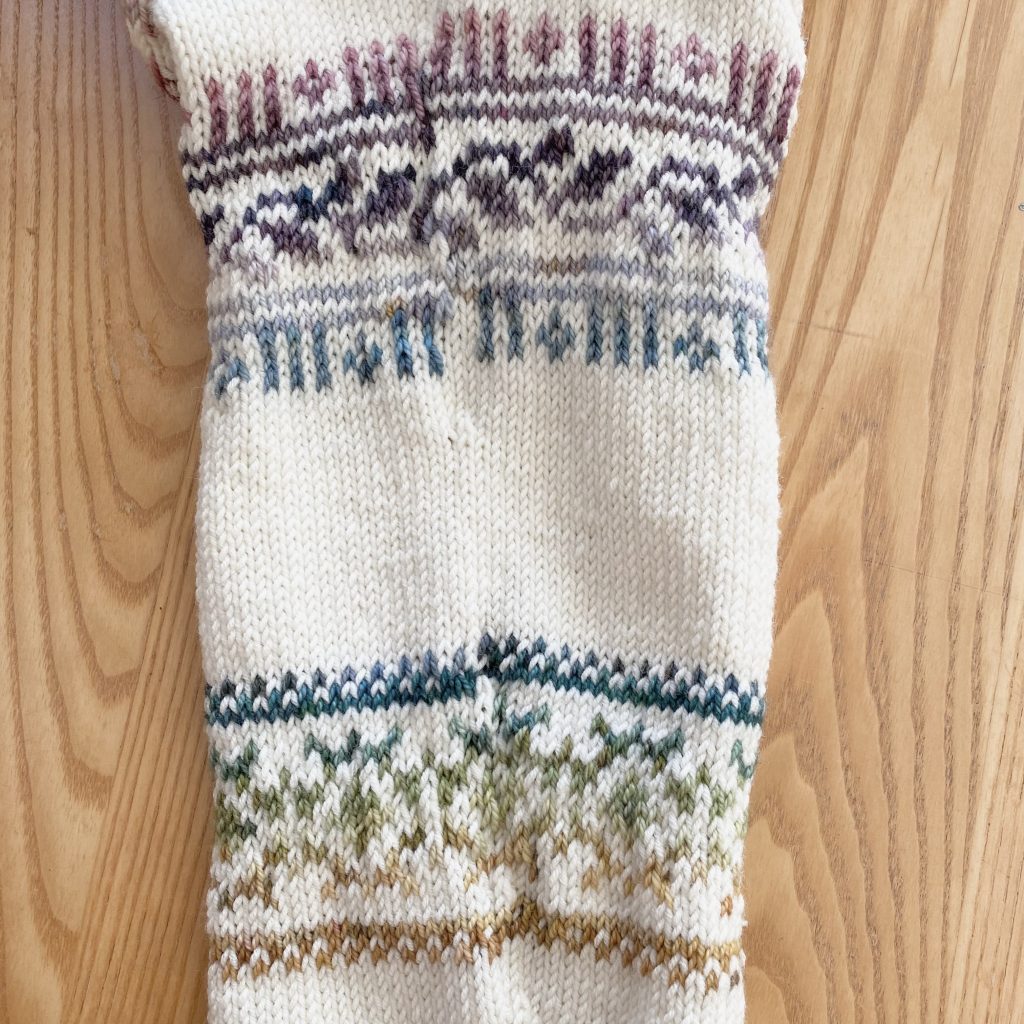
There is an obvious jog in the colourwork at the BOR, but I do think that is exacerbated by the colour changes and loose ends. I’m hoping that when I weave in all of the ends it will even out the jog a little!
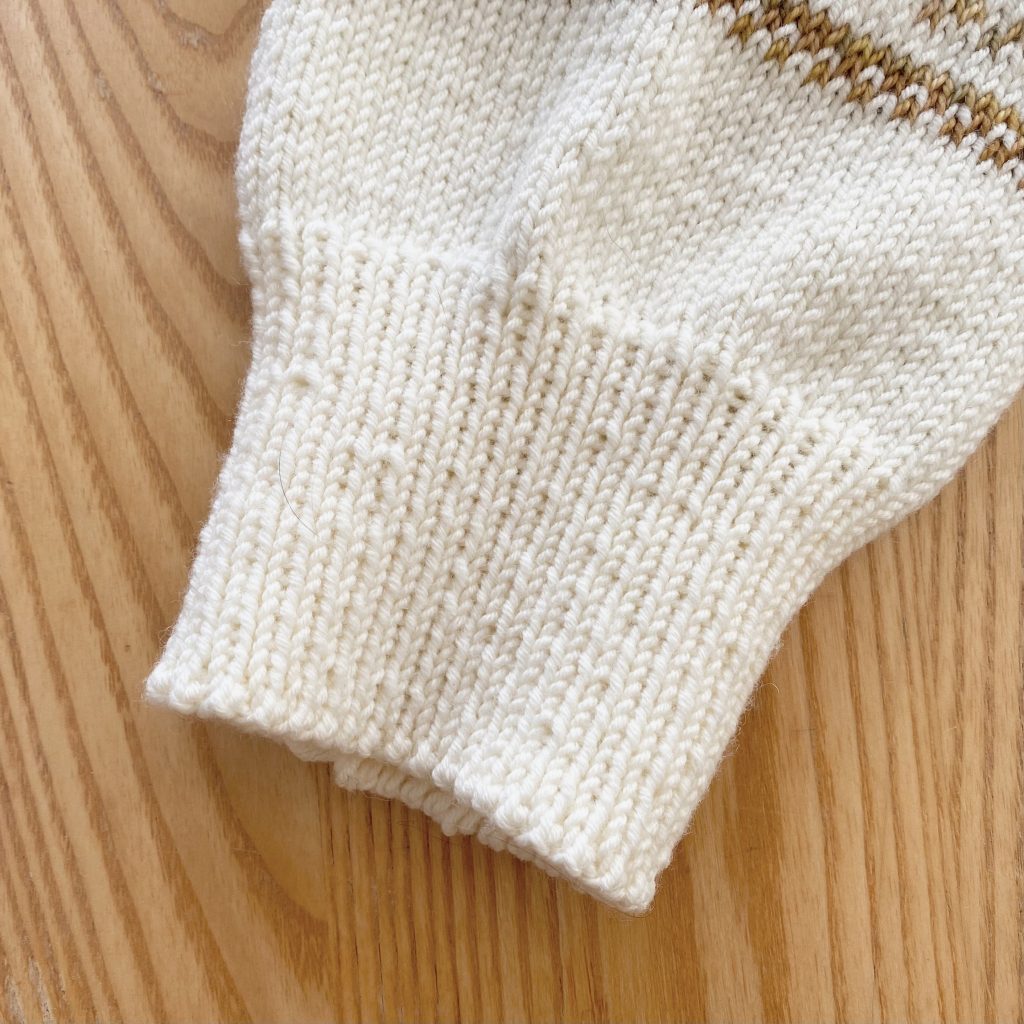
I worked the ribbed cuffs using the same technique I used for the hem and the neckband, knitting the knit stitches English-style (i.e. my usual technique) and purling the purl stitches continentally, to keep everything nice and neat.
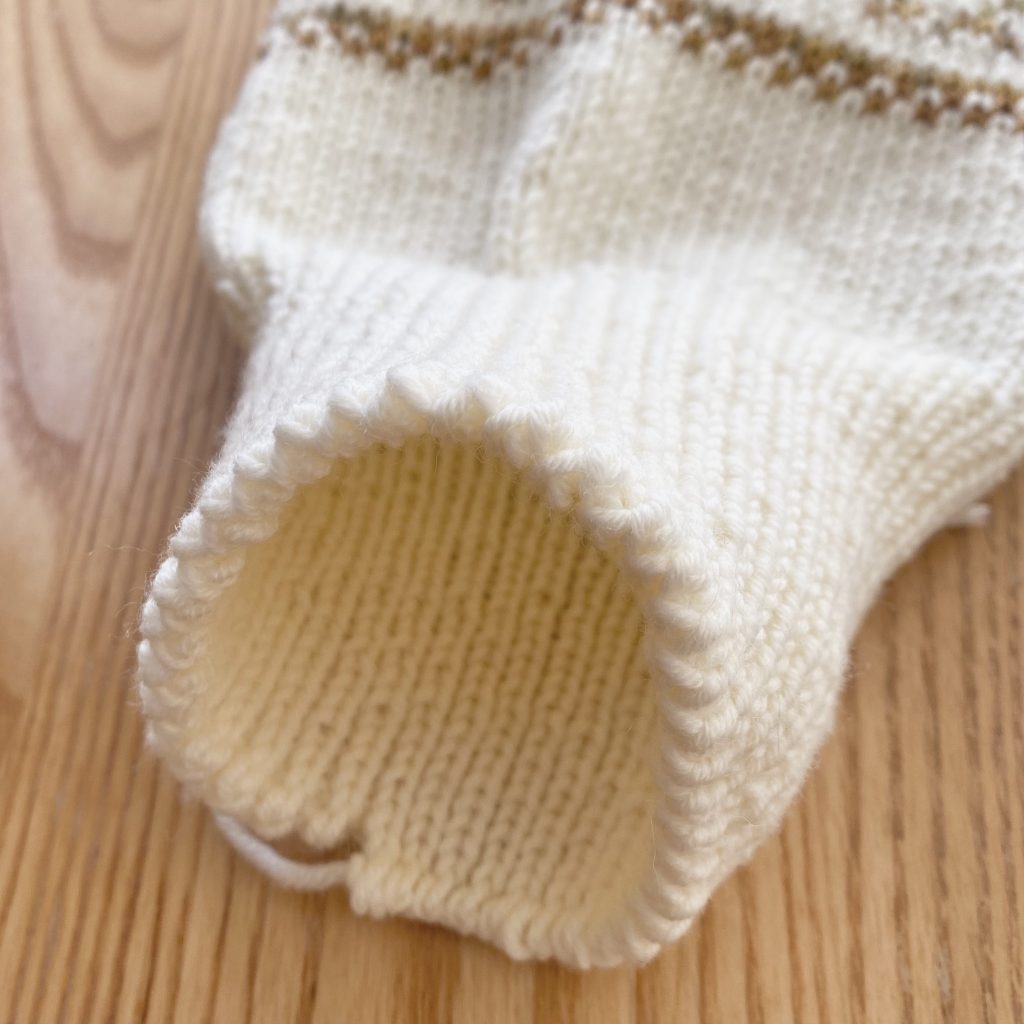
I worked the same number of rounds as I had worked for the hem (30) to keep everything uniform, then bound off with HiyaHiya Grandma’s Super Stretchy Bind Off again.
Final Thoughts
Honestly, the sleeves are knitting up so much more quickly than I expected: I thought I’d probably have to write one weekly update on the first sleeve and another on the second, but I’m already halfway through the second sleeve! Ah, the joys of a smaller circumference (and not needing to manipulate stitch counts to accommodate colourwork charts)!
I still find picking up stitches a bit stressful— it’s definitely a task I find myself putting off. It took me a good few times to get right on the first sleeve, but at least then I knew exactly what to do for the second sleeve and could get right to it!
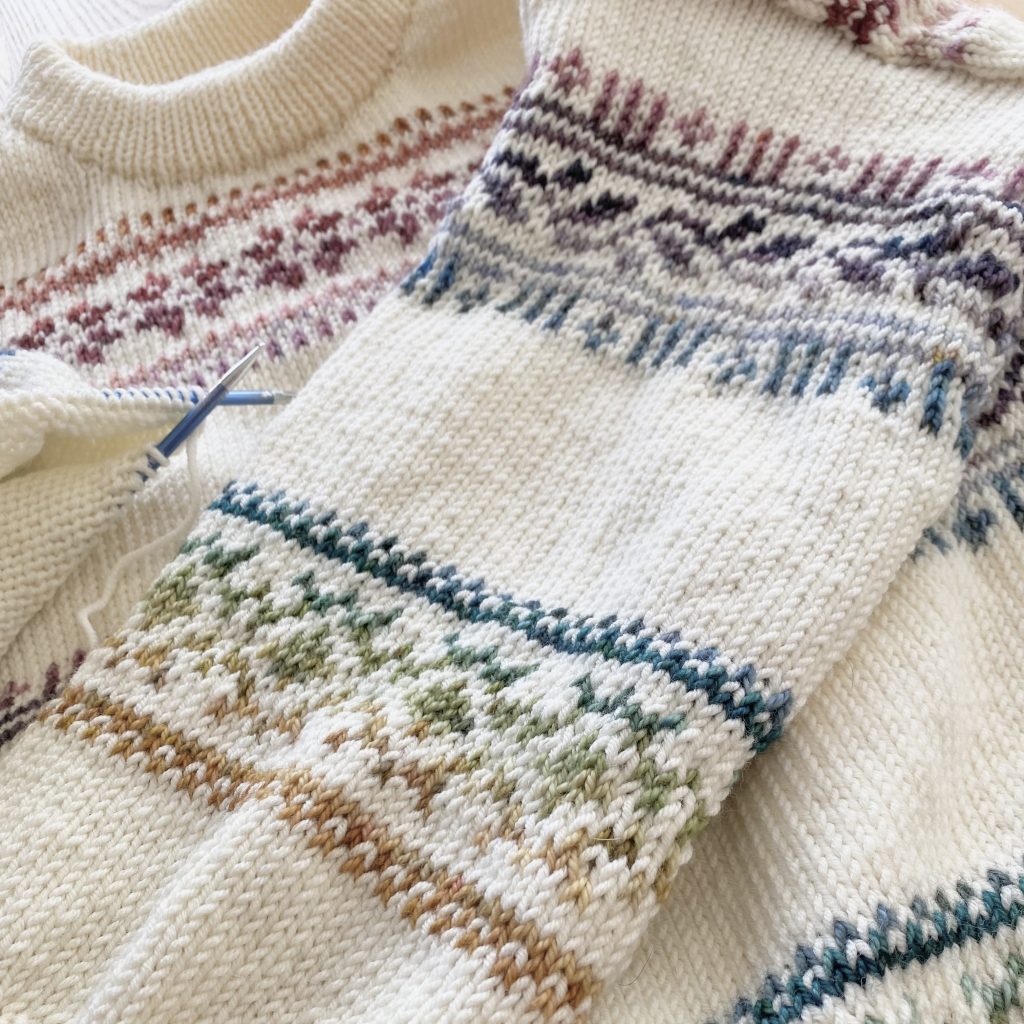
And that’s where I’m at! I’m hoping to finish the final sleeve pretty quickly so that I can sew in all the ends (…rip…) and block the jumper as soon as possible!
If you're interested...

You can purchase the Porcelain Sweater pattern by LE KNIT by Lene Holme Samsøe on Ravelry here.

You can find the Ravelry project page for my Porcelain Sweater here.

You can check out Castle View Yarns here.
Gemma
xxx