 Gemma
Gemma 
Happy WIP Wednesday!
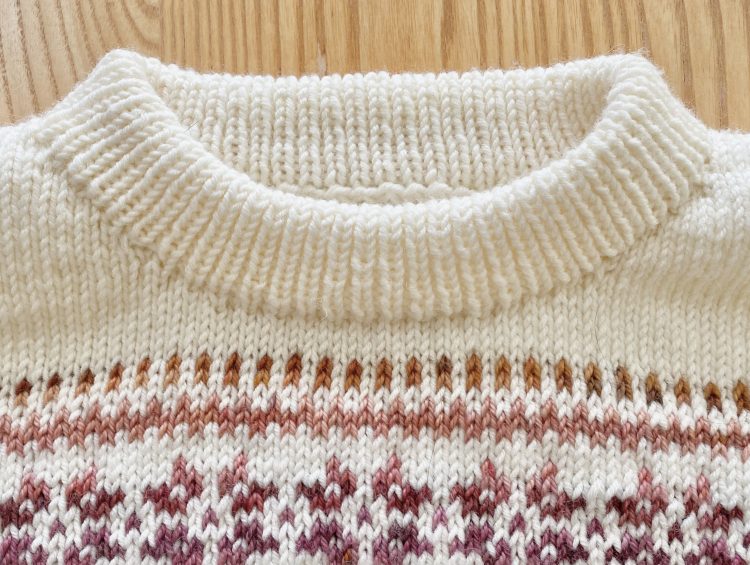
It’s week 6 of making my Porcelain Sweater (pattern by LE KNIT by Lene Holme Samsøe), using the 2025 Bridgerton Advent from Castle View Yarns as the contrast colour(s). I finished the body last week (check out the post here), so today’s post is all about the neckband!
Progress
In the sixth week of knitting this project I…
- Made the neckband!
This was a small job, but a slightly complex one. The neckband is worked directly onto the jumper, folded and knitted down to create a really neat finish— it’s not super tricky, but it does require a bit of focus!
The pattern suggests working the sleeves after the body, but I opted to work the neckband first. I’m hoping this will make it easier to visualise the fit/length while I’m working on the sleeves.
Mid-Knit Thoughts & Musings
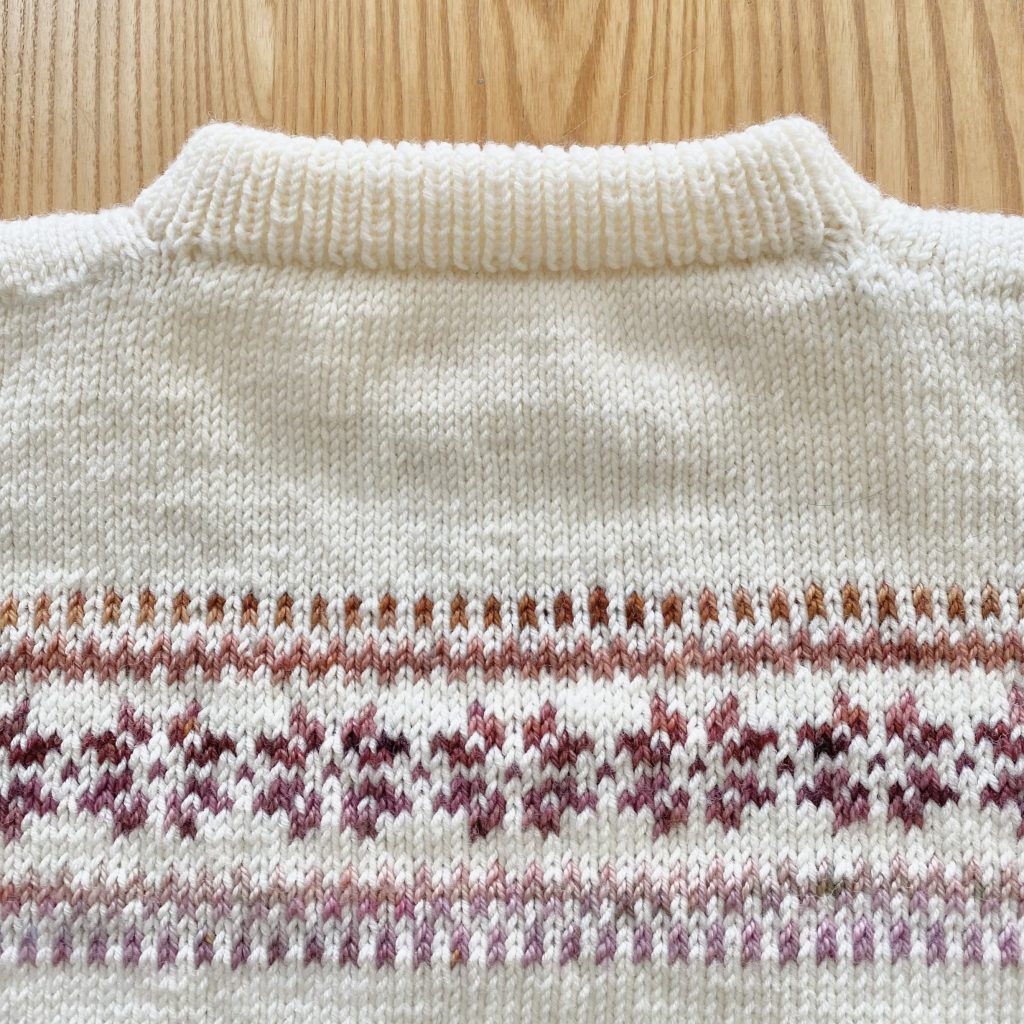
The neckband has definitely been the fiddliest part of this project so far, but I do think it’s worth it— it looks so neat and professional!
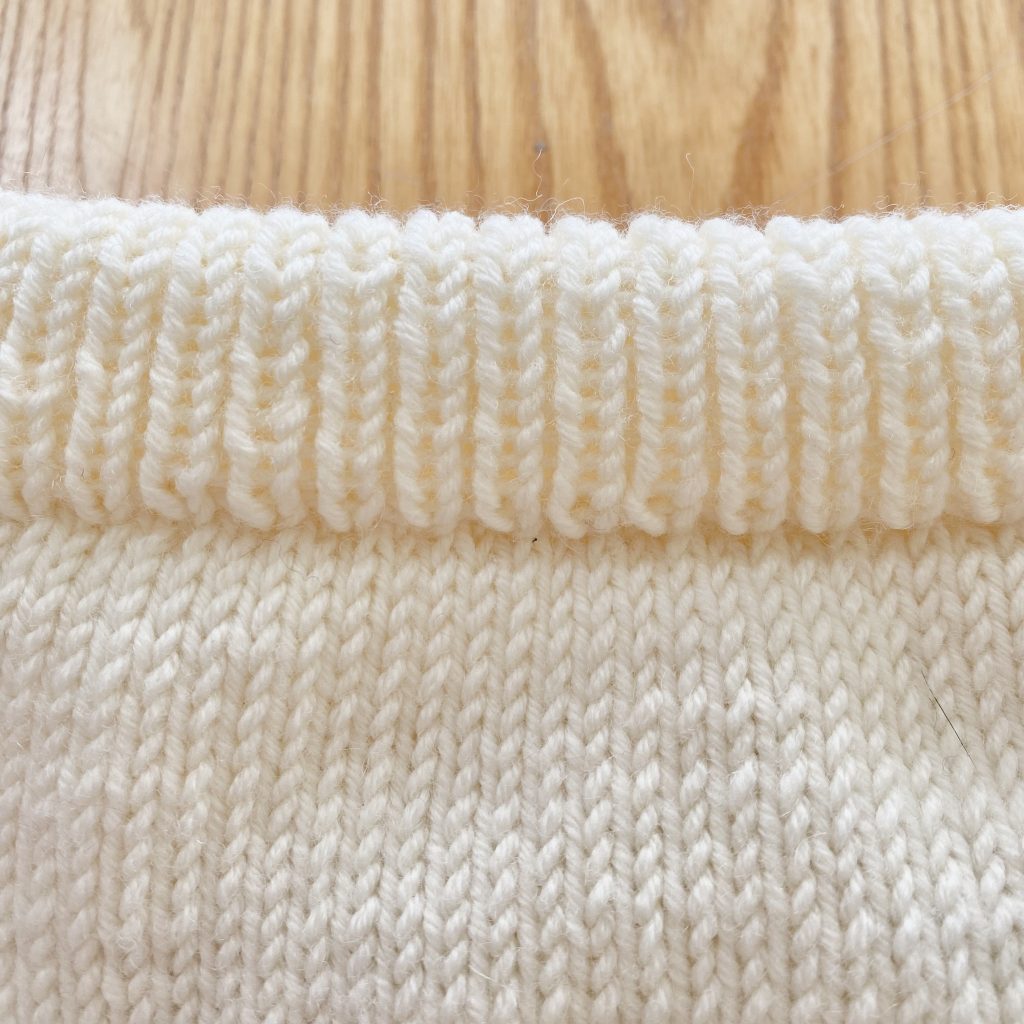
I definitely recommend watching the recommended video on www.leknit.com (you can find it here), because I found it incredibly helpful to see what was happening, rather than just trying to work it out from the pattern. The audio is in Danish, but you can turn on auto-translated subtitles that will give you the gist of it, plus you can still get a good idea of the technique just from watching the process.
I actually recommend watching both of the suggested videos in the pattern as you reach them: there is another video for picking up the stitches along the left shoulder that I also found very helpful (you can find that one here).
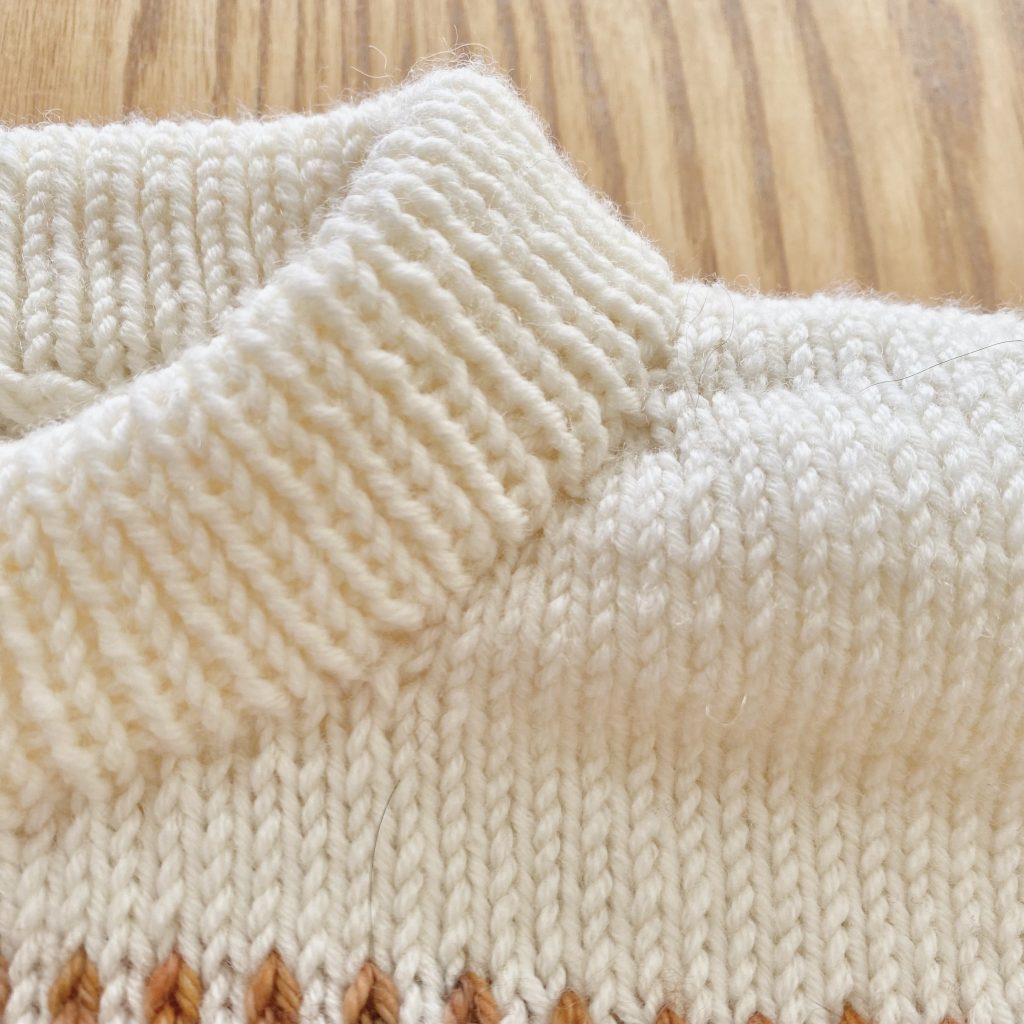
Honestly, the most difficult part of this neckline was picking up the stitches. It was fine when I was picking up stitches on the straight edges but, as soon as the diagonal edges crept in… chaos ensued.
Ultimately, it just took a lot of trial-and-error to decide how/where to pick the stitches up— I prioritised neatness (how seamless does the join look?) and strength (how loose/hole-y does the fabric look?), and tried to stay as consistent as possible with my approach throughout the whole neckline.
I did find it helpful to use lockable stitch markers to mark out where each section was: the pattern gives you the approximate stitch counts for the back, front and sides of the neck (so helpful!), which means you can break the process down into stages.
For the sides, I found it helpful to divide them up even further. I placed one lockable stitch marker halfway through each section, then another two to divide each side in half again, giving me four equal sections. I aimed to pick up an even (or as even as possible— the maths didn’t quite work out perfectly) number of stitches in each quarter, which helped keep to keep me on track
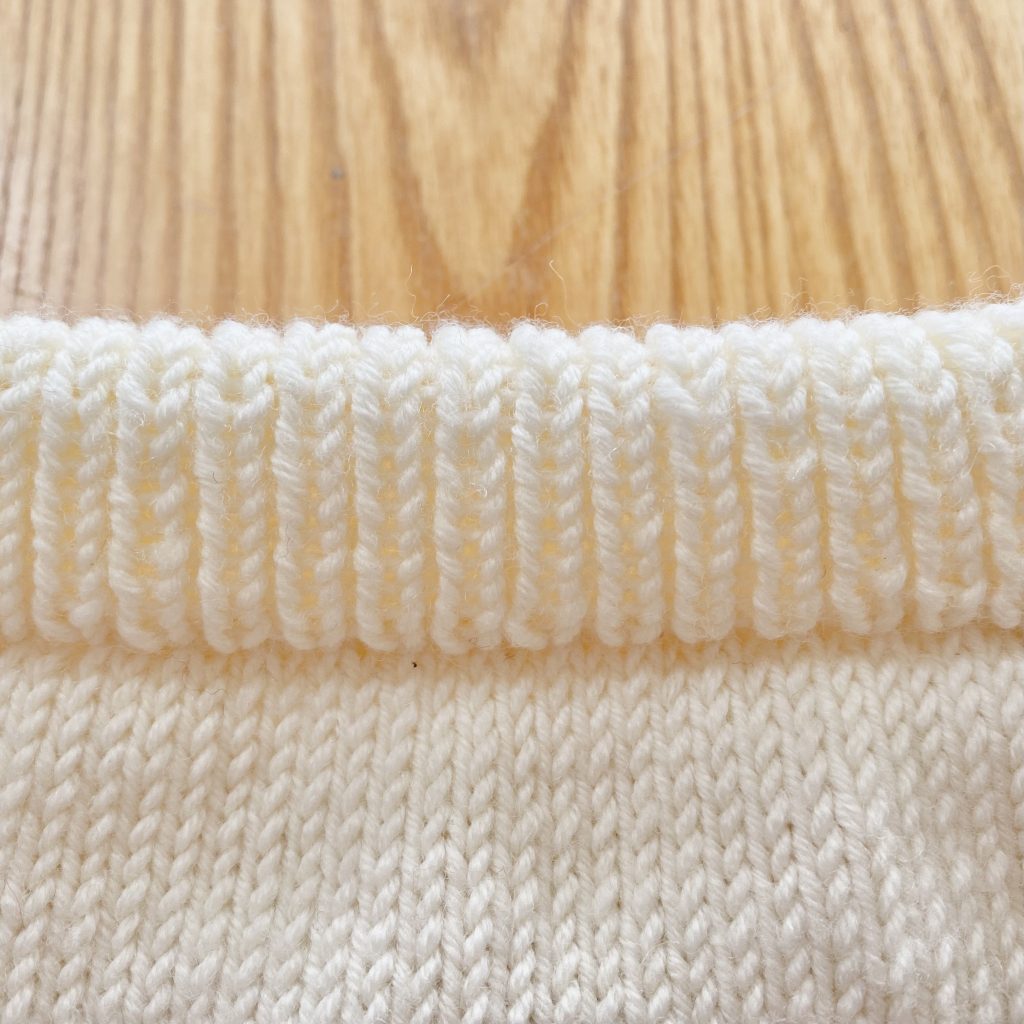
Honestly, the picking up stage took me a good while (I think two evenings!), because I had to keep going back, restarting and reattempting it. I was almost relieved to get back to the 1×1 rib when I finally finished!
Almost. I was almost relieved, because, yep, I still find 1×1 rib slow and vaguely soul-destroying. Sigh.
Just like with the ribbed hem at the bottom of the body, while I was knitting the rib, I worked the knit stitches in my usual method (English-style) and the purls continentally, which I find keeps my rib looking neater.
The ribbed section did take me a little while, but it was definitely nice to be working on a smaller circumference than the hem! I used a short circular needle for this to keep everything as neat and speedy(ish) as possible.
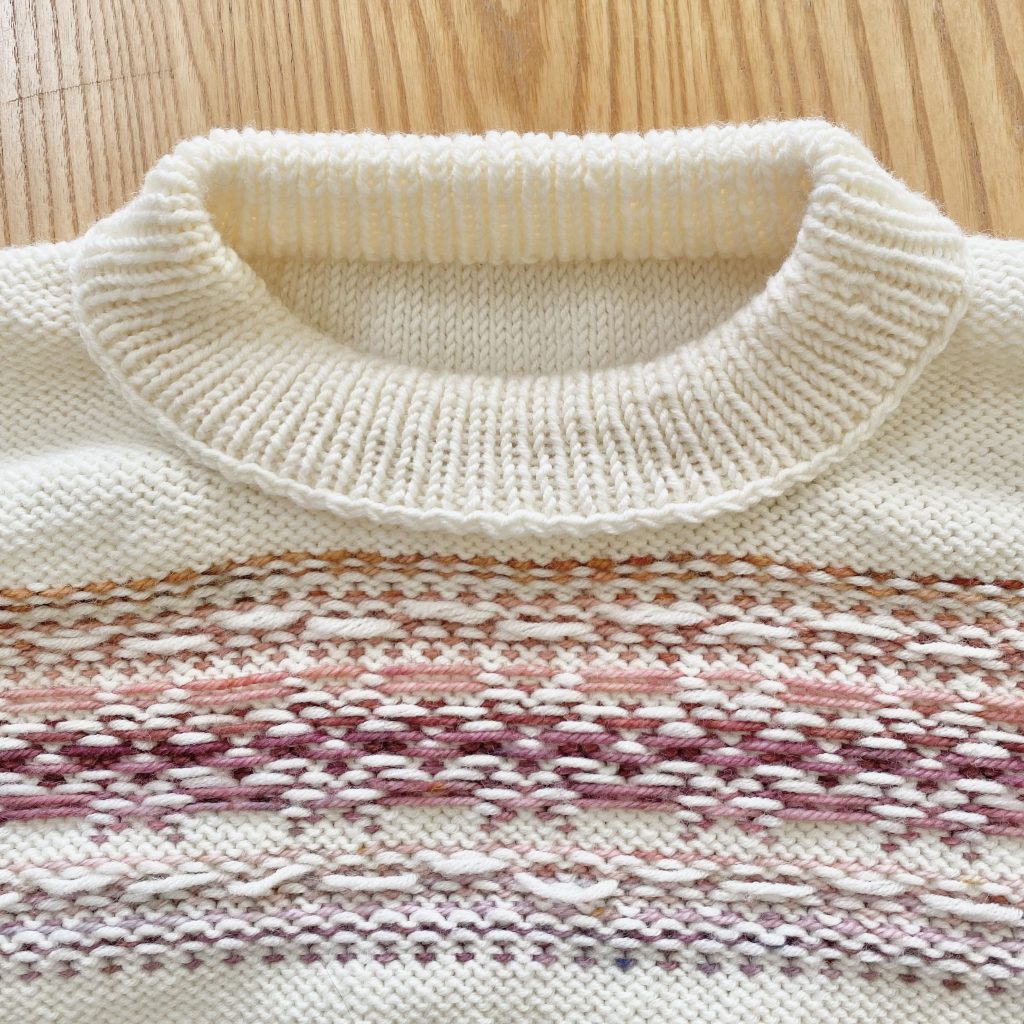
Once the ribbing was done, it was time to… pick up more stitches. I found this process a little easier (though still trickier on the sides!) this time around, because I already had a clear guideline: the seam I created during the first picking-up session.
The process of knitting the folded neckband down was a little fiddly, but it was actually quite a straightforward technique— that is, I understood what I was doing easily (after watching the video) but actually doing it made me feel a little like I was all fingers and thumbs! Nevertheless, it gave a really neat finish and I think the neckband looks super professional— I’m really happy with it!
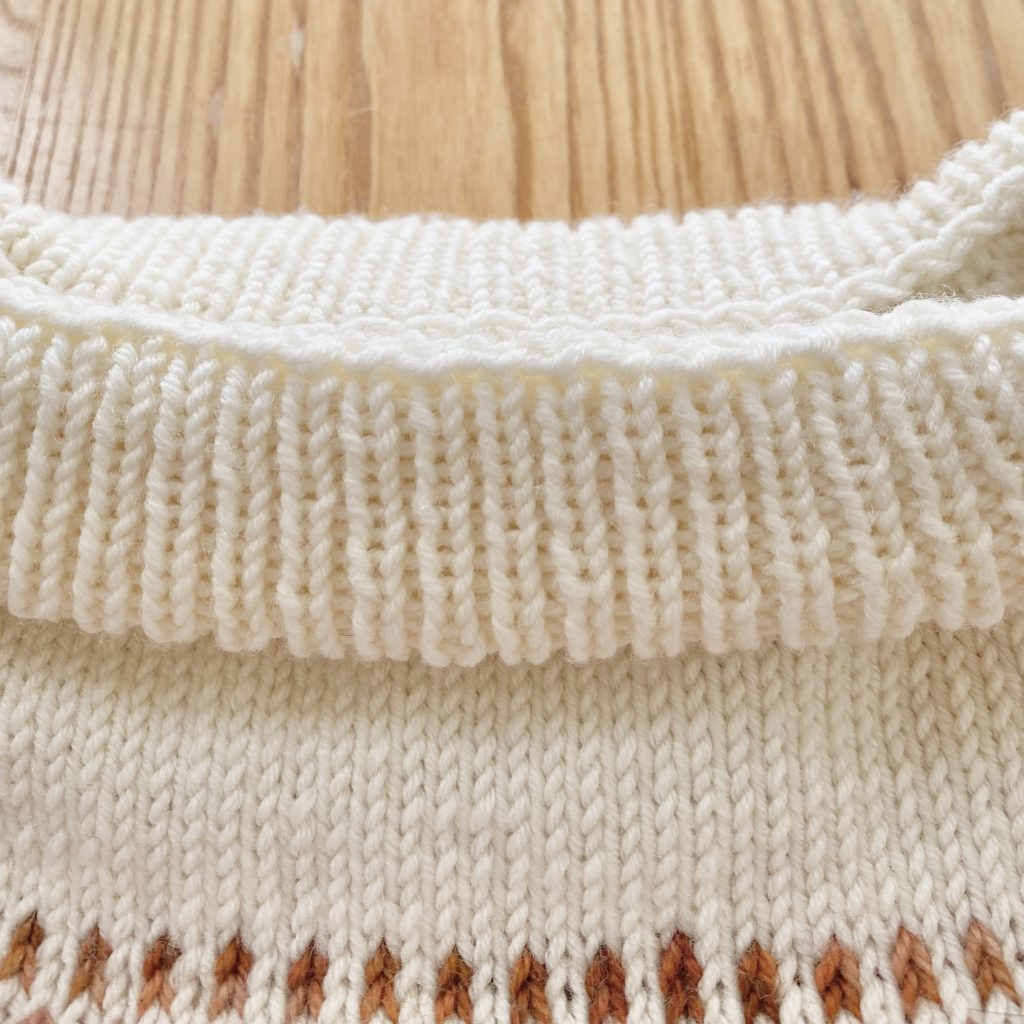
I did switch back to purling with my usual method (English-style) when binding off the neckband, because I wanted to make sure it was as stretchy as possible (purling continentally tightens up the stitches, which makes for a neat finish but isn’t quite so conducive to a stretchy neckline!).
Final Thoughts
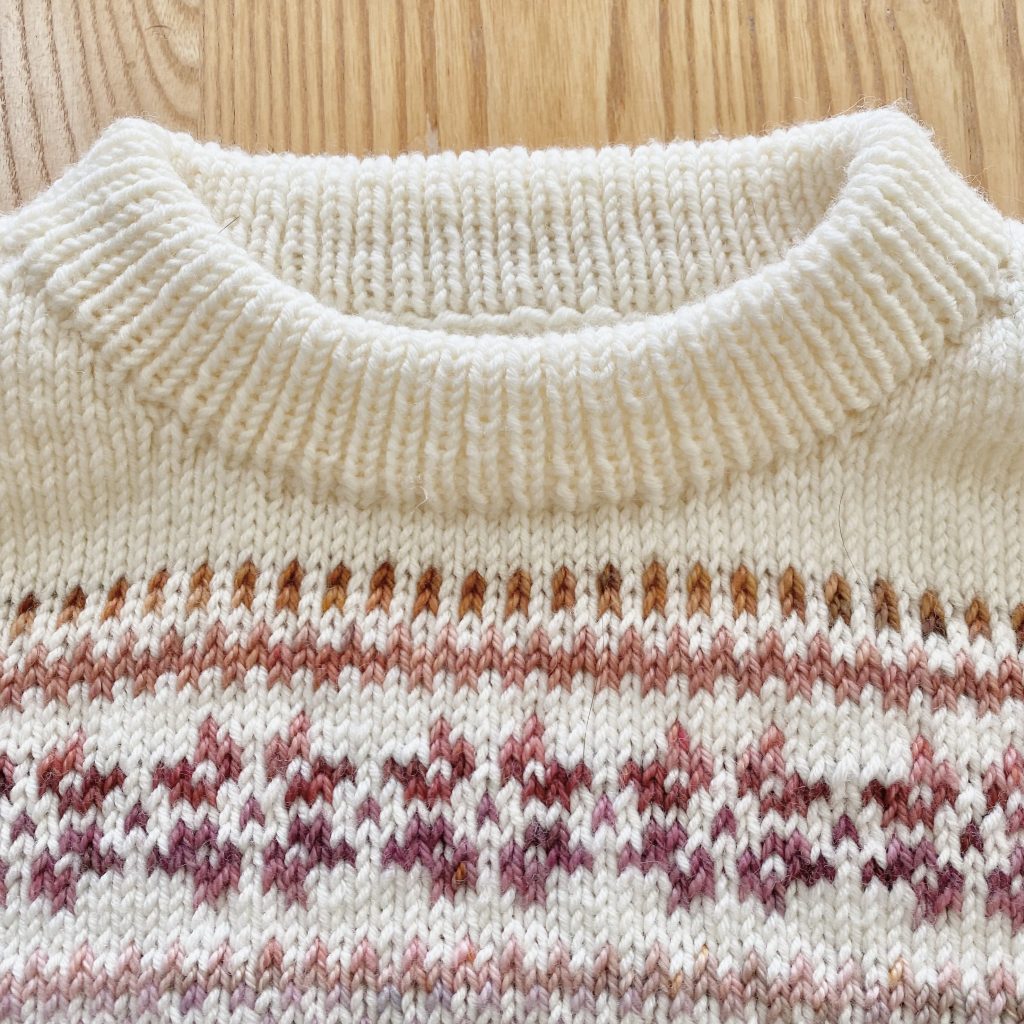
And that’s the neckband of my Porcelain Sweater officially finished! It was a little tricky, but I’m so happy with how it turned out— I think it looks really good and I love the way that the internal seam ends up entirely enclosed within it (what a genius design!).
I definitely feel like I’m getting closer to the finished product now! Just the sleeves to go!
Plus, you know, weaving in all those ends… but let’s not think about that just yet…
If you're interested...

You can purchase the Porcelain Sweater pattern by LE KNIT by Lene Holme Samsøe on Ravelry here.

You can find the Ravelry project page for my Porcelain Sweater here.

You can check out Castle View Yarns here.
Gemma
xxx