 Gemma
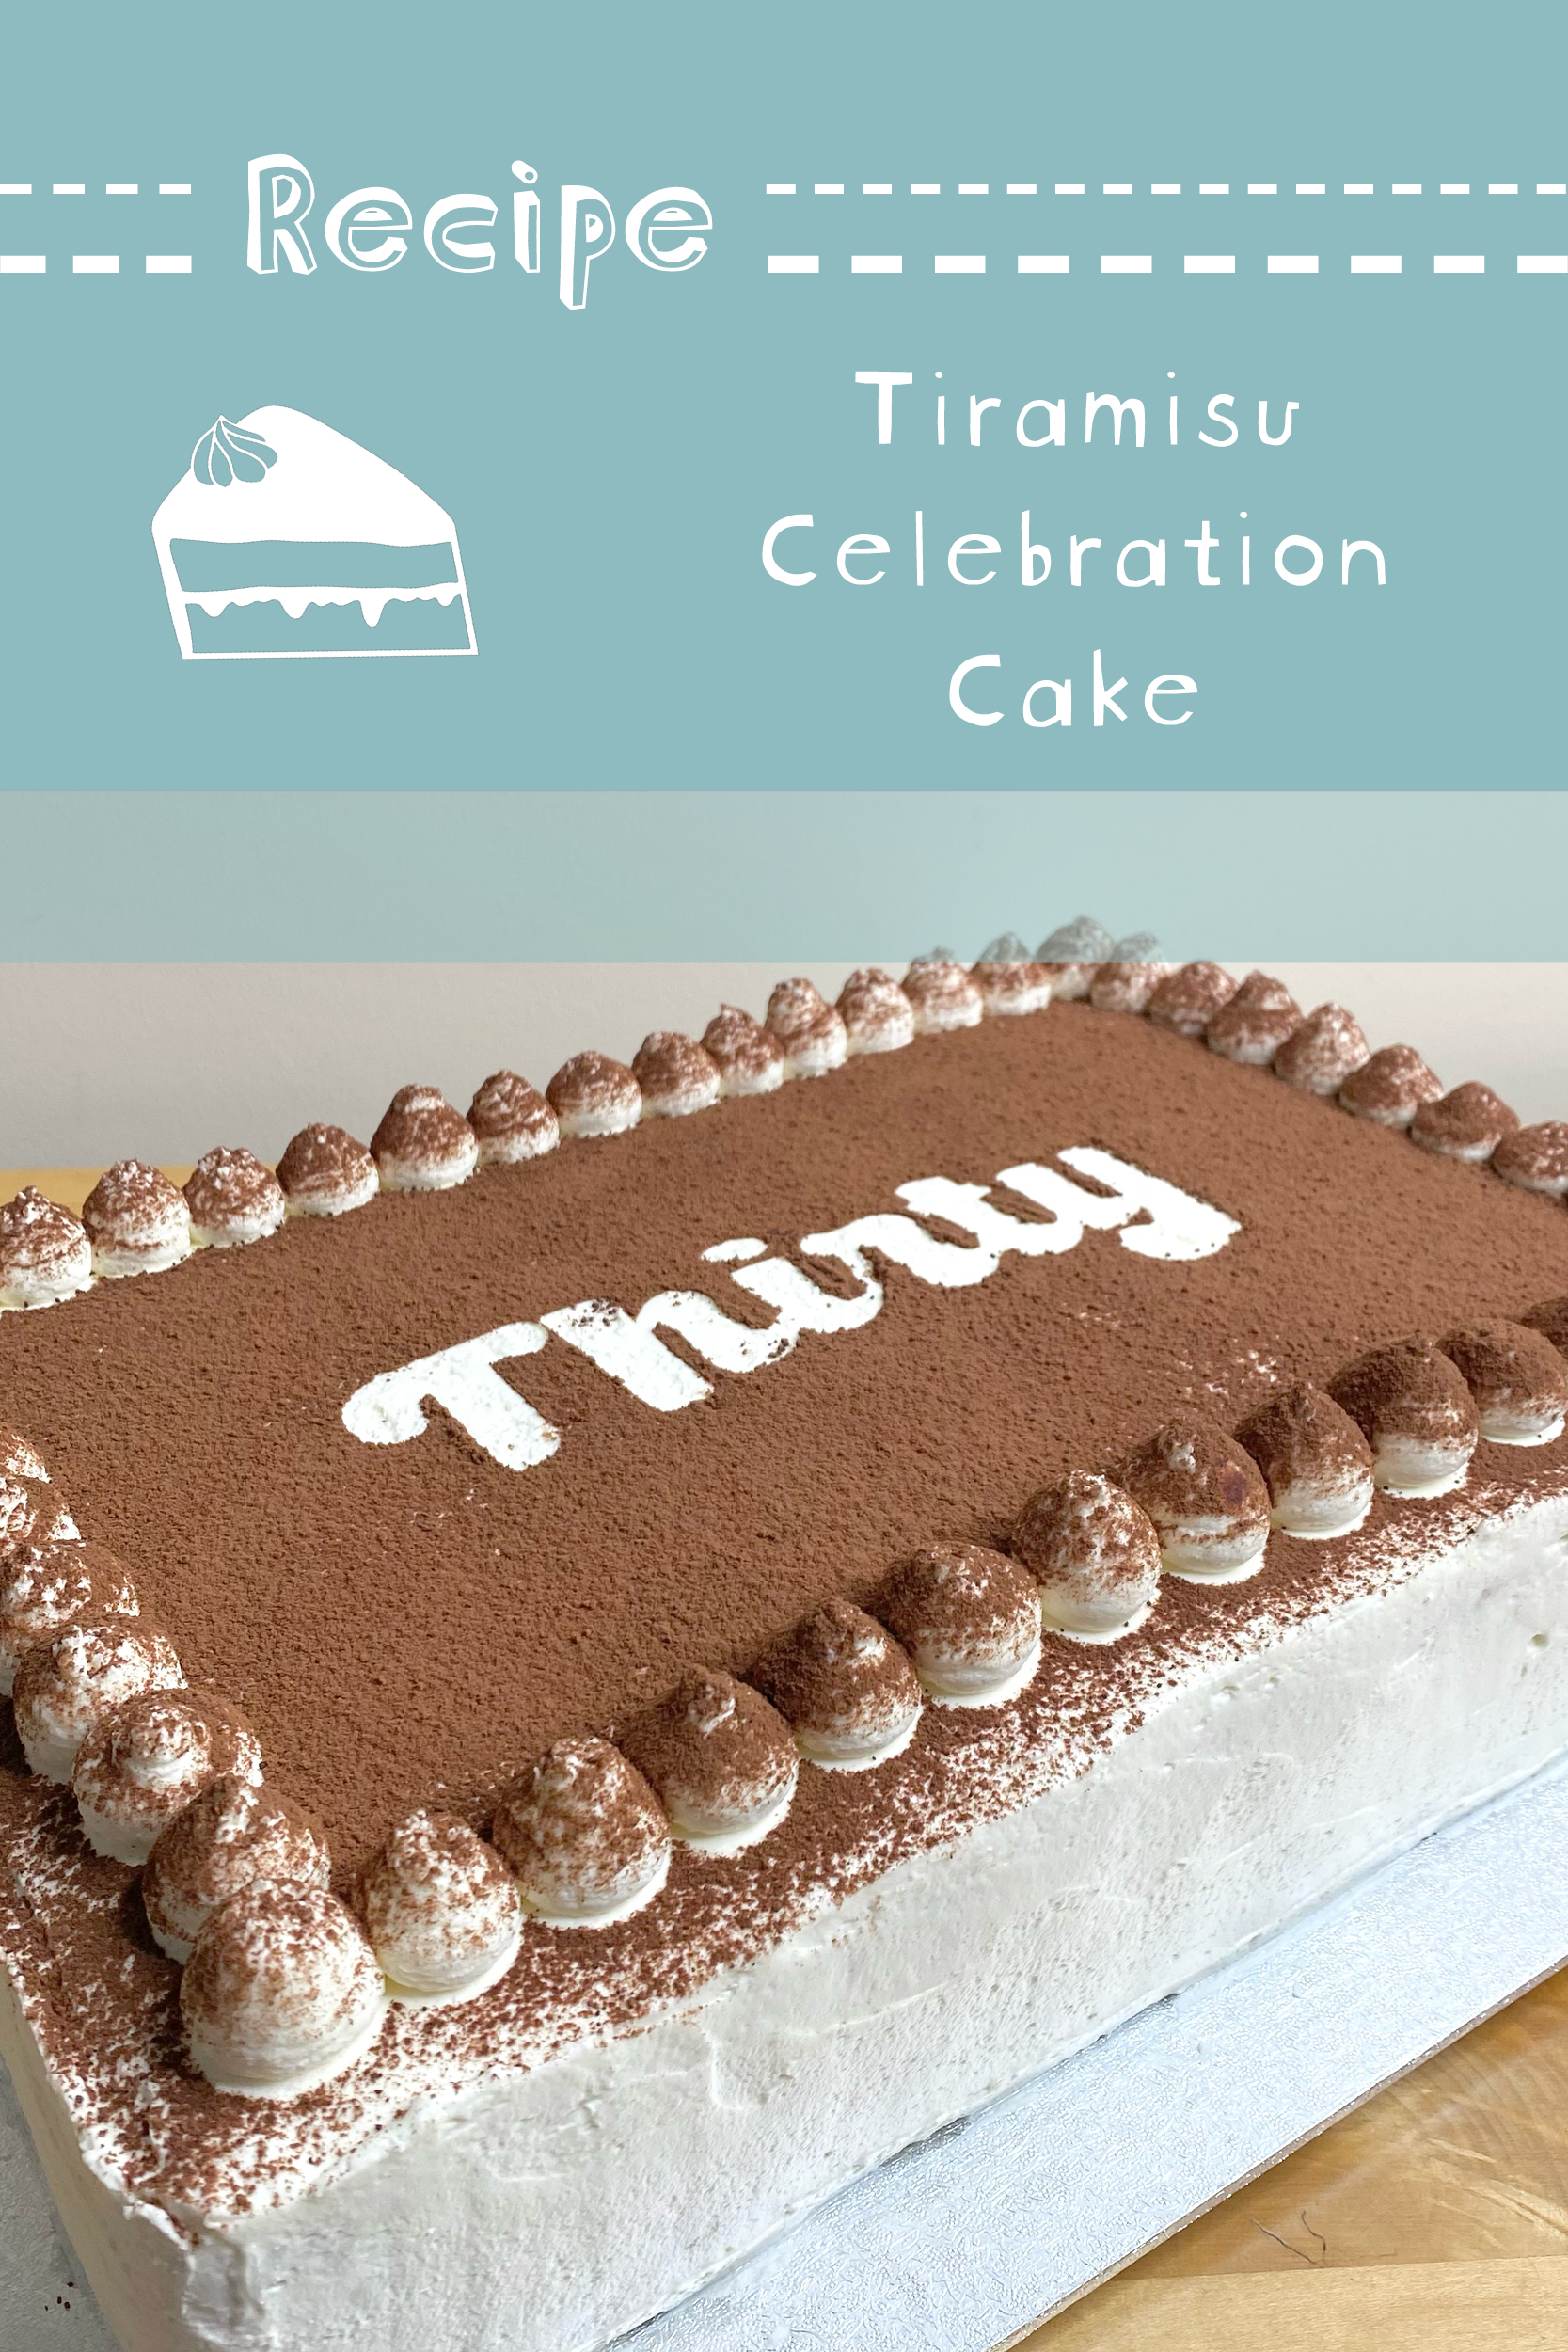
I love tiramisu. In fact, I love tiramisu so much that this is the second tiramisu-inspired recipe that I’m sharing (the first was my Tirami-Yule Log!). I was super excited, then, when my brother’s friend Grace commissioned me to make her a tiramisu cake for her 30th birthday!
This is a big cake. It needed to serve 25 people, and you don’t serve 25 people with a normal-sized cake. For this reason, I’m calling it my Tiramisu Celebration Cake: it’s probably not the type of cake you make for a casual Sunday afternoon, but it is absolutely the kind of cake you make for a party or event— it’s a cake that was born to be part of a celebration.
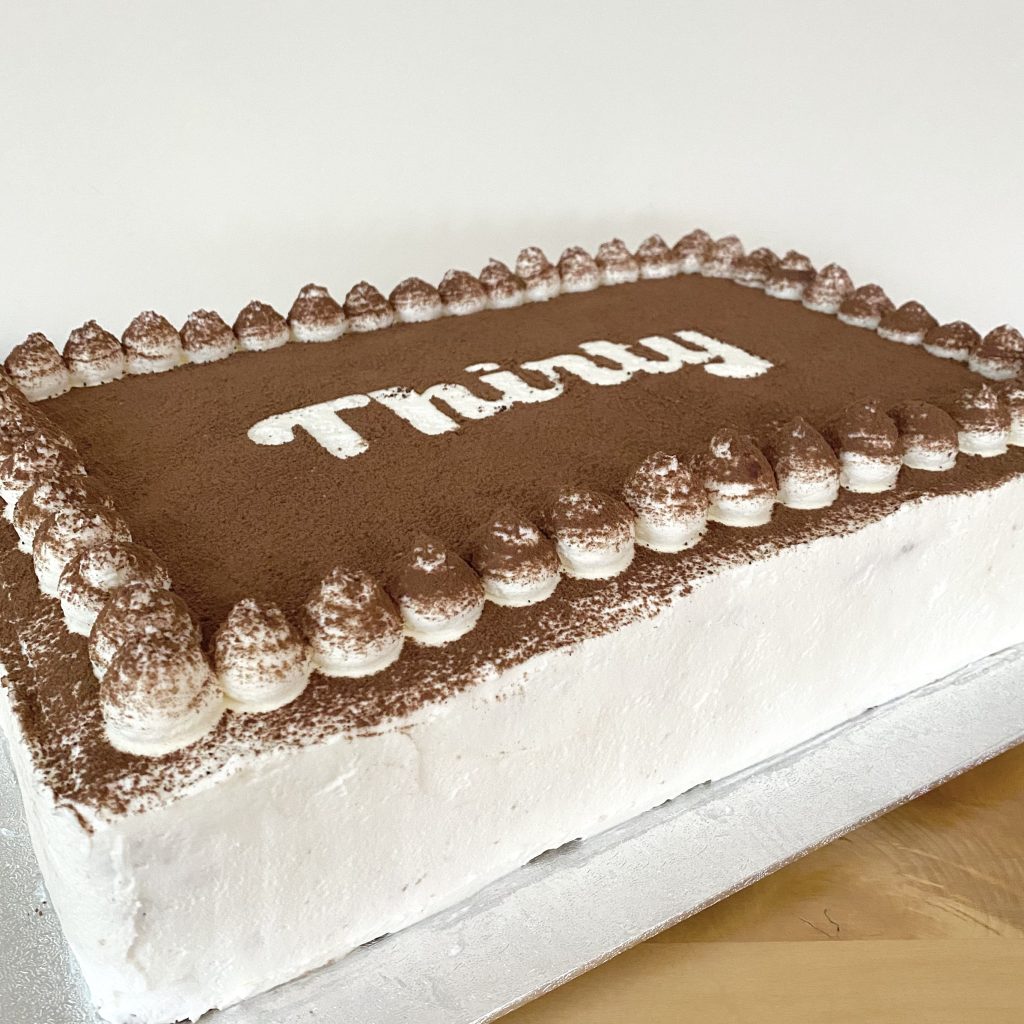
Having said that, you could absolutely scale this recipe down and have yourself a nice little Sunday Afternoon-Appropriate Tiramisu Cake, if you wanted. Tiramisu for all occasions!
Before we get started, I know that today is a Wednesday, so you would probably have been expecting a WIP Wednesday post! I have officially finished my Porcelain Sweater x Bridgerton Advent project (!!!) but (alas) I haven’t had a chance to take any photos of it yet. I’ll try and get that done ASAP, so you can see it all finished and beautiful (spoiler alert: I’m so pleased with how it has turned out!). In the meantime, though, I offer you… cake!
Here’s the recipe for this Tiramisu Celebration Cake!
Components
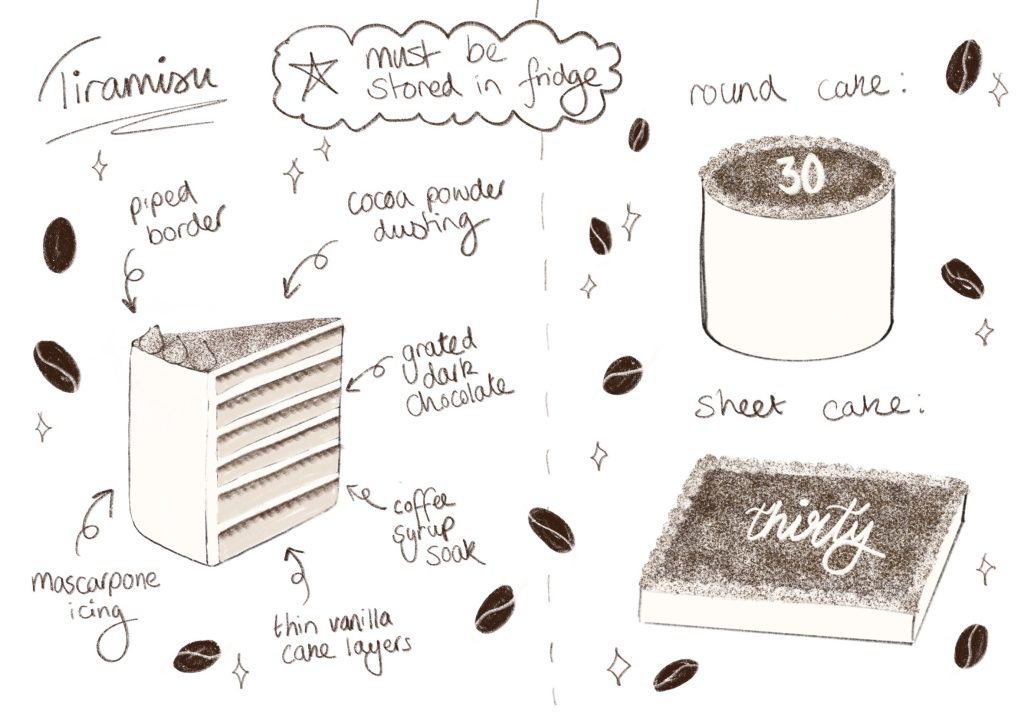
This Tiramisu Celebration Cake is made up of 5 components:
- Vanilla cake layers
- Coffee soak
- Mascarpone icing
- Dark chocolate flakes
- Cocoa powder (dusted on top)
Basically, you’ve got all the elements of a classic tiramisu, just adapted slightly into a layer cake-friendly format. Instead of sponge fingers, there are thin layers of vanilla cake. Instead of the egg & mascarpone mixture, there’s a whipped cream & mascarpone icing (which means that this cake is a perfect alternative if you/any of your guests are worried about consuming raw eggs). The coffee soak and the cocoa powder are pretty true to the original dessert, but I’ve included some dark chocolate flakes too, because I like a bit of straight chocolate in a tiramisu!
Ingredients
To make this cake, you will need the following ingredients…
For the Vanilla Cake Layers
The vanilla cake layers are made using a super simple cake recipe (it’s actually the very first recipe I ever learnt to bake!). To make it, you will need:
- Stork baking spread
I generally like to use Stork for cakes, because I think it makes a lighter, fluffier cake than regular butter. However, you can absolutely use softened, unsalted butter instead, if you prefer. You’ll also need a little extra Stork/butter to grease the cake tin(s).
- Caster sugar
I like to use golden caster sugar for this cake, because I think it has a better flavour, but white caster sugar will also work.
- Eggs
I always use large eggs.
- Self-raising flour
It’s important to use self-raising flour (not plain), so that the cakes rise nicely.
- Baking powder
Even though we’re using self-raising flour, I like to add a little bit of baking powder to give the cakes even more lift.
- Fine sea salt
A small amount of salt helps to enhance the other flavours.
- Vanilla extract
A small amount of vanilla is added to counteract the egginess in the cakes. Don’t be too heavy handed with it though, because traditional lady fingers (which we’re trying to ‘mimic’ here), actually have a hint of egginess! You don’t particularly want the cake to taste like vanilla, you just want to tone down the egginess a little. A small splash should do it!
For the Coffee Soak
This soak is essentially a coffee sugar syrup— much like how lady fingers are soaked in a coffee mixture before going into a tiramisu, here the cake layers are brushed generously with the coffee sugar syrup as they are stacked up with the icing.
- Espresso
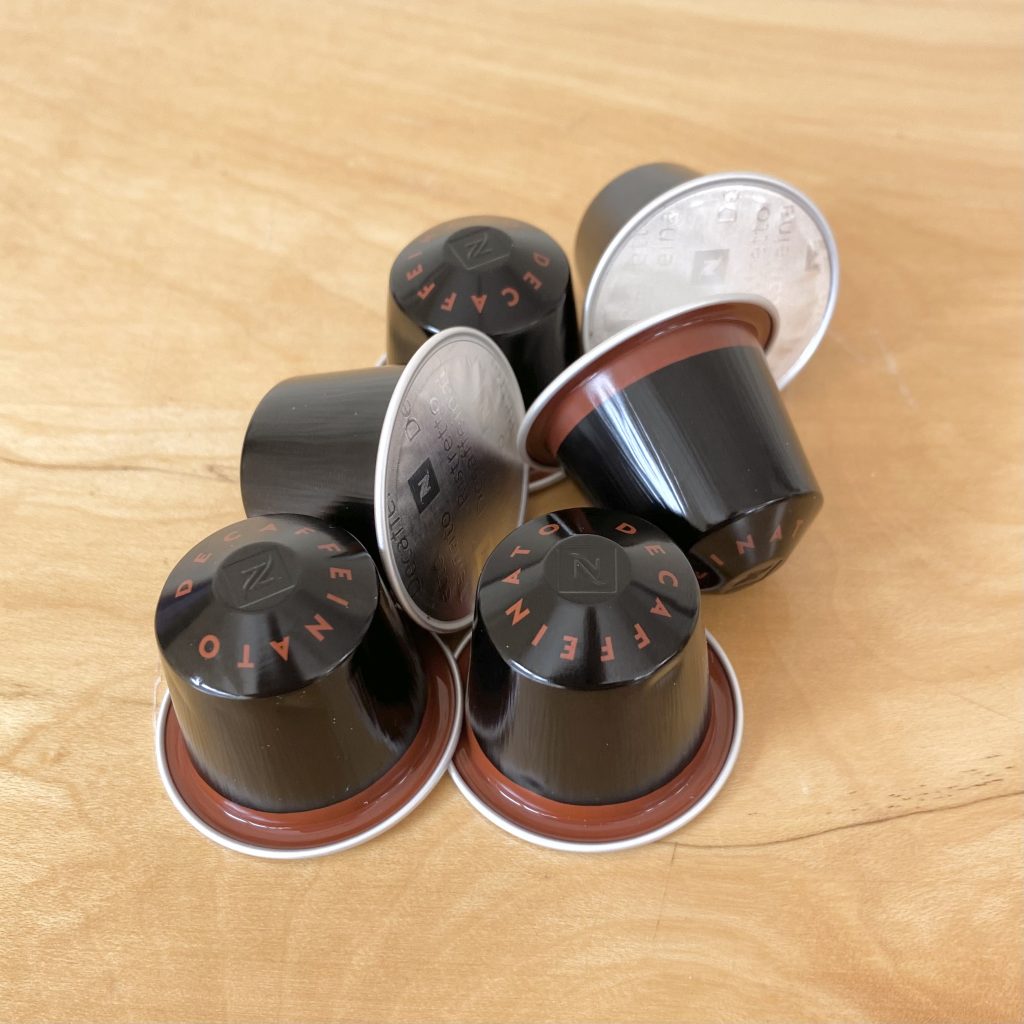
I have a Nespresso machine, so I made espresso using the Ristretto Decaffeinato capsules (you don’t need to use decaf coffee here, though they work perfectly well— they’re just the strongest capsules I had on hand!). You could also just use really strong coffee for this.
- Instant coffee granules
Tiramisu is supposed to be punchy, so to get even more coffee flavour, I like to add some instant coffee granules to the espresso.
- Caster sugar
I used golden caster sugar, but white caster sugar would work just as well here.
- Fine sea salt
A pinch of salt brings out the flavour of the coffee and balances out the sweetness of the soak.
- Marsala
I’ve used marsala as the alcoholic element in this soak, which is the traditional choice for a tiramisu, but you can use whatever alcohol you would like. My usual favourite is amaretto, but this cake needed to be nut-free, so I used marsala instead and it was still super delicious! If you’d like, you can omit the alcohol entirely (in fact, apparently tiramisu was not originally made using any alcohol at all!)— if you do this, I would recommend adding a little more of the instant coffee granules, just to amp up the flavour.
For the Mascarpone Icing
The cake layers are sandwiched together with this super easy mascarpone cream. Unlike the traditional mascarpone mixture in a tiramisu, this icing doesn’t contain any eggs, so there’s no need to worry about consuming raw eggs!
- Mascarpone
Mascarpone is a soft, Italian dairy product— somewhere between a cream and a cheese. It has a milder flavour and smoother, silkier consistency than cream cheese, but still has a slight tang. I love it!
- Double cream
If you’re in the US, use heavy cream.
- Icing sugar
Icing sugar helps to give the icing structure and stability, which is important for a layer cake! Make sure you sift it beforehand, because it can be quite clumpy.
- Fine sea salt
Like the other elements of the cake, a small amount of fine sea salt helps to balance out the sweetness of the icing and enhance the other flavours.
To Assemble
To assemble the cake, you will also need:
- Dark chocolate flakes
You can buy chocolate flakes in lots of shops now (they’re usually in the ‘Hot Chocolate’ section— just make sure they’re 100% chocolate and not a drinking chocolate mix). However, I sometimes find that the ‘flakes’ are more like little nubbins, because the chocolate has been ground, rather than ‘flaked’.
You can absolutely use those (it’ll make this recipe easier and quicker if you do!), but I prefer the texture of the true flakes, so I opted to make my own here.
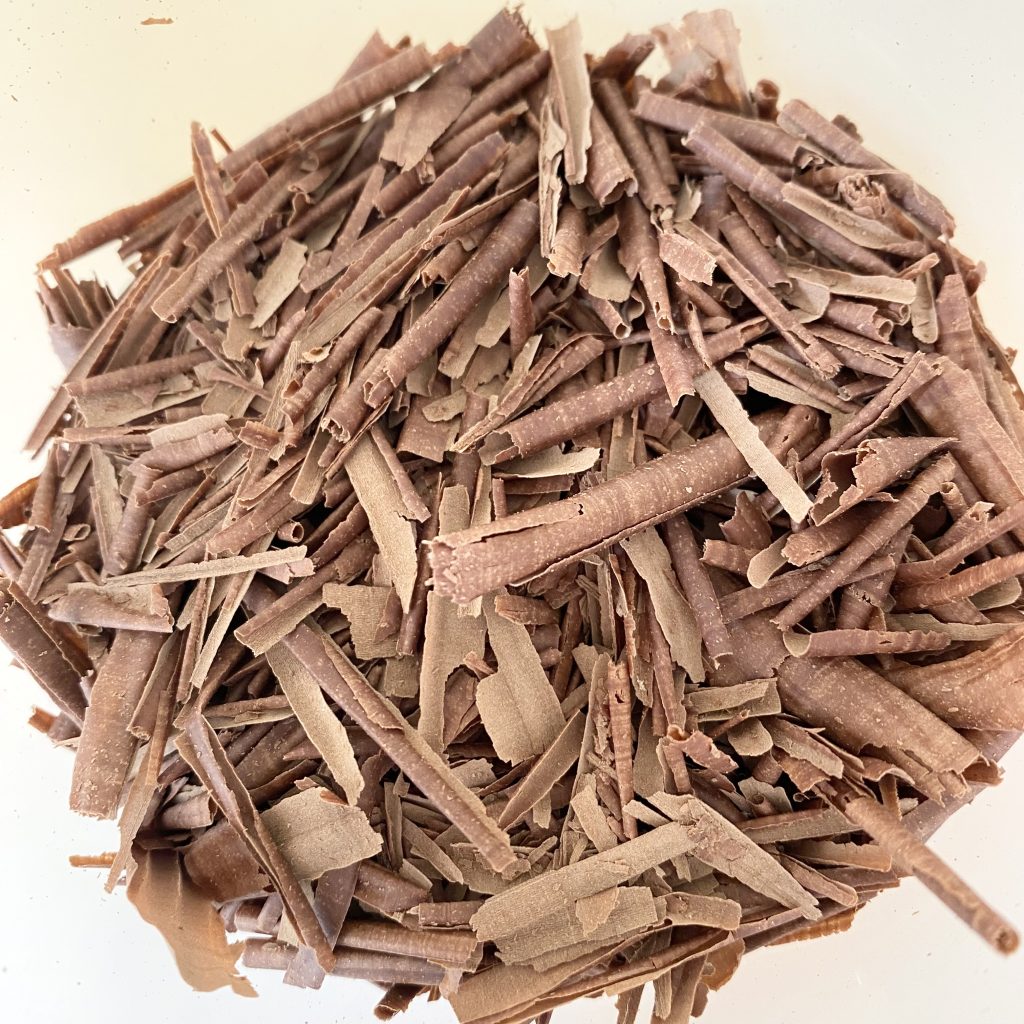
To do so, I used a bar of 72% dark chocolate to make my Easy Chocolate Curls, which I then put into a sealed container.
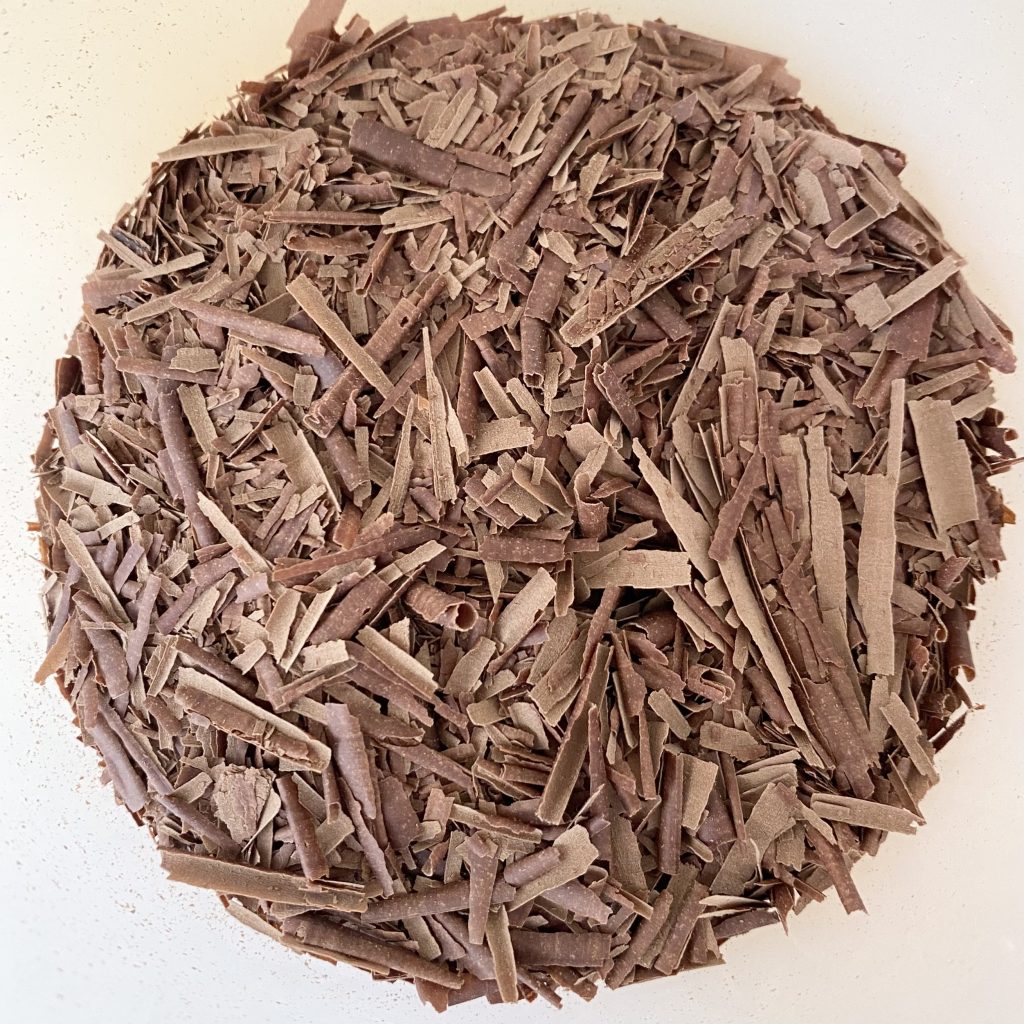
I gave the container a really good shake, which broke the curls up into lots of little flakes.
You could also just grate the chocolate over the top, but I do not enjoy grating chocolate (it melts all over your hands and I don’t like it…), so I opted for my curl-shaking method instead.
- Cocoa powder
I used an everyday cocoa powder for this (specifically this one, from Green & Blacks). You only need a small amount— just enough to dust over the surface of the cake.
Making the Vanilla Cakes
For this cake, you need two 13 x 9-inch cakes. You’ll split each cake horizontally into 3 layers, leaving you with 6 very thin cake layers (I told you it was a big cake!). I only have one 13 x 9-inch tin (and my oven only fits one at a time, anyway), so I baked each cake separately.
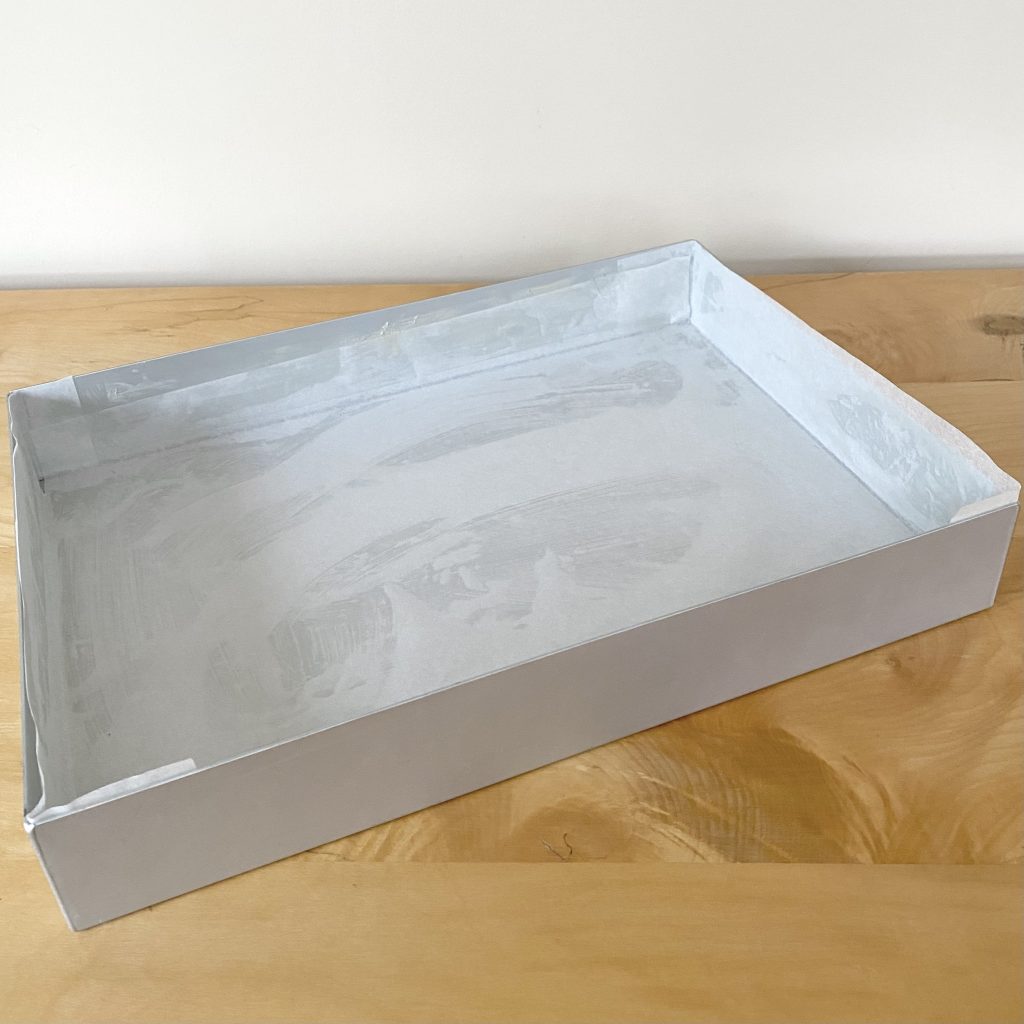
To make the first cake, start by greasing and lining the cake tin with Stork (or softened, unsalted butter) and baking paper. Preheat the oven to 160°C (conventional, not fan).
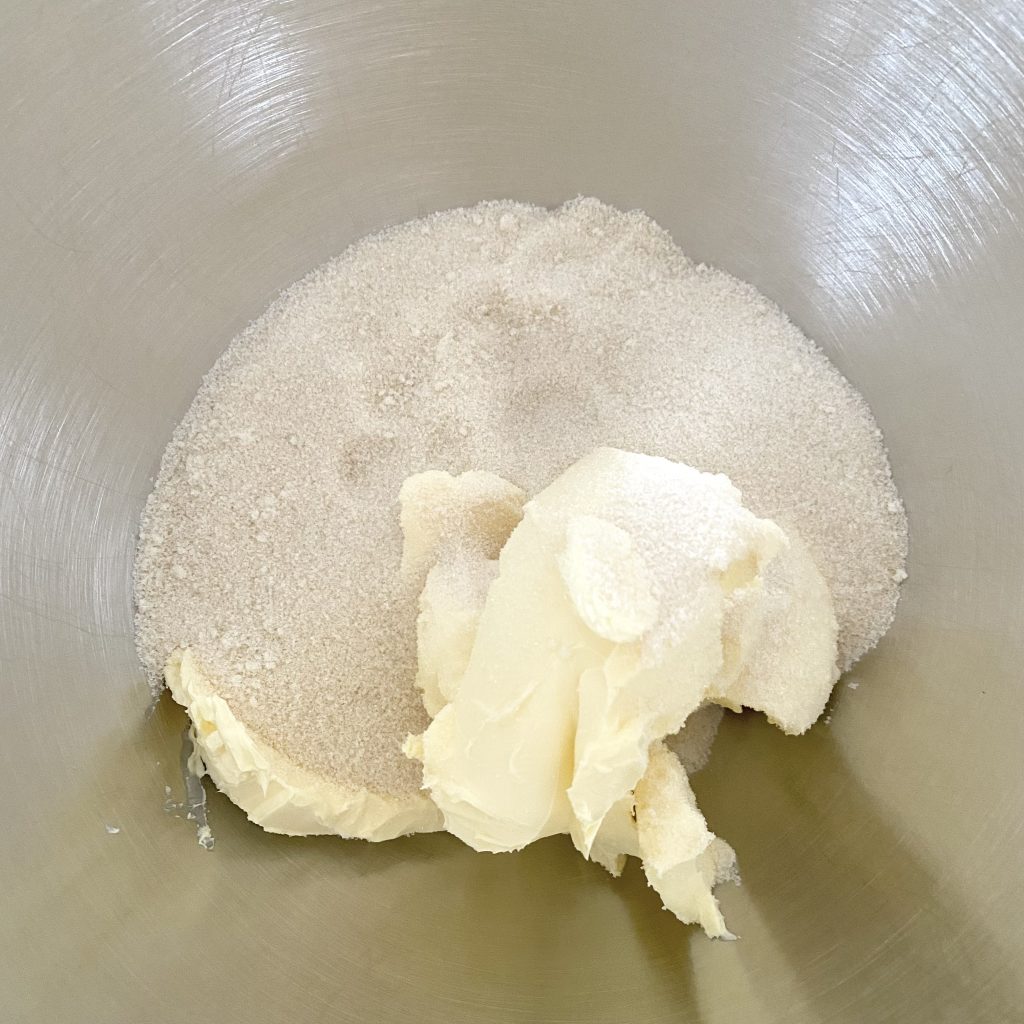
Place the Stork (or softened, unsalted butter) and caster sugar into the bowl of a stand mixer, fitted with the paddle attachment. You can also make this cake using a hand mixer, if you prefer.
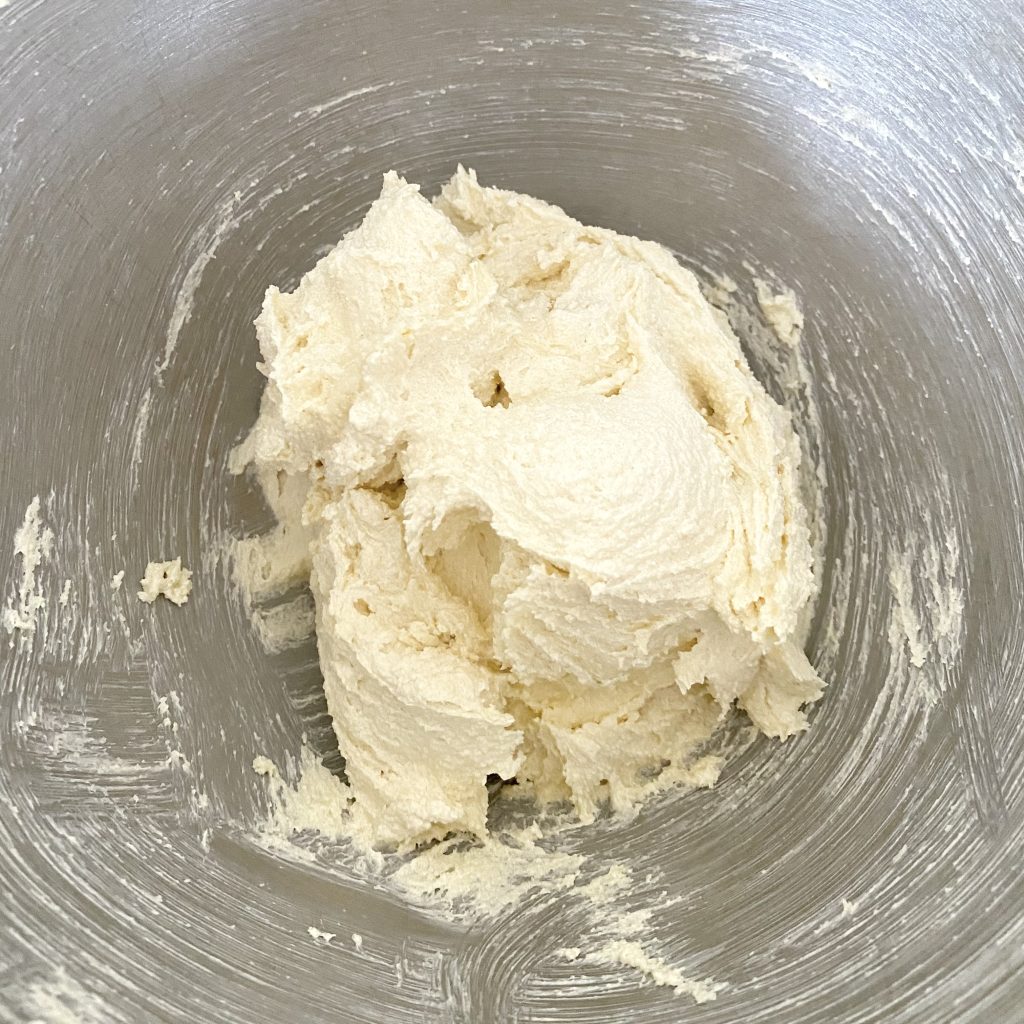
Cream the Stork and sugar together on medium-high speed until they are well-combined, paler in colour and super fluffy.
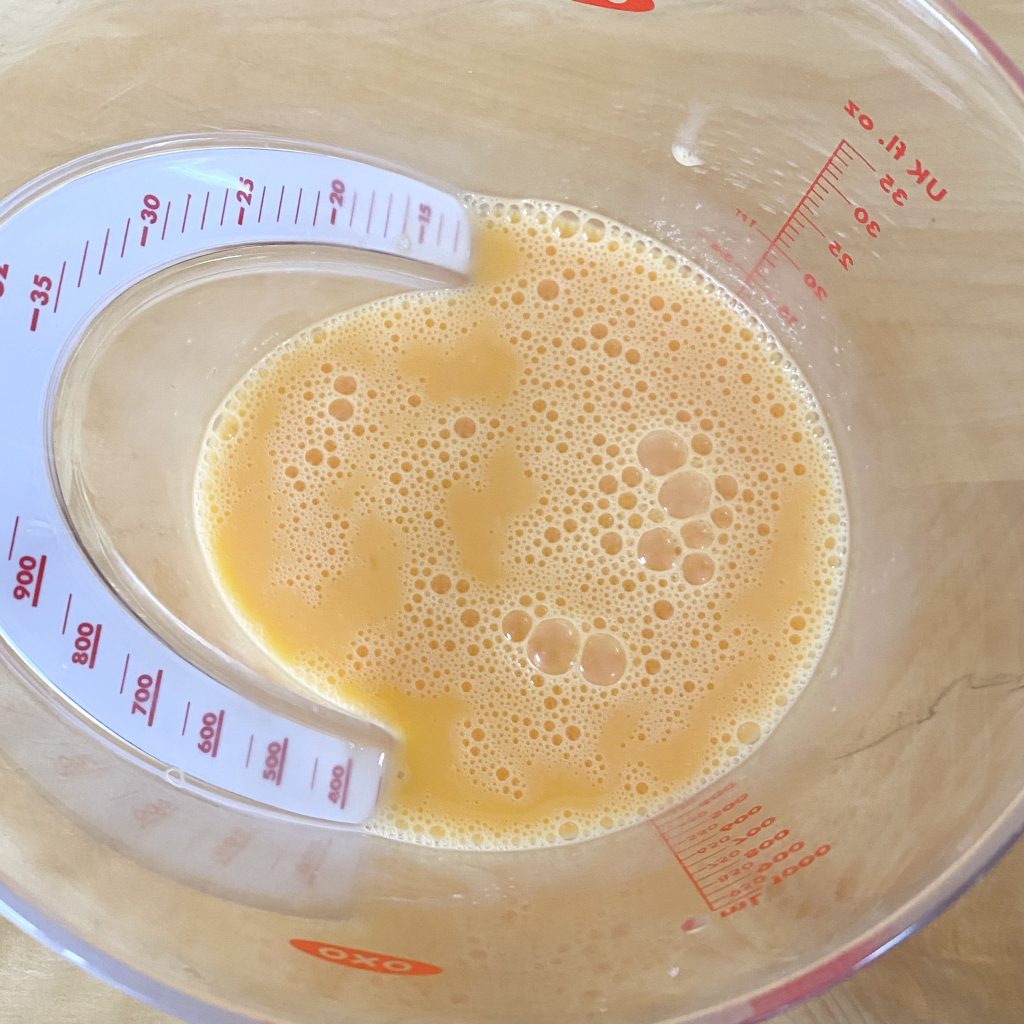
Meanwhile, whisk the eggs and vanilla extract together in a large jug.
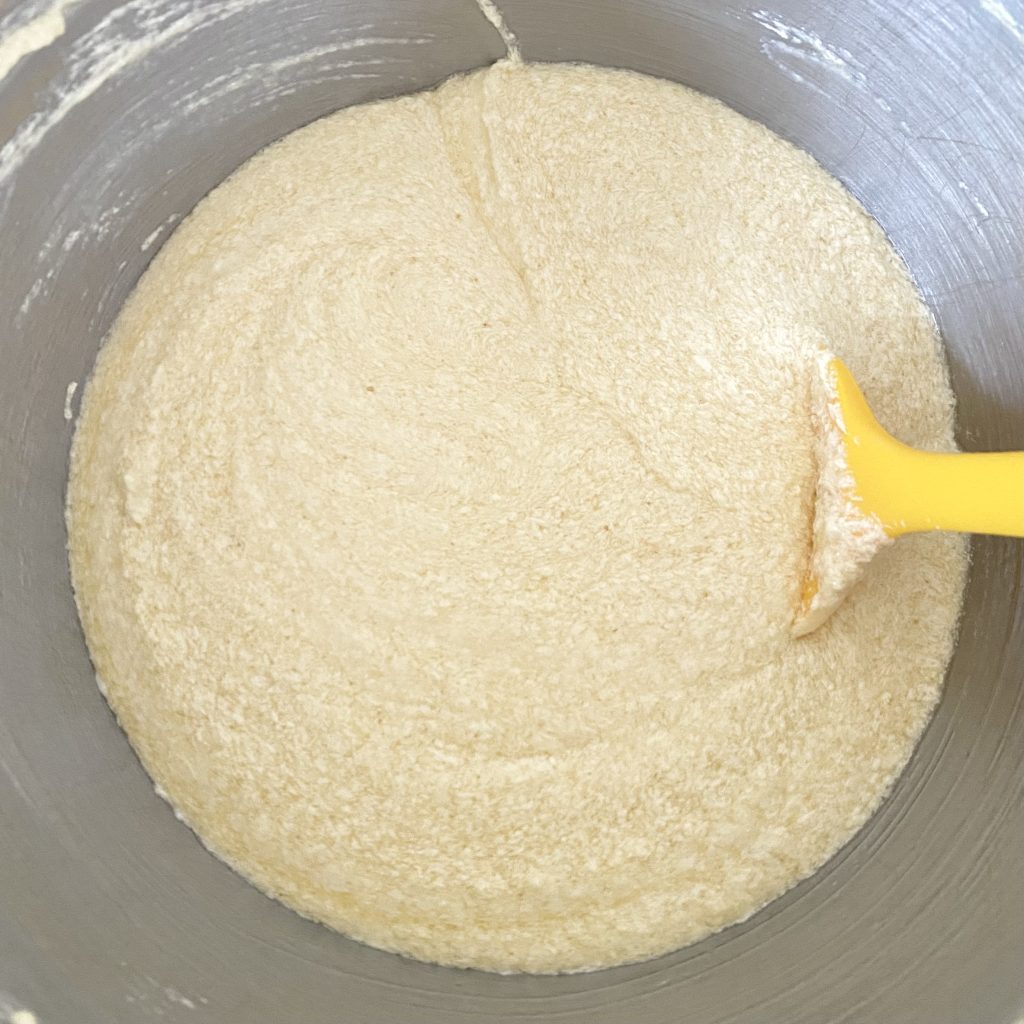
Turn the mixer down to medium-low and gradually add the egg mixture into the Stork and sugar. Don’t worry if it splits a little towards the end— it will smooth right out after we add the dry ingredients.
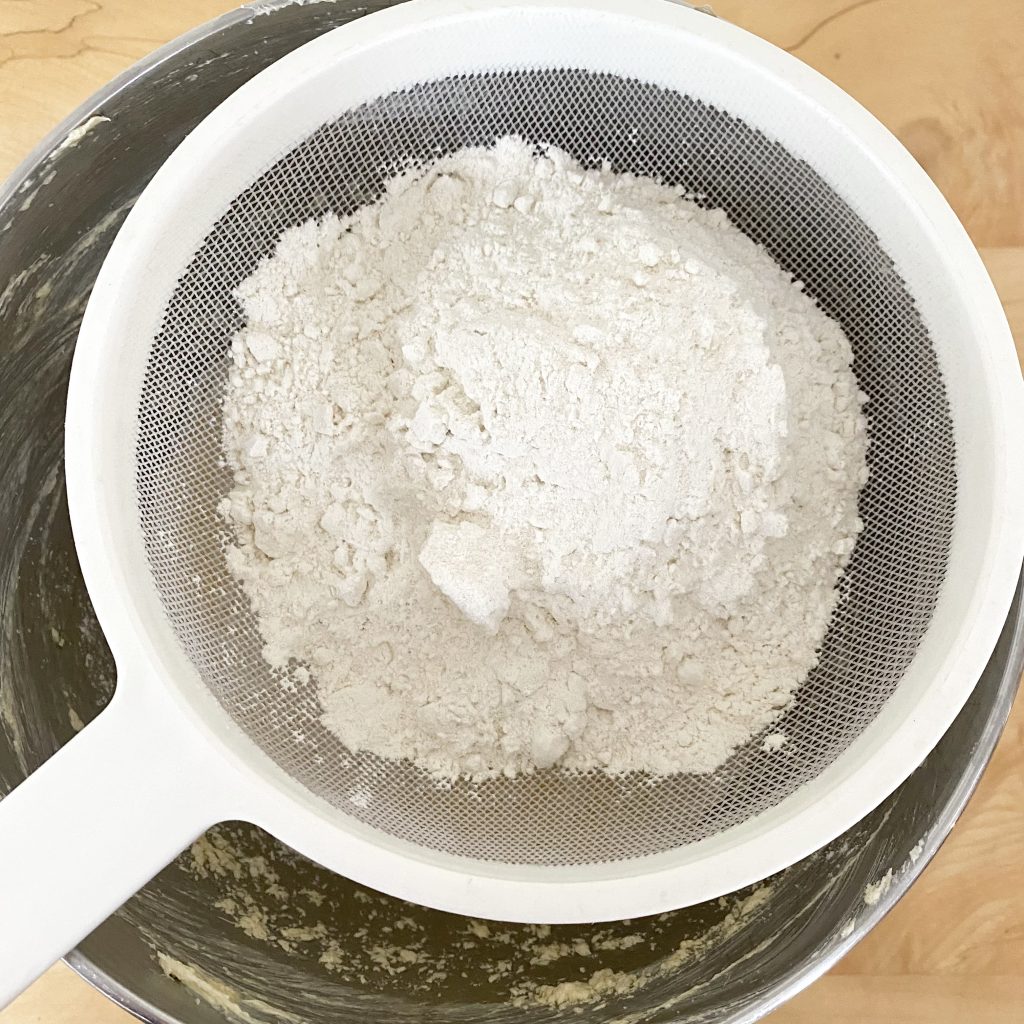
Sift in the self-raising flour, baking powder and salt, then mix on a low speed until the dry ingredients are just incorporated.
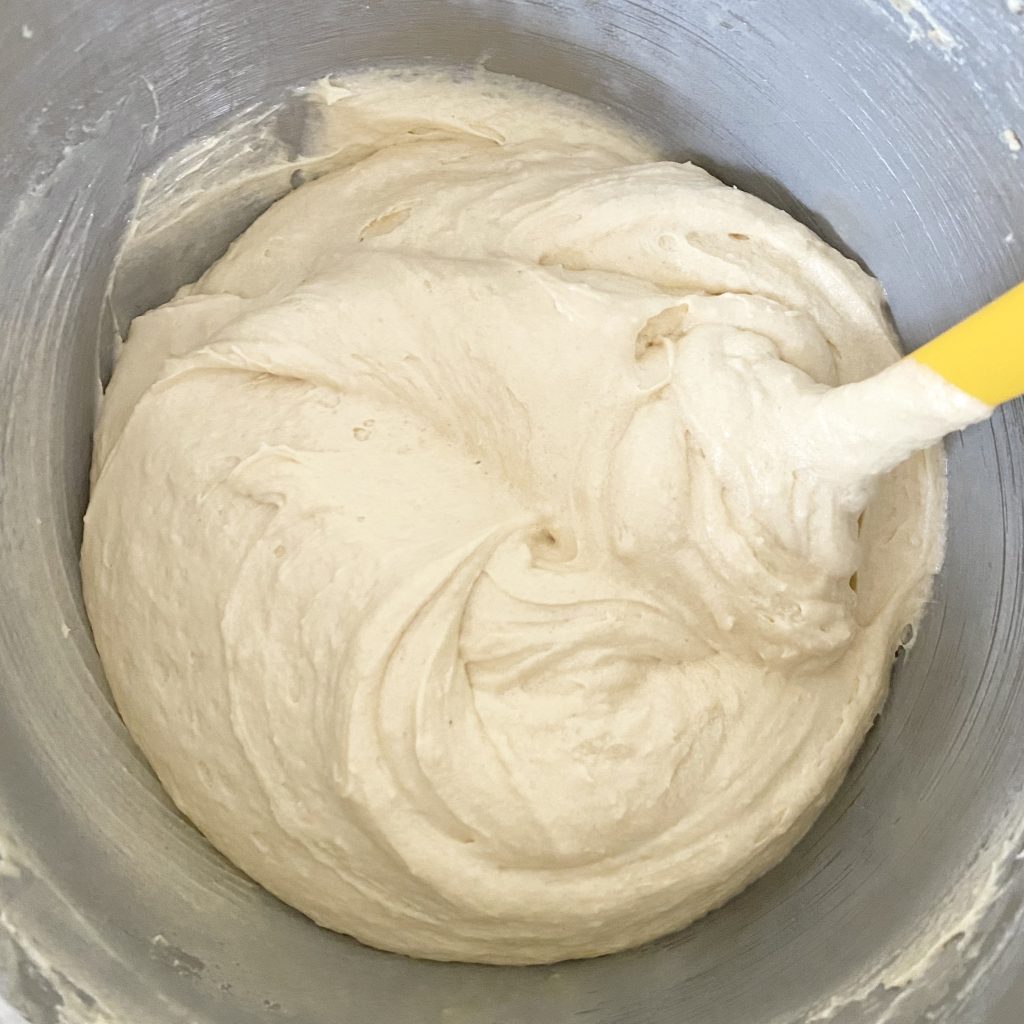
Use a spatula to give the cake batter a final mix, going right down to the bottom of the bowl and making sure that everything is combined. You don’t want to over-mix the batter at this point, or your cake will be tough (not the vibe!).
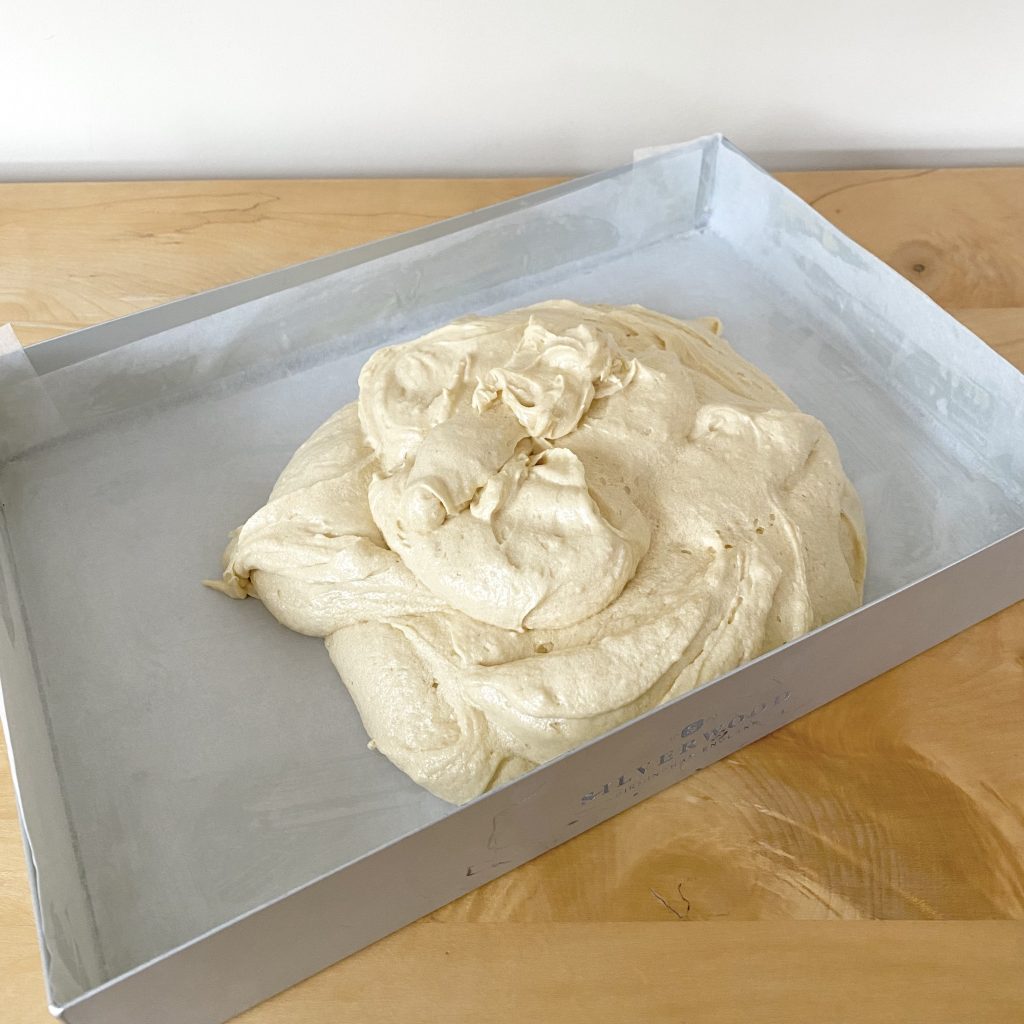
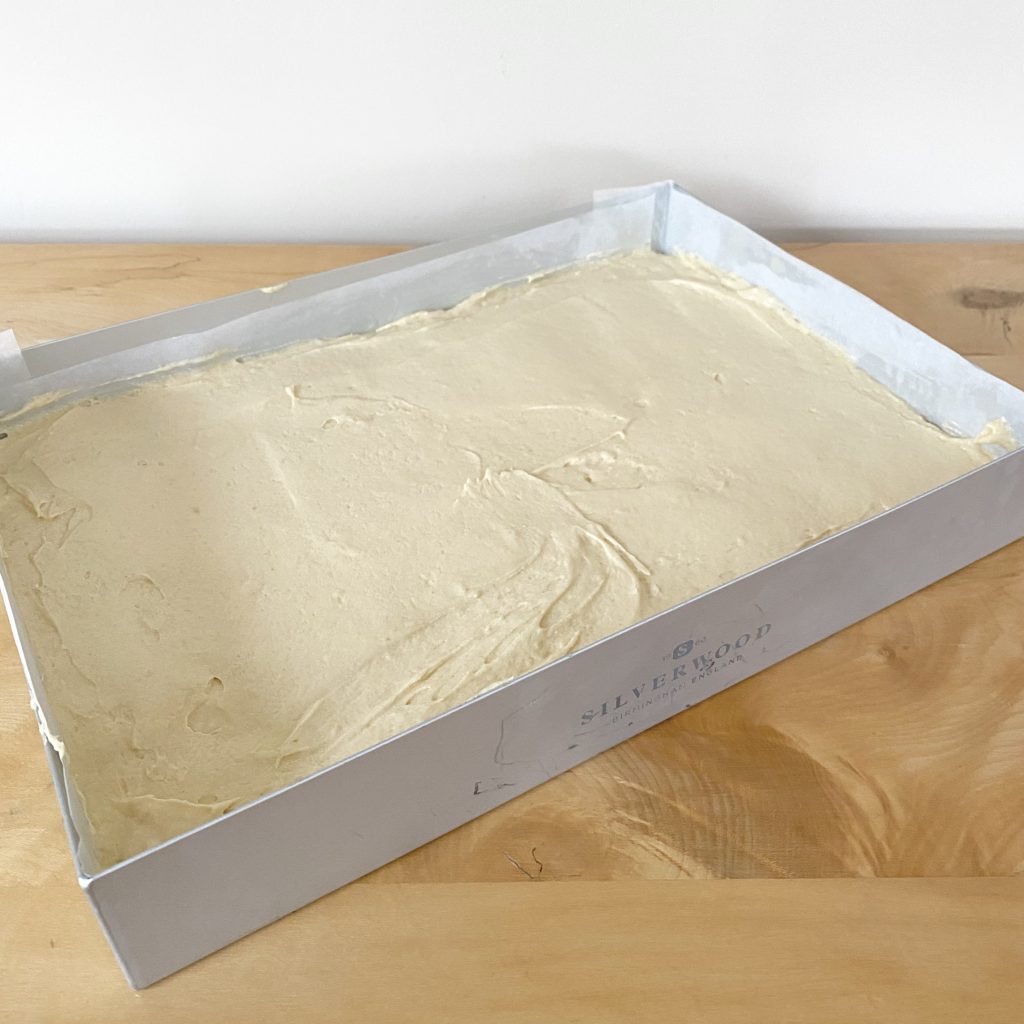
Transfer the batter to the prepared tin and smooth out the surface using an offset spatula or butter knife.
Bake the cake in the preheated oven for 40-45 minutes. You can tell when it is cooked, because: a) it will spring back when pressed lightly, b) a skewer inserted into the centre will come out clean and c) the cake will be pulling away from the edges of the tin slightly.
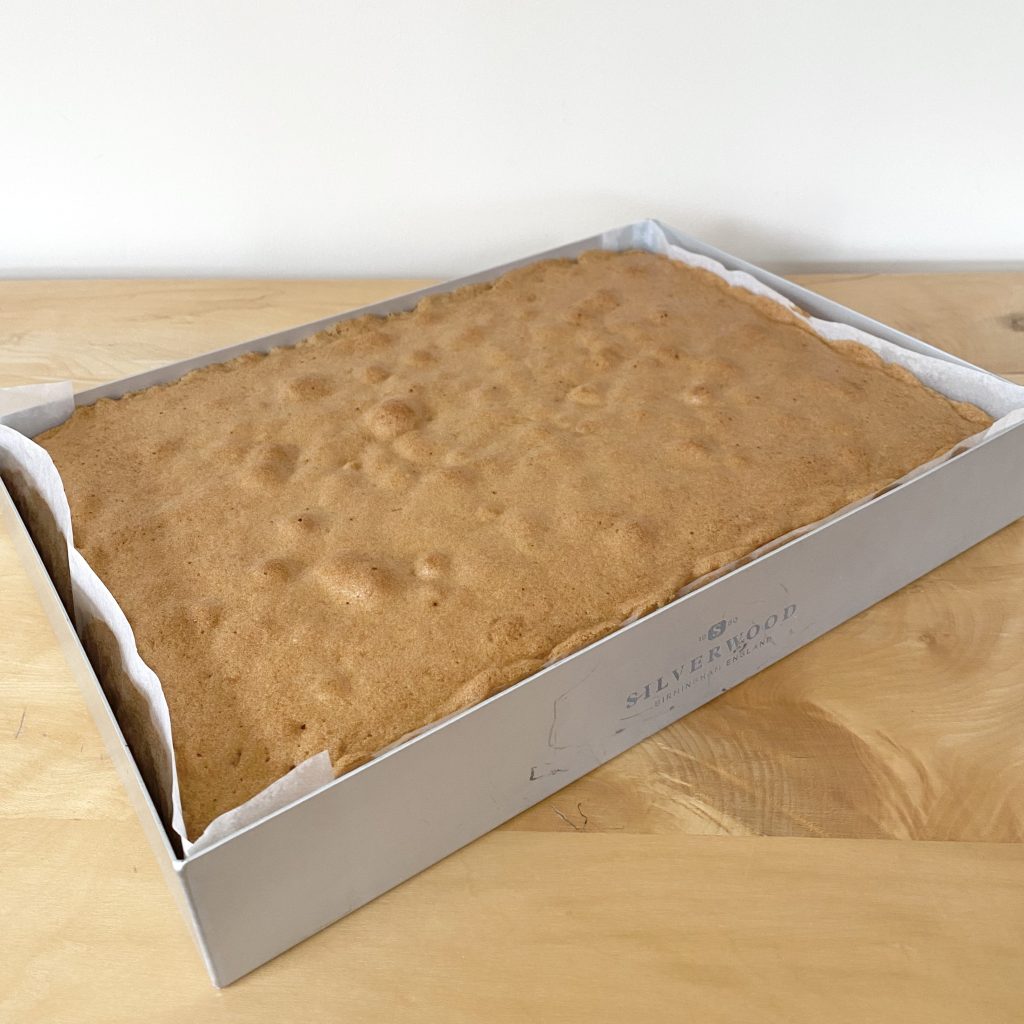
Allow the cake to cool for a while in the tin, then, when it is cool enough to handle, turn it out onto a wire rack, peel the baking paper off the bottom and leave it to cool completely.
Once the cake is out of the tin, you can wash it up, re-grease and line it, then bake the second cake!
Making the Coffee Soak
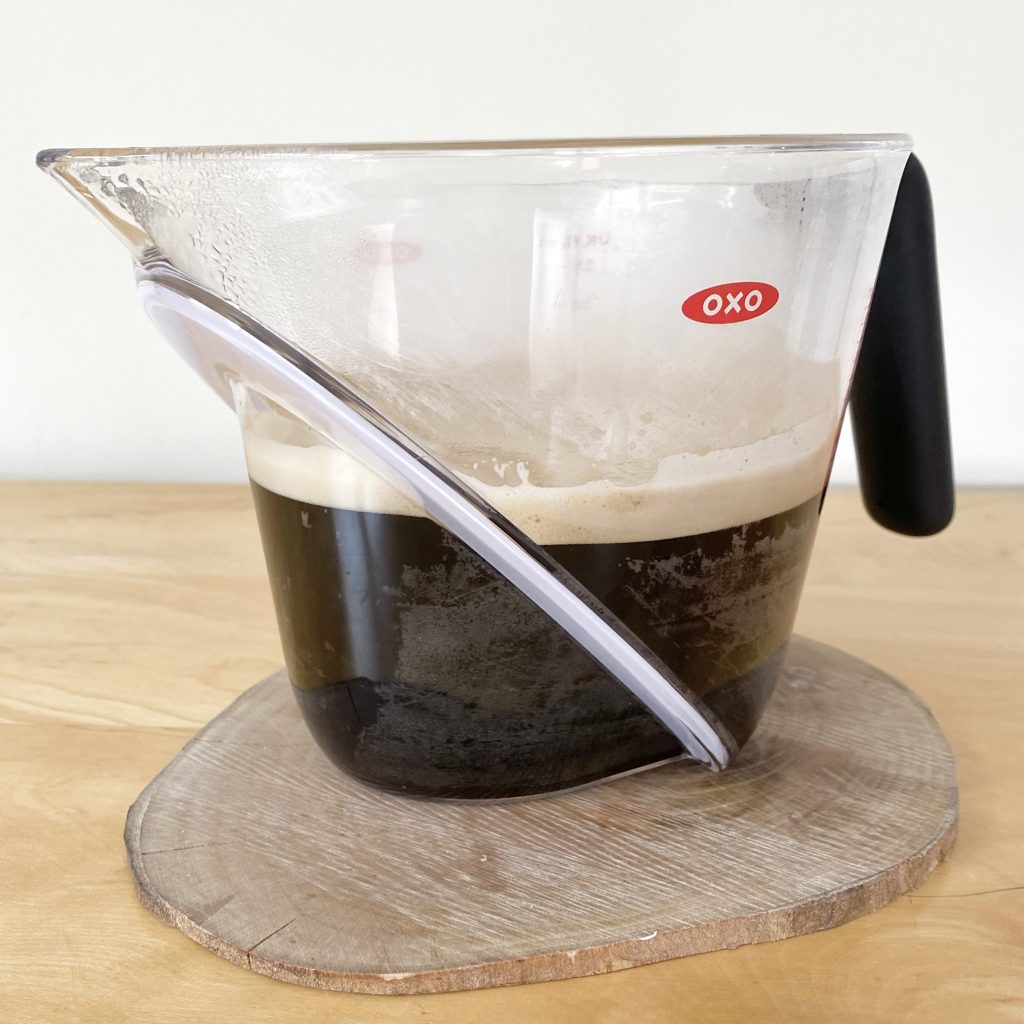
The coffee soak is super easy to make— you basically just stir everything together! It’s easiest to make the soak while the espresso (or extra strong coffee) is still warm, as that will help everything to dissolve.
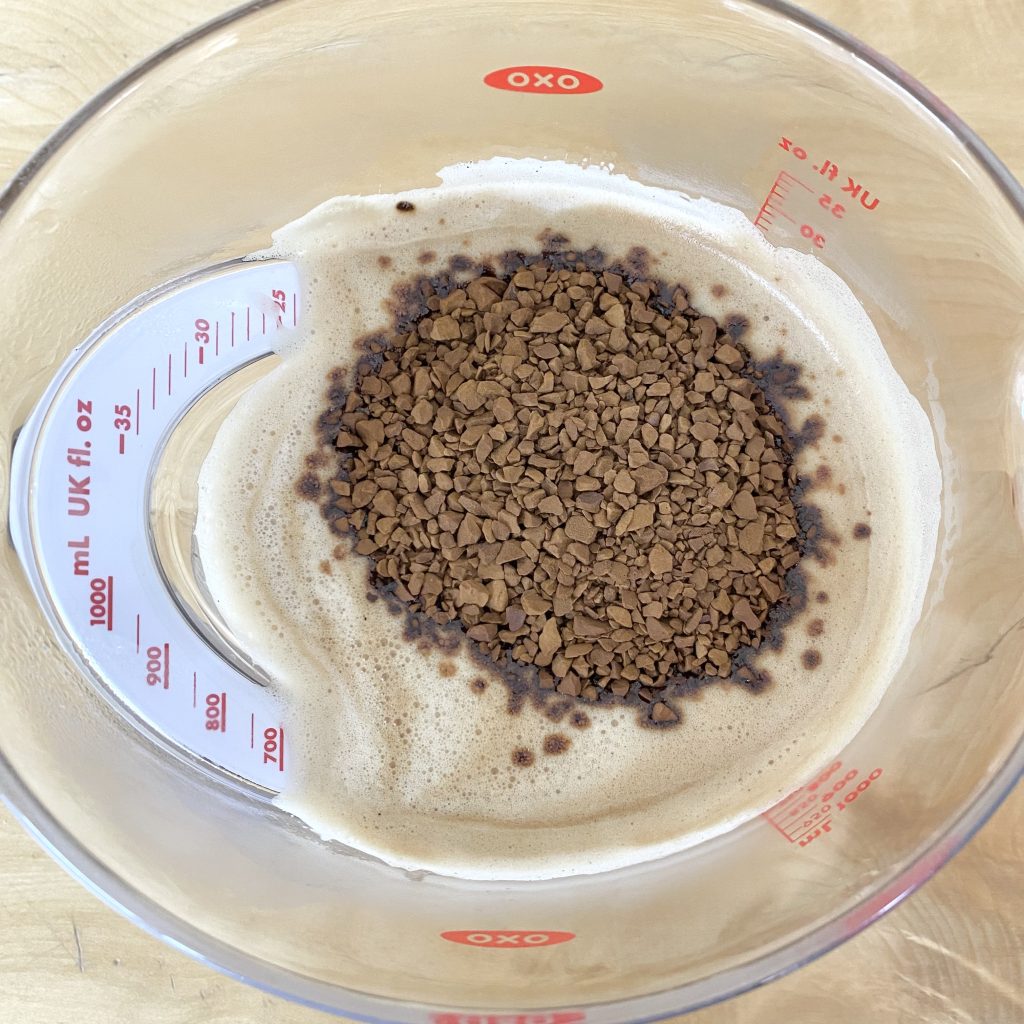
Start by dissolving the instant coffee granules in the warm espresso.
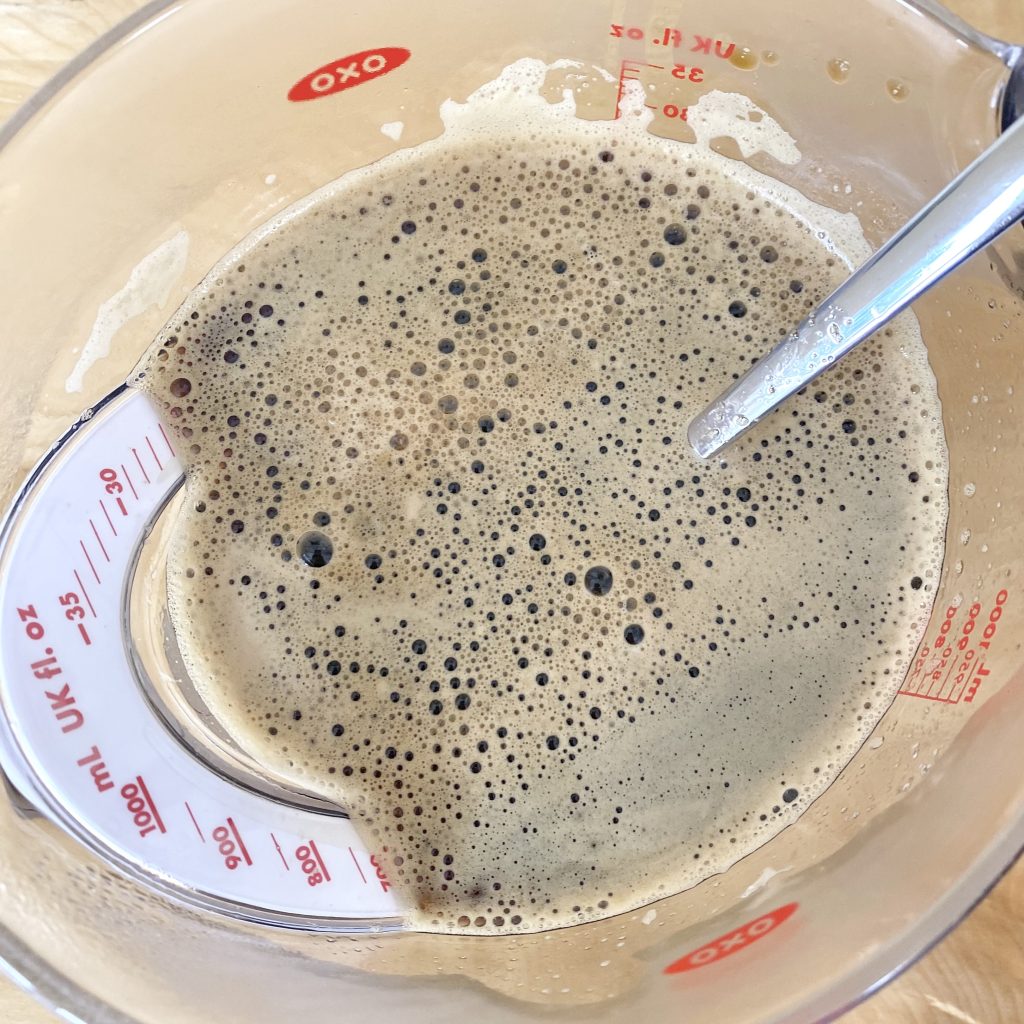
Add the caster sugar and salt and stir to dissolve, then set the soak aside to cool a little.
Just before you’re ready to use the soak, add the marsala (or your chosen alcohol) and stir it in. That’s it!
Making the Mascarpone Icing
Just like the coffee soak, this mascarpone icing is super easy to make— you just whisk everything together.
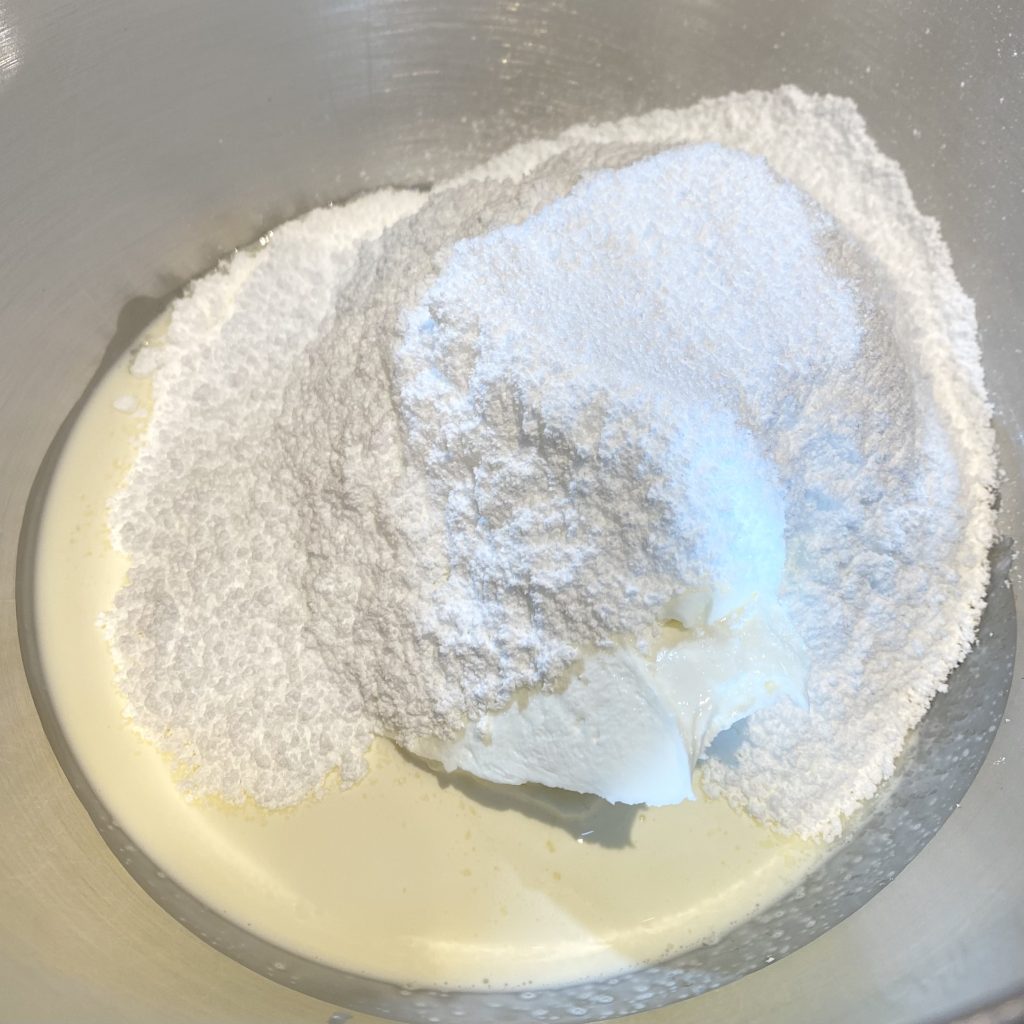
Put the mascarpone, double cream, sifted icing sugar and sea salt into a large bowl.
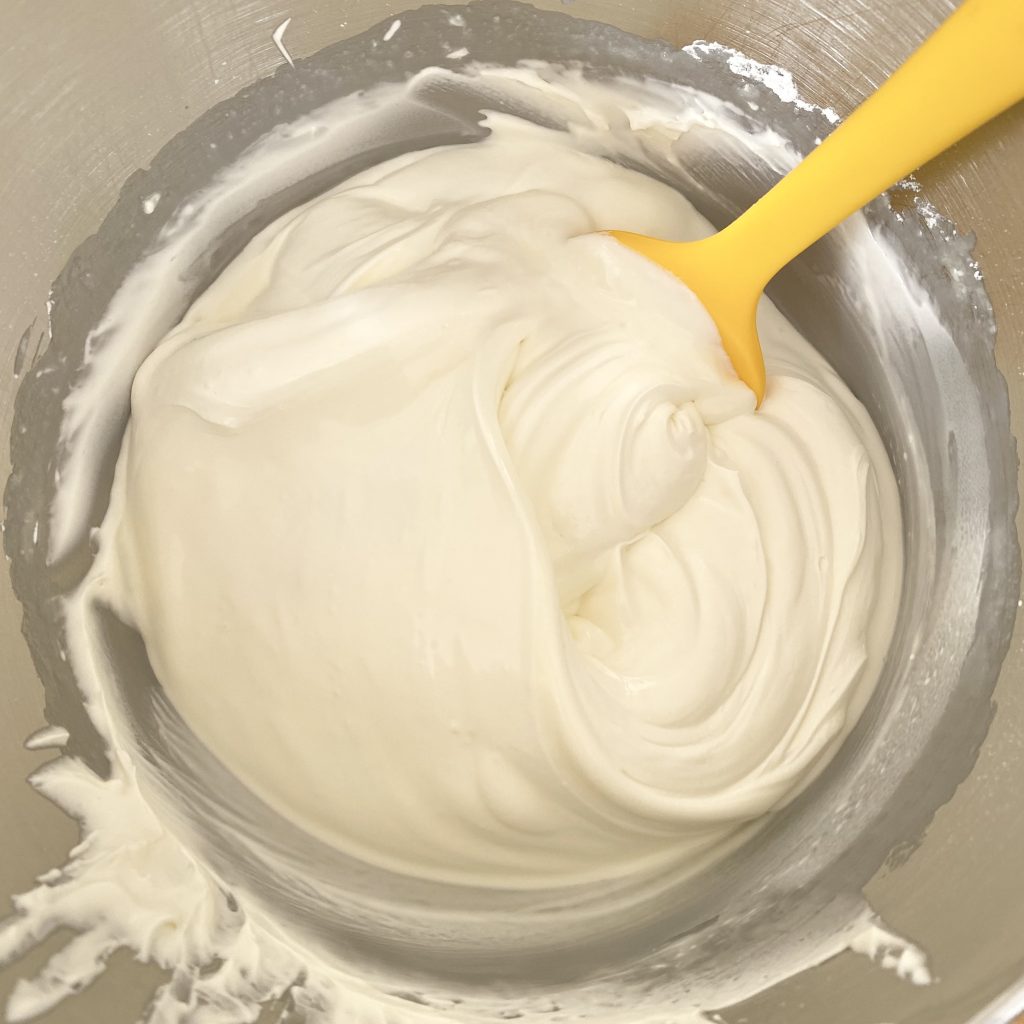
Use a hand mixer to whisk the ingredients together. Whip just until the mixture is holding its shape— it will continue to thicken as you spread it on the cake/pipe it, and it can start looking a little split if it is over-whisked. Err on the side of caution (but also remember that the cocoa powder dusted over the top of the cake will hide a multitude of sins, so don’t worry too much!).
The icing will also thicken as it sits, so I recommend making it in 3 batches, only whipping up each batch when you’re ready to use it. You’ll use the first batch to fill layers 1-3, the second batch to fill layers 4-5 and crumb coat the cake, then the third batch to add the final coat of icing and the piped border.
Assembling the Cake
With all of your components ready to go, it’s time to assemble the cake!
Start by levelling each of the vanilla cakes and dividing them horizontally into 3, thin layers. This can be a little fiddly, because the layers are so thin— chilling the cakes beforehand (making sure they are tightly wrapped in clingfilm, so they don’t dry out) can help make the cake layers a little less fragile, which makes this process easier.
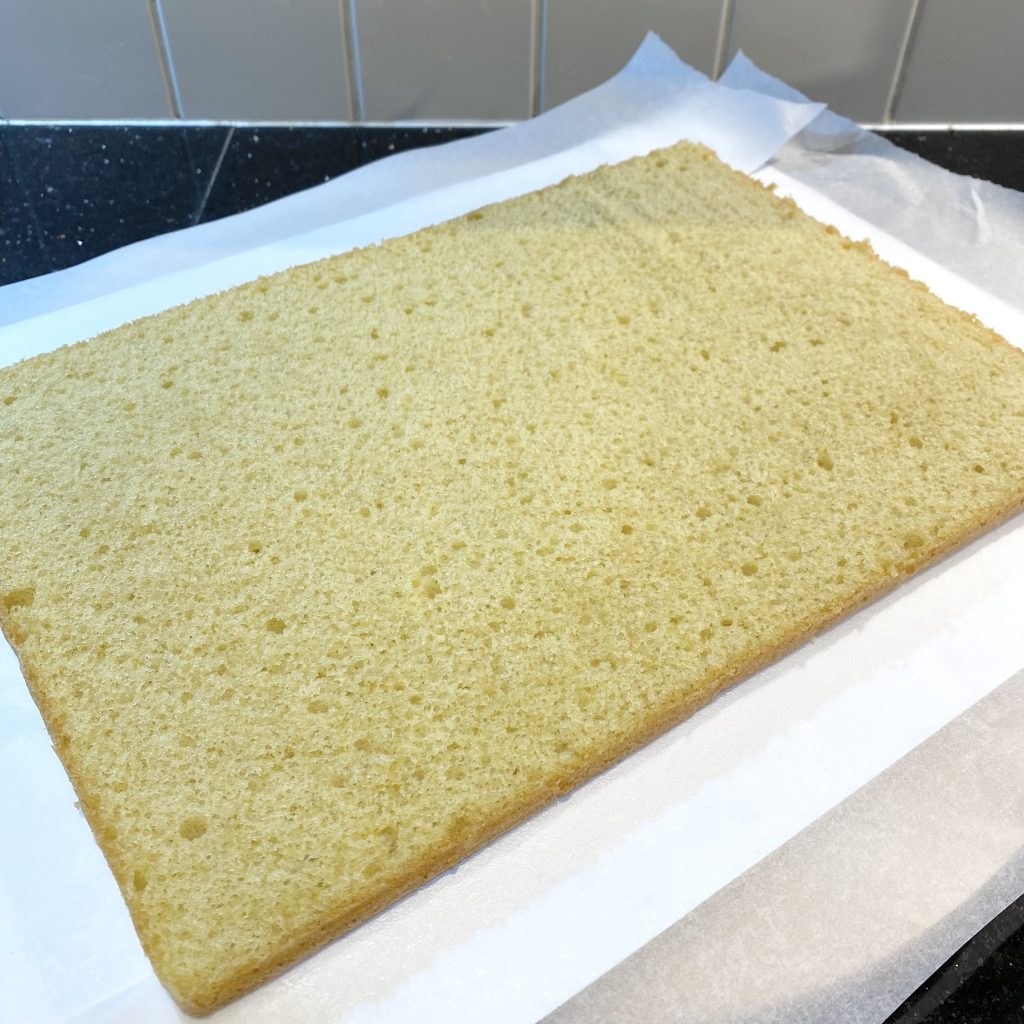
Spread a small amount of mascarpone icing on your serving board, then position the first cake layer on top, making sure it is centred.
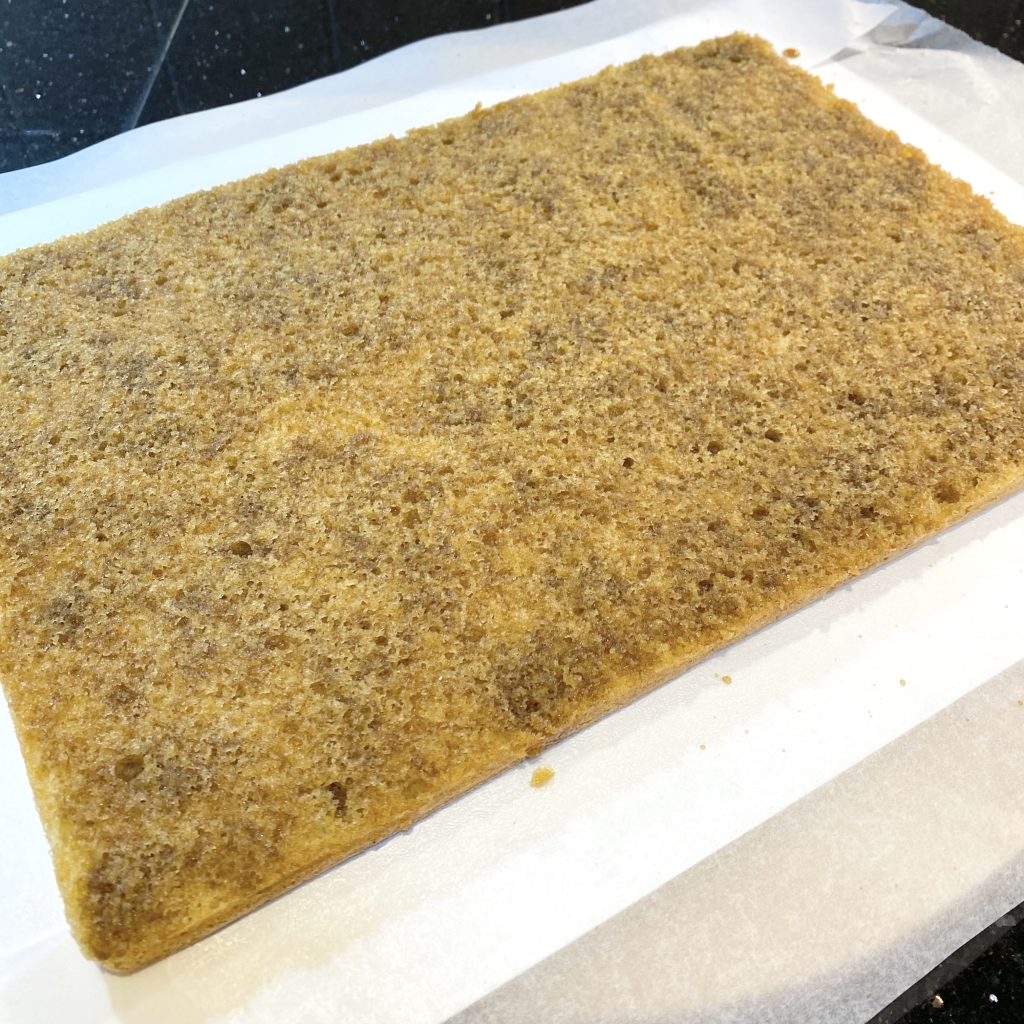
Use a pastry brush to soak the entire surface of the cake with the coffee/marsala sugar syrup. Try to ensure every inch of the cake is evenly covered in a generous amount of syrup— this might take a little while, but it’s worth it, I promise!
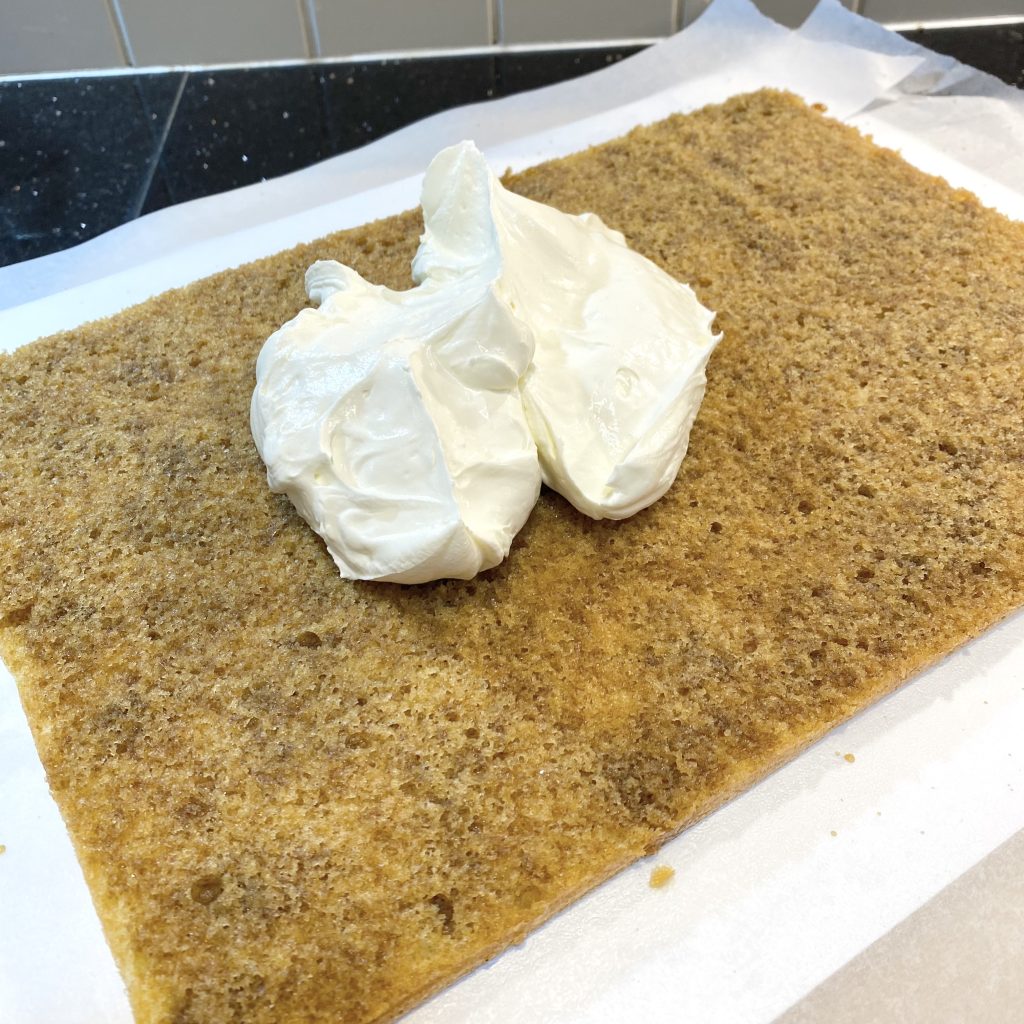
Spread a layer of mascarpone icing on top of the cake.
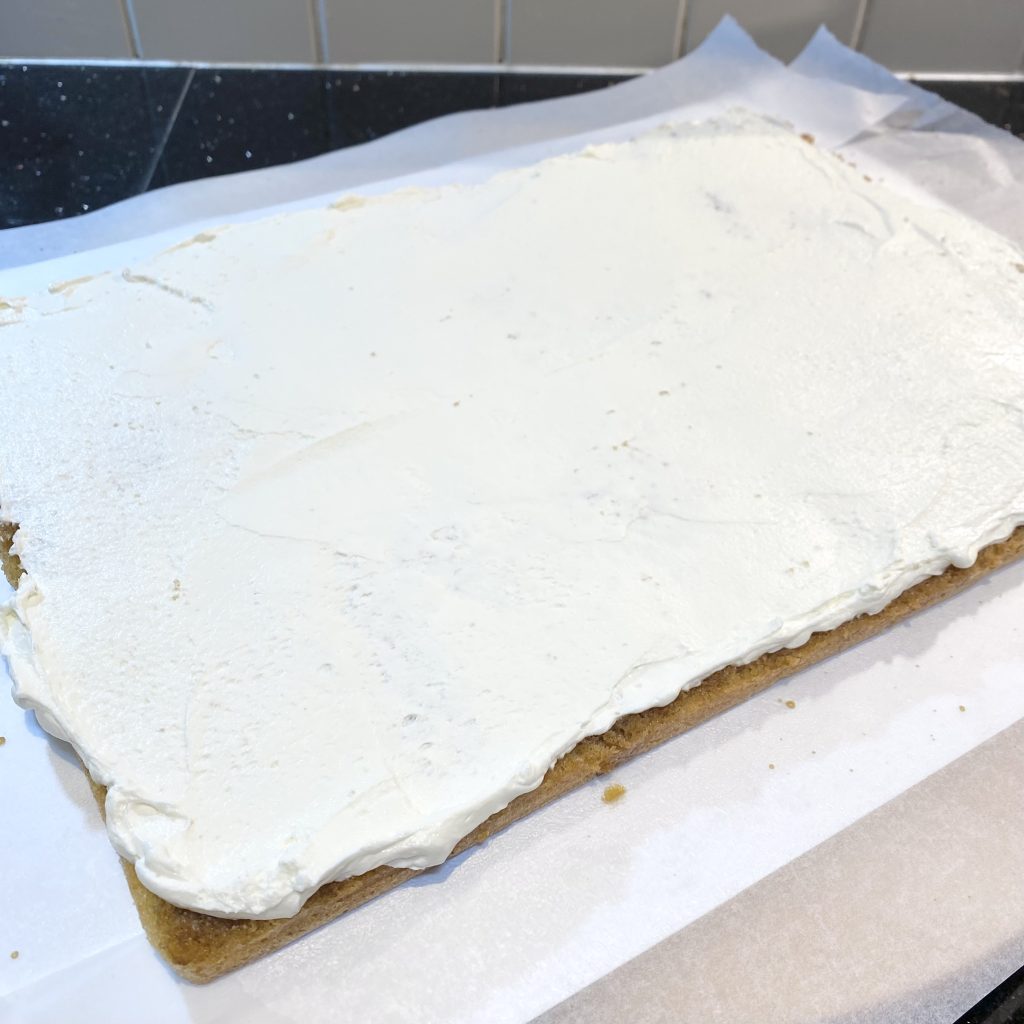
You might find that the cake is a little more delicate now that it has been thoroughly soaked, so take your time and be gentle. Don’t worry too much though, because everything’s going to meld together eventually, so nobody will notice any imperfections!
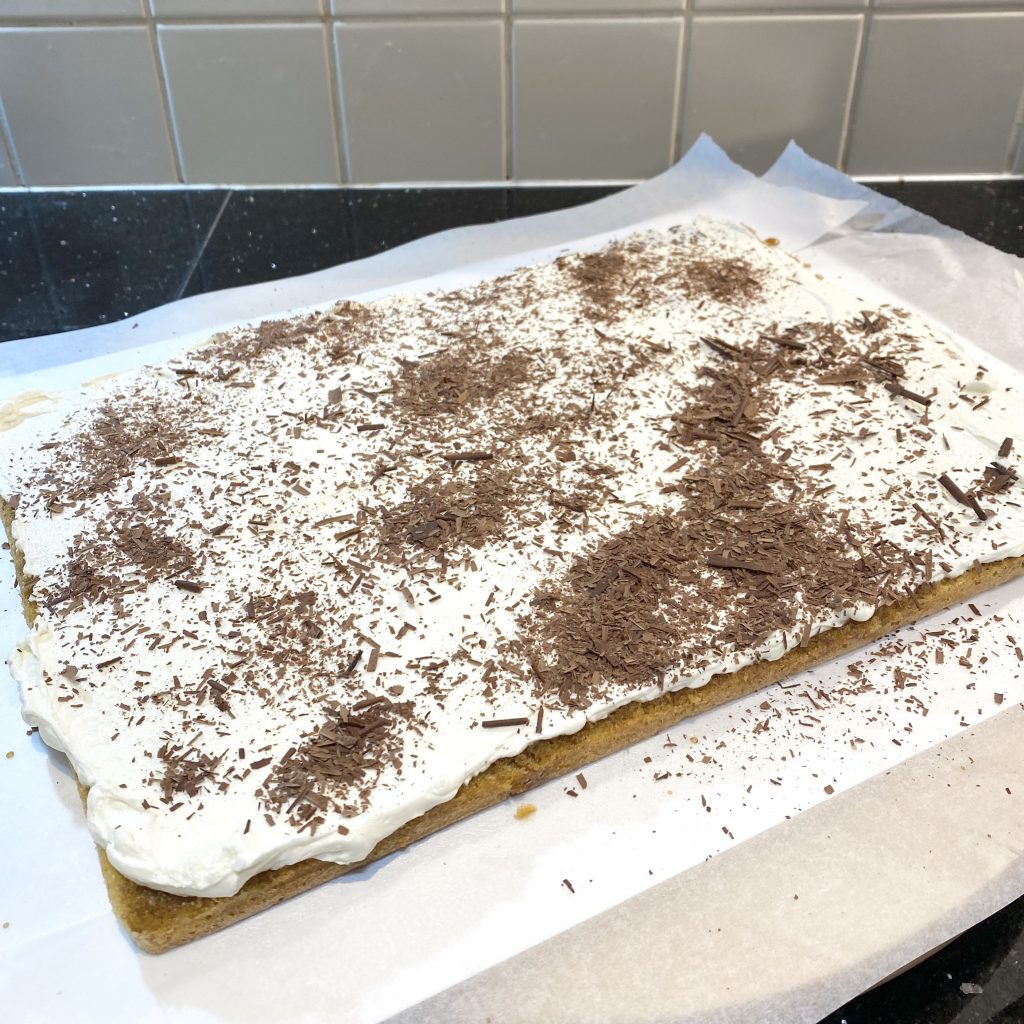
Sprinkle over some dark chocolate flakes. Don’t be too generous and cover the whole surface here, or the next cake layer won’t stick. Make sure there’s some exposed icing to help sandwich the layers together.
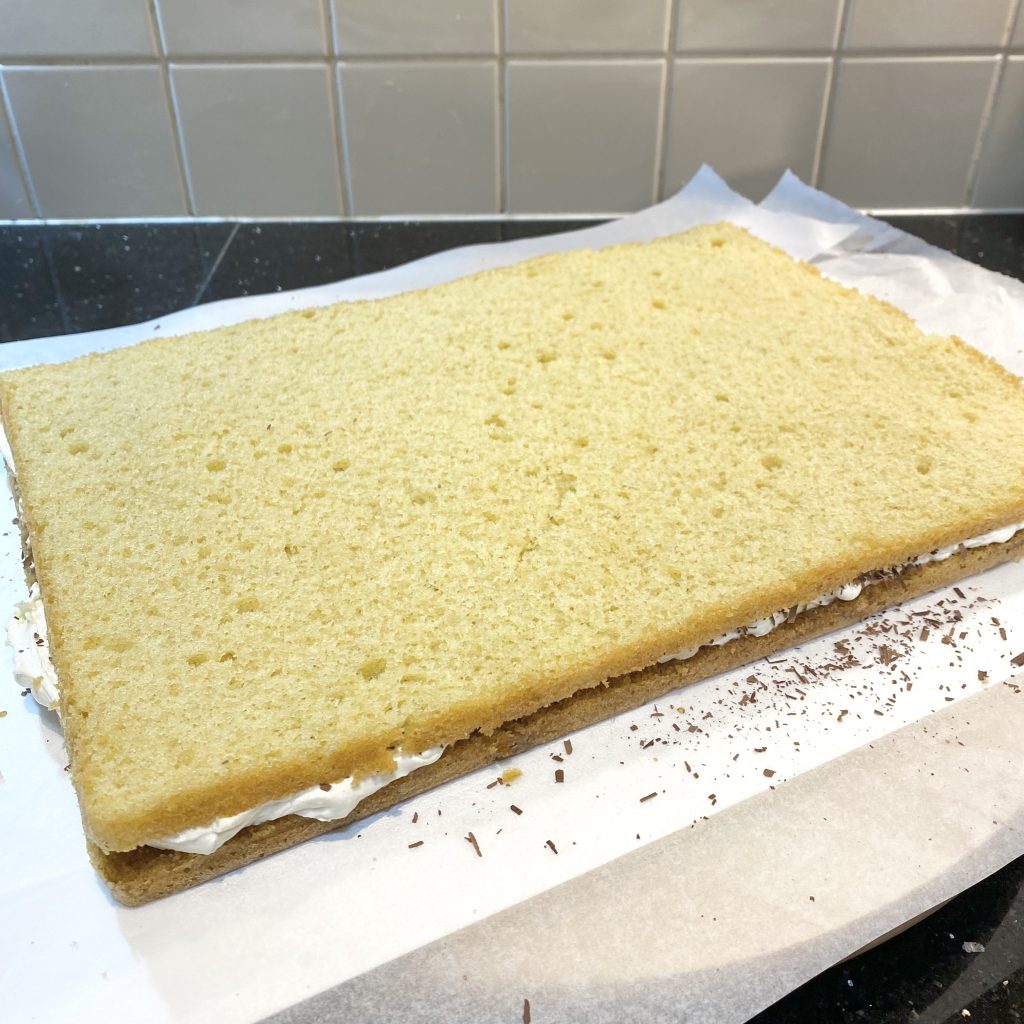
Add the next cake layer, making sure it is centred on the cake below.
Soak with the coffee syrup again, then spread on the icing, followed by a sprinkling of the chocolate flakes.
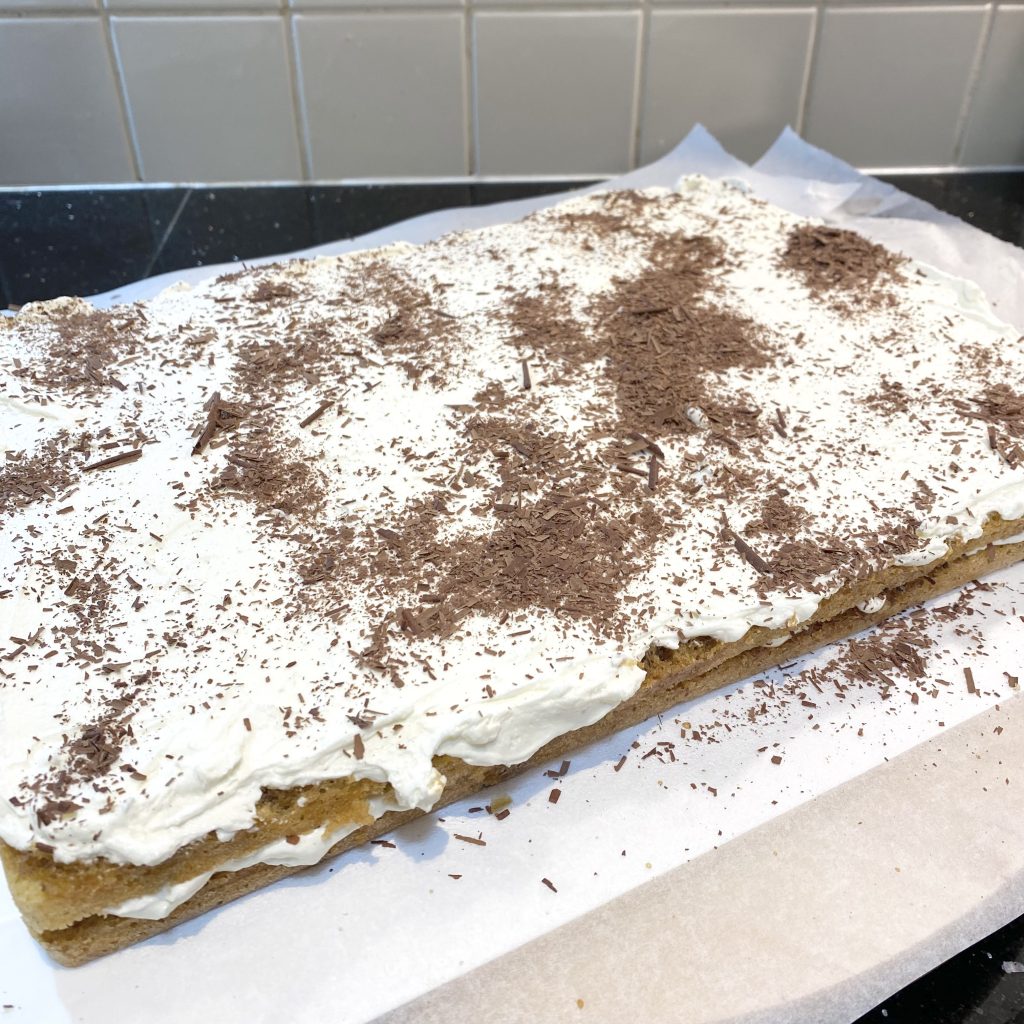
Keep going like this, stacking a cake layer, soaking it with syrup, spreading on the icing then sprinkling over the chocolate flakes, until you reach your final cake layer.
Soak the final cake layer with the syrup and spread over a thin layer of icing, but don’t sprinkle on any chocolate flakes. This will be the top surface of the finished cake.
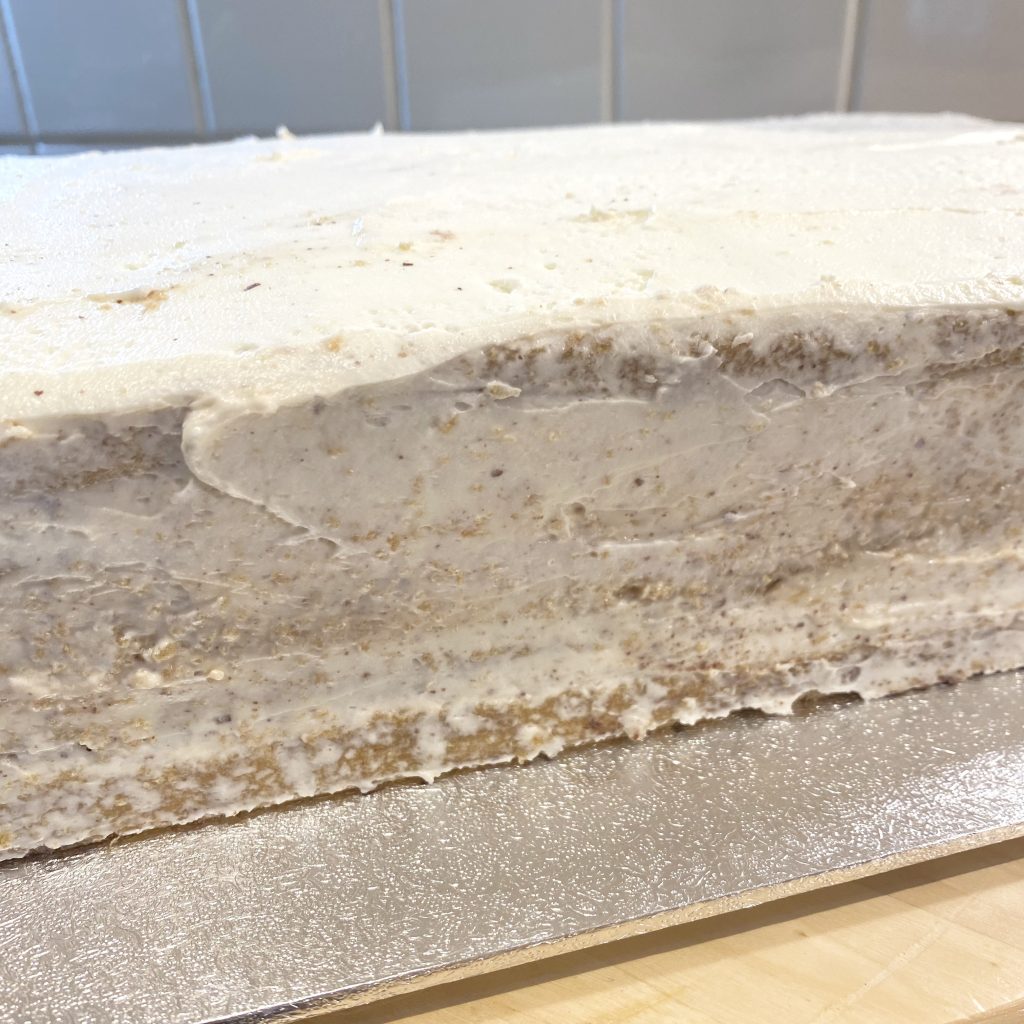
Spread a thin coat of icing over the sides of the cake as well (a ‘crumb coat’), to lock everything in and prevent the cake from drying out in the fridge.
Place the cake into the fridge to chill for 20-30 minutes, just to make the decorating stage a little easier for yourself.
Making the Stencil
While the cake is chilling, you can prepare your stencil (if you wish to use one).
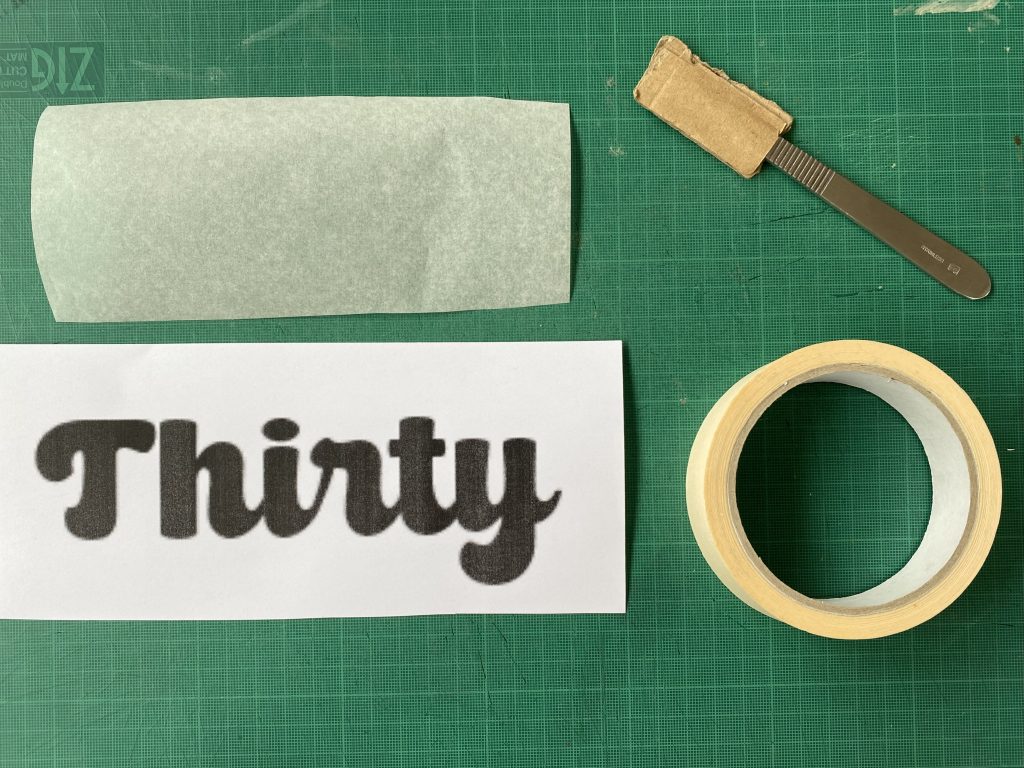
Print your design out on paper. I recommend choosing a design with thick, clear lines, preferably one that can be cut out in as few pieces as possible, to make things easier for yourself. The simpler the design, the easier the process will be!
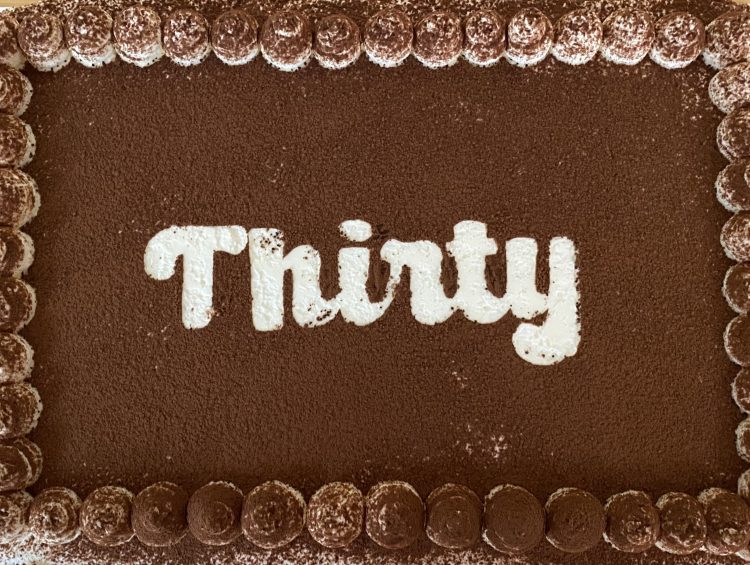
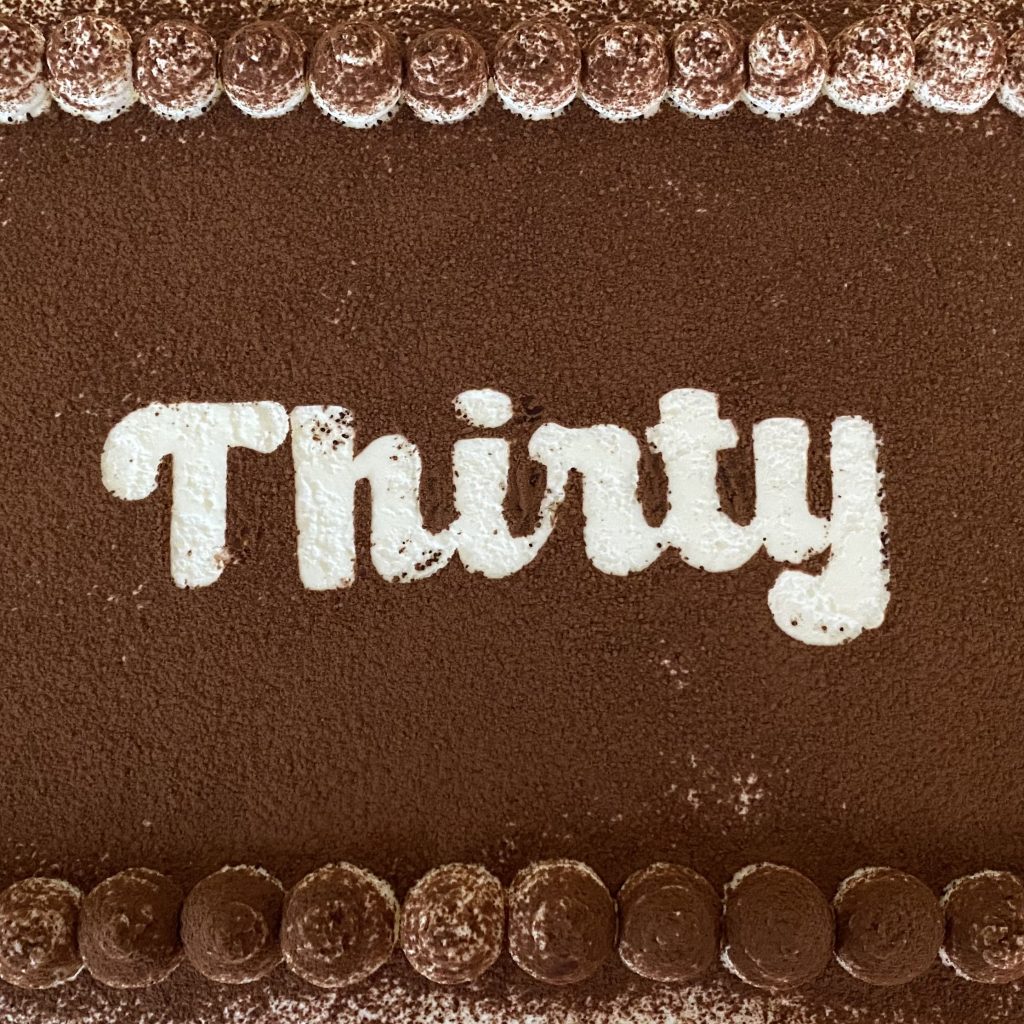
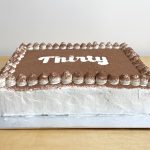
For this cake, I’ve used the word ‘Thirty’, because it was for a 30th birthday. Because the letters are joined together, there are only three sections to this stencil: the capital letter ‘T’, the remaining letters and the dot on the ‘i’. Removing the stencils from the cake can be a bit stressful, especially if you aren’t super confident/have shaky hands like me, because there isn’t really a way to undo any mistakes. Minimising the number of times you have to remove the stencils can make things easier, so try to limit the number of separate pieces in your stencil.
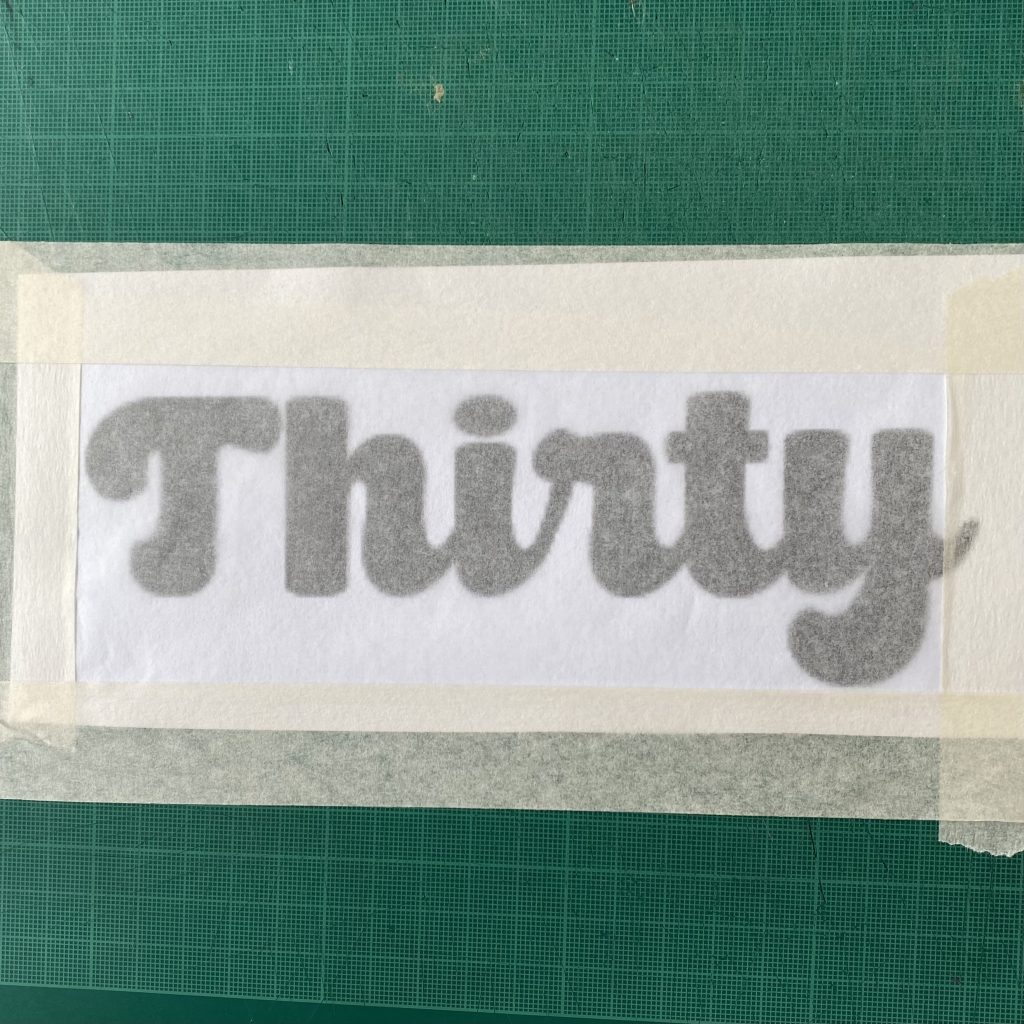
Use masking tape to secure the paper with your design to a craft cutting board. Then, tape a piece of baking paper over the top, making sure it is nice and smooth. You should be able to see your design through the baking paper.
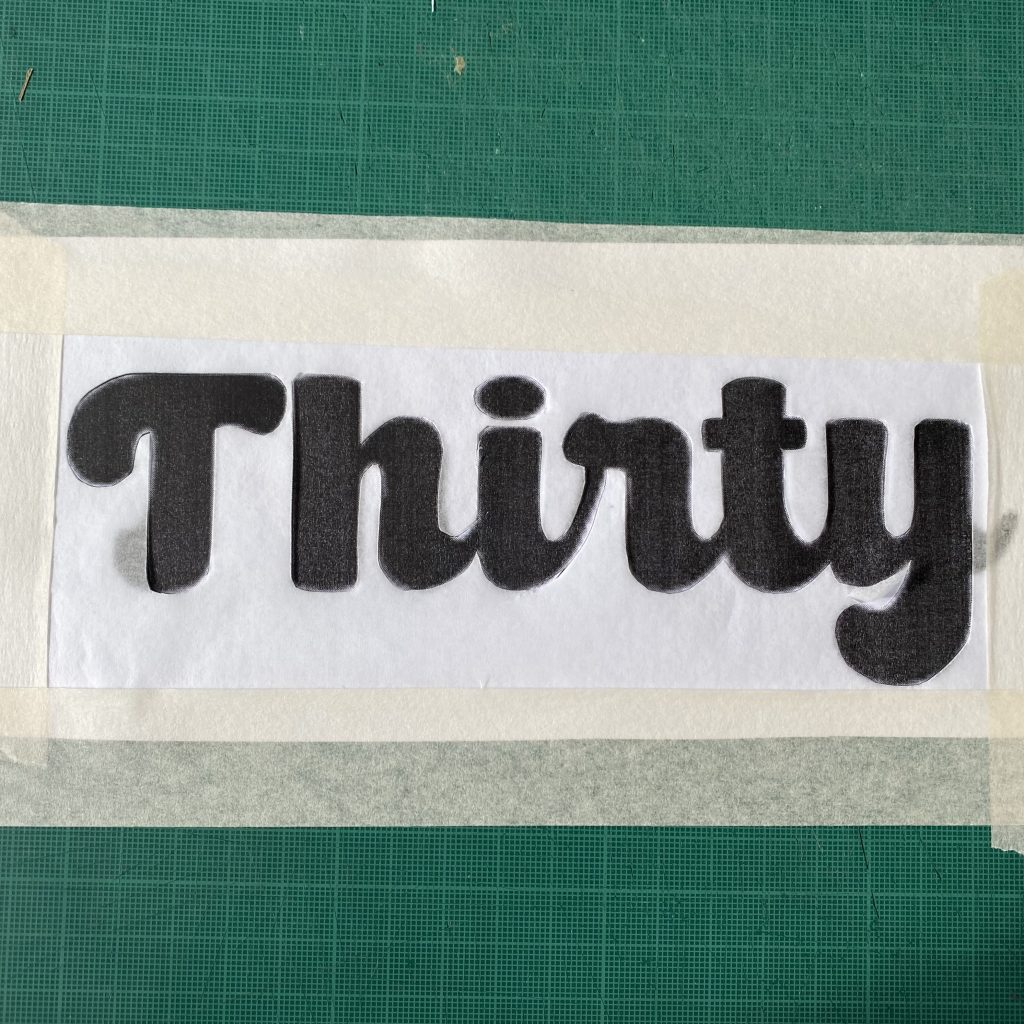
Use a craft knife to carefully cut out your design. Take it slow and steady, but remember you can always start over if needed!
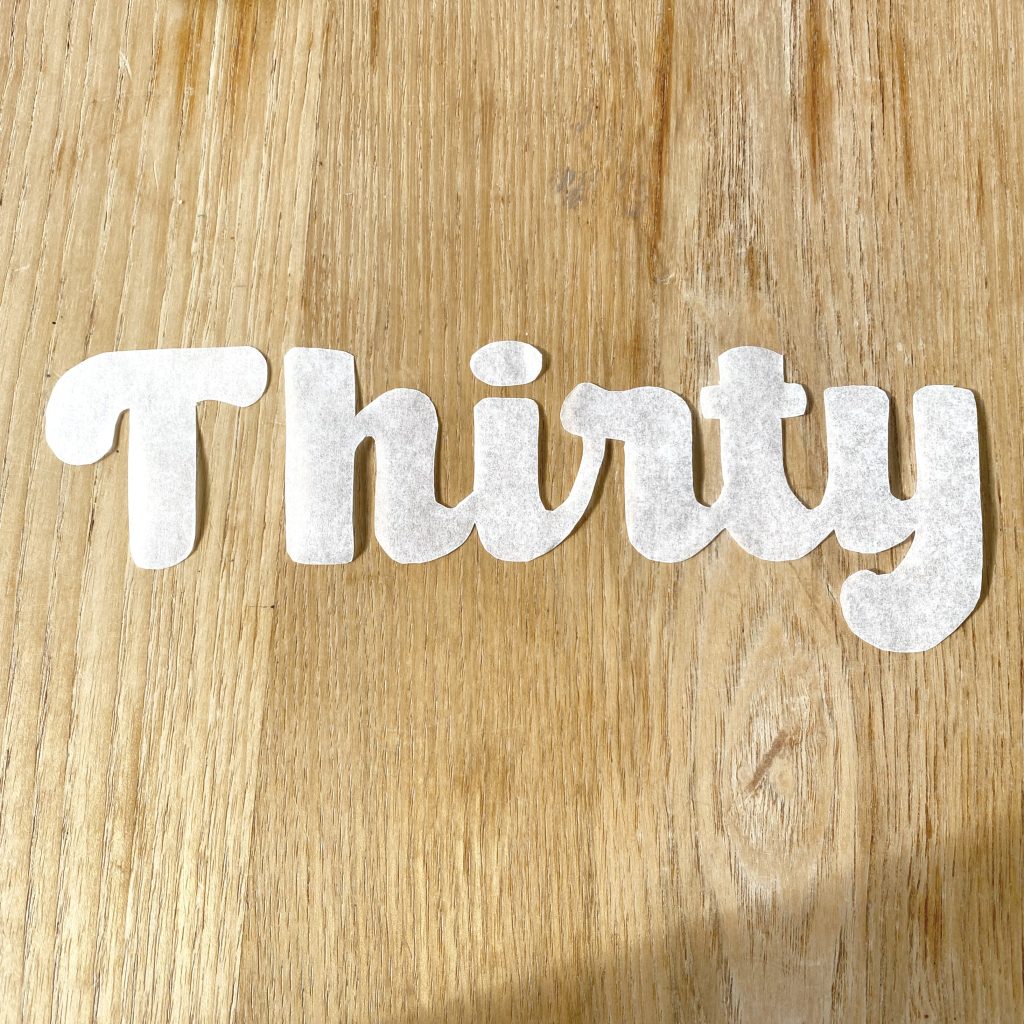
You’ll be left with baking paper versions of your letters/designs. These are your stencils! We’ll place these on the cake before we dust it with cocoa powder, then remove them to reveal the negative-space design.
Decorating the Cake
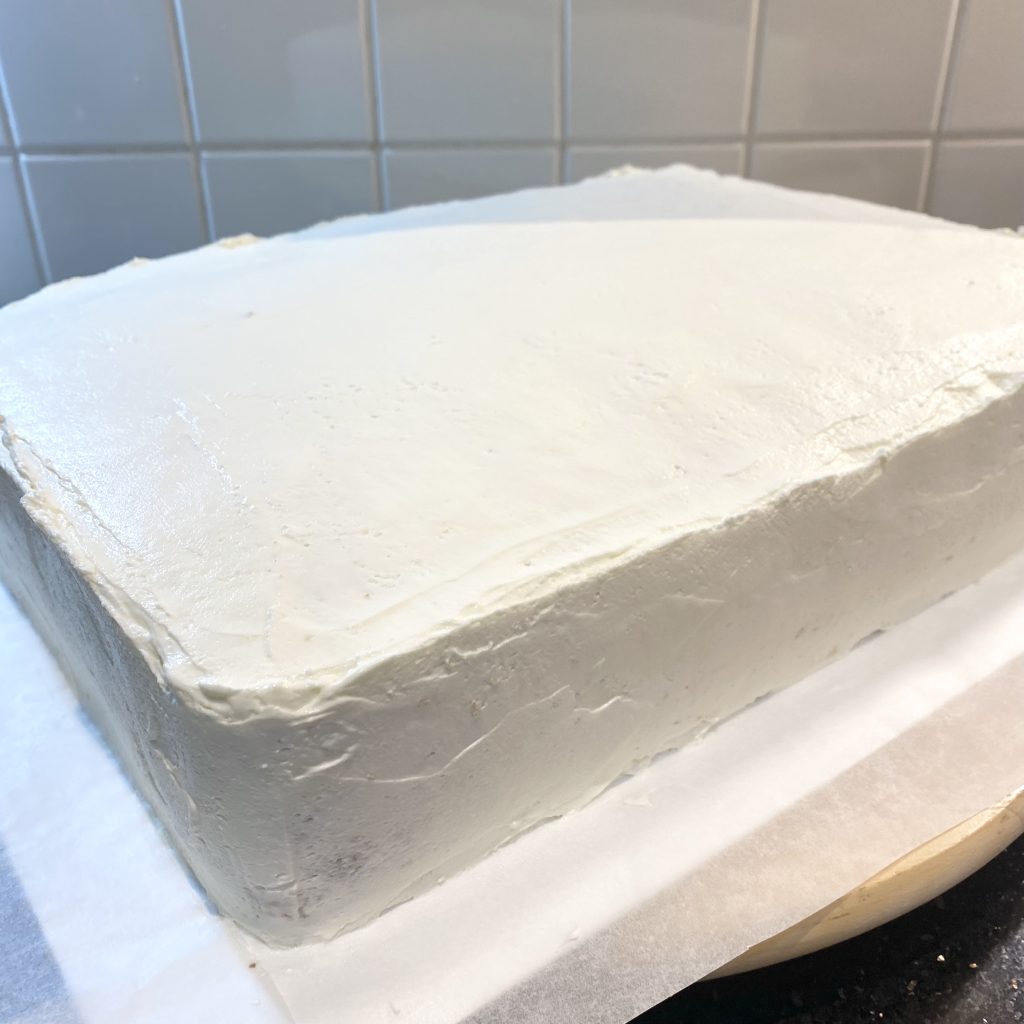
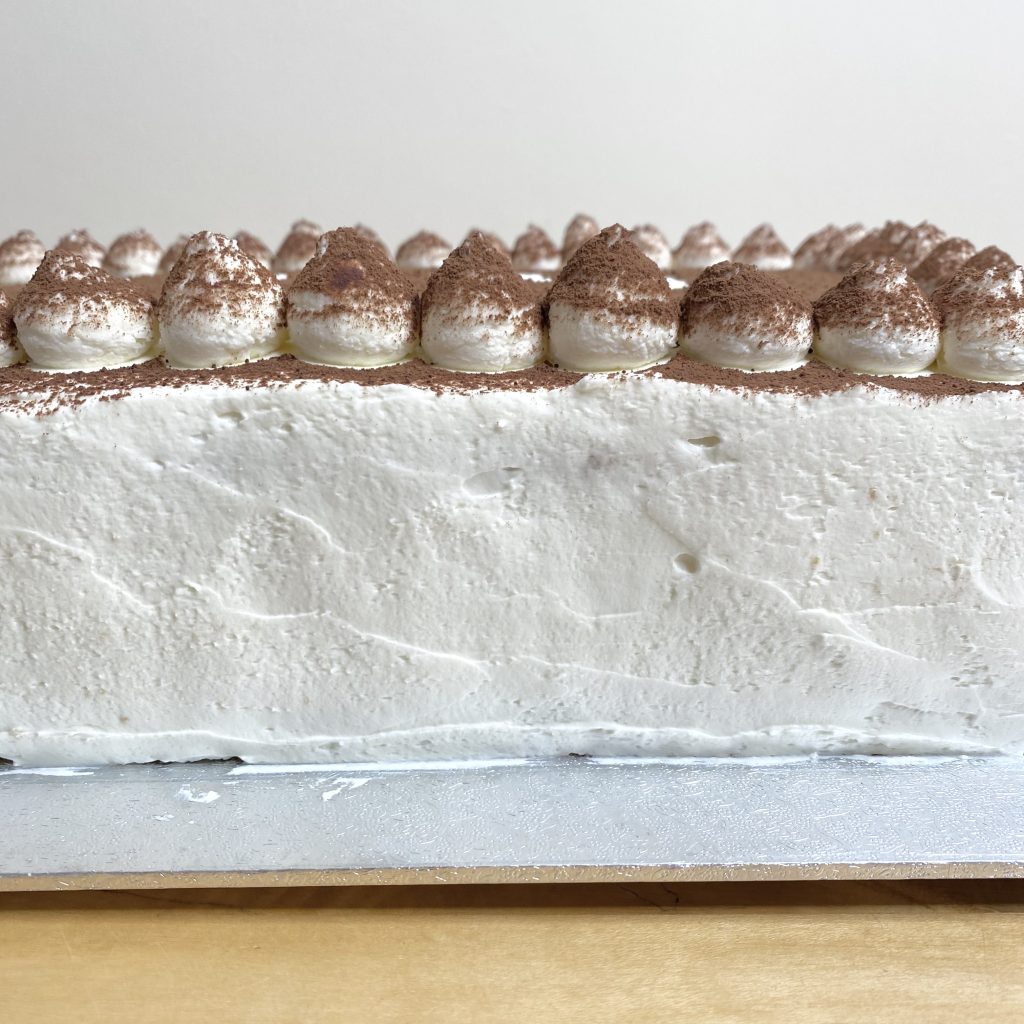
To decorate the cake, start by applying the final coat of icing on the top and sides. The sides can be as smooth or as messy as you like, but, if you are planning to stencil a design on to the top of the cake like me, try to make the icing on top of the cake as smooth and even as you can.
Once you’re happy with the final coat, transfer the remaining icing to a piping bag, fitted with a large, round piping tip.
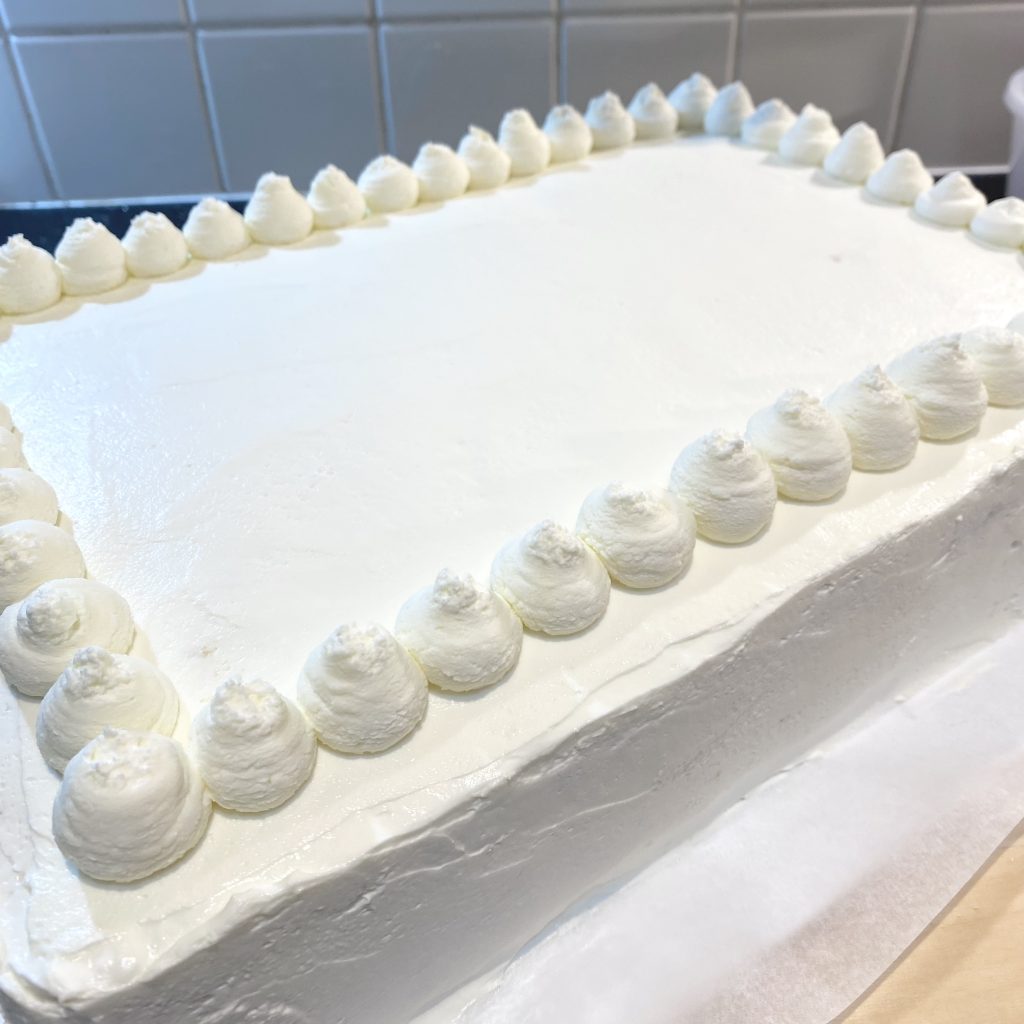
Pipe dollops of icing all around the perimeter of the top of the cake to make a border. Try to keep all of the dollops a similar size.
Place the cake back into the fridge for another 15-20 minutes or so, just to give the icing time to firm up a little. This will make the stencilling process easier.
When you’re ready to finish the decoration, position your baking paper stencils on top of the cake. Press them down gently to ensure that they are sitting smoothly against the surface.
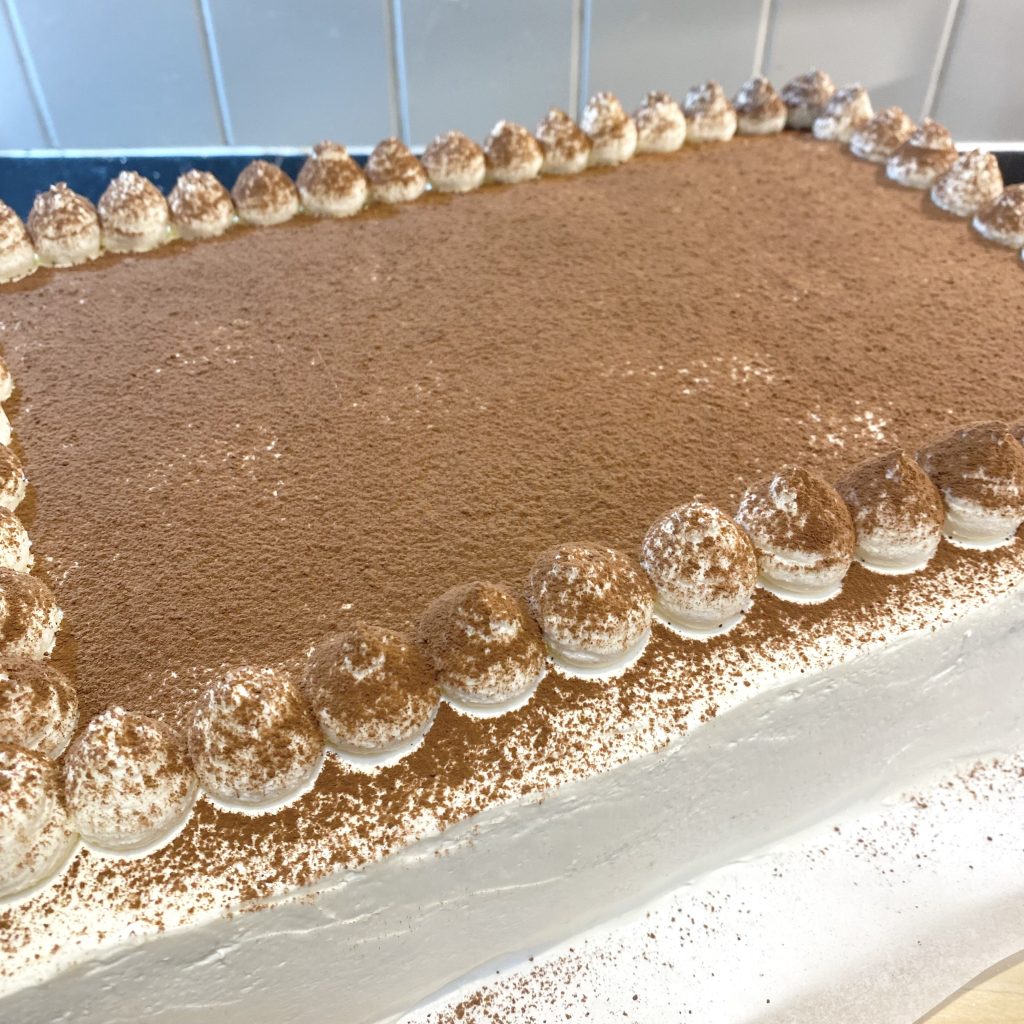
Place a spoonful of cocoa powder into a fine sieve, then shake it all over the top of the cake. Aim for a light, even coverage— if there’s too much cocoa around your design, you run the risk of messing it up when you remove the stencils later.
Use a pair of tweezers to carefully remove the baking paper stencils from the cake, peeling them away in one slow, but confident, movement for best results. If you’re a bit shaky, like me, try using your non-dominant hand to support your dominant wrist as you do it!
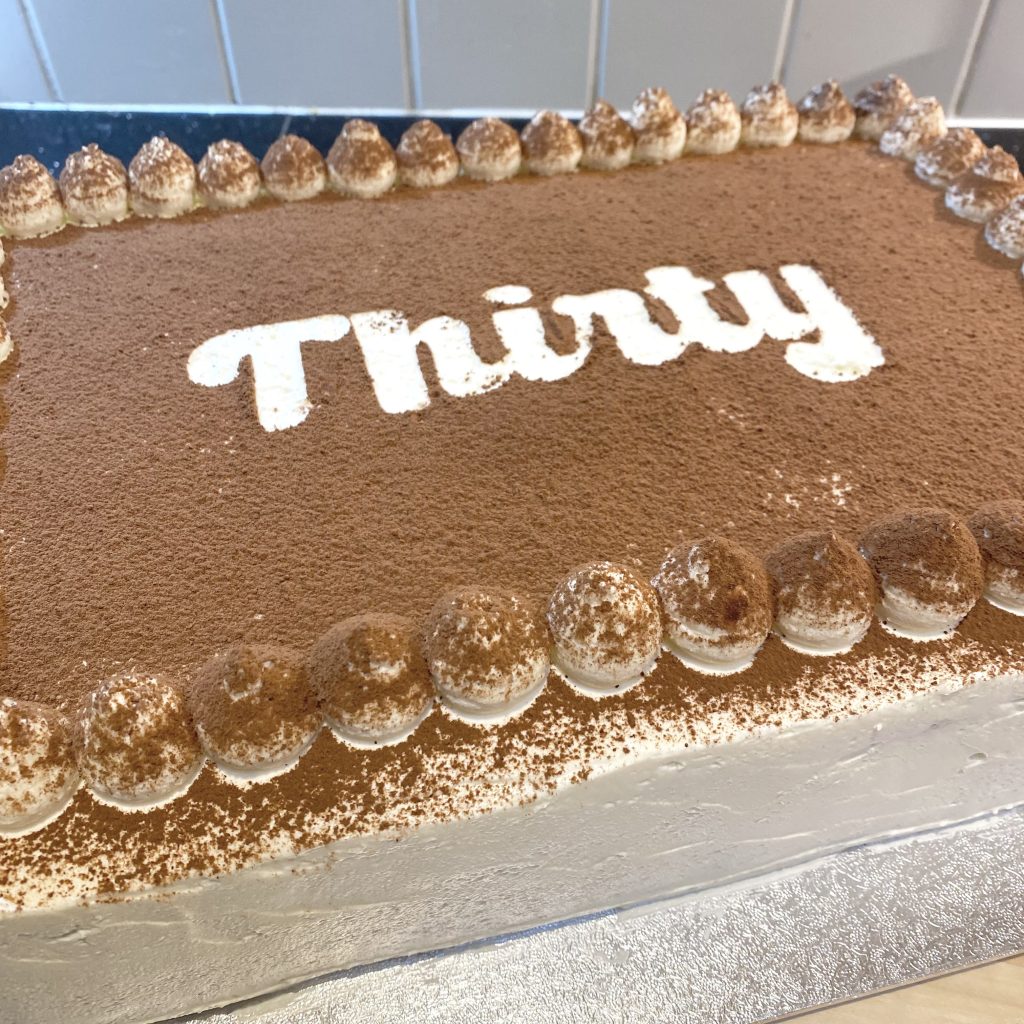
When you’re finished, you’ll find that you have a lovely, tiramisu cake, dusted with cocoa powder and featuring a personalised, negative-space design where your stencils were!
Of course, if you’d rather skip the stencilling step, you can just dust the whole thing with cocoa powder. Alternatively, you don’t need to make your own stencils— try using things you have at home, like paper doilies or cookie cutters, as makeshift stencils to create fun designs!
Make Ahead
The finished cake needs to be stored in the refrigerator (there’s a lot of fresh mascarpone and cream in it, after all), but it will keep there for 3-4 days, as long as both the cream and the mascarpone are still within their ‘use by’ dates.
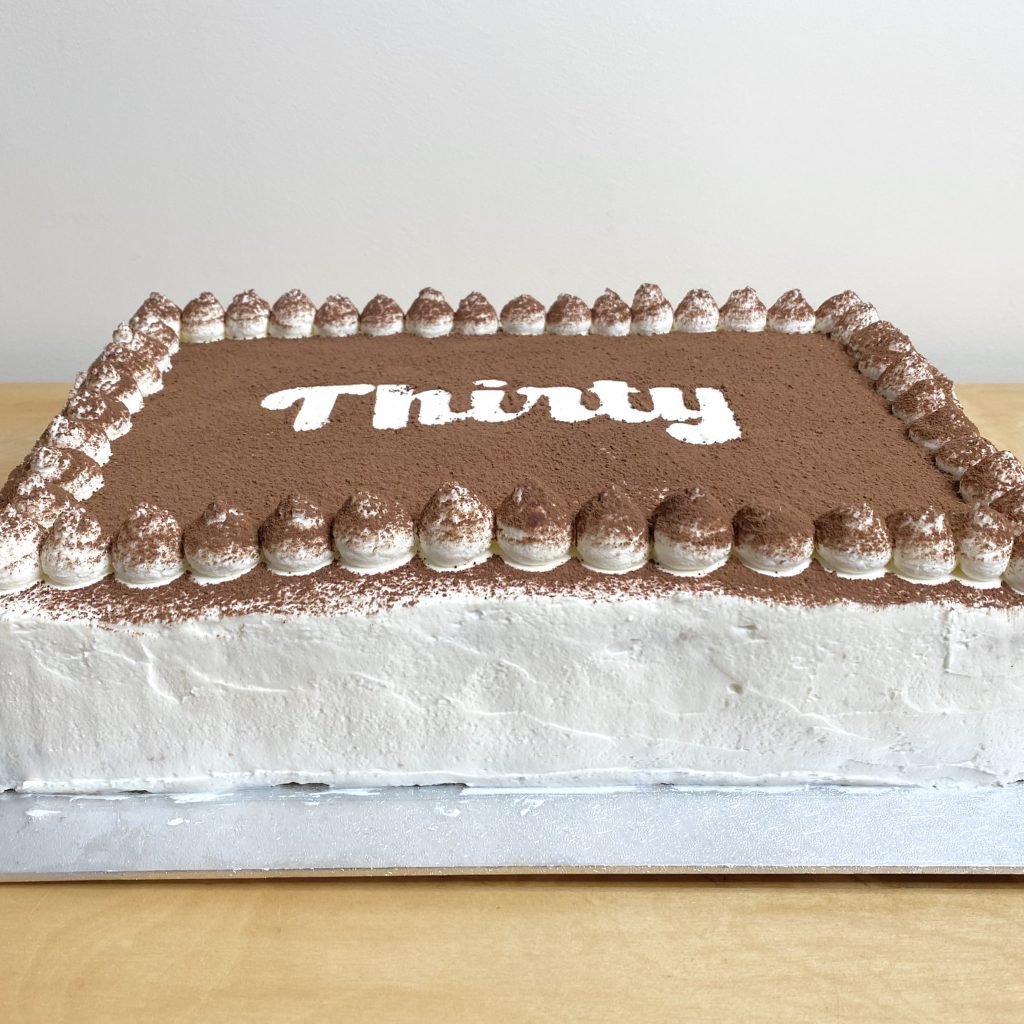
This is a large cake with quite a few different components, so you might find it easier to break up the making process and bake it over a couple of days. I actually made this one over 4 days!
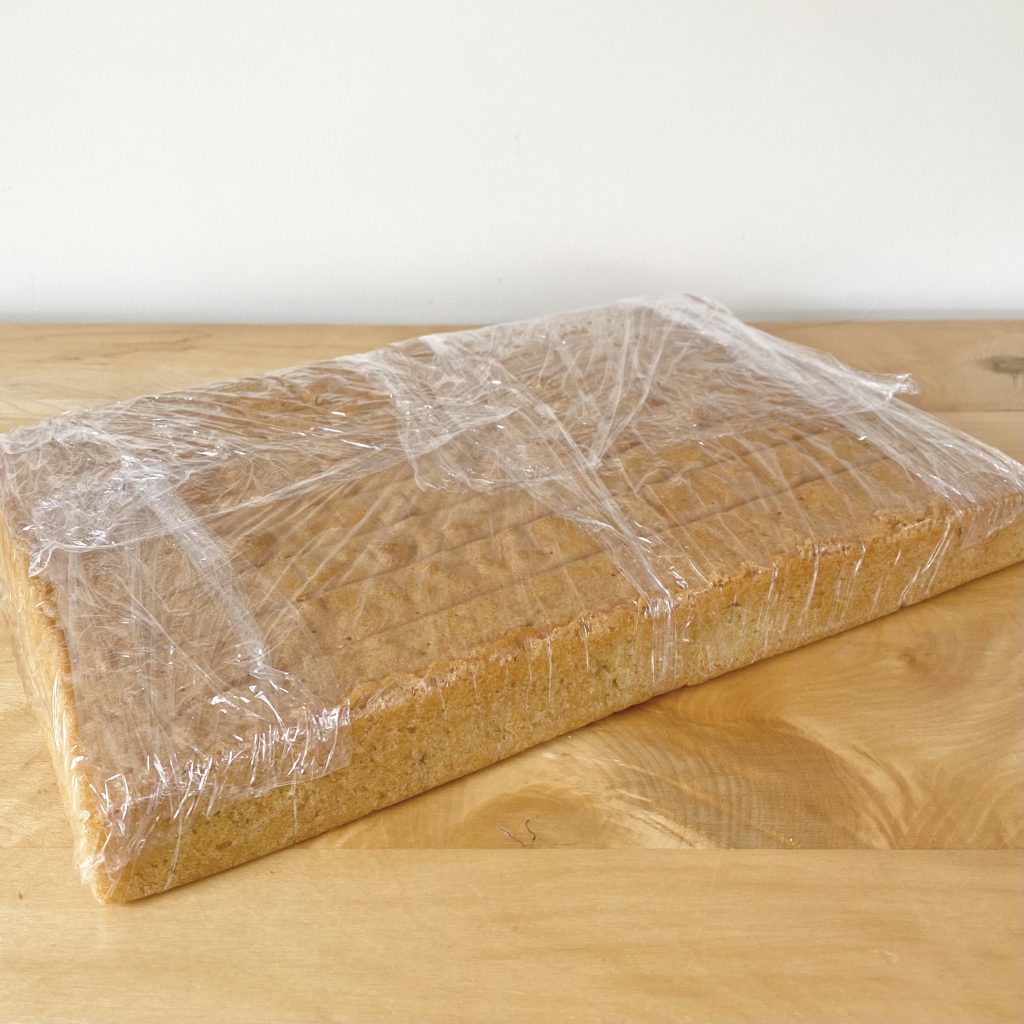
- The vanilla cakes can be made up to 2 days in advance (probably longer, in terms of food safety, but they will start to dry out over time). Wrap each cake tightly in clingfilm to keep them fresh and prevent them from drying out too much. I recommend storing them in the fridge, even though it’s not technically necessary because: a) it will keep them fresher for longer and b) cold cakes are easier to level/divide, so you’ll be ready to assemble the cake whenever you need.
- The chocolate flakes can be made well in advance. Just be sure to store them in a cool, dark place so they don’t melt or soften.
- The soak can technically be made in advance (store it in a sealed container in the fridge), but it’s so quick and easy to make that it probably isn’t necessary.
- The icing should not be made in advance, because it will thicken up and harden in the fridge. Use the icing to assemble/decorate the cake as soon as you make it. However, once the cake has been assembled, it’s fine to store it in the fridge for a few days (icing and all), because you won’t need to be spreading/disrupting the icing once it has firmed up.
Recipe
Tiramisu Celebration Cake
Equipment
- 13 x 9 x 2-inch cake tin (see Note 1).
Ingredients
For the vanilla cakes:
- 600 g Stork, plus extra for greasing (see Note 1).
- 600 g caster sugar
- 12 eggs
- Vanilla extract
- 600 g self-raising flour
- 4 tsp baking powder
- Fine sea salt
For the coffee soak:
- 600 ml espresso, still hot (see Note 2).
- 3 tbsp instant coffee granules
- 200 g caster sugar
- Fine sea salt
- 2 tbsp marsala (see Note 3).
For the mascarpone icing:
- 1500 g mascarpone
- 750 ml double cream
- 450 g icing sugar, sifted.
- Fine sea salt
To assemble:
- Dark chocolate flakes (See Note 4).
- Cocoa powder
Instructions
Make the vanilla cakes:
- You will need to make two 13 x 9-inch vanilla cakes for this recipe. I like to make them separately, one after the other, because I only have one tin. The quantities listed in the 'Ingredients' section are for both cakes combined, so I've listed the amounts for one cake in the method here. Just remember to do it all twice, so you end up with two cakes!
- Preheat the oven to 160°C (conventional, not fan). Grease a 13 x 9 x 2 inch tin with Stork (or softened, unsalted butter) and line with baking paper. Set aside.
- Place the Stork (300g) and caster sugar (300g) in the bowl of a stand mixer, fitted with the paddle attachment. Beat on medium-high speed until well-combined, pale and fluffy.
- In a large jug, whisk together the eggs (6) and vanilla extract (1 small splash).
- Turn the mixer to medium-low and gradually pour the egg mixture into the butter mixture. Don't worry if it splits a little towards the end, it will come back together once you add the dry ingredients.
- Sift in the self-raising flour (300g), the baking powder (2 tsp) and the salt (1 pinch). Mix on low speed until just combined, then scrape down the base and sides of the bowl with a spatula to make sure everything is well-combined.
- Tip the batter into the prepared tin and smooth it out. Bake in the preheated oven for 40-45 minutes, until the cake just springs back when pressed lightly, a skewer inserted into the centre comes out clean and it is beginning to pull away from the edges slightly.
- Allow the cake to cool in the tin for 30-45 minutes, then turn out onto a wire rack and leave to cool completely.
- Repeat this process to make a second cake.
Make the coffee soak:
- Dissolve the instant coffee granules in the warm espresso. Add the sugar and salt and stir until dissolved. Allow to cool slightly, then stir in the marsala.
Make the mascarpone icing:
- This icing will thicken up and become hard to work with over time, so I recommend making it in 3 separate batches: 1 batch for filling layers 1-3, 1 batch for filling layers 4-5 and crumb coating the cake and 1 batch for the final coat and piped border. The amounts listed in the 'Ingredients' section above are the total of all 3 batches. I will list the quantity for 1 batch in parentheses here in the method.
- Place the mascarpone (500g), double cream (250ml), sifted icing sugar (150g) and salt (1 pinch) in a large bowl. Whip with a hand whisk until the mixture is just holding its shape— be careful not to over-whip it, or it will become hard to spread and look split.
Assemble the cake:
- Level both vanilla cakes, then split each into 3 layers horizontally, leaving you with 6 layers of cake.
- Spread a small amount of mascarpone icing on the serving board, then place the first layer of cake on top. Brush the cake evenly with coffee soak, then spread on a layer of mascarpone icing. Sprinkle with chocolate flakes, then place the next cake layer on top.
- Repeat this process, stacking up the cake layers with the soak, icing and chocolate flakes, until you come to the final cake layer. Brush the final layer with soak and spread on a thin layer of the icing (you will add more in the next step), but do not add chocolate flakes. Apply a thin crumb coat on the sides of the cake, then chill for 20-30 minutes.
- Apply a final coat of icing, making sure the top is as smooth as possible. Transfer the remaining icing to a piping bag and pipe dollops around the perimeter of the cake, to form a border. Chill the cake for a further 15-20 minutes.
- If you are using a stencil, position it on the cake now, making sure it is flat and level. Dust the cake with an even layer of cocoa powder, then use a pair of tweezers to remove the stencil and reveal your design.
- The cake must be stored in the fridge. It will keep for 2-3 days.
Notes
- I used this one, from Silverwood.
- I like to use Stork instead of butter in cakes like this, because I think it makes them lighter and fluffier. Feel free to replace it with an equal amount of softened, unsalted butter, if you prefer.
- I make espresso using Nespresso Ristretto Decaffeinato capsules (because they’re the strongest ones I tend to have on hand!). 1 capsule makes about 100ml of espresso, so you’ll need approximately 6 capsules for this. Alternatively, you can just use really strong coffee.
- Marsala is traditional, but you can use whatever alcohol you like (I often use amaretto!). Alternatively, omit the alcohol entirely and increase the instant coffee slightly to amp up the flavour.
- I made these chocolate flakes using a 72% dark chocolate. To make them yourself, follow my Easy Chocolate Curls tutorial, then tip the curls into a sealed container and shake them hard to turn them into small flakes. Alternatively, you can buy chocolate flakes ready-made.