 Gemma
Gemma 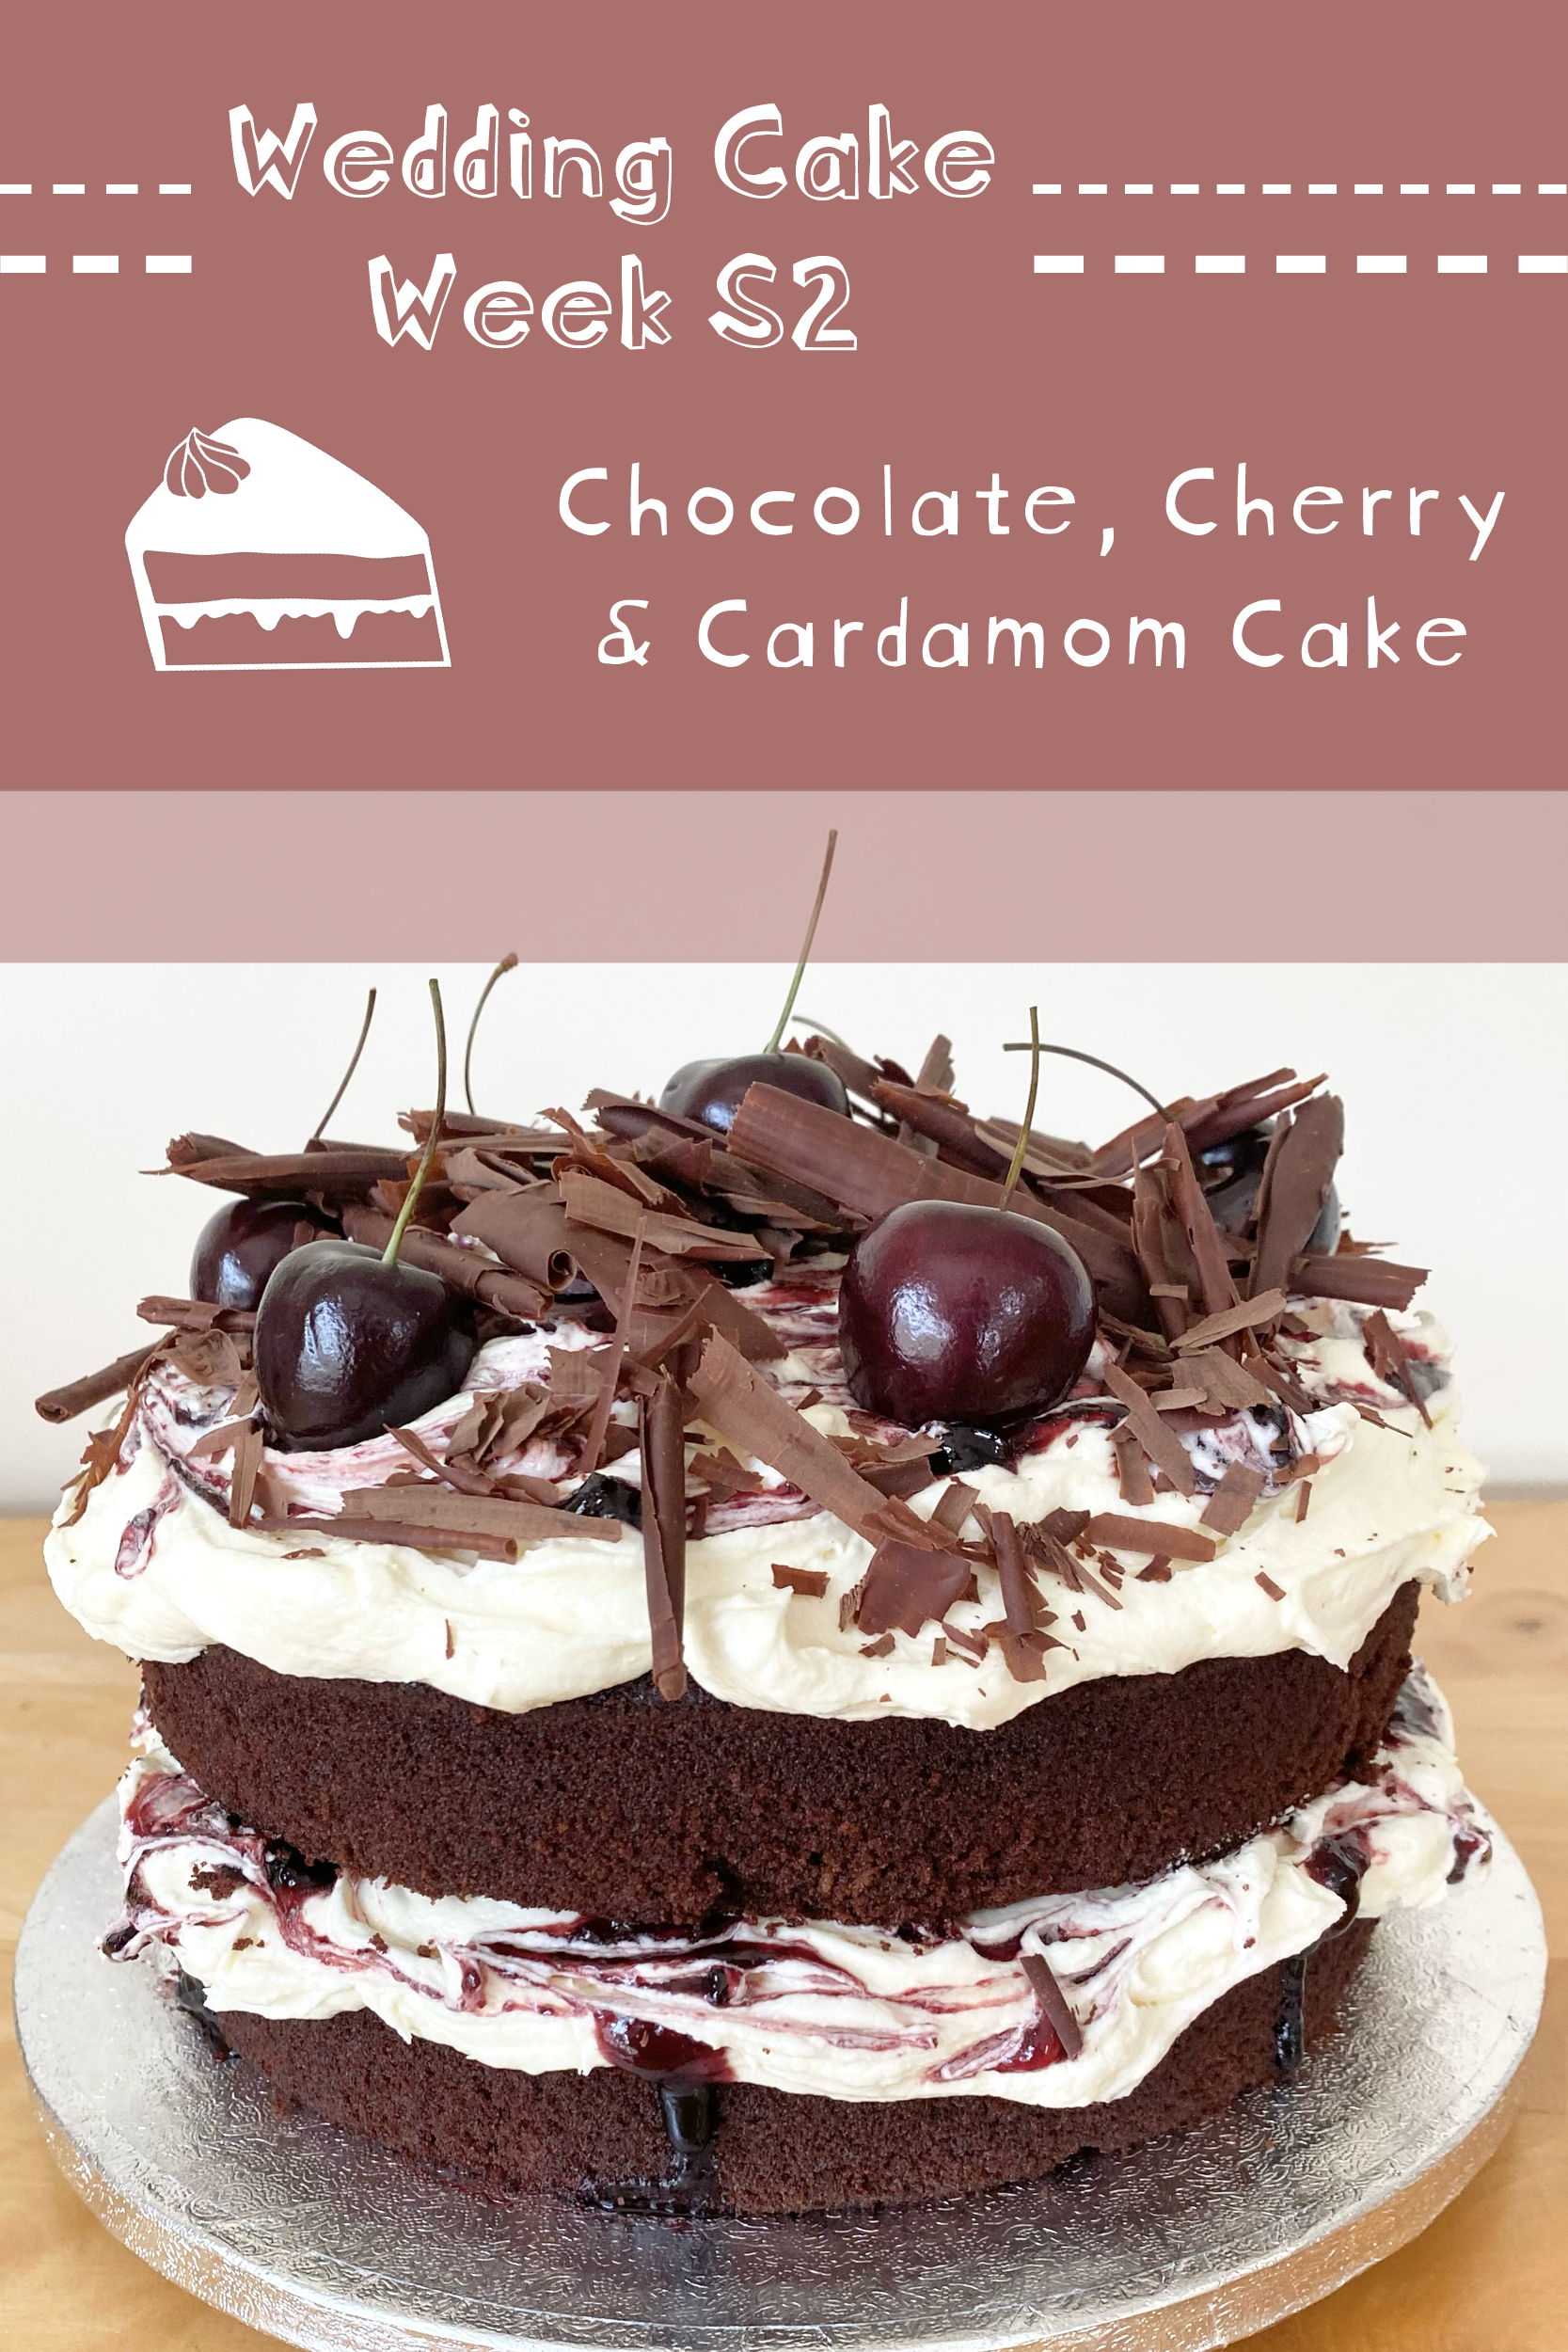
Welcome back to Wedding Cake Week: Season 2!
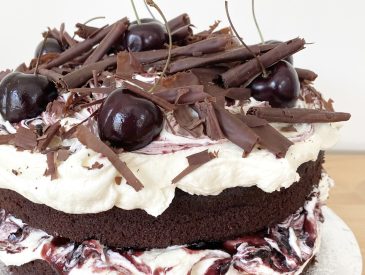
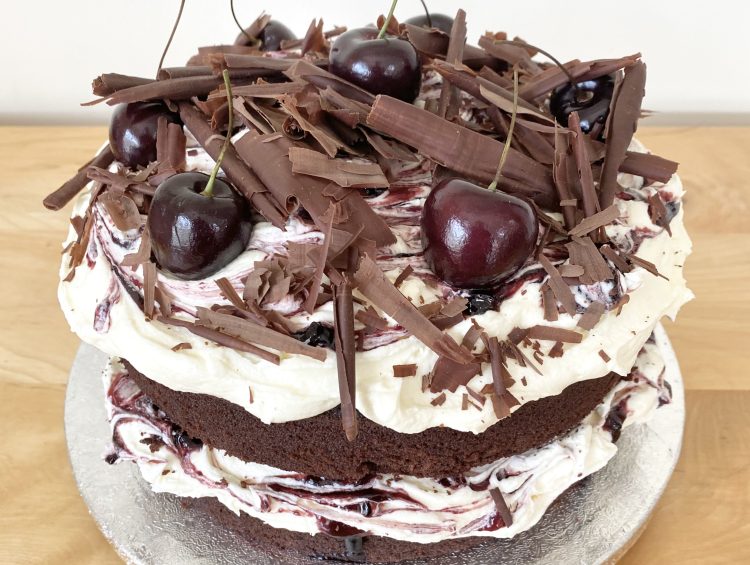
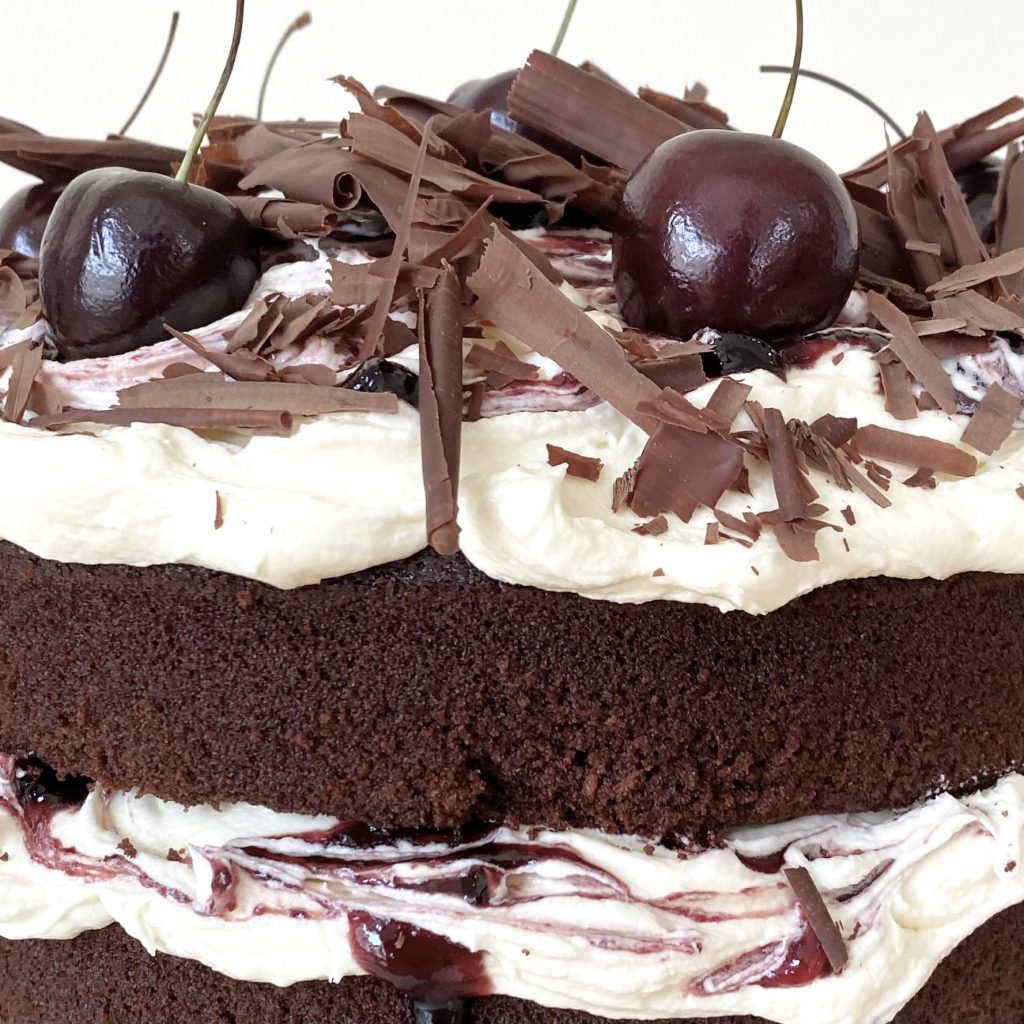
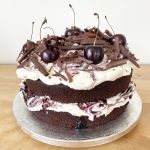
In today’s post, I’m sharing the recipe for the main wedding cake: a 2-layer, 8-inch round chocolate cake filled with a cardamom-infused buttercream and homemade cherry jam, then decorated with dark chocolate curls and fresh cherries.
Let’s not hang around— it’s chocolate cake time!
Components
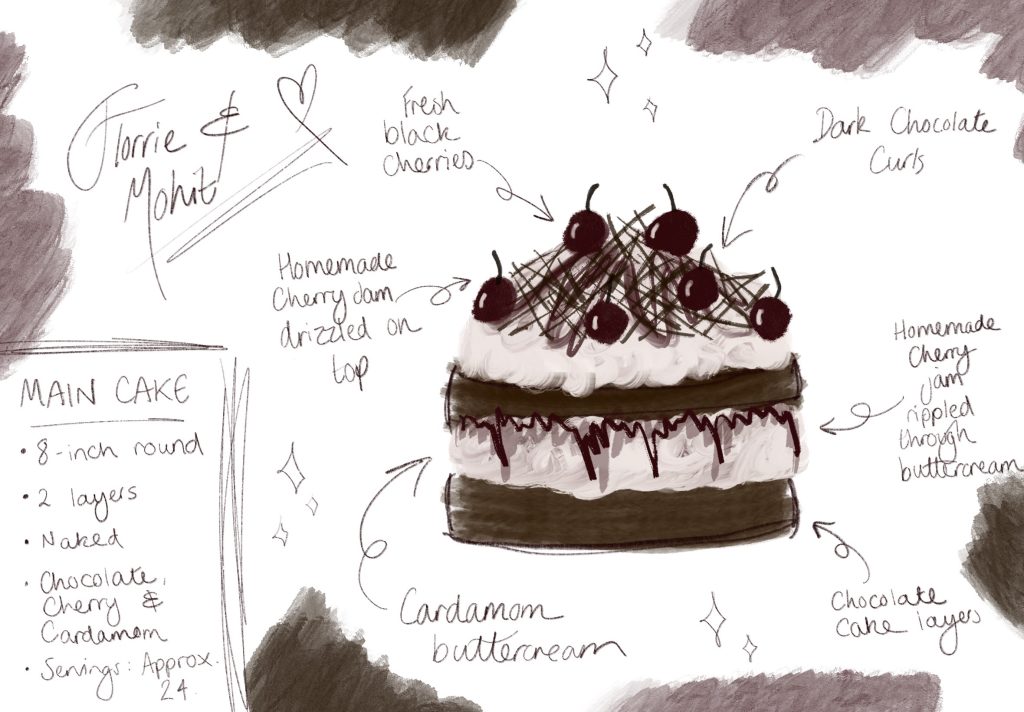
This cake is made up of 5 individual components:
- Chocolate Cake
I used my go-to chocolate cake recipe for this cake: it’s intensely chocolatey, incredibly moist and super stable, so it’s great for wedding/celebration cakes like this that need to be made in advance. I developed this recipe for my brother’s wedding cake and it has become one of my most popular recipes here on the blog!
The original recipe was for a 10-inch round cake, but I’ve scaled it down here to make an 8-inch version.
- Cardamom Buttercream
This is a classic, American buttercream made with cardamom-infused milk, which adds a really subtle, earthy spice. I opted to infuse the milk with cardamom pods, rather than add ground cardamom directly to the icing, because I didn’t want the icing to be dappled with the little flecks of cardamom. However, you could absolutely skip the infusing step and add a small amount of ground cardamom instead, if you prefer.
- Cherry Jam
I used a homemade cherry jam for this, because I wanted the cake to be extra special, but there are some lovely ready-made cherry jams available, so you could absolutely use one of those instead to make things a little easier!
You’ll only need about 1/4 of a batch of my Homemade Cherry Jam recipe, so you can either scale it down or keep the rest for toast, scones, porridge, etc.
- Dark Chocolate Curls
These dark chocolate curls are SO easy to make, but they look pretty fancy and really elevate the cake. All you need is a bar of chocolate and a large, sharp knife! Check out yesterday’s post for the tutorial.
- Fresh Cherries
A handful of fresh cherries are placed on top of the cake as a super easy and simple decoration. The cherries just need to be washed and dried completely before you use them.
Ingredients
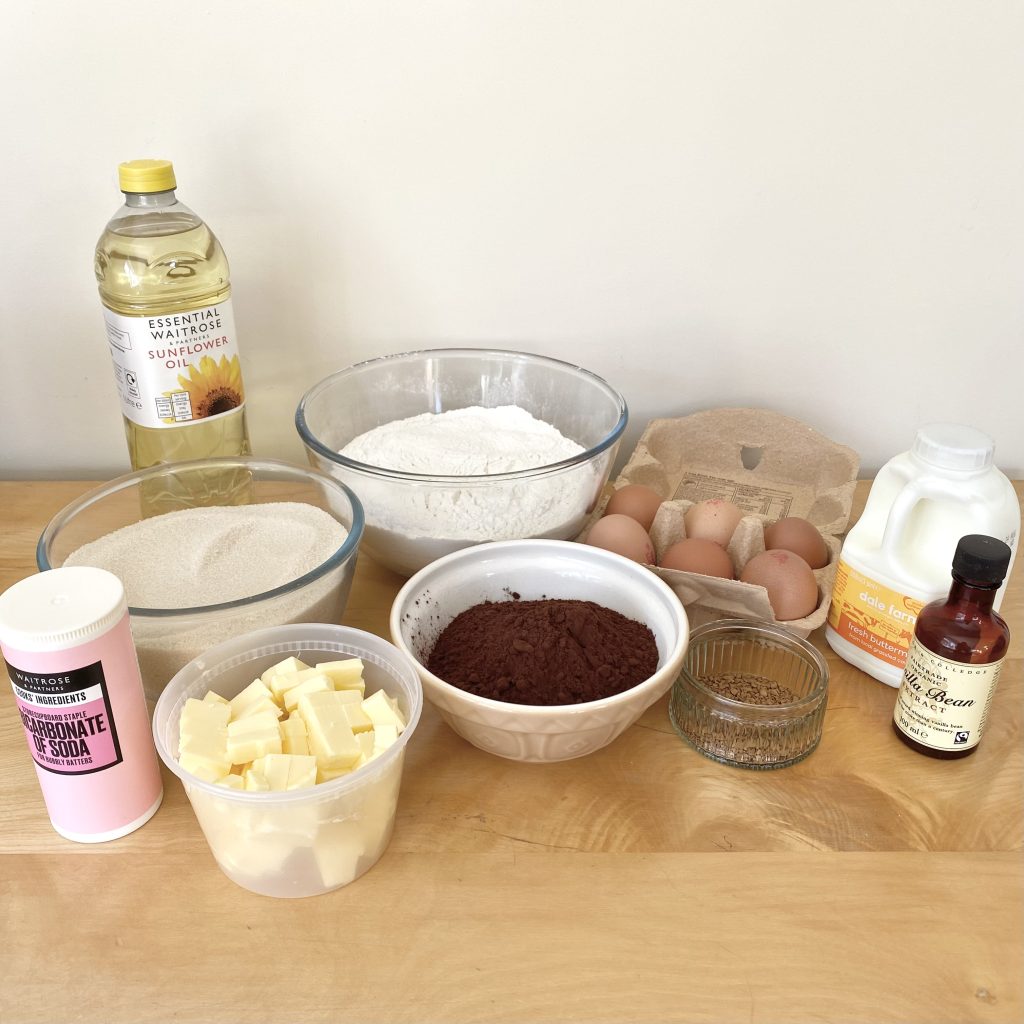
To make the cake batter, you will need the following ingredients:
- Instant coffee granules
I use decaf coffee here, but caffeinated coffee will also work. You won’t be able to taste the coffee, it just enhances the chocolate-y flavour.
- Boiling water
Boiling water is used to dissolve the instant coffee granules, bloom the cocoa powder (adding a hot liquid to cocoa helps it to release its flavour) and dissolve the butter. The water should be freshly boiled, so that it’s still nice and hot, to accomplish all of this.
- Cocoa powder
I hate to say it, but the type of cocoa powder you use makes a huge difference! Ideally, you want a rich, dark cocoa powder that has been ‘dutched’ (a process where the cocoa is alkalised to reduce the natural acidity), because this will give you the most intense, chocolatey flavour. Unfortunately, the best quality cocoa powders can be very expensive, so you do have to weigh up the flavour vs the price. A chocolate cake made with the best cocoa powder will be absolutely amazing, while a chocolate cake made with a regular, run-of-the-mill cocoa powder will still be good (it is chocolate cake, after all), just not quite so incredible.
My favourite is the very expensive, but absolutely incredible, Valrhona cocoa powder, which is what I used for this cake. However, there seems to have been a bit of a mass shortage of this cocoa powder over the past 6 months or so, so it can be a bit tricky to obtain. By the looks of it, it’s coming back onto the market a bit more readily now (you can buy it here, on Amazon), which is a big relief!
- Salted butter
Salt is an important ingredient in chocolate cake because, like coffee, it helps to bring out the chocolate-y flavour of the cocoa. Instead of adding salt manually, I just use salted butter for this recipe and I find that it incorporates just the right amount of salt!
- Plain flour
Don’t use self-raising flour here, or the ratio of the raising agents will be thrown off.
- Caster sugar
I used golden caster sugar, because I prefer using that in my cakes (I think it gives a nicer flavour), but white caster sugar would also work.
- Bicarbonate of soda
This is the only raising agent in the cake. Don’t use baking powder— it needs to be baking soda (i.e. bicarbonate of soda).
- Buttermilk
Buttermilk helps to keep the case really moist, which is perfect for a wedding cake like this, when you want to make it ahead of time but don’t want it to dry out!
- Sunflower oil
Using butter and oil as the fat in the cake means you get the superior flavour of the butter and the increased moisture from the oil, so it’s the best of both worlds!
- Vanilla extract
Much like coffee and salt, vanilla also enhances the flavour of the chocolate. The aim is not for the cake to taste like vanilla, but for it to taste even more like chocolate.
- Eggs
I use large eggs.
To make the icing, and to fill/decorate the cake, you will need:
- Whole milk
You can use skimmed/semi-skimmed milk, but whole milk will give you a richer, creamier buttercream.
- Cardamom pods
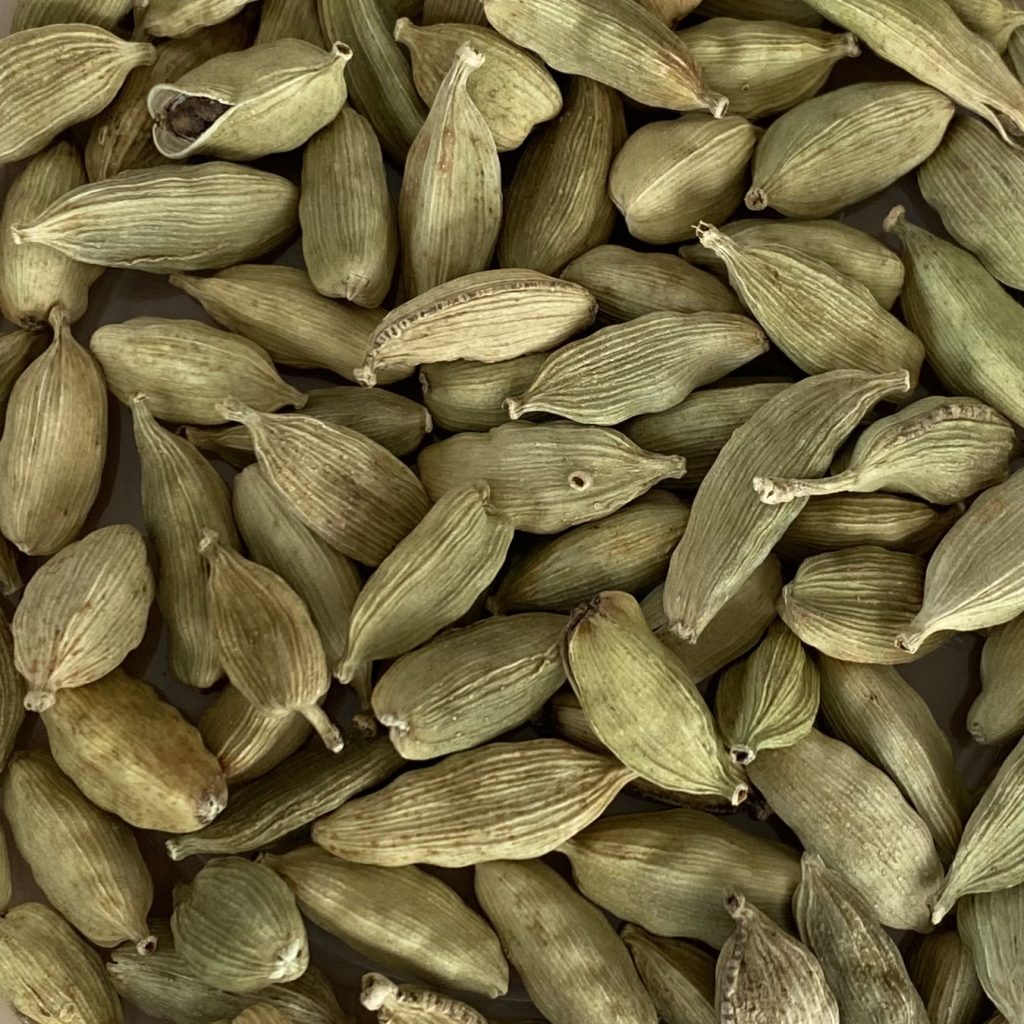
I’ve used the whole pods for this recipe, because I didn’t want my buttercream to be speckled with the ground spice. If you prefer, you can skip the pods and the infusing step and just add a little ground cardamom to your icing instead.
- Unsalted butter
I like to use unsalted butter for buttercream, so that I am able to control the amount of salt.
- Icing sugar
Make sure to sift the icing sugar first, because it can get quite clumpy.
- Lemon juice
American buttercream can be very sweet. To mellow out that sweetness a little bit, I added a very small amount of lemon juice. The tartness of the lemon balances out the sweetness of all the sugar, making the buttercream a little more rounded.
- Salt
Just like the lemon juice, I added a small amount of salt to the buttercream, just to temper the sweetness a little. It’s important to use a fine salt here so that it doesn’t affect the texture of the buttercream.
- Cherry jam
I used my Homemade Cherry Jam for this, which I specifically developed to be full of cherry flavour and have quite a firm set, so that it works well in a layer cake. If you want to skip the extra step of making jam, you can absolutely use a shop-bought jar— just try and find a really delicious one!
- Dark chocolate curls
I used a 72% dark chocolate to make the curls for this cake. You can find my tutorial on how to make the curls here.
- Cherries
I’ve decorated this cake with a handful of fresh cherries. I used black cherries for this, because I think that they’re the prettiest (and they tend to be the most readily available cherries here in the UK!).
Chocolate Cake Layers
This cake uses a scaled-down version of my favourite chocolate cake recipe. It’s a super chocolate-y, super moist cake that keeps really well, so it’s perfect for wedding cakes.
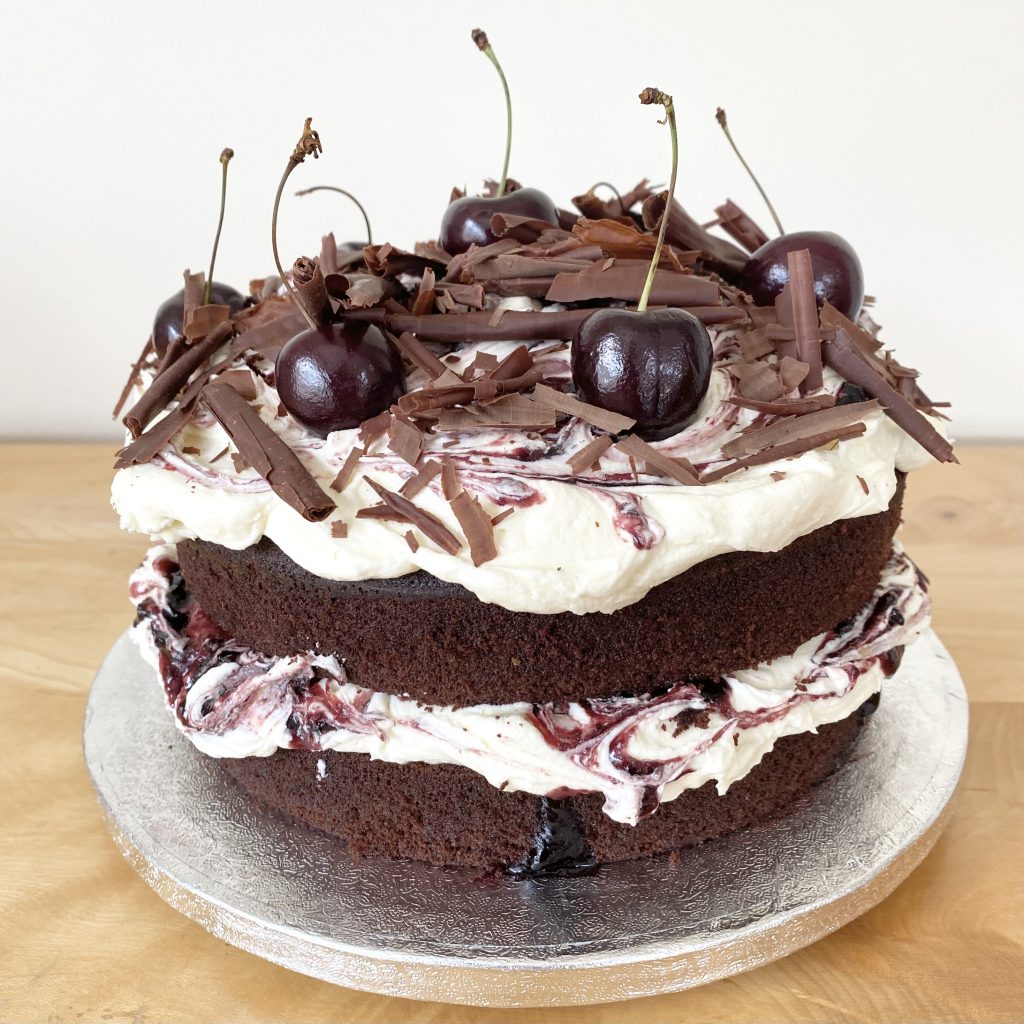
The original recipe was for a 3-layer, 10-inch round cake. For that cake, I made each layer separately, because I can only fit one 10-inch tin in my oven at a time. For this cake, you need 2 x 8-inch layers, which you fortunately can bake at the same time in a standard oven!
The process for making the batter itself is exactly the same and I have a photo tutorial in my ‘The Chocolate Tier’ post from the first Wedding Cake Week, if you’d like to check out the in-depth instructions!
8-inch Cake vs 10-inch Cake
The only differences that you need to be aware of with this cake (compared to the original ‘Chocolate Tier’ recipe) all stem from the change in size:
- Tin size
For this version, you’ll need 2 x 8-inch round tins.
- Oven temperature
The 8-inch cakes are baked at 180°C (conventional, not fan). This is because the cakes are smaller, so they can be baked at a higher temperature.
- Bake time
The cakes take 50-55 minutes to bake, which is ever so slightly less time than the 10-inch cake (though the oven is more full, because we’re baking two at a time, so it kind of balances out!).
- Batter quantity
Despite the fact we’re making fewer, smaller layers than the original recipe, the batter quantity at the start is actually greater, because we’re making both 8-inch cakes at once, as opposed to making each 10-inch layer individually. All this means is that you need to use both a bigger jug (for the wet ingredients) and a bigger bowl (for the dry ingredients)! I actually used a large bowl with a spout instead of a jug for the wet ingredients, to make sure I had plenty of room for whisking.
A Note on Cracking
This chocolate cake recipe is really delicious: it’s super chocolate-y, moist and structurally strong, making it a perfect option for layer cakes. However, it is unusual in that it is specifically baked to form a super cracked top, which I know can be disconcerting, because we’ve all been taught that the cracking/volcano-esque explosion is persona non grata when it comes to cakes! You just have to trust me on this one though— it’s what makes this cake so great!
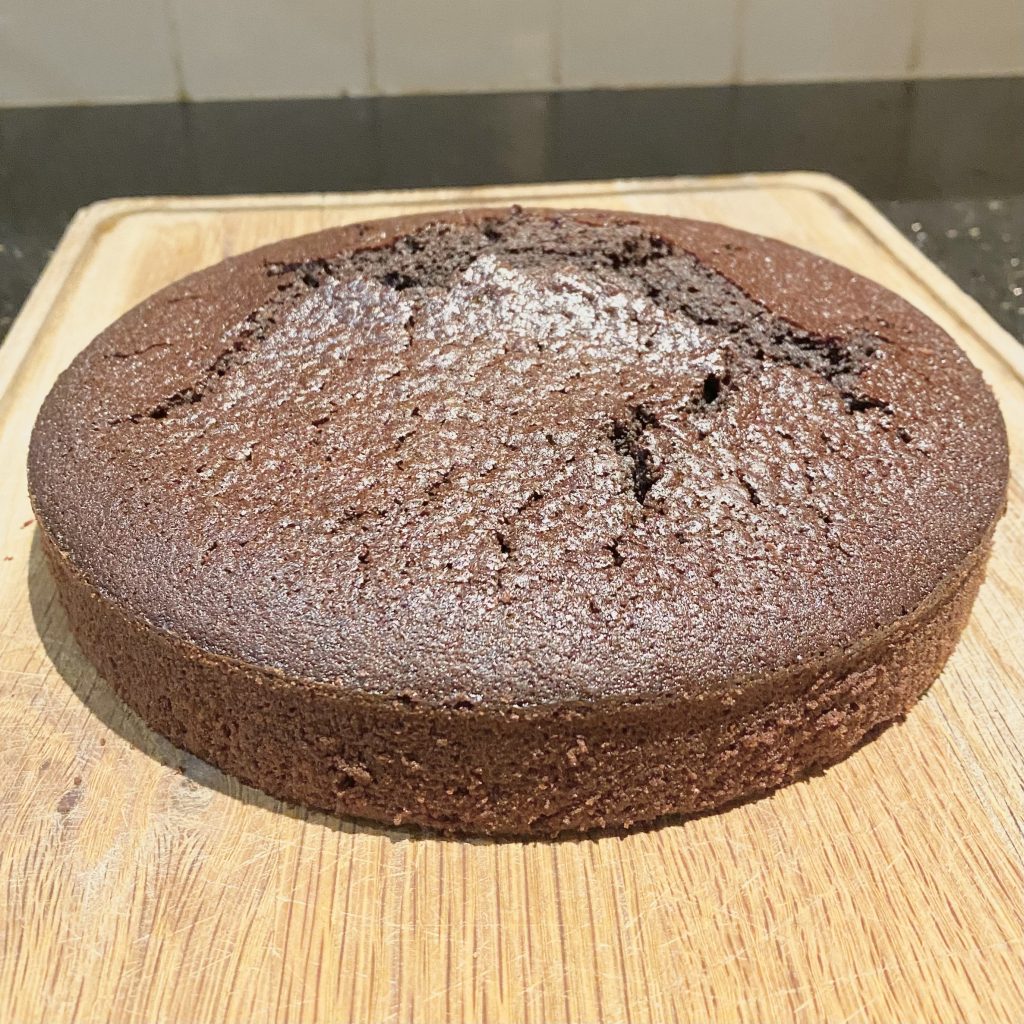
Typically, cakes form large cracks for one of two reasons: either the oven temperature is too hot or the batter contains too much raising agent. I’ve tested this recipe many, many times, using less bicarbonate of soda and varying lower oven temperatures and it simply does not work as well: the cake still cracks and the crumb just ends up kind of gummy (ew…) or too dry. With this method, yes, you get cracks, but the interior of the cake is perfectly cooked and perfectly moist, and you’ll be trimming off the cracked parts anyway, so it’s definitely my preferred approach.
Making the Cake Layers in Advance
These cake layers are great for making in advance, because they stay super moist. For best results, wrap each individual layer tightly with clingfilm. This will keep the edges of the cakes from being exposed to the air and drying out.
You can store the wrapped cakes at room temperature or in the fridge. If you’re making your cakes in a hot environment (like I was, thanks to the heatwave!), I’d recommend storing them in the fridge to keep them as fresh as possible. Cold cakes are also easier to level neatly, so that’s a plus! If you’re making the cakes in cooler weather, they’ll be absolutely fine at room temperature for a couple of days.
Cardamom Buttercream
This buttercream is a simple, American-style buttercream. To get the cardamom flavour, milk is infused with cardamom pods overnight, then strained the next morning and added to the buttercream.
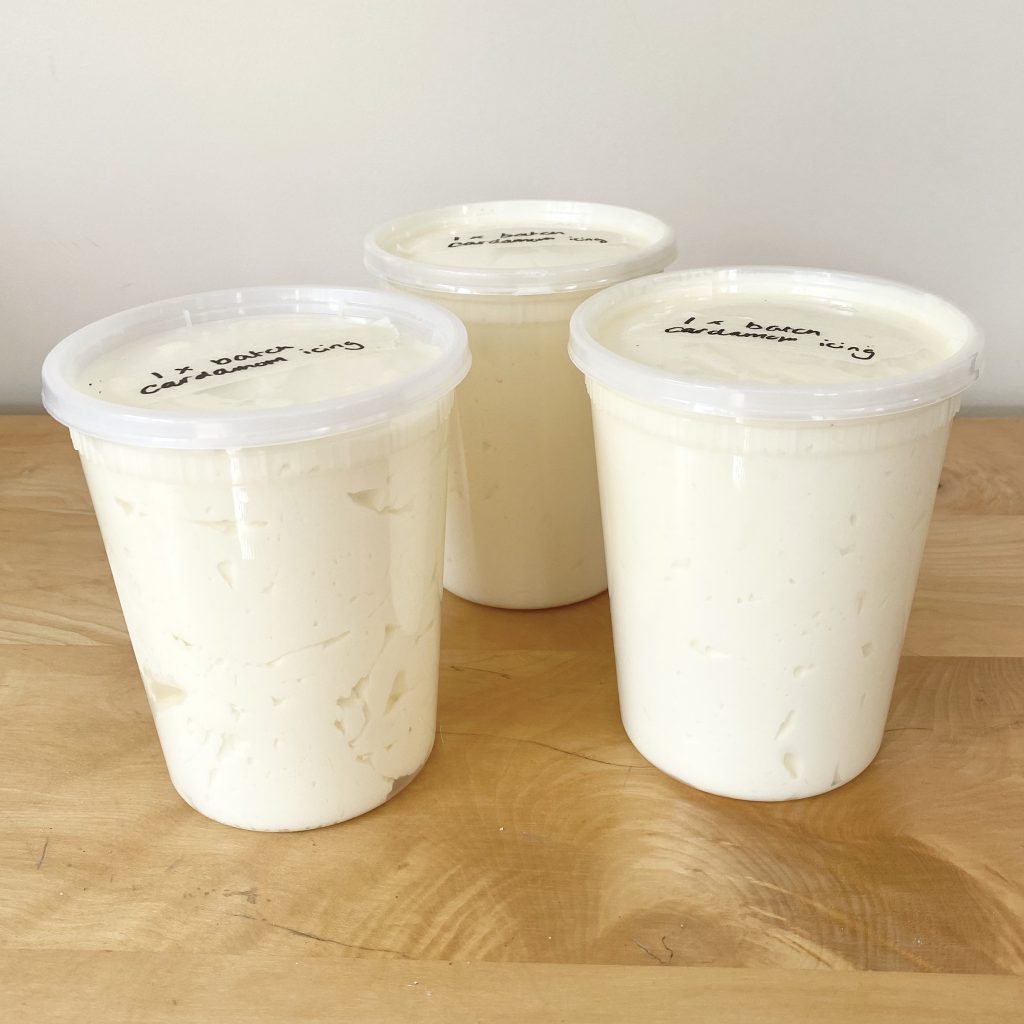
This icing can be made in advance (which is very handy when you’re making a wedding cake!). Once you’ve made the buttercream, transfer it to an airtight container and store it in the fridge. It will last for about a week. You just need to let the icing come to room temperature and give it a gentle beat with the mixer on low speed before you use it.
Infusing the Milk
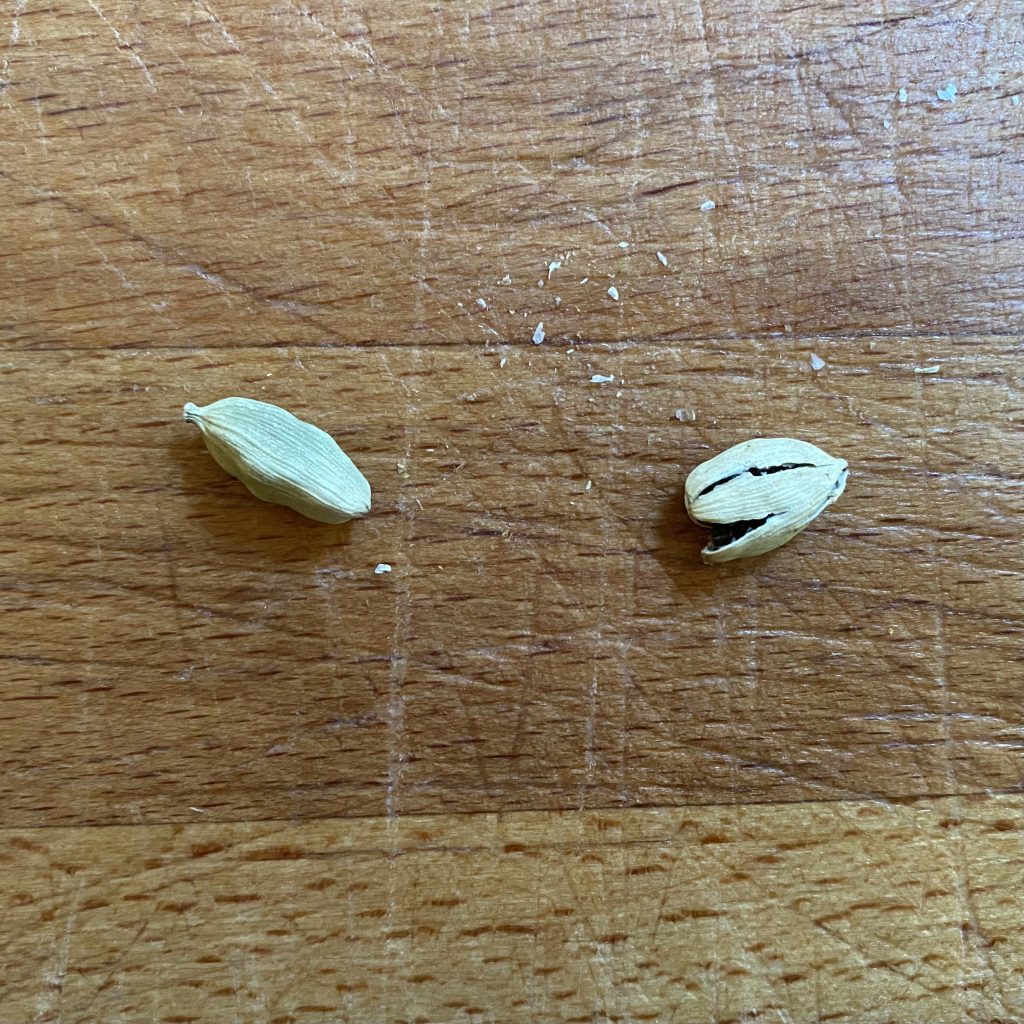
Start by bashing the cardamom pods with the end of a rolling pin (or a similar, heavy object/mortar and pestle). The aim is just to crack the pods open and expose the seeds.
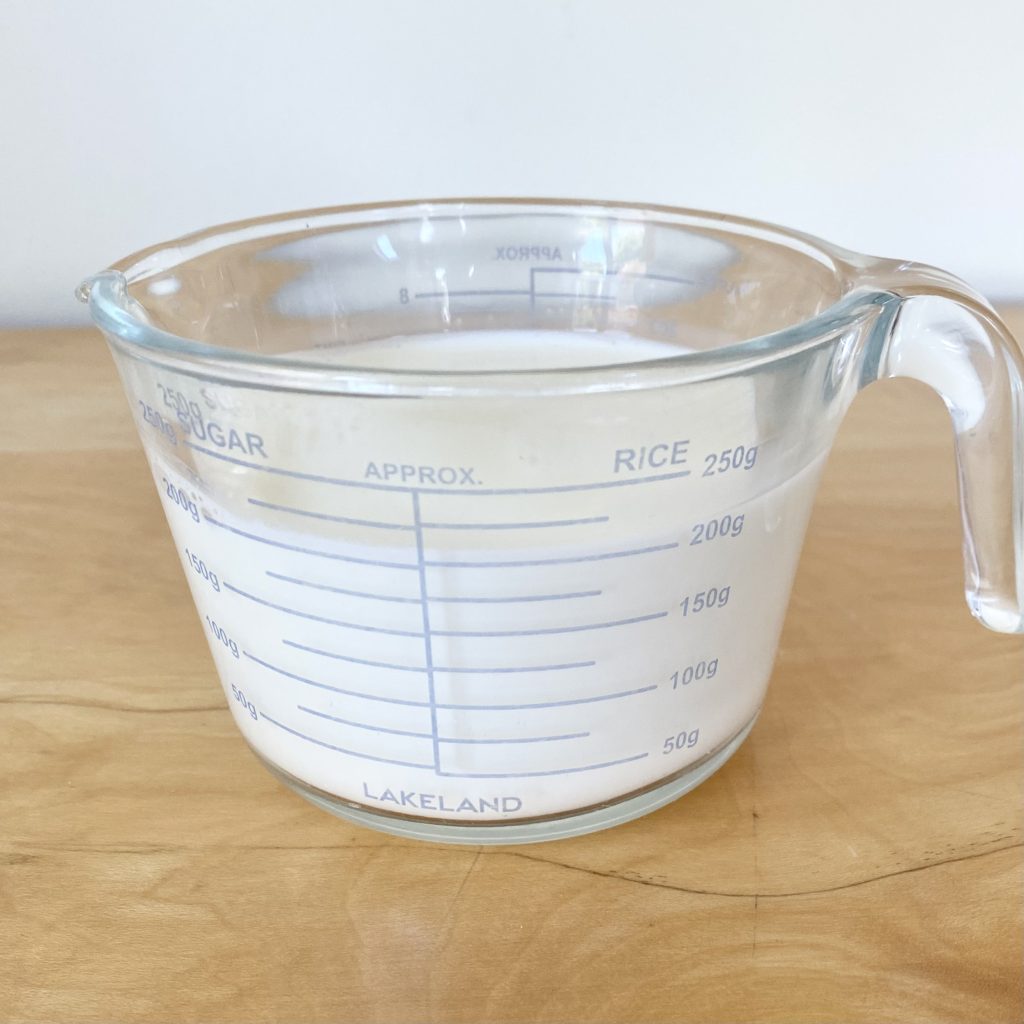
Heat the milk in the microwave for about 10 seconds on high, until it is hot. If you don’t have a microwave, you can warm the milk in a small saucepan.
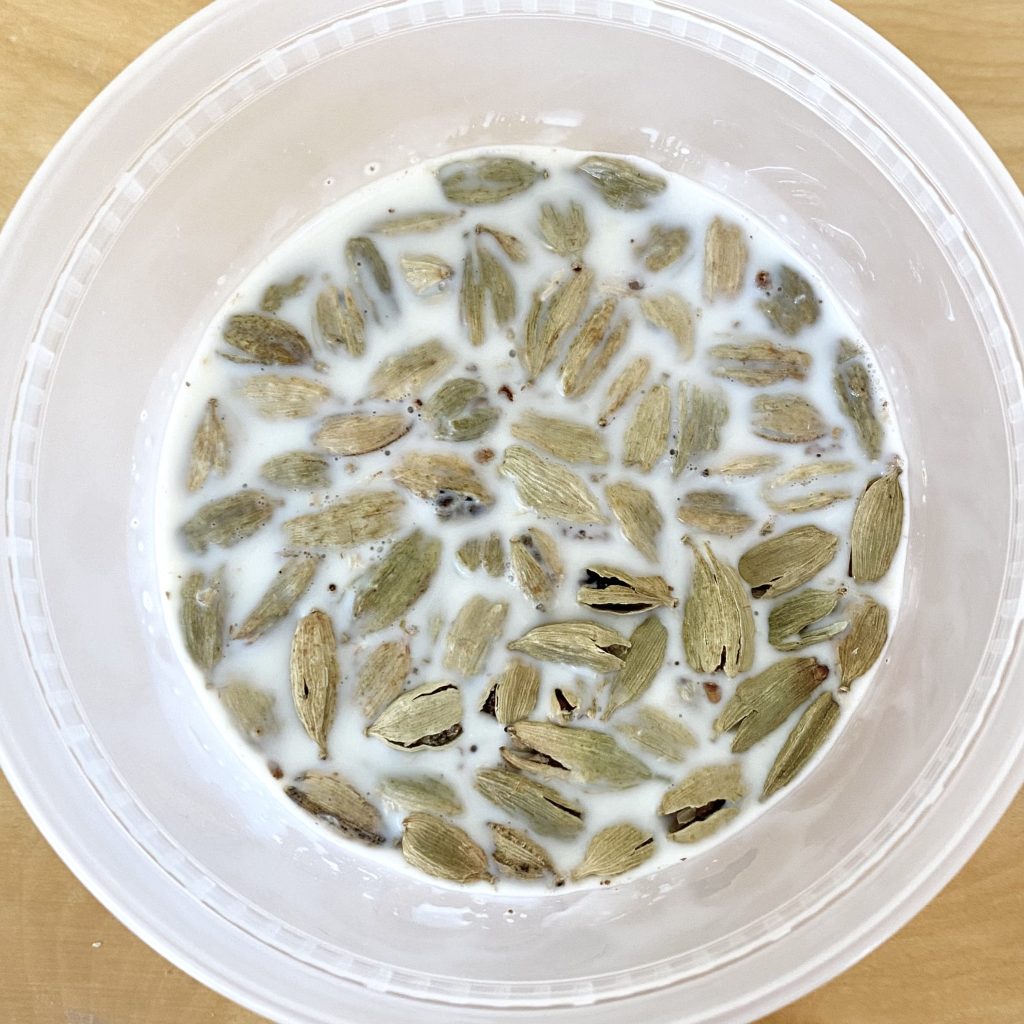
Pour the milk over the cardamom pods, cover and leave to cool to room temperature before transferring to the fridge to chill and infuse overnight.
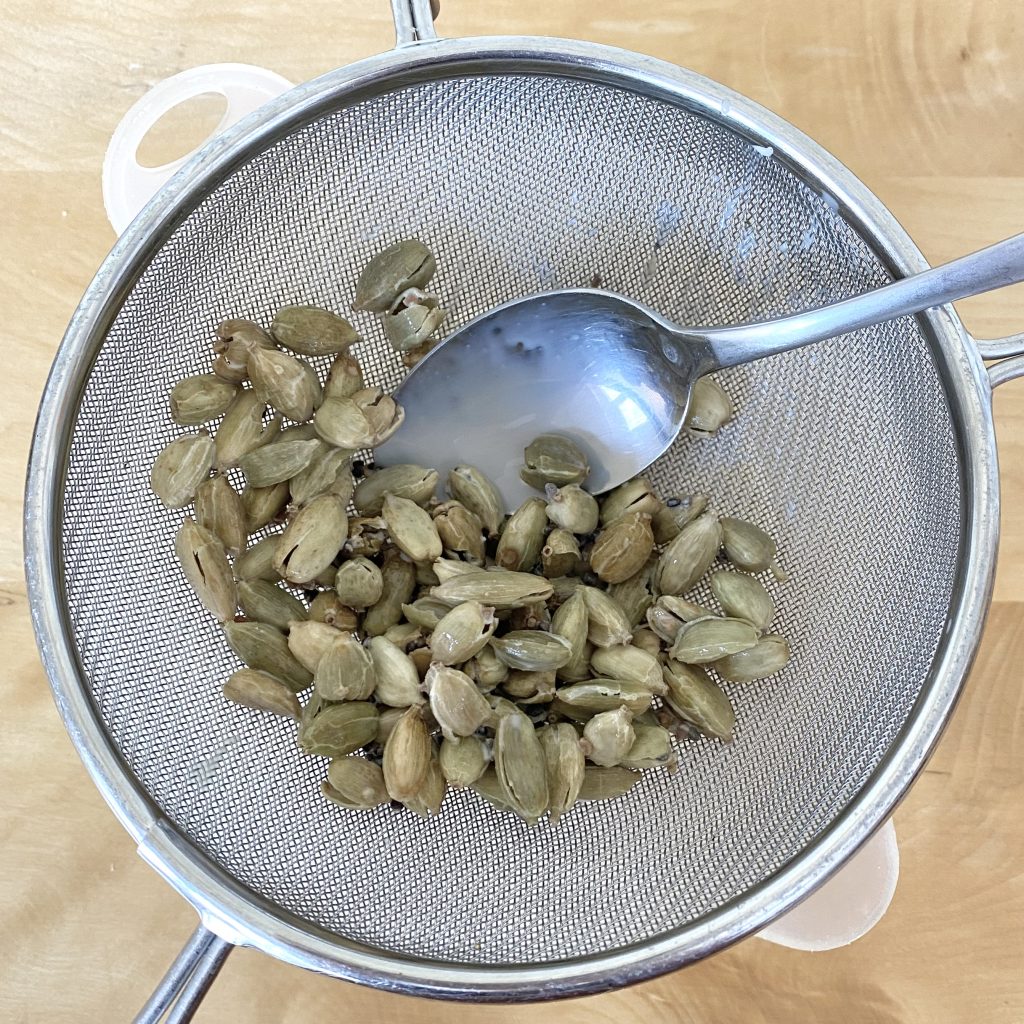
The next morning, strain the milk through a fine sieve, pressing down on the cardamom pods to extract as much flavour as possible.
The cardamom pods can now be discarded. Thank you for your service, pods! The cardamom-infused milk is now ready to be used in the buttercream.
Making the Buttercream
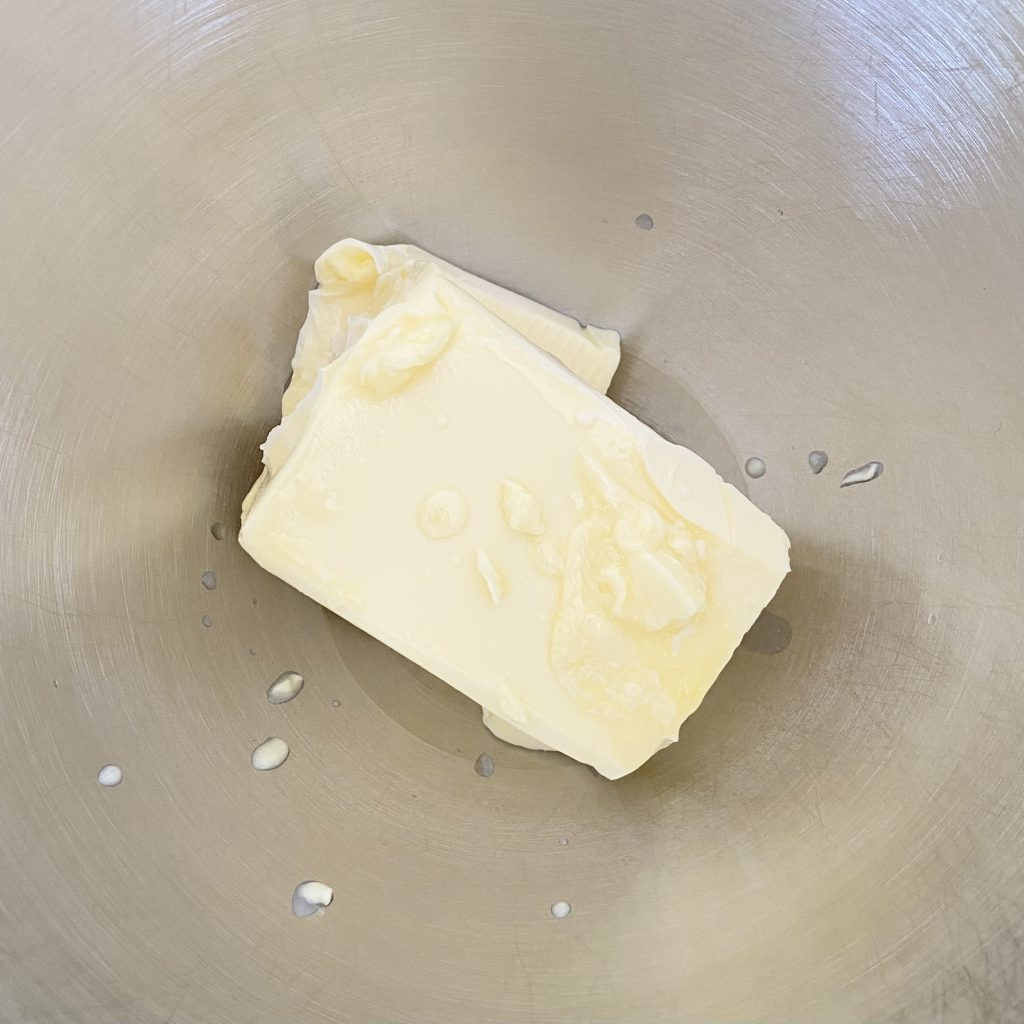
Place the butter into the bowl of a stand mixer, fitted with the paddle attachment. The butter needs to be at room temperature (or softened ever so slightly), so that it will whip up evenly.
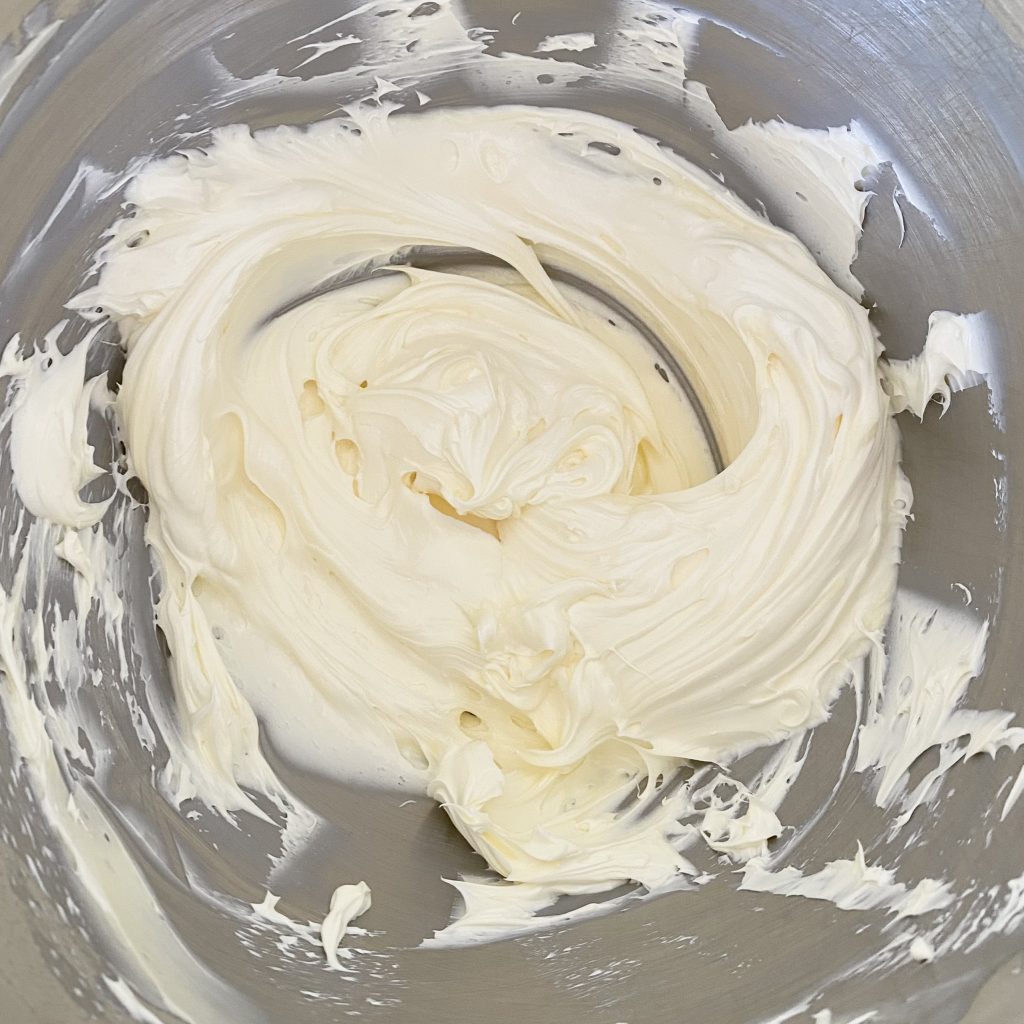
Beat the butter on medium-high speed until it is smooth, fluffy and noticeably paler in colour, like this.
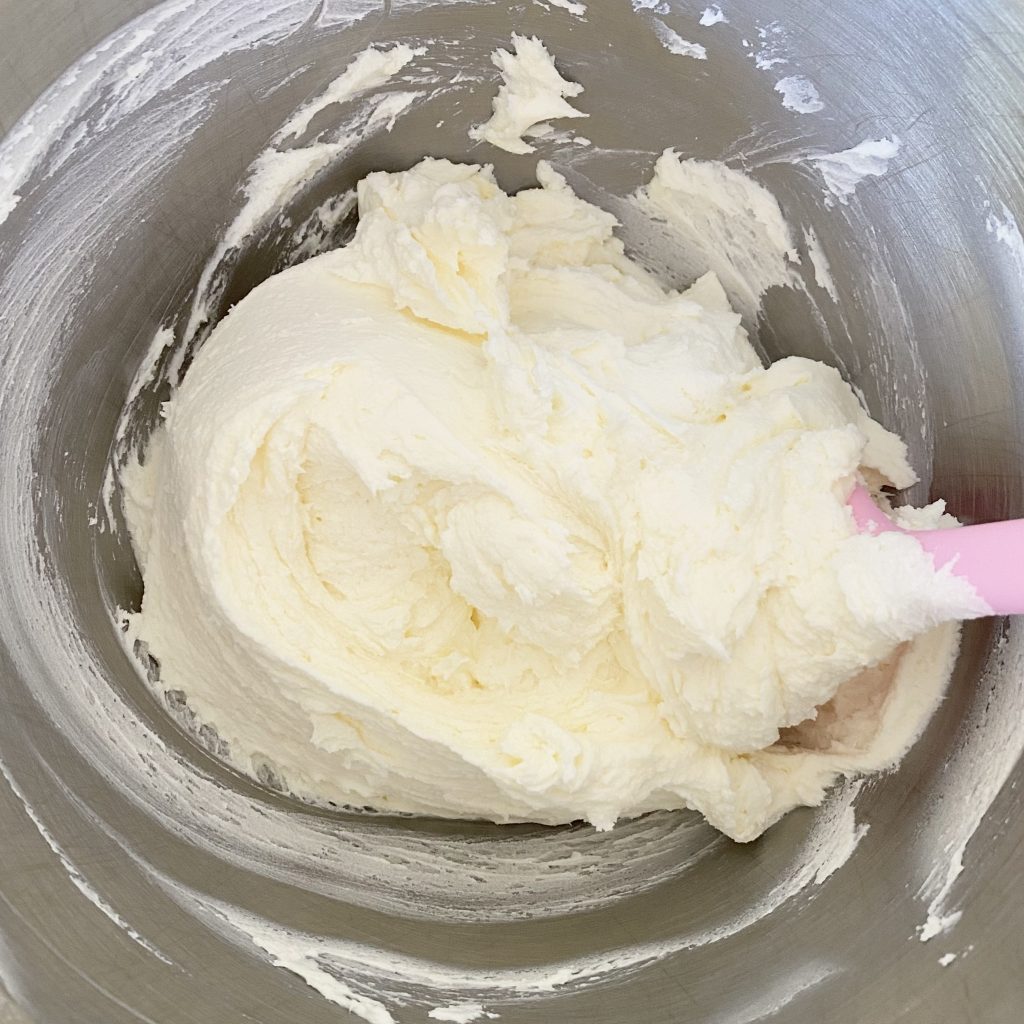
Scrape down the sides of the bowl with a spatula, then turn the speed down to low and gradually add in the sifted icing sugar, mixing all the time until everything is well-incorporated. The icing will be very stiff at this point, but don’t worry— we’re about to add the milk!
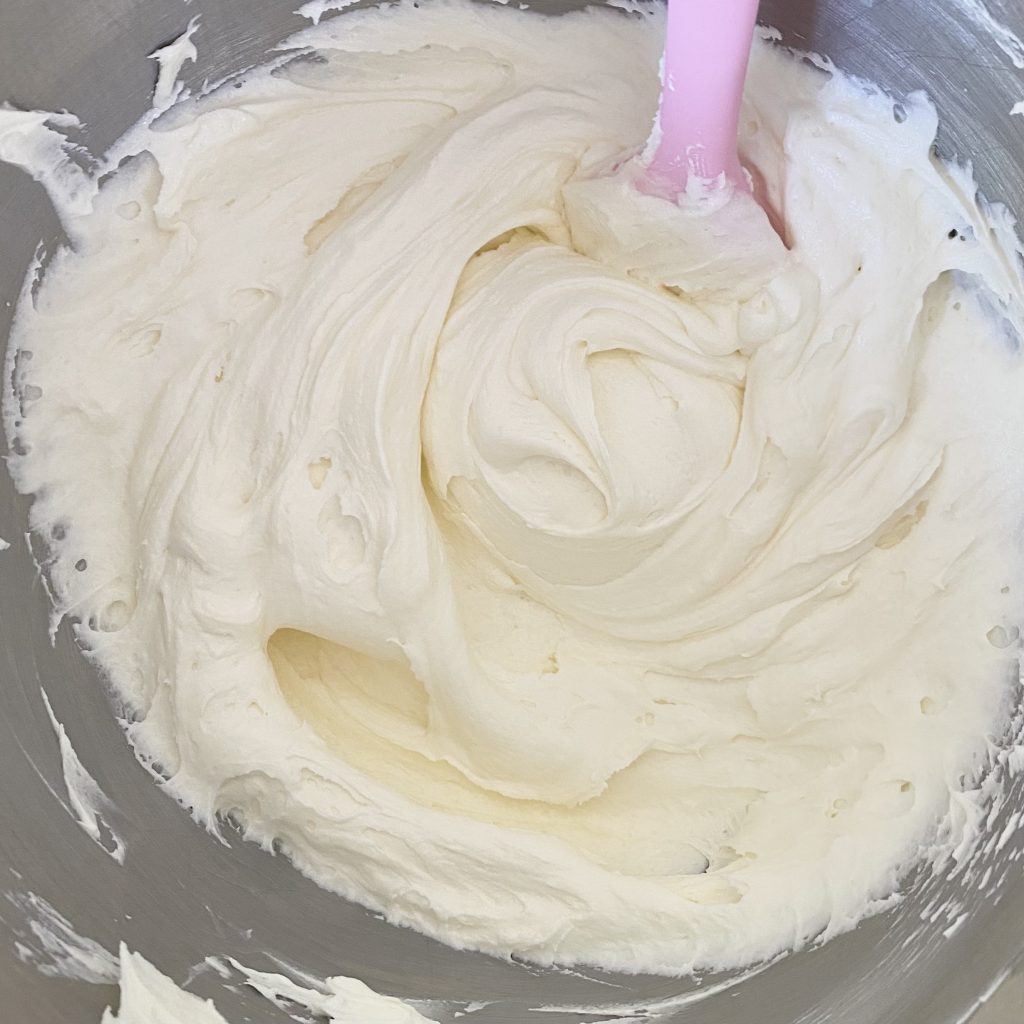
Add the cardamom-infused milk, lemon juice and salt and mix in on low speed until everything is combined, then turn the mixer up to high speed and beat the buttercream until it is light and fluffy.
At this point, you can either use the icing immediately or transfer it to an airtight container to be stored in the fridge for another day.
If your buttercream looks slightly split, don’t worry! I find this can happen when you add lemon juice to buttercream, but it’s easily remedied. Just place a spoonful of the icing into a microwaveable bowl, and heat it for 10-15 seconds on high until it has melted. Pour the melted icing back into the bowl with the rest of the buttercream, then mix it in on the lowest speed, until everything is smooth and emulsified. This technique also helps to get rid of air bubbles, making your buttercream super silky!
Assembly
With the chocolate cakes baked, the cardamom buttercream made and the cherry jam, chocolate curls and fresh cherries to hand, it’s time to assemble!
Levelling the Cake Layers
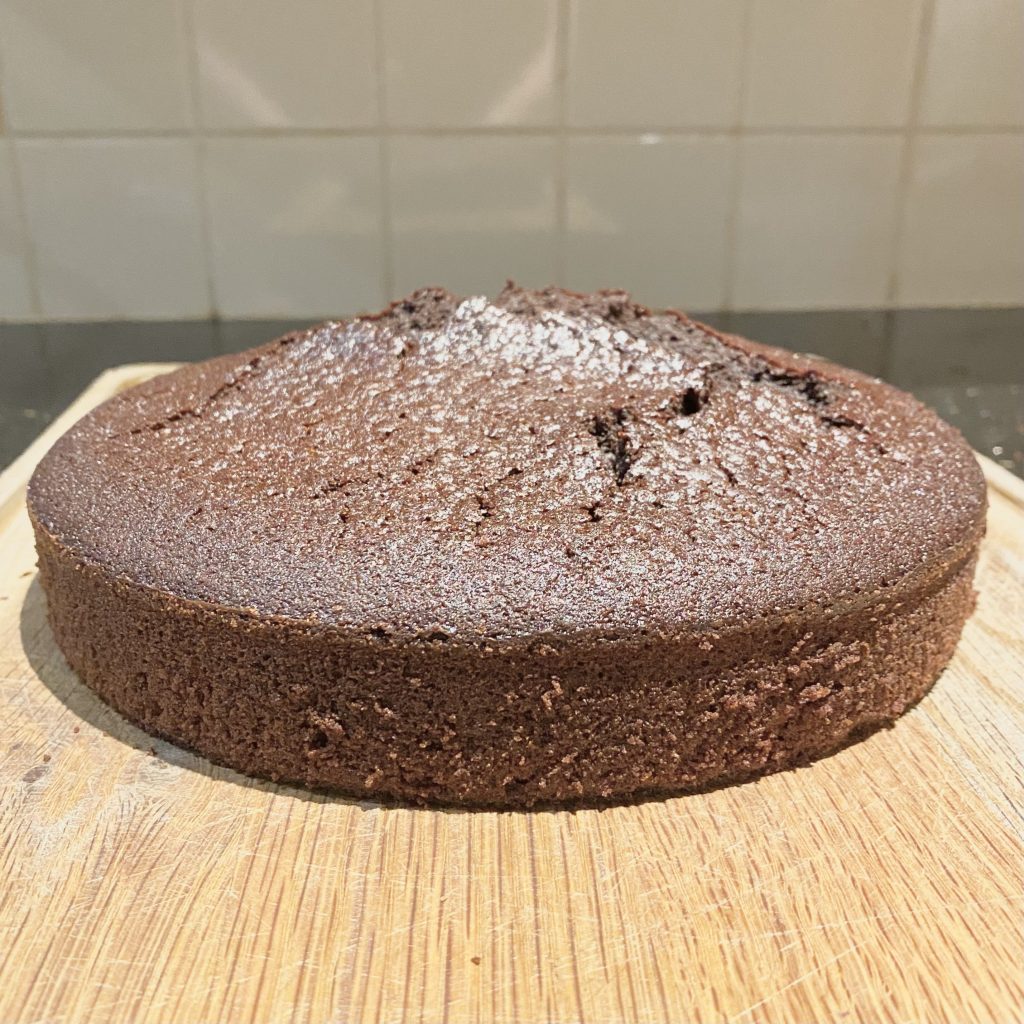
My chocolate cake recipe bakes up quite domed, so the layers do need to be levelled before you can stack them up. Actually, I only levelled one of the cake layers for this cake— I left the dome on the top cake so that I could achieve the look of a big pile of icing on top without needing to use a ridiculous amount of buttercream that would overpower the rest of the cake.
To level the bottom cake layer, I used a cake leveller. If you’re better than me at cutting in a straight, horizontal line, feel free to use a large, serrated knife instead! The aim is to be left with a perfectly flat surface, but to cut off as little cake as possible (though any cake you do cut off can be snacked on as you work so… maybe that’s not wholly necessary!).
Even though I didn’t level the top cake layer, I did use a small, serrated knife to carve away some of the sharper edges around the cracks on the surface. This isn’t strictly necessary, but those edges can be a little bit crispy and I wanted to keep the texture of the cake as consistent as possible. This also helped to smooth out the domed shape of the cake, making the ‘pile’ of icing look a little more perfect.
Layering Up
Once the cake layers are ready to go, it’s time to stack them up with the delicious fillings!
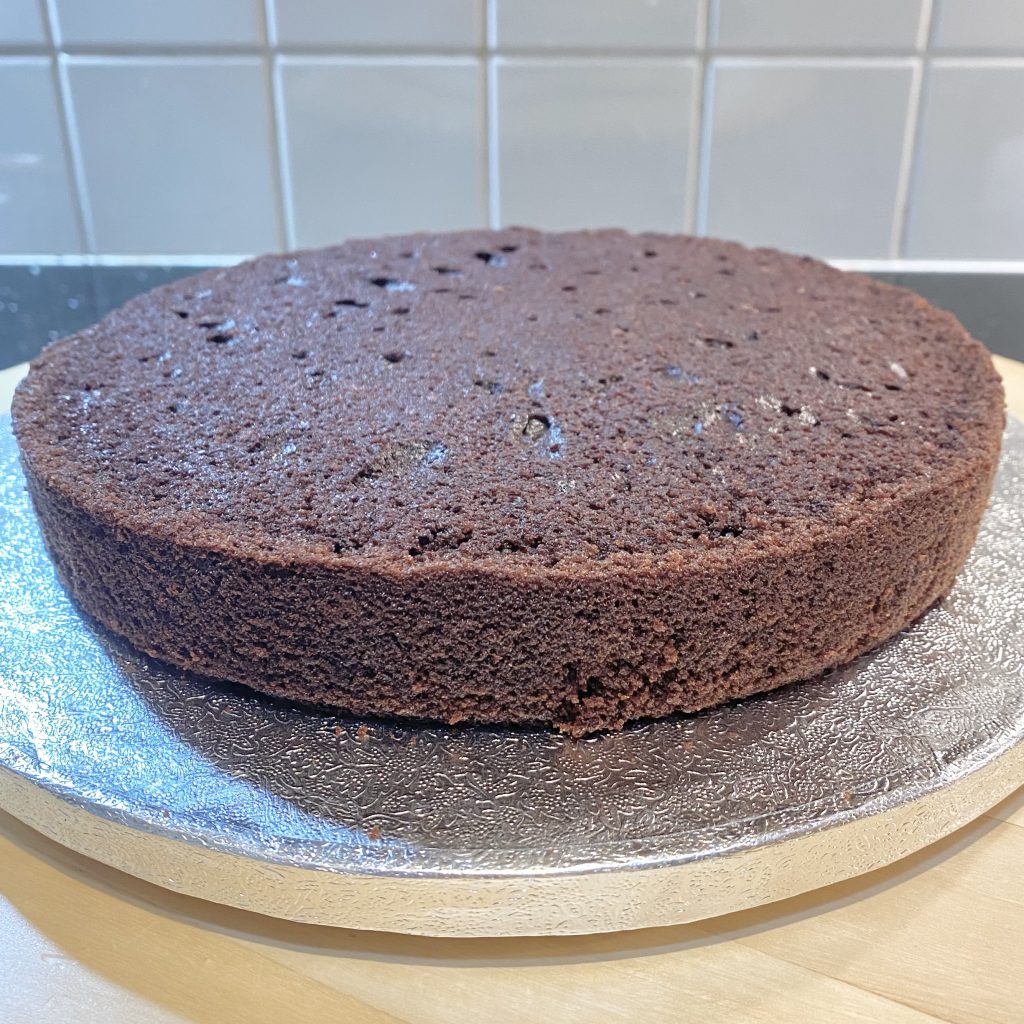
I always use a little smear of buttercream to stick the first cake layer to the cake board. This just makes it easier to move the cake around without it slipping and sliding everywhere (which is particularly important when, like this one, the cake needs to be transported to a venue).
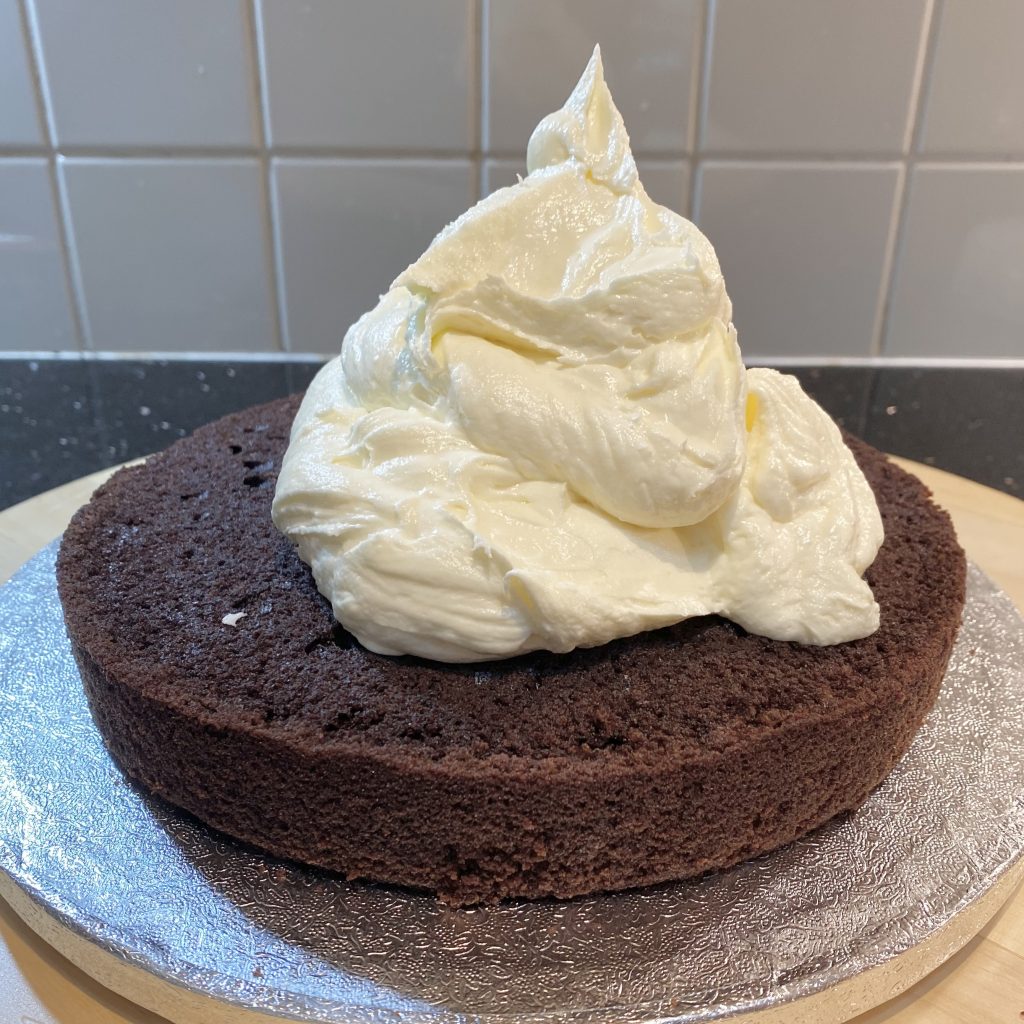
Place half of the cardamom buttercream on top of the first cake layer.
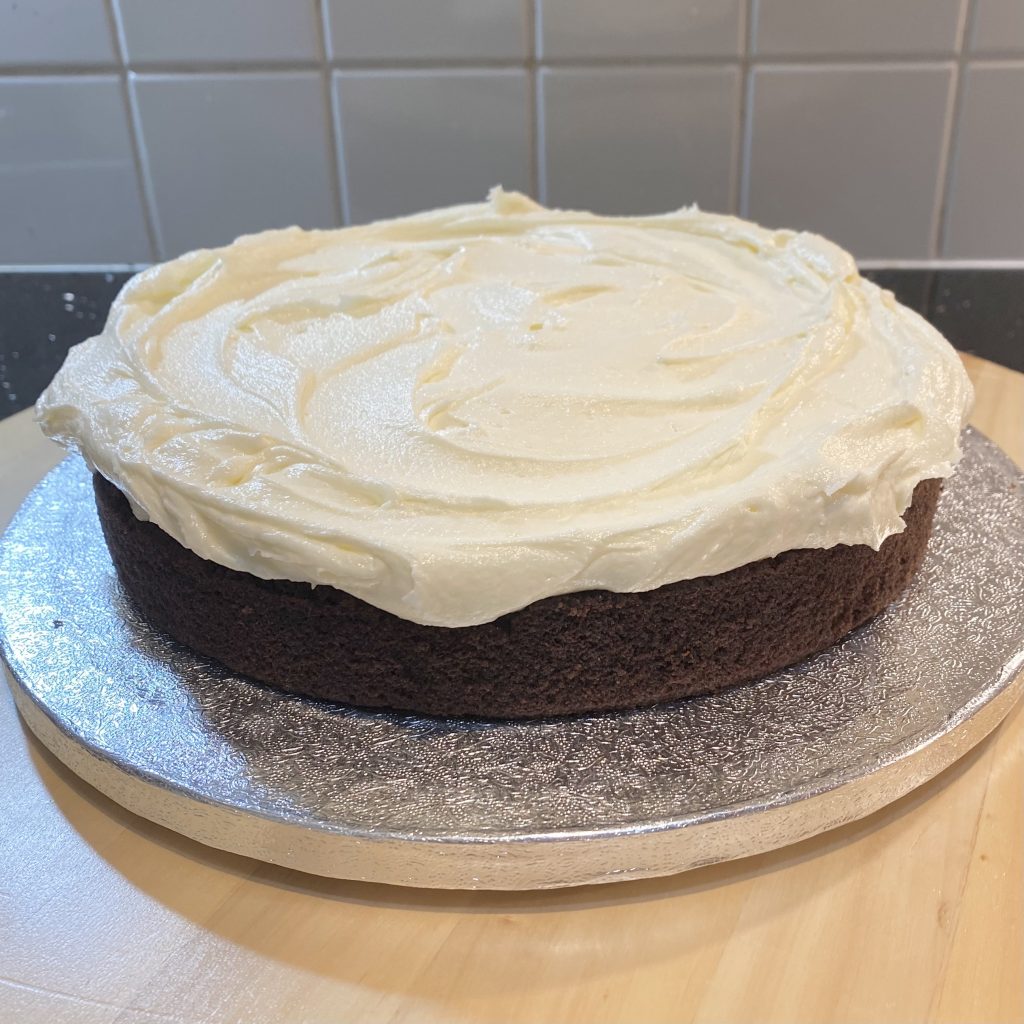
Then use an offset spatula to spread the icing out evenly. It doesn’t need to be perfect— in fact, with this style, I actually think imperfect is better!
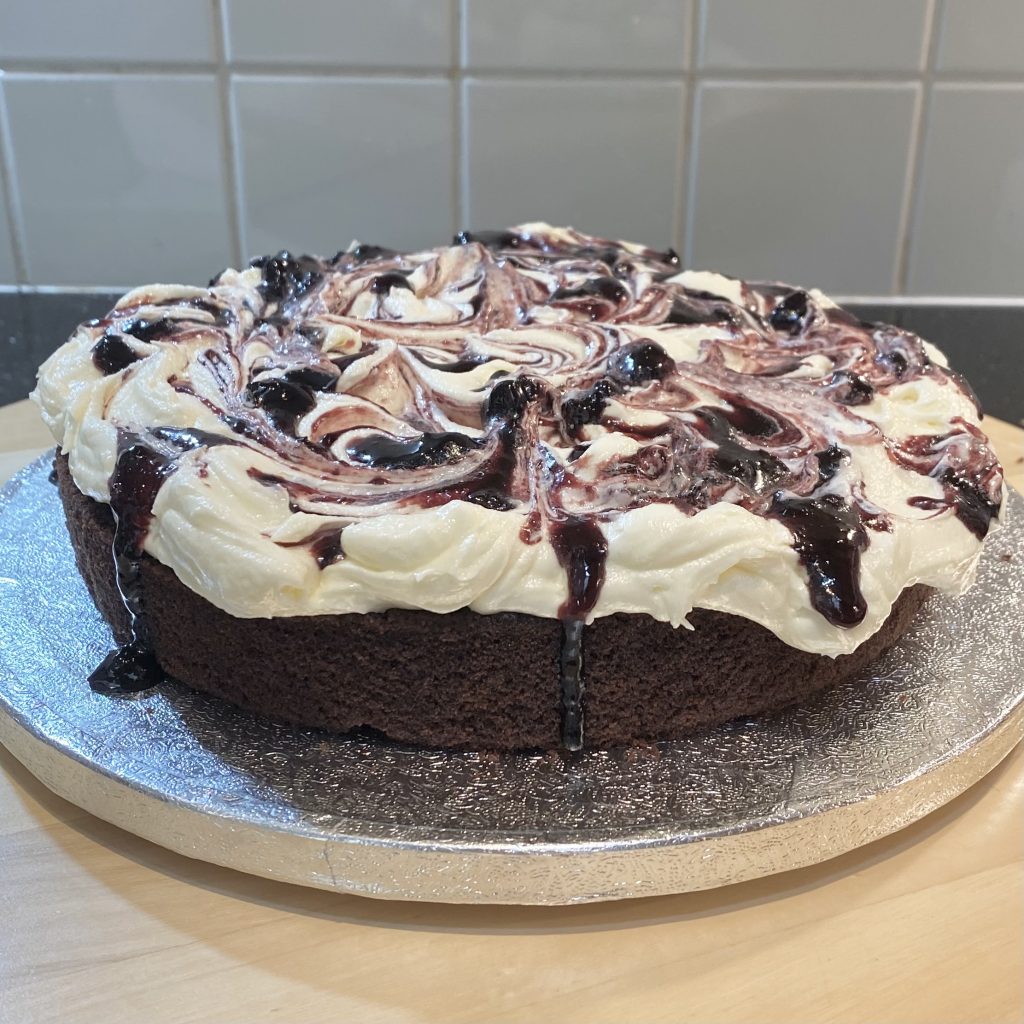
Dollop half of the cherry jam on top of the icing, allowing some to drip over the edges so that you can see it when the cake is assembled. Use a blunt knife to ripple the jam through the buttercream. Doing this not only means that every slice gets some of the cherry jam, but also ensures that the cake is nice and stable, because there is still lots of contact between the buttercream and the next cake layer.
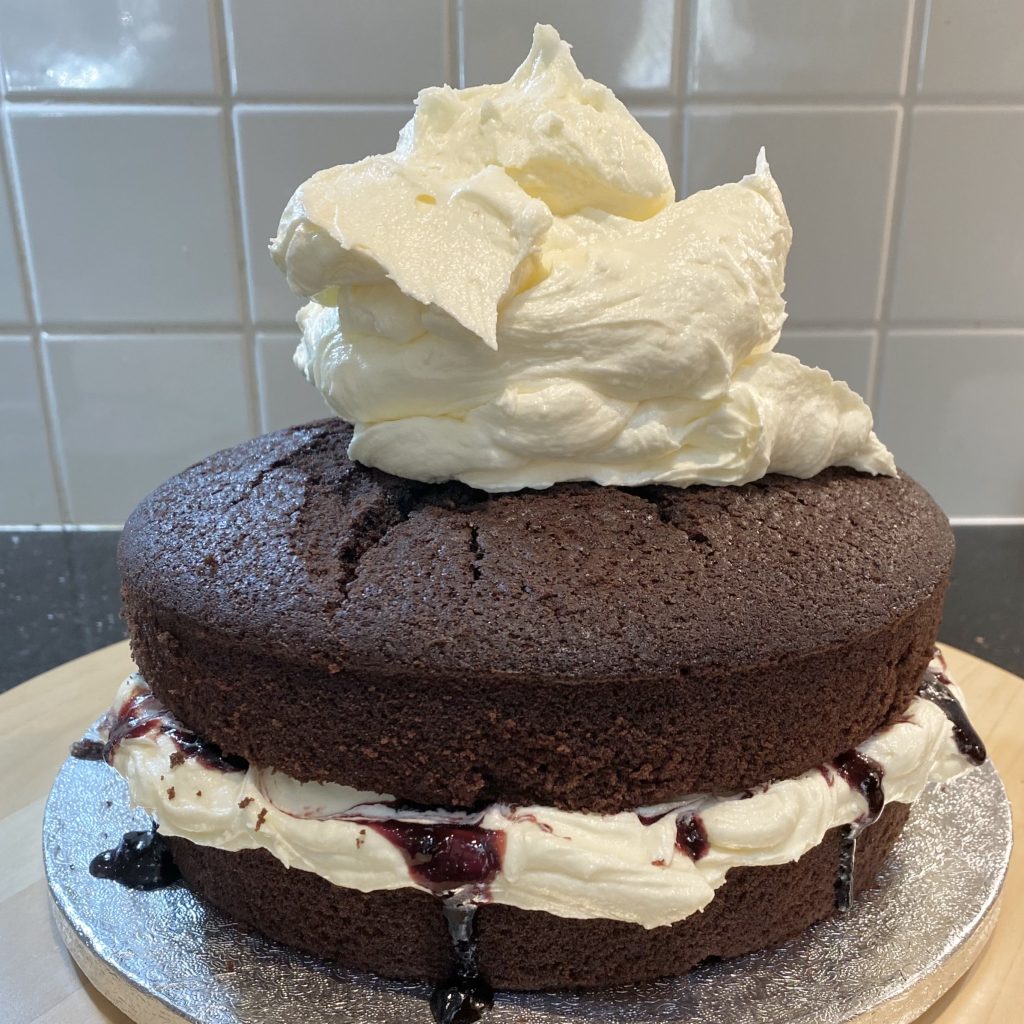
Add the second, domed cake layer on top, making sure it is centred.
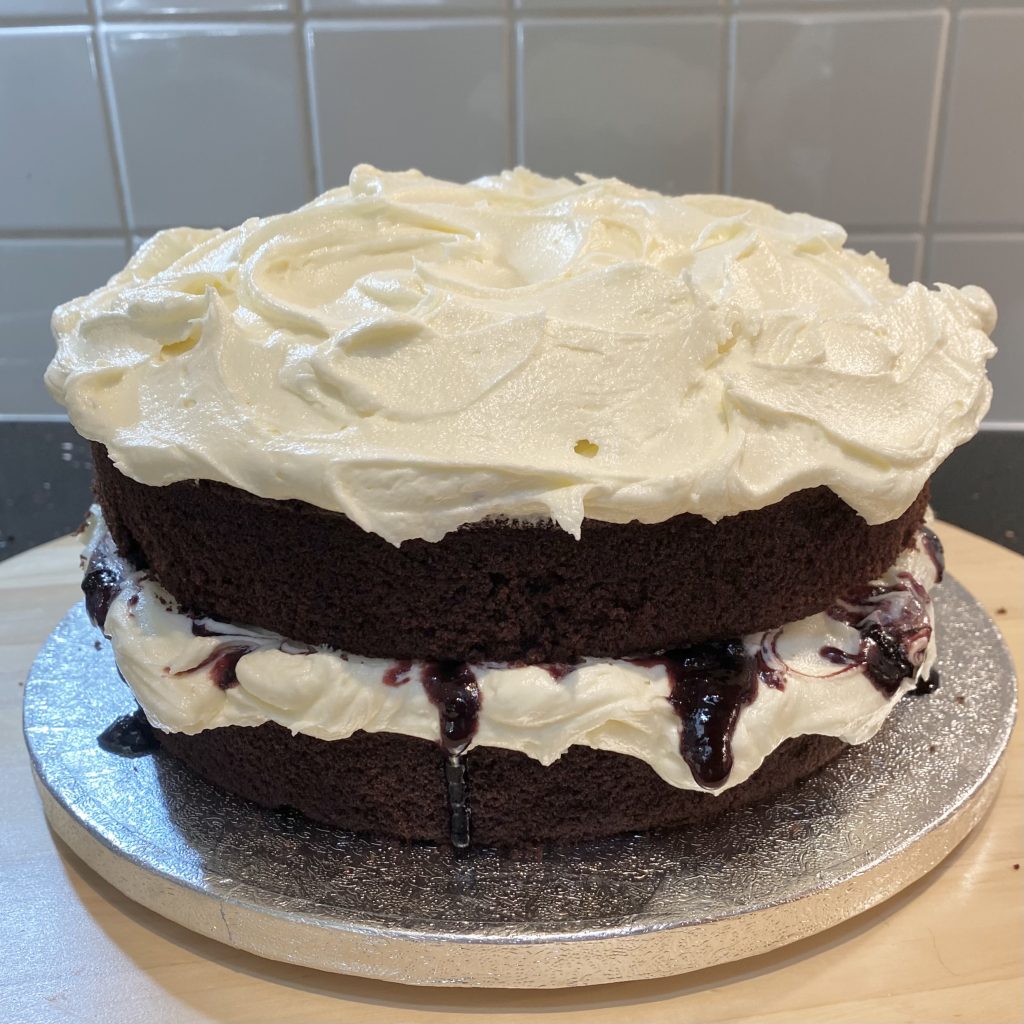
Top that with the remaining buttercream, again, spreading it out with an offset spatula.
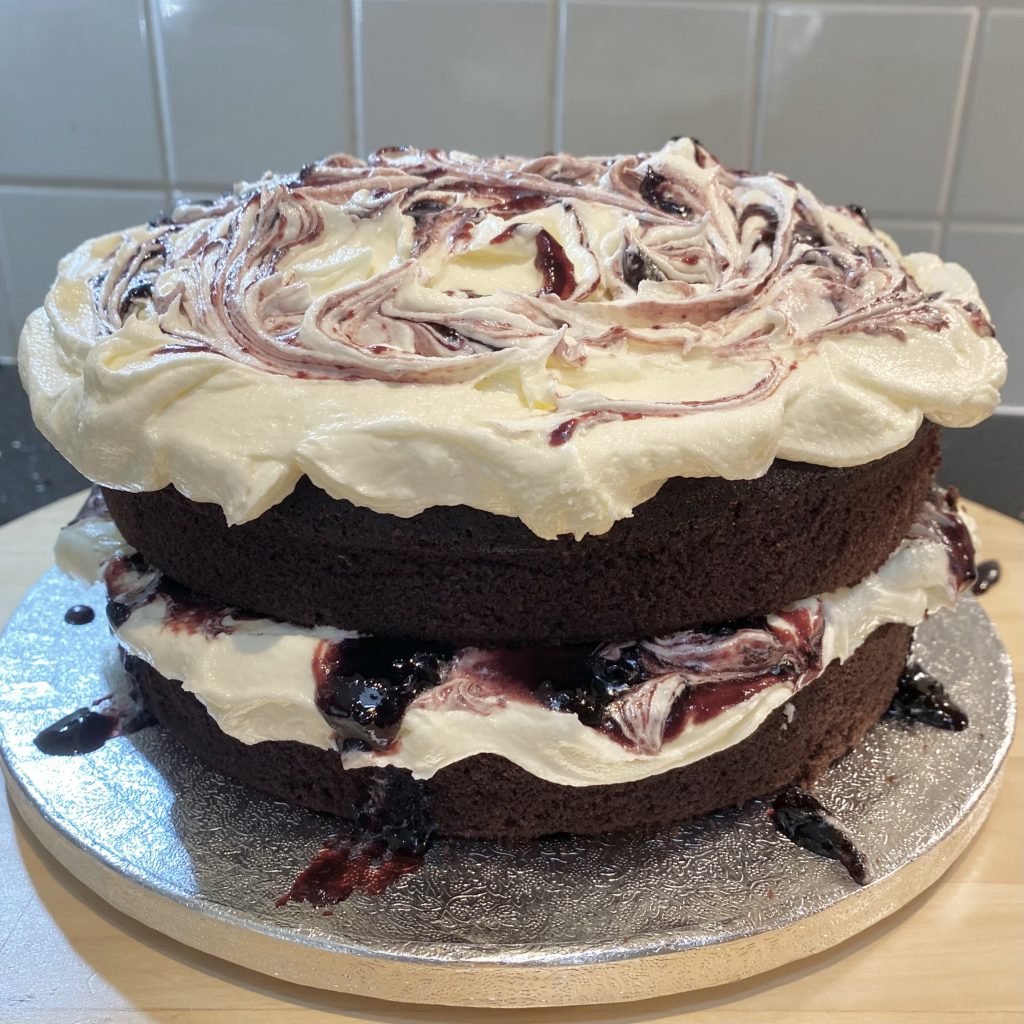
Add the remaining cherry jam and swirl it through the buttercream, just like before.
Now it’s time to decorate! I had some pretty big drips of cherry jam on the serving board, so I cleaned those up first.
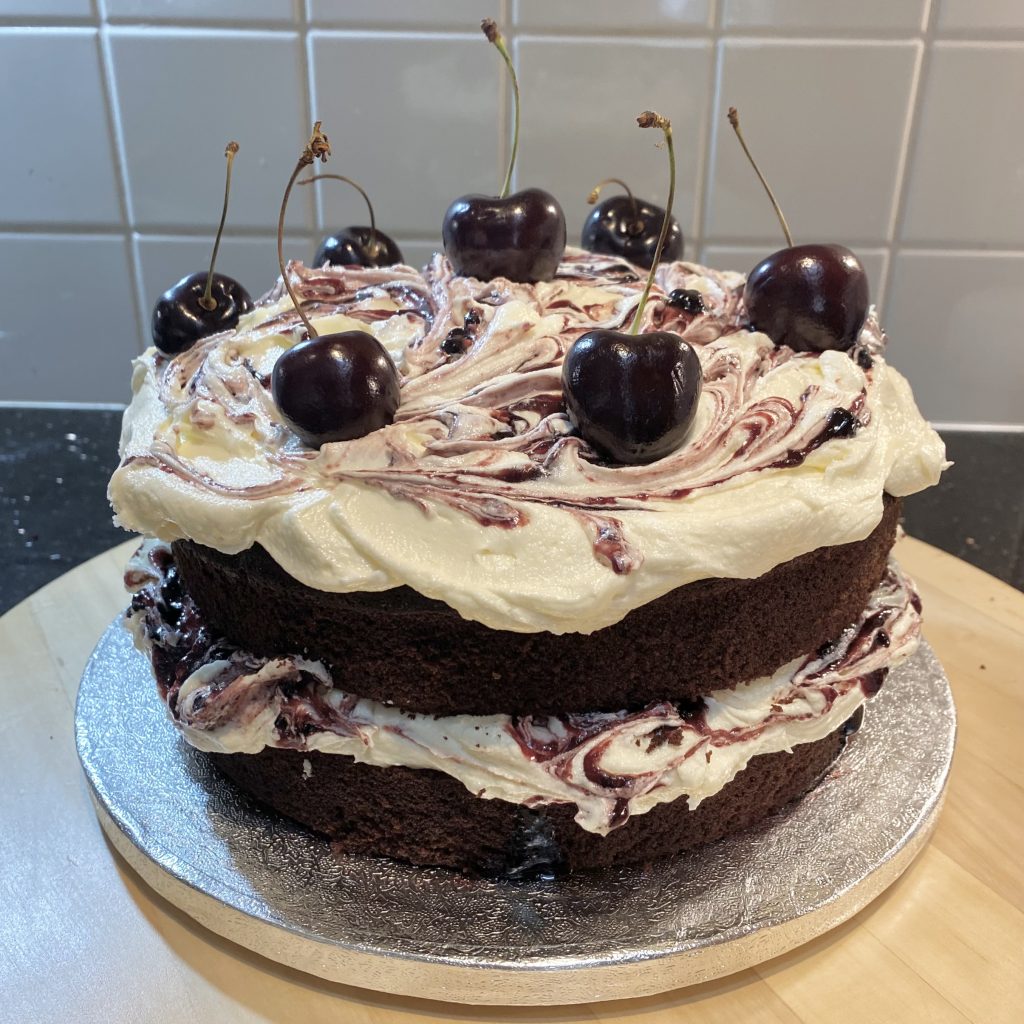
Then, position the fresh cherries on top. Make sure you’ve washed and thoroughly dried the cherries before adding them. I put one cherry in the centre and then arranged six others around the edge.
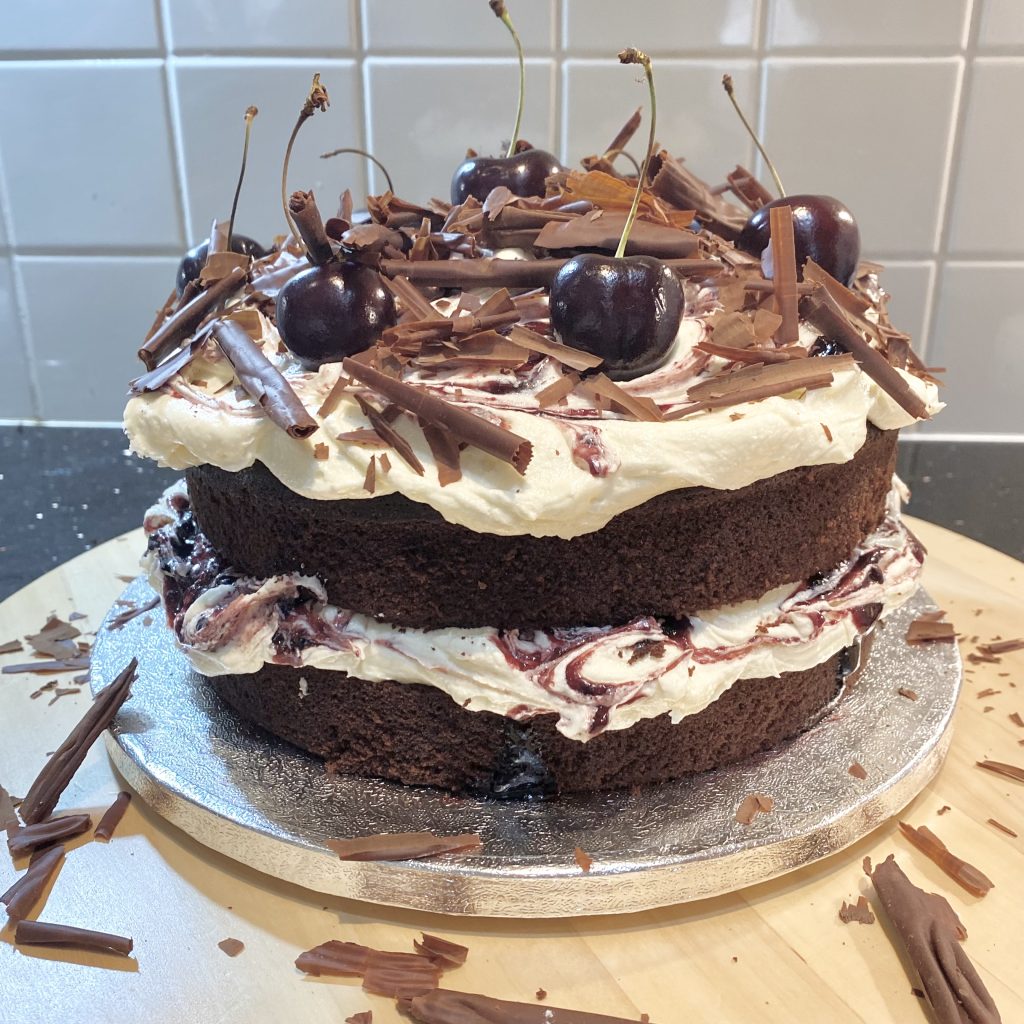
Once the cherries are stuck on, you can add the chocolate curls. I am firmly of the opinion that more is more here, so be as liberal with the curls as you can!
With that, the cake is ready!
Storage Instructions
The cake can be stored at room temperature or in the fridge, ideally in an airtight container, to help stop it from drying out. It will keep for 2-3 days before it starts drying out a little (remember that the sides of the cake are undecorated and, as a result, exposed to the air, which will cause it to dry out quicker!).
If the weather is warm, I would recommend storing it in the fridge. This will keep it fresher, but it will also ensure that the buttercream stays firm and the cake doesn’t start slipping around. However, the cake is best enjoyed at room temperature, so make sure to take it out of the fridge an hour or so before you plan to serve it.
Recipe
Chocolate, Cherry and Cardamom Cake
Equipment
- 2 x 8-inch round sandwich tins
Ingredients
For the cardamom-infused milk:
- 35 cardamom pods
- 60 ml whole milk
For the chocolate cake layers:
- Stork or softened butter, for greasing.
- 1 tbsp instant coffee granules (I used decaf).
- 300 ml boiling water
- 100 g cocoa powder (see Note 1).
- 140 g salted butter, diced.
- 400 g plain flour
- 460 g golden caster sugar
- 1/2 tbsp bicarbonate of soda
- 300 g buttermilk
- 120 g sunflower oil
- 1/8 tsp vanilla extract
- 4 eggs
For the cardamom buttercream:
- 300 g unsalted butter, room temperature.
- 600 g icing sugar, sifted.
- 4 tbsp cardamom-infused milk (see above).
- 1/4 tsp lemon juice
- 1 pinch fine sea salt
To assemble:
- 120 g cherry jam (approx. 1/4 of my Homemade Cherry Jam recipe, see Note 2.)
- 7 fresh black cherries, washed and dried.
- Dark chocolate curls (see Note 3).
Instructions
Infuse the milk for the buttercream:
- Bash the cardamom pods to crack open the pods. Place them in a heatproof container along with the milk and microwave for 10 seconds on high until the milk is hot. Cover, cool to room temperature, then leave in fridge overnight to infuse.
- The next day, strain the milk through a sieve, pressing down on the cardamom pods to extract as much flavour as possible. Discard the pods and keep the milk to use in the buttercream later.
Make the chocolate cake layers:
- Preheat the oven to 180°C (conventional, not fan). Grease two 8-inch round sandwich tins and line each with a circle of baking paper. Set aside.
- Place the instant coffee granules into a medium bowl. Pour over the boiling water and stir to dissolve. Add the cocoa powder and whisk until smooth.
- Gradually add the diced butter to the hot cocoa mixture, whisking in each addition until all of the butter has been added and everything is smooth.
- Sift the flour, caster sugar and bicarbonate of soda into a large bowl. Whisk together until well-combined, then set aside.
- Add the buttermilk, oil and vanilla extract to the warm cocoa mixture. Whisk until incorporated.
- The cocoa mixture should now be cool. Add the eggs and whisk thoroughly until completely incorporated.
- Pour the cocoa mixture into the dry ingredients gradually, whisking all the time, until the batter is smooth and well-combined, with no lumps of flour.
- Divide the batter evenly between the two tins. They will be pretty full, but they shouldn't overflow when baking. Firmly tap each tin down on the work surface a few times to help release any large air bubbles. This helps to prevent 'craters' from forming in the cakes when they are baked (but don't worry too much— no one will notice them once they're filled with icing anyway!).
- Bake the cakes in the centre of the preheated oven for 50-55 minutes, until a skewer inserted into the centre of the cake comes out clean, or with just a few moist crumbs. The cakes will be very domed and the surface will be quite cracked— don't worry, that's how it's supposed to be!
- Leave the cakes to cool in the tins for 20 minutes or so, then run a palette knife around the edge of the tins to loosen them before turning them out onto a wire rack. Allow the cakes to cool completely before assembling (or wrapping tightly in clingfilm and storing).
Make the cardamom buttercream:
- Place the butter into the bowl of a stand mixer fitted with a paddle attachment. Beat on medium-high until smooth, fluffy and noticeably paler in colour.
- Turn the speed to low and gradually add the icing sugar, mixing all the time until it is incorporated.
- Add the cardamom-infused milk, lemon juice and sea salt and mix on low until incorporated.
- Turn the speed up to high and beat until light and fluffy. Use immediately or transfer to an airtight container and store in the fridge. The chilled icing should be brought to room temperature and given a gentle whip on low speed before using.
Assemble the cake:
- Level the top of one of the cake layers so that it is completely flat. Use a small, serrated knife to gently carve away any particularly sharp cracks on the surface of the other cake, leaving the domed surface intact.
- Use a smear of buttercream to stick the levelled cake layer to the serving board. Spread half of the buttercream on top of the cake, then swirl half of the cherry jam through the icing.
- Place the second, domed cake layer on top and spread the remaining buttercream on top of that layer. Swirl the remaining jam through the icing, then arrange the fresh cherries on top. Generously top with the chocolate curls, remembering that more is more!
Notes
- Using really good cocoa powder will take your chocolate cake from amazing to absolutely incredible. My favourite is the Valrhona cocoa powder, but it is… very expensive. I did use it for this recipe (because I figure weddings deserve the best stuff!), but you can use a cheaper alternative if you prefer— your cake will still be delicious, just not quite as amazing!
- You can find the recipe for my Homemade Cherry Jam here.
- I made the curls for this cake using a 72% dark chocolate, which I think contrasts nicely with the sweet icing and brings out the chocolatey-ness of the cake. You can of course use whatever chocolate you prefer to make your curls! You can find my chocolate curl tutorial here.