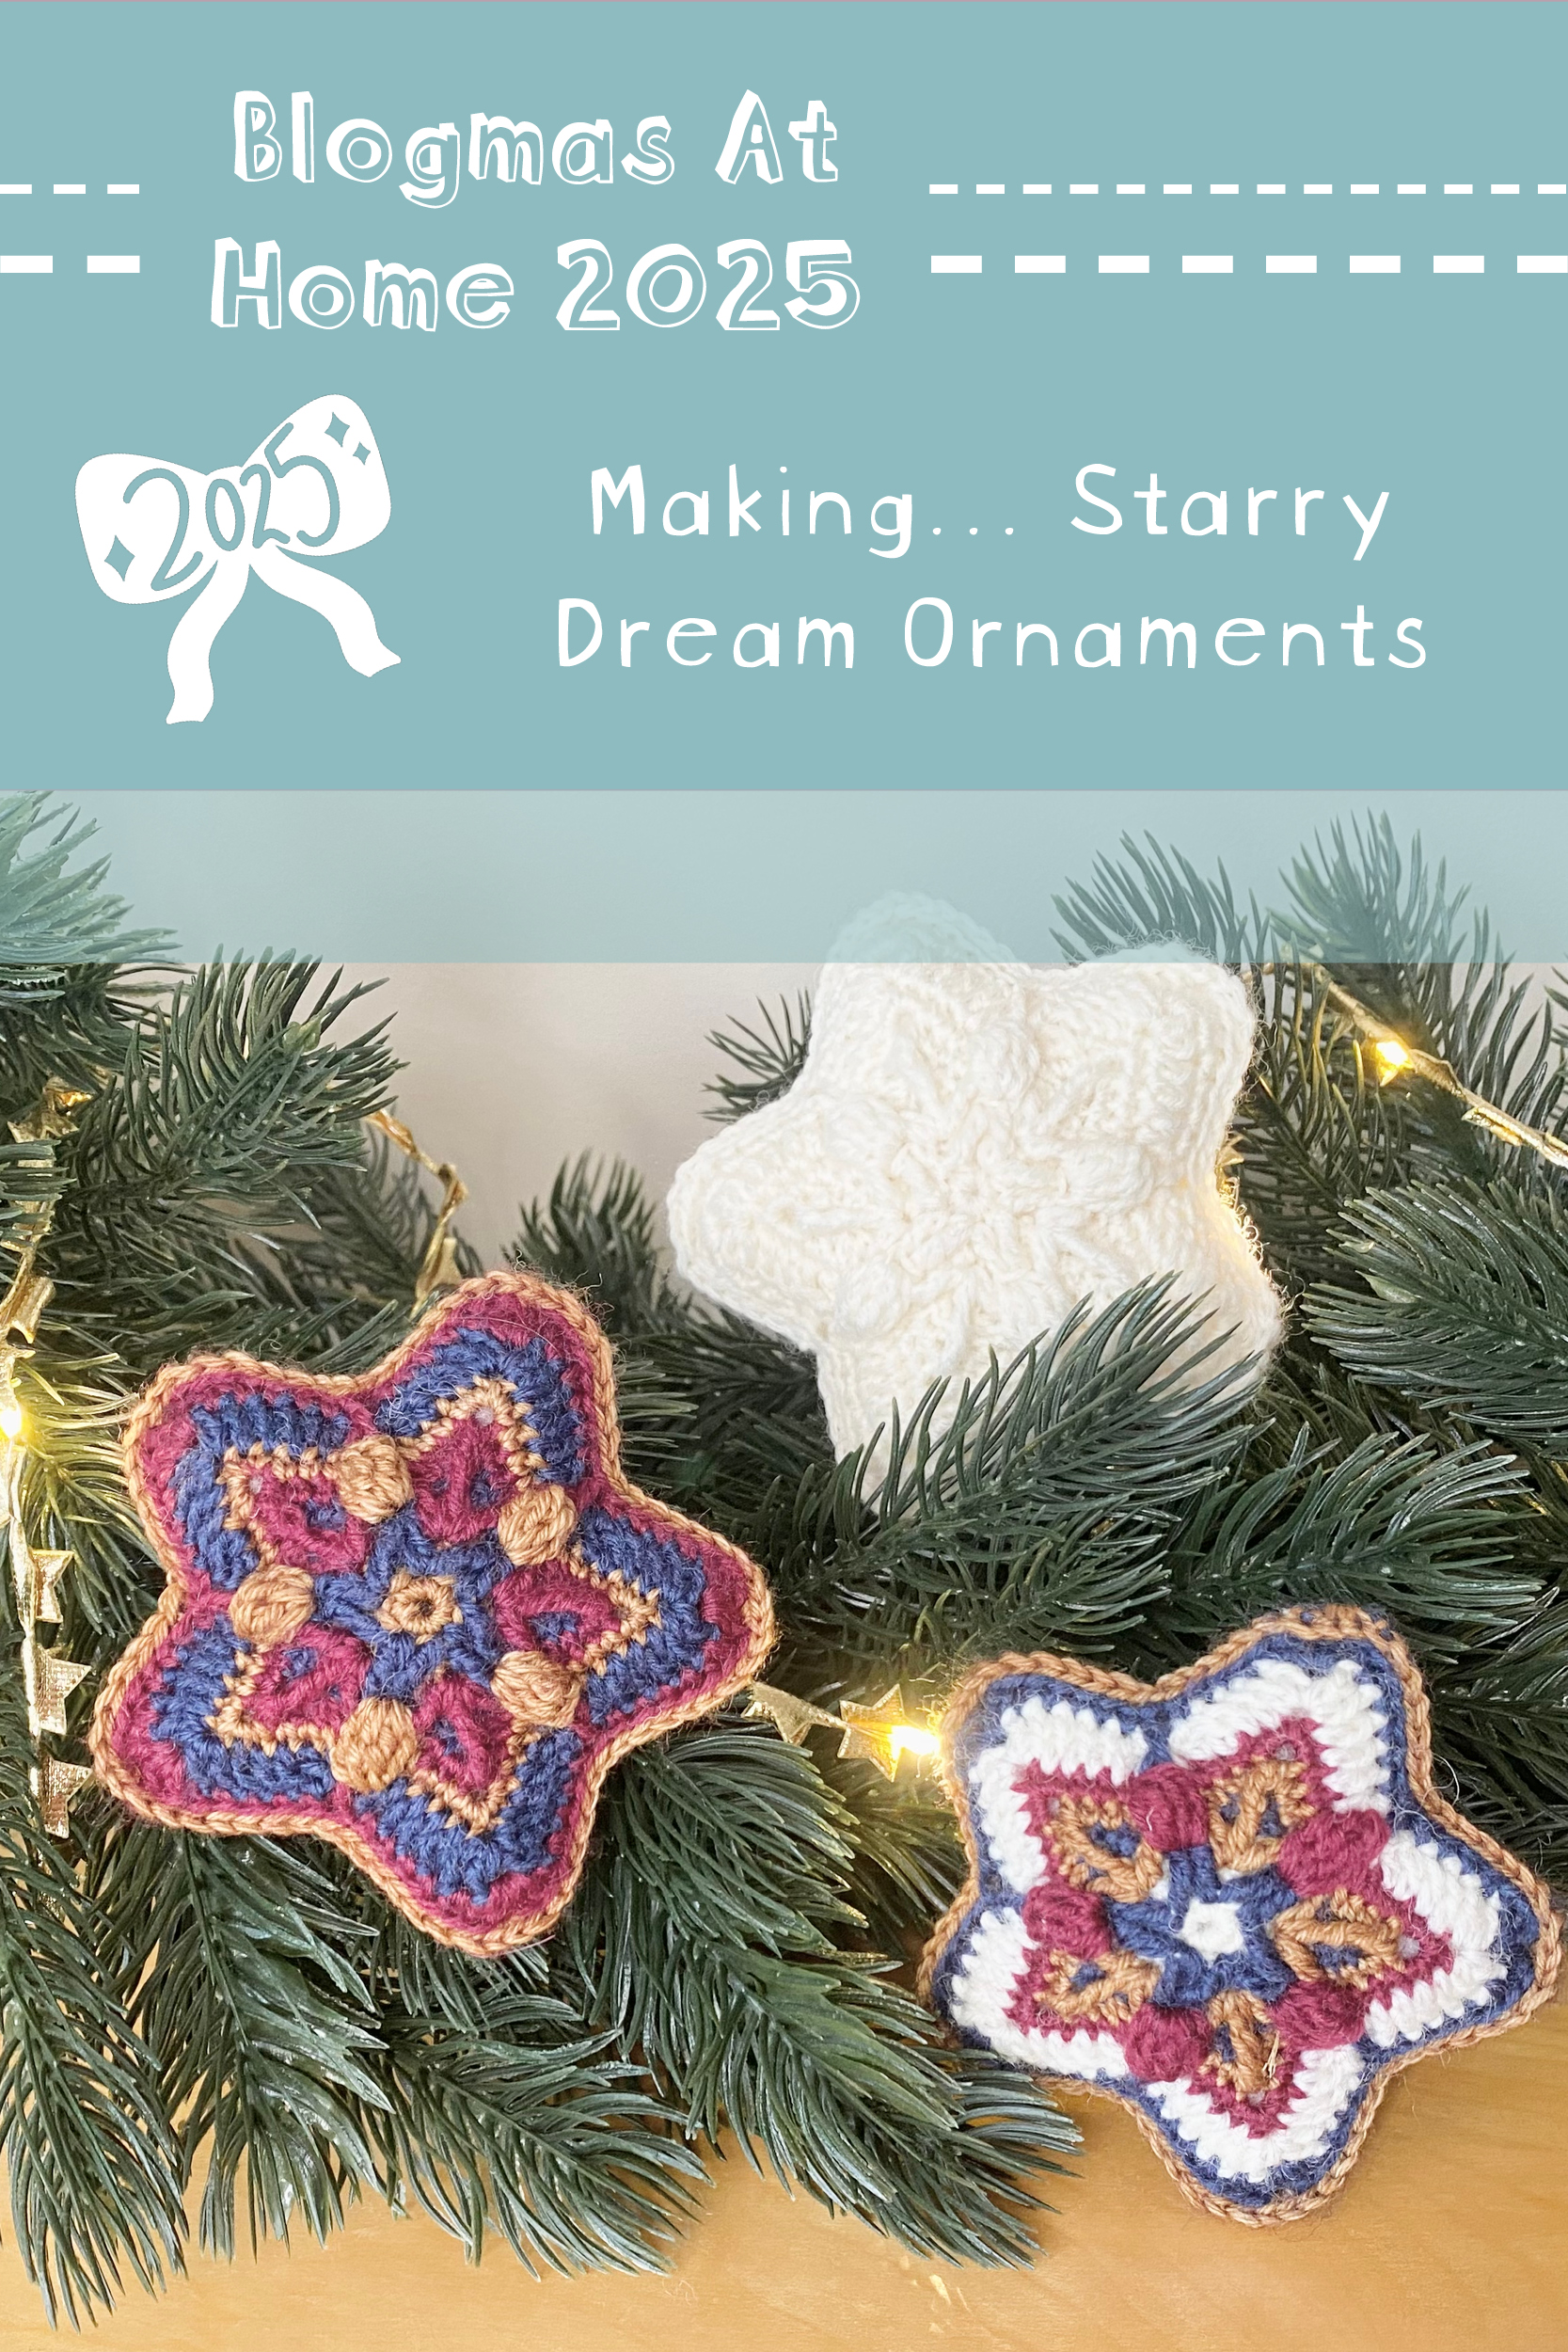
Welcome to Day 3 of Blogmas At Home 2025! 🎄🎀✨
These crocheted Starry Dream Ornaments by Tatsiana Kupryianchyk (Lilla Björn Crochet) have been on my to-make list for a good few years now, so I finally decided to give them a try this Christmas! I think they’re so pretty (plus, a fun opportunity to revisit some of the crochet techniques I don’t get to use so often!).
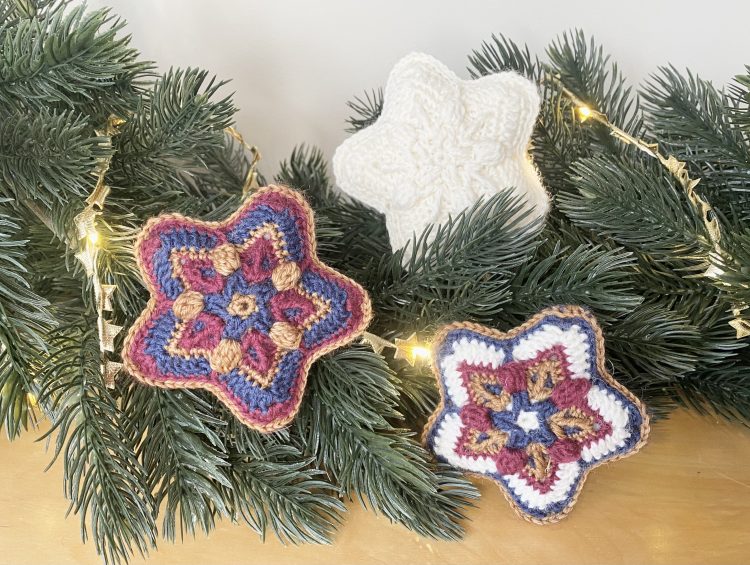
I made 3 ornaments, using the same colour palette in different variations for 2 of them, and then using a single, solid colour for the final ornament, to see how that affected the finished product. Today, I’ll be chatting about which colour arrangement I liked best, how I adapted the pattern to use more/fewer colours and how I found the process overall!
In this post, as always with my 'Making a...' series, I'll be chatting about my experience making this pattern, as well as detailing any changes/adaptations I made. The pattern I have used belongs to Tatsiana Kupryianchyk (Lilla Björn Crochet). If you want to make your own Starry Dream Ornament, you can purchase the pattern from the designer here!
Table of Contents
- The Yarn
- Adapting the Pattern to Include Different Colours
- Making the Ornaments (My Experience Following this Pattern)
- Round-By-Round Colour List for My Ornaments
- Final Thoughts
The Yarn
For my ornaments, I chose a colour palette that I already had to hand, because I used it for a different, festive, yarn-y project (more on that later on this month, or you can check out my Ravelry page for a sneak peak!).

The palette is made up of the following colours:
- Dark blue (I used DROPS Fabel in the shade Blue 107).
- Dark red (I used DROPS Fabel in the shade Ruby Red 113).
- Cream (I used DROPS Fabel in the shade Off White 100).
- Gold (I used some unidentifiable (sorry!) scrap fingering weight yarn).
I really love this colour palette: it’s very rich and festive, but also not your typical Christmas colour scheme! It’s a little bit different, which I think makes it extra special.

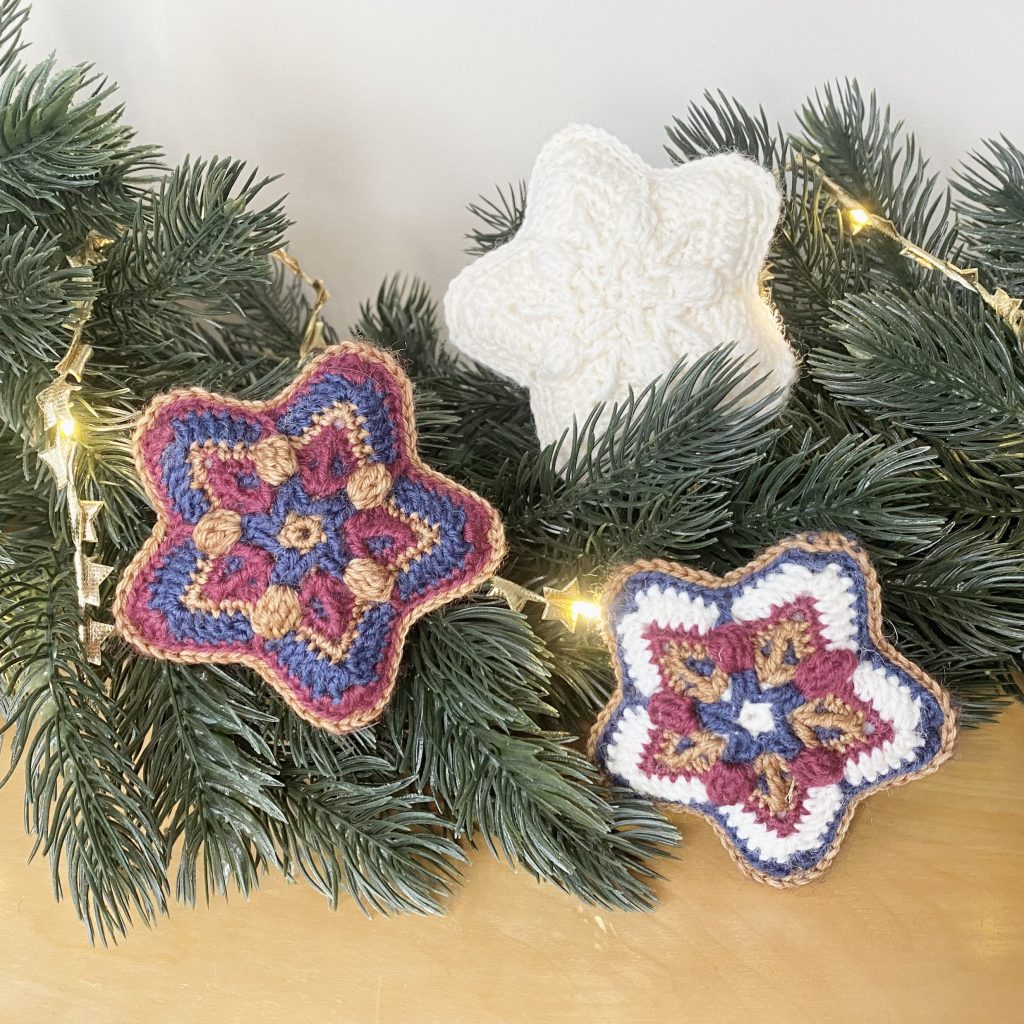
For the Star #1, I used all 4 colours.
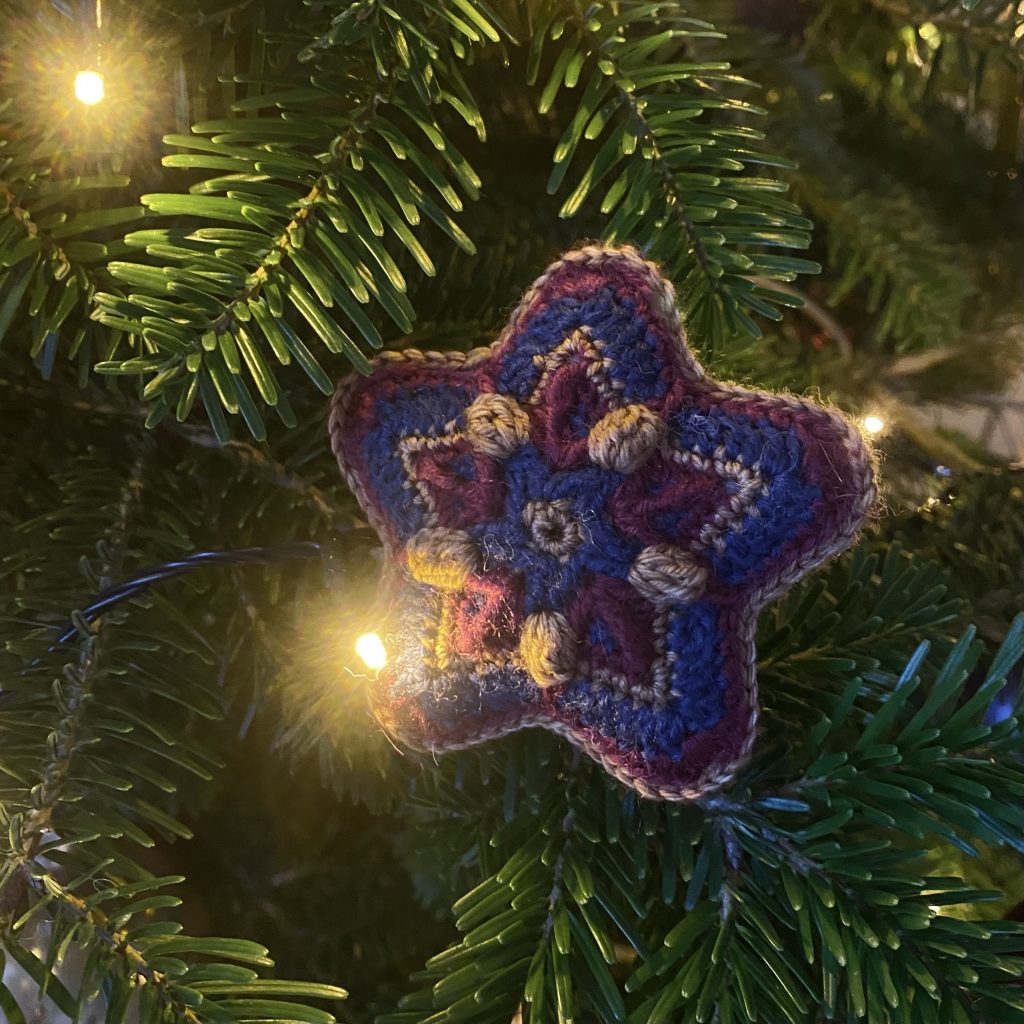
For Star #2, I used the blue, red and gold shades.
For Star #3, I used the cream shade on its own.
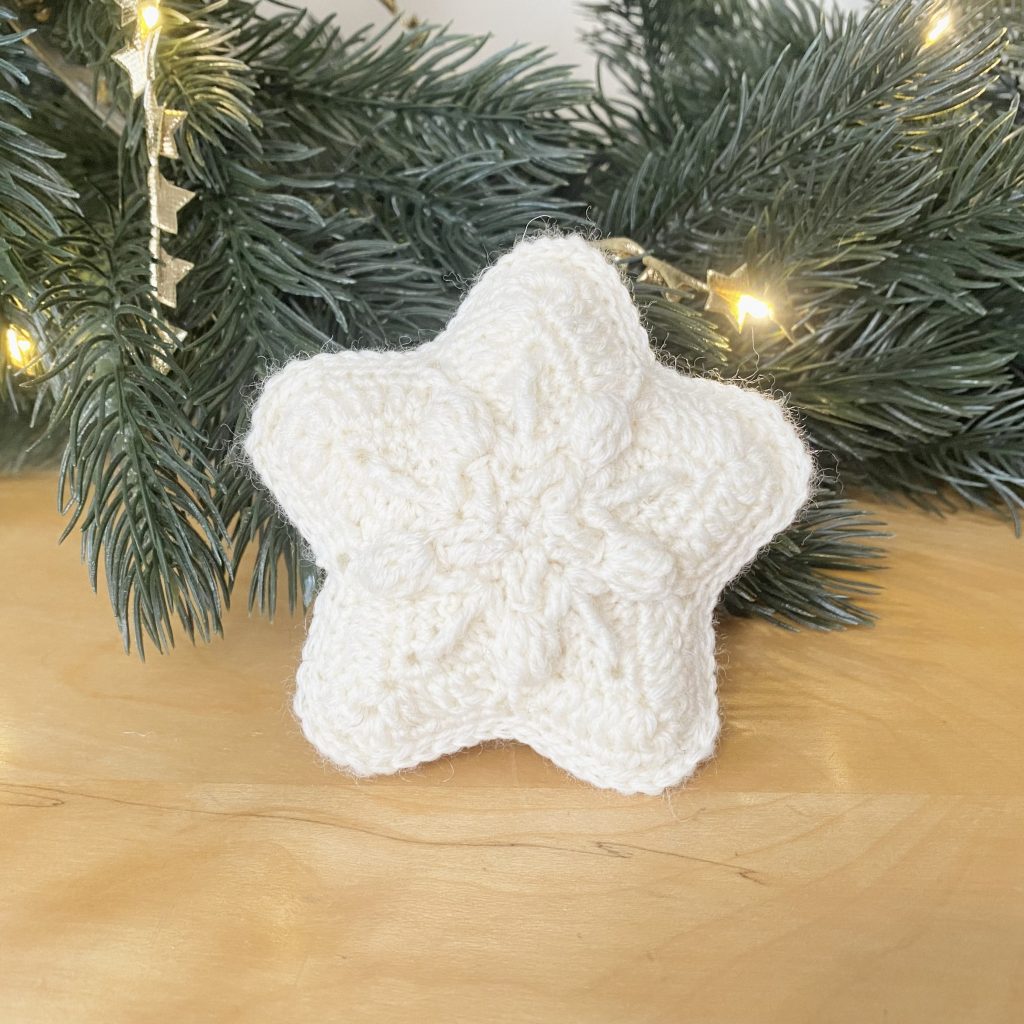
My cream yarn was slightly thicker than the other two Fabel shades, which I guess is why my all-cream star is a little larger than the other two ornaments. The gold yarn is also slightly thinner than the Fabel in general, so that could also be the reason!
Adapting the Pattern to Include Different Colours
The pattern is originally designed for 3 colours of yarn (as I’ve done with Star #2). It can easily be adapted to use 2 or 4 shades (you could even use more, if you wanted!), because you can just join a new colour at the start of the round. If you do use more colours, I would recommend planning out the colours, round-by-round, before you begin and making a note of them on the pattern itself, otherwise it can get a little confusing!

Surprisingly, it’s actually harder to use a single, block colour (like Star #3) for this design than it is to add more colours. I thought that using a single colour would be great, because I wouldn’t need to cut the yarn at all and, as a result, would be left with fewer ends to sew in. Alas, I was wrong. The position of the beginning of the round changes after most of the rows, so, honestly, I found it was still easiest to cut the yarn and reattach it in the right place. There’s probably a way around this (slip stitches, maybe?), but I didn’t want to risk confusing myself!
All in all, the solid colour star was not the revelation I thought it would be and, honestly, I don’t think it highlights the texture and features of the crochet like the multi-coloured stars do. A fun experiment (and completely possible, if it is the look you’re going for!), but I’ll stick to my stripes!
Making the Ornaments (My Experience Following this Pattern)
I made all of my stars exactly according to the pattern (except for the placement of the colours). For each ornament, I made two identical stars and joined them using the crochet method given in the pattern, stuffing them lightly as I went. I did not add a hanging loop at this stage, because I am toying with the idea of making many stars and stringing them together into a garland? Who knows! They’re just so pretty! If I want to hang the ornaments up individually, though, I figure I can always thread a piece of ribbon through the top?
My finished stars are slightly smaller than those in the pattern: the multicoloured ones are about 8cm from point to point, while the cream one is about 8.5cm. I used the same hook size listed (2.5mm), but the pattern samples are knitted in Scheepjes Catona. It could be the yarn, or it could be my tension!
I’ve made a quick list of pros and cons for you, detailing my overall impressions of this pattern, in case your considering making your own Starry Dream Ornament!
Pros!
- Quick project.
- LOADS of colour possibilities.
- Simple way to practise slightly more complicated techniques (there are lots of photo tutorials in the pattern!).
- Easy to join the stars together.
- SO PRETTY.
Cons!
- LOTS of ends to sew in.
- A little hard on the fingers (is this because of my tension? Possibly…).
- Not overly suitable for solid colour designs.
Round-By-Round Colour List for My Ornaments
Just in case you wanted to make your own stars and replicate my colour layouts, I thought I’d include the round-by-round breakdown below.
| Star #1 | Star #2 | Star #3 | |
| R1 | Cream | Gold | Cream |
| R2 | Cream | Gold | Cream |
| R3 | Cream | Gold | Cream |
| R4 | Blue | Blue | Cream |
| R5 | Gold | Red | Cream |
| R6 | Red | Gold | Cream |
| R7 | Cream | Blue | Cream |
| R8 | Blue | Red | Cream |
| Joining Round | Gold | Gold | Cream |
Final Thoughts
I really enjoyed making these Starry Dream Ornaments! In particular, I’m super happy with how the multicoloured ones turned out (the solid colour version was a fun experiment, but I just don’t like it quite as much as the other two!). I think my favourite is probably the 4-colour version, but the original, 3-colour version is also lovely.
I think this pattern is super clever in the way it forms the star shape while also creating the surface texture with the stitches: it looks super complicated, but, once you get down to it, it’s nothing too crazy! This project is complex enough to be fun and interesting to make, without being so complex that your brain feels tired afterwards (never fun, not the vibe).

I made some knitted stars last year (these Stjärna ornaments!), but I actually prefer these crocheted ones: I found them a lot less fiddly to make and I really love the extra detail on the design.
If you're interested...

You can find the Starry Dream Ornament pattern by Lilla Björn Crochet here.

You can find my Starry Dream Ornaments project page on Ravelry here.
I hope you’ve enjoyed today’s post (and the first yarn-y post of Blogmas 2025)!
Gemma
xxx