Welcome back to Wedding Cake Week!
If you’ve missed the last few posts on the blog (and, as a result, have no idea what Wedding Cake Week is), I made the cake for my brother’s wedding last month and am currently sharing all of the recipes and behind-the-scenes info from that here on the blog! I’ve already shared the recipes for the three cake tiers, which you can find here:
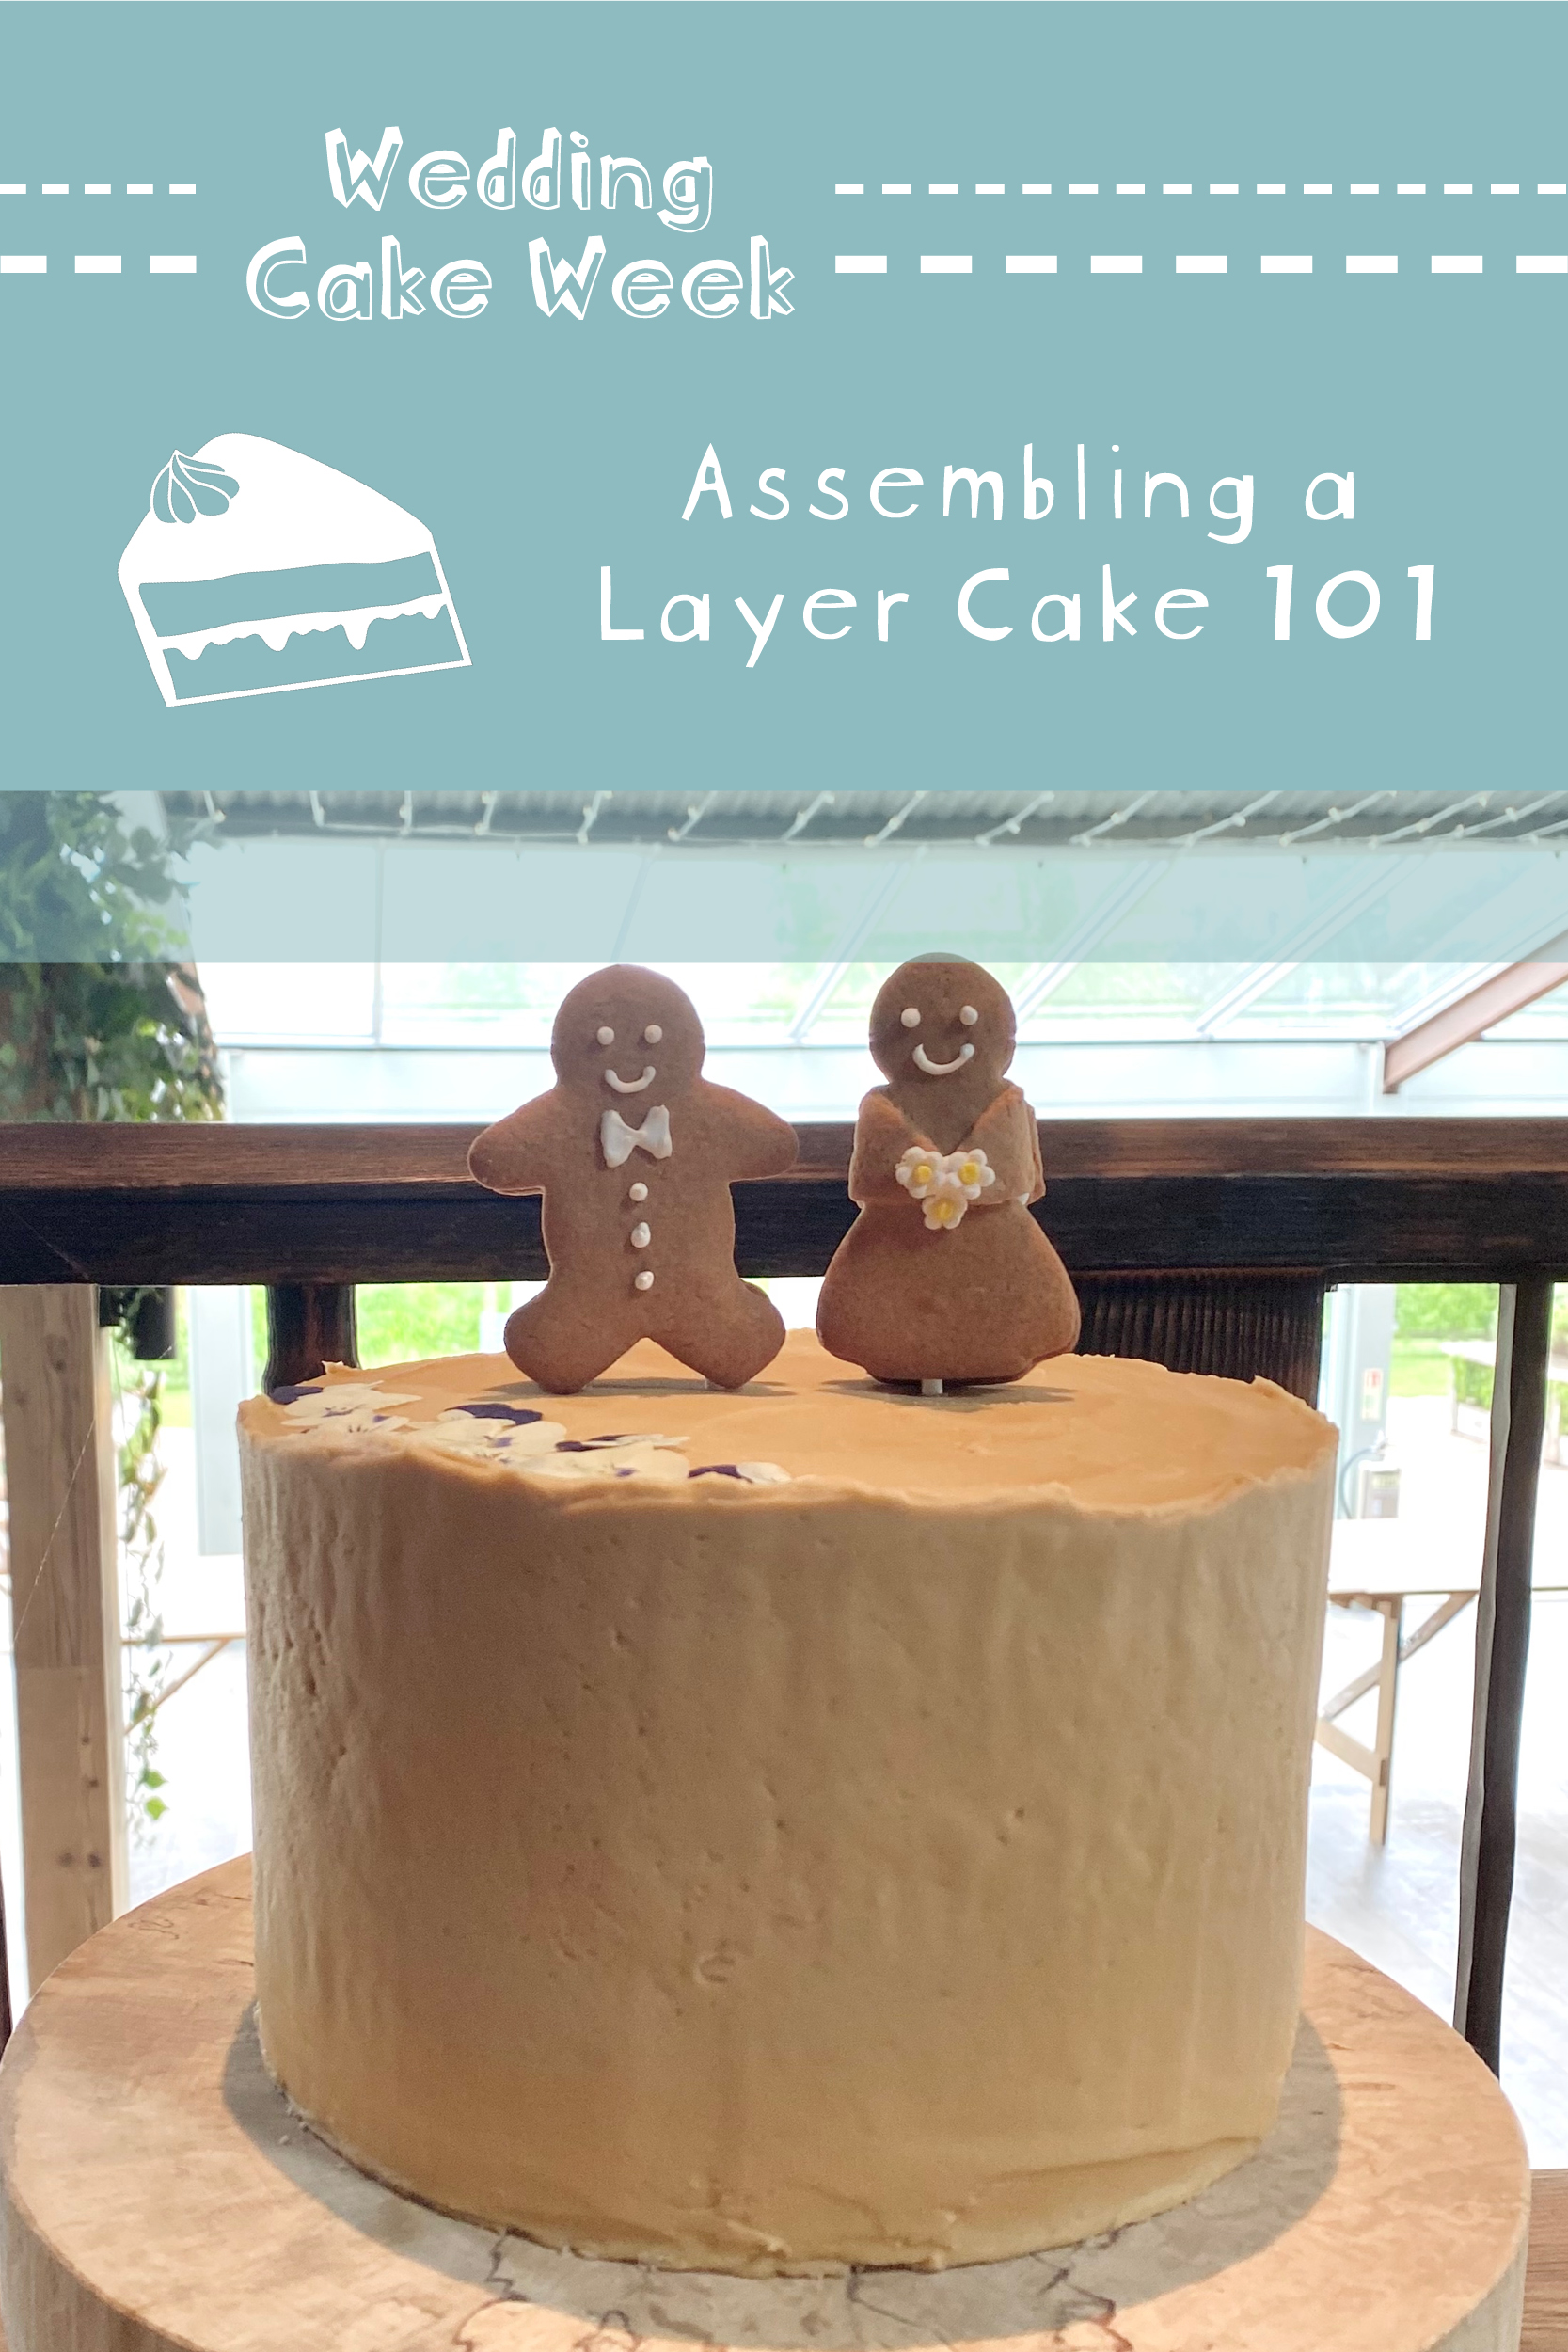
Now, though, I want to share a detailed post on how to assemble a layer cake (or Assembling a Layer Cake 101, as I’m calling it). Each tier was assembled in exactly the same way (although, admittedly, the lemon tier had a little extra spice, in the form of an additional filling!), and it’s super handy knowledge for any baker to have, whether they’re making a wedding cake or not!
Without further ado, then, here’s how I assemble a layer cake…
Table of Contents
- Equipment
- Stage 1: Stacking the Layers
- Stage 2: Adding Cake Dowels
- Stage 3: The Crumb Coat
- Stage 4: The Final Icing Layer
- Stage 5: Decorating
Equipment
There are some pieces of equipment that are going to make your life infinitely easier when it comes to assembling a layer cake:
- Cake lifter.
- Cake turntable.
- Non-slip fabric (I just use some knitted dishcloths for this, but anything that adds a bit of friction will work here!).
- Piping bag and large round piping tip (for the wedding cakes, I used a #1A tip).
- Offset palette knife (I normally use an 8-inch and a 4-inch one, but you could definitely manage with just one or the other— the 4-inch is the most versatile, so I’d start with that!).
- Cake dowels (I used these ones).
- Icing smoother (I use this one by Wilton).

If you plan on transporting your finished cake anywhere, I’d also recommend assembling it directly onto a cake drum (a thicker version of a cake board), the exact same size/shape as your cake (e.g. for a 6-inch round cake, you’d need a 6-inch round cake drum). This will make it easier to move the cake around without damaging it and the thicker board will help support the weight of the cake.
Furthermore, if you want your cake to be extra stable and secure during transportation, you can temporarily adhere the cake drum to a thinner, square cake board, that fits snugly into a strong, heavy duty cake box. This will prevent the cake from slipping around in transit. I recommend purchasing a cake box about 2 inches larger than your cake (so, for the aforementioned 6-inch round cake, I’d buy an 8×8-inch cake box and an 8×8-inch square cake board to fit inside it).
I used these adhesive paper stickers, folded in half to make them ‘double-sided’, to stick the two boards together. These are great, because they’re easy to cut through with a cake lifter, so you can easily separate the two boards by sliding the cake lifter (or a thin palette knife) between the layers, when it’s time to serve the cake. Any thin, strong, temporary adhesives will work for this though!
Stage 1: Stacking the Layers
Start by setting up your workspace. Place the non-slip fabric (or knitted dishcloths, if you’re like me) on top of the cake turntable, making sure to arrange them in an even layer so that your cake boards are level later on.
Place the cake drum/board combo (or just your serving plate, if you’re skipping that step!) on top of the non-slip layer, making sure it is sitting flat and level. The non-slip layer is important, because you don’t want your cake to move (or worse, fly off the turntable!) as you spin the cake.
Spread a generous dollop of buttercream directly onto the cake drum/serving plate. This gives the cake something to stick to and, when it has set, will secure the cake to the board/plate (again, to prevent the cake from slipping when it is moved).
Place the first cake layer on top of that icing, making sure that it is placed centrally and lines up exactly with the cake drum below (again, if using).
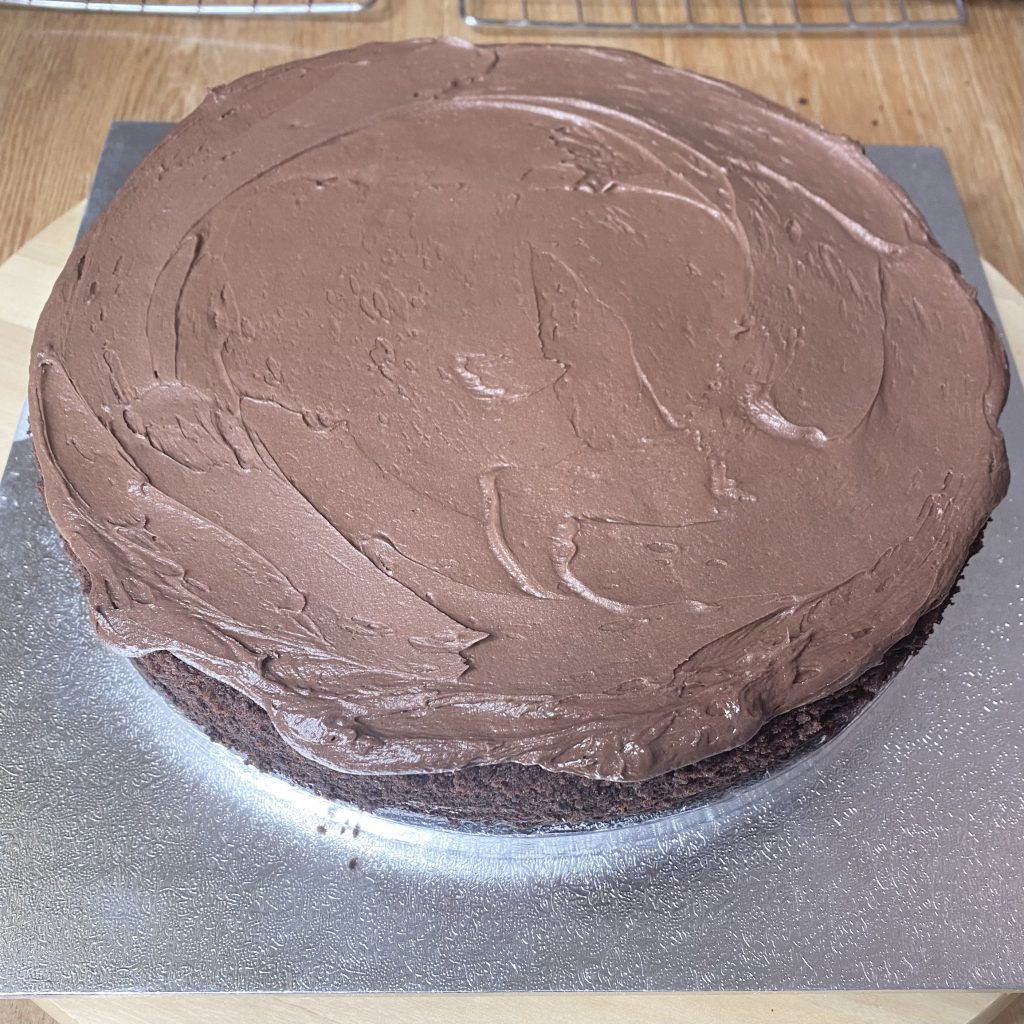
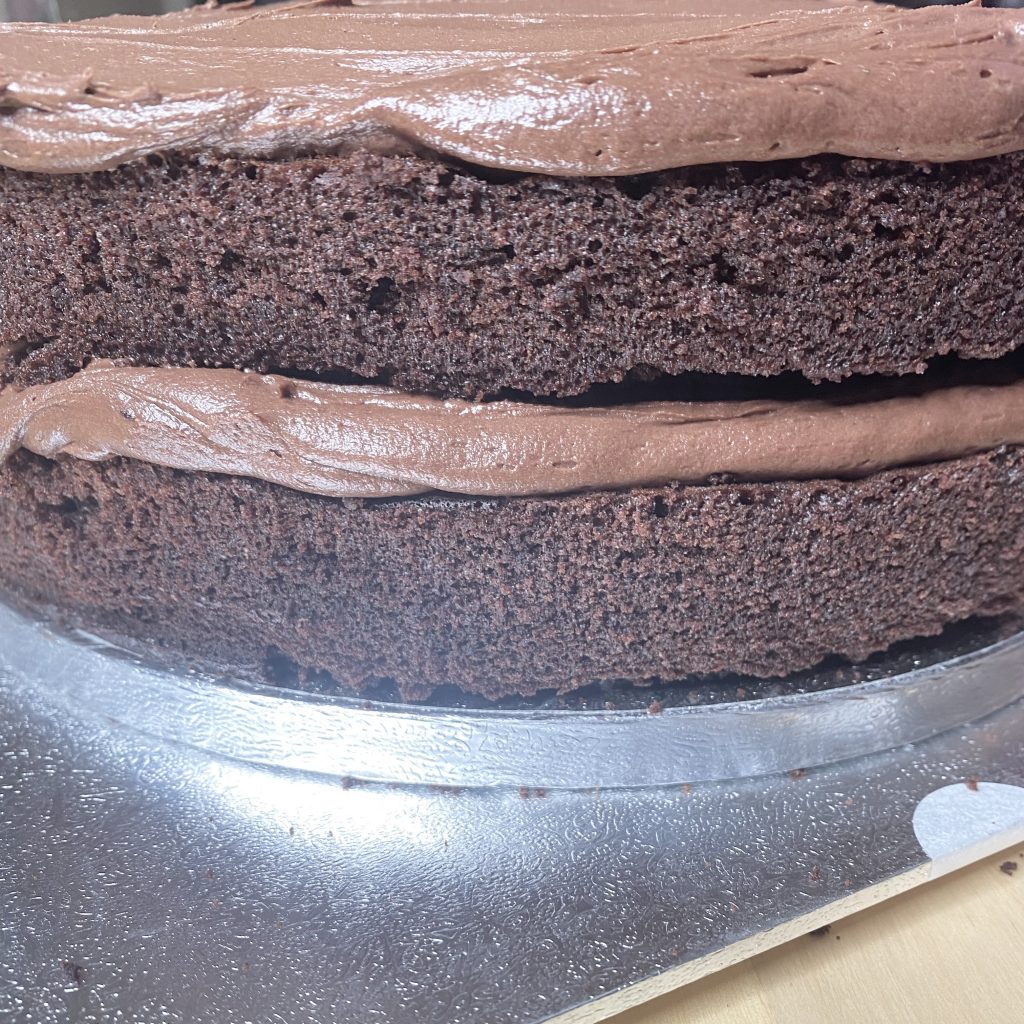
Next, add a thick layer of icing all over the surface of the cake. If you want to ensure that the icing is even (and that the next layer of icing is the same thickness), you can use a piping bag, fitted with a large round nozzle, to pipe the icing onto the surface of the cake in a big spiral, before spreading it out with an offset palette knife.
At this point, make sure that the icing is pushed right out to the edges of the cake (you actually want it to smush out a little!). This will make it easier to get super straight, even sides later on.
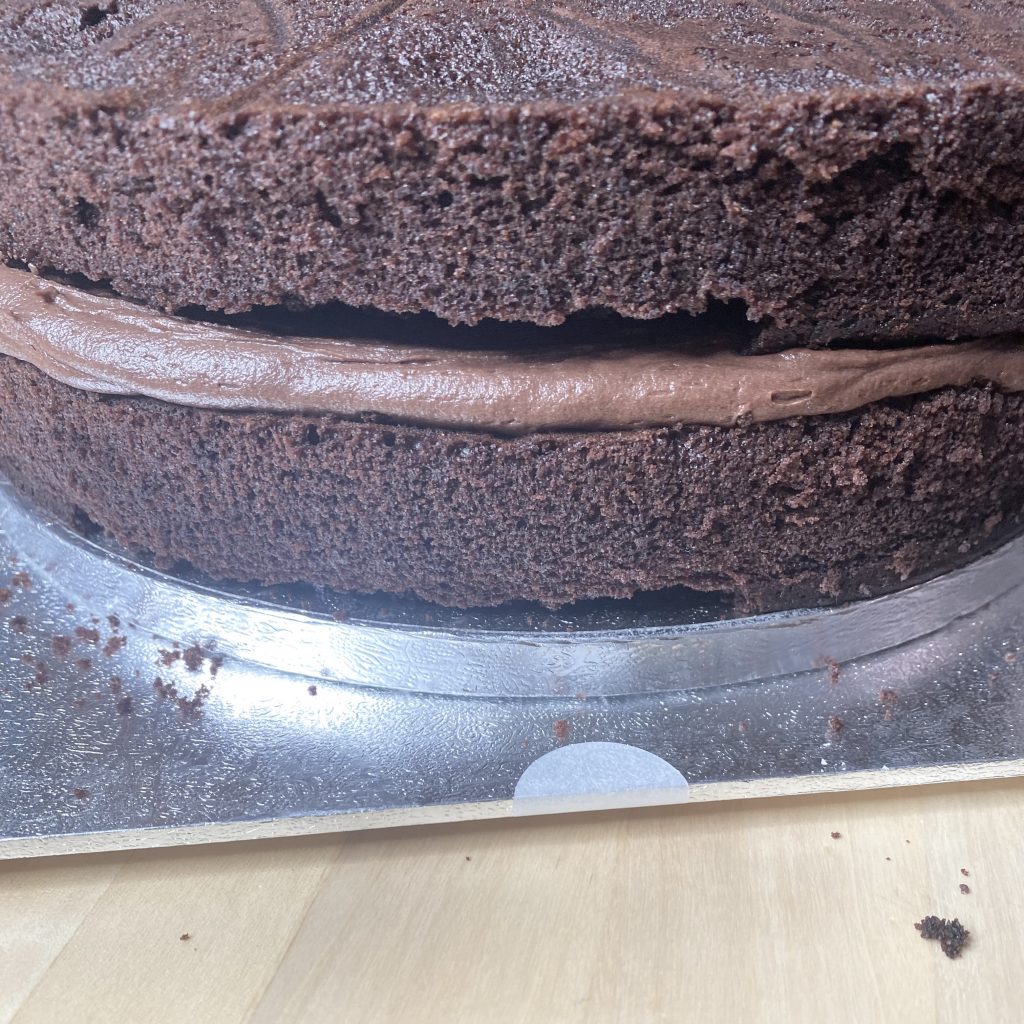
Place the next layer of cake on top of that icing layer, making sure that it is centred and level.
Then, repeat the icing process all over again.
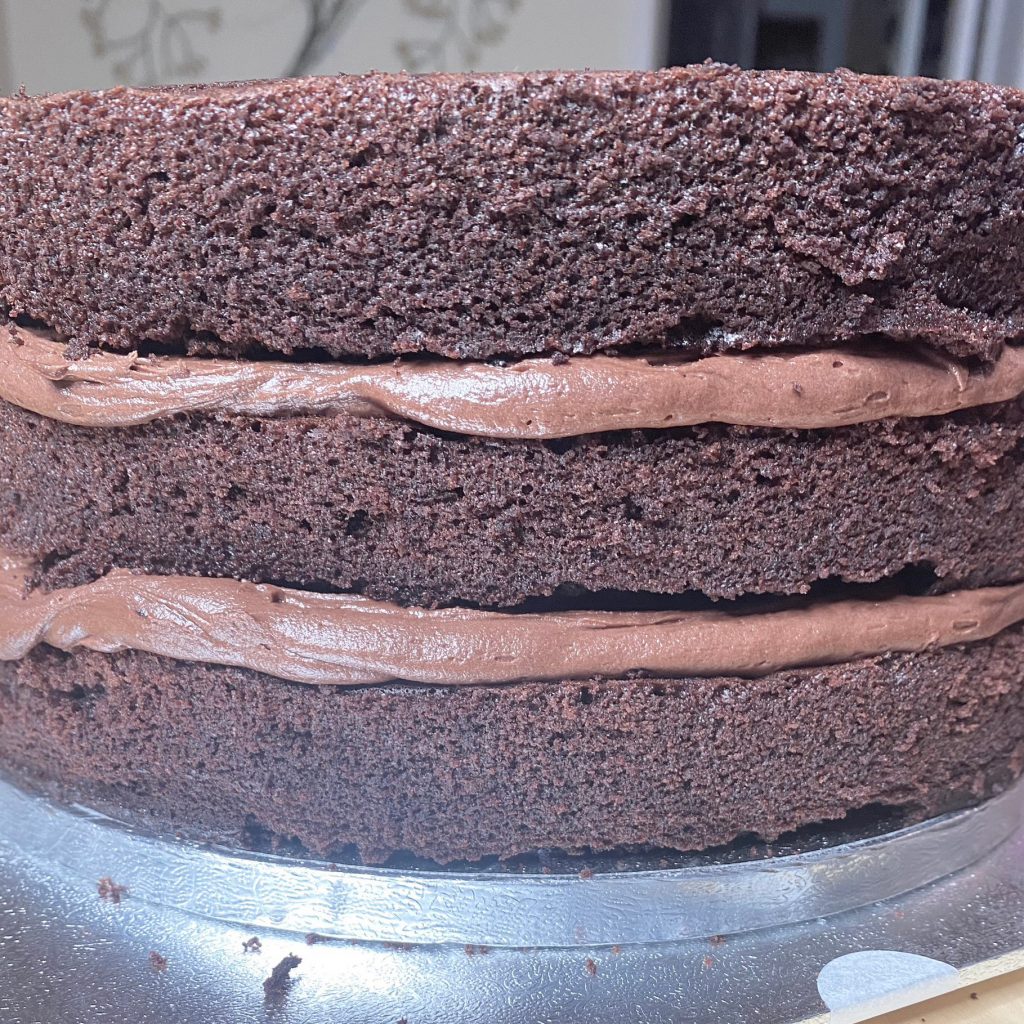
Then, add the final cake layer on top, making sure it is centred and level.
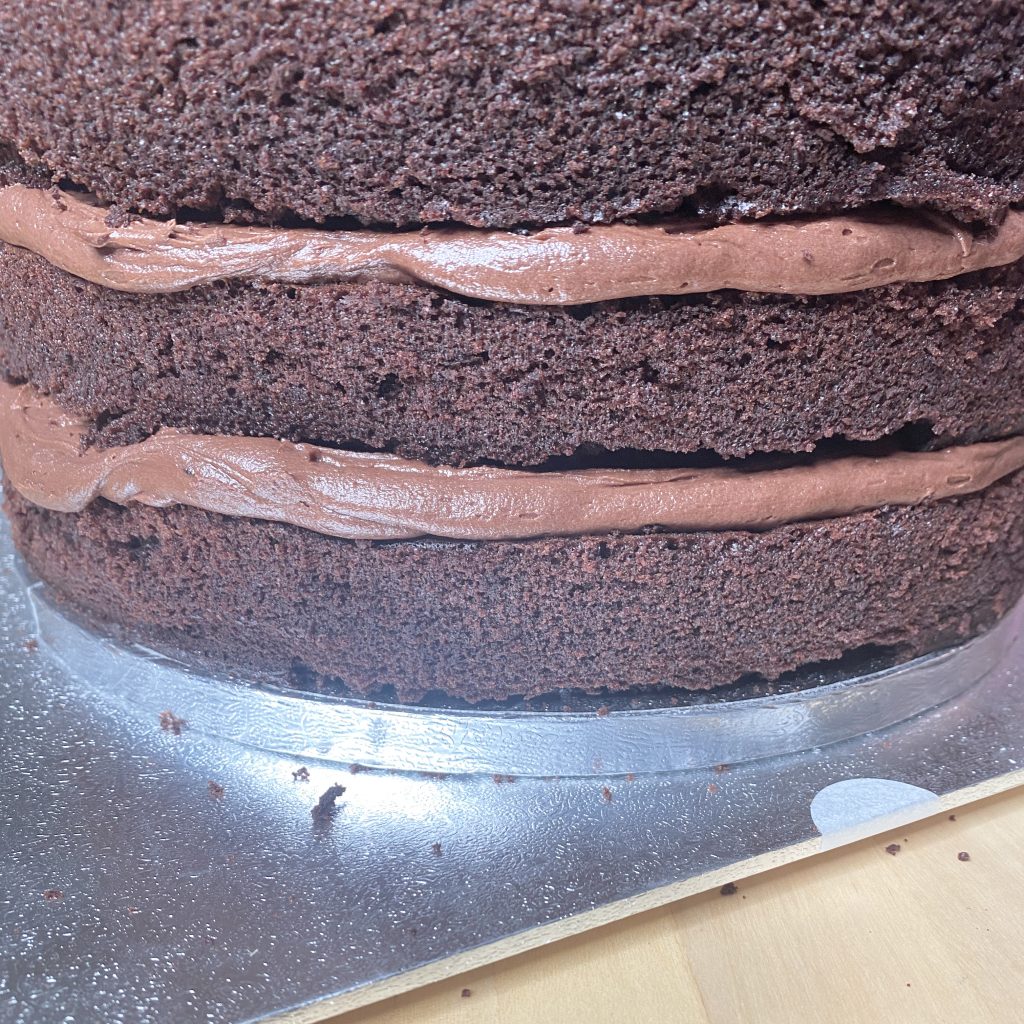
All of the wedding cakes I made had three layers of cake, but you can apply this same principle whether your layer cake has 2 layers, or 4+! Just keep going until all of your layers are sandwiched together with the buttercream.
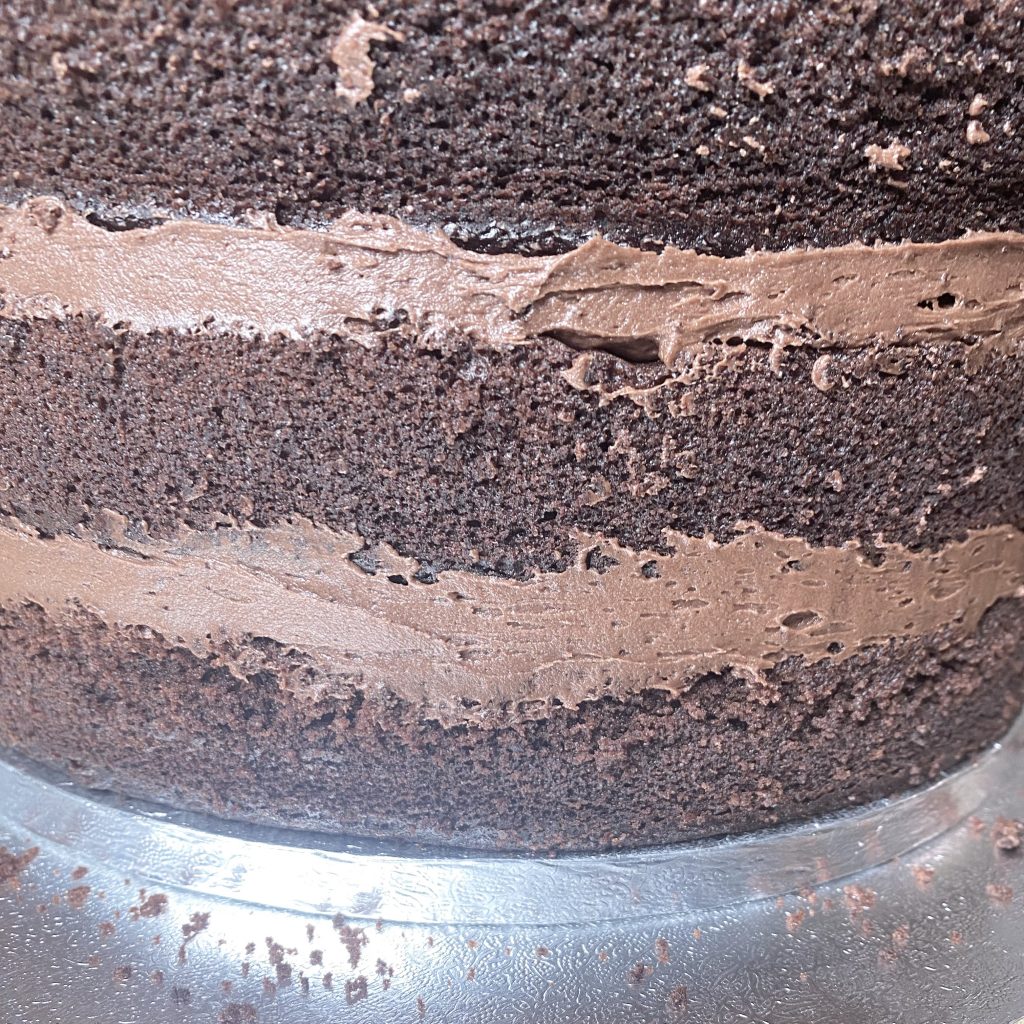
Run a palette knife around the edges of the cake, just to smooth out the excess icing and fill in the gaps between the layers. It doesn’t need to be perfect at this stage, you just want to give yourself a nice base for the crumb coat.
At this point, the cake should be chilled for about 15 minutes, just to help the layers firm up and give the cake a bit more stability before you crumb coat it.
A Note on Fillings
If, like with my Lemon Tier, you want to add a filling to your layer cake, the process is ever so slightly different.
If you’re adding a filling to your cake, it’s important that the buttercream you use to assemble the cake is quite stiff: I’d recommend not adding the full quantity of liquid ingredients (milk, lemon juice etc) at first, using it to assemble/fill the cake, then adding the remaining liquid ingredients before crumb-coating/decorating the cake.
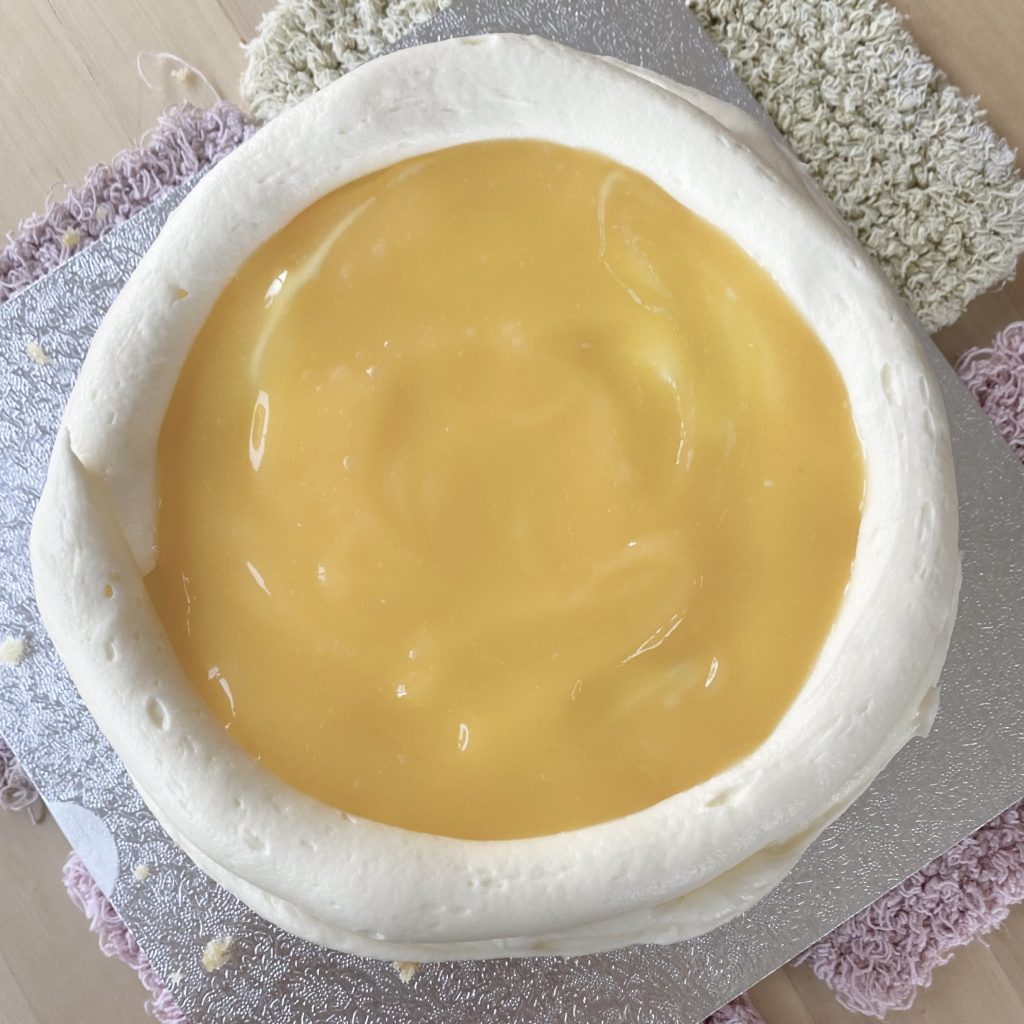
Follow the standard steps for assembling the cake, up to the point where you have applied and smoothed out your first layer of icing. Then, pipe another circle of the buttercream right around the circumference of the cake, on top of that first layer of icing. This will act as a barrier (or a ‘dam’) to keep the filling in, so that it doesn’t ooze out (this is why it is important for your icing to be quite stiff at this stage, or your buttercream ‘dam’ might not keep the filling in!
Spread a thin layer of the filling on top of the icing layer, pushing it right up to the sides of the buttercream ‘dam’, but making sure you don’t get any filling on the top/outside of the ‘dam’ itself, which might prevent the cake layer from sticking to the buttercream properly.
Add the next cake layer on top, making sure it is centred and level. Smooth off the excess icing around the sides, then I would recommend putting the cake into the fridge at this stage, for about 15 minutes, just to let these layers firm up a little. Fillings add an extra layer of instability to a cake, so you want to chill it more frequently to help minimise the possibility of leaning, tilting and/or slipping!
After the first chill, repeat the buttercream + filling process, then place the final layer on top, again, making sure it is centred and level and smoothing off the sides. Again, I would recommend placing the cake into the fridge for a further 15 minutes at this stage, before adding the dowels and applying the crumb coat.
Stage 2: Adding Cake Dowels
Adding cake dowels is an optional step, but it can help lend even more stability and security to your layer cake, particularly if it is a very tall cake, or if you need to transport it somewhere. Typically, dowels are most often used when a cake is being stacked (like a traditional wedding cake, for example), but I do find that they can be helpful for single layer cakes too!

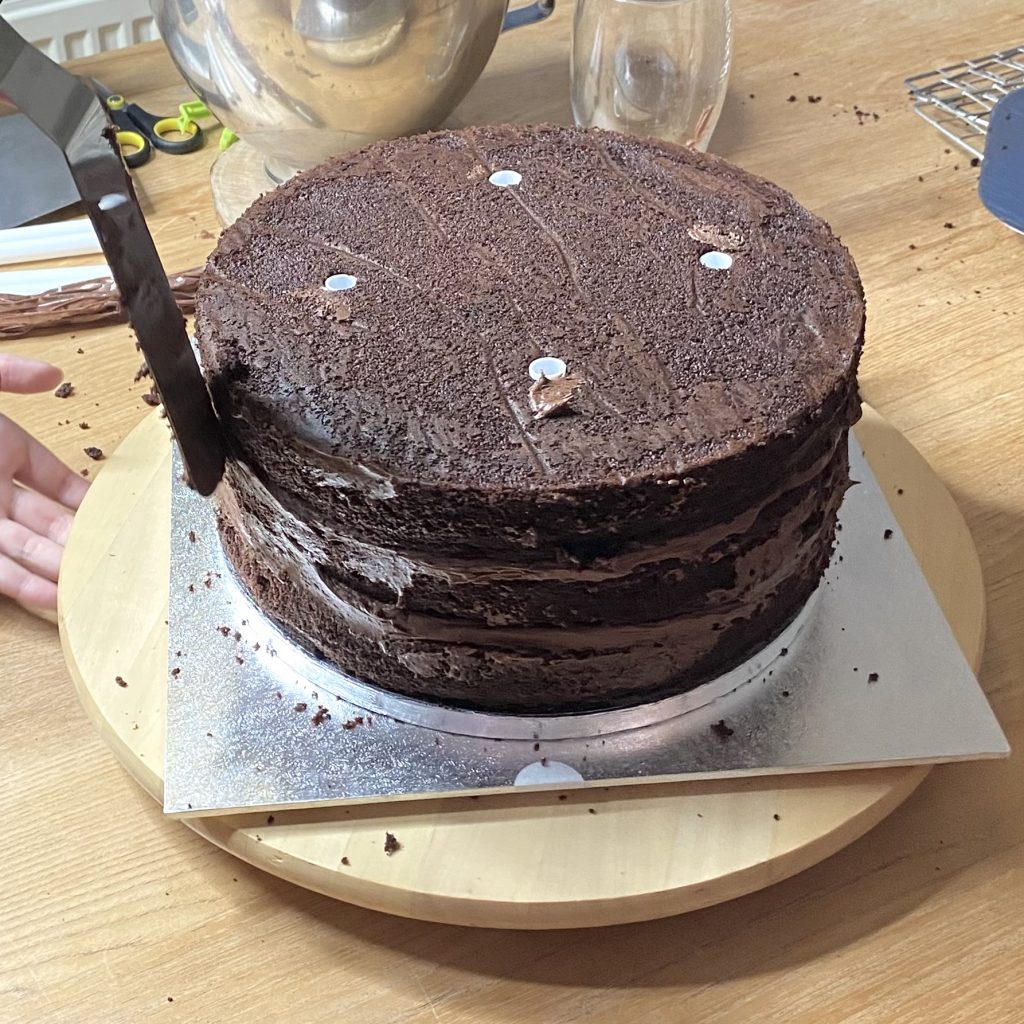
If you’re adding cake dowels, I would recommend adding them after chilling the assembled cake. I did encounter some problems with the cake dowels in my cakes (after the car journey and various temperature issues, the cakes did seem to collapse ever so slightly around the dowels, leading to little bulges of icing on top of each one (though the dowels are hollow, so I suppose this could also have been a result of trapped air?). This was easily remedied at the venue by gently pressing down on the bulges with a palette knife (after piercing them with a pin, just in case they were air pockets!), and smoothing on some more icing if needed), but it was extra stress that I definitely did not need, so avoiding that scenario would definitely be preferable!
You can add as many or as few dowels as you feel you need, based on the size/height of your cake. I added 4 dowels to each cake (mine were made up of three layers and were 10, 8 and 6 inches in diameter, respectively) and placed the dowels about halfway in from the edges of the cake, spaced out evenly around it.
To insert dowels, you just push them right into the assembled cake, making sure to keep them nice and straight.
Once you hit the cake drum/plate at the bottom, mark where the top of the cake comes up to on the dowel (I just used a little smear of buttercream for this: don’t use a regular pen or anything, because that won’t be food-safe!).
Then, pull the dowel out slightly and use a pair of kitchen shears to cut the dowel at the mark.
Press the dowel back down into the cake and you should find that it sits perfectly level with the top of the cake.
Repeat the process for the remaining dowels and you’re done!
Stage 3: The Crumb Coat
A crumb coat is a super thin layer of icing that is applied all over the surface and sides of a cake to trap in any crumbs (hence the name). By doing this, you create the perfect canvas for your final icing layer, which can then be applied smoothly and easily (without the worry of any crumbs peeking through!).
Start by placing a small amount of your buttercream into a separate bowl. This way, you don’t need to worry about crumbs getting into the main buttercream itself (which would render your crumb coat pretty much meaningless!).
Use an offset palette knife to spread a very thin layer of icing all over the top and sides of the cake. I tend to start with the top and work my way down the sides, but it doesn’t matter how you do it: just get those crumbs trapped!
The crumb coat doesn’t need to be perfect: getting it relatively smooth will help make the final icing layer easier, but, at the same time, the final icing layer will be much thicker (and able to hide a multitude of sins), so it doesn’t need to be perfectly smooth and even at this stage.
Once you’ve applied the crumb coat, put the cake back into the fridge for a further 15 minutes. I know the stop-start nature of this is a little tedious, but it is very important: without the chill, the crumb coat won’t form a crust (not for a good while, anyway), which is what really locks in the crumbs.
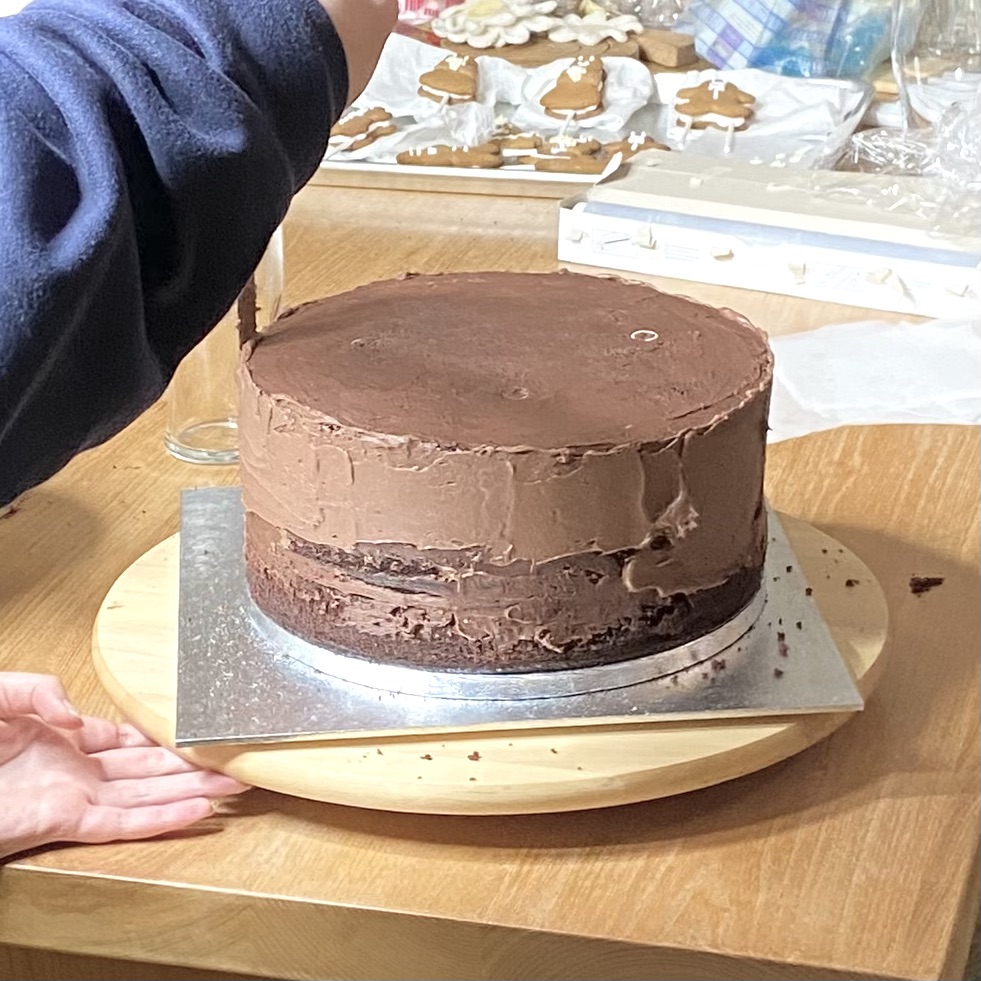
Stage 4: The Final Icing Layer
Now, it’s time to apply the final layer of icing! Remember that this will be the layer that people see, so how it looks is, this time, quite important.

Apply the buttercream all over the cake: again, I like to start on the top and work my way down the sides, but do whatever works for you. You don’t want to see any cake beneath this layer of icing, so you’ll need to apply a much thicker layer than you did for the crumb coat.
If you’re using a cake drum, at this point, I like to cover the cake drum in the buttercream too. This way, no one can actually see the cake drum, so you get the crisp, clean look of a plain cake with all of the movement/transport ease of a cake on a cake board.
Once the whole cake is covered in buttercream, you can start to smooth it out. I always like to start by creating a smooth canvas, even if I want to add a textured pattern to the buttercream, just to ensure the initial layer is neat and even.
Smooth the top surface out first. I find that an offset palette knife really is the best tool for this.
Make sure as you smooth that you create a slight ‘overhang’ of icing around the circumference of the top of the cake. This will make it super easy to make a little ‘lip’ around the top of the cake when you smooth the sides, which you can either leave as a feature (my preference) or gently scrape off later for a more crisp look.
Once you’re happy with the top of the cake, move onto the sides. For this, a proper smoother, like the one I have from Wilton, is a game-changer. Alternatively, a thick metal ruler could also work: you just need something tall and straight, with a right angle, so it can sit flush against both the cake board AND the side of the cake.
When using an icing smoother, I find you get the best results when you move the turntable, not the smoother (and you get even better results if you can convince someone else to turn the turntable for you, while you hold the smoother steady!).
Hold the bottom of the icing smoother flush against the cake board/turntable and keep the side of the smoother pressed gently against the side of the cake (lining it up with the cake drum at the base really helps with this!). Hold the smoother at a slight, acute angle against the side of the cake.
Then, slowly turn the turntable, keeping the smoother as steady as possible. Work your way around until you have smoothed off the whole cake, then slowly and gently pull the smoother towards you as you stop turning to finish it off.
After this first smooth around, you’ll inevitably have some areas that aren’t quite so neat, where there wasn’t enough icing to smooth out the layer completely. This is easy to rectify: just add a generous amount of icing to any of those areas, then repeat the smoothing process again.

Keep going, adding more icing and smoothing again, wiping off the smoother when needed, until you’re happy with the finished cake. You’ll notice that, as you smoothed out the sides, the ‘overhang’ of icing from the top has been pushed upwards and inwards, creating a lip at the top of the cake. I really like this effect, so I usually leave mine like this, but, if you want a smooth top to the cake, just chill the cake for about 10 minutes, then use a palette knife to ‘slice’ off that lip.
If you don’t mind the lip, you don’t need to bother chilling the cake: just leave it at room temperature to form a crust. I’d always recommend giving the buttercream a chance to crust before attempting to transport the cake, because it limits the risk of any potential ‘smushing’.
Stage 5: Decorating
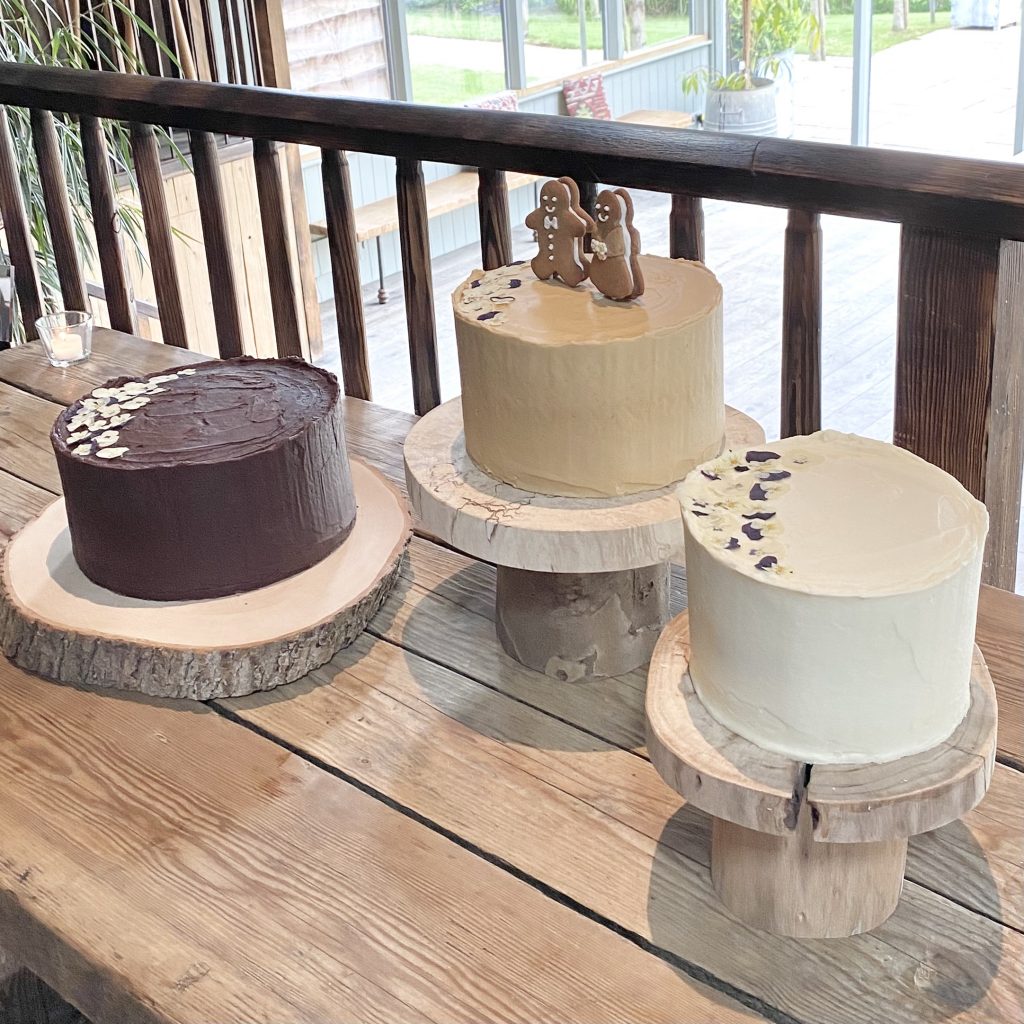
Once your cake is covered in icing, you can decorate it however you’d like! For the wedding cakes, I opted to decorate them at the venue, once the icing had fully crusted over. This was because I was using pressed, edible flowers that I didn’t want to rehydrate/go limp if I attached them to the cake too far in advance (and had the added bonus of giving me a chance to lay out the flowers and check the arrangement before committing to it) but, for other decorations, you can absolutely do this in advance.
And that, friends, is how I assemble my layer cakes. I hope this has been a helpful post: I know it can seem a bit overwhelming, but honestly, once you have the right equipment (and the confidence!), it’s really not too bad!
See you tomorrow for the next post of Wedding Cake Week!
Gemma
xxx