 Gemma
Gemma 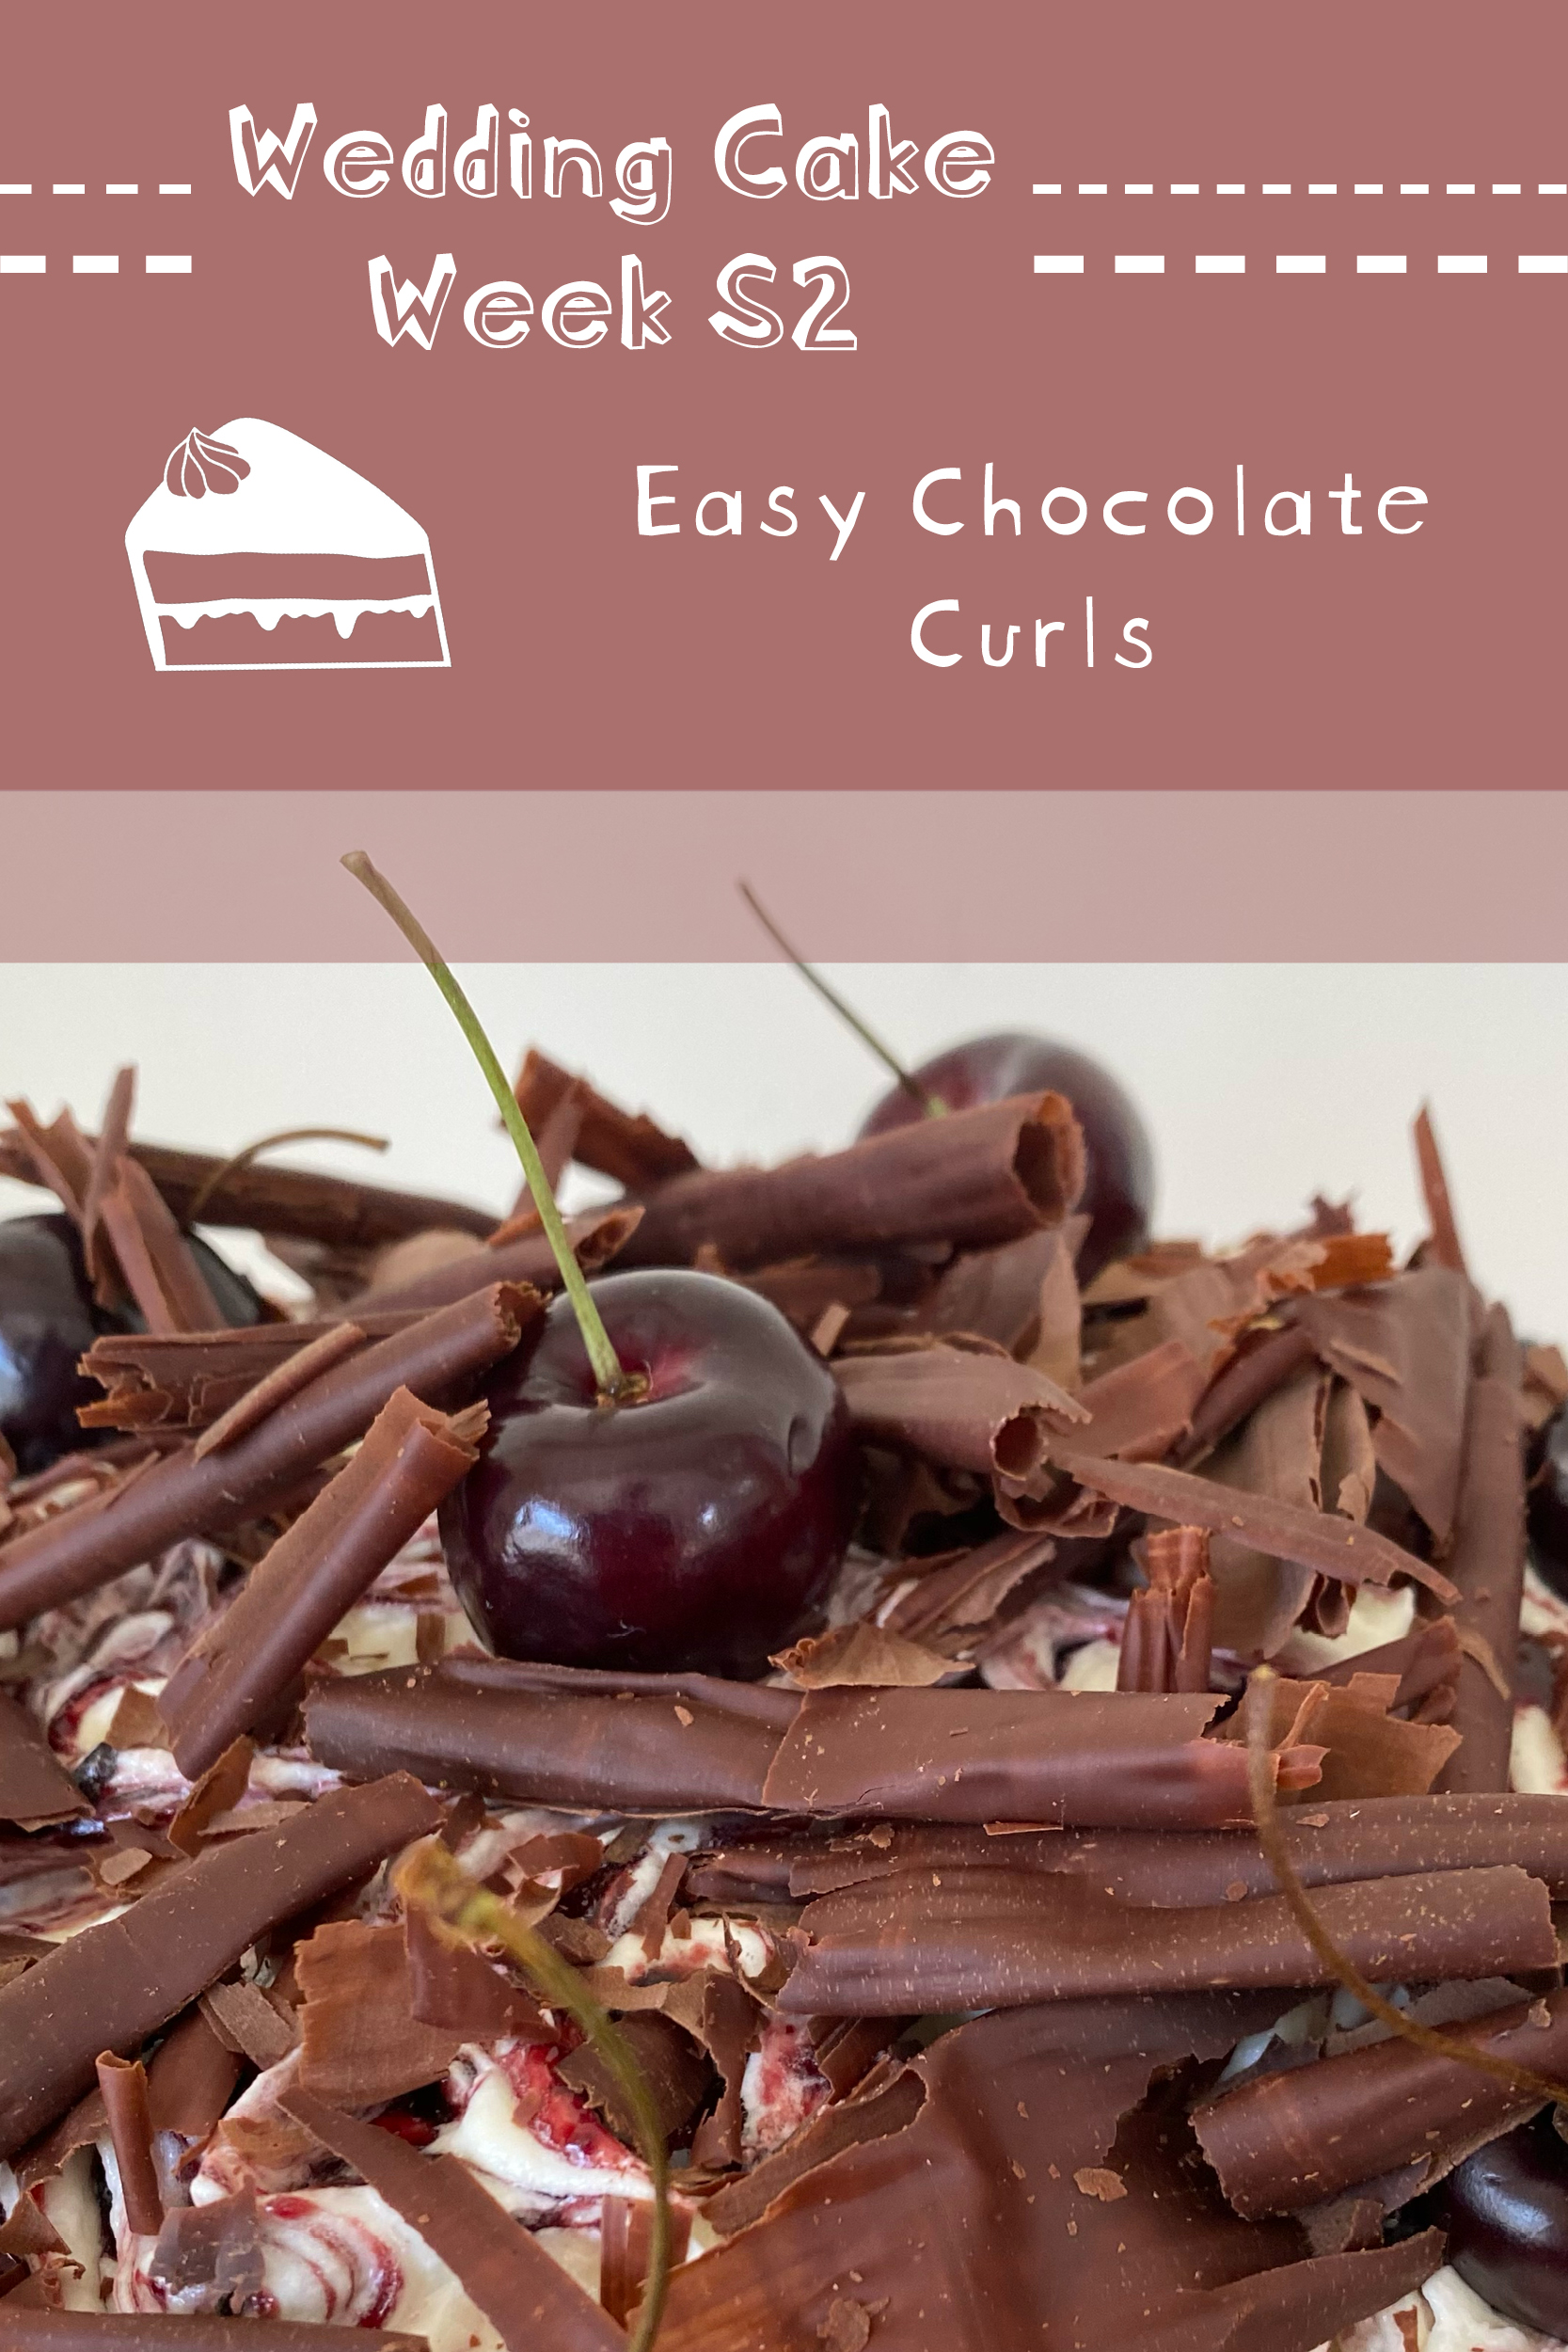
Welcome back to Wedding Cake Week: Season 2!
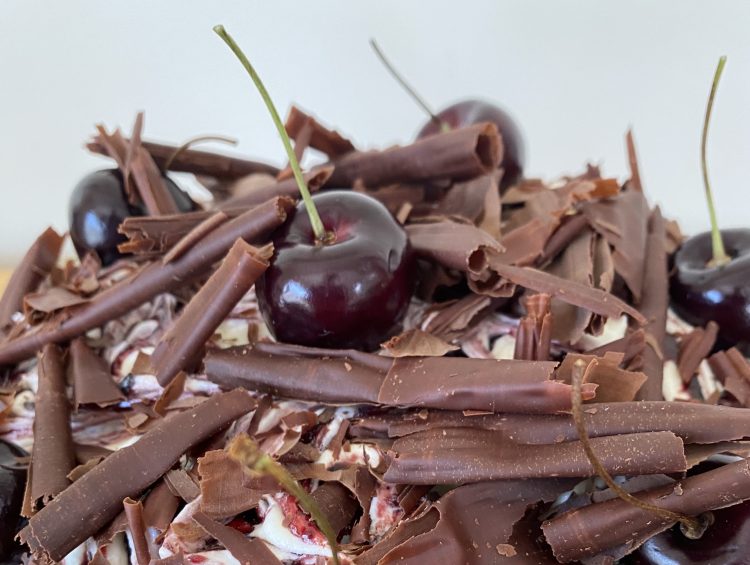
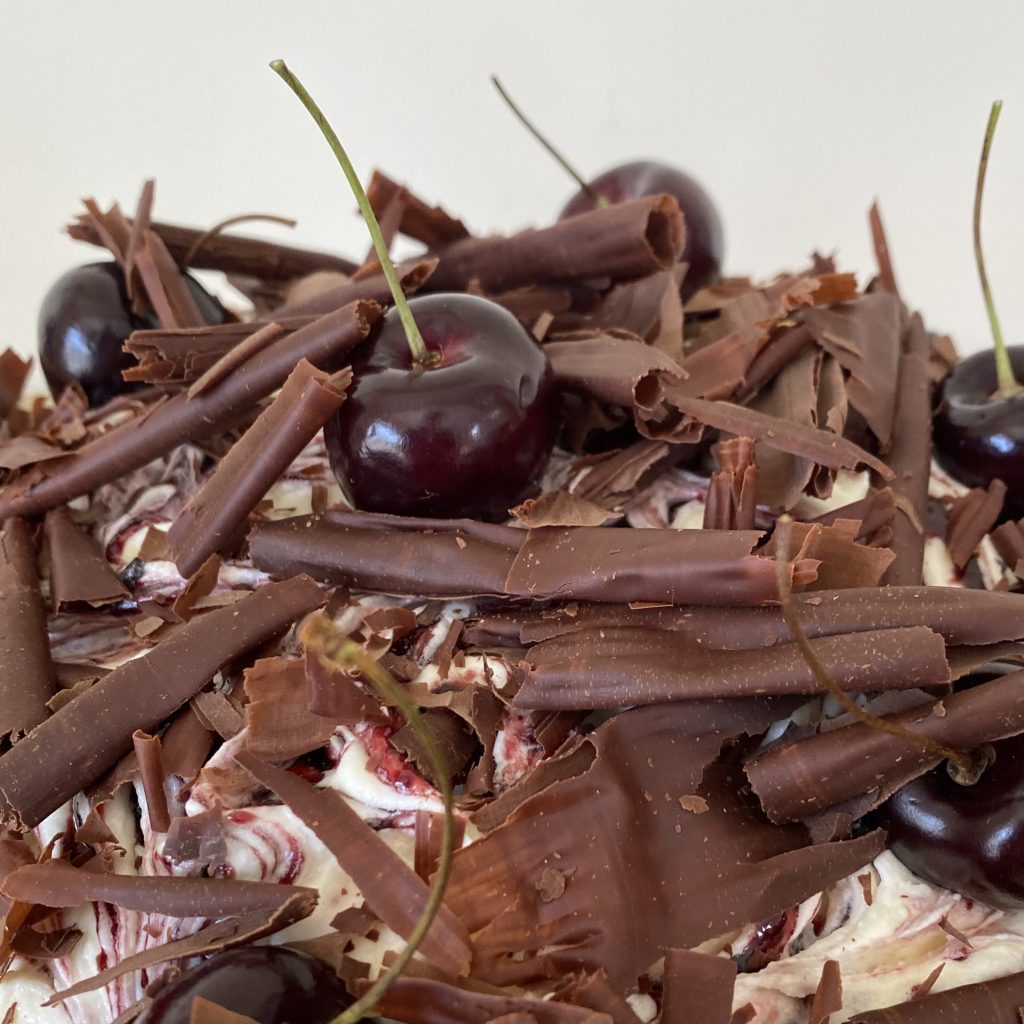
Yesterday, I shared the recipe for my Homemade Cherry Jam, which is used to fill and decorate the cake. Today, I’ll be talking all about how I made the chocolate curl decorations: there’s no tempering and no melting, so it’s a really quick and easy process!
I can’t take credit for this technique— I learned it from ✨Jamie Oliver✨, but I’m pretty sure it’s a classic chef technique? Nevertheless, I did want to share it with you, along with the tips & tricks that I picked up during my own curl-making process. However, if you’re more of a visual learner, you can find the video tutorial on the Jamie Oliver YouTube channel!
What You’ll Need
To make these chocolate curls, you only really need two items:
- A bar of dark chocolate
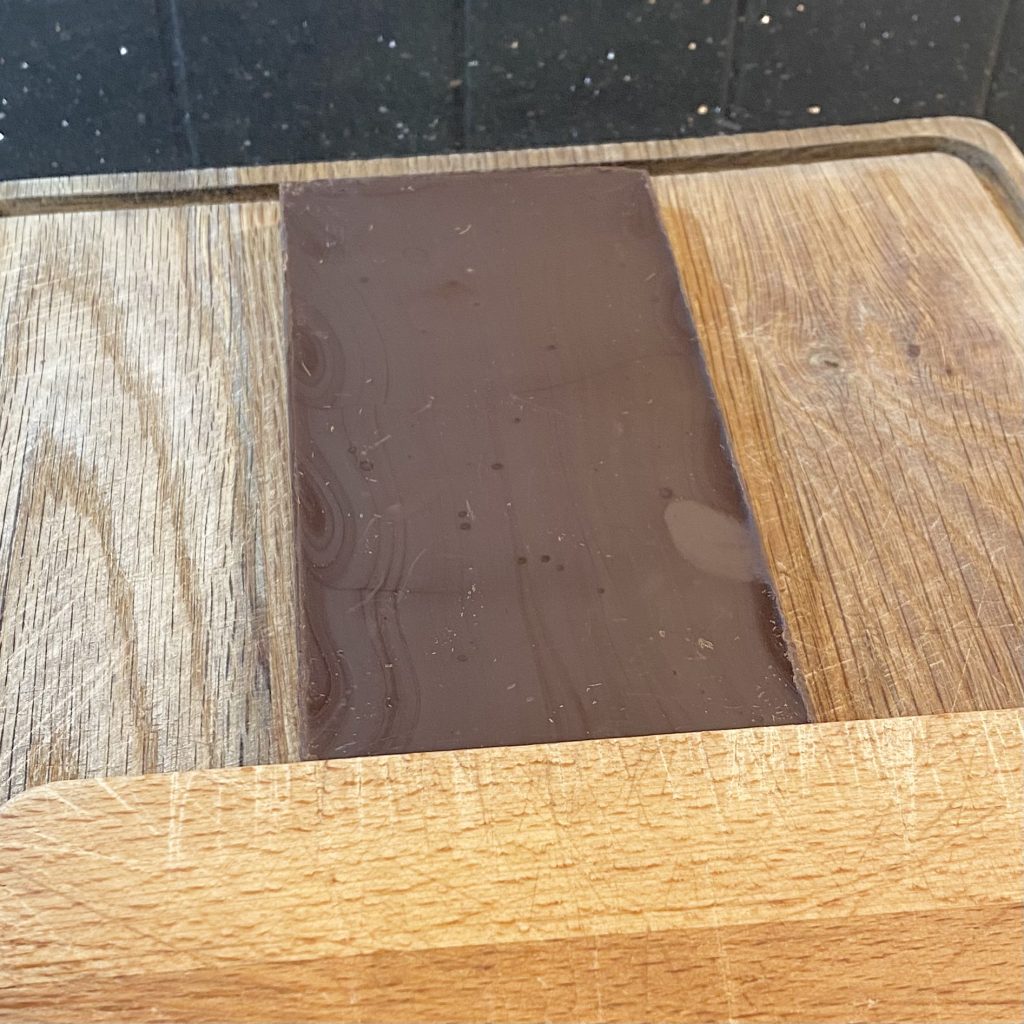
Obviously, the main thing to look for when you’re choosing your chocolate is the flavour: a good chocolate will make the most delicious chocolate curls! However, for this particular technique, it’s also important that the bar has a large, flat surface, like this one.
- A large knife
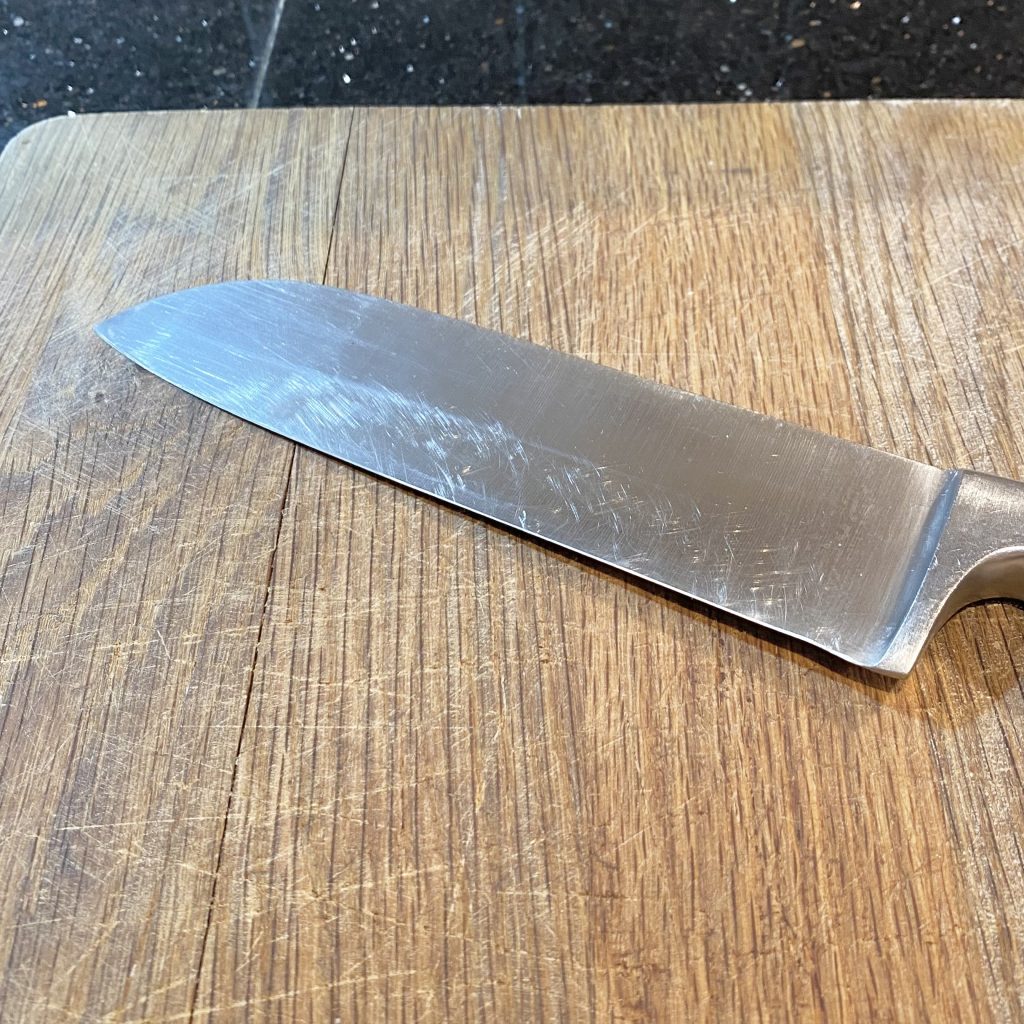
You’ll need a knife with a large, flat-edged blade that you can drag across the surface of the chocolate evenly. If you don’t have a large knife, a kitchen bench scraper would also work.
While those two items are the only essentials, I also recommend using two chopping boards, one large one as a base and one smaller one (that can fit on top of the larger one), as a barrier. This will just make the process a lot easier (and prevent you and your clothes from getting too messy!).
The Technique
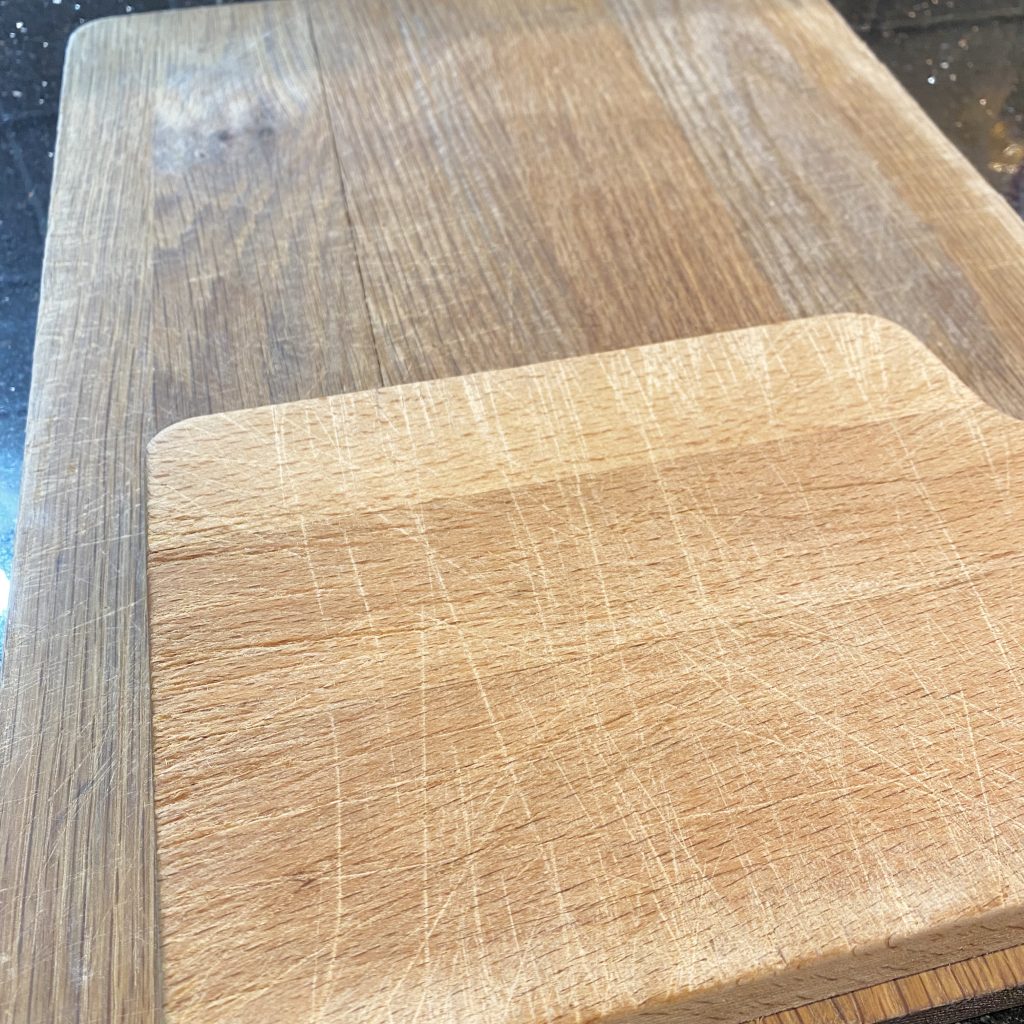
First, you need to set up your workspace. Place the large chopping board in front of you on the work surface, then set the smaller chopping board on top of that larger board, positioning it at the end closest to you, like above.
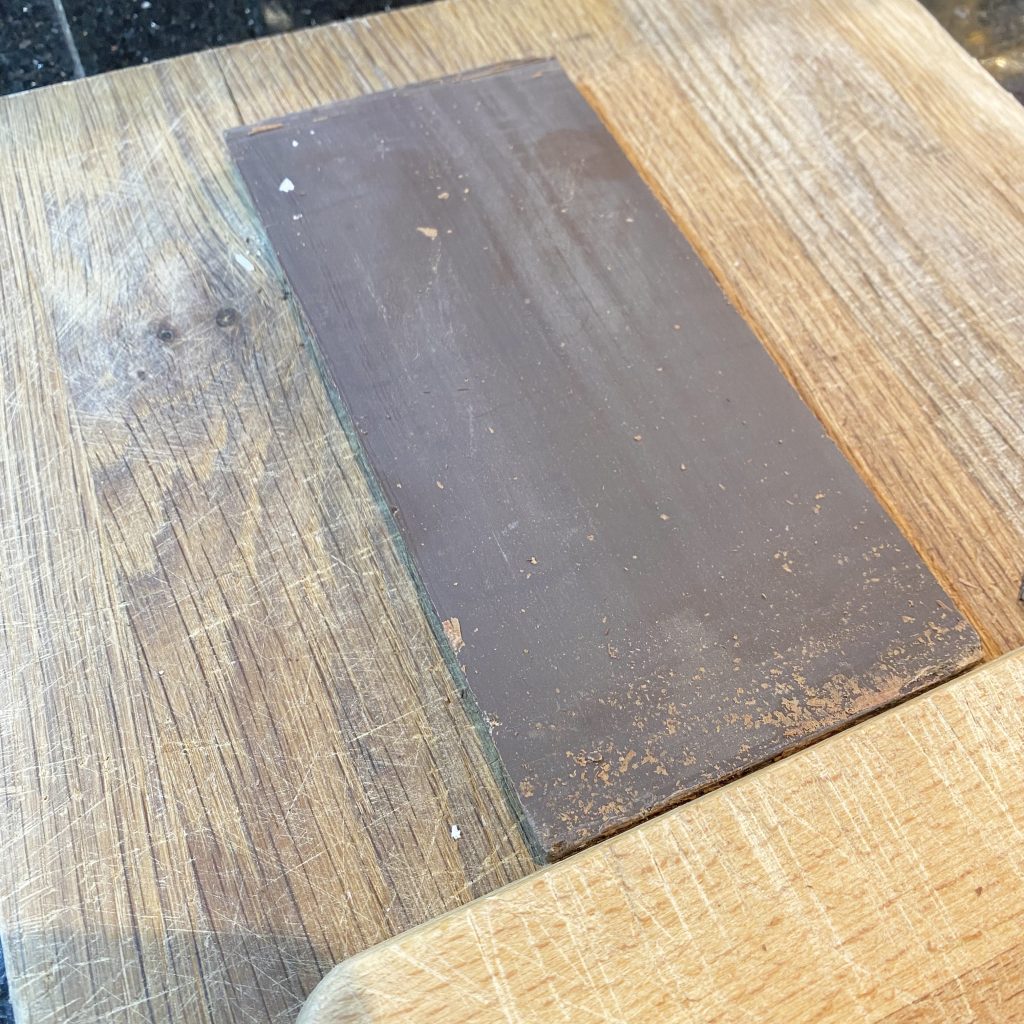
Then, unwrap the chocolate bar and place it flat side up, with one of the short ends pushed up again that smaller chopping board.
Allow the edges of both chopping boards to push against your lower abdomen. This will provide resistance, which will allow you to make the curls without the bar of chocolate flying across your kitchen! You can do this without the extra chopping board ‘backstop’, as Jamie Oliver and Kerryann Dunlop (from the YouTube video) both do, but you then run the risk of getting your clothes all chocolate-y which… is not for me! I found that the extra chopping board worked well for me, but choose whichever method works best for you. The aim is just to stop the bar of chocolate from moving around as you make the curls.
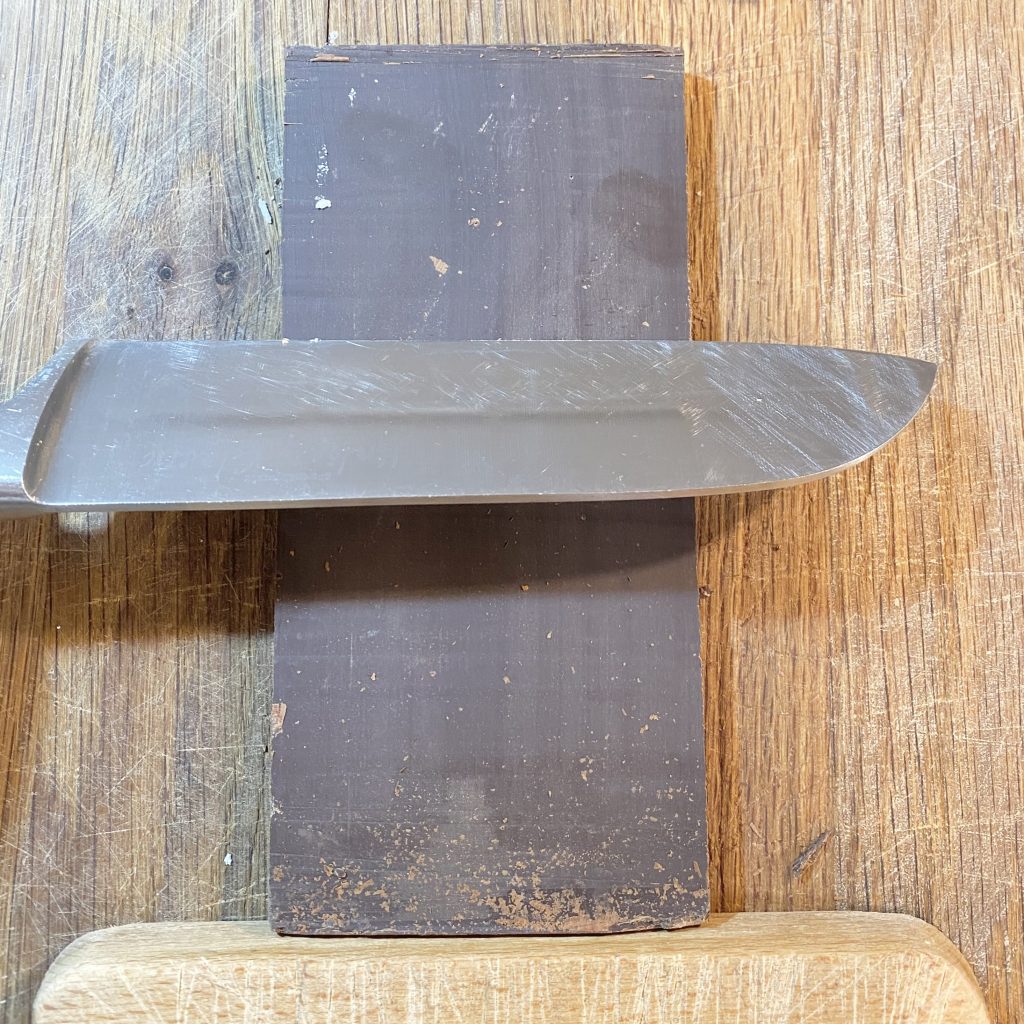
Rest the blade against the surface of the chocolate, at about a 45° angle. You can adjust this angle to change the size/shape of your curls a little, but 45° is a good starting point!
Hold the dull side of the blade of the knife with one hand on each end. Obviously, you’re working with a knife here, so be careful, but at no point should your fingers be close to the sharp edge of the blade itself.
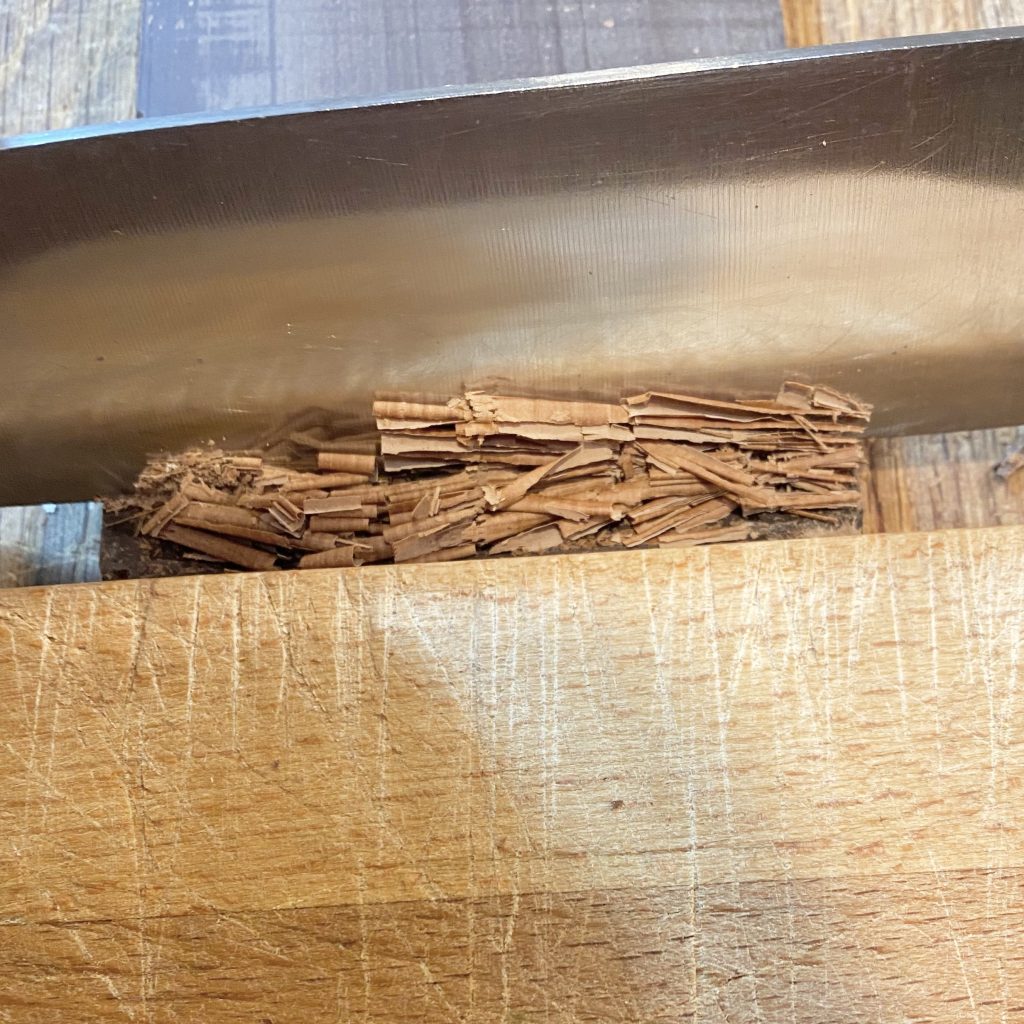
Apply an even pressure and carefully drag the knife down the length of the chocolate bar. As you drag, you’ll see the curl forming!
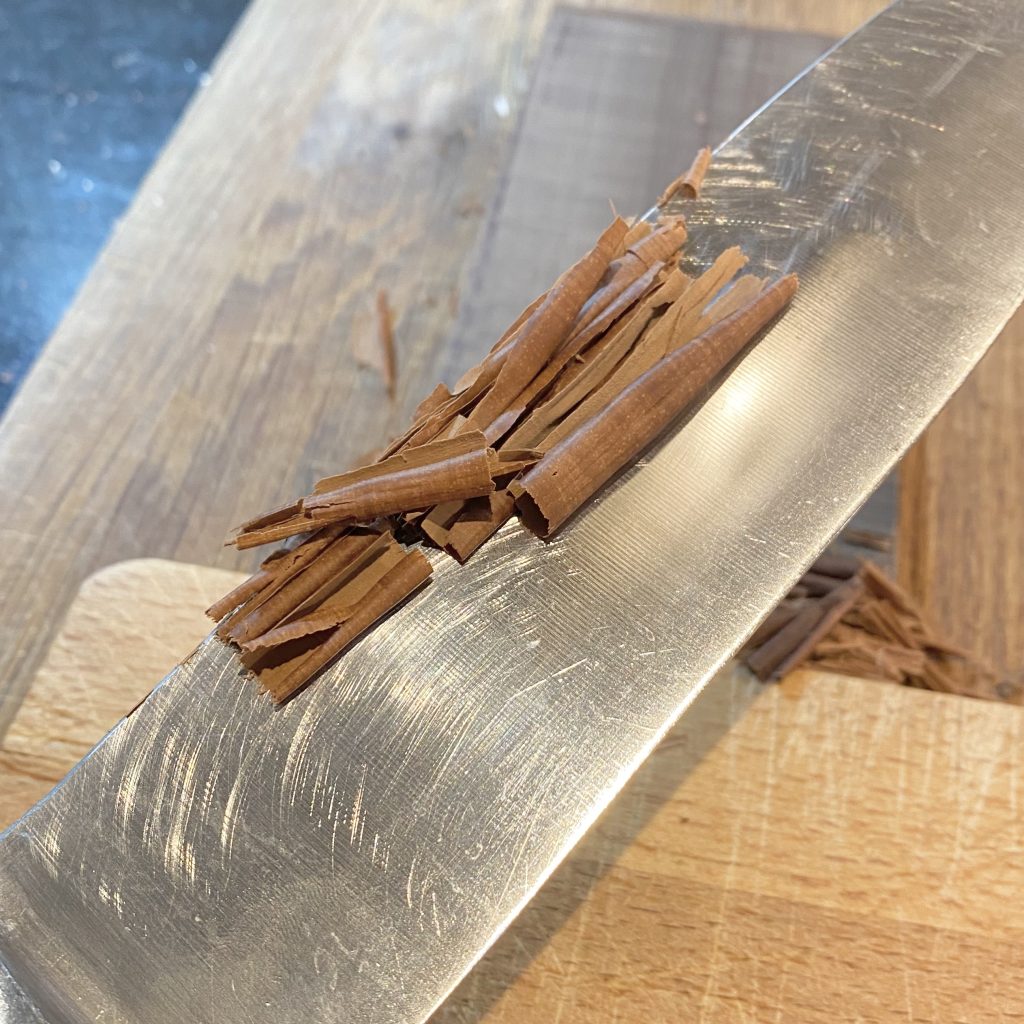
Repeat this process until you have as many curls as you need (or until your chocolate bar gets so thin that it breaks— whichever’s first!). I find it easiest to transfer the curls to a container as I go, otherwise I think everything gets a bit overcrowded, but do whatever works for you.
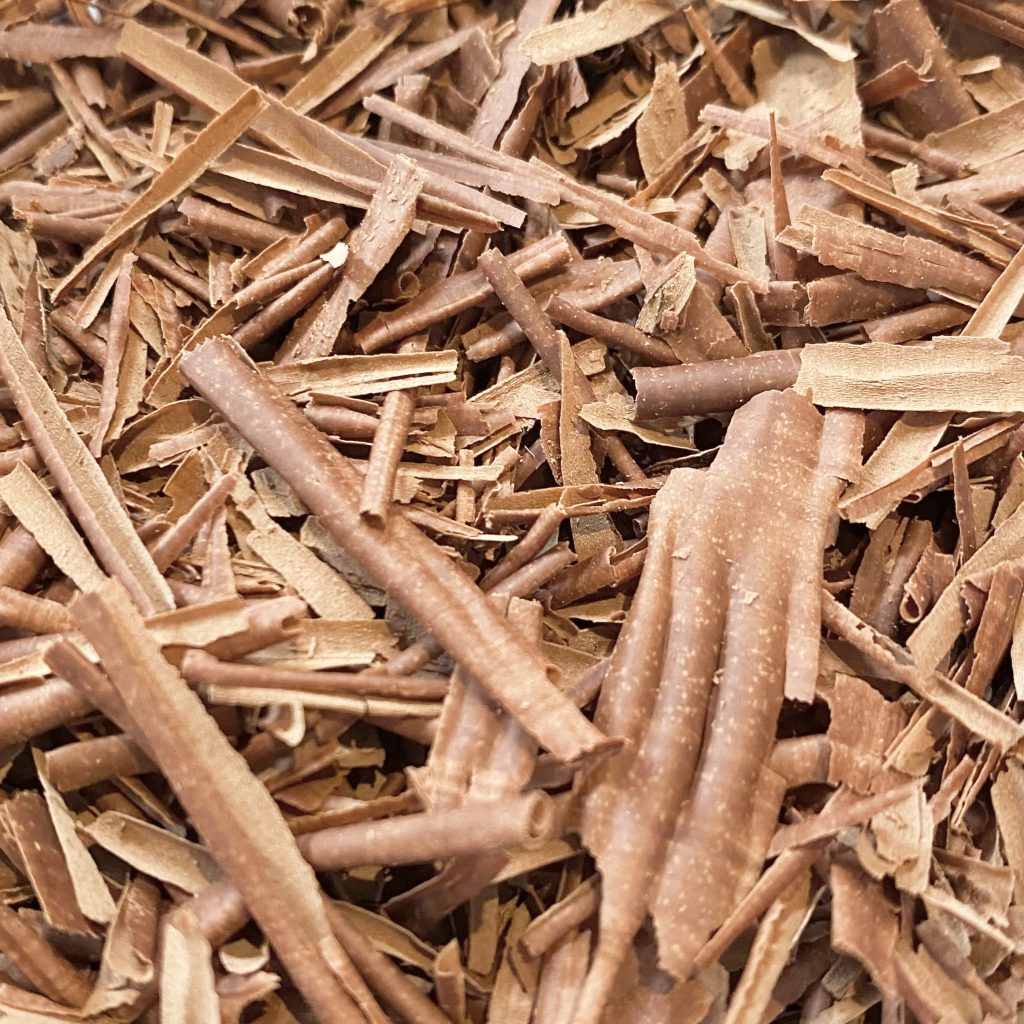
The curls can be stored in a cool place at room temperature, just like a regular chocolate bar. Don’t leave them in a super warm/sunny spot, or they’ll just melt together, but, as long as the weather’s cool enough, they don’t need to be stored in the refrigerator.
Variations
In my chocolate-scraping endeavours, I found that the temperature of the chocolate bar had a big effect on the finished size, shape and colour of the curls:
- Colour
Slightly warmer chocolate creates curls with a darker colour, more similar to the original colour of the chocolate bar. Cold chocolate creates curls that have a slight ‘bloom’ to them, which dulls the colour.
- Shape
Cold chocolate makes stronger, more defined curls. Slightly warmer chocolate makes less defined curls, but they can be gently nudged back into a proper curl shape.
- Texture
Slightly warmer chocolate creates smooth curls. Cold chocolate creates curls with a more jagged surface, showing off the hitches of the knife during the ‘dragging’ process.
- Size
Slightly warmer chocolate makes slightly longer curls, while cold chocolate makes slightly shorter curls.
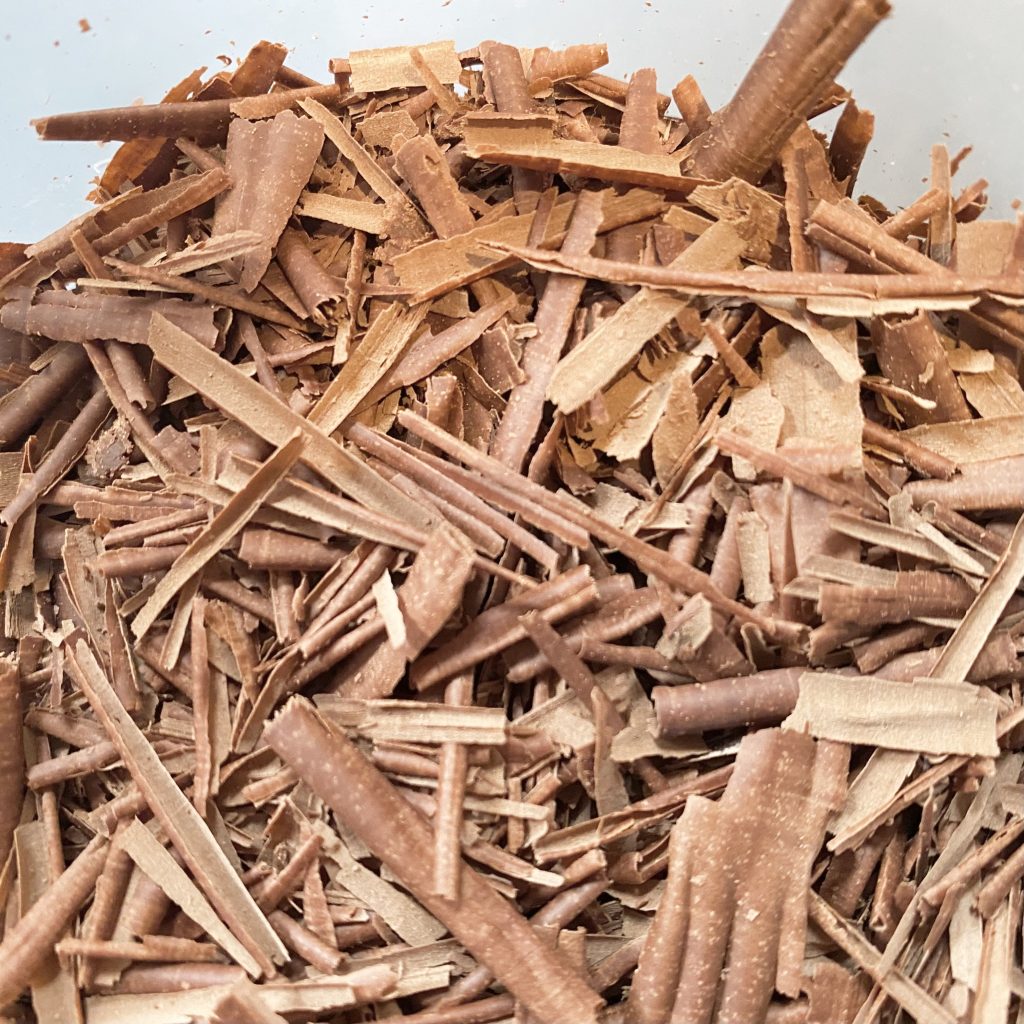
For reference, I tried this technique with three different temperature chocolate bars: the first bar was at room temperature during a 30°C+ heatwave (the temperature it was when I made this wedding cake— can you believe it?!), the second bar was right out of the fridge and the third bar was at a pretty humid, but otherwise gentle, summery room temperature (about 22°C).
The fridge-cold bar was the easiest to work with, but I wasn’t happy with how much the colour of the chocolate was dulled down. The heatwave bar made the darkest, prettiest curls, but they were a bit more fiddly to make. The 22°C bar was somewhere in between the two. I found that the colder the chocolate was, the more I had to increase my angle (bring the knife closer to 90°) to get the curls. I assume that there’s a scientific reason for this, but I’m a linguist at heart, so who knows? My favourite were definitely the curls I made during the heatwave, which were the ones I used for this wedding cake.
However, because it was a heatwave, I did spread the curls out onto trays lined with baking paper and give them a blast in the fridge after I made them, just to make sure they didn’t melt! After an hour or so in the fridge, I transferred them to an airtight container, where they sat at (a still very warm!) room temperature perfectly happily, so make of that what you will!
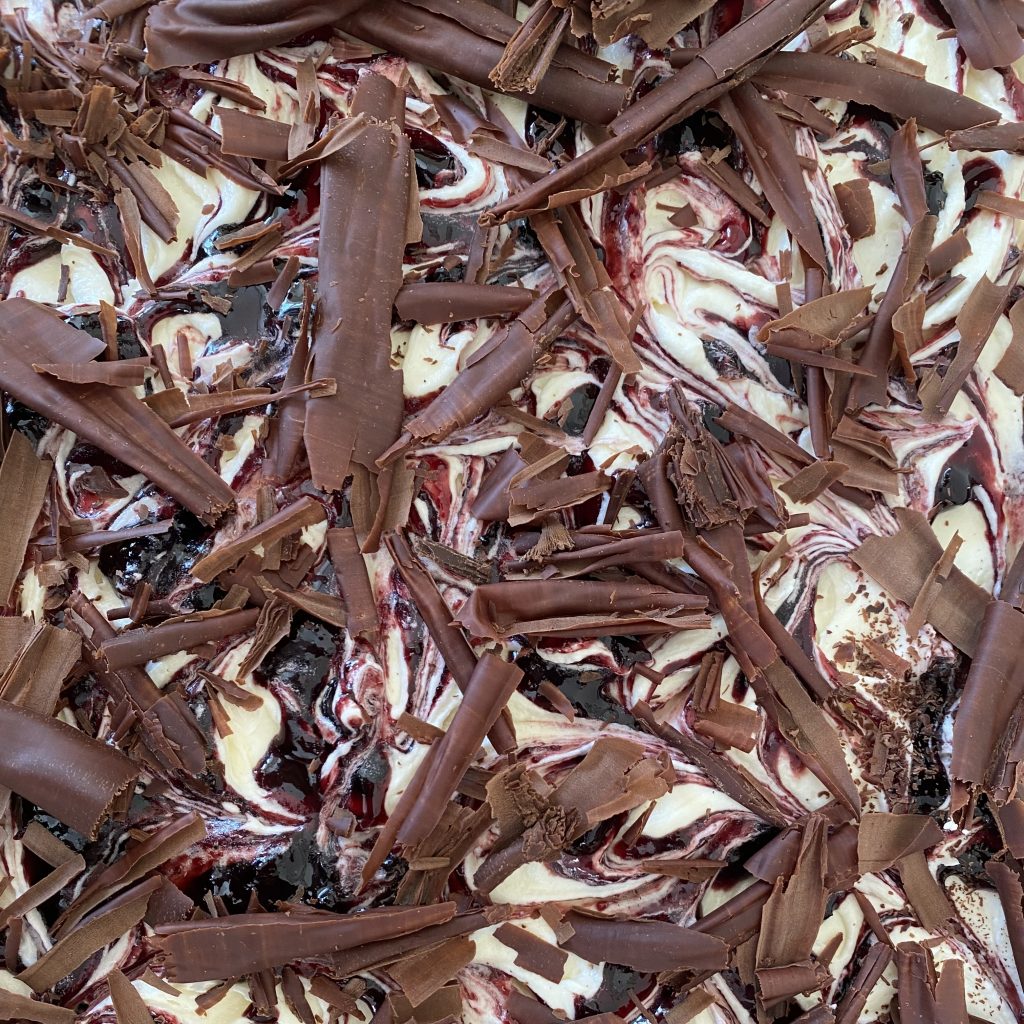
And that is everything I learned while making the chocolate curls for the top of the wedding cake! I love this method: I think the curls look so professional and fancy, but they are so, unbelievably easy to make!
Gemma
xxx